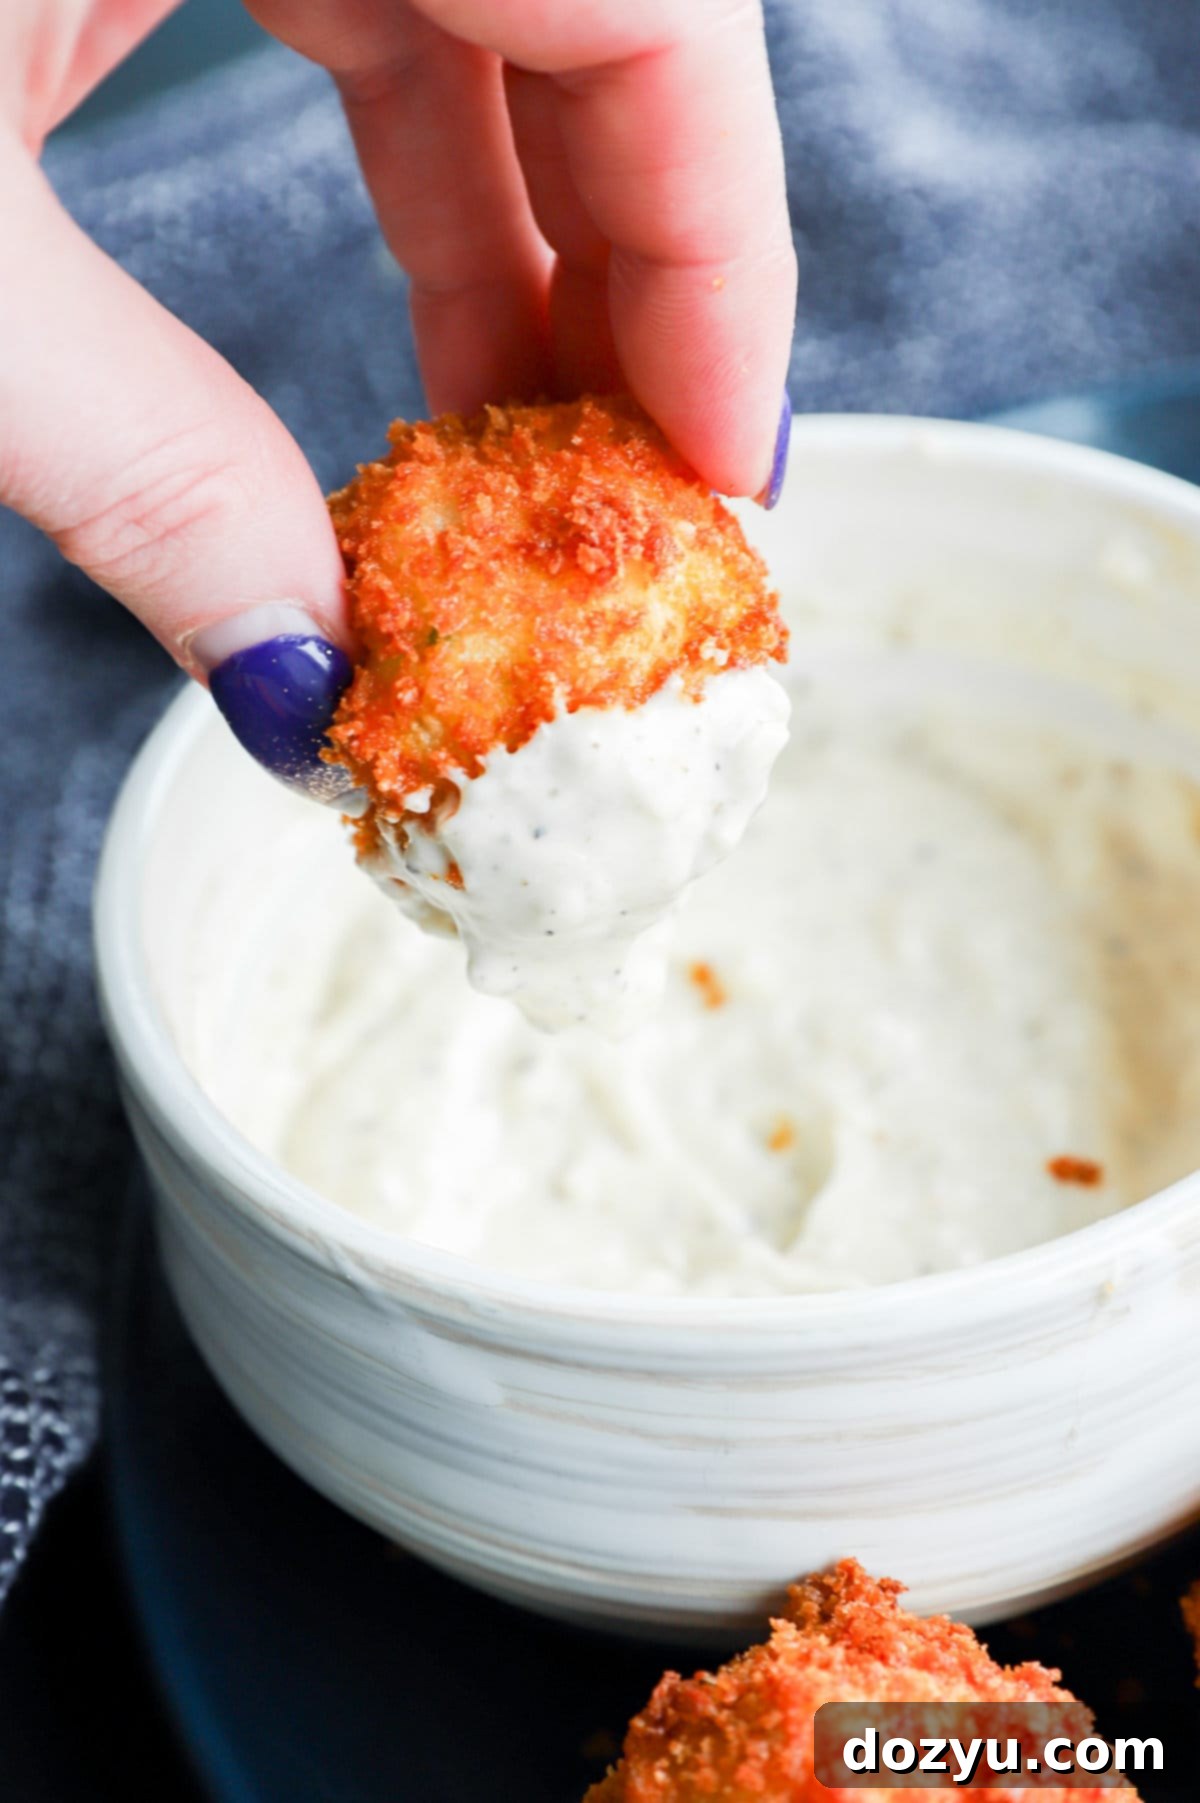
Quick & Easy 5-Minute Garlic Aioli: Homemade with Mayonnaise (No Raw Egg!)
Craving the rich, creamy flavor of garlic aioli but don’t have hours to spend in the kitchen? This quick and incredibly easy recipe is your answer! Get ready to savor homemade garlic aioli in just 5 minutes, using a smart mayonnaise shortcut that eliminates the need for raw eggs and complex emulsification. With only a handful of common ingredients, you’ll whip up a batch that’s bursting with fresh, zesty garlic flavor.
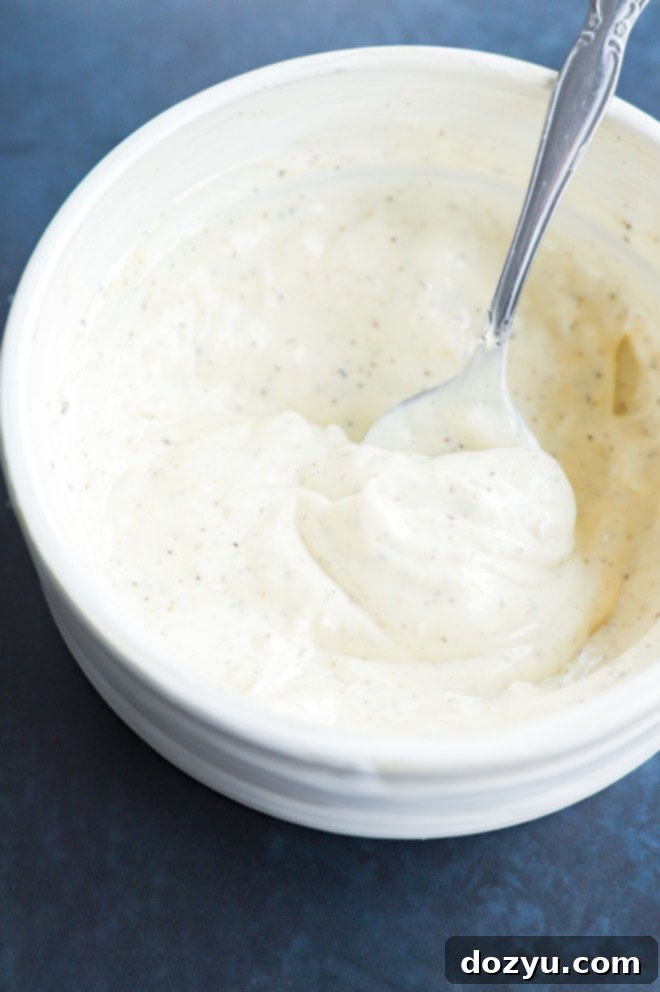
Table of Contents
Toggle
About This Garlic Aioli Recipe
If you’re a true connoisseur of creamy, garlicky sauces, then this homemade garlic aioli is about to become your new favorite condiment. It’s more than just a dip; it’s the secret weapon that effortlessly elevates any meal from simple to sensationally special. The most incredible part? You can whip up a batch of this flavorful goodness in just 5 minutes, and yes, it’s completely free of raw egg yolk, making it a worry-free delight for everyone.
My love affair with aioli began years ago during a trip to Belgium. I remember being utterly captivated by the simple pleasure of crisp, golden fries generously smothered in a rich, velvety garlic aioli. It was a revelation! Back in the United States, finding a truly exceptional aioli as a standard condiment can be a challenge – a real shame, in my humble opinion, as it truly is one of the best sauces on the planet.
That’s precisely why I’ve made it a mission to always have a fresh batch of this quick garlic aioli at home. This recipe delivers a bold and zesty flavor profile, thanks to fresh garlic, perfectly nestled within a luxuriously creamy texture. Forget the bland, store-bought versions; once you experience the ease and incredible taste of this homemade garlic aioli, you’ll never look back. It’s perfect for dipping, spreading, or simply enhancing your favorite dishes. This comprehensive guide covers everything from ingredients and equipment to step-by-step instructions, useful tips, and even creative variations, ensuring your aioli adventure is a resounding success.
What is Garlic Aioli? (Explained)
At its heart, traditional aioli is a classic Mediterranean sauce, essentially a garlic-flavored mayonnaise. It’s an emulsion, typically created by vigorously whisking olive oil into mashed garlic until it forms a creamy, thick consistency. Some traditional recipes might also incorporate raw egg yolks to aid in the emulsification process and add richness. However, the world of aioli is vast and diverse, with countless variations existing across different culinary traditions.
In the United States, when people refer to “aioli,” they often mean a flavored mayonnaise. This recipe falls into that category, offering a “cheater’s” or shortcut aioli that delivers all the incredible flavor without the intensive labor of making a full emulsion from scratch. While both traditional aioli and mayonnaise are emulsions, they differ in their primary ingredients and preparation. Mayonnaise typically uses egg yolk as its emulsifying agent, along with neutral oil, lemon juice or vinegar, and seasoning. Our quick garlic aioli cleverly builds upon the stable base of store-bought mayonnaise, infusing it with fresh garlic and a few other simple ingredients to create a delicious and convenient version that’s ready in minutes.
Essential Ingredients for Garlic Aioli
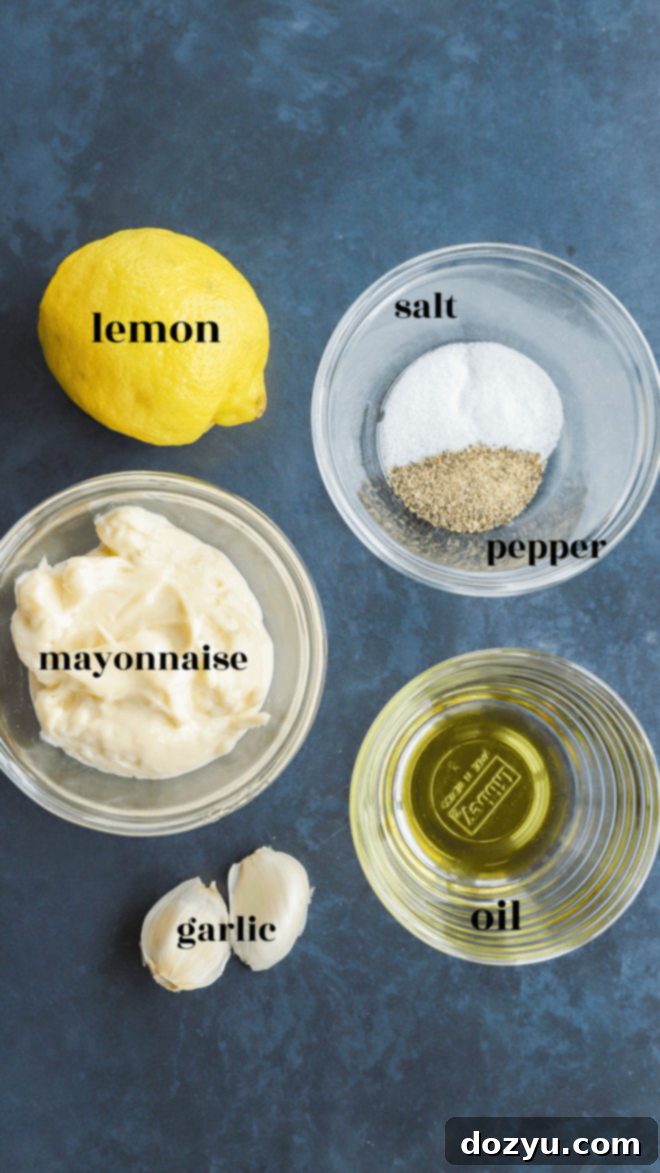
Making delicious homemade garlic aioli doesn’t require a long list of fancy ingredients. In fact, you likely have most of these staples in your pantry and fridge right now. Here’s what you’ll need to create this flavorful sauce:
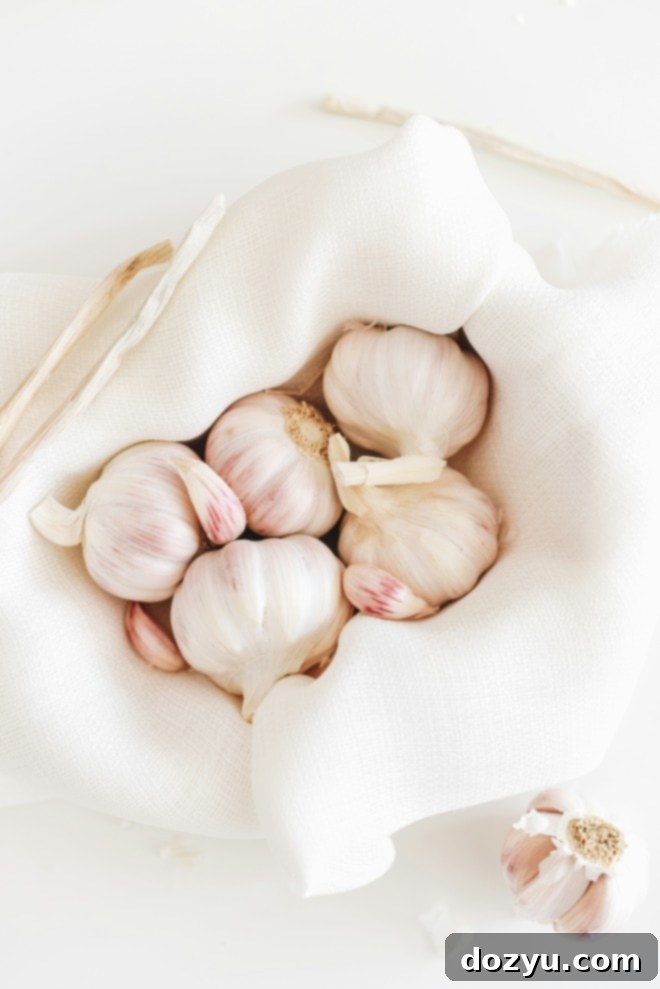
- Garlic: Fresh garlic is non-negotiable for an authentic and vibrant aioli flavor. We recommend starting with two cloves of raw garlic, which provide a balanced garlicky punch. For a milder taste, you can start with one clove, or for a more intense flavor, feel free to add an extra clove. Always opt for fresh cloves over pre-minced jarred garlic for the best results, as the latter can often have a less potent and sometimes slightly metallic flavor.
- Oil: Extra Virgin Olive Oil is our top recommendation here. Its fruity, slightly peppery notes complement the garlic beautifully and add depth to the aioli. However, if you prefer a more neutral flavor or don’t have olive oil on hand, avocado oil, grapeseed oil, or even a good quality vegetable oil can be used. Just remember that the type of oil will influence the final taste.
- Mayonnaise: This is our secret shortcut! Using your favorite store-bought mayonnaise provides an instant creamy base, skipping the need for raw eggs and slow emulsification. Whether you prefer full-fat for maximum richness, low-fat for a lighter option, or even a high-quality vegan mayonnaise to make this recipe plant-based, the choice is yours. You can also elevate this recipe by using your own homemade mayonnaise if you’re feeling adventurous!
- Lemon Juice: Freshly squeezed lemon juice brightens the aioli and cuts through its richness, adding a crucial zesty tang. Always opt for fresh lemon juice over bottled varieties, as the fresh kind offers a much more vibrant and natural flavor that makes a significant difference in the final product.
- Salt: Fine kosher salt is ideal for seasoning this aioli. It dissolves easily and provides a clean, pure salty taste that enhances all the other flavors. Adjust the amount to your personal preference.
- Pepper: Freshly cracked black pepper adds a subtle warmth and aromatic complexity. It’s always best to use freshly cracked pepper from a grinder for the most potent flavor.
Kitchen Tools You’ll Need
Preparing this quick garlic aioli is straightforward and doesn’t require any specialized gadgets. Most of these tools are likely already in your kitchen:
- Chef’s Knife and Cutting Board: Essential for peeling and preparing the garlic cloves. A sharp knife makes the job quick and easy.
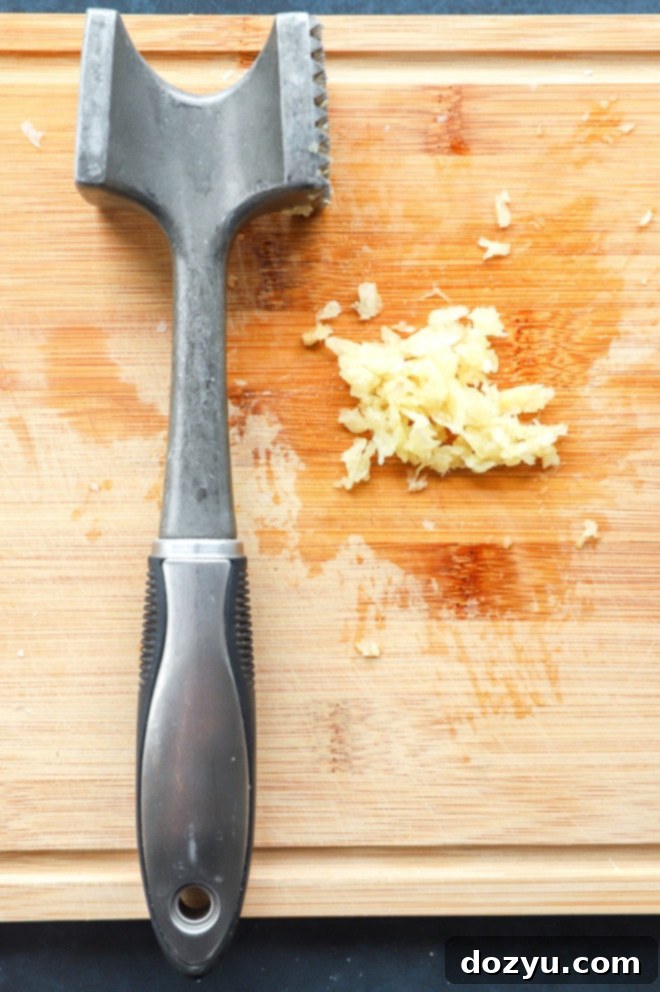
- Tool for Mashing Garlic: To get that potent garlic flavor and creamy texture, you’ll need to mash the garlic well. While a garlic press is a common choice, we often use a meat tenderizer for this task, as its flat, textured surface does an excellent job of crushing the cloves into a fine paste. Alternatively, a mortar and pestle will give you the most traditional and finely mashed garlic, releasing maximum flavor. If you don’t have any of these, simply mincing the garlic very, very finely with your chef’s knife can also work.
- Small Mixing Bowl: A standard small mixing bowl is perfect for combining all the ingredients.
- Whisk: A French wire whisk is ideal for thoroughly blending the ingredients until smooth and uniform. Its design ensures everything is perfectly incorporated, giving your aioli a consistent, creamy texture.
How to Make Quick Garlic Aioli (Step-by-Step)
This garlic aioli recipe truly lives up to its “5-minute” promise. Here’s how you can prepare this flavorful condiment with minimal effort:
Preparing the Garlic
The key to a well-flavored aioli is properly prepared garlic. Begin by taking two fresh garlic cloves from the head. Carefully peel each clove, discarding the papery skin. For optimal flavor release and a smooth texture, you’ll want to mash the garlic into a fine paste. You can achieve this using a fork, a meat tenderizer, or a garlic press. If using a meat tenderizer, place the peeled cloves on your cutting board and gently but firmly press and mash them until they form a soft paste. Alternatively, mince the garlic very, very finely with your chef’s knife until it resembles a paste. The goal is to break down the garlic cells as much as possible to infuse maximum flavor into the aioli.
Mixing for Perfection
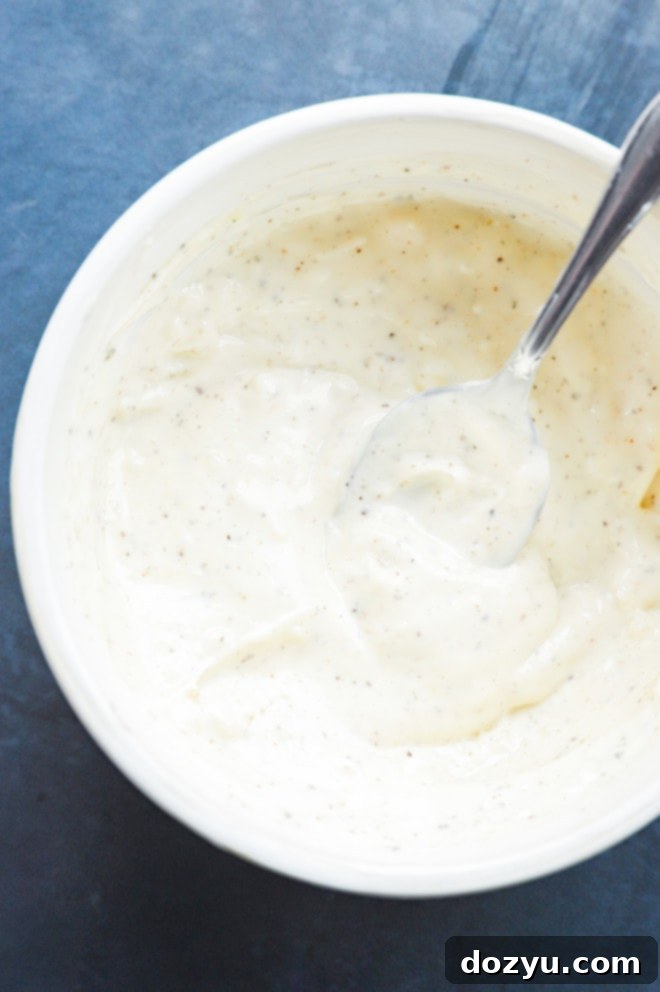
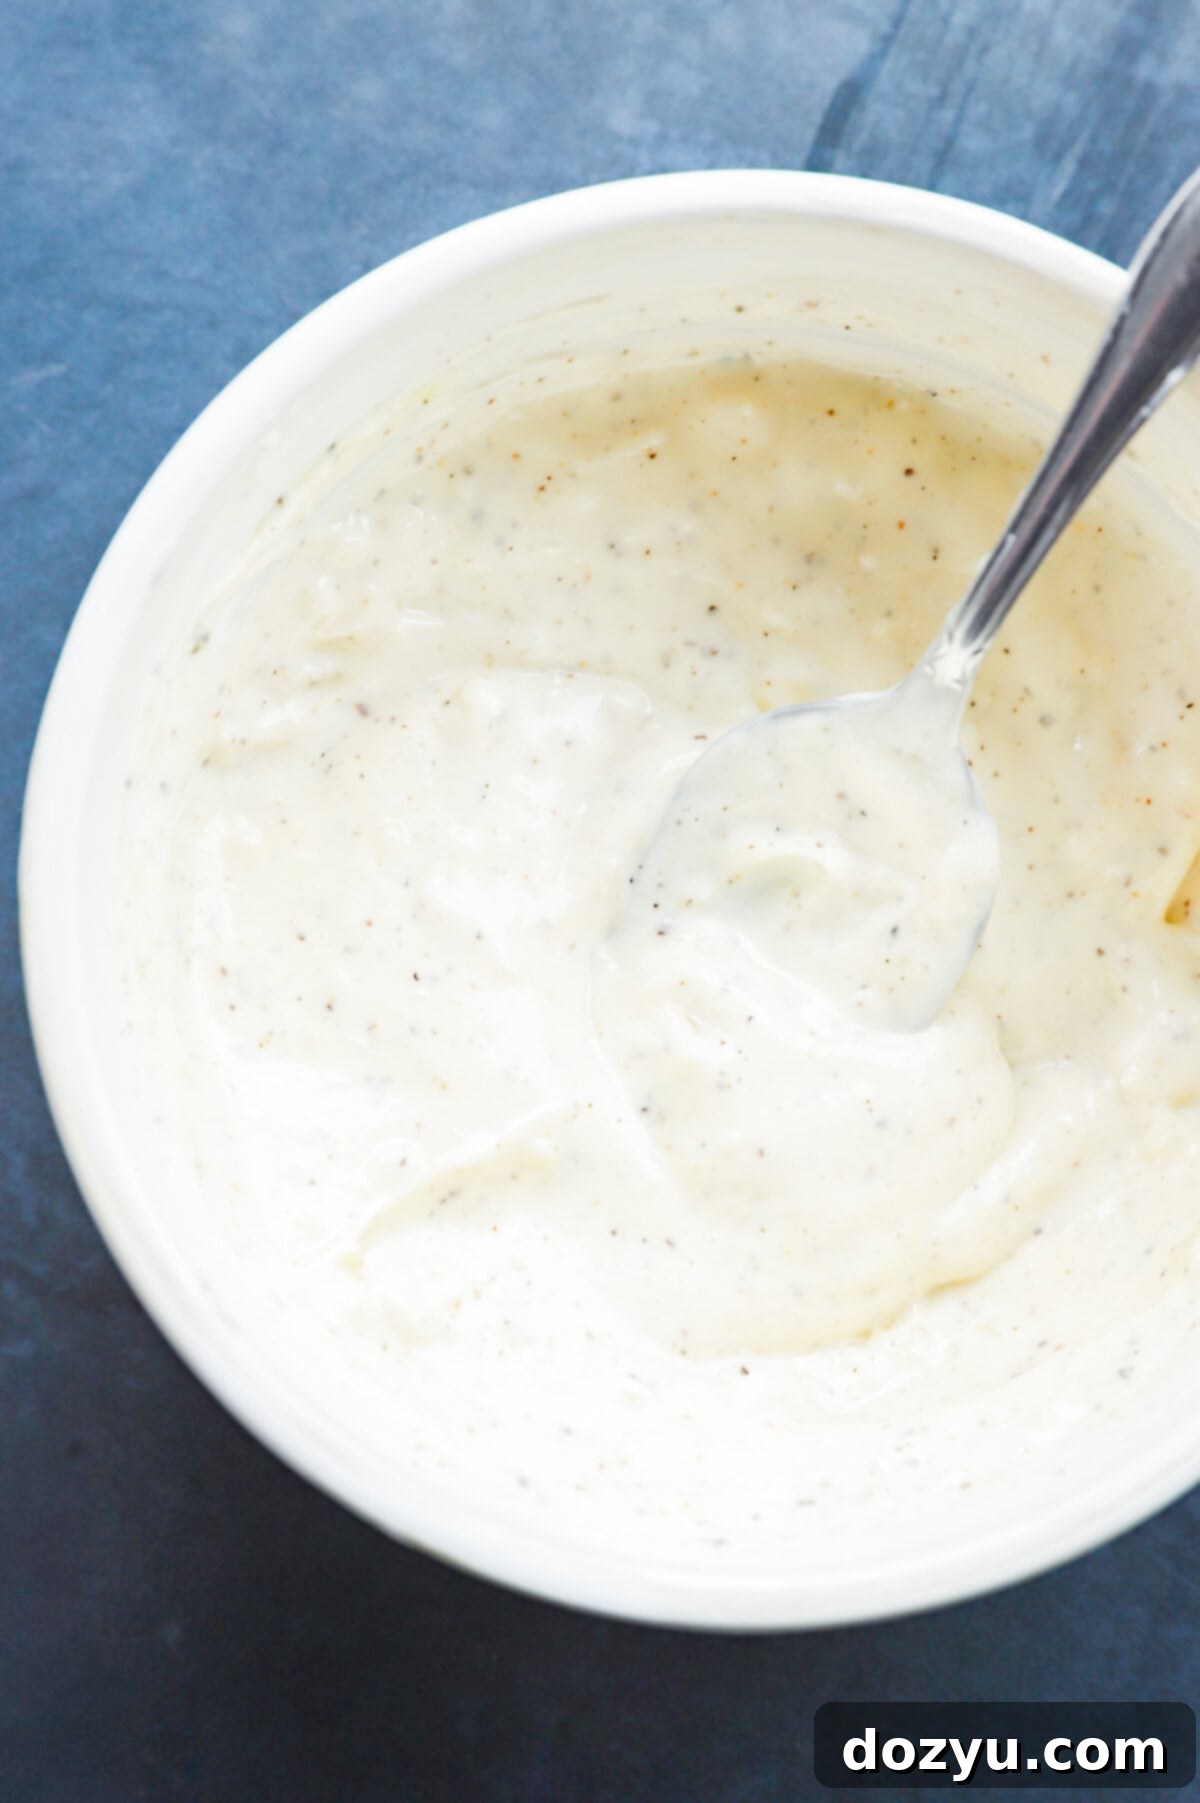
Once your garlic is perfectly mashed, it’s time to bring everything together. In a small mixing bowl, combine the mashed garlic with your chosen mayonnaise, fresh lemon juice, kosher salt, extra virgin olive oil, and freshly cracked black pepper. Take your whisk and thoroughly combine all the ingredients until the mixture is completely smooth and uniform. Ensure there are no lumps of garlic and that the oil and lemon juice are fully incorporated into the mayonnaise base. For the best flavor, cover the bowl and refrigerate the aioli for at least 30 minutes before serving. This crucial chilling period allows the flavors to meld beautifully, softening the raw garlic’s intensity and letting its aromatic essence infuse deeply into the creamy base. The longer it sits, the more developed and delicious it will taste!
Pro Tips for the Best Garlic Aioli
While this recipe is incredibly simple, a few expert tips can elevate your homemade garlic aioli from good to absolutely fantastic:
- Let the Aioli Chill: This is perhaps the most important tip. While you can technically enjoy the aioli immediately, giving it at least 30 minutes (or even a few hours) in the refrigerator allows the flavors to truly meld and deepen. The raw garlic’s sharp edge mellows, transforming into a more rounded, aromatic, and integrated flavor within the creamy base. Plan ahead for maximum deliciousness!
- Adjust the Seasoning to Your Liking: Taste is subjective, so don’t be afraid to adjust the flavors! If you crave a more intense garlic flavor, mash in an additional clove. For a brighter kick, add a splash more lemon juice. Need a bit more zing? A touch more salt and pepper can make all the difference. For those who love a little heat, a pinch of cayenne pepper or red pepper flakes can add a wonderful, subtle warmth without overpowering the garlic.
- Use Fresh Herbs for Extra Zing: Incorporating fresh herbs can add another layer of complexity and freshness to your aioli. Finely chopped chives, rosemary, or oregano are excellent choices. Dill or parsley can also be delightful. Stir them in just before serving for a pop of color and herbaceous aroma.
- Start with Quality Mayonnaise: Since mayonnaise forms the base of this shortcut aioli, the quality of your mayonnaise truly matters. A good quality, full-flavored mayonnaise will yield a superior aioli.
- Consider Using a Food Processor for Ultra-Smoothness: If you desire an absolutely silky-smooth aioli and want to ensure the garlic is perfectly pulverized, a mini food processor or immersion blender can work wonders. Simply combine all ingredients and blend until smooth.
Looking for more tasty dips to try out? Explore these fantastic options: Spinach and Artichoke Goat Cheese Dip | Spicy Lasagna Dip | Avocado Chimichurri Salsa | Veggie Guacamole
FAQ About Homemade Garlic Aioli
Isn’t Raw Garlic Too Strong in Aioli?
It’s a common concern, but in this recipe, the raw garlic flavor isn’t overpowering at all! We use just two cloves, which provides a robust yet balanced garlicky essence that’s incredibly appealing. The key is allowing the aioli to chill in the refrigerator for at least 30 minutes. This resting period gives the raw garlic time to mellow and infuse its flavor into the mayonnaise, resulting in a smooth, aromatic aioli without an aggressive bite. If you’re particularly sensitive to raw garlic, you can certainly start with just one clove and taste before adding more. Our best advice is to follow the recipe as written, then taste and adjust with more garlic, lemon juice, salt, or pepper as desired to perfectly suit your palate.
How Long Does Homemade Garlic Aioli Last?
Thanks to its mayonnaise base, this garlic aioli has a surprisingly good shelf life. When stored in an airtight container in the refrigerator, it will stay fresh and delicious for up to 2 weeks. However, in most homes (including ours!), it rarely lasts that long because it’s so versatile and enjoyable that it gets used up quickly on just about everything!
Is This Mayonnaise-Based Aioli Safe to Eat?
Absolutely, yes! If you have concerns about consuming raw egg (for example, if you are pregnant, elderly, or have a compromised immune system), this shortcut version of garlic aioli is completely safe. Traditional aioli often uses raw egg yolks, but by using commercial mayonnaise as our base, we bypass this concern entirely. Commercial mayonnaise is typically made with pasteurized eggs, making it safe for everyone to enjoy without worry.
Should I Use a Garlic Press for Aioli?
You absolutely can use a garlic press if you have one! A garlic press is an excellent tool for quickly mincing garlic into a very fine consistency, which is perfect for aioli as it ensures the garlic flavor is well distributed and smooth. However, it’s not strictly necessary. As mentioned in the “Must-Haves” section, I often find a meat tenderizer or even just a fork can effectively mash the cloves into a paste. The goal is to get the garlic as finely mashed or minced as possible to release its essential oils and integrate smoothly into the creamy base, regardless of the tool you use.
Exciting Variations of Garlic Aioli
While classic garlic aioli is undeniably delicious, there are many ways to customize and enhance its flavor. One popular variation is roasted garlic aioli, which involves roasting the garlic cloves until soft and caramelized before mashing them into the mayonnaise. This process transforms the garlic’s sharp, pungent flavor into a milder, sweeter, and more complex aroma, resulting in a wonderfully rich and mellow aioli. Other creative additions include stirring in a dash of sriracha or hot sauce for a spicy kick, a spoonful of sun-dried tomato paste for an umami boost, or a blend of your favorite fresh herbs like basil or cilantro for an herbaceous twist. Don’t be afraid to experiment and find your perfect aioli!
Need some inspiration for crispy snacks and appetizers? Check out my appetizers recipe page for more delicious ideas!

What to Serve with Garlic Aioli: Endless Possibilities
The beauty of homemade garlic aioli lies in its incredible versatility. Once you have a batch ready, you’ll find countless ways to incorporate its creamy, garlicky goodness into your meals. It truly is an essential condiment that can transform almost any dish:
- As a Delicious Spread: Forget plain mayonnaise or mustard! Garlic aioli makes an unbelievably flavorful spread for sandwiches, wraps, and burgers. Try it on a grilled salmon sandwich, slather it on your favorite juicy beef burger, or even use it to elevate a simple turkey and avocado wrap. Its bold flavor adds an instant gourmet touch.
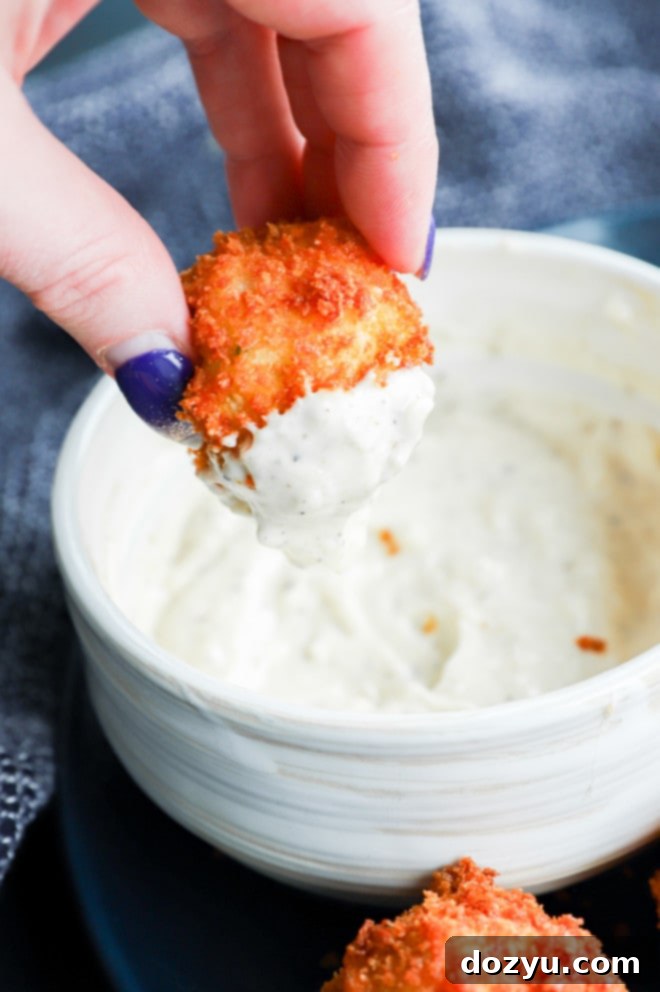
- The Ultimate Dipping Sauce: This creamy and savory aioli is a dream come true for dipping. It’s my absolute favorite for classic crispy French fries, but don’t stop there! It pairs perfectly with onion rings, potato cheese balls, cheese corn balls, cheese croquettes, and even kettle chips. For a healthier option, serve it alongside a platter of fresh crudités like carrot sticks, cucumber slices, and bell pepper strips. Its rich texture beautifully complements the crunch of fried foods and the freshness of vegetables.
- Enhance Your Proteins: Elevate your main courses by serving garlic aioli alongside your favorite proteins. It’s fantastic with baked salmon, adding a bright, zesty finish. Spoon it over smoked chicken for an extra layer of flavor, or pair it with grilled steak for a luxurious touch that replaces traditional butter or sour cream. Essentially, anything that benefits from a hint of garlic will be perfectly complemented by this sauce – think roasted vegetables, fried fish, or even scrambled eggs!
- A Twist on Classics: Use it as a dollop on top of mashed potato fritters instead of sour cream for a burst of unexpected flavor. Stir it into mashed potatoes or whisk it into deviled eggs for a garlicky upgrade.
Proper Storage for Your Aioli
Store. To maintain the freshness and flavor of your homemade garlic aioli, always transfer it to an airtight container immediately after preparation. A glass container with a tight-fitting lid is ideal, as it prevents any garlic odors from transferring to other foods in your refrigerator. Store the aioli in the refrigerator, and it will remain delicious and safe to consume for up to 2 weeks. Remember, the flavors will continue to deepen and meld over time, often tasting even better on the second or third day!
More Delicious Sauces to Explore
If you’ve fallen in love with this quick garlic aioli, get ready to explore a world of other incredible sauces and condiments. Each one offers a unique flavor profile to elevate your culinary creations:
- For a delightful twist on our classic, try making roasted garlic aioli, which brings a sweeter, more mellow garlic flavor.
- If you’re looking for the ultimate burger or BLT accompaniment, our bacon aioli is a must-try with its smoky, savory notes.
- Add a taste of summer to your grilled dishes with this finger-licking good bourbon peach BBQ sauce – perfect for wings or ribs!
- Craving that famous restaurant flavor? This bang bang shrimp sauce is the BEST copycat recipe for shrimp, chicken, and more!
- For those who enjoy a bit of heat and smoky depth, our spicy chipotle aioli offers an addictive kick that pairs well with almost anything.
Finally, if you make this fantastic garlic aioli sauce recipe, please be sure to give this recipe a star rating on the recipe card below and/or leave a comment! I absolutely love hearing about your culinary successes and genuinely take the time to respond to every single comment. Your feedback truly means the world to me.
And don’t hesitate to drop any questions you might have in the comments section below – I’m here to help!
Oh, and be sure to tag me on Instagram if you make the recipe! Seeing these delicious creations come to life in your homes is my favorite part of sharing recipes. Thank you for being a part of this community!
Garlic Aioli Recipe Card
Equipment
-
Measuring Cups
-
Measuring Spoons
-
French Wire Whisk
-
Mixing Bowls
Ingredients
- 1/2 cup mayonnaise
- 2 cloves garlic mashed
- 1 Tbsp freshly squeezed lemon juice
- 1/4 tsp fine kosher salt
- 2 tsp extra virgin olive oil
- 1/4 tsp freshly cracked black pepper
Instructions
-
Whisk together all ingredients in a bowl until well combined and smooth.
-
Cover and place in the refrigerator for at least 30 minutes before enjoying to allow the flavors to meld together.
-
Store in an airtight container in the refrigerator for up to 2 weeks.
