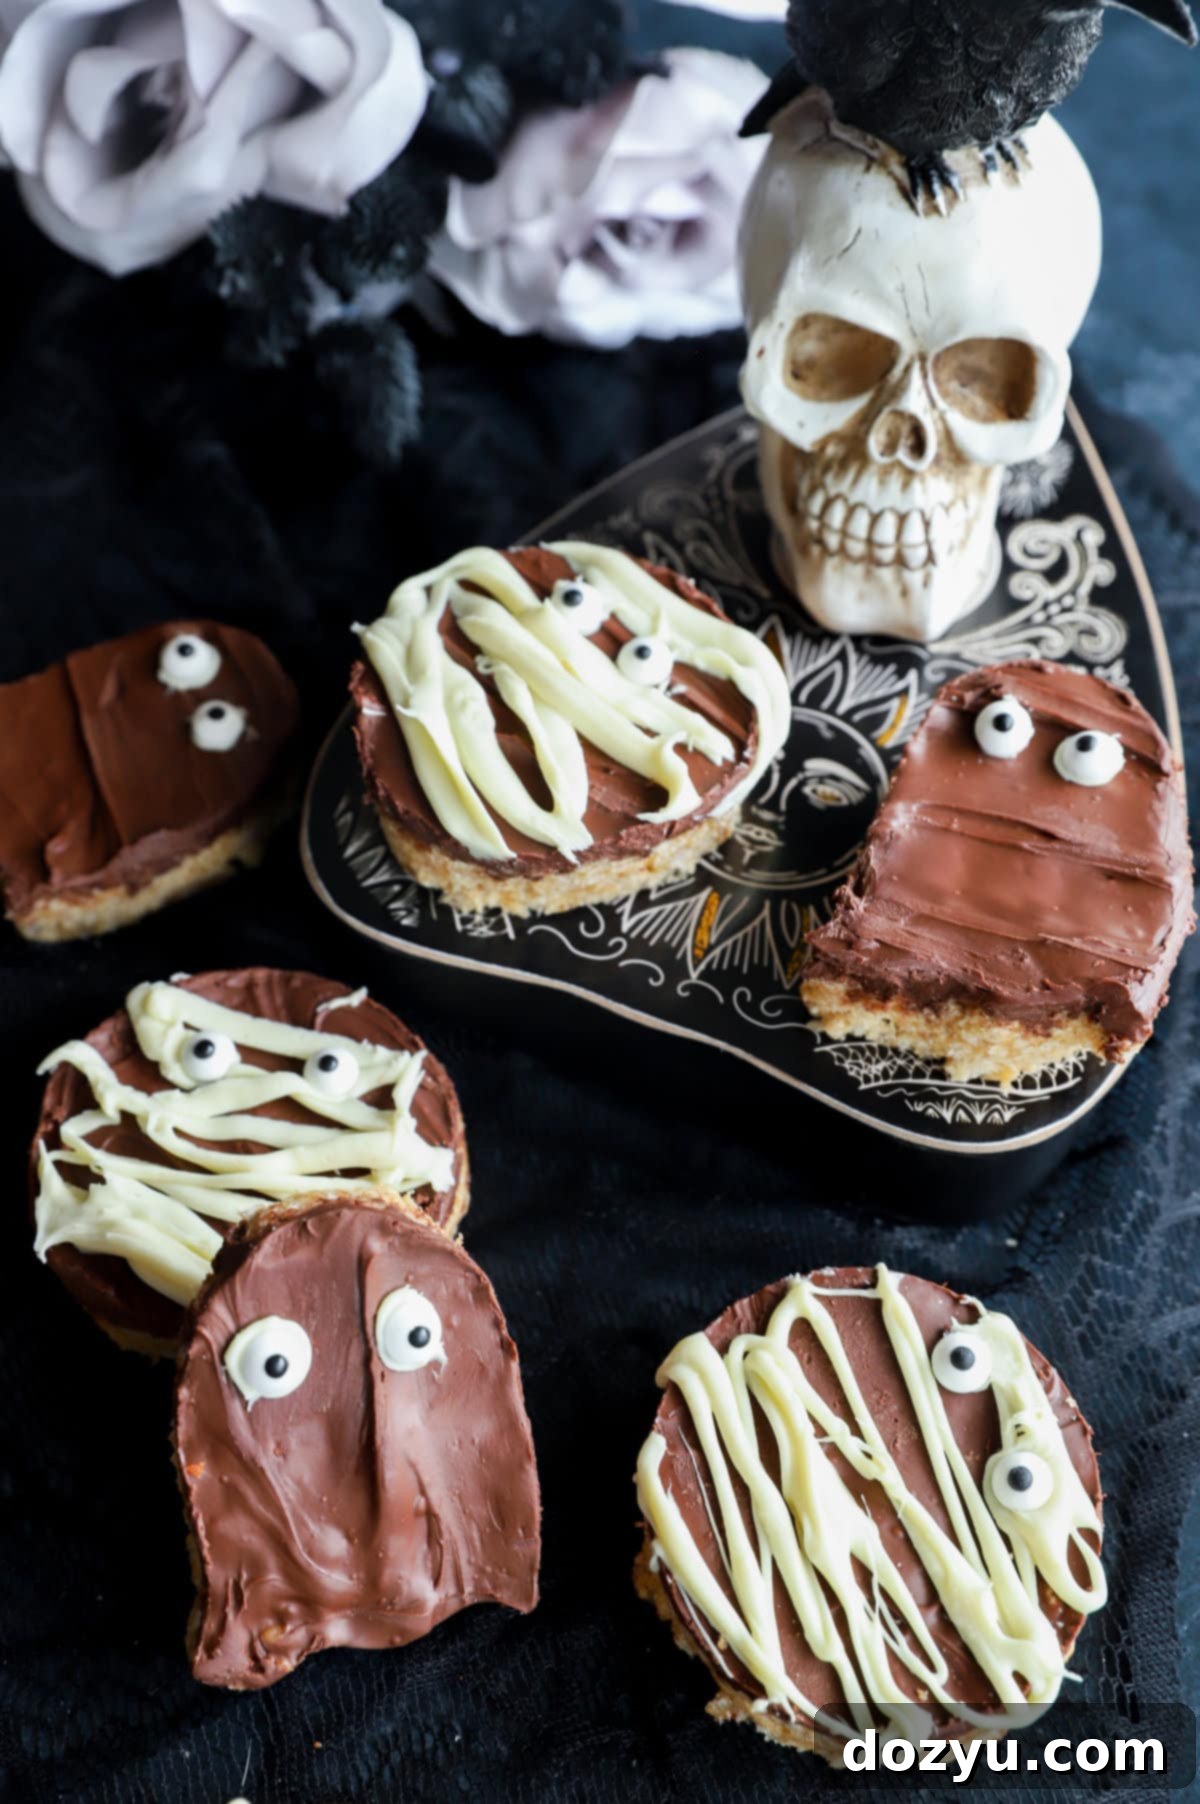
Spooky Chocolate Peanut Butter Rice Krispie Treats: The Ultimate No-Bake Halloween Delight
Prepare for a hauntingly delicious experience with these Spooky Chocolate Peanut Butter Rice Krispie Treats! A delightful Halloween confection that comes together with just 6 simple ingredients, this no-bake recipe is incredibly easy for anyone to whip up. It’s a fantastic project to involve the entire family in, from mixing to decorating. Let your imagination run wild as you transform these treats into adorable mummies, ghoulish ghosts, or any other creative spooky shapes your heart desires. This classic combination of rich chocolate and creamy peanut butter, paired with crispy rice cereal, is destined to be a crowd-pleaser at your next Halloween gathering!
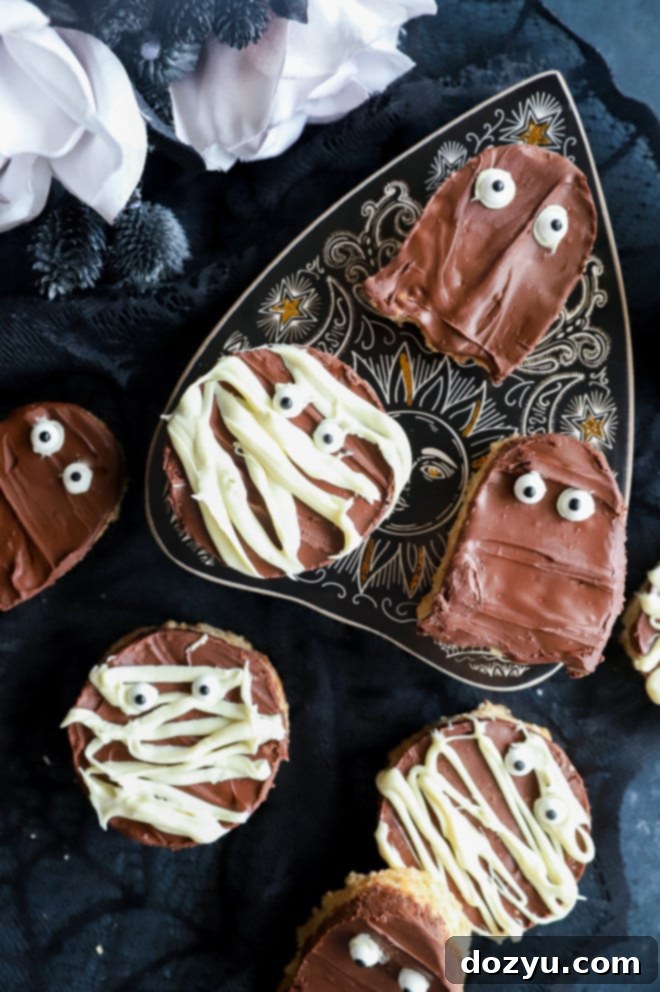
table of contents
Toggle
About These Spooky Chocolate Peanut Butter Rice Krispie Treats
There’s something incredibly nostalgic about Rice Krispie treats, and these particular chocolate peanut butter variations transport me straight back to my childhood. While my family leaned more towards buckeyes, these delightful bars were a staple at my best friend’s house during elementary school, and I absolutely adored them. It’s a flavor combination that’s truly hard to beat, offering that perfect balance of sweet and salty, combined with a satisfying crunch and gooey texture in every single bite.
What makes these treats truly special is their delightful medley of textures and flavors. You get the irresistible crunch from the crispy rice cereal, the comforting sweetness of melted marshmallows, and the rich, creamy goodness of peanut butter, all crowned with a smooth layer of chocolate. It’s a symphony for your taste buds! Plus, as a no-bake dessert, they’re incredibly convenient, especially when you need a quick yet impressive treat.
While these chocolate peanut butter Rice Krispie treats are fantastic any time of year, transforming them into a spooky Halloween delight adds an extra layer of fun. The simple bar shape makes them incredibly versatile for cutting into various festive forms. Whether you’re planning a Halloween party, looking for a fun activity with the kids, or simply want a themed snack, these treats offer endless possibilities for creative decoration. They are a beloved classic elevated with a festive twist, sure to become a cherished part of your holiday traditions.
Essential Ingredients for Your Halloween Treats
Making these scrumptious Spooky Chocolate Peanut Butter Rice Krispie Treats requires just a handful of basic ingredients, each playing a crucial role in achieving that perfect taste and texture. Here’s a closer look at what you’ll need:
- Unsalted Butter: The foundation of our gooey base. Using unsalted butter is crucial because it allows you to control the overall saltiness of the treats. Salted butter can easily overpower the delicate balance of sweet and nutty flavors, leading to a less desirable outcome.
- Mini Marshmallows: These are the magical binder that brings everything together! Mini marshmallows melt more evenly and quickly than large marshmallows, ensuring a smooth, consistent marshmallow mixture. You’ll need about one 10 oz bag, which typically equates to around 5 cups. Fresh marshmallows are key for the best soft and gooey texture.
- Creamy Peanut Butter: For the iconic peanut butter flavor and smooth texture, creamy, stir-free peanut butter is highly recommended. Brands like Jif or Skippy work wonderfully. Natural peanut butter often separates and can make the bars oily or prevent them from setting properly, while chunky peanut butter can disrupt the smooth, chewy consistency. If you have a peanut allergy, feel free to substitute with other creamy nut butters like almond butter or cashew butter, or even a seed butter like sunflower seed butter.
- Rice Krispie Cereal (Crispy Rice Cereal): The star of the show, providing that signature crispy texture. You can opt for the classic Kellogg’s Rice Krispies brand or choose any generic crispy rice cereal. Just ensure it’s fresh and crunchy for the best results. The crispiness is what gives these treats their satisfying bite.
- Chocolate Chips: For the luscious top layer! I typically use semi-sweet chocolate chips, as they offer a balanced sweetness that complements the peanut butter. However, you have the flexibility to use milk chocolate chips for a sweeter profile or dark chocolate chips for a richer, more intense chocolate experience.
- Vegetable Oil: A small amount of vegetable oil is essential for achieving a smooth, glossy, and easily spreadable chocolate topping. It helps the chocolate melt smoothly and prevents it from becoming too stiff, allowing for an even coat over your treats.
- Optional Decorations: For the “spooky” element! Think mini marshmallows for texture, candy eyes to bring your mummies and ghosts to life, and extra melted white chocolate for drizzling and creating eerie patterns. Food coloring can also be used to tint white chocolate for more vibrant designs.
Tools You’ll Need for This Recipe
One of the best things about making these Spooky Chocolate Peanut Butter Rice Krispie Treats is that they don’t require any fancy kitchen gadgets. You likely already have most of these basic tools on hand, making this a truly accessible recipe for any home baker:
- Large Saucepan: This is where you’ll create the magical marshmallow and peanut butter base. A large, heavy-bottomed saucepan is ideal for even heat distribution, preventing the mixture from scorching.
- Largest Mixing Bowl: You’ll need ample space to combine the melted marshmallow mixture with the crispy rice cereal. A large bowl ensures you can stir everything thoroughly without making a mess.
- Silicone Spatula: Indispensable for stirring the sticky marshmallow mixture and for pressing the treats into the pan. A silicone spatula is perfect because it’s heat-resistant and non-stick, making clean-up a breeze, especially if you give it a light spray with cooking oil beforehand.
- 9×13-inch Baking Pan: The perfect size for creating a standard batch of these treats, allowing for a good thickness. Be sure to grease it well to prevent sticking.
- Measuring Cups and Spoons: Essential for accurately measuring out your ingredients, ensuring consistent results every time.
- Microwave-Safe Bowl: For melting your chocolate chips quickly and efficiently.
- Spooky Cookie Cutters: (Optional, but highly recommended for the “spooky” theme!) These are crucial for cutting your bars into fun Halloween shapes like ghosts, bats, pumpkins, or even simple circles that you can then decorate as mummies or monster eyeballs.
Having these simple tools ready before you start will make the entire process smooth and enjoyable, leading to delicious and perfectly formed Halloween treats!
Step-by-Step Guide to Making Chocolate Peanut Butter Rice Krispie Treats
Creating these delightful chocolate peanut butter Rice Krispie treats is a straightforward and enjoyable process. Follow these simple steps to ensure perfect, gooey, and crunchy results every time:
Melt the Base
Begin by preparing your marshmallow-peanut butter base. In a large saucepan, set over low heat, combine the unsalted butter, creamy peanut butter, and mini marshmallows. Stir the mixture gently and continuously until all the ingredients are fully melted and smoothly incorporated. Patience is key here; using low heat prevents the marshmallows from burning, which can result in hard, brittle treats. A perfectly melted base will be glossy and uniform.
Combine and Press
Once your marshmallow mixture is ready, lightly grease a large mixing bowl with cooking spray to prevent sticking. Add the 6 cups of Rice Krispie cereal to this bowl. Pour the warm, melted marshmallow mixture over the cereal. Using a spatula (which you can also lightly spray with cooking spray to minimize stickiness), gently fold and stir until the cereal is evenly coated. Next, press this combined mixture firmly into a greased 9×13-inch pan or baking dish, ensuring an even layer across the bottom. Don’t press too hard, or your treats might become overly dense.
Add the Chocolate Topping
Now for the decadent chocolate layer! Place your chosen chocolate chips (semi-sweet, milk, or dark) into a medium-sized microwave-safe bowl. Microwave in 45-second intervals, stirring thoroughly after each burst, until the chocolate is completely melted and smooth. Alternatively, you can use a double boiler method for a more controlled melt. Once melted, stir in the vegetable oil until it’s fully incorporated and the chocolate is glossy. Carefully pour this chocolate mixture over the pressed Rice Krispie bars, using your spatula to gently smooth it into an even layer.
Chill and Decorate
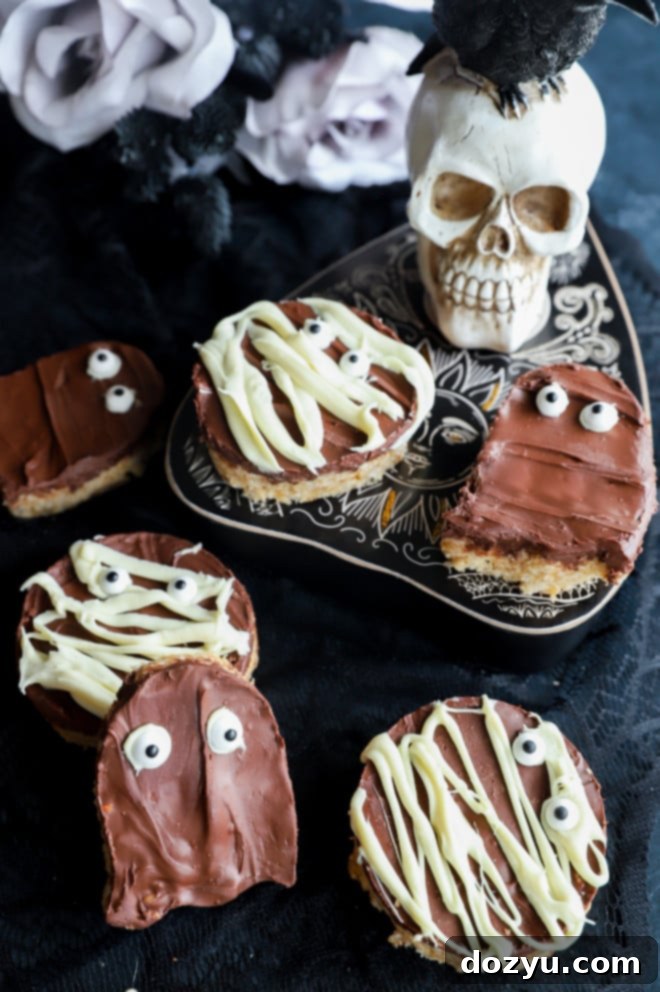
To set the chocolate, place the pan in the refrigerator for about 30 minutes. The goal is for the chocolate to be set but not overly hardened, making it easier to cut. Once firm, remove the pan and cut the treats into desired shapes using a sharp knife or festive cookie cutters. Now comes the fun part: decorating! Add candy eyes, drizzle with white chocolate to create mummy wraps or ghostly features, or sprinkle with spooky edible glitter. Store your beautifully decorated treats in an airtight container at room temperature to maintain their perfect texture.
Pro Tips for Perfect Rice Krispie Treats
Achieving the perfect balance of gooey, crispy, and firm in your Rice Krispie treats can be tricky, but with a few expert tips, you’ll master them in no time:
- Avoid Refrigerating for Too Long: While a brief chill helps set the chocolate, storing the finished treats in the refrigerator for extended periods is a common mistake. Cold temperatures cause Rice Krispie treats to harden excessively, making them tough and difficult to eat. Always store them at room temperature for optimal chewiness and flavor.
- Mind the Marshmallow Melt: The key to ideal texture lies in how you melt your marshmallows. Melt them slowly over a very low heat. High heat can cause the sugar in the marshmallows to crystallize or burn, leading to treats that are too hard and brittle. Stir constantly and gently until just melted and smooth. If your marshmallows are old or stale, they might also contribute to a harder treat, so always use fresh ones.
- Press, Don’t Pack, Too Firmly: When pressing the cereal mixture into the pan, aim for firm but gentle pressure. Over-packing the mixture can result in very dense, hard treats. You want them compressed enough to hold their shape, but still with a light, airy quality that makes them pleasantly chewy. Greasing your hands or the back of your spatula can help you press without excessive sticking.
- Don’t Over-Mix the Cereal: Once the marshmallow mixture is poured over the cereal, mix just until the cereal is evenly coated. Over-mixing can crush the delicate rice crispies, leading to a less satisfying crunch.
- Prepare Your Pan: Always grease your baking pan thoroughly with butter or cooking spray. You can also line it with parchment paper, leaving an overhang on the sides, to make lifting the entire slab out for cutting much easier. This ensures your treats won’t stick and can be removed cleanly.
- Quality Ingredients Matter: While simple, the quality of your ingredients can impact the final taste. Use fresh marshmallows, good quality peanut butter (creamy, non-natural), and your favorite brand of crispy rice cereal for the best flavor and texture.
Looking for more tasty Halloween treats? Check out these other festive ideas: Peanut Butter Oatmeal Chocolate Chip Cookies | Halloween Cheesecake Brownies | Spooky Halloween Meringue Swirls | Peanut Butter Spiderweb Cookies | Candy Apple Slices
Can You Use Natural or Chunky Peanut Butter in This Recipe?
When it comes to making these chocolate peanut butter Rice Krispie treats, the type of peanut butter you use can significantly impact the final texture and consistency. For the best results, I strongly recommend sticking with a smooth, creamy, and processed peanut butter, like Jif or Skippy.
Natural peanut butter is generally not recommended for this recipe. The primary reason is that natural peanut butter tends to separate more readily, with its oils rising to the top. This separation can lead to an oily, greasy base that prevents the treats from binding properly and hardening as they should. You might end up with a crumbly mess rather than a firm, cohesive bar. While some natural peanut butter brands are less prone to separation, it’s a risk that can easily be avoided by using a classic creamy variety.
As for chunky peanut butter, you *can* use it, but I personally advise against it. The chunky bits, while delicious in other applications, can interfere with the smooth, chewy texture that is characteristic of a great Rice Krispie treat. The little pieces of peanuts can make the treats feel disjointed and less uniform in bite. If you prefer a smoother, more classic Rice Krispie treat experience, creamy peanut butter is the way to go. However, if you genuinely enjoy a bit of extra crunch and don’t mind a slightly different mouthfeel, feel free to experiment. Just be aware that it will alter the traditional texture.
For those with peanut allergies, remember that you can easily substitute creamy almond butter, cashew butter, or even a smooth sunflower seed butter (like SunButter) to create a similar, allergy-friendly version of this delicious dessert.
Creative Ways to Decorate Your Spooky Treats
The “spooky” element of these treats is where the real fun begins! Once your chocolate peanut butter Rice Krispie bars have set, it’s time to unleash your inner artist and transform them into festive Halloween creations. Here are some fun decorating ideas to inspire you:
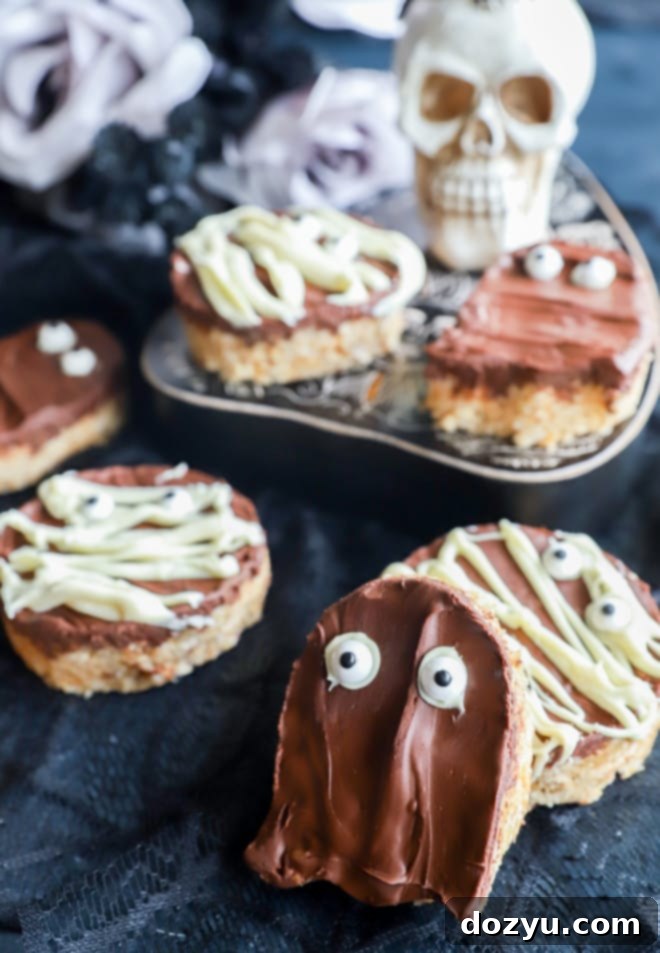
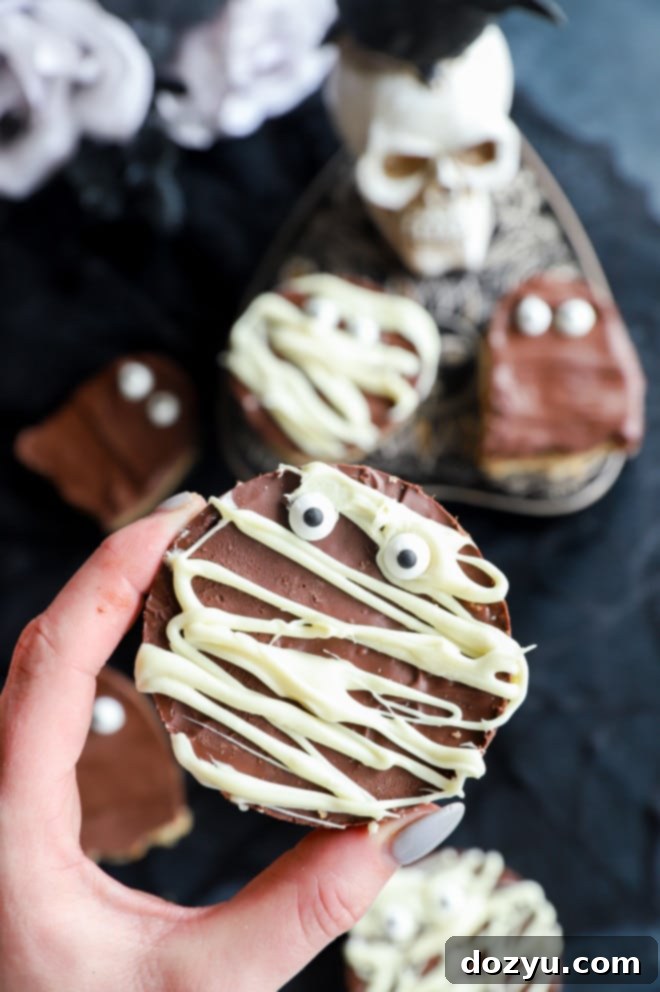
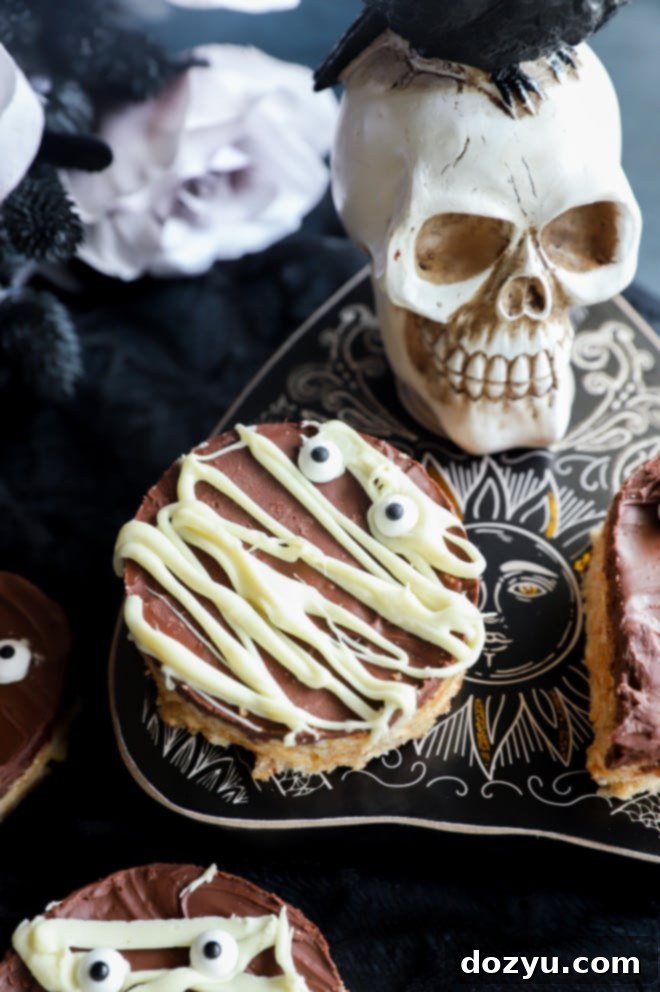
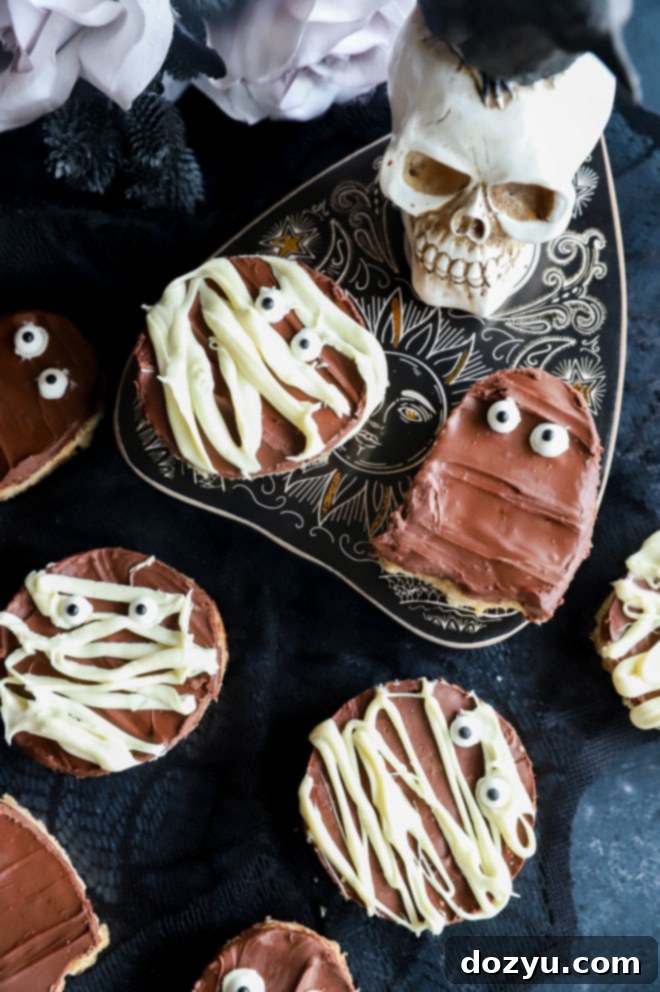
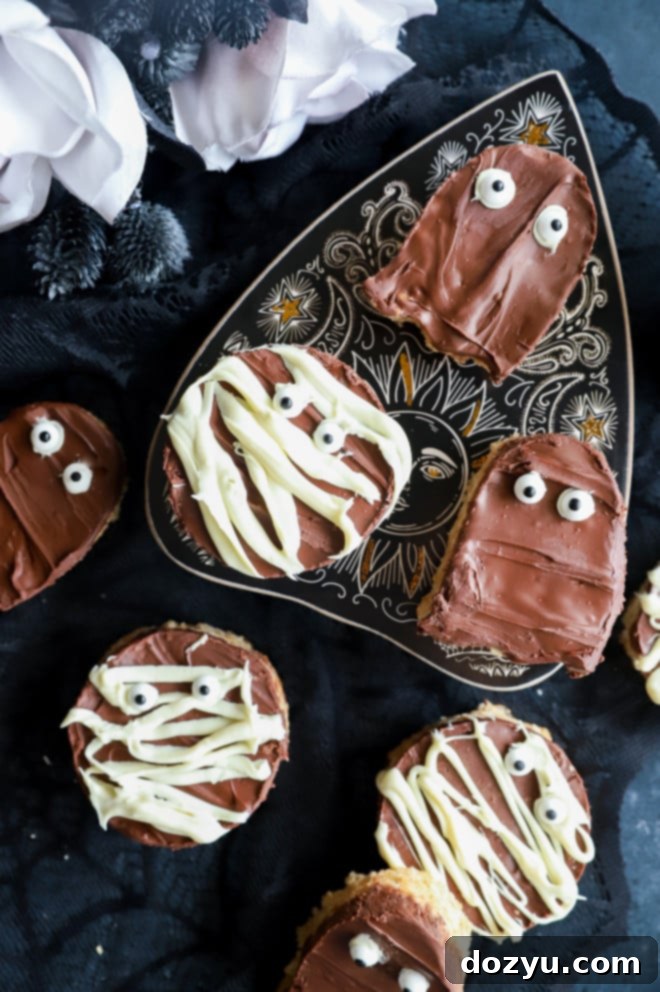
- Mummy Treats: After cutting your treats into rectangles or circles, melt some white chocolate (or white candy melts). Drizzle the melted white chocolate in random, crisscrossing strips over the treats to mimic mummy bandages. Before the chocolate sets, carefully place two small candy eyes near the top to give your mummies a spooky gaze.
- Ghostly Shapes: Use a ghost-shaped cookie cutter to cut out your treats. Melt a small amount of white chocolate and dab two small dots onto each ghost for eyes. For an extra touch, you can even draw a simple mouth with an edible food marker once the chocolate eyes have set.
- Monster Eyeball Bites: If you’re looking for something quick and quirky, simply cut your treats into squares or circles. Melt white chocolate and add a drop of green, blue, or red food coloring to create vibrant “eyeball” colors. Drizzle this colored chocolate all over the treats in abstract patterns, then press candy eyes of various sizes onto the still-wet chocolate. The more eyes, the merrier and spookier!
- Spiderweb Design: Cut your treats into squares. Top with the melted chocolate and smooth it out. While the chocolate is still wet, pipe concentric circles of melted white chocolate onto the dark chocolate. Use a toothpick to drag lines from the center outwards, creating a classic spiderweb effect. You can even add a small plastic spider for extra creepiness!
- Pumpkin Patches: Use pumpkin-shaped cookie cutters. Once cut, you can use orange candy melts or white chocolate mixed with orange food coloring to coat the tops. Use green frosting or an edible marker for the stem and a simple facial expression.
- Bat Silhouettes: Use a bat-shaped cookie cutter. After cutting, you can leave them as is or drizzle with a contrasting color chocolate (like white) to highlight the shape.
Don’t be afraid to experiment with different colored candy melts, sprinkles, and edible glitters to truly personalize your spooky masterpieces. Involving kids in the decorating process is a fantastic way to make this recipe even more enjoyable and memorable for Halloween!
How Long Do Chocolate Peanut Butter Rice Krispie Treats Last?
These delightful chocolate peanut butter Rice Krispie treats are best enjoyed fresh, but they do have a decent shelf life if stored properly. To maintain their delicious texture and flavor, it’s crucial to follow a few simple storage guidelines.
When kept in an airtight container at room temperature, these treats will remain fresh and wonderfully chewy for up to 3 days. The airtight container is important to protect them from air exposure, which can cause the cereal to become stale and the treats to harden prematurely. Avoid placing them in direct sunlight or near heat sources, as this can cause the chocolate topping to melt or become sticky.
As discussed earlier, it’s not recommended to store these treats in the refrigerator. The cold temperature will cause the marshmallow and peanut butter base to become very firm and less enjoyable to eat. The chocolate topping will also harden significantly, potentially cracking when bitten into.
If you’ve made a large batch or want to prepare them in advance, freezing is a great option. For best freezing results and instructions, refer to the detailed storage section below.
Need some more inspiration for Halloween? Check out my Halloween recipes page for a variety of spooky delights!
Pairing Suggestions for Your Halloween Spread
These Spooky Chocolate Peanut Butter Rice Krispie Treats are the perfect addition to any Halloween celebration, but why stop there? Creating a full festive spread will make your party unforgettable. Here are some fantastic food and drink pairings that will complement your delicious treats and truly embrace the spirit of the season:
- Spooky Appetizers: Start your ghoulish feast with some savory bites. These chorizo jalapeño mummy poppers are both fun and flavorful, offering a slight kick that balances the sweetness of your desserts. Another great option could be “spider web” guacamole with blue corn tortilla chips or a “witch’s brew” spinach dip served in a cauldron.
- Festive Drinks: No Halloween party is complete without themed beverages! Whip up a batch of bloody sangria Halloween punch – it’s easy, visually striking, and can be made ahead of time. For adult guests looking for something stronger, these vampire bite shots are sure to be a hit. For kid-friendly options, consider a bubbling green punch made with lime sherbet and ginger ale, or “swamp water” (green juice) with gummy worms.
- Simple Snacks: Keep guests munching throughout the night with easy-to-grab snacks. The best roasted pumpkin seeds are a classic autumnal treat that’s both healthy and delicious. You could also offer a “mummy dog” bar (hot dogs wrapped in pastry strips), or a monster-themed fruit platter with fruit cut into spooky shapes and served with a “slime” dip.
- Complementary Desserts: While your Rice Krispie treats are a highlight, a dessert table with variety is always appreciated. Consider adding some Halloween Cheesecake Brownies for a richer option, or fun Peanut Butter Spiderweb Cookies that play into the theme. A spooky fruit pizza or a bowl of candy corn would also round out your sweet offerings perfectly.
By pairing your chocolate peanut butter Rice Krispie treats with a range of themed appetizers, drinks, and other desserts, you’ll create a truly immersive and delicious Halloween experience for all your guests!
Best Storage Methods for Chocolate Peanut Butter Rice Krispie Treats
Proper storage is essential to keep your chocolate peanut butter Rice Krispie treats fresh, chewy, and delicious for as long as possible. Here’s how to store them effectively:
Room Temperature Storage
For immediate enjoyment and the best texture, store these treats at room temperature. Place them in an airtight container. This helps prevent them from drying out and becoming hard. If you’ve cut them into individual shapes, you can layer them with parchment paper or wax paper between layers to prevent them from sticking together. Stored this way, they will stay fresh and soft for up to 3 days. Keep the container in a cool, dry place away from direct sunlight or heat sources.
Freezing for Longer Storage
Yes, these treats can absolutely be frozen! Freezing is an excellent option if you want to make a large batch in advance for a party or save some for later. Here’s how to do it:
- Prepare for Freezing: Once your treats are completely set and cooled, cut them into individual portions or shapes.
- Layer with Wax Paper: Place a piece of wax paper or parchment paper between each treat. This crucial step prevents them from sticking together during freezing, making it easy to grab just one or two at a time.
- Use an Airtight Container or Freezer Bag: Arrange the layered treats in a freezer-safe, airtight container or a heavy-duty freezer bag. Squeeze out as much air as possible from freezer bags to prevent freezer burn.
- Freeze: Freeze for up to 2 months. Beyond this, while still safe to eat, the quality and freshness might start to diminish.
- Thawing: When you’re ready to enjoy them, remove the desired number of treats from the freezer.
- Thaw in the Refrigerator: It’s best to thaw them slowly in the refrigerator first for a few hours.
- Bring to Room Temperature: After thawing in the fridge, let them sit at room temperature for about 30 minutes to an hour before serving. This allows the treats to return to their optimal soft and chewy texture.
Freezing is a fantastic way to enjoy these spooky delights long after Halloween, ensuring you always have a tasty treat on hand!
Finally, if you make these spooky chocolate peanut butter Rice Krispie treats, please be sure to give this recipe a rating or leave a comment! I absolutely love hearing when you all try out my recipes and appreciate you taking the time to share your feedback. Feel free to drop any questions you might have below too, and I’ll do my best to respond promptly!
Oh, and don’t forget to tag me on Instagram if you share photos of your creations! Seeing these recipes come to life in your homes truly means the world to me and is one of my favorite things to look through. Your tags and shares are incredibly encouraging!
Craving More Cereal Treat Recipes?
If you love the simplicity and deliciousness of cereal treats, you’re in luck! There’s a whole world beyond the classic Rice Krispie. Why not try my delightful Golden Grahams Cereal Treats for a graham cracker twist, or dive into the colorful fun of Lucky Charms Cereal Treats for an extra dose of marshmallow magic!
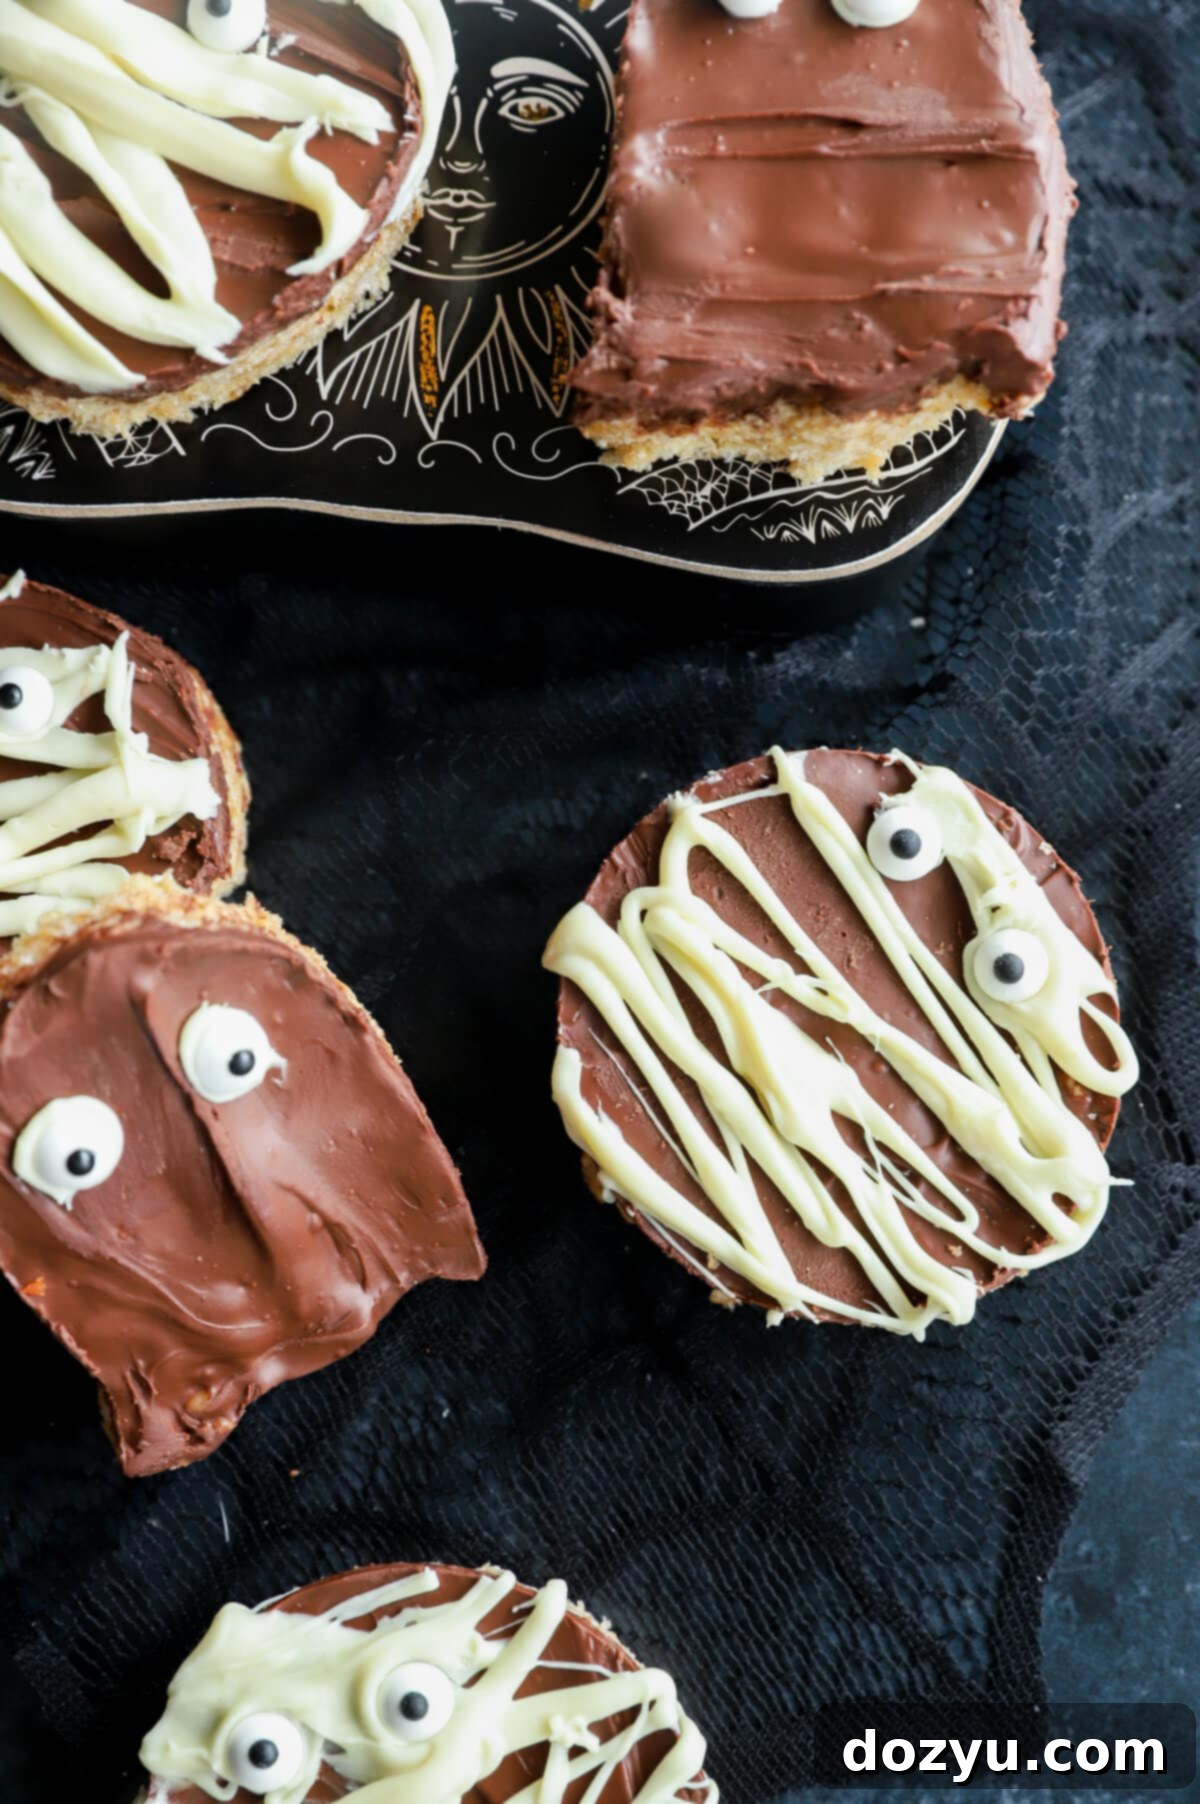
Spooky Chocolate Peanut Butter Rice Krispie Treats
Equipment Needed
-
Large Stainless Steel Sauce Pan
-
Large Stainless Steel Mixing Bowl Set
-
Silicone Spatula
-
9 x 13 inch Cake Pan / Baking Dish
-
Spooky Cookie Cutters
Ingredients List
- 1/4 cup unsalted butter
- One 10 oz bag mini marshmallows (about 5 cups)
- 2/3 cup creamy peanut butter
- 6 cups Rice Krispie cereal
- 8 oz semi-sweet chocolate chips (approx. 1 ⅓ cups; or milk/dark chocolate)
- 2 tsp vegetable oil
- Decorations: mini marshmallows, candy eyes, melted white chocolate (for drizzling)
Detailed Instructions
-
Lightly grease a 9×13-inch baking pan with cooking spray or butter, or line it with parchment paper for easy removal. Set it aside.
-
In a large saucepan, melt the unsalted butter, creamy peanut butter, and mini marshmallows together over low heat. Stir gently and continuously until the mixture is completely smooth and melted. Be careful not to burn the marshmallows, as this can make your treats hard.
-
Grease a separate large bowl with cooking spray, then add the Rice Krispie cereal. Pour the warm, melted marshmallow mixture over the cereal. Using a greased spatula, stir until the cereal is evenly coated. Immediately press the mixture firmly and evenly into the bottom of your prepared 9×13-inch pan. Set aside.
-
Add the chocolate chips to a medium-sized microwave-safe bowl. Microwave in 45-second intervals, stirring well after each burst, until the chocolate is fully melted and smooth. Once melted, stir in the vegetable oil until combined. Pour this glossy chocolate mixture over the pressed Rice Krispie bars and use a spatula to spread it into an even top layer.
-
Place the pan in the refrigerator for about 30 minutes to allow the chocolate topping to set, but not completely harden. This makes cutting easier. Once set, cut the treats into desired shapes (squares, circles, or spooky shapes with cookie cutters) and decorate as creatively as you like. Store finished treats in an airtight container at room temperature.
