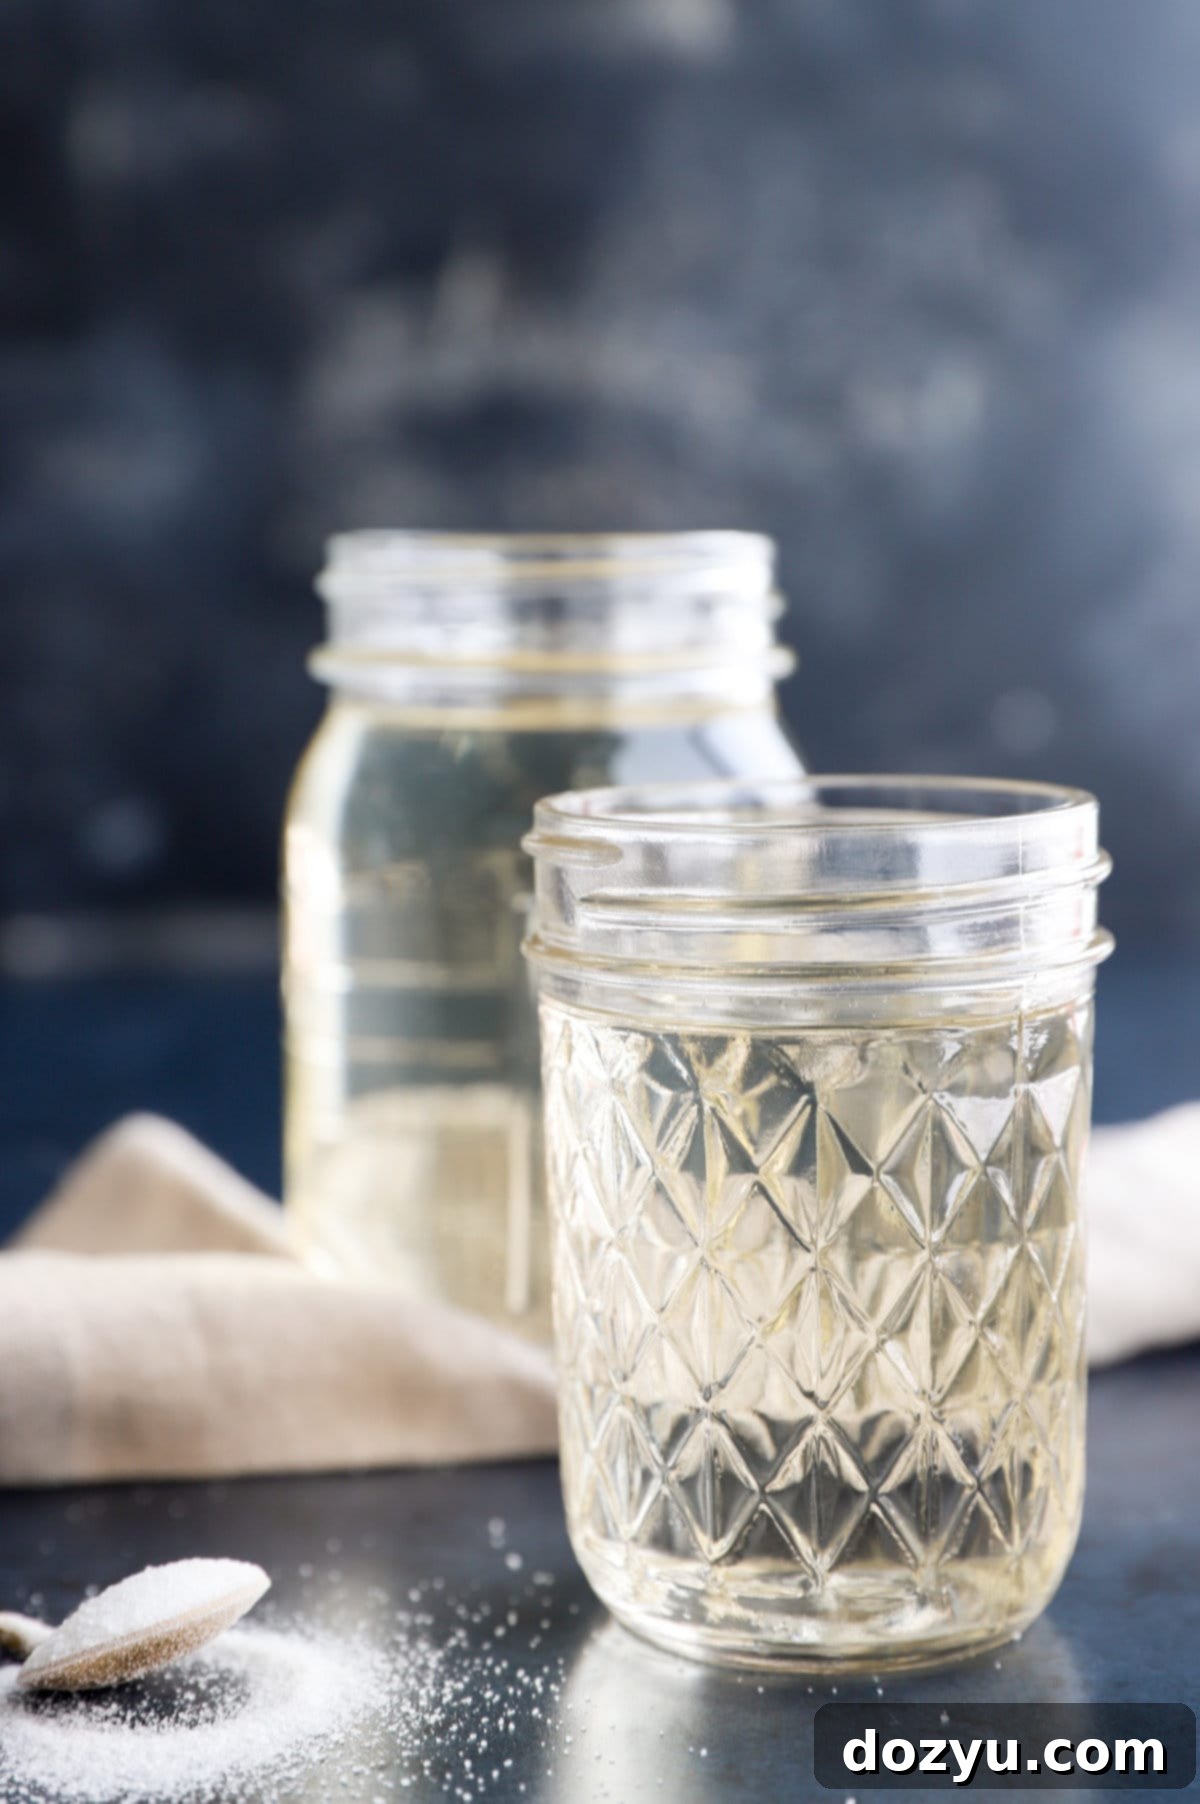
How to Make Simple Syrup: The Ultimate Guide for Homemade Cocktails & More
Mastering the art of making simple syrup at home is a game-changer! Not only will you discover significant cost savings, but you’ll also be amazed by its incredible versatility and ease. This fundamental ingredient isn’t confined to just cocktails; it’s perfect for enhancing your morning coffee, crafting delightful mocktails, and even adding a touch of sweetness and moisture to your favorite desserts. With just two basic ingredients – sugar and water – you can whip up a batch of delicious homemade simple syrup in as little as 5 minutes, ready to elevate countless culinary creations.
table of contents
Toggle
About Homemade Simple Syrup
Simple syrup is a foundational element in bartending, coffee-making, and even baking, yet its simplicity often leads people to overlook how incredibly easy and cost-effective it is to make at home. For years, I’ve been whipping up batches of this liquid gold, and it’s a staple in my kitchen – I truly can’t believe it’s taken me this long to share a dedicated guide on it!
At its core, simple syrup is a solution of equal parts sugar and water, typically a 1:1 ratio. This balanced proportion creates a versatile sweetener that seamlessly integrates into both hot and cold liquids without the gritty texture of undissolved sugar. While traditionally celebrated for its role in crafting exquisite cocktails, its applications extend far beyond the bar. From enriching your morning coffee to crafting refreshing mocktails and adding essential moisture to baked goods, this humble syrup proves itself indispensable.
The beauty of homemade simple syrup lies in its absolute ease of preparation. Seriously, no advanced culinary skills are required. Once you experience how effortless it is to make, you’ll wonder why you ever spent money on store-bought versions. Beyond the financial savings, making your own also gives you complete control over the ingredients, ensuring a pure, unadulterated product free from any unnecessary additives.
I frequently incorporate this versatile sweetener into all my cocktail creations, but it’s equally brilliant in my daily coffee rituals and vibrant mocktail experiments. It’s an incredibly simple recipe to master, offering significant savings compared to the often overpriced options found in grocery stores. All you need are a few basic kitchen tools, an airtight container for storage, and about 5 minutes of your time to create a batch from start to finish. This quick process yields a fresh, delicious syrup that remains perfectly usable for up to a month when properly stored in your refrigerator – though it often disappears much faster!
Essential Ingredients for Simple Syrup
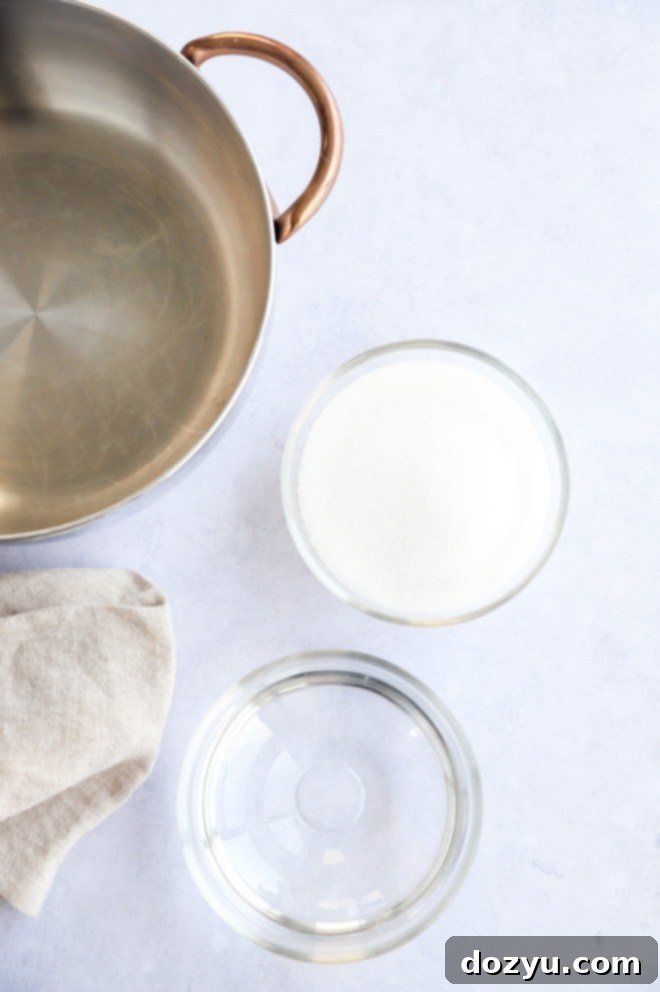
The magic of simple syrup comes from its minimal ingredient list. You truly only need two components to create this versatile sweetener:
- Granulated Sugar: For the classic, clear simple syrup, granulated white sugar is your go-to. Its neutral flavor allows the other ingredients in your drinks or dishes to shine. While I’ll discuss other sugar options later in this article, for the foundational recipe, stick with standard white granulated sugar. Using fine-grain sugar can help it dissolve quicker, but regular granulated sugar works perfectly well.
- Water: The quality of your water can subtly impact the final taste, especially in beverages where the syrup isn’t heavily masked by other flavors. I personally prefer to use filtered water when making simple syrup to ensure the purest taste. However, if you have good-tasting tap water, feel free to use it! Since you’ll be heating the water to dissolve the sugar, any potential impurities or chlorine will largely dissipate, making the choice less critical than for cold drinks.
That’s it! Just these two ingredients combine to form the base of countless delicious concoctions. The beauty of its simplicity makes it an accessible recipe for everyone.
Tools You’ll Need
One of the many reasons this recipe is so appealing is the minimal equipment required. You likely already have these items in your kitchen:
- Small Saucepan: A small or medium saucepan is perfect for heating the water and sugar mixture. Its size allows for even heating and easy stirring without excessive evaporation.
- Wooden Spoon or Whisk: Essential for stirring the mixture to ensure the sugar dissolves completely and prevents it from sticking to the bottom of the pan. A wooden spoon is gentle on non-stick surfaces.
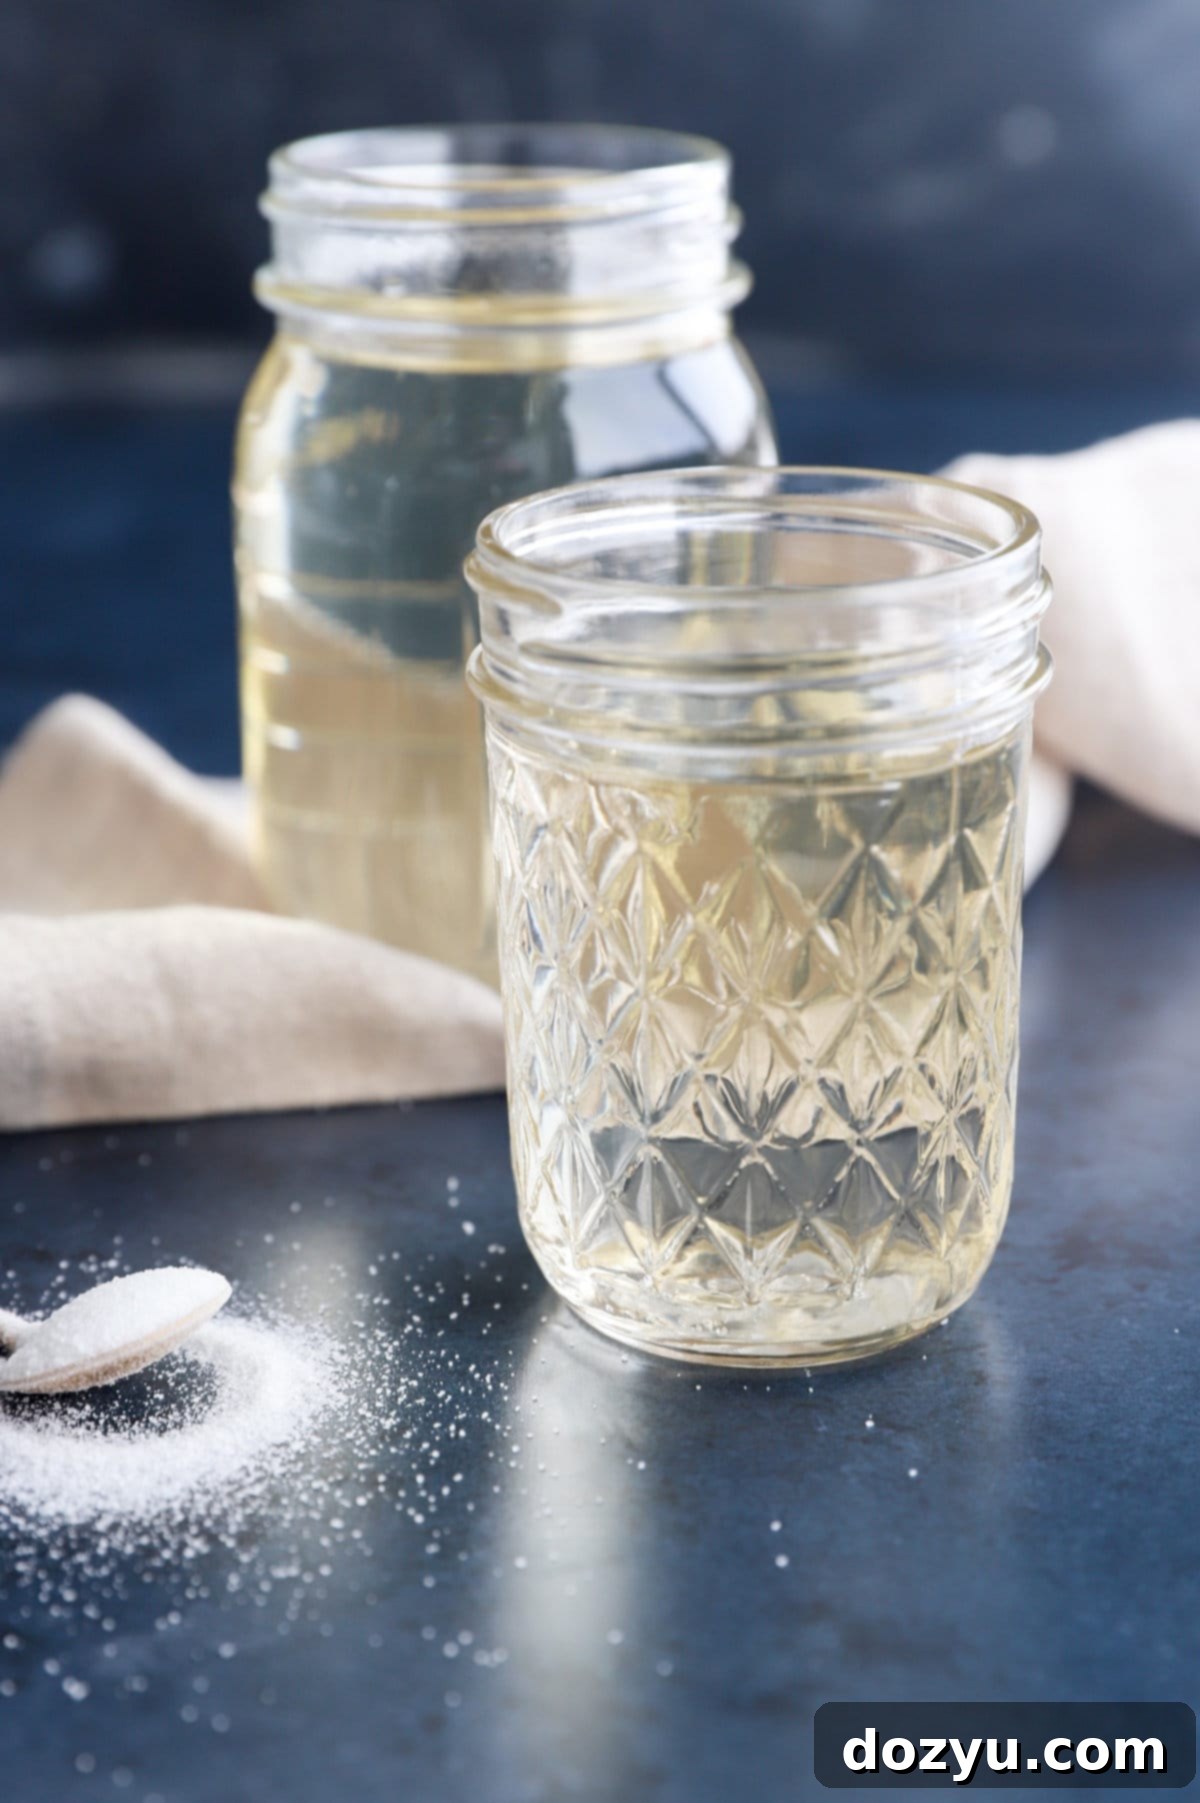
- Airtight Container for Storage: Once cooled, your simple syrup needs to be stored properly. I highly recommend using a mason jar or a dedicated glass syrup bottle with a tight-sealing lid. This keeps it fresh and prevents any absorption of fridge odors.
That’s all it takes! No fancy gadgets or specialized equipment are necessary to create perfect homemade simple syrup.
Recommended Glassware
While not directly involved in the syrup-making process, having the right glassware elevates your beverage experience when using your homemade simple syrup. Here are some of my top picks for serving delightful drinks:
Aperol Spritz Glasses
Buy Now →
Gatsby Cocktail Glasses
Buy Now →
Coupe Glasses
Buy Now →
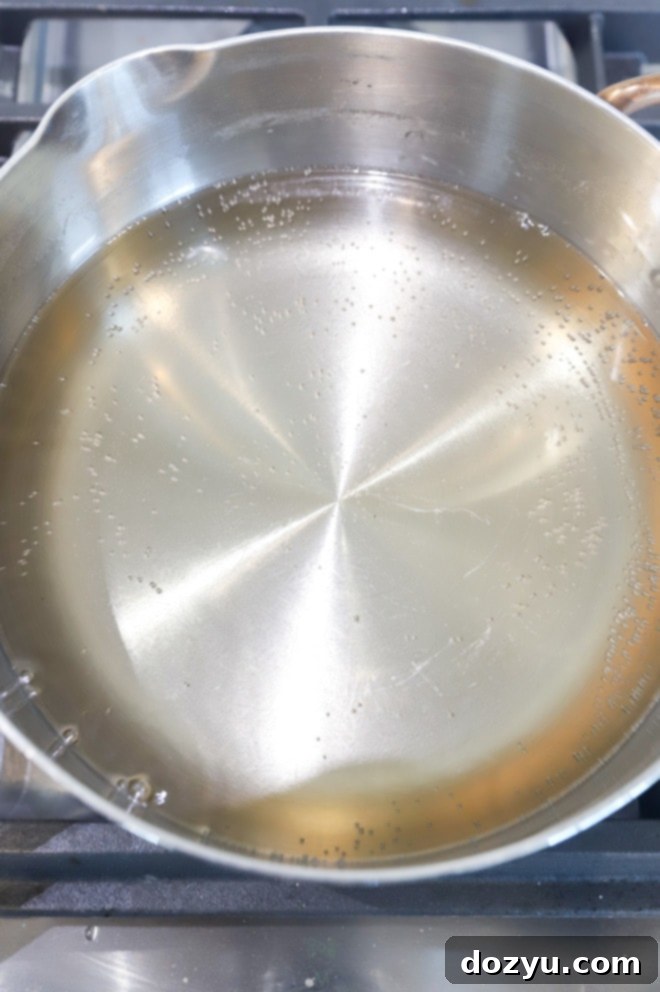
Step-by-Step Guide to Making Homemade Simple Syrup
Creating your own simple syrup is incredibly straightforward. Follow these easy steps for a perfect batch every time:
1. Combine Ingredients
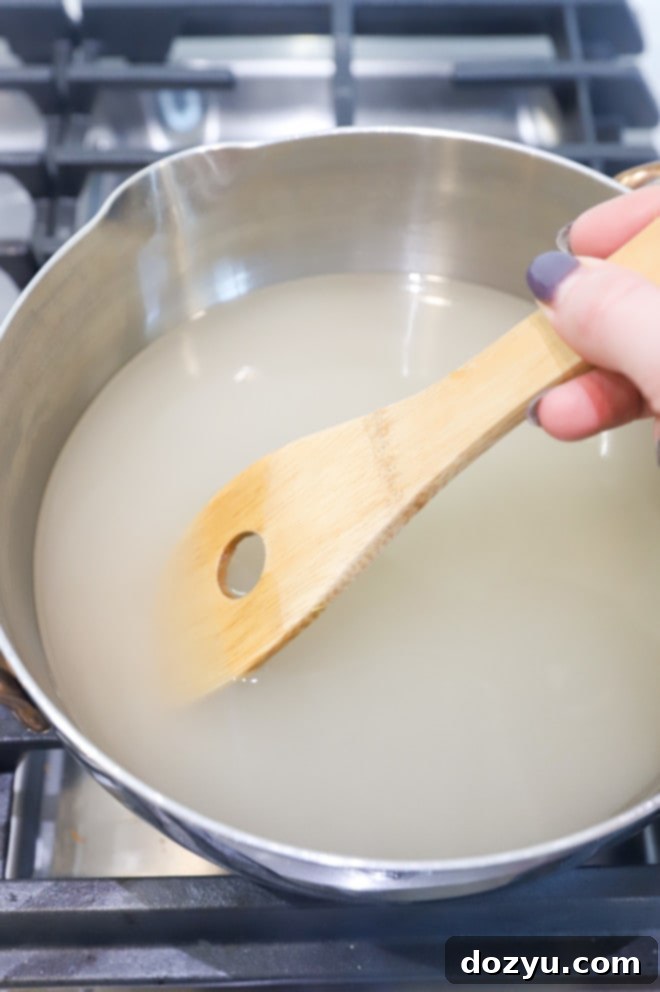
Begin by adding 1 cup of granulated sugar and 1 cup of water to a small saucepan. Place the saucepan over medium-high heat. The 1:1 ratio of sugar to water is crucial for a standard simple syrup. Ensure your measurements are accurate for the best consistency and sweetness.
2. Dissolve the Sugar
Stir the mixture frequently with a wooden spoon or whisk as you bring it to a gentle, rolling simmer over medium heat. The goal here is to completely dissolve the sugar crystals into the water, not to boil the mixture vigorously. Watch for the liquid to become clear and free of any visible sugar grains. Once all the sugar has dissolved, immediately remove the saucepan from the heat. It’s vital to prevent over-boiling, as this can reduce the water content and alter the sugar-to-water ratio, resulting in a thicker, overly sweet syrup.
3. Cool and Store
Allow the simple syrup to cool completely to room temperature before transferring it to an airtight bottle or container. This cooling process is important for safety and to prevent condensation when it goes into the fridge. Once cool, store your homemade simple syrup in the refrigerator. Properly stored, it will maintain its quality and freshness for up to 1 month! Always ensure the container is tightly sealed to maximize its shelf life and prevent it from absorbing odors from other refrigerated items.
Pro Tips for Perfect Simple Syrup
While making simple syrup is inherently easy, a few expert tips can help you achieve the best results and open up a world of flavor possibilities:
- Avoid Vigorous Boiling: As mentioned, the goal is to dissolve the sugar, not to reduce the water. A gentle simmer is ideal. If you let the mixture boil too intensely or for too long, excess water will evaporate, throwing off the carefully balanced 1:1 ratio. This can result in a syrup that is thicker and excessively sweet, which might not be what you desire for most applications. Keep a close eye on it, stirring frequently until the sugar crystals disappear.
- Experiment with Different Sugars: Don’t limit yourself to just granulated white sugar! You can profoundly change the character of your simple syrup by using alternative sugars. For instance, creating a brown sugar simple syrup using light or dark brown sugar will infuse your syrup with delightful caramel and molasses notes, perfect for whiskey cocktails or coffee. Similarly, a Demerara simple syrup offers a rich, slightly toasted flavor. Each sugar brings its own unique profile, inviting exciting new pairings.
- Infuse with Flavors: This is where the real fun begins! Simple syrup is a fantastic base for flavor infusions. Don’t be shy about experimenting with fruits, whole spices, fresh herbs, citrus zests, or even extracts. The key is to add your chosen flavor components to the mixture as it heats, allowing the warm liquid to extract their essences. After the sugar has dissolved, remove the syrup from the heat, cover it, and let it steep for at least 15 to 30 minutes (or longer, for more intense flavor). Afterward, strain out the solids and store your beautifully flavored syrup. Specific ideas for infusions are detailed further below.

Can I Substitute Other Sugars?
Absolutely, yes! One of the most enjoyable aspects of making simple syrup at home is the ability to customize it using different types of sugar. Swapping out granulated sugar for another variety can dramatically change the flavor profile and color of your syrup, opening up a world of culinary possibilities.
- Brown Sugar Simple Syrup: By using light or dark brown sugar instead of white granulated sugar, you’ll create a rich simple syrup with delightful notes of caramel and molasses. This variation is particularly excellent in coffee, warm cocktails, or baking recipes that benefit from a deeper, more robust sweetness.
- Demerara or Turbinado Simple Syrup: These raw sugars offer a slightly coarser texture and a distinct, subtle toasted or caramel flavor. They create a beautiful golden-hued syrup that’s fantastic in old fashioneds, dark rum cocktails, or anything where you want to add a touch of sophisticated sweetness. (See our Demerara Sugar Simple Syrup recipe!)
- Honey Simple Syrup: If you prefer a more natural and floral sweetness, you can make a honey simple syrup by using honey in place of or in combination with granulated sugar. This syrup imparts a unique, aromatic sweetness that pairs wonderfully with tea, lemonade, and lighter spirits. Be mindful that honey is sweeter than sugar, so you might adjust the quantity slightly.
When experimenting, maintain the 1:1 ratio of sweetener (sugar or honey) to water for a standard simple syrup. The dissolving process remains the same: gently heat and stir until fully incorporated.
How to Achieve a Thicker Consistency (Rich Simple Syrup)
If your recipe calls for a richer, more viscous syrup, or if you simply prefer a thicker texture, you can easily adjust the sugar-to-water ratio. The standard 1:1 simple syrup typically has a thinner consistency, making it perfect for quickly sweetening beverages.
To make a thicker, “rich” simple syrup, simply double the amount of sugar relative to the water. This means a 2:1 ratio (2 parts sugar to 1 part water). For example, if you use 1 cup of water, you would use 2 cups of sugar. This higher sugar concentration creates a syrup that is noticeably thicker and has a more intense sweetness. The process remains the same: gently heat and stir until all the sugar is completely dissolved.
Thicker simple syrups are ideal for:
- Glazing Fruits and Cakes: They create a beautiful, glossy finish and seal in moisture.
- Specific Cocktail Recipes: Some classic cocktails, especially those where sugar is a primary flavor, benefit from the concentrated sweetness and body of a rich simple syrup.
- Dessert Sauces: A 2:1 syrup can be a wonderful base for dessert drizzles or to soak cakes.
Important note for drinks: When using a richer 2:1 syrup in beverages, you’ll generally need less of it compared to a standard 1:1 syrup. I recommend starting with about 1/4 ounce to 1/2 ounce less than what a recipe calls for, and then adjusting to taste, as its sweetness is far more concentrated.
Does Simple Syrup Need to Boil?
No, simple syrup does not strictly need to boil. The primary goal when making simple syrup is to dissolve the sugar completely into the hot water. This can efficiently happen at a gentle simmer, where the water is hot enough to break down the sugar crystals without reaching a full, rolling boil. Bringing the mixture to a simmer while stirring frequently is perfectly sufficient to achieve a smooth, clear syrup.
Vigorous boiling, especially for an extended period, can actually be detrimental. If the syrup boils too intensely, the water will evaporate at a faster rate, reducing the overall volume and concentrating the sugar. This results in a thicker, much sweeter syrup than intended, which will also alter the balanced 1:1 ratio. While a thicker syrup has its uses (as discussed with rich simple syrup), it’s important to aim for a gentle simmer to maintain the classic consistency and balance of a standard simple syrup. Always remove it from the heat as soon as the sugar crystals are no longer visible.
Can You Freeze Simple Syrup?
Yes, absolutely! Freezing simple syrup is an excellent way to extend its shelf life, especially if you’ve made a larger batch or don’t anticipate using it all within the typical one-month refrigeration period. This method ensures you always have fresh simple syrup on hand, minimizing waste.
The best way to freeze simple syrup is to pour it into ice cube trays. Once frozen solid, transfer the simple syrup cubes to a freezer-safe bag or container. This makes it incredibly convenient to grab just the amount you need. Frozen simple syrup will last for up to 3 months in the freezer without losing its quality. When you’re ready to use it, simply remove the desired number of cubes and let them thaw in a small bowl or bottle in the refrigerator. They’ll be ready to use in your favorite recipes in no time!
Refrigeration is Key for Simple Syrup
Yes, simple syrup must be refrigerated. Because it contains water and sugar, it is susceptible to mold and bacterial growth if left at room temperature for too long. To ensure safety and extend its freshness, always store your cooled simple syrup in an airtight bottle or container immediately after it reaches room temperature. When kept in the refrigerator, it will remain fresh and ready to use for approximately 1 month. This refrigeration prevents spoilage and preserves the syrup’s quality, color, and flavor, making it a reliable ingredient for your culinary adventures.
Need some inspiration for using this simple syrup in cocktails? Check out my cocktail recipes page!
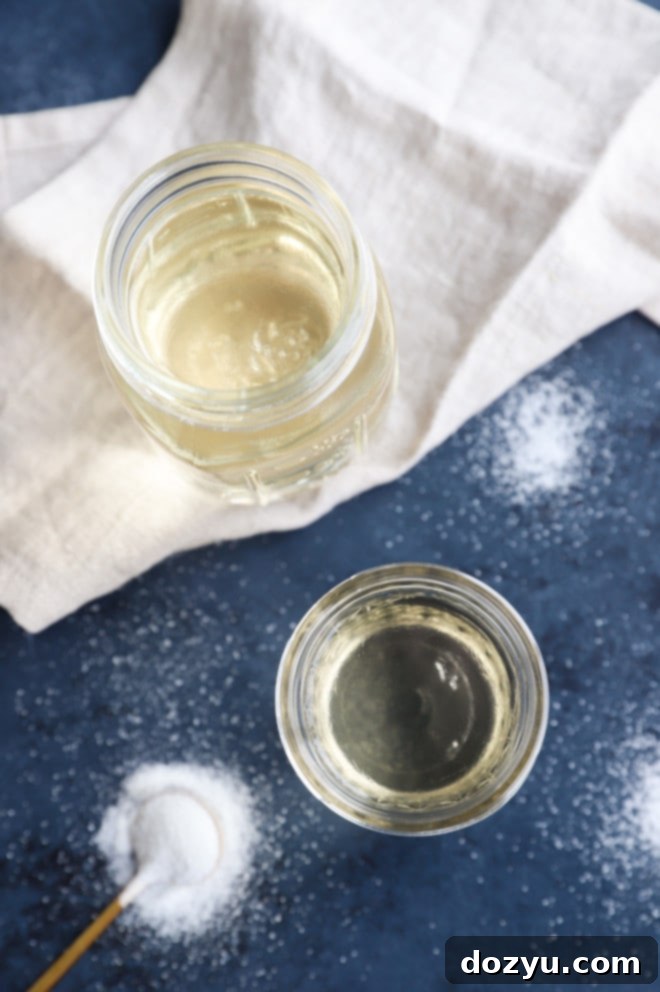
Endless Uses for Homemade Simple Syrup
The beauty of homemade simple syrup lies in its incredible versatility. While it’s a star ingredient in the world of mixology, its applications extend far beyond cocktails and mocktails. Here are just some of the many ways you can incorporate this sweet elixir into your daily life:
- Sweeten Beverages: Easily dissolve simple syrup into your favorite hot coffee, iced coffee, cold brew, or tea drinks. It blends seamlessly, preventing any gritty sugar residue at the bottom of your cup.
- Enhance Lemonade & Iced Tea: Transform a tart lemonade or plain iced tea into a perfectly balanced, refreshing drink. Simple syrup ensures an even sweetness throughout.
- Moisten Cakes: Brush simple syrup onto the exterior of unfrosted cake layers or between layers. This technique adds moisture, enhances flavor, and keeps your cakes wonderfully tender.
- Create a Glaze for Tarts & Pastries: A light brush of simple syrup can give fruit tarts, pastries, and fresh fruit a vibrant, shiny, and appetizing finish, making them look professionally prepared.
- Sweeten Fruit Salads: Toss cut fresh fruit with a tablespoon or two of simple syrup. It enhances the natural sweetness of the fruit and can help prevent oxidation, keeping your fruit salad looking fresh longer.
- Versatile Dessert Topping: Drizzle over pancakes, waffles, French toast, oatmeal, yogurt, ice cream, or even fresh berries for an instant upgrade in sweetness and flavor.
- Flavoring for Sparkling Water: Add a dash to plain sparkling water for a homemade, customizable soda alternative without artificial ingredients.
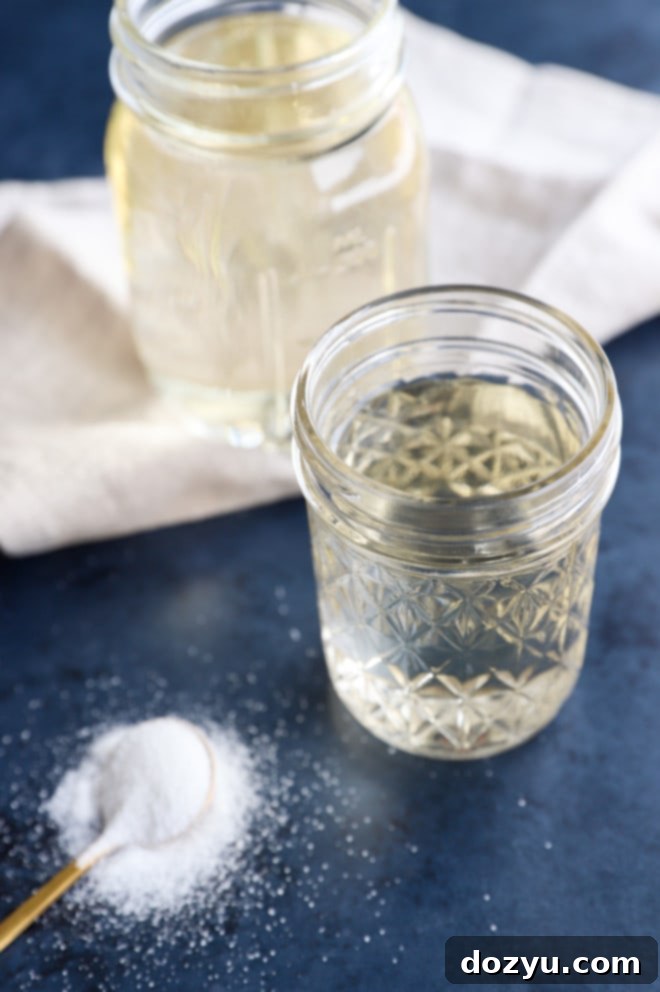
Creative Simple Syrup Flavor Variations
This is arguably the most exciting part of making simple syrup: the ability to craft your own custom-flavored syrups! Infusing flavors is incredibly simple and allows you to tailor your syrup to any drink or dessert you imagine. Generally, the flavoring component is added right at the beginning of the recipe, while the sugar dissolves. Once the sugar is fully dissolved, remove the pot from the heat, cover it, and allow the mixture to steep. This steeping process lets the flavors meld and intensify, typically for at least 15 minutes and up to 30 minutes, or even longer for stronger infusions. After steeping, strain out the solids and store your beautiful, flavored syrup as directed.
Here are some fantastic ideas for creating your own custom simple syrup flavors, complete with suggested pairings:
- Cinnamon Simple Syrup: Add a few whole cinnamon sticks to the pot. This warm, spicy syrup is perfect for fall-themed cocktails, apple cider, or in your coffee. (Get the Cinnamon Simple Syrup recipe!)
- Fruity Syrups: Use fresh or frozen fruits like berries, peaches, or cherries. Simply muddle or lightly crush the fruit before adding it. Cherry simple syrup is wonderful in a whiskey sour, while strawberry rhubarb or plain strawberry simple syrup brightens up sparkling wine or lemonade.
- Whole Spices: Beyond cinnamon, consider star anise for a licorice-like note, whole cloves for warmth, or cardamom pods for an exotic twist. These are fantastic for winter beverages and baking.
- Vanilla Bean Simple Syrup: Split a vanilla bean in half lengthwise and add it to the mixture as it cooks. The rich, aromatic vanilla infuses beautifully, ideal for coffee, cream-based cocktails, or drizzling over fruit. (Try our Vanilla Simple Syrup recipe!)
- Fresh Herbs: A truly refreshing option! Toss in fresh sprigs of basil, mint, thyme, or sage. A mint simple syrup is superb in iced tea, mojitos, or even with fruit salads. Rosemary (Rosemary Simple Syrup) pairs wonderfully with gin or grapefruit.
- Citrus Zest & Peel: Quick and vibrant! Use the zest (without the bitter white pith) or strips of peel from lemons, limes, oranges, or grapefruits. Lemon simple syrup is a classic for margaritas and sparkling drinks.
- Floral Syrups: For an elegant touch, infuse with dried edible flowers like rosebuds, lavender, or hibiscus. These impart delicate aromas and beautiful colors. Consider tying loose flowers in cheesecloth for easy removal. (Learn to make Lavender Simple Syrup!)
- Tea-Infused Syrups: Steep tea bags (black, green, chai, or herbal) directly in the hot syrup after the sugar has dissolved. This adds a complex, earthy, or fruity depth perfect for specialty lattes or unique cocktails.
- Extracts: For a potent and quick flavor boost, add a few drops of food-grade extracts like almond, peppermint, or coconut after the syrup has cooled. Remember, extracts are concentrated, so a little goes a long way!
Discover More Simple Syrup Recipes
Eager to explore more delightful simple syrup creations? We have a comprehensive collection of recipes to inspire your mixology and culinary adventures. Each recipe offers a unique flavor profile to elevate your drinks and dishes:
- Cinnamon Simple Syrup
- Cherry Simple Syrup
- Pumpkin Spice Simple Syrup
- Strawberry Rhubarb Simple Syrup
- Lavender Simple Syrup
- Strawberry Simple Syrup
- Lemon Simple Syrup
- Demerara Sugar Simple Syrup
- Rosemary Simple Syrup
- Honey Simple Syrup
- Mint Simple Syrup
- Vanilla Simple Syrup
- Brown Sugar Simple Syrup
Storing and Preserving Your Syrup
Proper storage is essential to maximize the shelf life and maintain the quality of your homemade simple syrup. Here’s how to keep it fresh and ready for use:
- Refrigeration: Once your simple syrup has fully cooled to room temperature, transfer it to a clean, airtight container or bottle. Store it in the refrigerator for up to one month. To help you keep track, I always recommend labeling your container with the date it was made and the estimated expiration date. This simple practice ensures you’re always using fresh syrup.
- Freezing: For longer-term storage, freezing is an excellent option. Simple syrup can be frozen in ice cube trays for up to 3 months. Once the cubes are solid, transfer them to a freezer-safe bag or container to save space and prevent freezer burn. When you need some syrup, simply take out the desired number of cubes and let them thaw in a small bowl or bottle in the refrigerator. Thawed syrup can be used just like fresh.
- Reheating: Simple syrup is typically used cold or at room temperature. There’s usually no need to reheat it before use. If you’ve frozen it, simply thaw it in the refrigerator. For flavored syrups, reheating could potentially diminish some delicate flavor notes.
Following these storage guidelines will ensure your homemade simple syrup is always ready to enhance your favorite drinks and dishes, providing consistent sweetness and flavor whenever you need it.
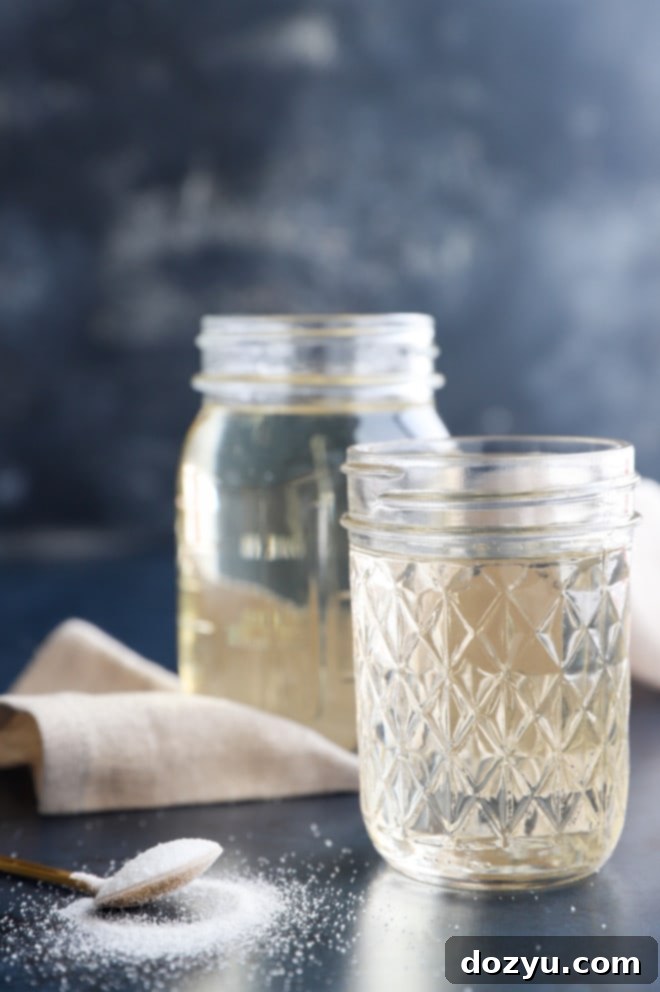
We truly hope this comprehensive guide inspires you to make your own perfect simple syrup at home! If you make this easy and versatile recipe, please consider taking a moment to give it a rating or leave a comment below. Your feedback means the world to us, and we diligently respond to every single comment and question. Don’t hesitate to drop your thoughts or any queries you might have!
And of course, we absolutely adore seeing your culinary creations come to life! Be sure to tag us on Instagram if you whip up a batch of this fantastic simple syrup. It’s truly our favorite thing to see how these recipes are enjoyed in your homes – it brings so much joy to our kitchen to see your photos!
How to Make Simple Syrup
5 minutes
5 minutes
1 cup
Equipment
-
Mason Jar
-
Long Wooden Spoon
-
Saucepan
Ingredients
- 1 cup Water
- 1 cup Granulated Sugar
Instructions
-
Combine 1 cup of water and 1 cup of granulated sugar in a medium saucepan. Place over medium-high heat.
-
Bring the mixture to a gentle rolling simmer, stirring frequently to ensure the sugar dissolves completely. Avoid a vigorous boil.
-
Once the sugar has fully dissolved and the liquid is clear, immediately remove the saucepan from the heat and allow the syrup to cool completely to room temperature.
-
Use your freshly made simple syrup in your favorite mocktails, cocktails, coffee, teas, and various desserts.
-
Store the cooled syrup in a clean, airtight bottle or container in the refrigerator for up to 1 month.
Nutrition
770kcal
Booze
