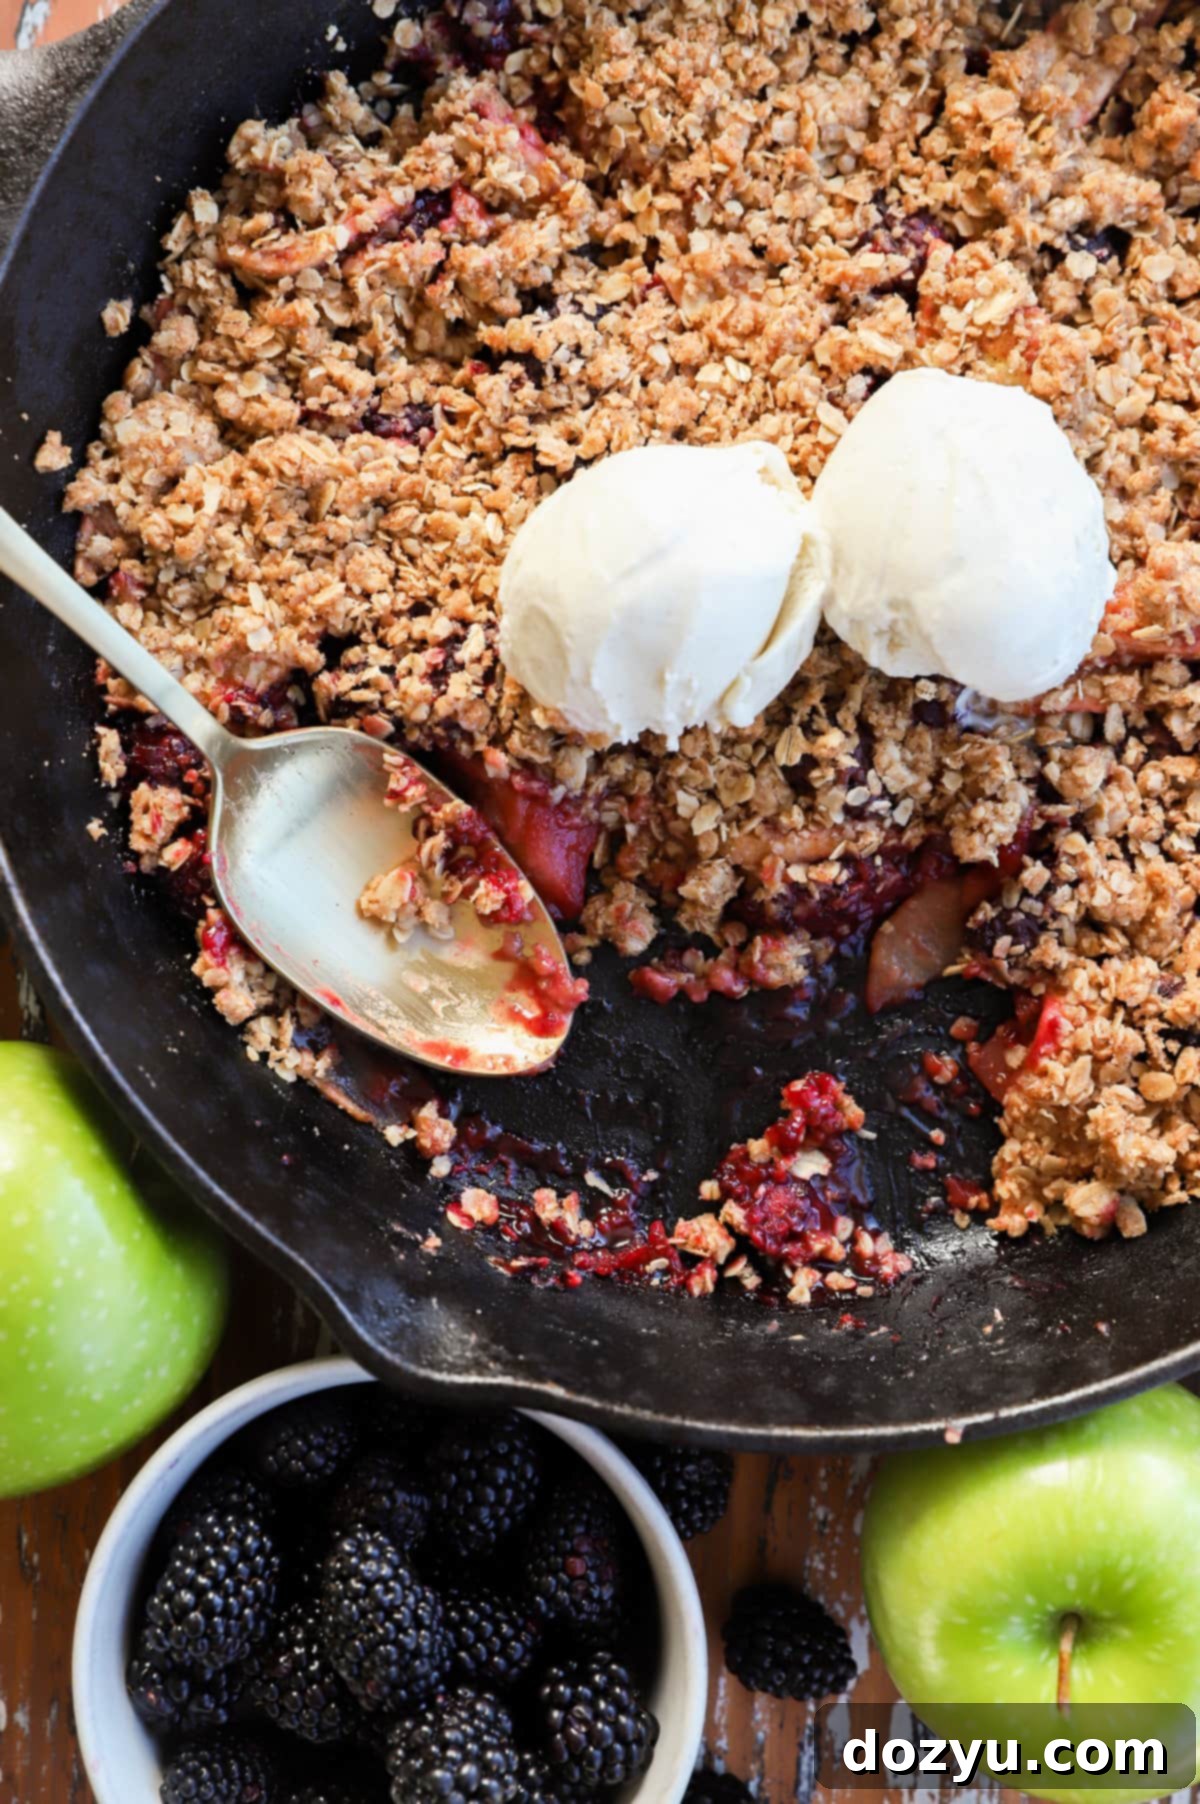
Easy & Delicious Apple Blackberry Crumble Recipe: The Ultimate Comfort Dessert
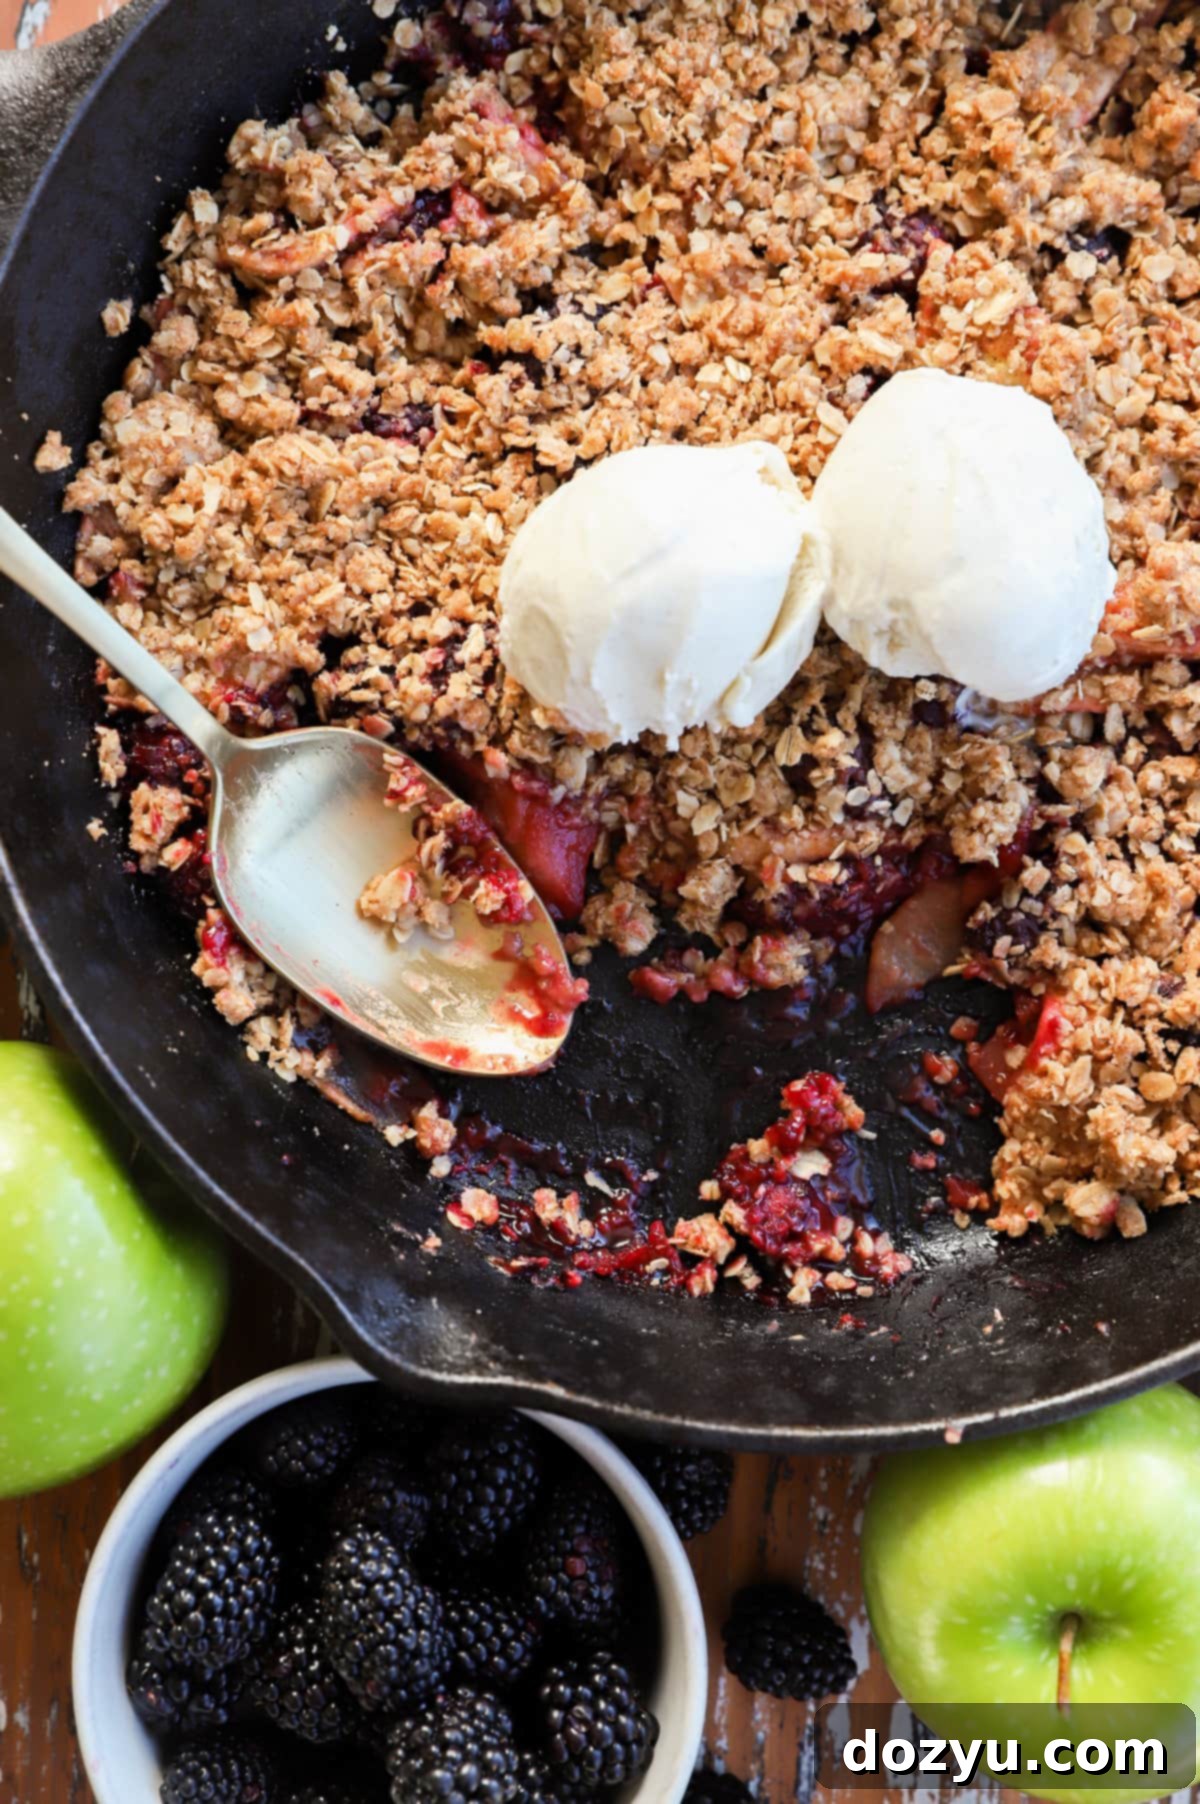
Experience the quintessential taste of comfort with this incredibly simple yet profoundly flavorful Apple and Blackberry Crumble. Perfect for any evening, whether it’s a cozy family dinner or a delightful gathering, this sweet treat comes together in under an hour. Serve it warm with a generous scoop of vanilla ice cream, a dollop of whipped cream, or a rich custard for an unforgettable dessert experience.
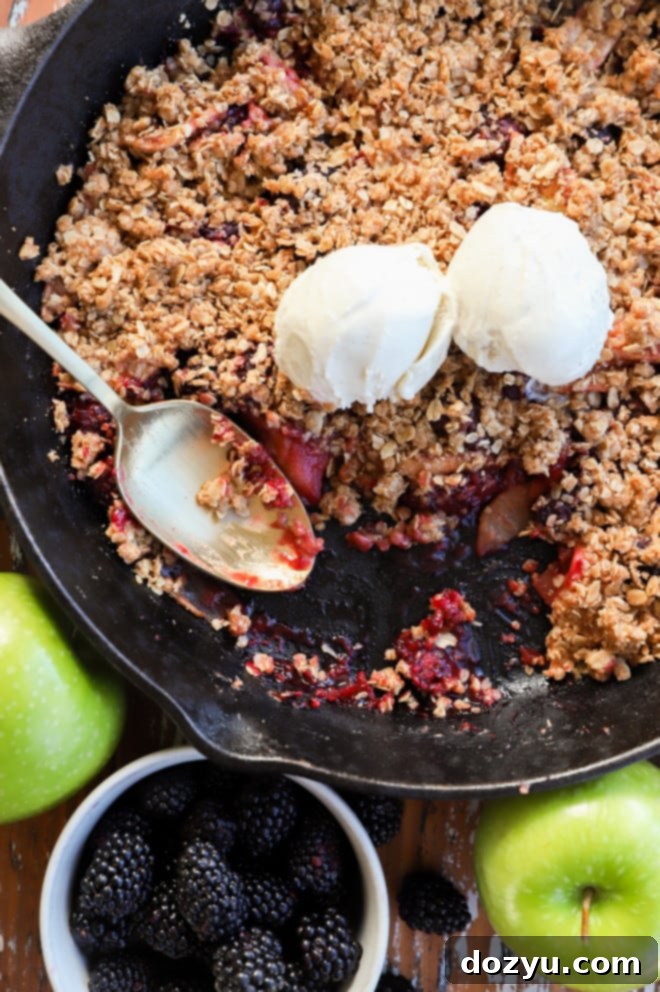
table of contents
Toggle
About this Apple Blackberry Crumble: A Year-Round Delight
There’s an undeniable charm to a homemade fruit crumble, a dessert that perfectly marries sweet, tart, and crunchy textures into every spoonful. This apple blackberry crumble recipe stands out as a true crowd-pleaser, offering a comforting warmth that makes it ideal for any season. The juicy, flavorful fruit filling, topped with a golden, buttery streusel, creates a symphony of taste and texture that is simply irresistible.
For me, a generous bowl of fruit crumble, especially when crowned with a scoop of melting vanilla ice cream, is the epitome of comfort food. While many associate crumbles with autumn, this particular recipe allows you to savor these delightful flavors all year long, thanks to the magic of frozen berries.
I specifically opt for Oregon blackberries in my crumble recipes, and for good reason! These berries are renowned for their exceptional quality and intense flavor. Harvested at their peak ripeness, their delicious taste is then perfectly preserved through flash-freezing within 24 hours of being picked. This process not only locks in their vibrant flavor but also retains their vital nutrients, ensuring you get the best possible berry experience every time.
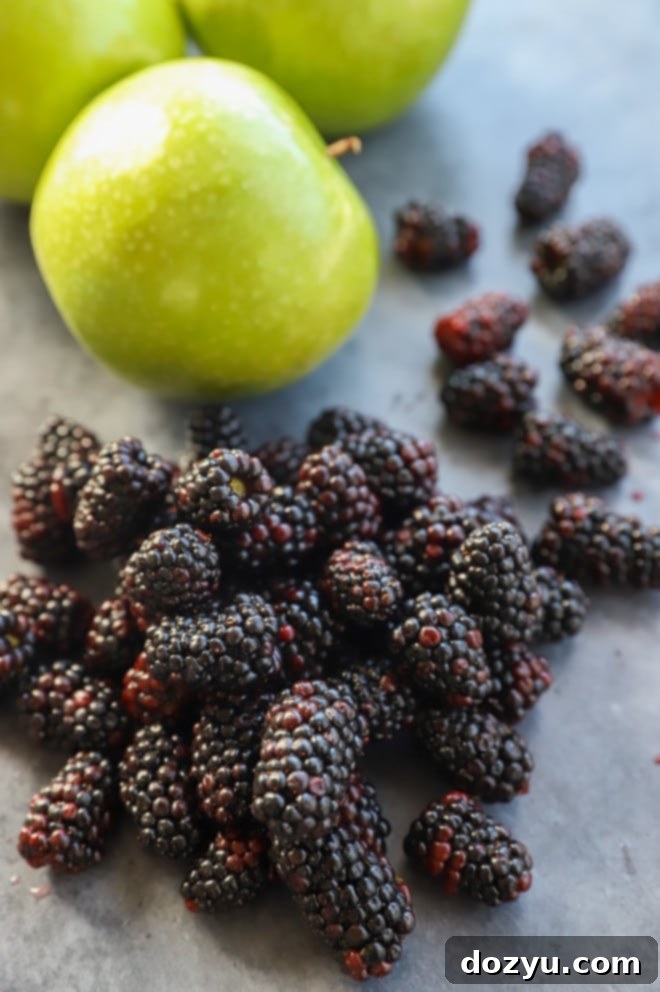
The beauty of using high-quality frozen blackberries means you can whip up this amazing fruit crumble whenever a craving strikes, regardless of the season. Simply thaw the berries and drain any excess juices, and they’re ready to infuse your dessert with rich, fruity goodness. Of course, when fresh blackberries are in season and abundant, feel free to use them – but for consistent quality and convenience, Oregon blackberries are my go-to choice throughout the year.
Choosing the Best Apples for Your Crumble
Apples are a staple in many kitchens, and while certain varieties have peak seasons, several crisp, flavorful apples are readily available year-round in most major supermarkets. For this apple blackberry crumble, I highly recommend Granny Smith apples. Their distinct tartness provides a fantastic balance to the sweetness of the blackberries and the rich crumble topping, creating a truly harmonious flavor profile.
However, if Granny Smiths aren’t your preference or readily available, other excellent baking apples include Honeycrisp, Braeburn, or Golden Delicious. These varieties hold their shape well during baking and offer a pleasant texture. For the absolute best flavor, apples are typically at their peak from late summer through early winter (August to December), but as mentioned, you can usually find high-quality options any time you wish to bake this comforting dessert.
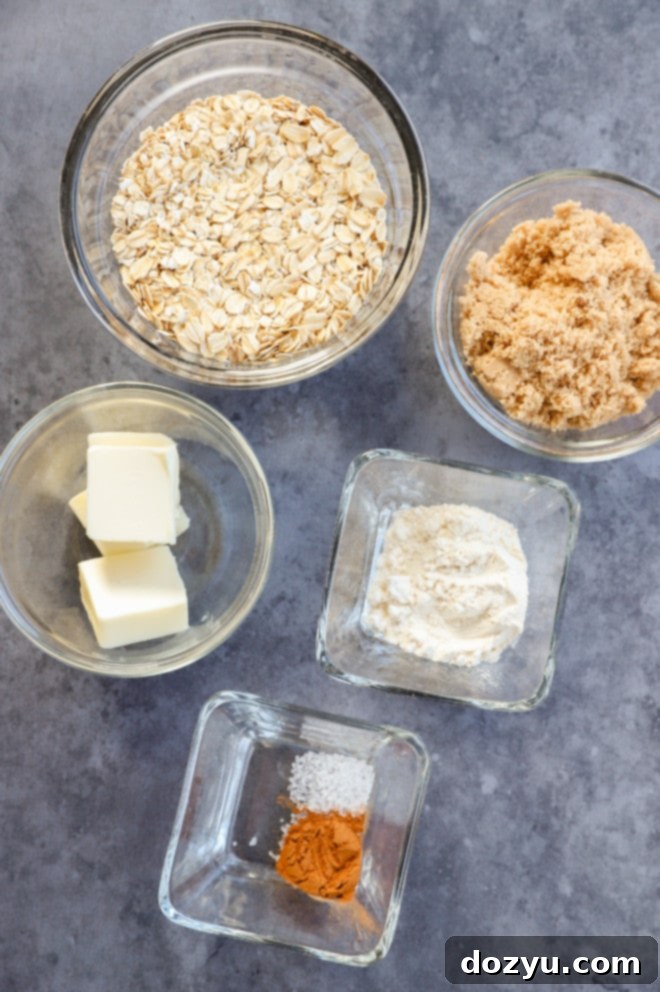
Ingredients for Apple Blackberry Crumble: What You’ll Need
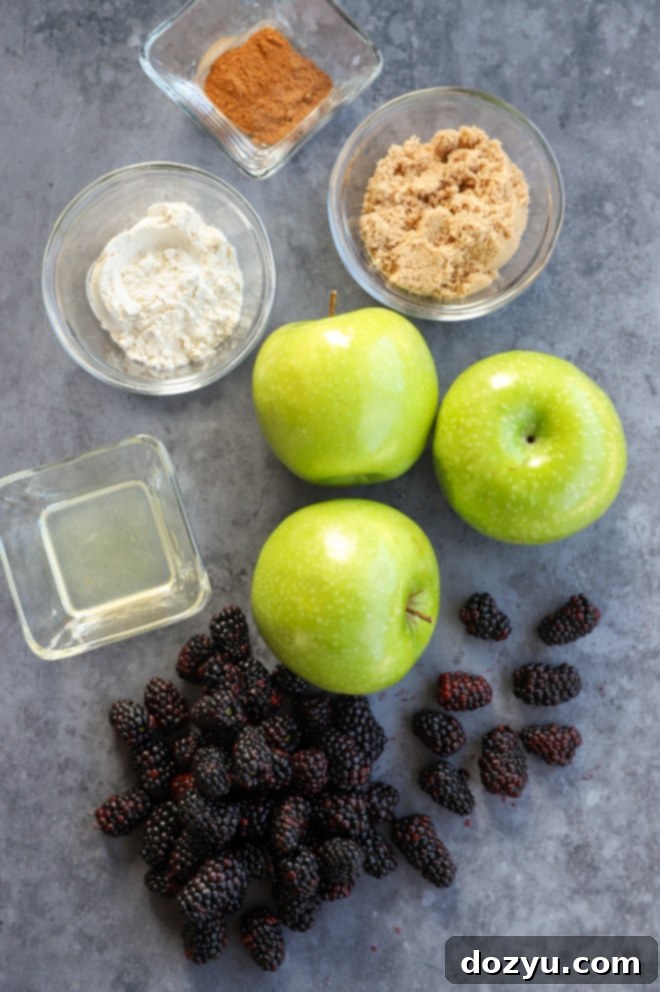
Crafting this delightful apple blackberry crumble requires a handful of simple, readily available ingredients that combine to create something truly magical. Here’s a closer look at the key components:
- Blackberries: As highlighted earlier, both frozen and fresh blackberries work beautifully. If using frozen, remember to thaw and thoroughly drain them beforehand to prevent the crumble from becoming watery. High-quality frozen berries, like those from Oregon, ensure a burst of vibrant flavor in every bite, regardless of the season.
- Apples: My top recommendation for this recipe is Granny Smith apples due to their bright, tart flavor which wonderfully offsets the sweetness of the crumble. However, feel free to use your favorite firm baking apples such as Braeburn, Honeycrisp, or Golden Delicious. You can peel the apples for a smoother texture, or leave the peels on for added fiber and a rustic look – it’s entirely up to your preference!
- Lemon Juice: Freshly squeezed lemon juice is always preferred as it adds a zesty brightness that enhances the fruit flavors and prevents the apples from browning. If fresh isn’t an option, bottled lemon juice can be used in a pinch.
- Brown Sugar: We use light brown sugar for both the filling and the crumble topping. Its molasses content adds a subtle depth of flavor and a lovely moisture to the streusel, contributing to its signature chewiness.
- All-Purpose Flour: This essential ingredient serves a dual purpose: it thickens the fruit filling slightly, preventing it from becoming too runny, and forms the base of our crispy crumble topping. For those with dietary restrictions, a 1:1 gluten-free flour blend can be substituted successfully.
- Spices: A warm blend of ground cinnamon, ground nutmeg, and a pinch of salt elevates both the fruit filling and the crumble topping. These spices complement the apples and blackberries perfectly, adding layers of aromatic flavor.
- Old-Fashioned Oats: Crucial for the crumble topping, old-fashioned (rolled) oats provide that desirable chewy texture and nutty flavor. Avoid instant oats, as they tend to become mushy during baking. If you’re aiming for a gluten-free dessert, ensure your oats are certified gluten-free.
- Unsalted Butter: Cold, unsalted butter is key for achieving a perfectly crumbly streusel topping. Using unsalted butter allows you to control the overall saltiness of the dish. If you only have salted butter, simply omit the extra pinch of salt specified in the crumble topping ingredients. For a vegan version, a good quality plant-based butter substitute can be used.
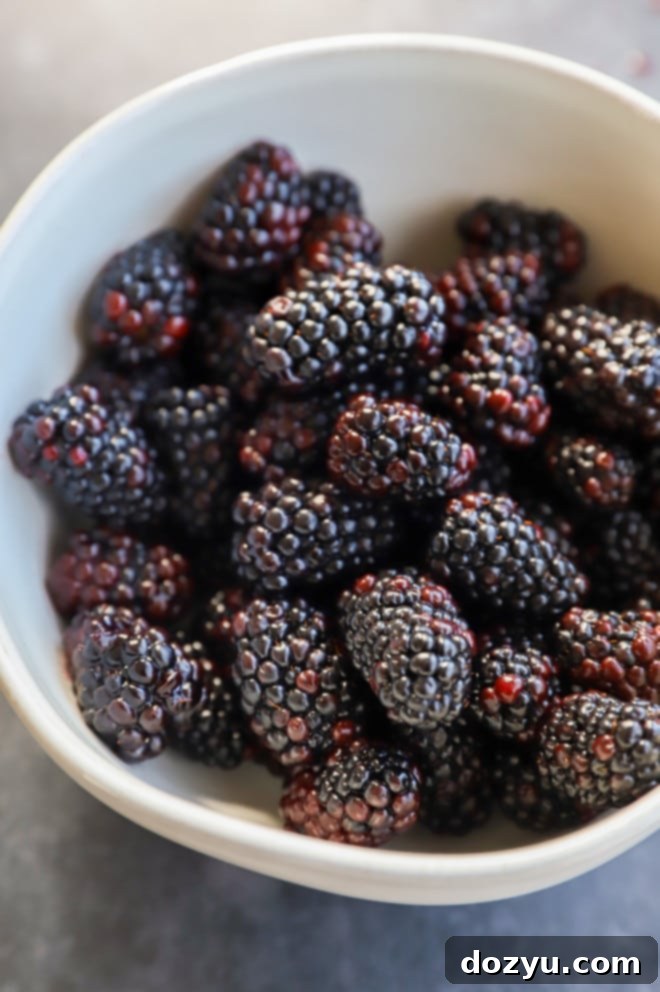
Essential Kitchen Tools for this Easy Apple Blackberry Crumble
One of the many joys of making this apple blackberry crumble is that it doesn’t require any specialized or expensive kitchen gadgets. It’s a truly rustic dessert that comes together with just a few basic tools you likely already have on hand. Simplicity is key here, allowing the quality of the ingredients and the straightforward process to shine through.
To prepare your crumble, you’ll need a set of mixing bowls: one large bowl for combining the fruit filling and a medium-sized bowl for preparing the streusel topping. For mixing the luscious fruit filling, a sturdy wooden spoon works perfectly, allowing you to gently combine the ingredients without mashing the delicate berries. When it comes to the dry ingredients for the topping, a whisk ensures everything is evenly distributed.
However, the real secret to a perfect crumble topping lies in your hands! Once you add the cold butter to the dry topping mixture, your fingertips become the best tool. Gently pinch and rub the butter into the flour and oats until you achieve a coarse, sandy texture with pea-sized clumps. This technique ensures a wonderfully crispy and tender crumble.
Finally, to bake your masterpiece, you’ll need a 10-inch casserole dish or a durable cast iron skillet. A 2-quart baking dish also works wonderfully. These vessels not only provide even baking but also make for a beautiful presentation, especially when serving directly from the oven to the table.
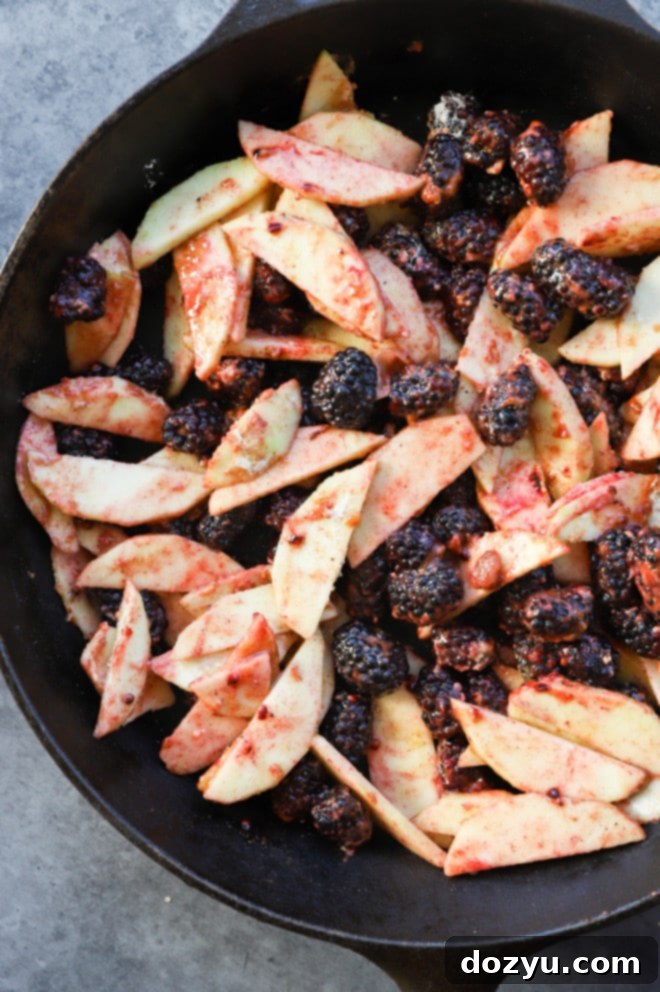
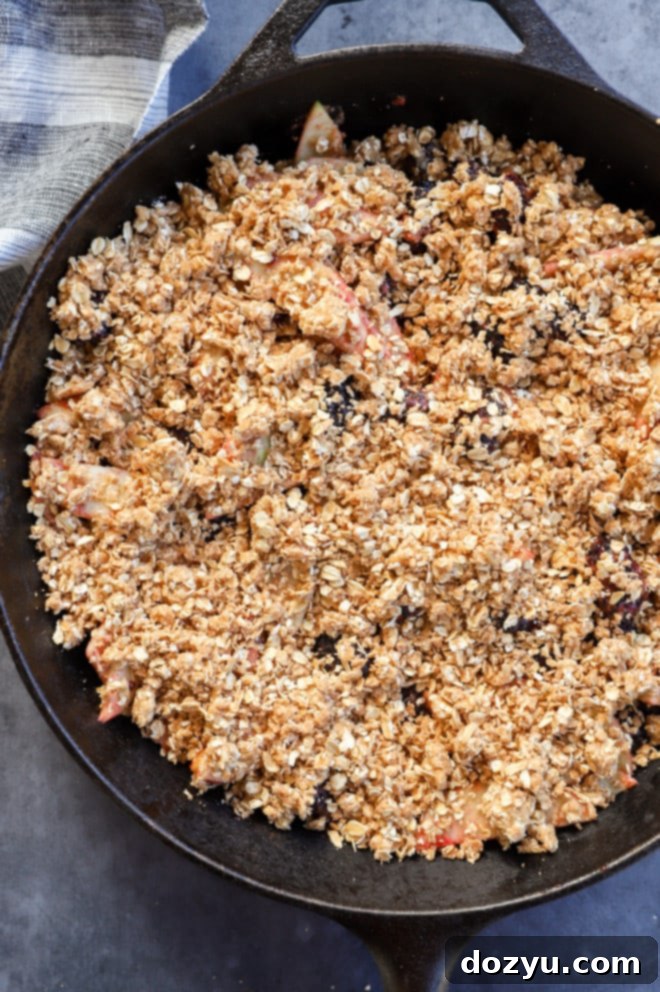
How to Make Apple Blackberry Crumble: A Simple Step-by-Step Guide
Creating this delightful apple blackberry crumble is surprisingly straightforward. Follow these easy steps to bring this comforting dessert to life in your kitchen.
1. Prepare the Fruit Filling
Begin by combining all the fruit filling ingredients in a large mixing bowl. This includes your thawed (and drained) or fresh blackberries, thinly sliced apples, fresh lemon juice, light brown sugar, all-purpose flour, ground cinnamon, ground nutmeg, and a pinch of salt. Gently stir everything together until the fruits are evenly coated with the sugar and spices. Once combined, set the bowl aside for about 5 minutes. This short resting period is crucial as it allows the fruit juices to naturally release, contributing to a more flavorful and perfectly saucy filling once baked.
2. Create the Crunchy Crumble Topping
While the fruit filling rests, prepare your streusel topping. In a separate medium bowl, whisk together the dry ingredients: old-fashioned oats, light brown sugar, all-purpose flour, cinnamon, and salt. Now, add the softened unsalted butter. The best way to incorporate the butter is by using your fingertips. Pinch and rub the butter into the dry mixture until it forms a coarse, crumbly texture resembling wet sand with small, pea-sized clumps. Avoid overmixing; the goal is to have distinct butter pieces for that signature crispy texture. Set this crumbly mixture aside.
3. Assemble Your Crumble
Pour the fruit filling evenly into your chosen baking dish – a 10-inch casserole dish, a sturdy cast iron skillet, or even a 2-quart baking dish works perfectly. Next, take your prepared crumble topping and sprinkle it evenly over the fruit layer. Ensure the topping covers the fruit from edge to edge to guarantee a satisfying crunch in every bite.
4. Bake to Golden Perfection
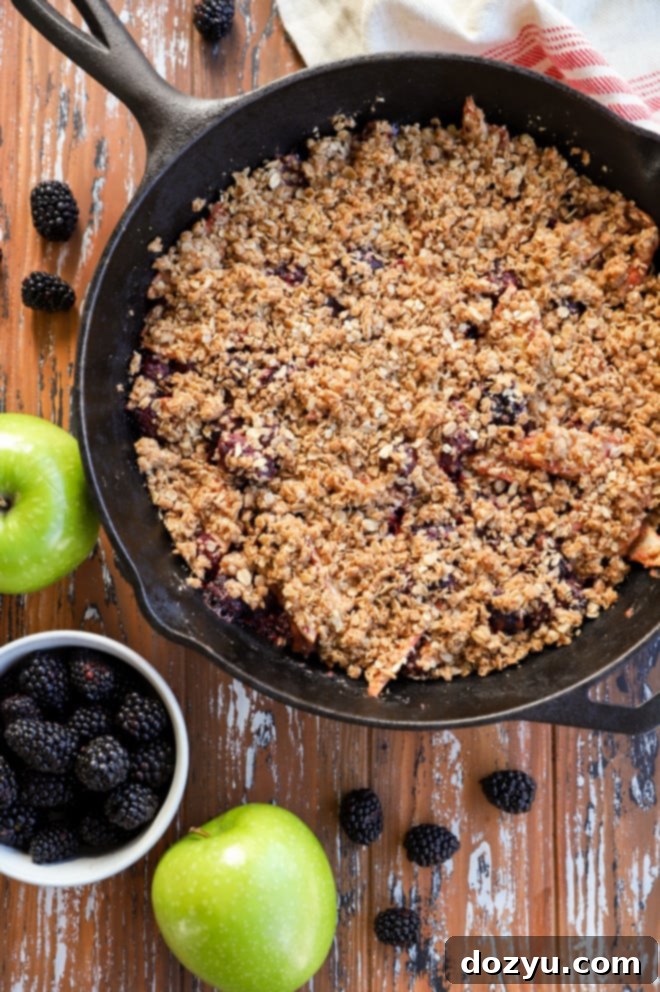
Preheat your oven to 375˚F (190˚C). Place the assembled crumble in the preheated oven and bake for 35 to 40 minutes. You’ll know your delicious fruit crumble is ready when the fruit filling is visibly bubbling around the edges and the streusel topping has transformed into a beautiful, golden brown, and wonderfully crispy layer. The aroma filling your kitchen will be your final delicious cue!
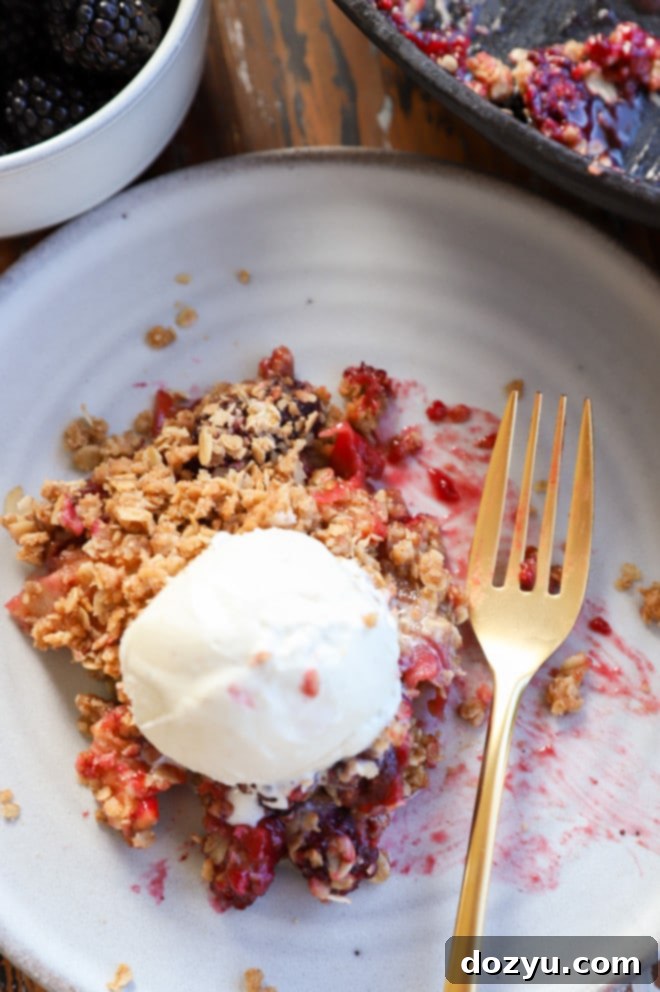
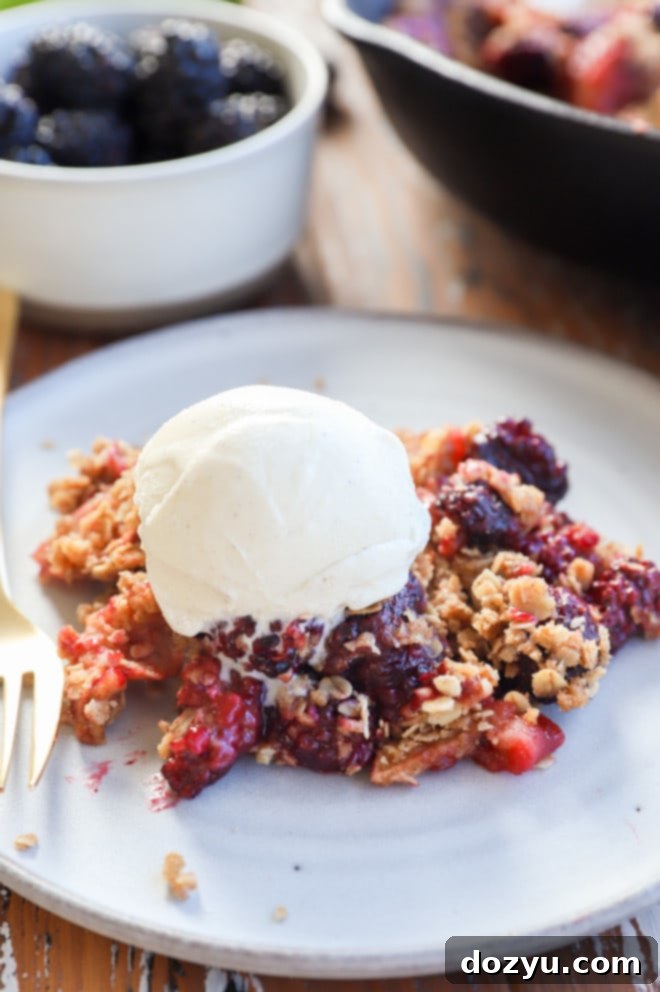
Once baked, allow the apple blackberry crumble to rest for about 5 minutes before serving. This brief cooling period helps the juices set slightly, making for a cleaner serve. Enjoy it warm with a scoop of creamy vanilla ice cream, a cloud of homemade whipped cream, a rich custard, or simply on its own. It’s equally delightful served at room temperature if you have leftovers (which are unlikely!).
Pro Tip for Berries: You can confidently use either fresh OR frozen berries for this recipe! If opting for frozen blackberries, remember the golden rule: thaw them completely and drain any excess liquid before adding them to your filling. For consistent, high-quality flavor year-round, look for Oregon blackberries. They’re flash-frozen at peak ripeness, locking in their delicious taste and nutrients, and often provide excellent value.
Pro Tips for a Perfect Apple Blackberry Crumble Every Time
Achieving a show-stopping apple blackberry crumble is easy when you keep a few key tips in mind. These insights will help ensure your dessert is consistently delicious, with that perfect balance of juicy fruit and crisp topping.
- Select the Right Apples: While blackberries can be purchased fresh when in season or frozen year-round, apples are best when fresh. I’ve outlined recommended varieties like Granny Smith, Honeycrisp, Braeburn, and Golden Delicious earlier in this post. Choose apples that are firm and crisp, as they hold their texture well during baking and provide a lovely contrast to the soft berries. Avoid mealy apples, which can become mushy.
- Always Thaw and Drain Frozen Berries: This is a critical step if you’re using frozen blackberries. If you skip thawing and draining, the excess moisture released during baking will make your fruit filling soggy and prevent the crumble topping from crisping up properly. Allow them to thaw completely, then gently press out any extra liquid before adding them to your filling mixture.
- Don’t Overmix the Crumble Topping: When incorporating the butter into the dry ingredients for the streusel, work quickly and avoid overmixing. The goal is to have a coarse, sandy texture with some pea-sized pieces of butter still visible. Overworking the dough can lead to a tough or cake-like topping instead of a light, crunchy crumble. Using cold butter and your fingertips helps prevent it from melting too quickly.
- Allow the Fruit Filling to Rest: As instructed in the recipe, letting the fruit mixture sit for 5 minutes before baking allows the natural juices to release and mingle with the sugar and flour. This helps create that delightful, slightly thickened, and luscious fruit sauce that’s characteristic of a great crumble.
- Have Fun with Toppings: While the crumble is utterly delicious on its own, it’s a fantastic canvas for various accompaniments. Classic vanilla bean ice cream is a perennial favorite, but don’t hesitate to experiment! Consider a rich custard sauce, a light and airy homemade whipped cream, a scoop of crème fraîche for a tangy contrast, or even a different flavor of ice cream like pistachio or salted caramel.
More tasty blackberry recipes to dive into:Blackberry Mojito | Grilled Blackberry Steak Tacos | Blackberry Lemon Icebox Cake | Blackberry Peach Shortcake Stacks
Freezing Apple and Blackberry Crumble: Baked & Unbaked Options
Yes, this apple blackberry crumble is an excellent candidate for freezing, making it a fantastic make-ahead dessert! Whether you prefer to freeze it unbaked for a freshly baked treat later or freeze it after baking for ultimate convenience, both methods work beautifully. This flexibility is perfect for meal prepping desserts for gatherings, holiday entertaining, or simply ensuring you always have a comforting sweet treat on hand.
To Freeze Unbaked Crumble:
Assemble the crumble exactly as instructed in the recipe, right up to the point of baking. Do not bake it. Once assembled in your baking dish, cover the dish tightly with a layer of plastic wrap, pressing it down to eliminate as much air as possible. Then, add a second, secure layer of aluminum foil. This double wrapping prevents freezer burn and helps maintain the crumble’s freshness. Label with the date. Your unbaked apple blackberry crumble can be stored in the freezer for up to 3 months.
When you’re ready to bake, transfer the frozen crumble to the refrigerator overnight to thaw. Once thawed, remove the coverings and bake as directed in the recipe. You might need to add an extra 5-10 minutes to the baking time since it will be colder than a freshly prepared crumble.
To Freeze Baked Crumble:
If you’ve already baked your apple blackberry crumble and have leftovers, or want to prepare it entirely in advance, ensure it cools completely to room temperature before freezing. This prevents condensation from forming and making the topping soggy. Once cool, wrap the entire dish (or individual portions) tightly with plastic wrap, followed by a layer of aluminum foil. Again, label with the date. Baked crumble can also be frozen for up to 3 months.
To reheat, thaw the frozen baked crumble overnight in the refrigerator. Then, you can warm it in the oven (see reheating instructions below) until heated through and the topping is crisp again.
Prepare Your Apple Blackberry Crumble Ahead of Time for Easy Entertaining
Absolutely! This blackberry apple crumble is an ideal recipe for advanced preparation, allowing you to minimize stress when hosting or simply enjoy a homemade dessert with minimal effort later. You have a couple of excellent options for making it ahead:
Refrigerate Unbaked Crumble:
Prepare the fruit filling and the crumble topping, then assemble the entire dessert in your baking dish as directed. Instead of baking immediately, cover the dish tightly with plastic wrap and place it in the refrigerator. It can be stored this way for up to 24 hours. When you’re ready to bake, remove it from the fridge and bake as instructed. You may need to extend the baking time by about 5-10 minutes since the dish will be starting at a colder temperature.
Freeze Unbaked Crumble:
As detailed in the section above, you can also freeze the unbaked crumble for longer-term storage. After assembling, wrap it well in plastic wrap and then a layer of foil. It will keep beautifully in the freezer for up to three months. Just remember to thaw it completely in the refrigerator before baking to ensure even cooking and a perfect texture.
Preparing this crumble ahead of time means you can have a warm, delicious dessert ready with minimal fuss, making it perfect for busy weekdays or special occasions.
Scaling Up: Doubling the Recipe for a Large Crowd
Feeding a larger gathering? No problem at all! This apple blackberry crumble recipe is incredibly versatile and scales up beautifully. You can easily double the recipe to accommodate more guests or to simply ensure you have plenty of delicious leftovers. All you need to do is double the quantities of all ingredients listed for both the fruit filling and the crumble topping.
For a doubled recipe, you can still use your trusty 10-inch casserole dish or a cast iron skillet, or opt for a larger baking dish if you have one. Just be mindful that a thicker layer of fruit and crumble will require a slightly longer baking time. When doubling, expect to add approximately 10 to 15 minutes to the original cook time. Keep an eye on the crumble; it’s done when the fruit is visibly bubbly and the topping is deeply golden brown and crisp.
Need more inspiration for dessert? Check out my desserts recipe page!
Perfect Pairings for Your Blackberry Apple Crumble Recipe
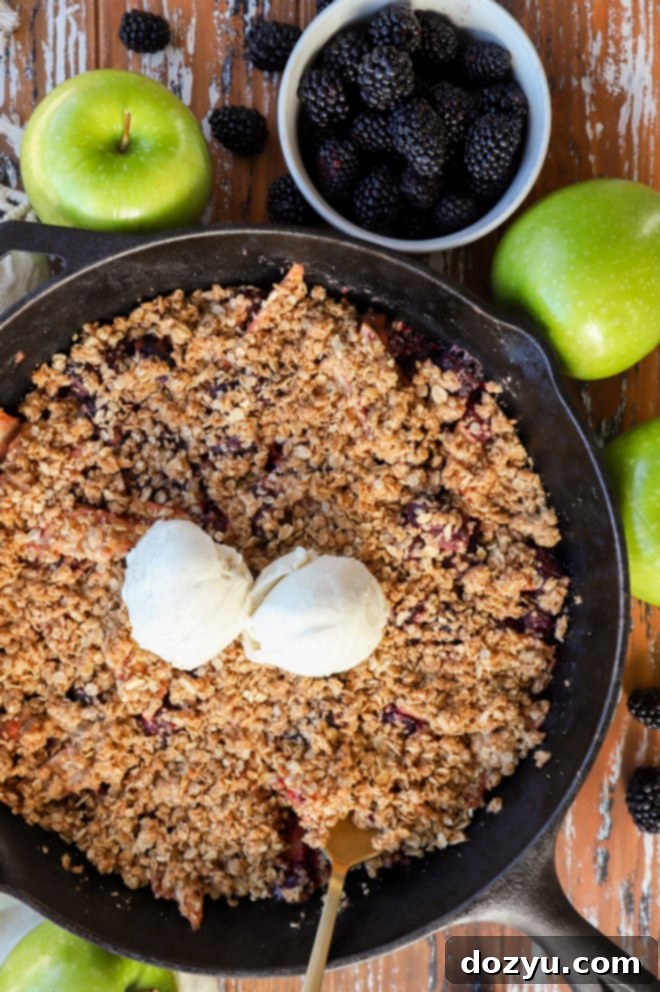
While this blackberry apple crumble is undeniably delicious on its own, it truly shines when paired with complementary flavors and textures. The warm, fruity goodness and crunchy topping create a perfect base for a variety of delightful additions:
- Ice Cream: My absolute favorite accompaniment! A generous scoop of classic vanilla bean ice cream melting into the warm crumble is pure bliss. However, feel free to explore other flavors like cinnamon, caramel, or even a berry swirl ice cream to enhance the experience. Frozen custard is another luxurious alternative.
- Whipped Cream: A dollop of freshly whipped cream adds a light, airy contrast to the rich crumble. For an extra touch, infuse your whipped cream with a hint of vanilla extract or a dash of cinnamon.
- Custard Sauce: A silky-smooth vanilla custard sauce, poured generously over individual servings, takes this dessert to an elegant level. The creamy warmth perfectly complements the tart fruit.
- Crème Fraîche: For a sophisticated touch and a hint of tanginess that cuts through the sweetness, a spoonful of crème fraîche is a superb choice.
Looking for a complete meal idea? This versatile crumble pairs wonderfully with various main courses:
- If you’re starting your meal with a hearty entree, a pulled pork burger (or sandwich!) made effortlessly in an Instant Pot is a fantastic, savory prelude to the sweet crumble.
- For those who love to grill, a savory French onion burger offers all the comforting flavors of your favorite soup, perfectly adapted for a summer barbecue.
- And to truly embrace the blackberry theme, why not pair your dessert with a refreshing blackberry gin fizz? It’s a vibrant and delicious way to complete your culinary experience!
Storage and Reheating Instructions for Apple Blackberry Crumble
Ensuring your delicious apple blackberry crumble stays fresh and enjoyable is simple with these storage and reheating tips. Whether you have leftovers or planned to make it ahead, here’s how to best manage your dessert.
Storage:
Once baked, allow the crumble to cool completely to room temperature. Transfer any leftovers to an airtight container or cover the baking dish tightly with plastic wrap. Store in the refrigerator for up to 4 days. Keep in mind that the longer it sits, the softer the crumble topping will become as it absorbs moisture from the fruit. For best results, consume within 2-3 days.
Freezing (Baked Crumble):
To freeze after baking, ensure the crumble is entirely cool. Wrap it thoroughly with plastic wrap, followed by a layer of aluminum foil to prevent freezer burn. It can be frozen for up to 3 months. Thaw overnight in the refrigerator before reheating.
Freezing (Unbaked Crumble):
Assemble the crumble as per the instructions, but do not bake it. Wrap it tightly with plastic wrap and then foil. Freeze for up to 3 months. Thaw completely in the refrigerator overnight before baking as directed in the recipe.
Reheating:
- From the Refrigerator (Baked Crumble): For a quick reheat, individual portions can be warmed in the microwave in 30-second increments until heated through. However, for the best texture, especially to regain that crisp topping, reheat in an oven-safe dish. Place it in a preheated oven at 350˚F (175˚C) for 15-20 minutes, or until warmed through and the topping is crisp. You might want to cover it loosely with foil for the first half of reheating to prevent over-browning, then uncover for the last few minutes to re-crisp.
- From the Freezer (Baked & Thawed Crumble): Once thawed overnight in the refrigerator, reheat as you would a refrigerated baked crumble, in the oven at 350˚F (175˚C) until hot and crispy.
- From the Freezer (Unbaked & Thawed Crumble): After thawing completely in the refrigerator, bake according to the original recipe instructions.
Finally, if you whip up this fantastic apple blackberry crumble recipe, I’d absolutely love to hear about it! Please take a moment to give the recipe a rating or leave a comment below. Your feedback truly brightens my day, and I make an effort to respond to every single one. Don’t hesitate to drop any questions you might have too – I’m here to help!
And for those who love to share their culinary creations, be sure to tag me on Instagram! Seeing these recipes come to life in your homes is genuinely one of my favorite things; it means the world to me to witness your delicious results.
Apple Blackberry Crumble Recipe Card
Equipment
-
Measuring Cups
-
Measuring Spoons
-
Wooden Spoon & Scraper
-
Mixing Bowls
-
10-inch Casserole Dish or Cast Iron Skillet
Ingredients
- 2 1/2 cups frozen or fresh blackberries*
- 2 1/2 cups apples peeled and thinly sliced (approx. 2 large Granny Smith or baking apples)
- Juice of 1/2 lemon (approx. 1/2 oz fresh lemon juice)
- 1/3 cup packed light brown sugar
- 3 tbsp all-purpose flour
- 1/2 tsp ground cinnamon
- 1/4 tsp ground nutmeg
- Pinch of salt
- 1 cup old-fashioned oats
- 1/2 cup loosely packed light brown sugar
- 2 Tbsp all-purpose flour
- 1/2 tsp cinnamon
- 1/4 tsp salt
- 4 Tbsp unsalted butter softened, but still cold
Instructions
-
Preheat your oven to 375˚F (190˚C).
-
In a large mixing bowl, combine all the fruit filling ingredients: blackberries, apples, lemon juice, 1/3 cup brown sugar, 3 tbsp all-purpose flour, 1/2 tsp ground cinnamon, 1/4 tsp ground nutmeg, and a pinch of salt. Stir gently until well combined. Set aside for 5 minutes to allow the fruit juices to release, while you prepare the crumble topping.
-
In a medium mixing bowl, whisk together the crumble topping’s dry ingredients: oats, 1/2 cup brown sugar, 2 tbsp all-purpose flour, 1/2 tsp cinnamon, and 1/4 tsp salt. Add the softened (but still cold) butter. Using your fingertips, pinch and rub the butter into the dry mixture until it forms a coarse, crumbly texture resembling wet sand, with some pea-sized butter pieces. Avoid overmixing.
-
Pour the fruit mixture evenly into your 10-inch casserole dish or cast iron skillet. Sprinkle the prepared crumble topping evenly over the fruit layer.
-
Bake for 35 to 40 minutes, or until the fruit filling is bubbly and the crumble topping is golden brown and crisp.
-
Let the crumble rest for 5 minutes after baking to allow the juices to set slightly before serving.
-
Serve warm with your favorite toppings like ice cream, whipped cream, or custard, or enjoy it deliciously on its own.
