Homemade Greek Hummus: The Easiest Recipe for Silky Smooth & Authentic Flavor
Embarking on the journey of making homemade hummus is a truly transformative culinary experience. Beyond the simple act of preparing a dish, it unlocks a world of unparalleled flavor, freshness, and personal customization that store-bought varieties simply cannot match. The moment you taste your first batch of easy, authentic hummus made right in your kitchen, you’ll discover a depth of taste and an incredibly smooth, creamy texture you never knew was possible. This recipe will guide you through all the best tips and tricks to create a Greek-style hummus that will become your new go-to dip.
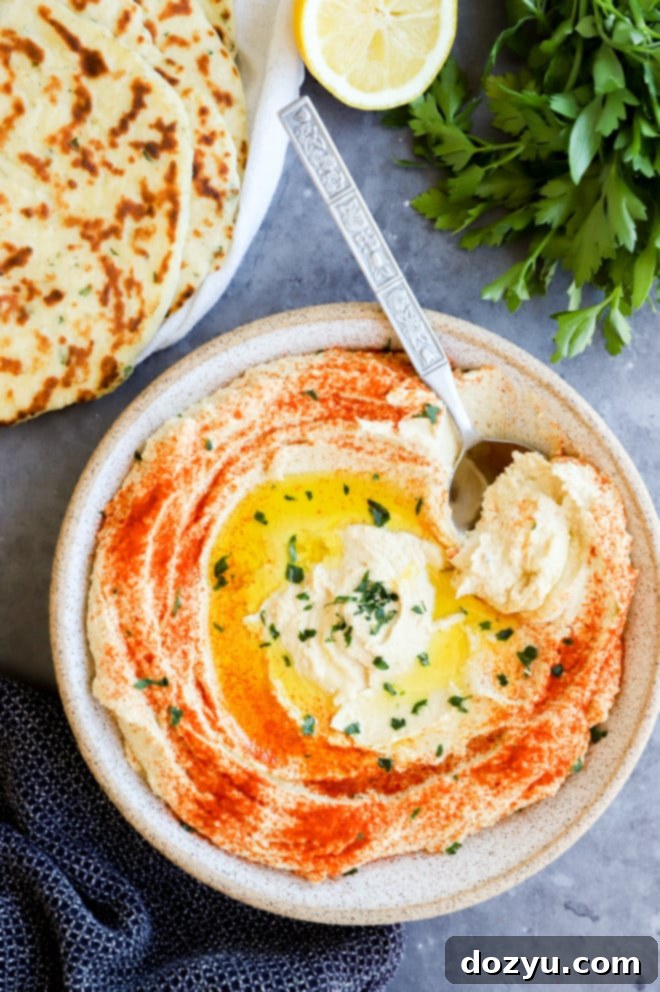
Table of Contents
About This Greek Hummus Recipe
Making homemade hummus is a game-changer for countless reasons, elevating your snacking and meal prep to a new level. The primary advantage lies in the unparalleled flavor. The first time you whip up this easy hummus at home, you’ll be astonished by its rich, vibrant taste. You gain complete control over every ingredient, allowing you to fine-tune the garlic intensity, adjust the tanginess of lemon juice, or vary the richness of tahini to suit your exact preference. This freedom also opens the door to exciting flavor experiments, such as incorporating roasted red peppers, sun-dried tomatoes, or even a hint of smoky paprika.
When it comes to texture, this authentic Greek hummus achieves an insanely smooth consistency, largely thanks to quickly cooking the chickpeas under pressure in an Instant Pot. If you don’t own a pressure cooker, a simple stovetop simmer will also yield fantastic results. You have the power to make your hummus as thick and hearty or as light and airy as you desire. This level of personalization is precisely why I wholeheartedly recommend making hummus from scratch.
There’s a deeply rewarding satisfaction that comes from preparing this classic Mediterranean dip yourself. It’s a quick and straightforward recipe that consistently delivers on both flavor and an irresistible texture. Whether you’re looking for a healthy snack, a versatile spread for sandwiches, or an impressive appetizer for a party, homemade hummus is always a winning choice. When you proudly present your homemade creation, be prepared—it disappears quickly because it’s truly that good. In essence, this recipe promises a hummus that is fresher, tastier, healthier, and uniquely yours.
What is Hummus? An Authentic Mediterranean Delight
Hummus, a beloved Mediterranean dip, is celebrated globally for its rich, earthy flavor and wonderfully creamy texture. While it has become widely associated with Greek cuisine, hummus boasts a long and storied history, with its origins tracing back to the broader Middle East, particularly in culinary traditions of countries like Egypt, Lebanon, and Syria. Each region, including Greece, has embraced and adapted this ancient dish, adding its own unique spin to make it a distinct and cherished part of its culinary landscape.
The secret to Greek hummus’s irresistible flavor lies in its simplicity and the quality of its core ingredients. At its heart are humble chickpeas, also known as garbanzo beans. These protein-rich legumes form the velvety base of the dip, contributing a naturally smooth texture and a subtle, nutty undertone. In traditional Greek hummus, these chickpeas are skillfully blended with tahini, a creamy paste made from ground sesame seeds. Tahini is crucial, imparting a distinct earthiness and a slight, pleasant bitterness that perfectly balances the overall flavor profile. Fresh lemon juice adds a bright, zesty acidity, while garlic provides a pungent warmth. Finally, a generous drizzle of good quality extra virgin olive oil not only enhances the flavor but also adds to the luxurious mouthfeel, completing this iconic Mediterranean staple.
Key Ingredients for the Perfect Hummus
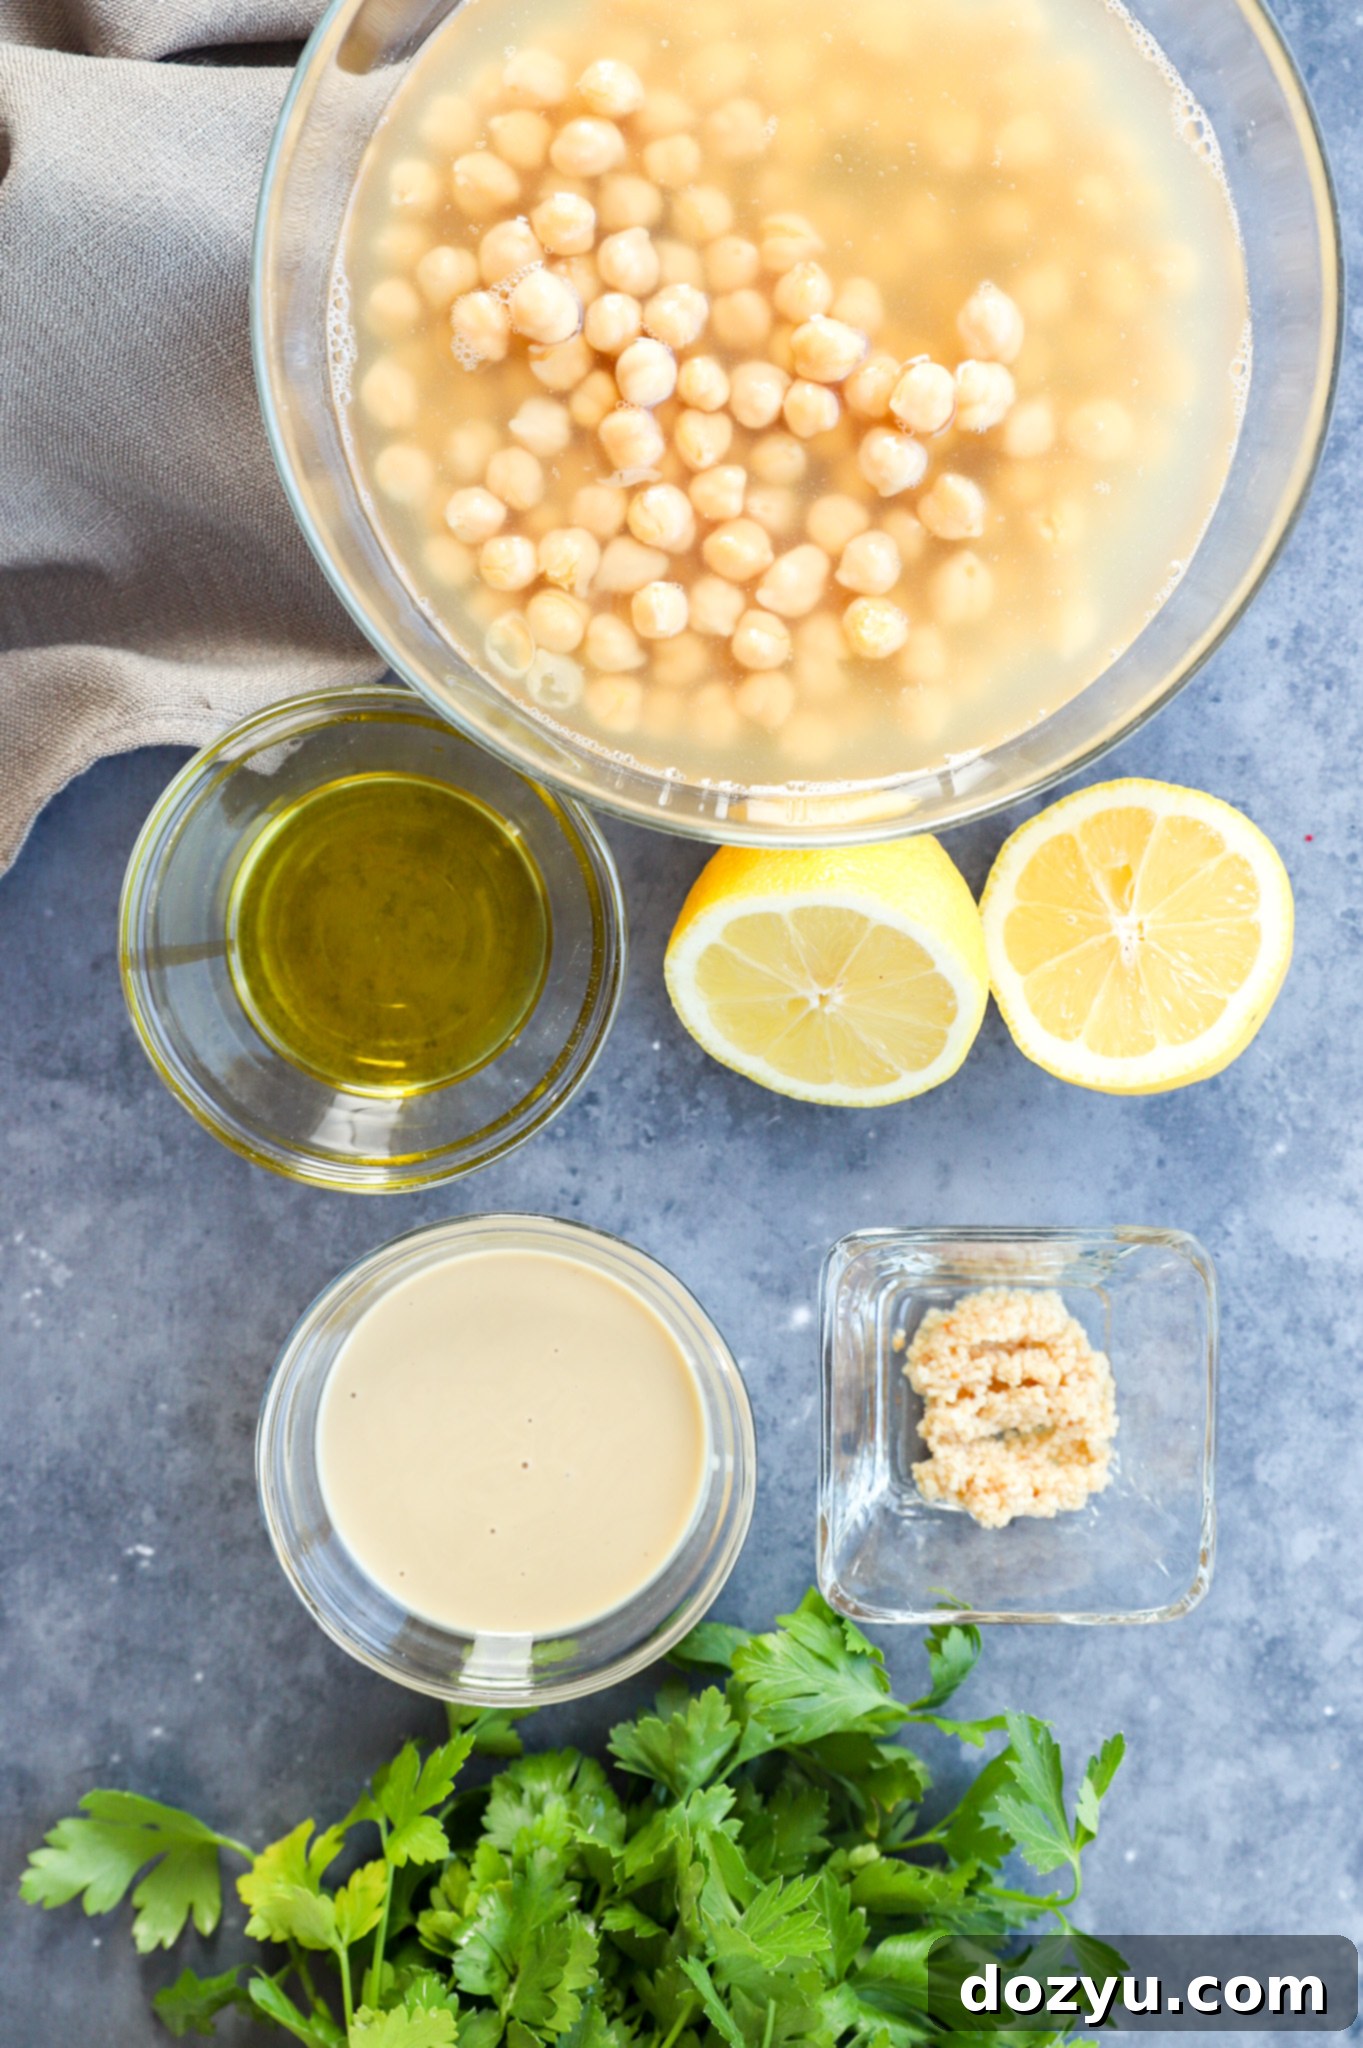
To achieve that authentic, irresistible Greek hummus, selecting the right ingredients is paramount. Here’s a closer look at what you’ll need and why each component is vital:
- Chickpeas: We recommend using two 14-ounce cans of chickpeas for convenience and consistent results. Crucially, don’t discard the liquid (aquafaba) from the can! This starchy liquid is essential for achieving the perfect creamy consistency and is often used in place of water in traditional recipes.
- Garlic: Garlic is the backbone of hummus flavor, providing a pungent, aromatic kick. While fresh cloves are always ideal, having minced garlic ready in your fridge is a fantastic shortcut that doesn’t compromise on taste. Cooking the garlic with the chickpeas also mellows its intensity beautifully.
- Lemon Juice: Freshly squeezed lemon juice is non-negotiable for vibrant, bright hummus. The acidity cuts through the richness of the tahini and chickpeas, adding a crucial zing. You’ll typically need the juice from half a lemon, but always taste and adjust to your preference.
- Tahini: This rich, creamy paste made from ground hulled sesame seeds is a foundational ingredient in hummus, contributing its characteristic earthy flavor and helping to create that silky-smooth texture. A good quality tahini makes a significant difference, so choose wisely.
- Extra Virgin Olive Oil: Beyond just a garnish, two tablespoons of a good quality extra virgin olive oil are incorporated directly into the hummus, lending a subtle fruity flavor and contributing to its luxurious mouthfeel. Don’t skimp on quality here, as its flavor truly shines through.
- Flaky Sea Salt: Essential for seasoning, flaky sea salt enhances all the other flavors, bringing them into perfect harmony. Add it to taste after blending.
- Garnish: For that final touch of Mediterranean elegance and flavor, a drizzle of high-quality extra-virgin olive oil, a dusting of sumac or paprika for color and a tangy, smoky note, and a sprinkle of freshly chopped flat-leaf parsley are highly recommended.
Essential Equipment for Homemade Hummus
Crafting the perfect batch of homemade Greek hummus is made significantly easier with the right tools. Here are the must-have pieces of equipment for this recipe:
- Electric Pressure Cooker (e.g., Instant Pot Ultra or Duo): This is the secret weapon for incredibly soft chickpeas, which are key to a super smooth hummus. It dramatically reduces cooking time and tenderizes the beans perfectly.
- Spider Strainer or Fine Mesh Sieve: Essential for efficiently removing the cooked chickpeas from their liquid while reserving the precious cooking liquid, which you’ll need later.
- Food Processor or High-Powered Blender (e.g., Vitamix): To achieve that coveted silky-smooth texture, a robust food processor or a high-powered blender is indispensable. It will thoroughly break down the chickpeas and combine all ingredients into a creamy dip.
- Measuring Spoons and Cups: For accurate ingredient measurements, ensuring consistent results every time.
Step-by-Step: How to Make Greek Hummus
Pressure Cook or Simmer Chickpeas
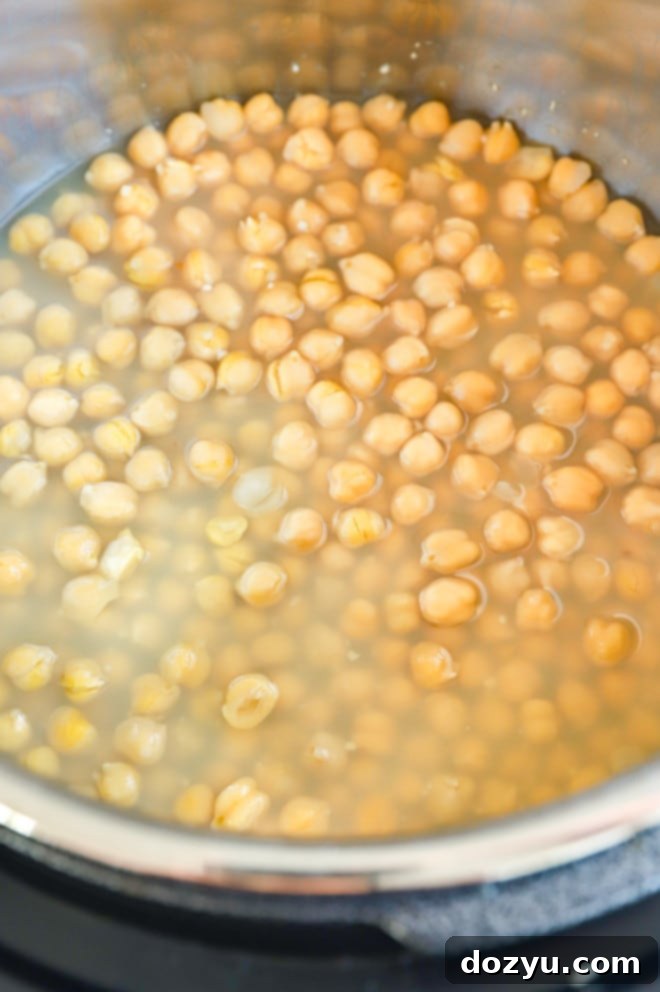
The journey to ultra-creamy hummus begins with perfectly cooked chickpeas. Add the canned chickpeas, along with their canning liquid, and the garlic cloves to the insert of your Instant Pot. Pressure cook on High for 10 minutes. Once cooking is complete, you can either quick release the pressure (for faster results) or allow it to natural release (for slightly softer chickpeas). Immediately after, carefully drain the chickpeas and garlic using a fine mesh sieve, making sure to reserve all of the cooking liquid. This liquid is your secret weapon for adjusting the hummus to your desired consistency later on.
No Pressure Cooker? No Problem! If you don’t have an electric pressure cooker, you can easily cook the chickpeas on the stovetop. Transfer the chickpeas and their liquid to a saucepan and bring it to a gentle simmer over medium-high heat. Allow them to simmer for 20 to 25 minutes, or until the chickpeas are notably softened. The goal is a tender, almost mushy chickpea, which is crucial for a smooth hummus.
Purée Chickpeas to Perfection
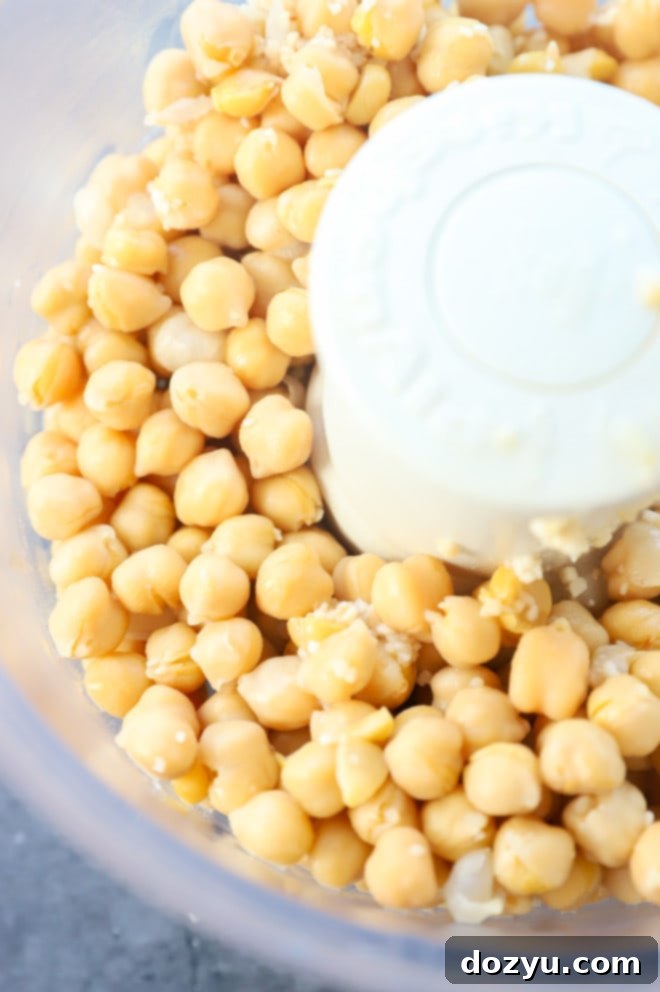
Transfer the warm, cooked chickpeas and garlic into your food processor. Begin by pulsing the mixture until it becomes mostly smooth. This initial pulsing helps break down the chickpeas evenly before adding the other ingredients. Next, pour in the fresh lemon juice, tahini, and the extra-virgin olive oil. Pulse again to thoroughly combine all these foundational elements. At this stage, you’re building the flavor base and starting to create the rich texture.
Achieve Ultimate Smoothness and Creaminess
Now for the magic touch! Set your food processor to run continuously on medium-high speed. While it’s blending, slowly add the reserved chickpea cooking liquid, one tablespoon at a time, through the opening in the top. The key here is patience; allow each tablespoon to fully incorporate before adding the next. Continue adding liquid until your hummus reaches your desired consistency—it should be incredibly smooth, light, and creamy. I typically find about 3 tablespoons to be perfect, but you may need slightly more or less depending on your chickpeas and preference. Finally, taste your hummus and season generously with flaky sea salt until the flavors pop.
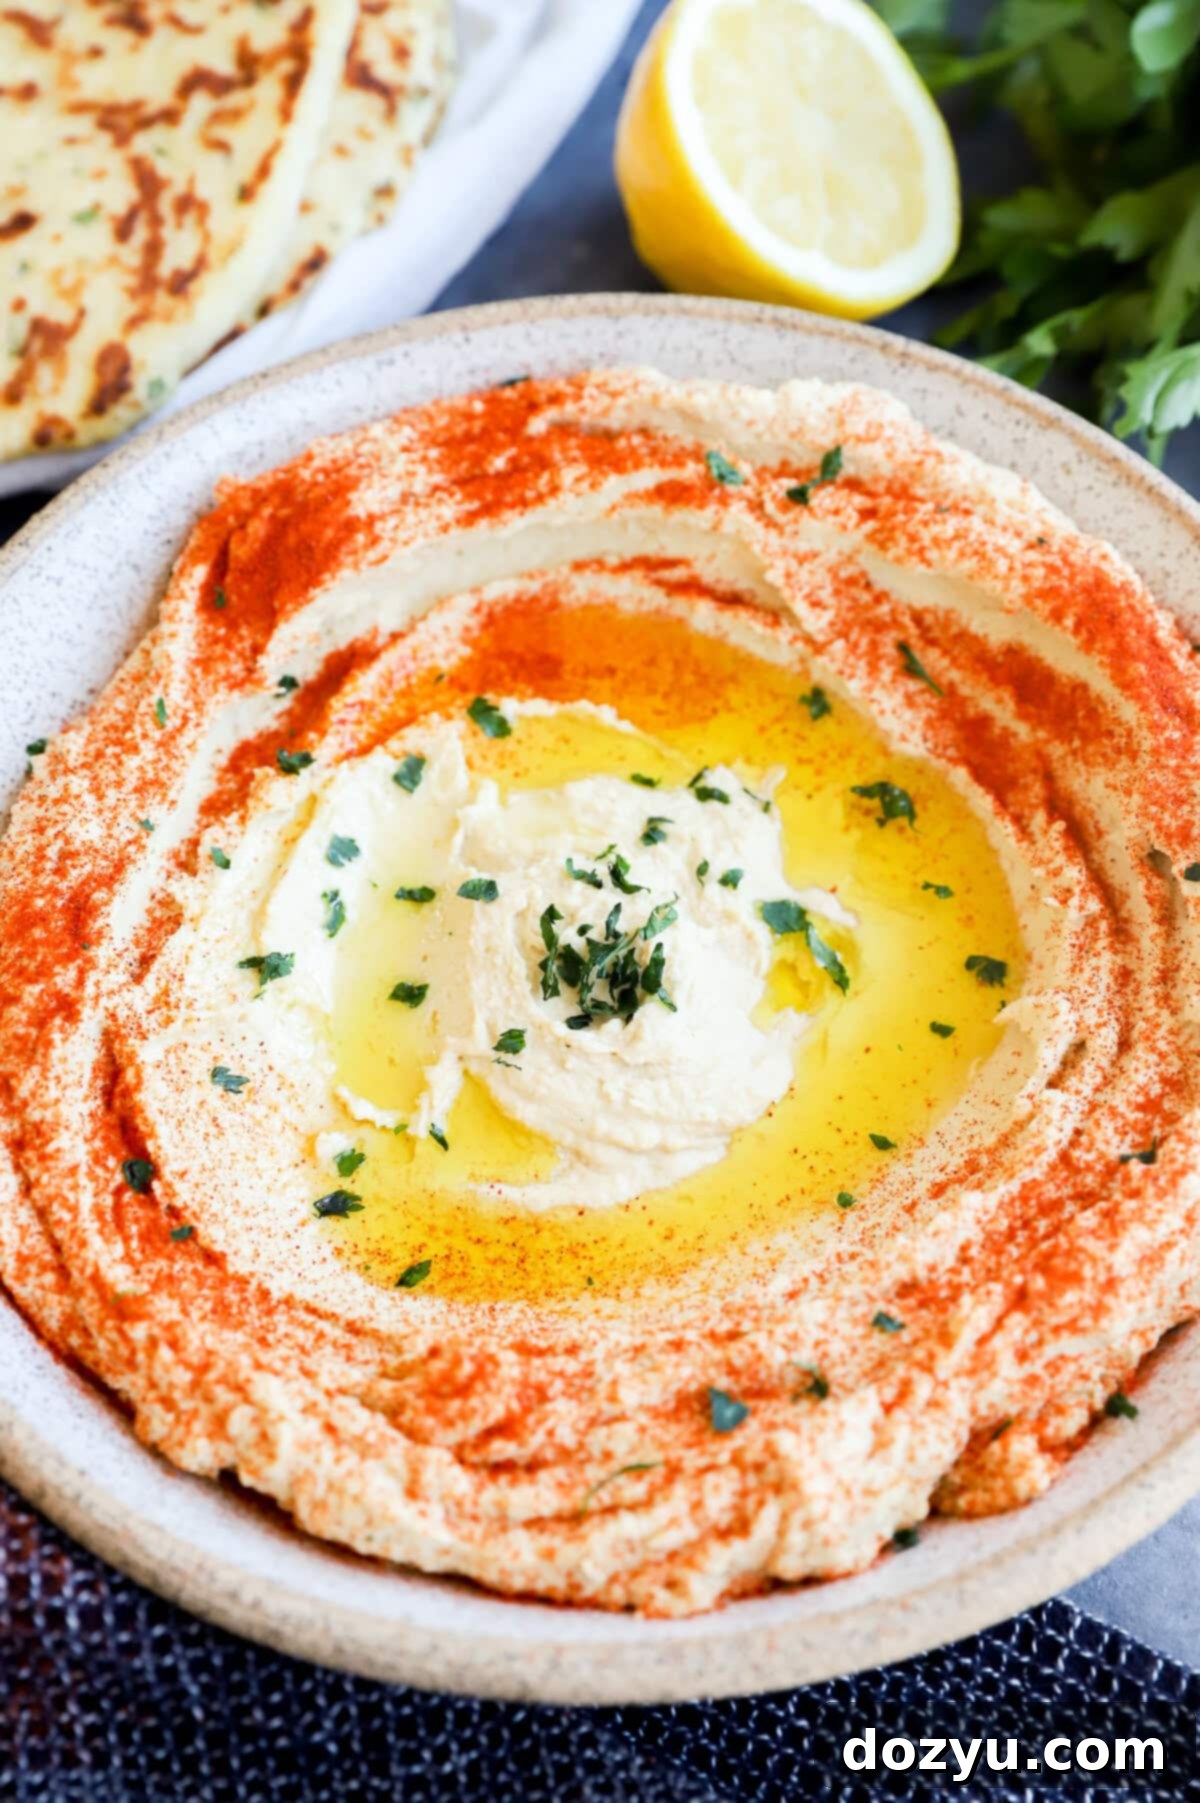
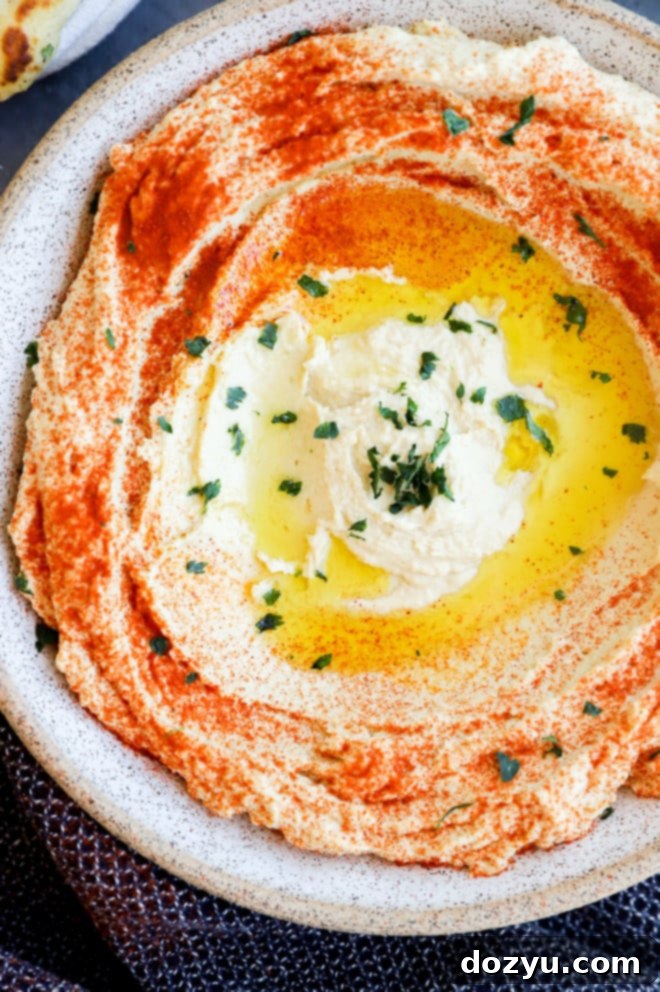
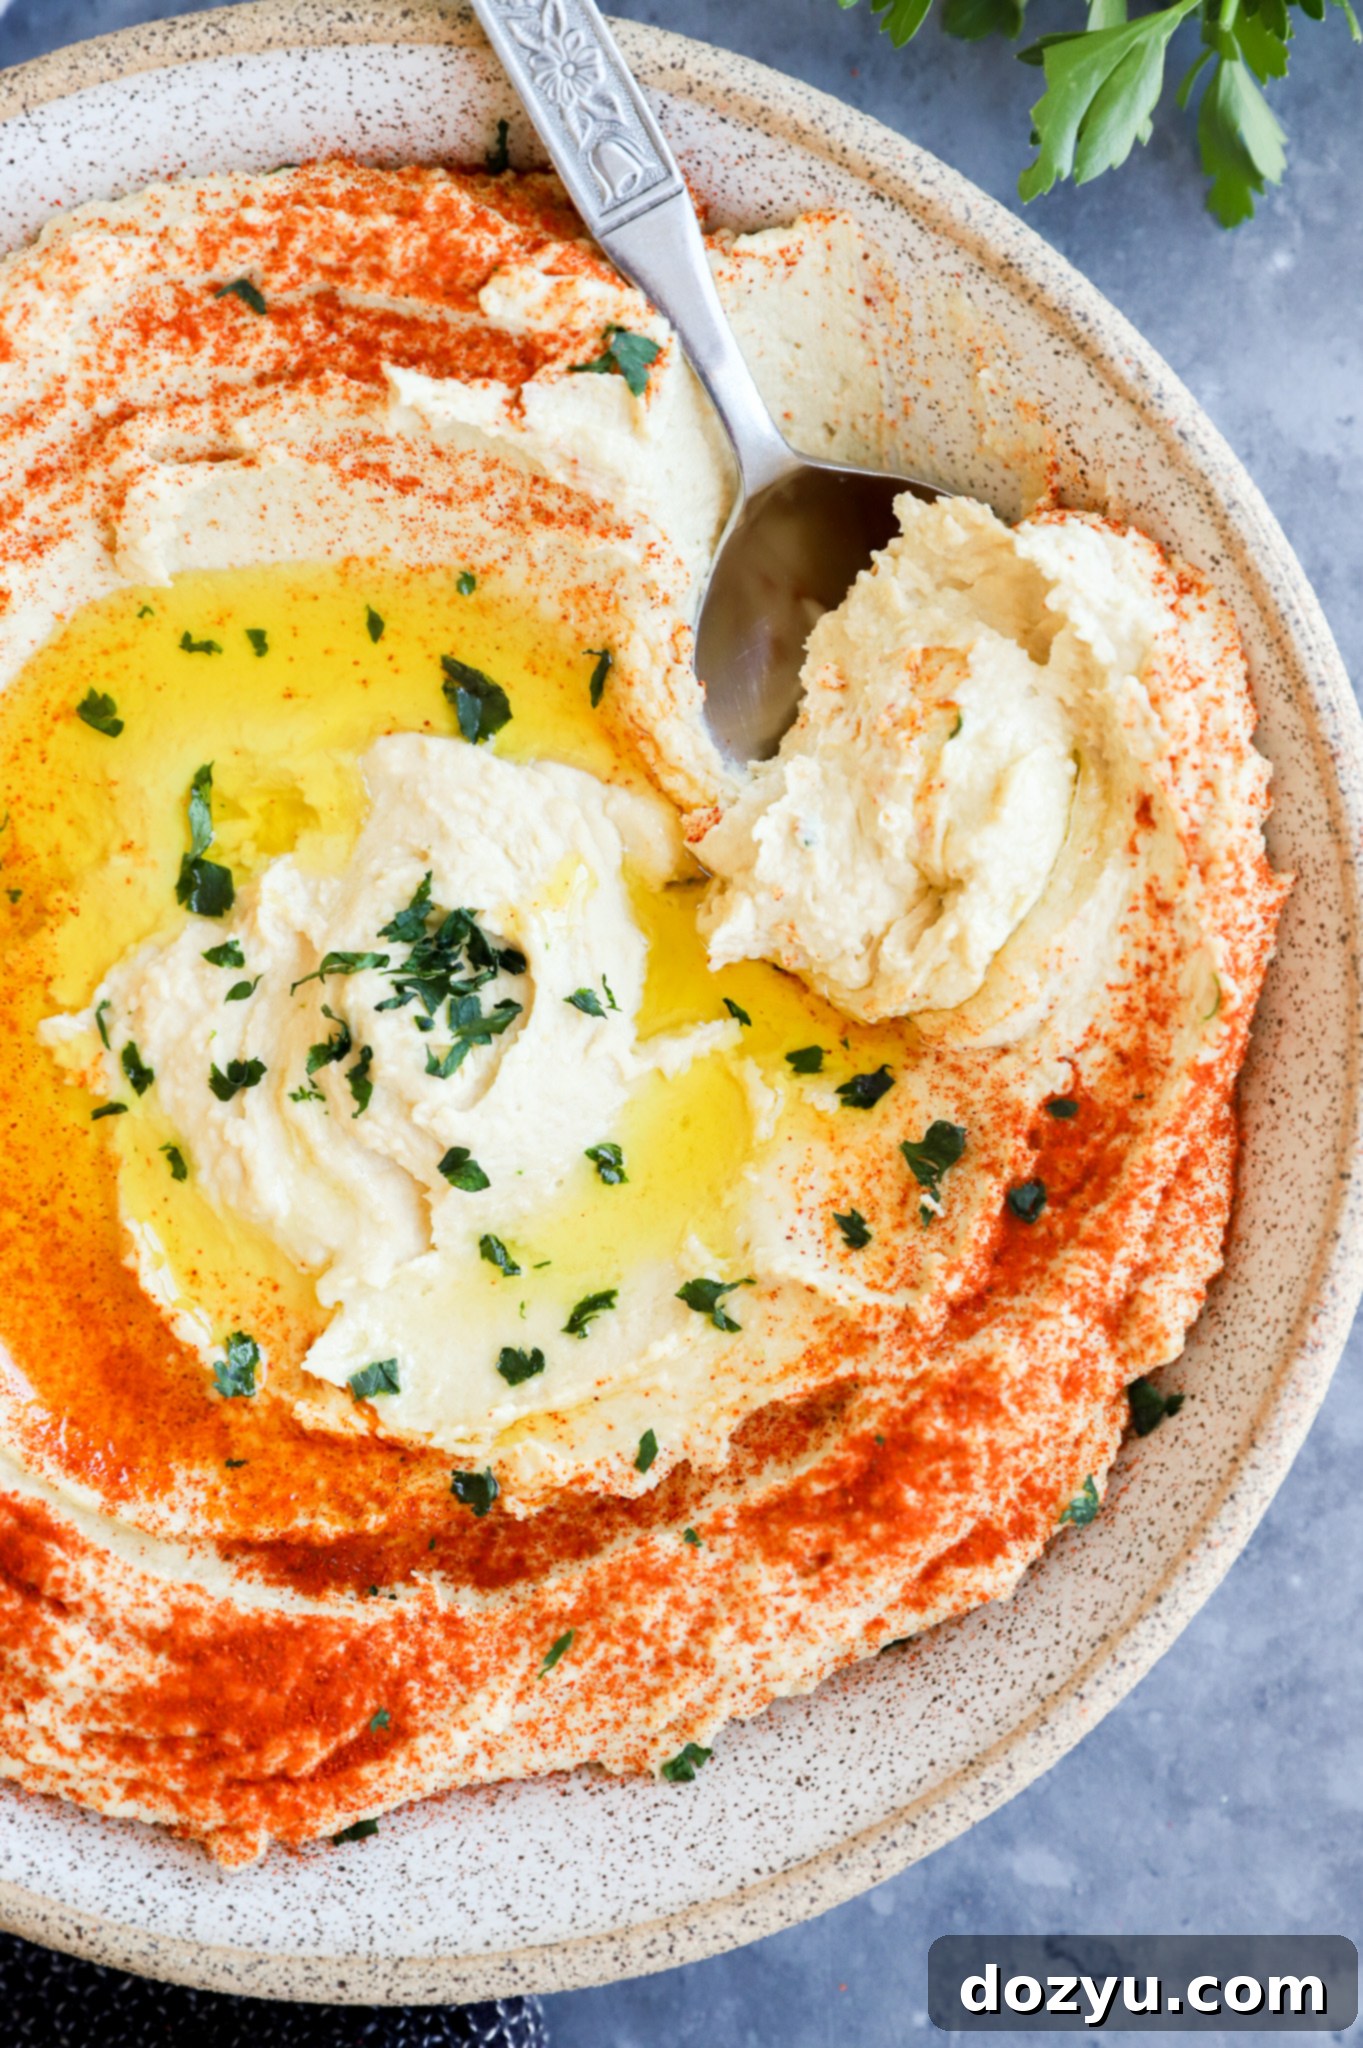
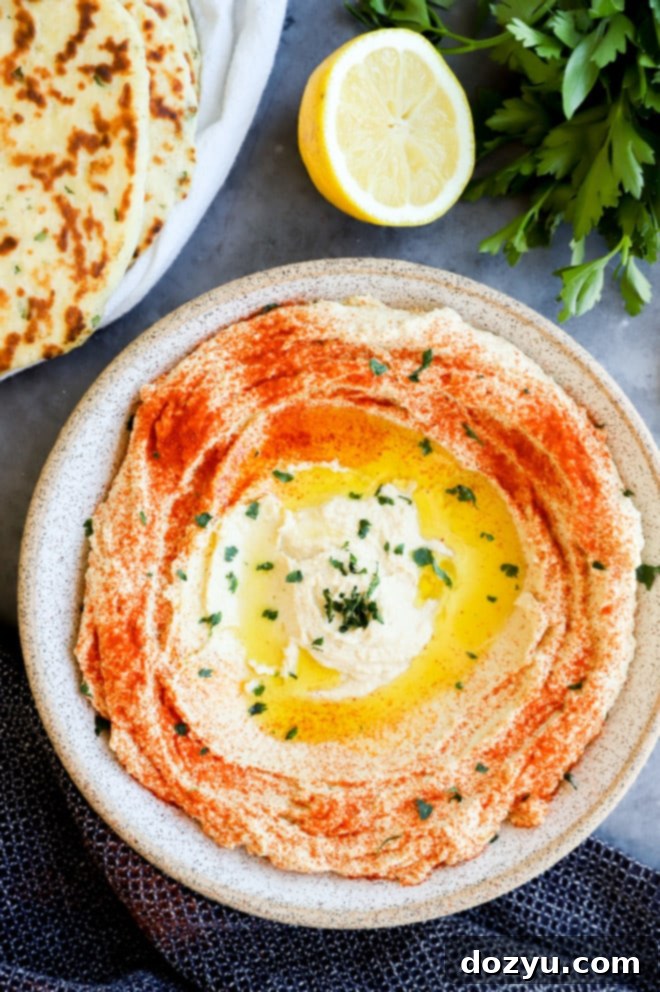
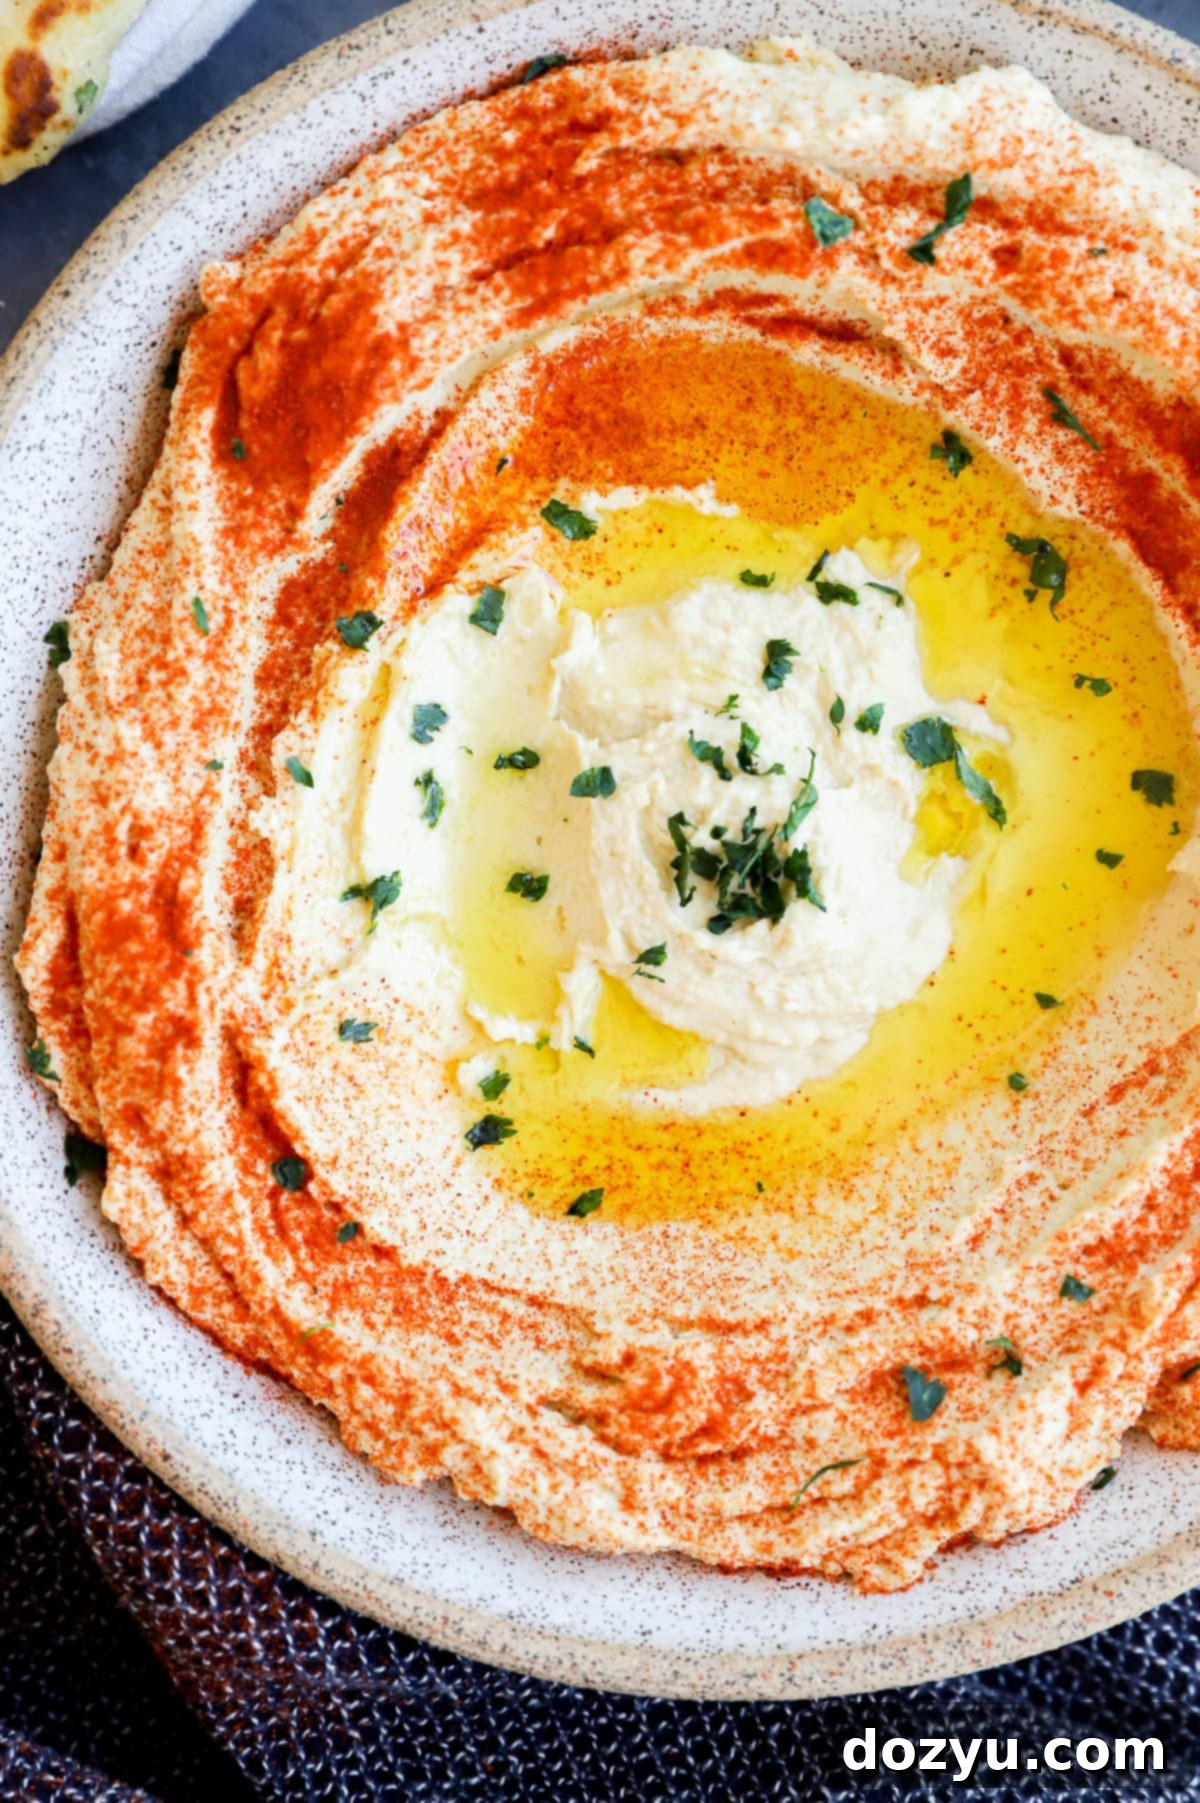
To serve, transfer the velvety hummus to a beautiful bowl. Create a small well in the center, then drizzle generously with extra-virgin olive oil. For an extra flourish, sprinkle the edges with sumac or paprika, and finally, scatter some freshly chopped flat-leaf parsley over the top. Serve immediately with your favorite dippers and enjoy the fruits of your labor!
Expert Tips and Creative Ideas
Unlock the full potential of your homemade hummus with these essential tips and inspiring ideas:
- Don’t Skip Cooking the Chickpeas and Garlic: This step is absolutely crucial for achieving the creamiest hummus imaginable. Cooking the chickpeas, even if canned, helps break down their outer skins and interiors, ensuring a velvety smooth texture that store-bought hummus often lacks. Additionally, cooking the garlic mellows its raw pungency, transforming it into a nuanced, aromatic component that enhances the overall flavor without overpowering it.
- No Need to Peel Chickpeas: While some recipes advocate for peeling chickpeas for ultimate smoothness, this method of cooking them quickly under high pressure or simmering sufficiently tenderizes them, rendering peeling unnecessary. It saves a significant amount of time and, honestly, you won’t notice a difference in texture with this recipe!
- Let the Food Processor Do the Work: Don’t rush the blending process. Achieving that perfect, airy, and smooth texture requires time. Let your food processor run for several minutes, scraping down the sides as needed, until the hummus is undeniably creamy. A few extra minutes of processing can make all the difference.
- Adjust Consistency Gradually: When adding the reserved chickpea liquid, do so slowly, one tablespoon at a time. This allows you to control the thickness precisely. It’s much easier to add more liquid than to fix overly thin hummus.
More delicious dip recipes to try: Crab Rangoon Dip | Spinach and Artichoke Goat Cheese Dip | Whipped Goat Cheese Salsa Dip | Chipotle Chili Cheese Dip
Homemade vs. Store-Bought: The Ultimate Taste Test
Is there really a noticeable difference between homemade and store-bought hummus? Absolutely! While many commercial brands offer decent options, homemade hummus truly stands in a league of its own. My research and countless taste tests confirm that the freshly prepared version offers a superior flavor profile and a far more desirable texture. The ability to control the quality of ingredients, the balance of flavors, and the final consistency means you get a hummus that is brighter, richer, and exquisitely smooth—a stark contrast to the often denser or more acidic store-bought varieties. Given how easy and quick it is to prepare this recipe, the minimal effort is profoundly rewarded with a gourmet result.
Is Greek Hummus Gluten-Free and Healthy?
Yes, traditional Greek hummus is naturally gluten-free! Its primary ingredients—chickpeas, tahini, lemon juice, garlic, and olive oil—are all naturally free of gluten. This makes it an excellent choice for individuals with gluten sensitivities or those following a gluten-free diet. Hummus is also incredibly healthy, packed with protein and fiber from the chickpeas, healthy fats from tahini and olive oil, and various vitamins and minerals. It’s a nutritious dip that contributes to a balanced diet, especially when served with fresh vegetables, gluten-free crackers, or gluten-free pita bread.
How Long Does Homemade Hummus Last?
Proper storage is key to enjoying your delicious homemade hummus for as long as possible. When stored in an airtight container in the refrigerator, your fresh hummus will maintain its optimal flavor and texture for up to 3 to 5 days. For best results, place a thin layer of olive oil over the top of the hummus before sealing the container; this helps prevent it from drying out and oxidizing, keeping it fresh and vibrant.
How to Customize and Add Extra Flavor
One of the greatest joys of making hummus at home is the endless opportunity for customization. While the base recipe is fantastic on its own, you can easily infuse it with additional flavors to create your own signature dip:
- Roasted Garlic Hummus: For a deeper, sweeter garlic flavor, incorporate 2 to 3 cloves of air fryer roasted garlic into the food processor while pureeing. The roasting process mellows the garlic’s sharp edges, adding a wonderfully complex note.
- Roasted Red Pepper Hummus: Add 1/2 cup of well-drained roasted red peppers (from a jar or homemade) to the food processor with the chickpeas. Their smoky sweetness beautifully complements the hummus.
- Sun-Dried Tomato Hummus: For a rich, intensely savory flavor, blend in 1/4 to 1/2 cup of oil-packed sun-dried tomatoes (drained) with the other ingredients.
- Spicy Hummus: Add a pinch of cayenne pepper, a dash of hot sauce, or a finely chopped jalapeño to the food processor for a kick.
- Herbaceous Hummus: Blend in fresh herbs like cilantro, basil, or mint for a bright, refreshing twist.
- Olive Tapenade Topping: Instead of a simple olive oil drizzle, top your finished hummus with a spoonful of store-bought or homemade olive tapenade for an explosion of briny, savory flavors.
Troubleshooting: What to Do If Your Hummus is Too Thick
If your homemade hummus turns out thicker than you’d like, don’t fret – this is an easy fix! Simply add a bit more of the reserved cooking liquid from the chickpeas. Add the liquid 1 tablespoon at a time, blending thoroughly after each addition, and allowing it to fully incorporate. Continue this process until the hummus reaches your desired smooth and creamy consistency. It’s important to add slowly and gradually, as it’s much harder to correct hummus that’s too thin without having to cook and add more chickpeas, which can be time-consuming.
Need more inspiration for appetizers? Check out my appetizer recipes page!
What to Serve with Your Creamy Greek Hummus
The versatility of hummus is one of its most appealing qualities. It can be served in a myriad of ways, making it a perfect accompaniment to almost any meal or snack. For dipping, classic choices include warm pita bread, crispy pita chips, or my personal favorite, fluffy Turkish bread. For a healthier option, fresh cut vegetables like cucumber sticks, bell pepper strips, carrot sticks, and cherry tomatoes are fantastic. Don’t forget crunchy air fryer zucchini chips for a unique and satisfying dipper!
Beyond being a simple dip, hummus excels as a spread for sandwiches, wraps, or even as a flavorful base for toasts. Try spreading it on flatbreads and topping with roasted vegetables for a light lunch, or use it as a savory topping for grilled meats or meatballs. Here are some creative ways to incorporate this delicious Greek hummus into your meals:
- Ratatouille Hummus Toast: Elevate your breakfast or brunch by spreading hummus on toast and topping it with rich ratatouille and soft scrambled eggs.
- Summer Garden Hummus Board: Make your hummus the star of an impressive appetizer board, surrounded by an abundance of fresh garden vegetables, olives, feta, and crusty bread.
- Hummus Grilled Flatbread: Use it as a vibrant base for grilled flatbreads, then pile on your favorite roasted vegetables for a hearty and flavorful meal.
Serving this for a party? Complement the Mediterranean flavors with a refreshing spiced rum punch that’s both citrusy and bold. If you’re looking to explore more hummus variations, next time try this flavorful roasted carrot hummus!
Storage Tips for Fresh Hummus
To ensure your homemade Greek hummus remains fresh and delicious, follow these storage guidelines:
- Refrigerate: Store any leftover hummus in an airtight container in the refrigerator. It will stay fresh and flavorful for up to 3 to 5 days. For an extra layer of protection against drying out and oxidation, you can pour a thin layer of olive oil over the surface of the hummus before sealing the container.
- Freeze (Not Recommended for Optimal Texture): While technically you can freeze hummus for up to 4 months, it’s generally not recommended for the best quality. The texture of hummus tends to change significantly after freezing and thawing; it can become grainy or watery, and the vibrant flavors may dull.
- Thaw: If you do choose to freeze it, thaw frozen hummus slowly in the refrigerator overnight. Once thawed, give it a good stir, and if needed, add a tablespoon of fresh lemon juice or olive oil and re-blend briefly in the food processor to try and restore some of its creaminess.
More Delicious Greek-Inspired Recipes to Explore
If you’ve fallen in love with the flavors of this Greek hummus, you’ll be thrilled to discover more Mediterranean-inspired recipes:
- Greek Beef Pitas: A quick and flavorful weeknight meal, ready in just 25 minutes.
- Butter Bean Hummus: A unique and equally creamy spin on traditional hummus, perfect if you’re looking for something a little different.
- Greek Stuffed Roasted Sweet Peppers: An excellent appetizer that pairs wonderfully with any leftover hummus, showcasing vibrant Mediterranean ingredients.
- Greek Gyro Lamb Tacos: A fusion dish that ingeniously uses leftover lamb for a flavorful and exciting meal.
Finally, if you try this incredible Greek hummus recipe, please consider leaving a rating and/or a comment below! I truly cherish hearing about your cooking experiences and always make an effort to respond to every single comment. Feel free to drop any questions you might have about the recipe, too!
And for those who love to share their culinary creations, be sure to tag me on Instagram! Seeing these recipes come to life in your homes is one of my favorite things and truly means the world to me!
Greek Hummus
10 mins
10 mins
10 mins
30 mins
6
Equipment
-
Measuring Spoons
-
Measuring Cups
-
Fine Mesh Strainers
-
Instant Pot Ultra
-
9-Cup Food Processor
Ingredients
- 2 (14 ounce) cans chickpeas (with liquid)
- 2 garlic cloves (smashed or minced)
- Juice of 1 lemon (freshly squeezed)
- 1/2 cup tahini
- 2 Tbsp extra-virgin olive oil + more for drizzling
- Flaky sea salt (to taste)
- Garnish: freshly chopped parsley, sumac or paprika
Instructions
- Add chickpeas with their liquid and garlic to the insert of the Instant Pot. Cook on High pressure for 10 minutes*. Manually release pressure at the end of cooking (you can also let the pressure release naturally).
- Drain the chickpeas and garlic with a fine mesh sieve, making sure to reserve the cooking liquid for later use.
- Add chickpeas and garlic to the food processor. Pulse until mostly smooth.
- Add lemon juice, tahini, and 2 Tbsp olive oil. Pulse to combine.
- Set food processor to high speed and let it run. Through the opening at the top, add reserved cooking liquid 1 Tbsp at a time until it reaches the desired consistency. I typically use about 3 Tbsp total.
- Taste and season with flaky sea salt to taste.
- Add hummus to a bowl. Drizzle with extra virgin olive oil, sprinkle with sumac or paprika, and fresh parsley. Serve immediately with pita or Turkish bread.
Video
Notes
Nutrition
Calories: 378kcal
|
Carbohydrates: 41g
|
Protein: 15g
|
Fat: 19g
|
Saturated Fat: 2g
|
Polyunsaturated Fat: 7g
|
Monounsaturated Fat: 8g
|
Sodium: 17mg
|
Potassium: 481mg
|
Fiber: 11g
|
Sugar: 6g
|
Vitamin A: 49IU
|
Vitamin C: 3mg
|
Calcium: 95mg
|
Iron: 5mg
Greek
Appetizer
