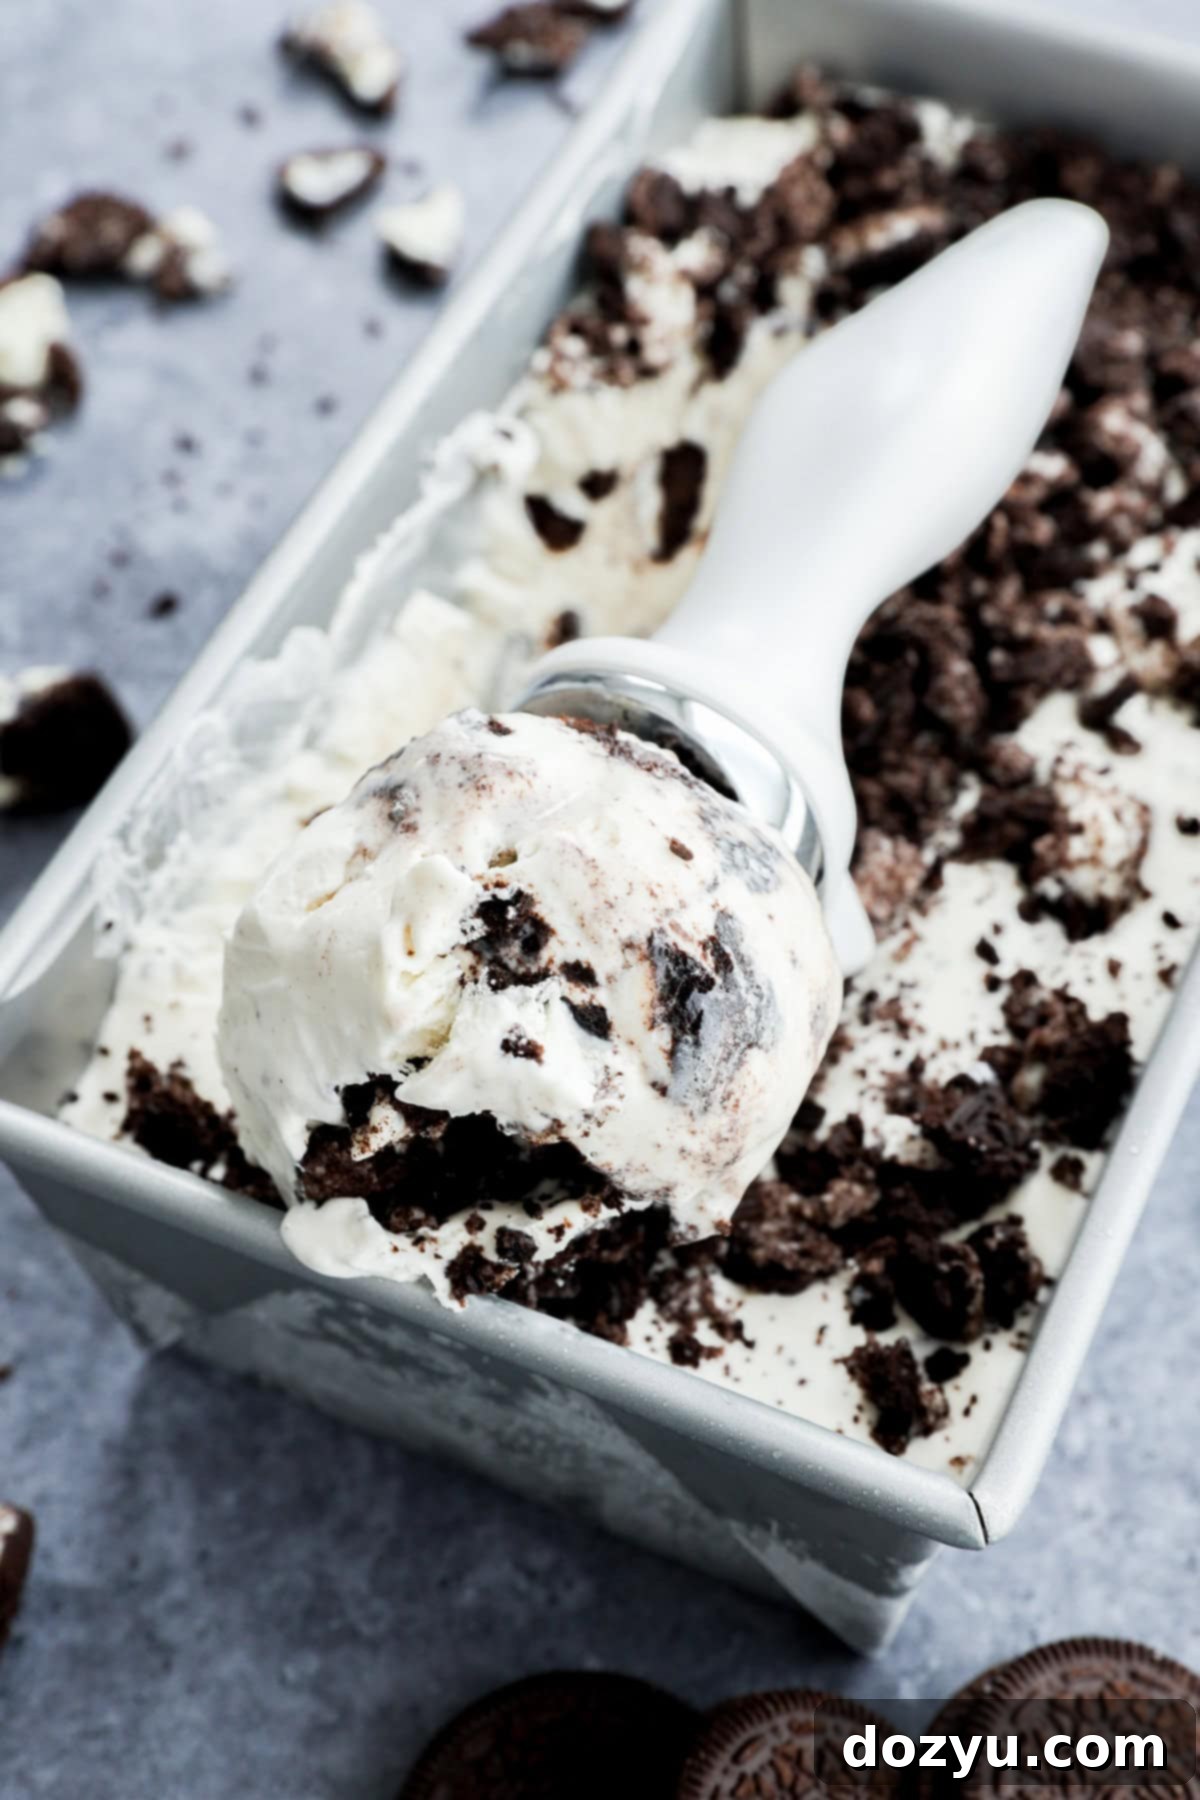
The Ultimate No-Churn Oreo Ice Cream: Rich, Creamy & Easy Homemade Cookies and Cream Dream
Indulge in pure bliss with this incredibly easy no-churn Oreo ice cream recipe! Imagine a dessert so rich, so creamy, and bursting with delightful, crunchy-sweet cookie pieces in every single spoonful. The best part? You don’t even need a fancy ice cream maker to create this frozen masterpiece. With just four simple ingredients, a bit of mixing, and some patient waiting as it chills to perfection, you’re on your way to enjoying the most delicious homemade cookies and cream ice cream you’ve ever tasted. If you’ve been dreaming of that nostalgic scoop on a crisp cone, this recipe delivers an unforgettable experience with minimal effort and maximum flavor. Prepare for a dessert that tastes like a childhood memory brought to life!
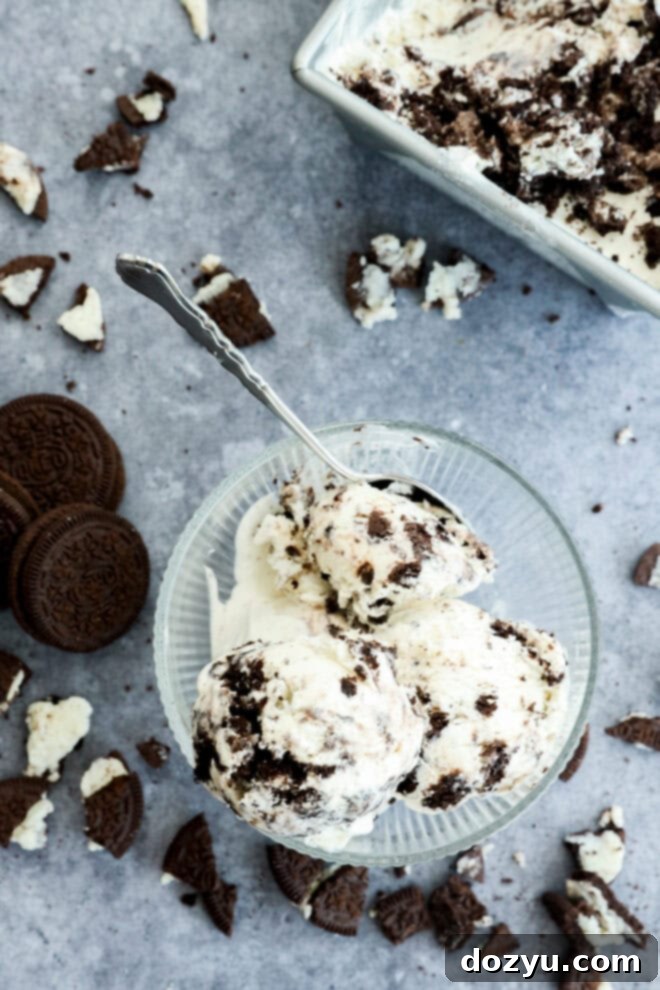
table of contents
Toggle
About This Homemade Oreo Ice Cream
This delightful no-churn Oreo cookie ice cream truly encapsulates pure childhood joy. It’s wonderfully creamy, perfectly crunchy, and surprisingly simple to whip up right in your own kitchen. Growing up, cookies and cream was always *the* flavor I absolutely had to have on every ice cream outing. I was that kid who meticulously searched for the biggest cookie chunk in every scoop, convinced it was the ultimate prize.
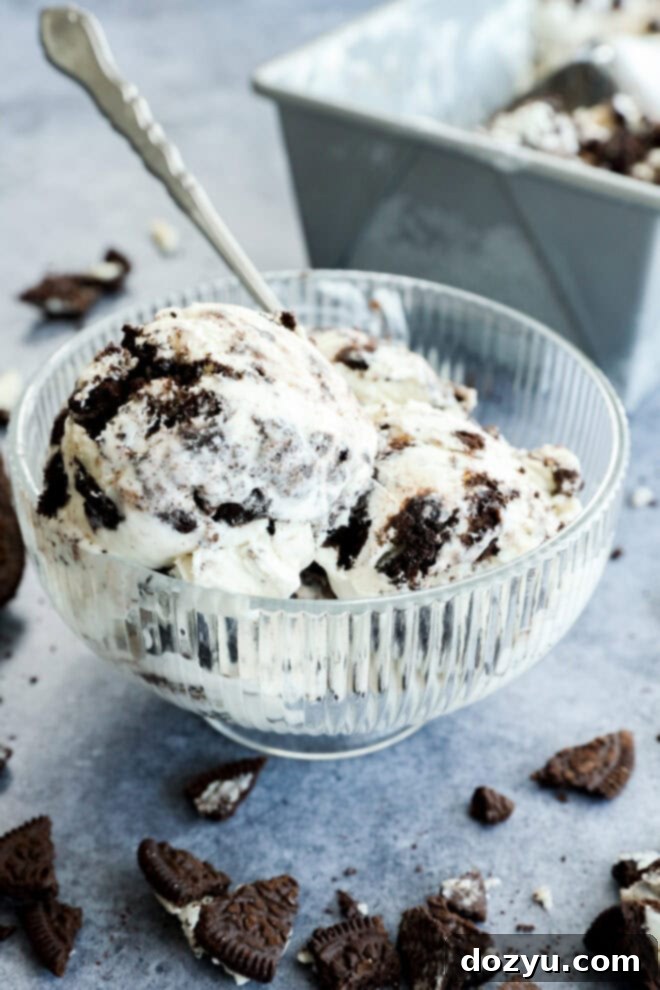
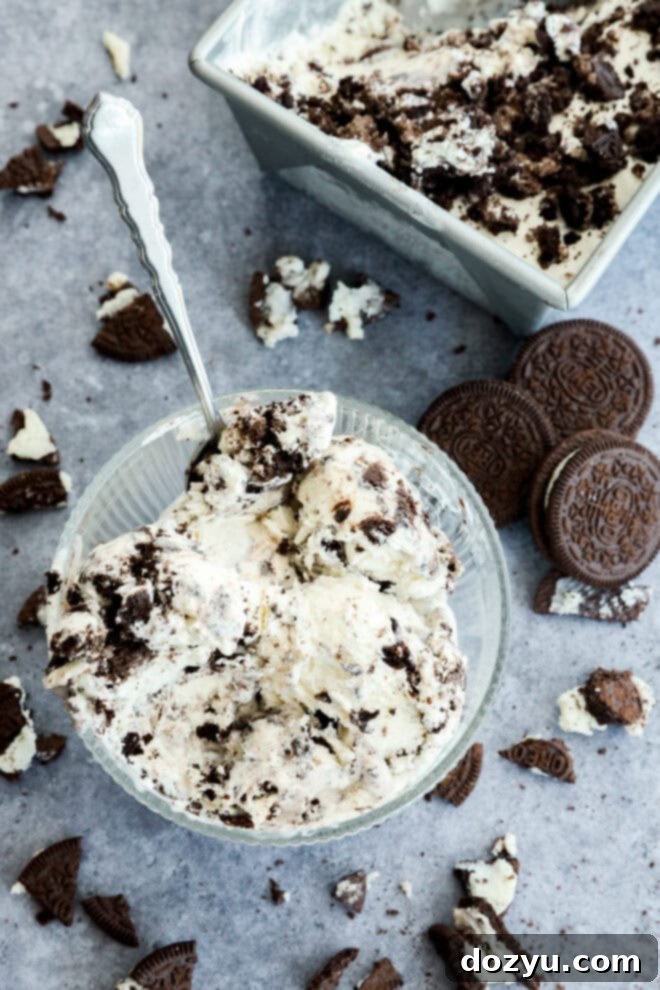
Now, the fact that I can recreate this beloved treat at home with just four basic ingredients and absolutely no ice cream machine makes it almost dangerously easy to have on hand. It’s a staple in my freezer, ready for any craving! The resulting texture is incredibly smooth and unbelievably creamy, a testament to the magic of the no-churn method. And of course, it’s generously packed with crushed Oreos in every bite, delivering that iconic flavor and texture contrast. For an extra luxurious experience, I highly recommend using Double Stuff Oreos – they add an amazing depth of creamy chocolate goodness.
You don’t need any fancy equipment or to dedicate an entire afternoon to this recipe. A simple mixer, a bowl, and a little patience while it freezes are all you require. What I love most about this homemade ice cream is its fantastic versatility. Want to switch things up? Easily add a decadent fudge swirl, a dollop of peanut butter, or even experiment with mint Oreos for a completely new flavor profile, all while using the same reliable, easy base.
This Oreo ice cream is perfect for any occasion – from sunny summer BBQs and impromptu late-night cravings to a special midweek treat for the kids. It’s sweet, straightforward, and truly the kind of fuss-free recipe that makes you look like a culinary genius with almost zero effort. Get ready to impress yourself and everyone else with this irresistible frozen dessert!
Why You’ll Adore This Recipe
You’ll quickly fall in love with this no-churn Oreo ice cream because it’s effortlessly easy and tastes like a blissful scoop of childhood in every bite. Here’s why this recipe will become your new favorite:
- No-Churn Simplicity: Forget about special, expensive equipment or complicated techniques. This recipe requires absolutely no ice cream maker, making it accessible to every home cook, even those new to making frozen desserts. Just a mixer and a bowl!
- Unbelievably Creamy Texture: Prepare for a dessert that boasts a luxurious, velvety-smooth texture that scoops like a dream. The combination of heavy cream and sweetened condensed milk creates a rich base that rivals any store-bought premium ice cream.
- Only 4 Essential Ingredients: You read that right – just four ingredients are needed, most of which are likely already staples in your pantry. This keeps things simple, affordable, and incredibly convenient for those spontaneous dessert cravings.
- Loaded with Oreo Cookie Chunks: We don’t skimp on the good stuff! This ice cream is packed with generous, big chunks of Oreo cookies, ensuring a delightful crunch and classic chocolatey flavor in every single bite. No more searching for the elusive cookie pieces!
- Effortless Make-Ahead Dessert: This recipe is perfect for planning ahead. Prepare it a day or two in advance, freeze it, and have a show-stopping dessert ready to go for parties, BBQs, or simply a sweet ending to any meal. It’s a lifesaver when entertaining.
- Customizable Fun: The basic recipe provides a fantastic canvas for creativity. Easily experiment with different Oreo flavors or add various mix-ins to create your own signature frozen treat.
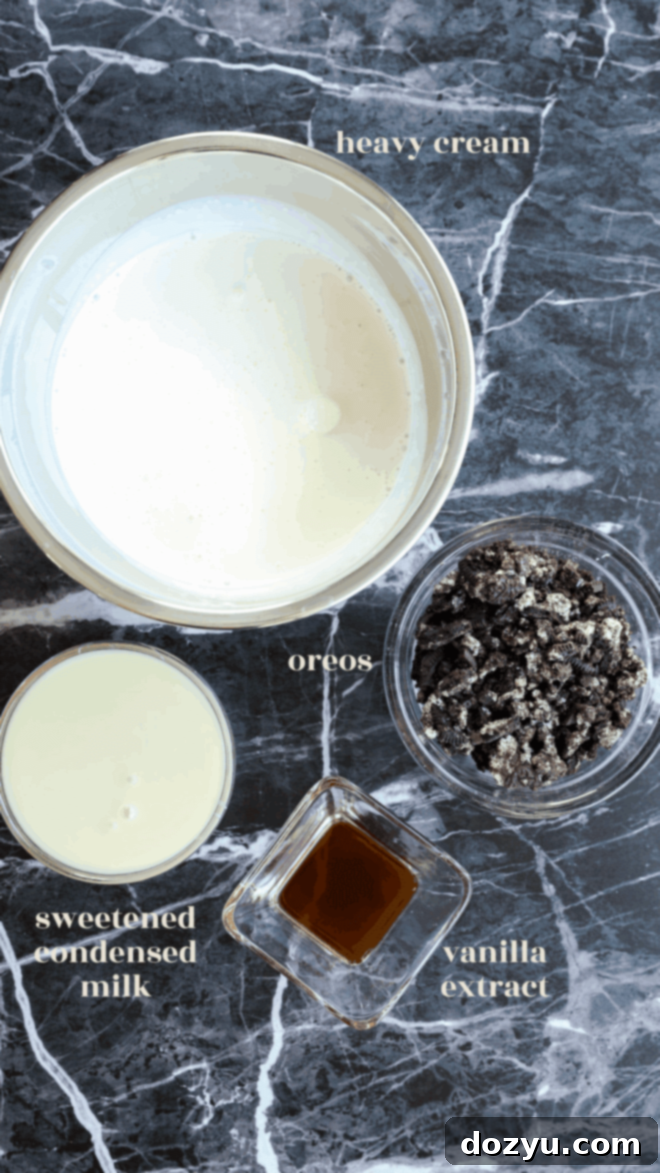
Essential Ingredients You’ll Need
Creating this decadent no-churn Oreo ice cream relies on a handful of high-quality ingredients that work together to produce its signature creamy texture and irresistible flavor. Here’s a closer look at what you’ll need:
Heavy Cream: This is the backbone of our no-churn ice cream. The heavy whipping cream is beaten to stiff peaks, creating a light and airy base that, when combined with condensed milk, becomes wonderfully creamy without any ice crystals. Ensure your heavy cream is very cold before whipping for the best results and quickest whip time – a high fat content (typically 36% or more) is key for stability and richness.
Vanilla Extract: With so few ingredients, the quality of each component really shines through. A good quality vanilla extract is essential for enhancing the overall flavor profile. We love making our own homemade vanilla extract for its robust flavor, but if you’re buying, look for a pure vanilla extract like this Madagascar Bourbon Pure Vanilla Extract from Nielsen Massey. Avoid imitation vanilla for the best taste.
Sweetened Condensed Milk: This magical ingredient is what gives no-churn ice cream its luxurious sweetness and incredible body. It adds richness and density, eliminating the need for eggs or a cooked custard base. Its thick, syrupy consistency also helps prevent ice crystals from forming, resulting in that smooth, scoopable texture we all crave.
Oreo Cookies: The star of the show! Crushed Oreos are folded into the ice cream base, providing that classic cookies and cream flavor and the delightful crunchy texture in every bite. Feel free to use any flavor of Oreo you like to customize your ice cream – Double Stuf for extra creaminess, Golden Oreos for a vanilla twist, Chocolate Cream for more chocolate intensity, or even seasonal flavors to keep things exciting!
How do I crush the chocolate sandwich cookies? You have a couple of easy options! For a rustic, chunky texture that provides satisfying bites, place the Oreos in a sturdy resealable bag and crush them with a rolling pin or the back of a heavy pan. This method allows you to control the size of the chunks. If you prefer a more uniform, finer crumb, you can pulse them quickly in a food processor until your desired consistency is reached. Remember, some larger pieces add wonderful textural contrast!
Tools for Your No-Churn Oreo Cookie Ice Cream
One of the many joys of making no-churn ice cream is that you don’t need any specialized or expensive equipment. This recipe is designed for simplicity, utilizing common kitchen tools you likely already own. Here’s what will help you create this delightful Oreo cookie ice cream:
- Stand Mixer or Hand Mixer: This is your primary tool for whipping the heavy cream into stiff peaks. A stand mixer fitted with the whisk attachment makes the process effortless, allowing you to multitask. Alternatively, a reliable hand mixer works perfectly well and is a great option if you don’t have a stand mixer. Ensure your bowl and whisk attachment are clean and preferably chilled for optimal whipping.
- Large Mixing Bowl: You’ll need a spacious bowl to accommodate the heavy cream as it whips and to gently combine all the ingredients.
- Rubber Spatula: A flexible rubber or silicone spatula is indispensable for this recipe. It allows you to gently fold in the sweetened condensed milk and crushed Oreo cookie pieces without deflating the airy whipped cream, which is crucial for the ice cream’s creamy texture.
- Measuring Cups and Spoons: Standard kitchen measuring tools for accurate ingredient portions.
- 9×5-inch Loaf Pan: This standard-sized loaf pan is ideal for freezing your no-churn ice cream. Its shape allows for generous, easy scoops, making serving a breeze. You can also use another freezer-safe container with similar dimensions, just ensure it can be tightly covered.
- Plastic Wrap or Airtight Lid: Essential for covering the ice cream while it freezes to prevent freezer burn and keep it fresh.
That’s it! No churning, no specialized ice cream machine – just simple tools for a simply delicious homemade frozen treat.

How to Make Homemade Oreo Ice Cream
Making this irresistible no-churn Oreo ice cream is surprisingly simple, broken down into just three straightforward steps. Follow these instructions carefully for the best creamy, dreamy results!
Whip the Cream to Perfection
Begin by ensuring your heavy cream is very cold – this is vital for effective whipping. Pour the heavy cream into the clean, chilled bowl of your stand mixer, fitted with the whisk attachment. Turn the mixer on high speed and beat the cream continuously until it transforms into beautiful, stiff peaks. This means when you lift the whisk, the peaks of cream will hold their shape firmly. Be careful not to over-whip, as this can turn the cream grainy. Once stiff peaks are achieved, add the vanilla extract and beat for just a few more seconds until it is fully incorporated into the whipped cream.
Gently Fold in Sweetness and Cookies
Next, pour the entire can of sweetened condensed milk directly into the whipped cream. Using your rubber spatula, gently fold the condensed milk into the whipped cream. The key here is to use a light, upward motion, carefully incorporating the two mixtures without deflating the airy whipped cream. Continue folding until the ingredients are just combined, and no streaks of condensed milk remain. Now, add your prepared crushed Oreos to the mixture. Again, gently fold them in until they are evenly distributed throughout the creamy base. Over-mixing at this stage can lead to a less airy, denser ice cream, so stop once everything is just combined.
Freeze Until Solid and Scoopable
Carefully transfer the glorious cookies and cream mixture into a 9×5-inch loaf pan or another freezer-safe container. Use your spatula to spread it into an even layer, ensuring a consistent texture. For an extra flourish and even more cookie goodness, sprinkle additional crushed Oreo cookies generously over the top of the ice cream mixture. Finally, cover the pan tightly with plastic wrap, pressing it directly onto the surface of the ice cream to prevent ice crystals from forming and freezer burn. Place it in the freezer for a minimum of 5 to 6 hours, though for the absolute best, perfectly scoopable texture, it’s highly recommended to freeze it overnight. Once frozen solid, it’s ready to be scooped and enjoyed!

Pro Tips for No-Churn Oreo Ice Cream Success
Achieving perfectly creamy, crunchy homemade Oreo ice cream is easy, especially with these insider tips:
- Chill Your Equipment: For the quickest and most stable whipped cream, place your mixing bowl and whisk attachment in the freezer for 10-15 minutes before you begin. This helps the cream whip up faster and hold its stiff peaks better.
- Cold Cream is Key: Always start with very cold heavy cream straight from the refrigerator. Warm cream will struggle to whip to the desired consistency.
- Crush Oreos to Your Liking: The beauty of homemade ice cream is customization! Some prefer fine, dusty crumbs for a subtle integration, while others love large, chunky cookie pieces for a dramatic texture. I personally find a mix of both offers the best textural experience. Experiment to find your perfect crunch!
- Fold Gently: This is arguably the most crucial step for no-churn ice cream. When incorporating the sweetened condensed milk and crushed Oreos, use a light, folding motion with a rubber spatula. Avoid stirring vigorously, as this will deflate the air you’ve whipped into the heavy cream, resulting in a denser, icier ice cream. The goal is to retain as much air as possible for that light, creamy texture.
- Freeze for Ample Time: While 5-6 hours will solidify the ice cream, freezing it overnight (8-12 hours) is truly best. This allows the ice cream to firm up completely and develop its optimal scoopable texture, preventing it from being too soft or too hard.
- Layer for Even Oreo Distribution: For even more Oreo flavor and texture throughout, consider layering! As you pour the ice cream base into the loaf pan, add a layer, sprinkle some crushed cookies, add another layer of ice cream, and repeat. This ensures every scoop has plenty of cookie goodness.
- Make It Your Own: Don’t be afraid to get creative! This recipe is a fantastic base. Swirl in some warm fudge sauce, a dollop of creamy peanut butter, or even a handful of chocolate chips or toffee bits for an extra special twist.

Creative Variations for Your Oreo Ice Cream
The beauty of this simple no-churn Oreo ice cream recipe lies in its adaptability! While the classic version is undeniably delicious, it also serves as a perfect canvas for countless creative variations. Here are some ideas to inspire your next batch:
- Explore Different Oreo Flavors: The world of Oreos is vast and exciting! Swap in Golden Oreos for a vanilla-forward ice cream, use Mint Oreos for a refreshing twist, or try Peanut Butter Oreos for a nutty kick. Birthday Cake Oreos? That’s pure delicious chaos! Holiday-themed Oreos can also add a festive touch.
- Add a Decadent Swirl: Elevate your ice cream with a rich swirl. Gently drizzle and marble caramel sauce, homemade hot fudge, or creamy peanut butter over the homemade ice cream base as you transfer it to the loaf pan before freezing. This creates a beautiful, bakery-style effect and adds an extra layer of flavor.
- Stir in Exciting Extras: Take your ice cream over the top by mixing in other delicious goodies. Think chopped chocolate (milk, dark, or white!), crunchy toffee bits, salty crushed pretzels for a sweet and savory contrast, or a handful of fluffy mini marshmallows for a rocky road vibe. Chopped candy bars like Snickers or Butterfingers are also fantastic additions.
- Make It Boozy for Grown-Ups: For an adult-friendly treat, add a tablespoon or two of your favorite liqueur. Coffee liqueur (like Kahlúa), Irish cream (like Baileys), or even a hint of bourbon can add a sophisticated depth of flavor.
- Turn It Into Ice Cream Sandwiches: This is a fantastic way to enjoy your homemade creation! Scoop generous portions of the frozen Oreo ice cream between two soft chocolate chip cookies, classic sugar cookies, or even more Oreos. For an extra special touch, roll the edges of the sandwiches in additional crushed Oreos.
- Tropical Twist: Add a small amount of toasted coconut flakes and a drizzle of passion fruit puree (swirled in) for an unexpected tropical fusion.
- Chocolate Lover’s Dream: Increase the chocolate intensity by folding in mini chocolate chips or chunks along with the Oreos. You could also use chocolate-flavored heavy cream for an even richer base.
Craving more frosty treats? Discover other delightful ice cream recipes: Honeycomb Ice Cream | Caramel Apple Ice Cream | Cinnamon Coffee Ice Cream | Lavender Honey Ice Cream | Snickers Ice Cream
Frequently Asked Questions (FAQs)
For optimal flavor and texture, your homemade Oreo ice cream is best enjoyed within 2 to 3 weeks. After this period, while still safe to eat, it may start to develop a slightly icier texture due to moisture migration. However, let’s be realistic – it’s so delicious, it probably won’t last that long!
Absolutely! While Oreos provide that classic flavor, this recipe is highly adaptable. Any chocolate sandwich cookie will work wonderfully. You could also experiment with other types of crunchy cookies like shortbread, Biscoff, or even chocolate chip cookies for a different flavor profile. Just be aware that the flavor and texture may vary slightly depending on your choice.
Yes, please do! This is where you can truly make the recipe your own. Crushed candy bars (like Snickers, Butterfingers, or Heath bars), fudge sauce, mini chocolate chips, chopped nuts (pecans, walnuts, almonds), or even chopped peanut butter cups would all be absolutely amazing additions. Fold them in gently along with the crushed Oreos.
It’s even better! Many people find homemade no-churn ice cream to be superior to store-bought varieties. This recipe results in an ice cream that’s notably creamier, richer, and packed with far more cookies than you’ll typically find in commercial versions. Plus, there’s an undeniable satisfaction in knowing you created such a delicious treat yourself – so it’s automatically a win!
Need more inspiration for a sweet treat? Check out my dessert recipes page!
Serving Suggestions for Oreo Ice Cream
Once your homemade Oreo ice cream is perfectly frozen and ready, the possibilities for serving are truly endless! This versatile frozen dessert is fantastic on its own or as part of a more elaborate treat:
- Classic Cone or Bowl: The simplest and often most satisfying way to enjoy it! Scoop generous portions into a crispy waffle cone, a traditional sugar cone, or a cozy bowl. Don’t forget to sprinkle extra crushed Oreos on top for an added flourish and crunch.
- DIY Ice Cream Sandwiches: Create your own gourmet ice cream sandwiches by scooping a hefty portion between two soft, chewy chocolate chip cookies, classic sugar cookies, or even two whole Oreos. Roll the edges in more crushed Oreos or mini chocolate chips for an irresistible finish.
- Ultimate Sundae Creation: Transform a simple scoop into a spectacular sundae. Drizzle with warm chocolate sauce, gooey hot fudge, or rich caramel sauce. Top with a cloud of whipped cream, colorful sprinkles, a cherry, and of course, more crushed Oreos!
- Milkshakes and Affogatos: Blend a few scoops with milk and a touch more vanilla for a thick, creamy Oreo milkshake. For a sophisticated treat, serve it affogato-style by pouring a shot of hot espresso over a scoop of the cold ice cream.
- Dessert Topping: Use a scoop alongside warm brownies, a slice of apple pie, or a rich chocolate cake for an indulgent à la mode experience. The contrast of warm dessert and cold, creamy ice cream is divine.
- Cookie Bowls: Serve the ice cream in edible cookie bowls for an extra fun and delicious presentation.
How to Store Your Homemade Oreo Ice Cream
Proper storage is essential to keep your homemade Oreo ice cream fresh, creamy, and free from ice crystals. Follow these guidelines to enjoy your frozen treat for as long as possible:
- Initial Freeze Time: After you’ve assembled and smoothed out your ice cream mixture in its container, it needs ample time to firm up. Freeze for at least 5 to 6 hours. However, for that perfectly scoopable, firm texture that truly mimics premium ice cream, leaving it in the freezer overnight (for 8-12 hours) is highly recommended.
- Choosing the Right Storage Container: A 9×5-inch freezer-safe loaf pan is excellent for freezing and serving. The most important aspect of any container is a tight seal. Whether you use a loaf pan, a dedicated lidded ice cream container, or another freezer-safe vessel, ensure it’s airtight.
- Preventing Freezer Burn: To combat freezer burn, which can lead to an icy, unpleasant texture, always cover the surface of the ice cream directly with plastic wrap before putting on the lid. Press the plastic wrap firmly onto the ice cream surface to eliminate any air pockets. This creates a barrier against moisture and air.
- Ideal Freezer Temperature: Store your ice cream in the coldest part of your freezer, typically towards the back, where temperatures are most consistent. Avoid storing it in the freezer door, which is prone to temperature fluctuations.
- Shelf Life: For the best flavor, creaminess, and overall texture, aim to enjoy your homemade Oreo ice cream within 2 weeks. While it will still be safe to eat beyond this, the quality may gradually decline, and it might start to become icier.
By following these simple storage tips, you can ensure every scoop of your delicious Oreo ice cream is as fresh and satisfying as the first!
More Delicious Ways to Enjoy Oreos
Oreo cookies are undeniably one of the most versatile and beloved sweet treats, perfect for snacking on their own or incorporating into countless desserts. If you’ve loved this no-churn Oreo ice cream, you’ll be thrilled to discover other fantastic ways to feature these iconic chocolate sandwich cookies:
- Easy Oreo Bailey’s Truffles: These decadent truffles are an absolute must-try! They’re rich, incredibly creamy, and boast just the right zing of Irish cream liqueur. Perfect for gifting or a sophisticated dessert bite.
- Chocolate Covered Oreos: An easy yet impressive way to elevate your favorite cookie. Dipped in melted chocolate and decorated with sprinkles or drizzles, these are the ideal customizable treat and make a fantastic, thoughtful gift for any occasion.
- Oreo Cookie Crust: Crush Oreos finely and combine with melted butter to create an irresistible base for cheesecakes, pies, or even other no-bake desserts.
- Oreo Milkshakes: Blend Oreos with milk and a scoop of vanilla ice cream (or your homemade Oreo ice cream!) for an extra thick and creamy indulgence.
- Oreo Brownies or Blondies: Fold crushed Oreos into your favorite brownie or blondie batter for an amazing textural contrast and a boost of cookie flavor.
- Oreo Cheesecake: A classic for a reason! An Oreo crust, creamy cheesecake filling, and more crushed Oreos on top make for an unforgettable dessert.
There’s no limit to the creativity when it comes to Oreos, so keep experimenting and enjoying this iconic cookie in all its delicious forms!
Finally, if you make this fantastic homemade Oreo ice cream recipe, please be sure to give this recipe a star recipe rating on the recipe card and/or leave a comment below! Your feedback is incredibly valuable, and I genuinely love to hear when you all try out my recipes. I make it a point to take the time to respond to every single comment, so don’t hesitate to share your thoughts or any tweaks you made!
Feel free to drop any questions you have in the comments section as well – I’m always happy to help!
Oh, and be sure to tag me on Instagram, Facebook, or Pinterest if you make the recipe! It brings me so much joy to see these recipes come to life in your homes – looking through your photos is truly my favorite thing. It really means the world to me!
Want to be the first to know when I come out with a new recipe or get the latest news and tips? Sign up for my newsletter to get them delivered straight to your inbox!

Oreo Ice Cream Recipe Card
Equipment
-
Stand Mixer or Hand Mixer
-
Large Mixing Bowl
-
Silicone Spatula
-
9×5-inch Loaf Pan
-
Plastic Wrap or Airtight Lid
Ingredients
- 2 cups cold heavy cream
- 1/2 tsp high-quality vanilla extract
- 1 14 oz can of sweetened condensed milk
- 1 cup crushed Oreo cookies, plus more for topping
Instructions
-
In the chilled bowl of a stand mixer (or using a hand mixer) fitted with the whisk attachment, pour the cold heavy cream. Beat on high speed until the cream forms firm, stiff peaks. Once stiff peaks are achieved, add the vanilla extract and beat for just a few seconds more until it is fully combined.
-
Pour the sweetened condensed milk into the whipped cream. Using a rubber spatula, gently fold the condensed milk into the whipped cream until it is just combined and no streaks remain. Next, add the 1 cup of crushed Oreos to the mixture, and gently fold again until the cookies are evenly distributed throughout the creamy base. Be careful not to overmix to maintain the airy texture.
-
Carefully transfer the ice cream mixture into a 9×5-inch loaf pan or other freezer-safe container. Spread it into an even layer using your spatula. For an extra touch, sprinkle additional crushed Oreo cookies generously over the top of the ice cream.
-
Cover the loaf pan tightly with plastic wrap, pressing the plastic directly onto the surface of the ice cream to prevent ice crystals from forming. Freeze for a minimum of 5 to 6 hours, or ideally, overnight, for the best firm and scoopable texture. Serve and enjoy!
