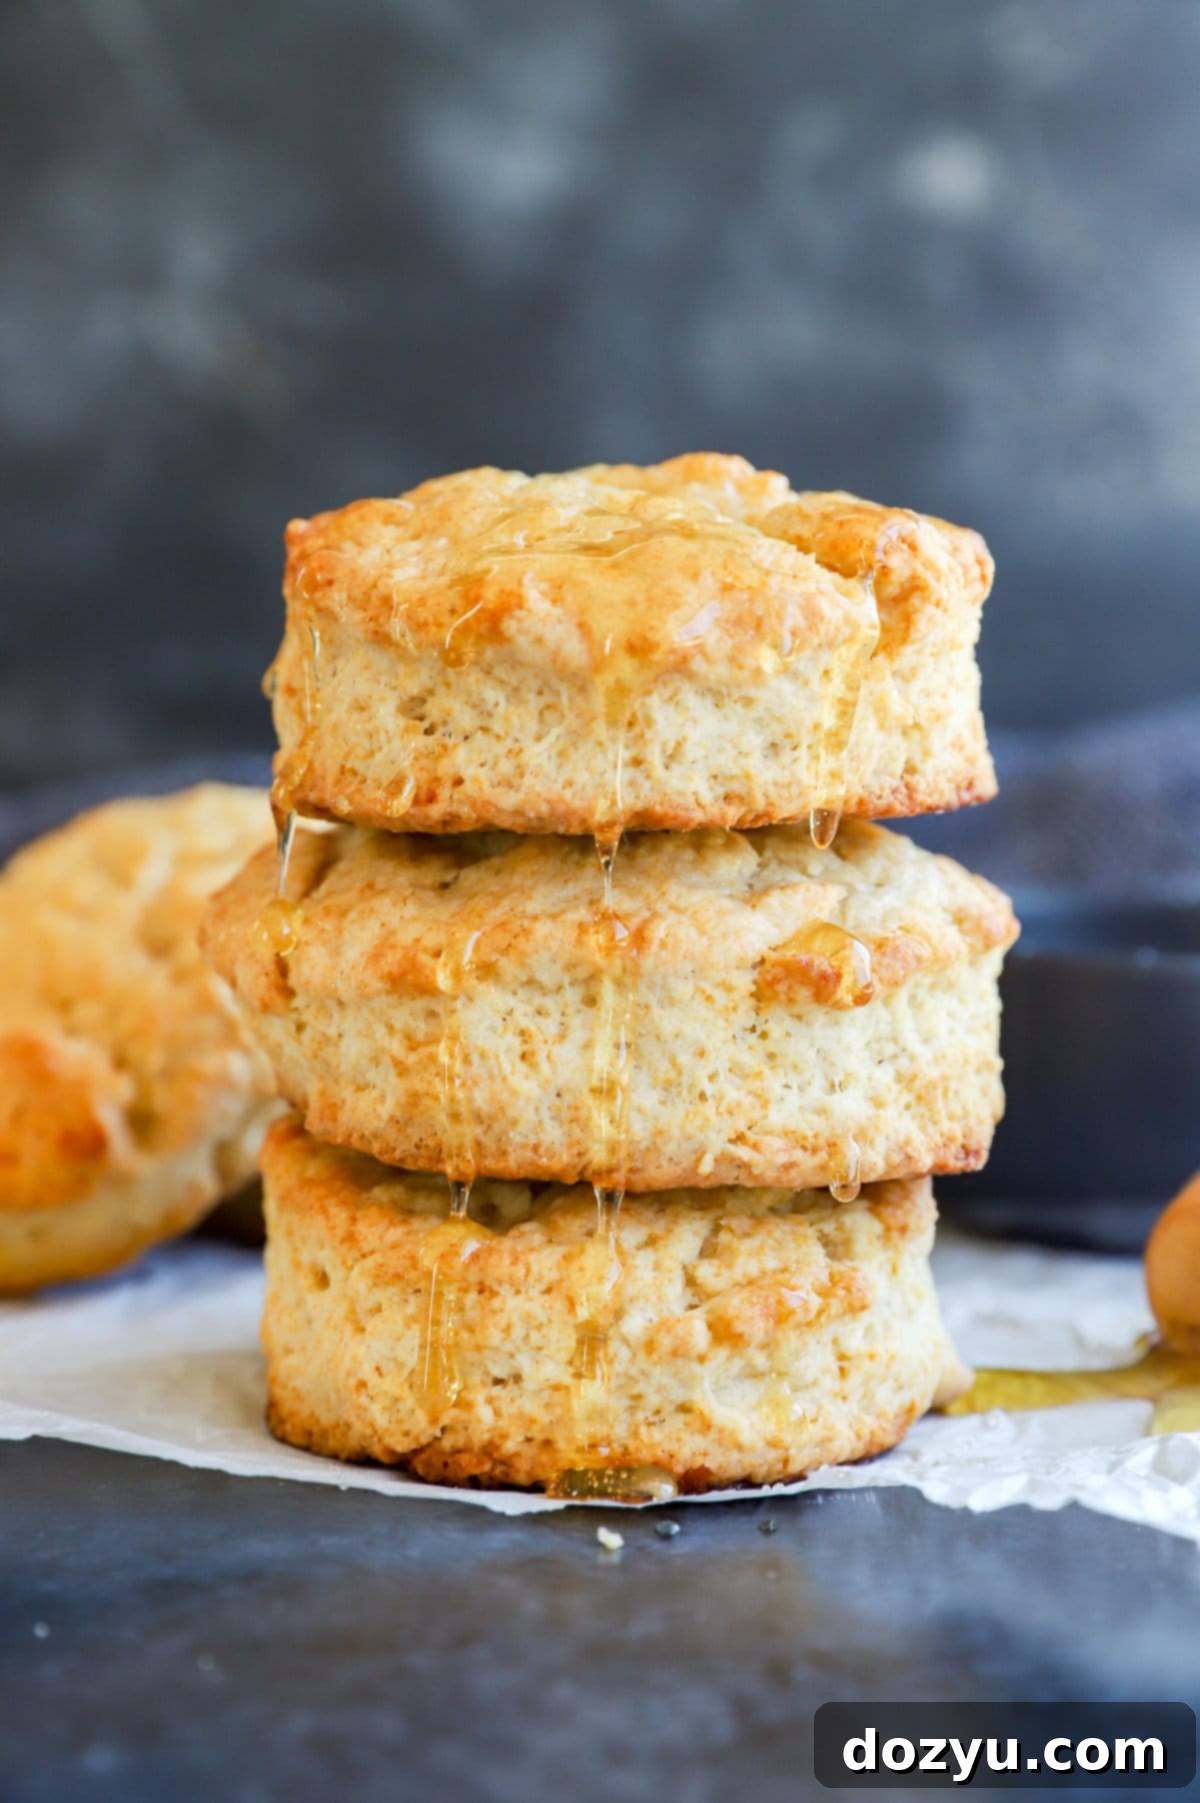
Homemade Honey Butter Biscuits: Fluffy, Flaky & Irresistibly Sweet
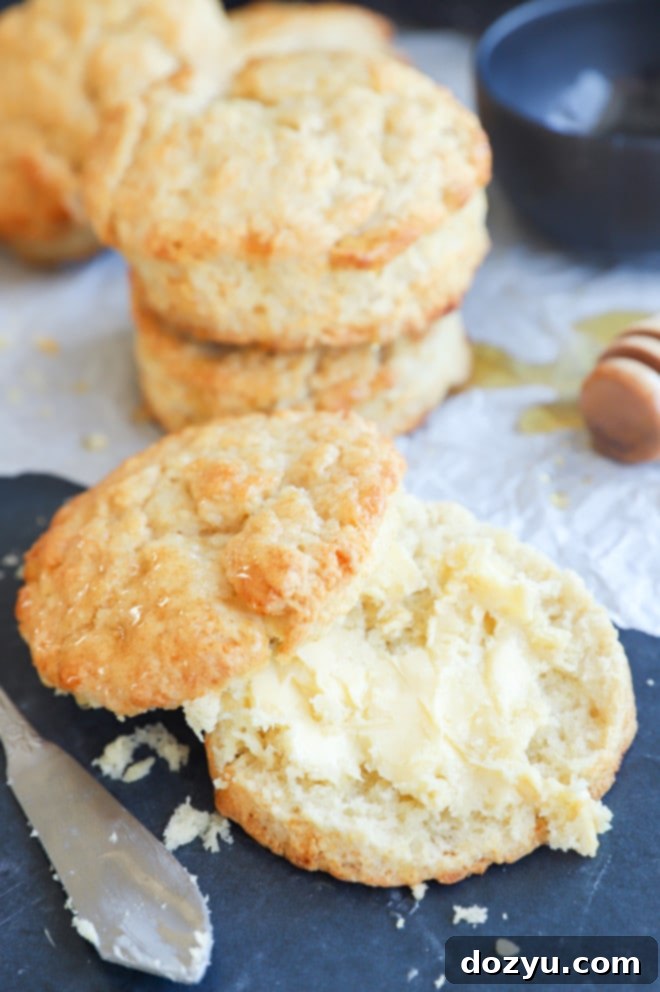
There’s nothing quite like the comforting aroma of freshly baked biscuits wafting through your kitchen. And when those biscuits are infused with a delicate hint of honey and brushed with a luscious honey butter glaze? You’ve just discovered a culinary masterpiece. These Homemade Honey Butter Biscuits perfectly balance fluffiness and flakiness, offering a truly irresistible treat that’s ideal for any meal, any time of day. Whether you’re dipping them into a hearty soup, building a delectable breakfast sandwich, or simply enjoying them warm with an extra dollop of butter, these biscuits are guaranteed to become a cherished recipe in your home.

Table of Contents
Toggle
About These Honey Butter Biscuits
Few things rival the simple pleasure of a warm, homemade biscuit. The moment their buttery aroma begins to fill your home, it’s impossible not to anticipate the deliciousness that awaits. These Honey Butter Biscuits take that classic comfort to a whole new level, blending the rich, savory depth of butter with the delicate, golden sweetness of honey. This unique combination creates a biscuit that is both deeply satisfying and incredibly versatile.
Imagine a biscuit so light and airy, yet with distinct, flaky layers that practically melt in your mouth. That’s precisely what you’ll achieve with this recipe. Each bite delivers a perfect harmony of buttery richness, a subtle hint of salt, and a delightful touch of honey. The secret lies not just in the ingredients, but in the technique, ensuring every biscuit rises high and boasts that coveted flaky texture.
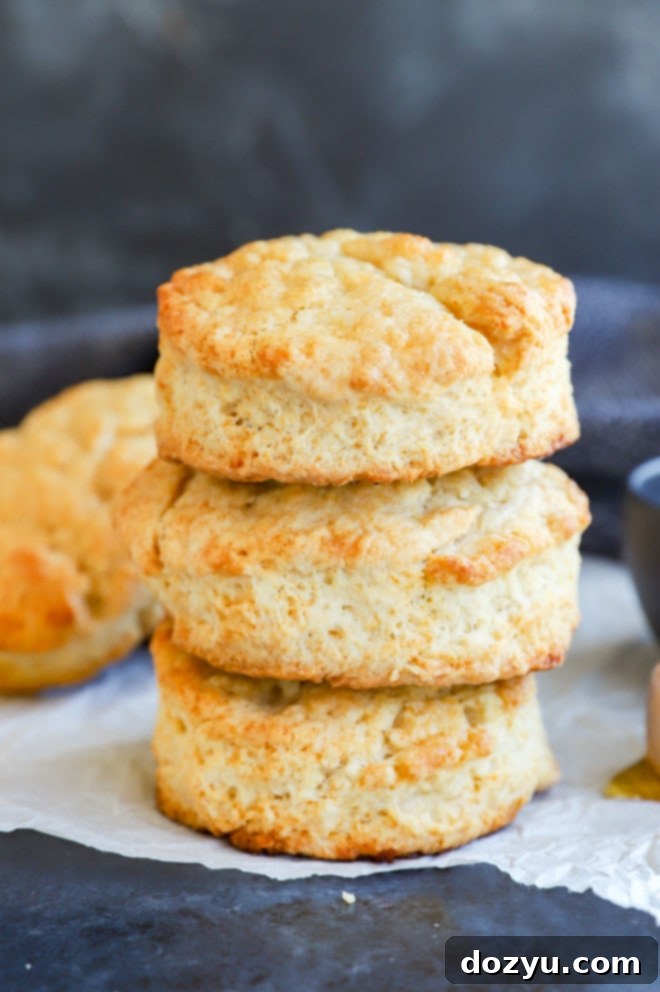
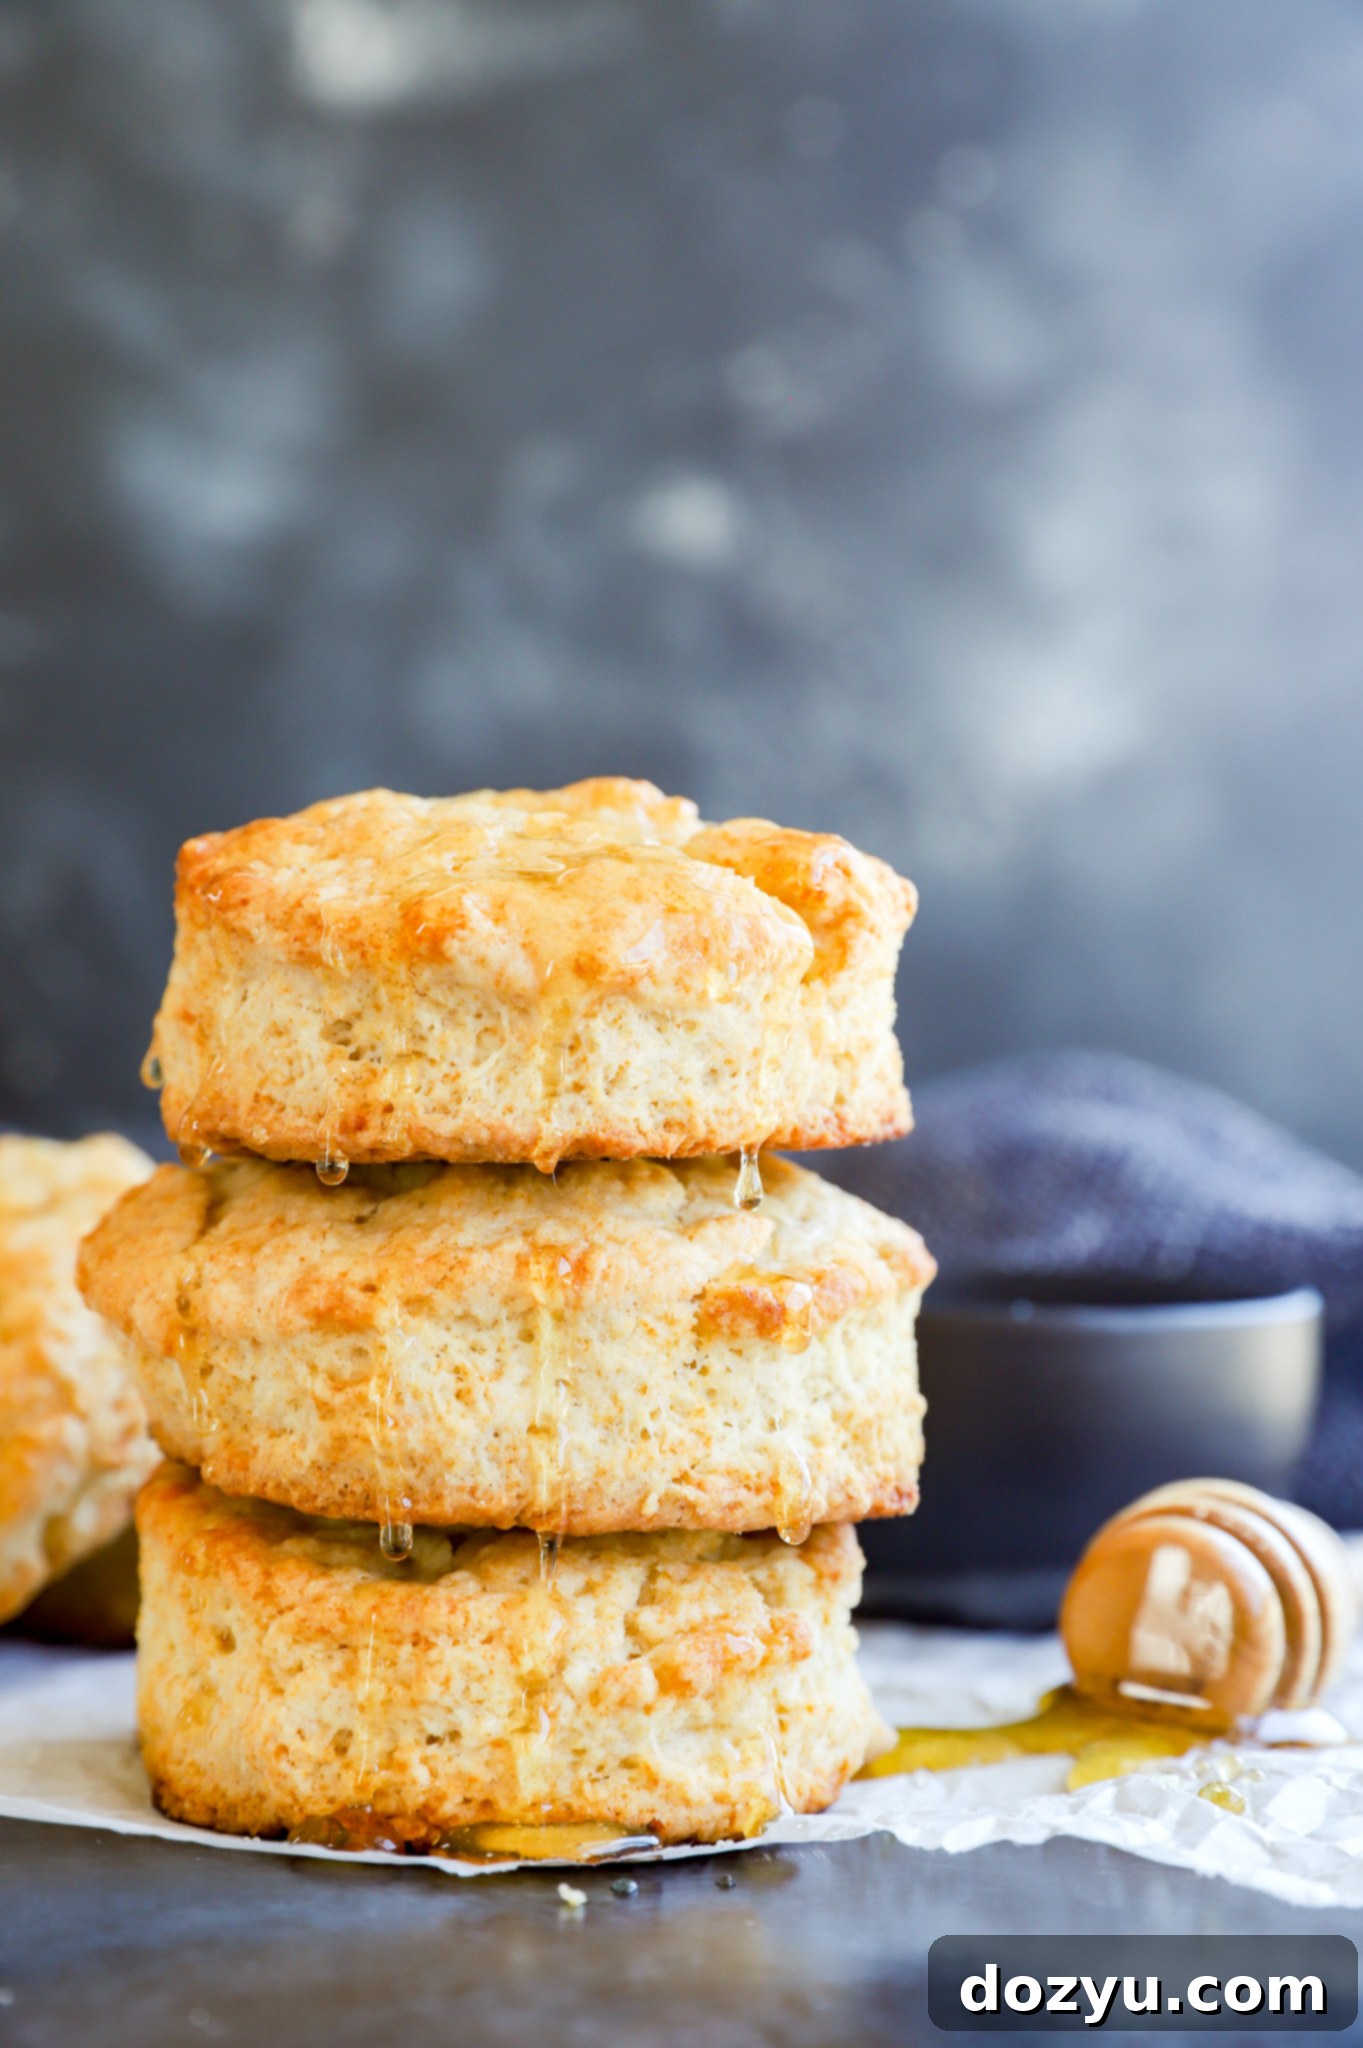
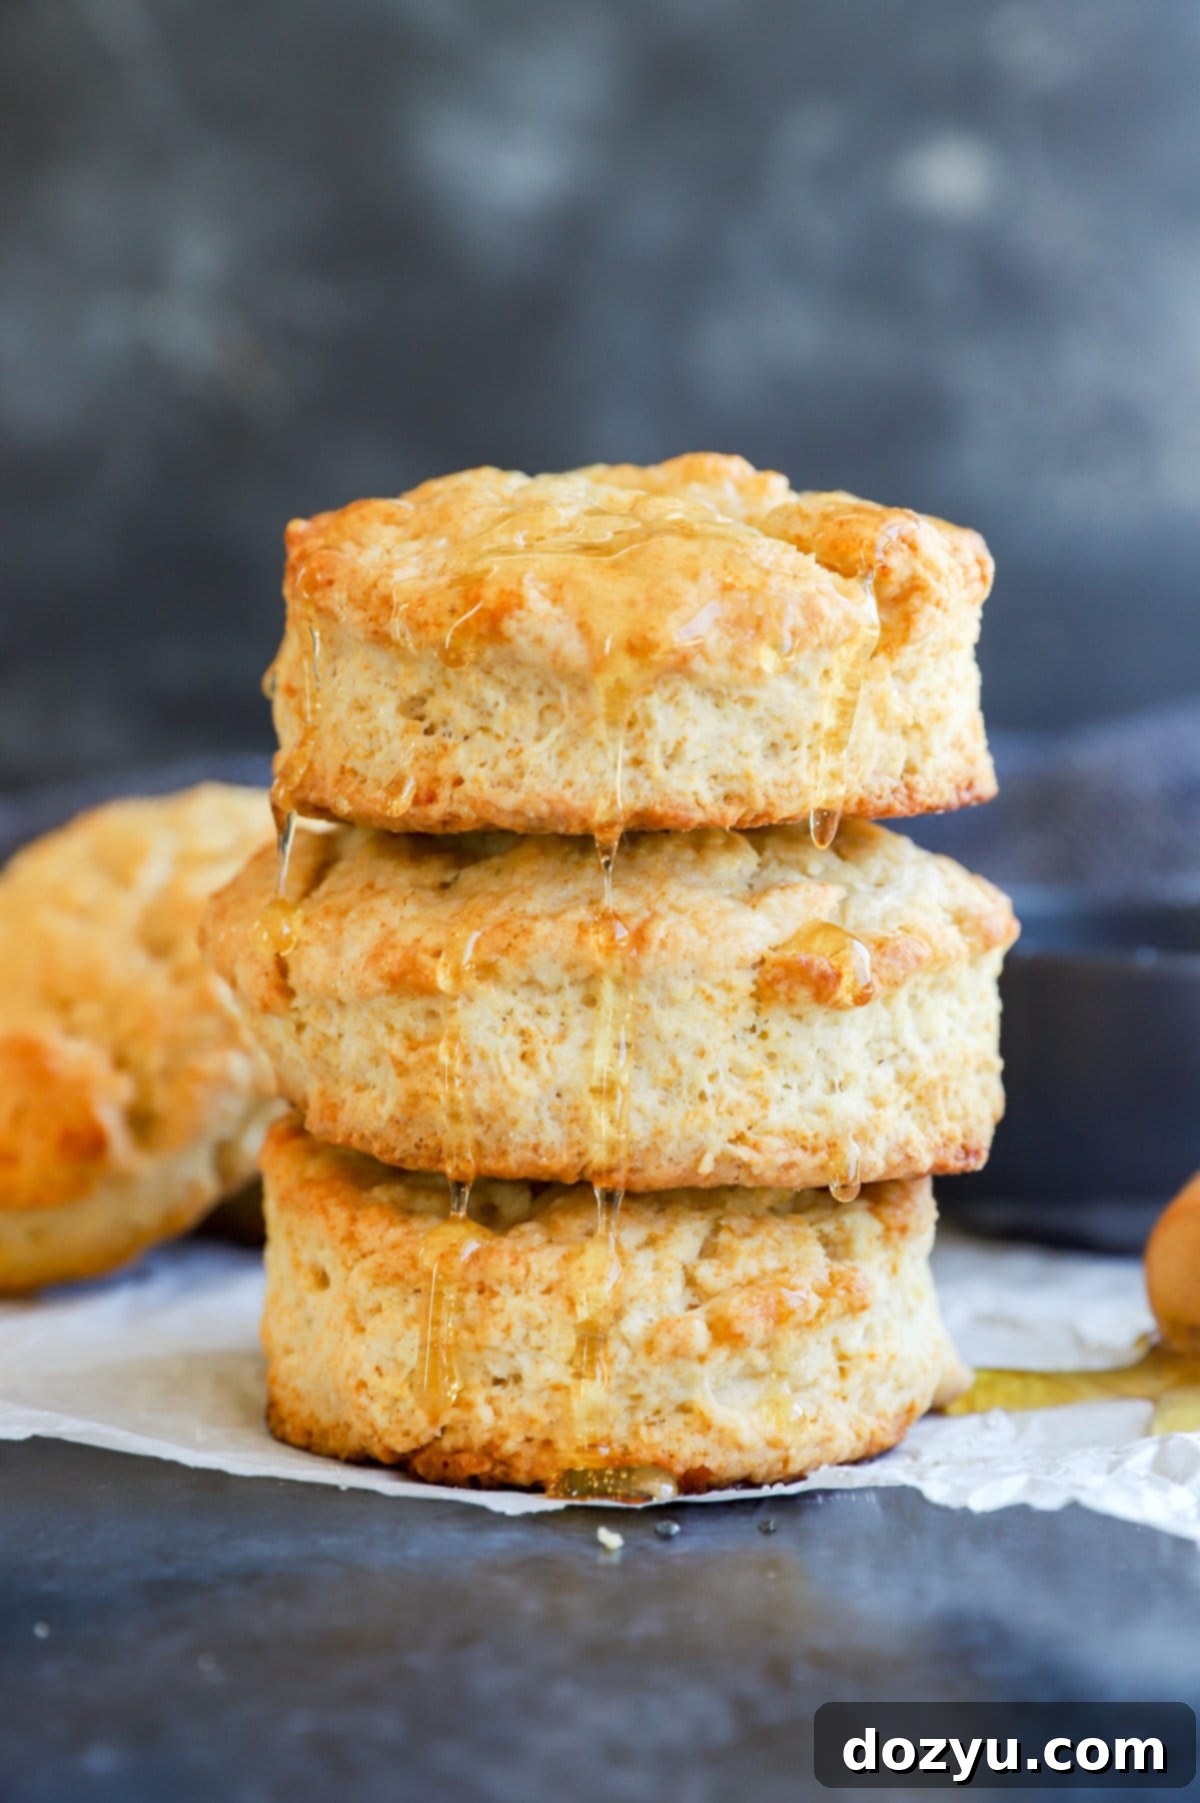
What truly sets these biscuits apart is the glorious honey butter glaze. Applied both before baking and again immediately after they emerge from the oven, this glaze creates a beautiful golden sheen and amplifies the sweet and savory notes. The result is a biscuit that’s wonderfully sticky, profoundly sweet, perfectly salty, and luxuriously buttery all at once. Whether you’re serving them as a quick side dish, a satisfying breakfast element, or as the foundation for a comforting meal, these fluffy and flaky honey butter biscuits will undoubtedly transform your perception of what a homemade biscuit can be.
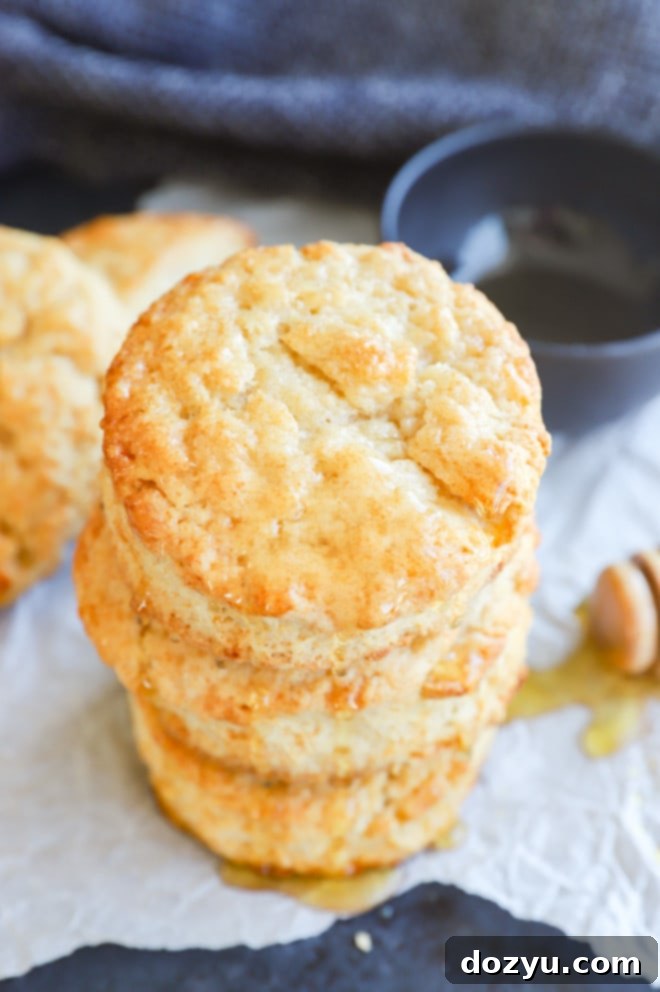
The Rich History of Biscuits
The journey of the humble biscuit is far more intriguing than one might initially imagine. Far from being a mere accompaniment, biscuits have a storied past rooted in necessity and culinary evolution. The term “biscuit” itself comes from the Old French “bescuit,” meaning “twice-cooked,” referring to hardtack, a durable, dry bread consumed on long voyages. These early biscuits were designed for survival, offering a practical way to produce bread without the need for yeast or lengthy rising times.
However, over centuries, especially in the American South, the biscuit transformed from a simple survival food into a beloved culinary institution. Southern biscuits, as we know them today, began to take shape with the availability of softer flours and the introduction of leavening agents like baking soda and baking powder. These innovations allowed for the creation of the light, tender, and flaky rounds that have become synonymous with Southern hospitality and comfort food. Each bite of a well-made Southern biscuit reveals layers of flakiness that rival the finest pastries, a testament to generations of culinary refinement.
Embracing the tradition of making biscuits from scratch connects you to this rich history. The process, while seemingly simple, involves techniques passed down through time to achieve that perfect balance of crispy exterior and tender interior. Once you develop the habit of baking these buttery delights, you’ll wonder why you ever relied on store-bought alternatives. There’s an undeniable satisfaction in creating such a foundational and comforting food with your own hands, sharing a piece of culinary history with every delicious serving.
Key Ingredients for Perfect Biscuits
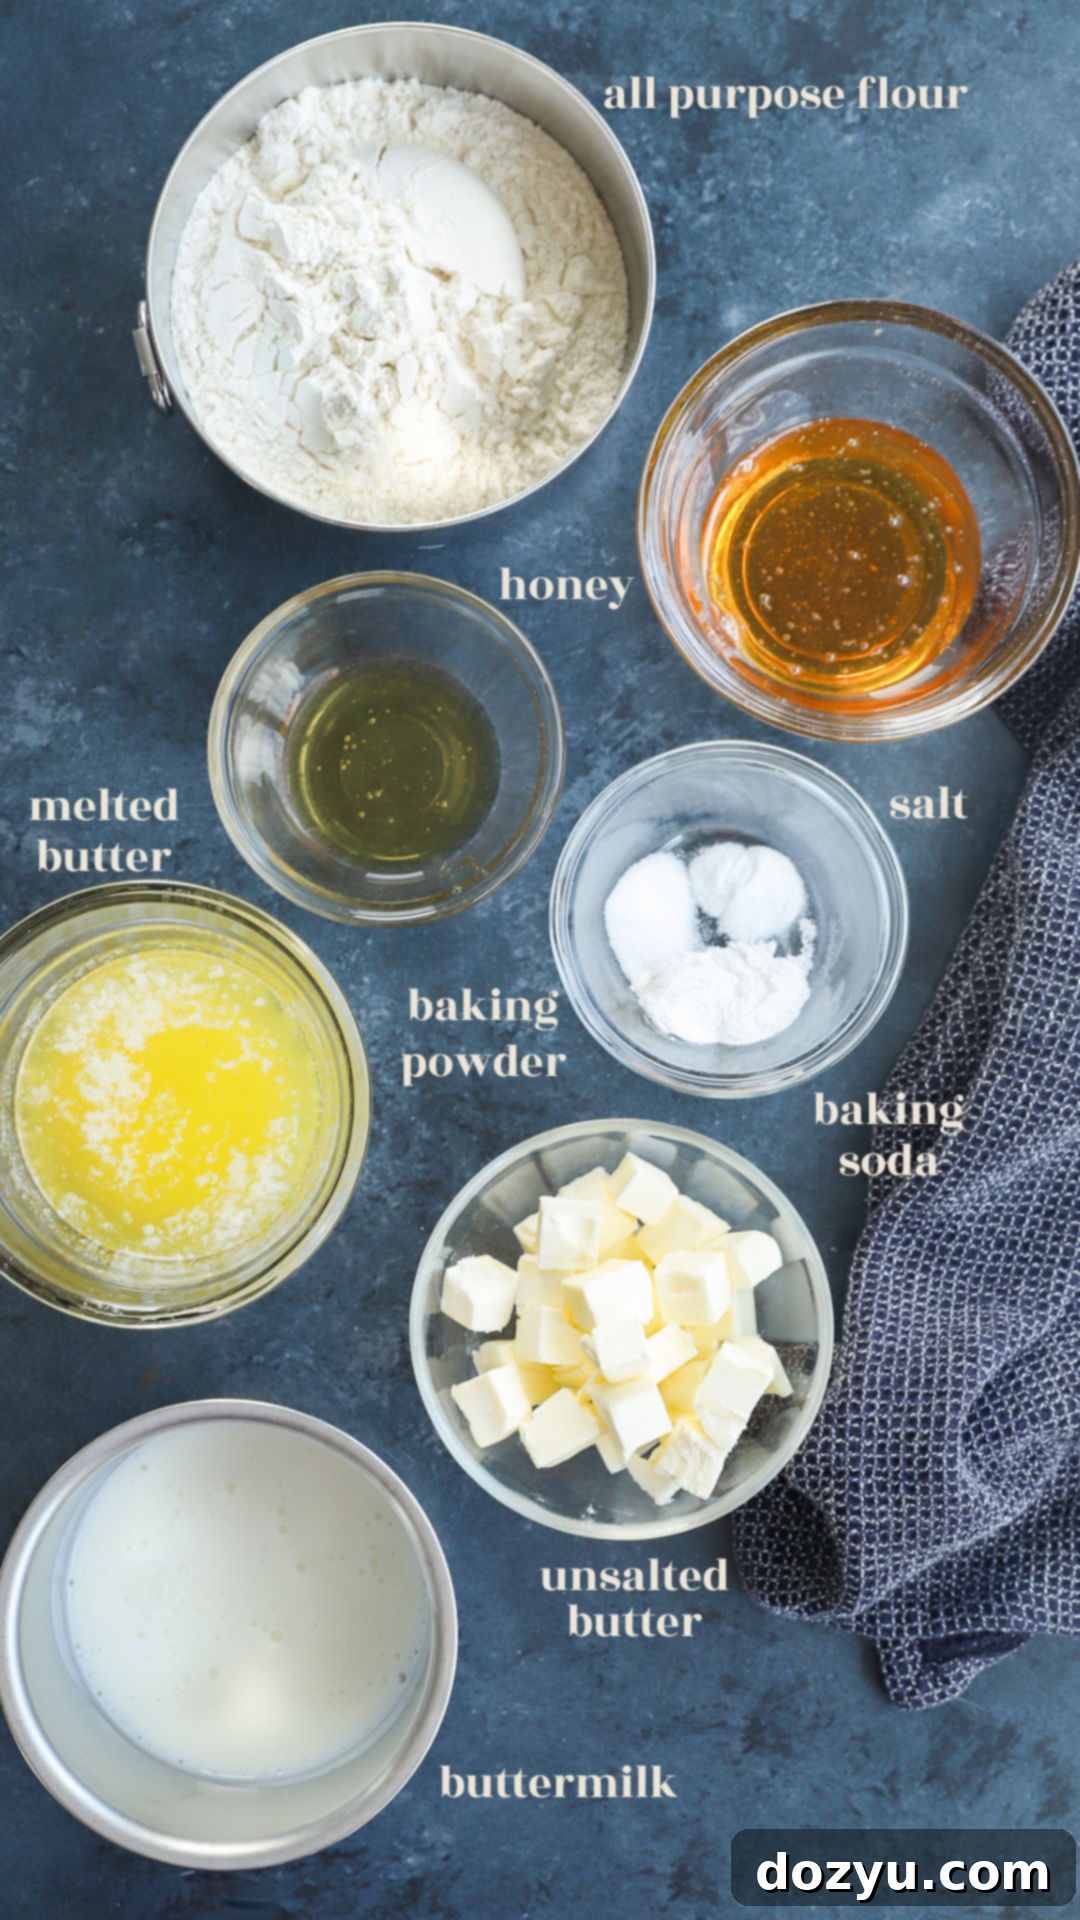
Creating truly outstanding honey butter biscuits starts with understanding the role each ingredient plays. The beauty of this recipe lies in its simplicity, relying on fundamental components to achieve that signature fluffy and flaky texture, enhanced by a touch of golden sweetness.
- All-Purpose Flour: This is your primary structural component. While all-purpose flour works wonderfully, providing the right balance of gluten for a tender yet substantial biscuit, you can experiment with whole wheat flour for a nuttier flavor and denser texture, though the classic choice ensures optimal fluffiness.
- Leavening Agents (Baking Powder and Baking Soda): These are the magical ingredients responsible for the biscuit’s rise. Baking powder provides initial lift, while baking soda reacts with the acidity of the buttermilk (or its substitute) to create additional carbon dioxide, resulting in those desirable airy pockets and a tender crumb. Using both ensures maximum loft and a light texture.
- Salt: Essential for balancing the flavors. Fine kosher salt is preferred as it dissolves evenly and distributes its seasoning throughout the dough. If you opt for salted butter, remember to adjust or omit the added salt to prevent an overly salty biscuit.
- Unsalted Butter: The cornerstone of rich, flaky biscuits. It’s crucial that the butter is cold and unsalted. Cold butter creates steam as it bakes, separating the dough into distinct layers, which is the secret to flakiness. Unsalted butter gives you precise control over the overall saltiness of your recipe, allowing the delicate honey flavor to shine.
- Honey: This is where the magic happens! You’ll use honey in two ways: a small amount in the biscuit dough itself for a subtle sweetness and tenderness, and a more generous portion for the irresistible honey butter glaze. Choose a good quality honey – perhaps a local wildflower or clover honey – for the best flavor experience.
- Buttermilk: Absolutely vital for both the flavor and texture of these biscuits. The acidity in buttermilk reacts with the baking soda, contributing to a high rise and an incredibly tender crumb. It also imparts a unique tangy depth that complements the sweetness of the honey beautifully. If you don’t have buttermilk readily available, don’t despair! You can easily create a substitute by combining 1 cup of whole milk with 1 tablespoon of fresh lemon juice or white vinegar. Let this mixture sit for 3-5 minutes until it slightly thickens and curdles, then use it as directed. This simple hack ensures you still achieve the necessary acidity for a perfect biscuit.
Essential Tools for Biscuit Making
While the craft of biscuit making might seem intricate, the truth is you don’t need a kitchen full of specialized gadgets. A few basic tools will ensure your journey to fluffy, flaky perfection is smooth and enjoyable. Having the right equipment can significantly simplify the process and improve your results.
- Measuring Cups and Spoons: Accuracy in baking is paramount. Having a reliable set of measuring cups and spoons on hand ensures you get the exact ratios of ingredients needed for a consistent, delicious biscuit every time.
- Large Mixing Bowl: You’ll need ample space to combine your dry ingredients and then incorporate the butter without making a mess. A large, sturdy mixing bowl from a set of mixing bowls is ideal for handling the dough and allowing for comfortable mixing.
- Pastry Cutter (or Alternatives): This tool is excellent for cutting cold butter into your dry ingredients, creating that essential coarse crumb texture without warming the butter too much with your hands. If you don’t have a pastry cutter, two butter knives can be used to “scissor” the butter into the flour, or you can even use your fingertips, working quickly to keep the butter as cold as possible. Some bakers also use a food processor for this step, pulsing very briefly, but be careful not to overmix.
- Biscuit Cutters: For perfectly uniform, round biscuits, a set of biscuit cutters is invaluable. They come in various sizes, allowing you to choose your preferred biscuit diameter. If you don’t own cutters, a glass with a diameter of about 2 to 2.5 inches works as a fantastic substitute. Just remember to press straight down and avoid twisting the glass, as twisting can seal the edges and inhibit the biscuits’ rise.
- Lined Baking Sheet: A baking sheet lined with parchment paper or a silicone baking mat ensures that your biscuits don’t stick and promotes even browning on the bottom.
With these simple tools, you’re well-equipped to embark on your honey butter biscuit baking adventure!
How to Make This Easy Honey Butter Biscuit Recipe
Crafting these delectable honey butter biscuits is a straightforward process that yields incredibly rewarding results. Follow these steps carefully to ensure your biscuits are perfectly fluffy, flaky, and packed with flavor.
Prepare the Dry Mixture
Begin by combining all your dry ingredients in a generously sized mixing bowl. Whisk together the all-purpose flour, baking powder, salt, and baking soda until they are thoroughly combined. This step is crucial for ensuring that the leavening agents and salt are evenly distributed throughout the flour, which will promote a consistent rise and flavor in every biscuit.
Incorporate the Cold Butter
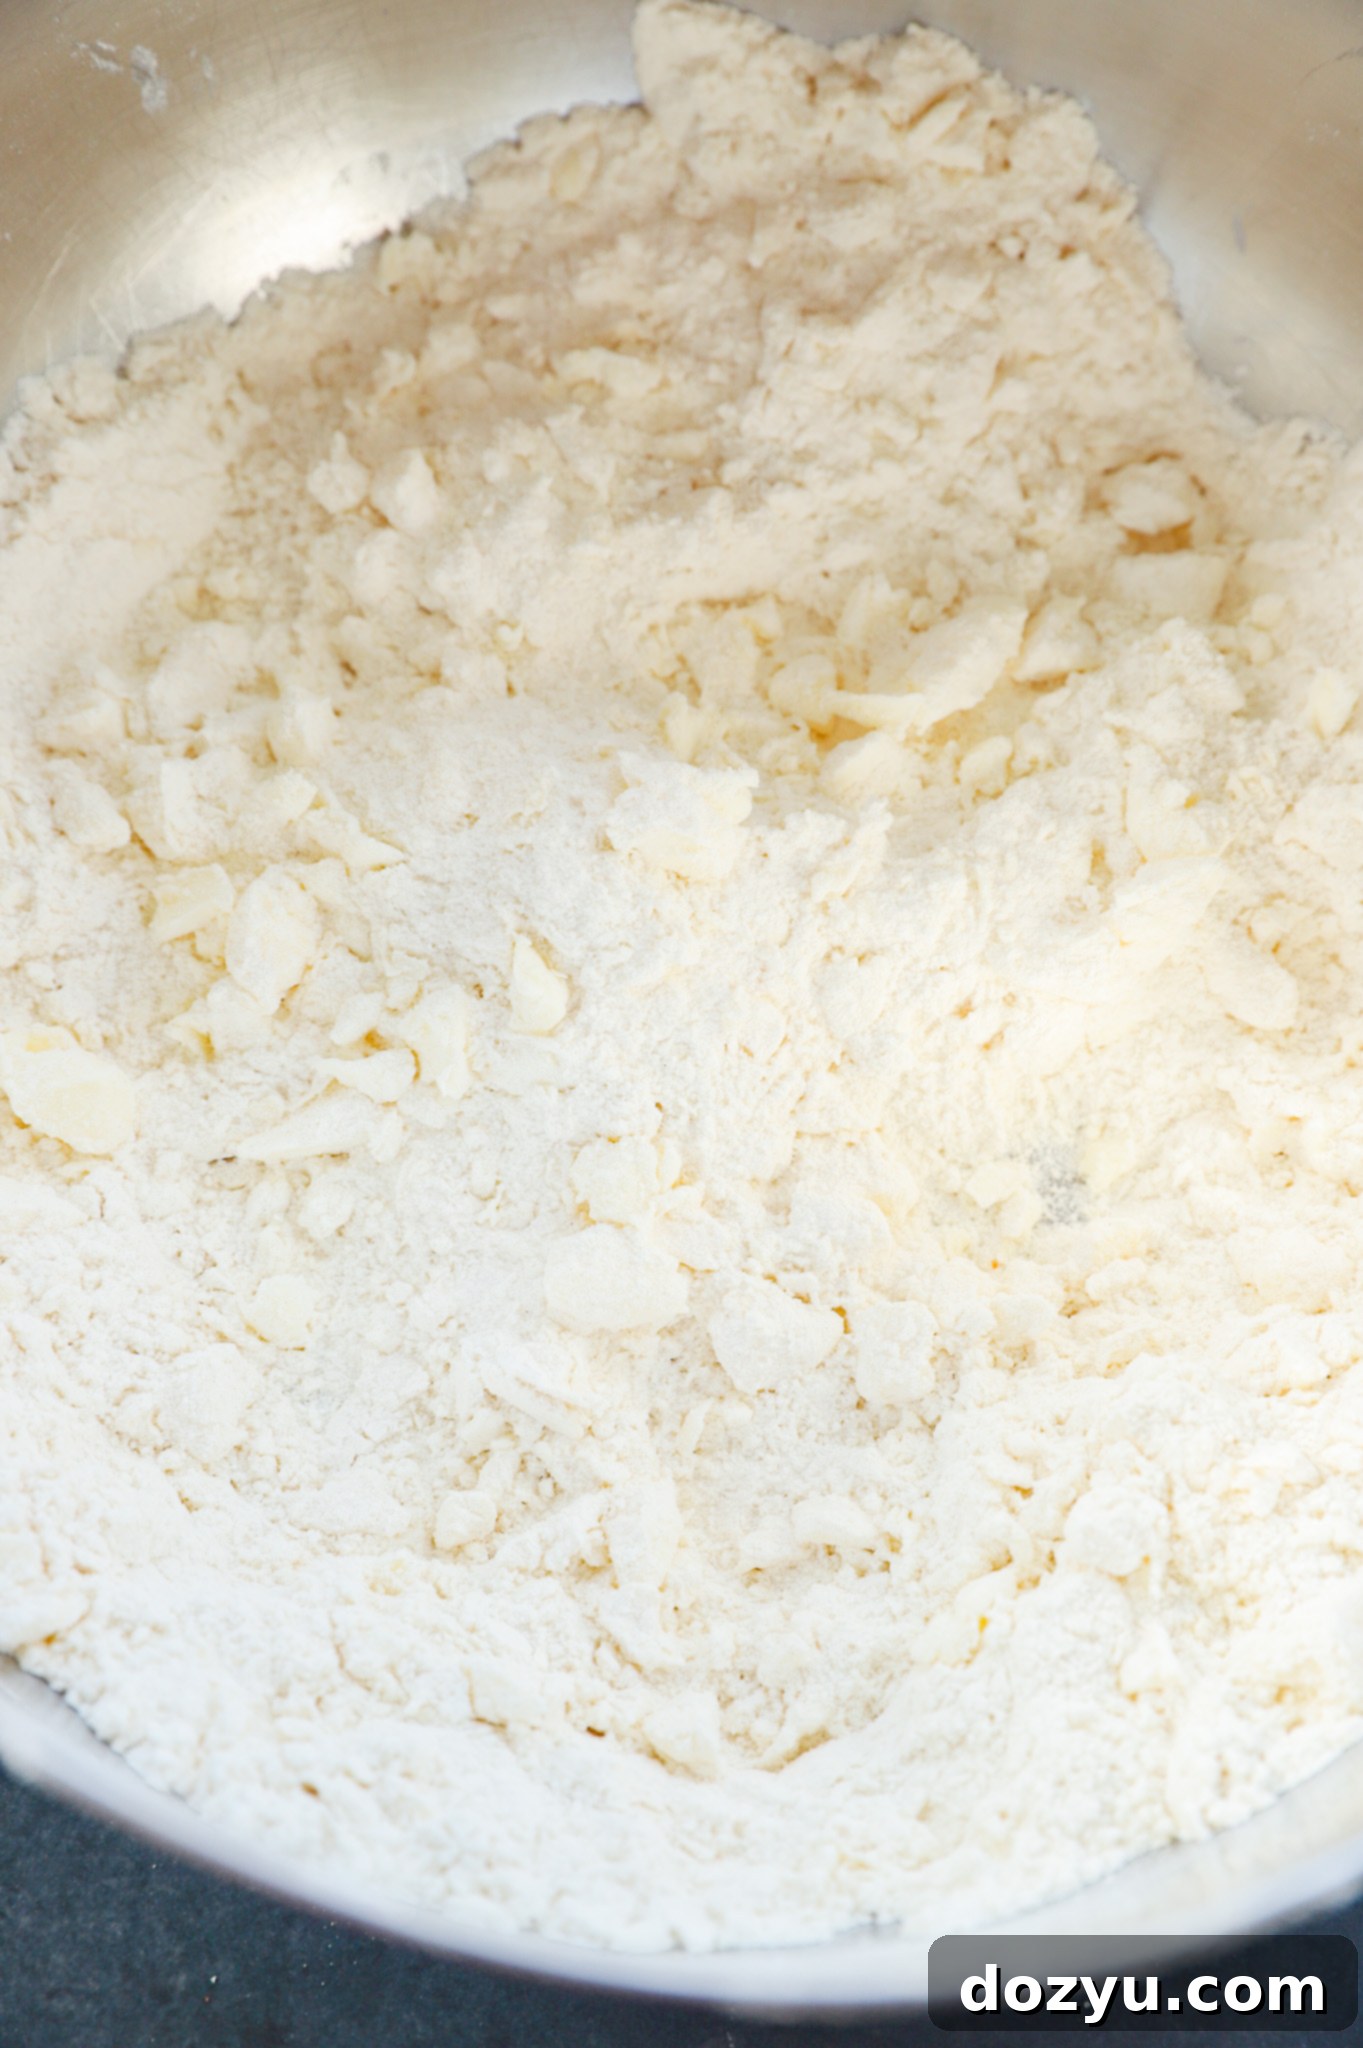
Next, add your cubed, very cold unsalted butter to the dry mixture. The key to flaky biscuits lies in keeping the butter cold. Using a pastry cutter, two cold butter knives, or even your clean, cold hands (working very quickly), cut the butter into the dry ingredients. Continue until the mixture resembles coarse crumbs, with some pea-sized pieces of butter still visible. These pockets of butter will create steam during baking, forming those characteristic flaky layers.
Form the Dough
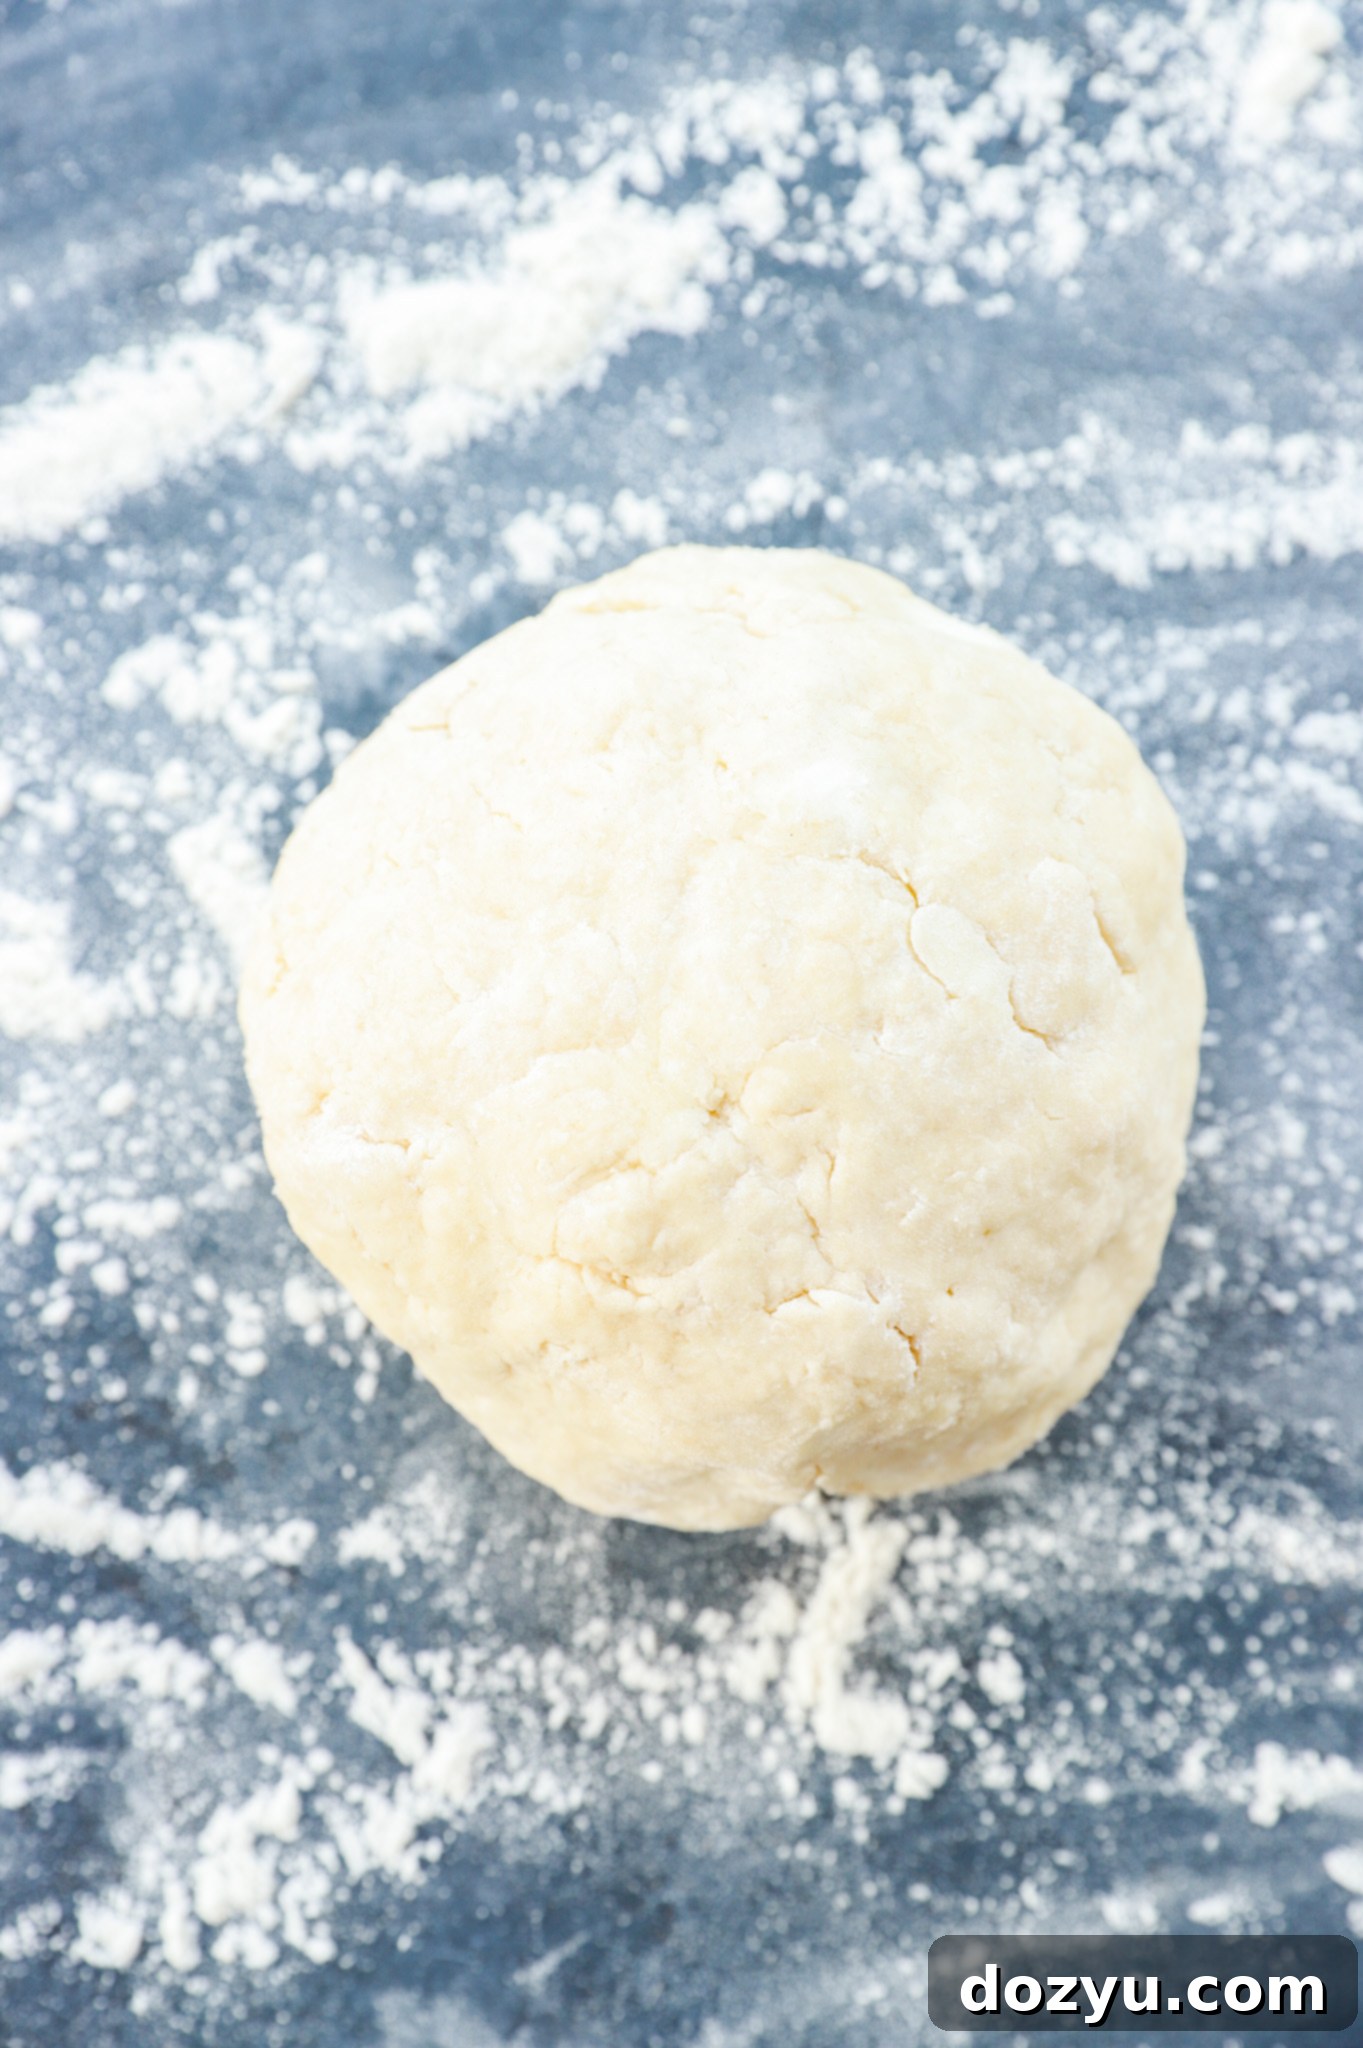
Gently stir in the buttermilk and the specified amount of honey until the mixture is just moistened. Be careful not to overmix at this stage; overworking the dough develops gluten too much, which can lead to tough biscuits. Once barely combined, turn the dough out onto a lightly floured surface. Knead the dough a handful of times – just enough until it comes together into a cohesive, smooth mass. It might seem a little dry at first, but resist the urge to add too much liquid. A few minutes of gentle kneading should bring it together beautifully.
Roll and Cut the Biscuits
Using a rolling pin, carefully roll out the biscuit dough until it is approximately 1-inch thick. This thickness is ideal for achieving a good rise and a satisfying texture. Using a biscuit cutter (or a glass with a similar diameter), cut the dough into circles, aiming for about 2 to 2.5 inches in diameter. Press the cutter straight down and lift; avoid twisting, as this can seal the edges and hinder the biscuits from rising properly. Place the cut biscuit discs on a baking sheet lined with parchment paper or a silicone mat, spacing them about 2 inches apart to allow for proper airflow and even baking.
Whip Up the Honey Butter Glaze
In a small bowl, combine the melted unsalted butter and honey for the glorious glaze. Stir until these two components are thoroughly combined and smooth. This simple yet effective glaze is what gives these biscuits their signature sticky, sweet, and golden finish. Gently brush the tops of your unbaked biscuits with this honey butter mixture.
Bake to Golden Perfection
Transfer your baking sheet to a preheated oven and bake for 18 to 22 minutes, or until the biscuits have risen beautifully and turned a rich, golden brown. The color indicates that they are cooked through and have developed a delicious crust. Serve these delightful honey butter biscuits warm, straight from the oven, for the ultimate comforting experience.
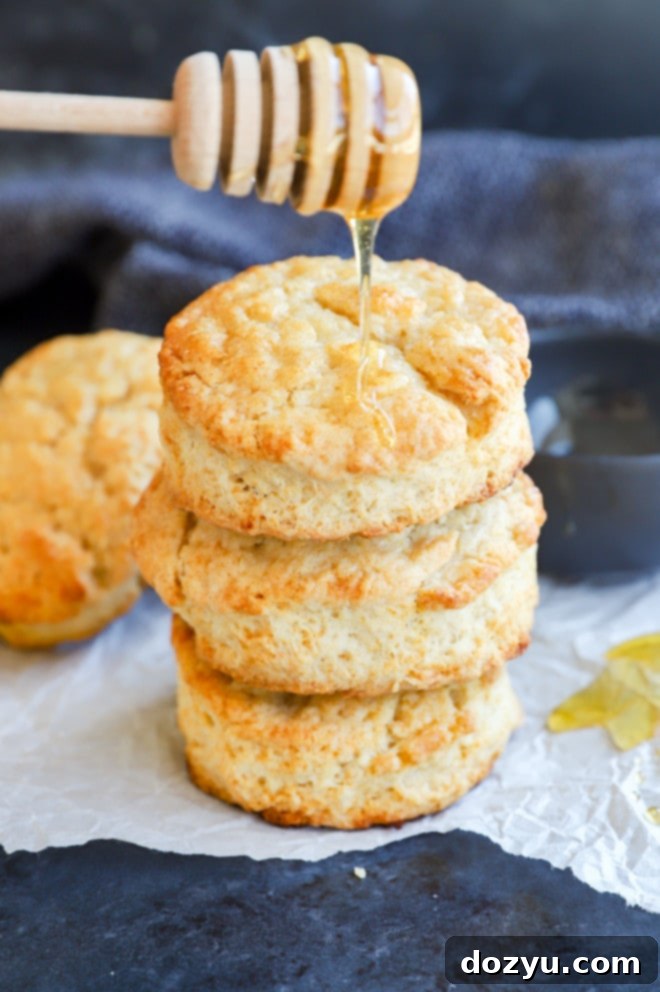
Pro Tip: For an extra layer of flavor and a beautiful glossy finish, brush the tops of the baked biscuits again with the honey glaze immediately after they come out of the oven! This gives them an extra sheen and a powerful punch of honey butter flavor. For those who enjoy a little kick, consider drizzling the warm biscuits with hot honey for added sweetness and a delightful hint of heat!
Expert Tips and Tricks for Fluffy Biscuits
Achieving perfectly fluffy and flaky honey butter biscuits consistently requires attention to a few key details. These expert tips and tricks will elevate your biscuit-making game, ensuring delightful results every time.
- Embrace Buttermilk: Do not underestimate the power of buttermilk. It’s truly essential to both the unique tangy flavor and the tender, airy texture of these biscuits. The acidity in buttermilk reacts with the baking soda, creating those precious air pockets that contribute to a high rise and delicate crumb. If you find yourself without buttermilk, don’t fret! You can easily create a homemade substitute: simply combine 1 cup of whole milk with 1 tablespoon of lemon juice or white vinegar. Let it sit for 3-5 minutes until it slightly curdles and thickens, then use it as a 1:1 replacement for store-bought buttermilk.
- Resist Overmixing: This is perhaps the most crucial rule for tender biscuits. Once you add the wet ingredients, stir only until the dough is just moistened and barely comes together. Overmixing develops the gluten in the flour too much, leading to tough, chewy biscuits rather than light, flaky ones. When kneading on a floured surface, only work the dough a handful of times, just until it’s smooth and no longer dry. Aim for minimal handling to keep the texture delicate. If the dough is still too dry after minimal kneading, add buttermilk one tablespoon at a time, kneading gently after each addition, until it’s just right – not wet, not sticky, but smooth.
- Keep Your Ingredients Cold: Cold ingredients are the secret to flaky layers. Ensure your butter is straight from the refrigerator and ideally cut into small cubes, or even frozen and grated, before incorporating it into the dry mixture. Similarly, keep your buttermilk cold until you’re ready to use it. The only exception is honey, which can be at room temperature or slightly warmed for easier mixing. The cold fat creates steam during baking, which pushes the layers of dough apart, resulting in that coveted flakiness. Warm butter melts too quickly and incorporates too thoroughly, leading to a denser, cake-like texture.
- Don’t Twist the Cutter: When cutting out your biscuit rounds, press the biscuit cutter straight down into the dough and lift it straight up. Avoid twisting the cutter. Twisting can seal the edges of the biscuit, which prevents it from rising as high as it should and can inhibit the formation of distinct layers.
- Bake Biscuits Close Together: For softer-sided biscuits that rise taller, arrange them on the baking sheet so that their sides are just barely touching. This creates a supportive environment for them to push up rather than spreading out, resulting in a more uniform and higher rise.
- Chill Before Baking (Optional but Recommended): If you have time, after cutting the biscuits and before brushing with the glaze, place the baking sheet in the refrigerator for 10-15 minutes. This extra chill helps ensure the butter is very cold, maximizing flakiness.
More tasty biscuits to bake up: Jalapeño Cheddar Biscuits | Pumpkin Sage Biscuits | Black Pepper Goat Cheese Biscuits
Why Buttermilk is Essential for Biscuits
Buttermilk isn’t just a traditional ingredient for biscuits; it’s a critical component that contributes significantly to their iconic flavor and texture. The slightly tangy, creamy nature of buttermilk works wonders in baking, especially in recipes like biscuits where tenderness and rise are paramount. The acidity in buttermilk reacts with the baking soda in the recipe, creating carbon dioxide gas. This gas forms tiny air pockets throughout the dough, which are crucial for achieving that light, fluffy, and high-rising biscuit characteristic.
Beyond its leavening power, buttermilk also contributes a unique flavor profile. Its slight tanginess beautifully complements the richness of the butter and the sweetness of the honey, adding a depth that plain milk simply cannot replicate. Furthermore, the acid in buttermilk helps to tenderize the gluten in the flour, resulting in a remarkably soft and delicate crumb that melts in your mouth.
If you don’t have store-bought buttermilk on hand, there’s no need to run to the grocery store. Making your own substitute is incredibly simple and effective. Just measure out 1 cup of whole milk (the higher fat content works best) and stir in 1 tablespoon of fresh lemon juice or white vinegar. Give the mixture a gentle stir and then let it rest for 3 to 5 minutes. During this short time, you’ll observe the milk beginning to curdle and thicken slightly, indicating that the acid has started its work. This homemade “buttermilk” is now ready to be used in your recipe, ensuring you don’t miss out on any of those wonderful qualities that buttermilk brings to these fantastic biscuits.
How Long Do These Honey Butter Biscuits Stay Fresh?
Like most freshly baked goods, honey butter biscuits are at their absolute best when enjoyed warm, straight from the oven. However, if you find yourself with leftovers, proper storage can help maintain their deliciousness for a short period.
At room temperature, stored in an airtight container, these biscuits will retain their quality for up to 2 days. The airtight seal is key to preventing them from drying out. While you could technically store them in the refrigerator, it’s generally not recommended for optimal texture. The cold environment of the fridge can cause biscuits to become somewhat dense and soggy, losing their delightful flakiness and lightness. For this reason, if you’re not planning to eat them within two days, your best bet is to store them at room temperature or, even better, freeze them for longer-term enjoyment. When ready to eat, a quick reheat can bring them back to life.
Can You Freeze Honey Butter Biscuits?
Absolutely! Freezing is a fantastic way to preserve your homemade honey butter biscuits and ensure you always have a comforting treat ready when a craving strikes. It’s incredibly easy to do, and they freeze beautifully.
To freeze baked biscuits: First, allow your freshly baked biscuits to cool completely to room temperature. This prevents ice crystals from forming and preserves their texture. Once cool, wrap each biscuit individually in aluminum foil. This extra layer of protection helps prevent freezer burn and keeps them fresh. After wrapping, place the foil-wrapped biscuits into an airtight, freezer-safe container or a resealable freezer bag. This double-layer protection is important. Properly stored, these delicious biscuits will maintain their quality in the freezer for up to 3 months.
To reheat from frozen: You can thaw them overnight in the refrigerator or on the counter for a few hours. Once thawed, warm them in a 300˚F (150˚C) oven for about 5-7 minutes, or until heated through. Alternatively, for a quicker option, you can sometimes warm them directly from frozen in a slightly lower oven (around 275-300°F / 135-150°C) for 15-20 minutes, or until they are warm in the center. The individual wrapping helps keep them from drying out during reheating.
Need more inspiration for bread? Check out my bread recipes page!
Delicious Pairings: What to Serve with Honey Butter Biscuits
Honey Butter Biscuits are wonderfully versatile, making them a perfect accompaniment for almost any meal or occasion. Their unique blend of sweet and savory notes means they can swing both ways, complementing a wide array of dishes. Here are some delightful ideas to inspire your next meal:
Sweet Pairings:
- On Their Own: With their inherent sweetness from the honey butter glaze, these biscuits are simply fantastic enjoyed all by themselves, warm and fresh.
- Classic Spreads: Slather them with extra butter for ultimate indulgence. For a fruitier touch, spread them generously with your favorite jams like a vibrant cranberry jam, sweet plum jam, or a zesty lemon curd. The easiest and most refreshing jam, hands down, is this strawberry freezer jam, especially when using ripe, seasonal strawberries.
- Breakfast Treat: Transform them into a sweet breakfast with a dollop of whipped cream and fresh berries.
Savory Pairings:
- Sandwich Base: These sweet and buttery biscuits make an exceptional base for various sandwiches. Imagine a truly decadent pork belly breakfast sandwich with the biscuit’s sweetness cutting through the richness. They also work beautifully with fried chicken, ham, or even scrambled eggs and cheese.
- Gravy Companion: Nothing says Southern comfort like biscuits smothered in creamy sausage gravy. The slight sweetness of these biscuits offers a wonderful contrast to the savory gravy.
- Soup & Stew Dippers: Biscuits are ideal for dunking! Pair them with a comforting bowl of your favorite soup, like a classic Instant Pot tomato soup, or a hearty beef stew. Their absorbent nature soaks up all the delicious broth and flavors.
- Holiday Side Dish: Elevate your holiday spread by adding these biscuits. They’d be a fantastic addition to a Thanksgiving feast, served alongside a smoked beer-brined turkey or a rich roast.
- Breakfast & Brunch Staples: Beyond sandwiches, serve them alongside traditional breakfast dishes such as perfectly cooked eggs, crispy bacon, savory sausage, or even a flavorful Southwestern ham hash.
No matter how you choose to enjoy them, these honey butter biscuits are sure to impress with their versatility and incredible flavor profile.
Storing and Reheating Your Biscuits
To keep your homemade honey butter biscuits tasting their best, proper storage and reheating are key. While they’re always most delicious fresh from the oven, these methods will help you enjoy them longer.
Store:
First, ensure your honey butter biscuits have cooled completely to room temperature. Warm biscuits will create condensation in an airtight container, leading to sogginess. Once fully cooled, place them in an airtight container. They will maintain their quality and freshness for up to 2 days at room temperature. For any leftover melted honey butter glaze, you can store it separately in a small airtight container in the refrigerator. When you’re ready to use it again, simply warm it gently in the microwave until pourable. It’s not only delicious drizzled over warm biscuits but also makes a fantastic spread for toast or other breads (without melting, of course!).
Reheat:
To revive your biscuits and bring back that fresh-baked warmth, preheat your oven to 300˚F (150˚C). Place the biscuits on a baking sheet and bake them until they are warmed through to your desired temperature. We typically find 5 to 7 minutes is perfect for achieving that comforting warmth without drying them out. This low and slow reheating method helps them regain some of their original tenderness.
Freeze:
If you’ve made a larger batch or want to save some for a later date, freezing is an excellent option. Allow the biscuits to cool completely to room temperature. To prevent freezer burn and ensure individual portions, wrap each biscuit tightly with aluminum foil. Then, place all the wrapped biscuits into a large resealable freezer-safe bag or an airtight freezer container. Stored this way, your biscuits will last for up to 3 months.
Thaw:
When you’re ready to enjoy your frozen biscuits, the best method is to thaw them overnight on the counter (still wrapped). Once thawed, you can rewarm them in the oven following the reheating instructions above. This slow thawing process helps preserve their texture.
More Comforting Recipes to Try
If you love the comforting warmth of homemade baked goods, here are a few more recipes you might enjoy adding to your repertoire:
- This no-yeast white bread recipe is a lifesaver when you’re craving a fresh loaf but don’t have yeast on hand, or simply want a quicker bread.
- For the autumn season, or any time you desire a rustic and flavorful loaf, try the harvest pumpkin seed bread – an artisanal bread perfect for cozy gatherings.
Finally, if you take the time to make this incredible Honey Butter Biscuits recipe, please be sure to give it a rating and/or leave a comment below! I genuinely love hearing from all of you when you try out my recipes, and I make it a point to respond to every single comment. Your feedback is invaluable and greatly appreciated.
Feel free to drop any questions you might have in the comments section as well!
Oh, and please don’t forget to tag me on Instagram if you make the recipe! It truly brings me so much joy to see these recipes come to life in your kitchens – scrolling through your photos is one of my favorite things. Your shares mean the world to me!
Honey Butter Biscuits Recipe Card
Equipment
-
Measuring Spoons – essential for accurate ingredient measurements.
-
Measuring Cups – for precise dry and liquid ingredient portions.
-
French Wire Whisk – for thoroughly combining dry ingredients.
-
Mixing Bowls – a large one is needed for dough preparation.
-
Pastry Cutter – or two butter knives, for cutting butter into flour.
-
Biscuit Cutters (2 to 2.5-inch diameter) – for perfectly shaped biscuits.
-
Silicone Baking Mats or parchment paper – for a non-stick baking surface.
-
Half Sheet Pan – for baking your biscuits.
Ingredients
- 3 1/2 cups all-purpose flour
- 1 Tbsp + 2 tsp baking powder
- 1 tsp fine kosher salt
- 1/2 tsp baking soda
- 1 cup cold unsalted butter cut into small cubes
- 1 Tbsp + 1 tsp honey
- 1 cup + 1 Tbsp cold buttermilk
- 1/2 cup unsalted butter melted
- 1/3 cup honey
Instructions
-
Preheat your oven to 425˚F (220˚C). Line a large baking sheet with either a silicone baking mat or parchment paper to prevent sticking.
-
In a large mixing bowl, combine the all-purpose flour, baking powder, salt, and baking soda. Whisk these dry ingredients together thoroughly to ensure they are evenly distributed.
-
Add the cubed, cold unsalted butter to the dry mixture. Using a pastry cutter, two knives, or your fingertips (working quickly to keep butter cold), cut the butter into the flour until the mixture resembles coarse crumbs with some pea-sized pieces of butter remaining. Stir in the cold buttermilk and honey until the dough is just moistened and barely comes together. Avoid overmixing.
-
Turn the dough out onto a lightly floured surface. Gently knead the dough a few times, just until it becomes smooth and cohesive. The dough might feel a bit dry initially; if it’s still too dry after minimal kneading, add 1 tablespoon of buttermilk at a time, kneading gently after each addition, until it reaches a smooth consistency. Be careful not to add too much liquid – the dough should be soft but not wet or sticky.
-
Using a rolling pin, roll out the biscuit dough until it is about 1-inch thick. Cut the dough into circles using a 2 to 2 1/2-inch biscuit cutter. Press straight down and avoid twisting the cutter to ensure a good rise. Place the cut biscuits onto your prepared baking sheet, spacing them about 2 inches apart.
-
In a small bowl, whisk together the melted unsalted butter and honey to create the honey butter glaze.
-
Lightly brush the tops of the unbaked biscuits with a generous amount of the honey butter glaze.
-
Bake for 18 to 22 minutes, or until the biscuits have risen, are cooked through, and turn a beautiful golden brown on top and bottom.
-
Serve these irresistible Honey Butter Biscuits warm, ideally with an extra brush of honey glaze for added sheen and flavor. Enjoy!
