Homemade No-Churn Caramel Apple Ice Cream: The Ultimate Fall Dessert
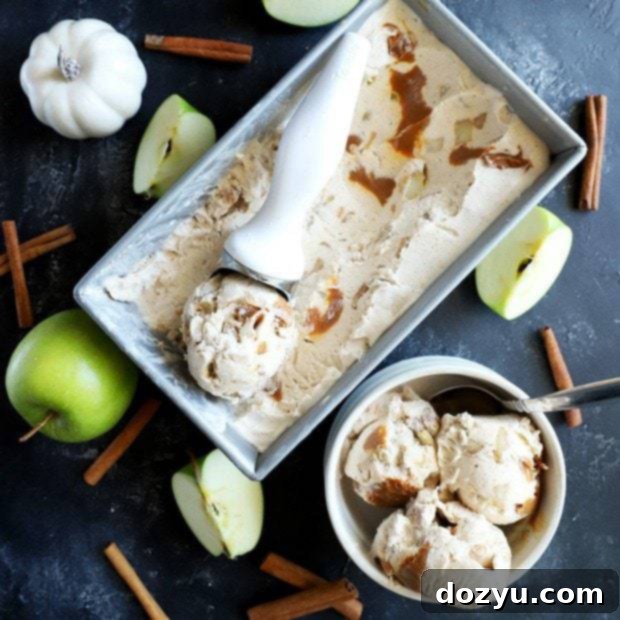
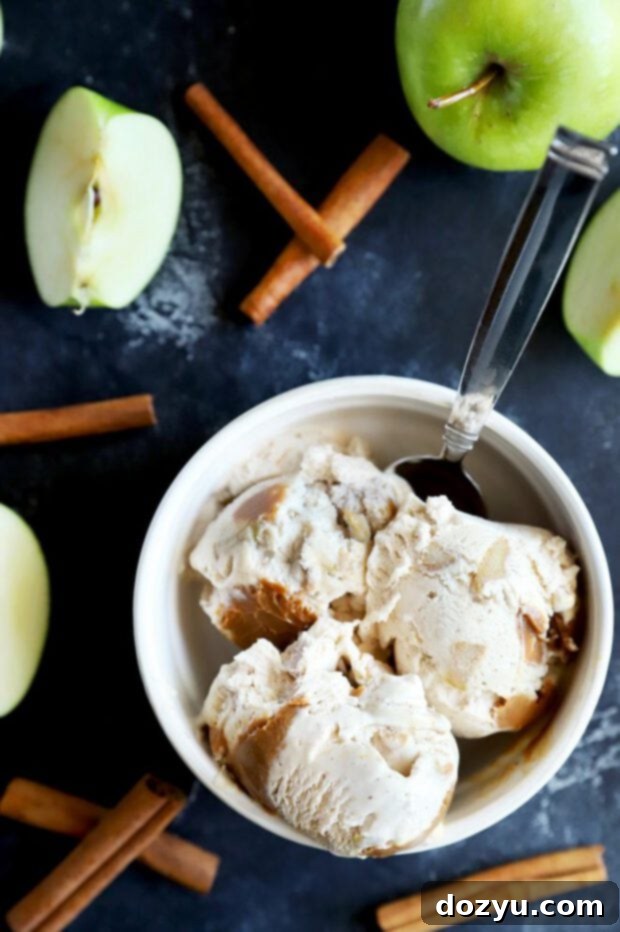
Discover the ultimate fall delight with this incredible No-Churn Caramel Apple Ice Cream. Bursting with classic apple pie spices, tender fresh apple chunks, and luxurious swirls of creamy dulce de leche, this recipe delivers an unforgettable sweet treat without the need for an ice cream maker. Prepare to crave a double scoop every single day as you savor the flavors of autumn in every spoonful!
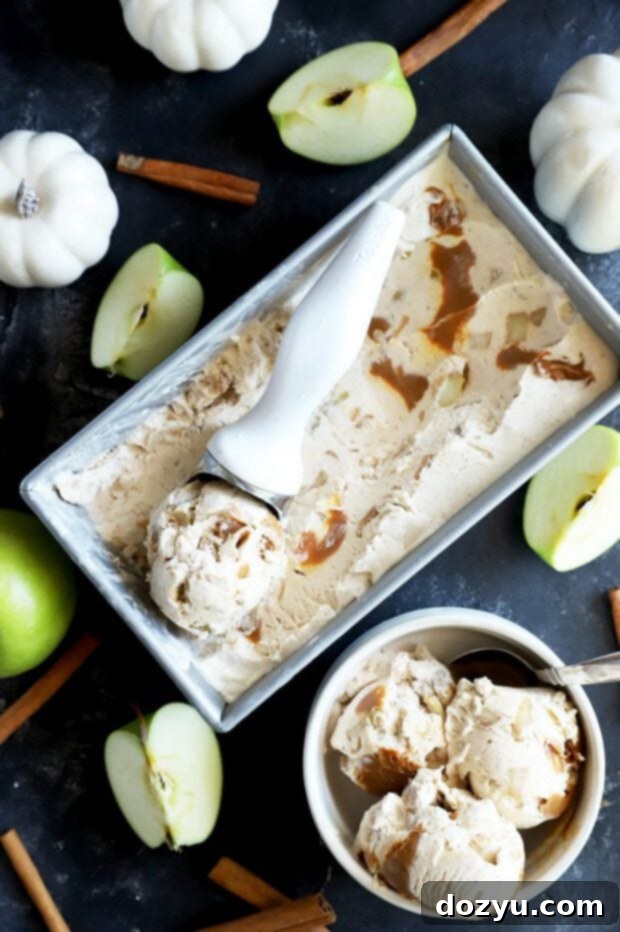
There’s something truly magical about the crisp air of fall, the changing leaves, and the comforting flavors that come with the season. For many, autumn means apple picking, pumpkin spice, and, of course, the irresistible combination of crisp apples and sweet, gooey caramel. This year, I’m taking my love for fall to a whole new level with a dessert that perfectly captures the essence of autumn: Homemade No-Churn Caramel Apple Ice Cream.
Caramel apples have always held a special place in my heart. Growing up, they were a seasonal obsession, a treat I eagerly anticipated from September through November. The delightful contrast of a tart, crunchy apple enveloped in a thick layer of rich caramel and adorned with various toppings was simply unmatched. While my direct consumption of traditional caramel apples has waned slightly in recent years, my craving for that iconic flavor profile has only intensified. This dessert is my delicious answer to that craving.
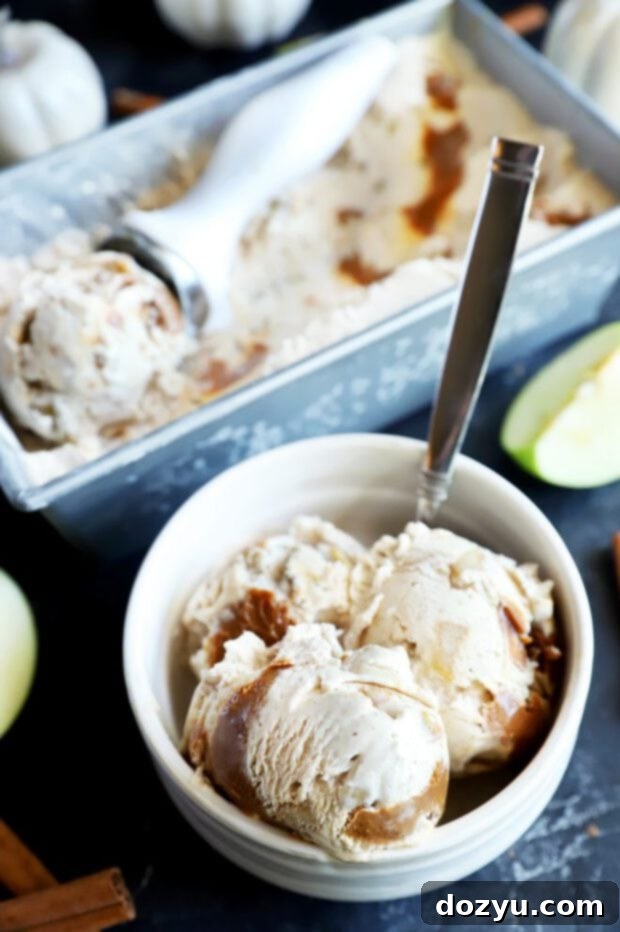
Imagine the warm, inviting aroma of apple pie spices – cinnamon, nutmeg, and cloves – infused into a creamy, dreamy ice cream base. Then, add succulent chunks of fresh, cooked apples that burst with flavor in every bite. Finally, generously swirl in luscious dulce de leche, providing that rich, buttery caramel element that makes this dessert truly heavenly. This isn’t just ice cream; it’s a celebration of fall, a spoonful of pure autumn bliss. Once you try this, you might find yourself saying goodbye to plain old caramel apples forever.
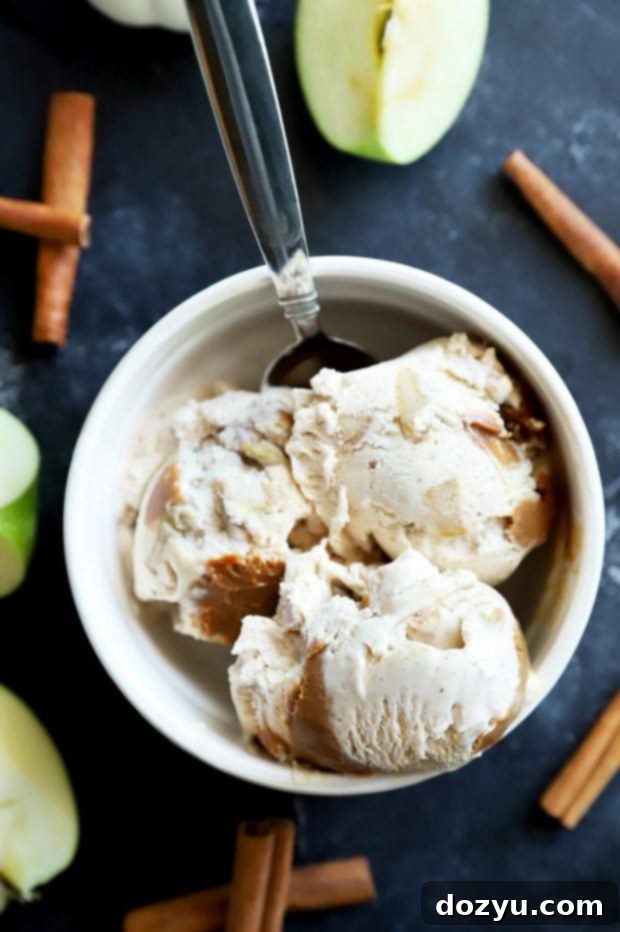
The beauty of this recipe lies in its simplicity. As a “no-churn” ice cream, it eliminates the need for an expensive or bulky ice cream maker, making homemade ice cream accessible to everyone. This means less equipment, less fuss, and more time to enjoy the delightful process of creating a truly special treat. Whether you’re hosting a fall gathering, looking for a unique Thanksgiving dessert, or simply want to indulge in a cozy evening treat, this Caramel Apple Ice Cream is guaranteed to impress.
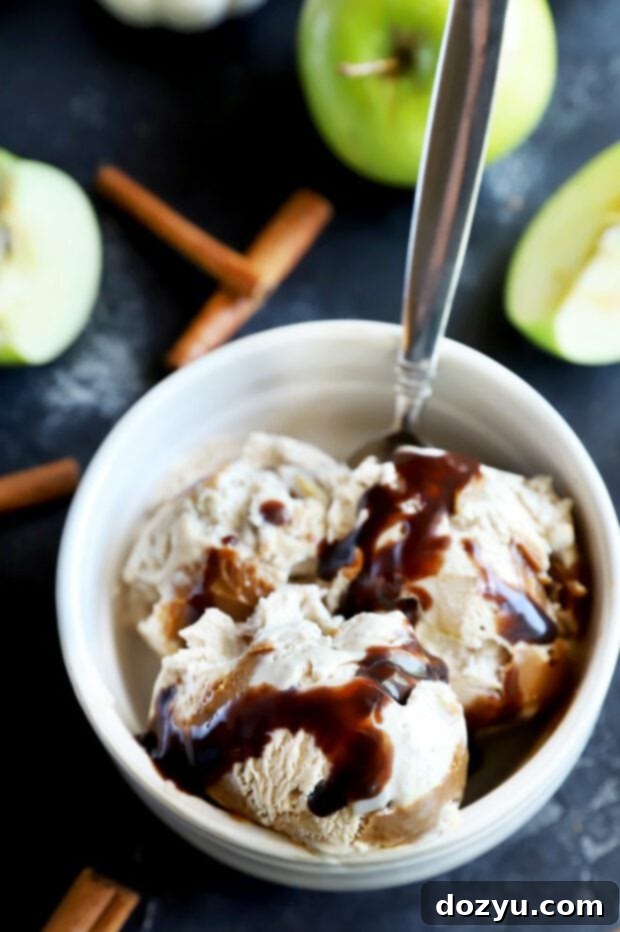
Table of Contents
Toggle
Essential Equipment for This Caramel Apple Ice Cream
Creating this delectable Caramel Apple Ice Cream is straightforward, and you likely already have most of the necessary tools in your kitchen. Here’s a breakdown of the key equipment that will make your ice cream-making process smooth and enjoyable:
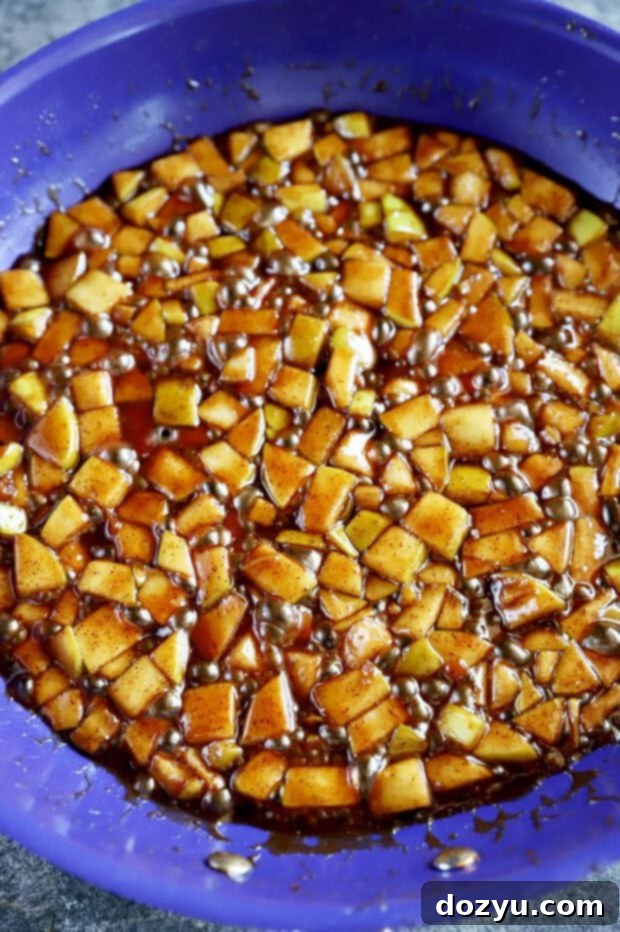
To prepare the flavorful apple mixture, a high-quality nonstick skillet is absolutely invaluable. The apples, sugar, and spices will cook down into a beautiful, bubbling, and slightly sticky fruit filling. A reliable nonstick surface ensures that the mixture doesn’t stick to the pan, making it incredibly easy to transfer once cooked. I’ve had fantastic experiences with Tuxton Home Concentrix Cookware; their nonstick skillets are truly reliable and come in vibrant colors that can brighten up any kitchen. They offer excellent performance at an incredibly affordable price point, providing two skillets (small and large) that are perfect for various cooking tasks, including this recipe.
A simple wooden spoon is perfect for stirring the apple mixture as it cooks, preventing sticking and ensuring even caramelization of the sugars. For whipping the heavy cream into stiff peaks, you’ll need either a stand mixer equipped with a whisk attachment or an electric hand mixer. While it’s technically possible to whisk the cream by hand, a mixer will save you a lot of time and effort, yielding a much lighter and airier result crucial for the no-churn texture. Additionally, a large mixing bowl is essential for whipping the cream and then combining all the ingredients.
Once your mixture is ready, a flexible rubber spatula will be your best friend for gently folding the ingredients together. This ensures the delicate whipped cream maintains its volume. Finally, for freezing, a 9×5-inch loaf pan is ideal. Its rectangular shape makes for easy layering and scooping. If a loaf pan isn’t available, any airtight container of similar size will work perfectly. The goal is a container that can be securely covered to prevent ice crystals from forming on your delicious ice cream.
Step-by-Step: How to Make Caramel Apple Ice Cream
Making this incredible caramel apple ice cream is simpler than you might think! Follow these steps for a perfectly creamy, spiced, and utterly delicious fall dessert.
Preparing the Spiced Apples
The first crucial step involves cooking down the fresh apples to create a tender, spiced filling. In a large nonstick skillet, melt the butter over medium-high heat. Once the butter is glistening, add your chopped apples, brown sugar, white sugar, cinnamon, nutmeg, cloves, and vanilla extract. Stir these ingredients together well to coat the apples evenly. Cook the mixture for about 6 to 7 minutes, stirring occasionally, until the apples have softened and the sugars have created a bubbling, syrupy sauce. The nonstick skillet is particularly beneficial here, as the sugary apple mixture can easily stick and burn in a regular pan. Once cooked, remove the skillet from the heat and allow the apple mixture to cool completely. This cooling step is important to prevent it from melting the whipped cream in later steps.
Whipping the Cream to Perfection
Next, you’ll prepare the base for your no-churn ice cream: whipped cream. In the bowl of a stand mixer fitted with the whisk attachment (or using a large bowl and an electric hand mixer), pour in the heavy cream. Beat the cream on medium-high speed until it forms stiff peaks. Stiff peaks mean that when you lift the whisk, the cream holds its shape firmly without collapsing. Be careful not to overbeat the cream, as it can quickly turn grainy or even into butter. Aim for a light, airy, and stable consistency.
Folding and Combining the Flavors
Once the apple mixture has completely cooled, it’s time to bring everything together. In a separate medium bowl, combine the cooled apple mixture with the sweetened condensed milk. Stir them thoroughly until well combined. The sweetened condensed milk provides the necessary sweetness and creamy texture that traditionally comes from churning. Then, gently fold this apple-condensed milk mixture into your whipped cream. Use a rubber spatula and a light hand, folding from the bottom up, to incorporate the ingredients without deflating the airy whipped cream. This gentle technique is key to achieving a smooth, creamy no-churn ice cream.
Layering and Freezing for the Best Texture
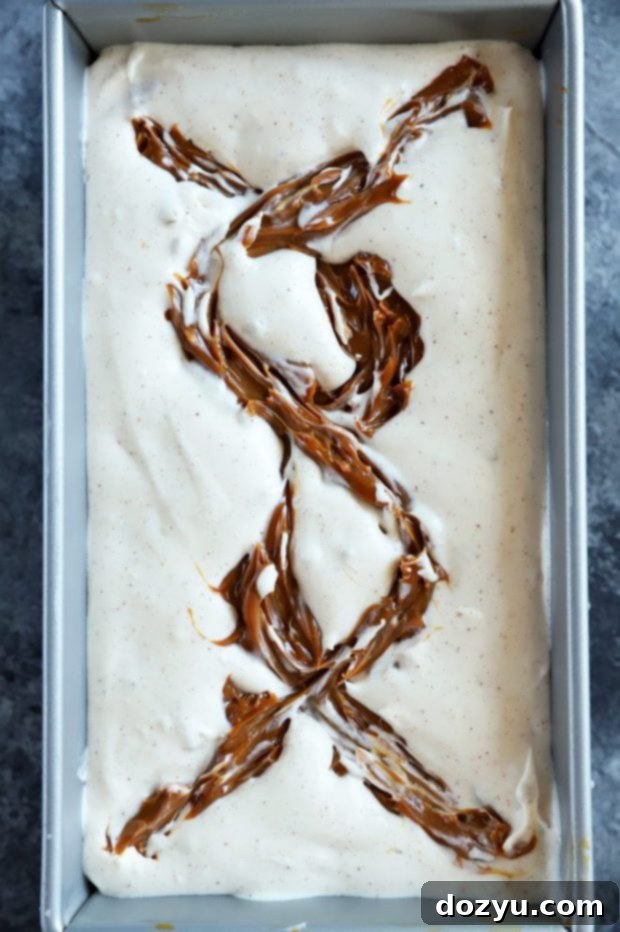
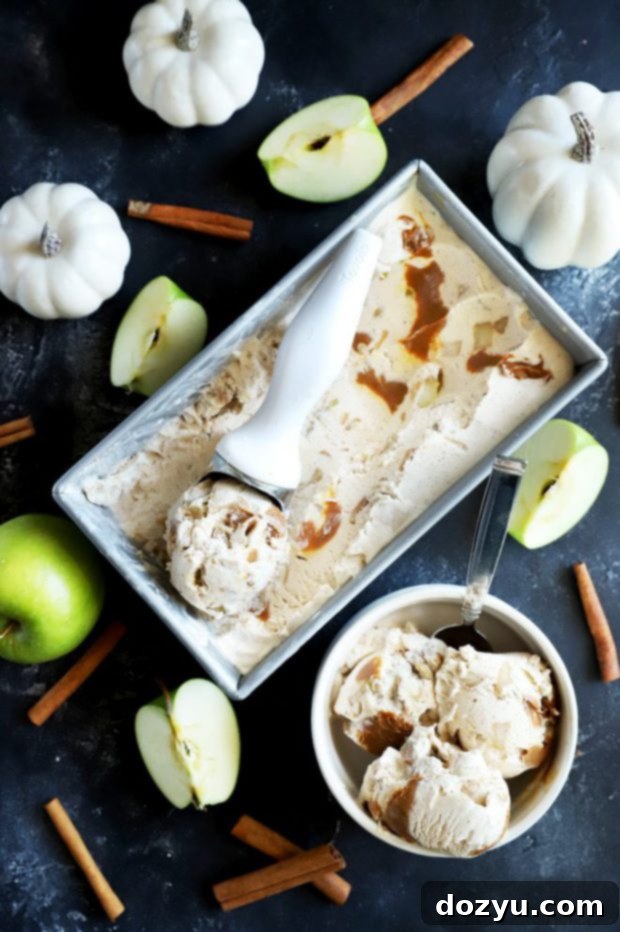
The final step before freezing involves layering your ice cream base with the dulce de leche. Spoon half of the combined whipped cream and apple mixture into your prepared loaf pan or airtight container. Spread it into an even layer. Then, dollop half of the dulce de leche over the top of this layer. Using a knife or a skewer, gently swirl the dulce de leche through the ice cream mixture. This technique creates beautiful caramel ribbons and ensures a perfect blend of flavors in every scoop. Repeat this process with the remaining whipped cream mixture and dulce de leche, layering and swirling. Once all layers are in place, cover the pan tightly with plastic wrap to prevent any ice crystal formation. Place it in the freezer for a minimum of 5 to 6 hours, or ideally, overnight, to allow it to firm up perfectly. The longer freeze time yields a firmer, more scoopable ice cream.
More No-Churn Ice Cream Recipes:
If you’ve fallen in love with the ease and deliciousness of no-churn ice cream, you’re in luck! There’s a whole world of flavors to explore without an ice cream machine. Why not try these other fantastic no-churn recipes for any season?
- Bailey’s No-Churn Ice Cream: A boozy, creamy delight perfect for adults.
- No-Churn Key Lime Pie Ice Cream: A refreshing, tangy treat reminiscent of classic key lime pie.
- Pumpkin Spice Latte Ice Cream: Embrace fall with another seasonal favorite, capturing the essence of your favorite coffee drink.
- PB&J Ice Cream: A nostalgic and playful flavor that brings back childhood memories.
Understanding No-Churn Ice Cream
No-churn ice cream is a culinary revelation for anyone who loves homemade ice cream but doesn’t own or want to invest in an ice cream maker. At its core, “no-churn” simply means no specialized machine is required to achieve that wonderfully creamy, smooth texture typically associated with churned ice cream. The magic behind it lies in two key ingredients: heavy cream and sweetened condensed milk.
Heavy cream, when whipped to stiff peaks, incorporates a significant amount of air, providing the light and airy base. Sweetened condensed milk, on the other hand, is a concentrated mix of milk and sugar, which is incredibly thick and already sweet. Its high sugar content and low water content are crucial; sugar lowers the freezing point of water, which helps prevent the formation of large, icy crystals. This combination creates an emulsion that freezes beautifully into a surprisingly smooth and scoopable consistency, mimicking traditional churned ice cream without the constant movement of a machine. It’s truly a game-changer for home cooks looking for an easy, delicious frozen treat.
Freezing Time for No-Churn Ice Cream
Patience is a virtue, especially when it comes to no-churn ice cream! For this Caramel Apple Ice Cream recipe, it typically takes about 5 to 6 hours for the mixture to freeze through to a scoopable consistency. At this point, it will be soft, much like a freshly made soft-serve. If you prefer your ice cream with a firmer, more traditional frozen texture, I highly recommend allowing it to freeze overnight. An extended freeze time of 8-12 hours ensures optimal solidity and a better overall eating experience.
One of the best aspects of no-churn ice cream is how forgiving it is when serving. Unlike some traditional ice creams that can become rock-hard, no-churn varieties tend to remain slightly softer and easier to scoop directly from the freezer. For the smoothest scoop, simply run your ice cream scoop under hot water for about 30 seconds before diving in. This little trick will allow it to glide through the ice cream like a dream, yielding perfect, elegant scoops every time. Always store your no-churn ice cream in an airtight container to prevent freezer burn and maintain its creamy texture for up to two weeks.
Choosing the Best Apples for Your Ice Cream
The type of apple you choose can significantly influence the flavor and texture of your Caramel Apple Ice Cream. While I personally adore using Granny Smith apples for their tartness and firm texture, which perfectly complements the sweet caramel and rich spices, you have several excellent options. Granny Smiths are my top choice because they hold their shape well when cooked and provide that iconic “apple pie” flavor thanks to their refreshing acidity.
However, many other baking apples will also work beautifully. Consider these popular varieties:
- Gala: A mild, sweet apple that softens nicely without turning to mush.
- Golden Delicious: Sweet and tender, these apples are a classic choice for baking and will contribute a lovely mellow sweetness.
- Honeycrisp: Known for its exceptional crispness and sweet-tart flavor, Honeycrisp apples maintain some of their texture even after cooking, adding a delightful bite.
- Braeburn: Offers a pleasant balance of sweet and tart, and they hold up well to cooking.
- Fuji: Crisp and sweet, they’re another great option that won’t become too soft.
Experimenting with different apple varieties can yield unique flavor profiles, so feel free to choose your favorite baking apple. The goal is an apple that holds its shape somewhat after cooking, providing delightful bursts of fruit amidst the creamy ice cream.
This Caramel Apple Ice Cream is incredibly versatile and pairs wonderfully with other desserts. For an extra special treat, try adding a generous scoop to my Apple Blackberry Crumble. The warm, fruity crumble against the cold, spiced ice cream is an absolute match made in heaven, and the crumble itself is simple to make any time of year with either fresh or frozen blackberries. If you’re exploring other classic ice cream flavors, you can’t go wrong with rich and aromatic Chocolate Chip Cardamom Ice Cream or the decadent Black Forest Ice Cream.
Caramel Apple Ice Cream
Equipment
-
Stainless Steel Mixing Bowls
-
KitchenAid Stand Mixer (or electric hand mixer)
-
Loaf Pan (9×5-inch) or airtight freezer-safe container
-
Large Nonstick Skillet
-
Wooden Spoon or Spatula
Ingredients
- 2 Tbsp unsalted butter
- 2 medium baking apples (e.g., Granny Smith, Honeycrisp), peeled, cored, and chopped into small pieces
- ¼ cup light brown sugar
- 1 Tbsp granulated white sugar
- 1 tsp ground cinnamon
- ¼ tsp ground nutmeg
- ¼ tsp ground cloves
- ½ tsp pure vanilla extract
- 2 cups cold heavy cream
- 1 14 oz can sweetened condensed milk
- ¼ cup dulce de leche (more for garnish, if desired)
Instructions
-
Prepare the Spiced Apples: In a large nonstick skillet, melt the butter over medium-high heat. Add the chopped apples, brown sugar, white sugar, cinnamon, nutmeg, cloves, and vanilla extract. Cook, stirring occasionally, for 6 to 7 minutes, or until the apples are softened and coated in a syrupy sauce.
-
Remove the skillet from the heat and allow the apple mixture to cool completely to room temperature. This is crucial for preventing the whipped cream from melting.
-
Whip the Cream: In the bowl of a stand mixer fitted with the whisk attachment, beat the cold heavy cream on medium-high speed until it forms stiff peaks. Be careful not to overbeat.
-
Combine Ingredients: In a separate medium bowl, stir together the cooled apple mixture and the sweetened condensed milk until well combined.
-
Gently fold the apple and condensed milk mixture into the whipped cream using a rubber spatula. Fold until just combined, being careful not to deflate the whipped cream.
-
Layer and Freeze: Pour half of the ice cream mixture into a 9×5-inch loaf pan or an airtight freezer-safe container. Spread it into an even layer. Dollop half of the dulce de leche over this layer and use a knife or skewer to gently swirl it through the ice cream.
-
Top with the remaining whipped cream mixture, spreading it evenly. Dollop the remaining dulce de leche over the top and swirl again with a knife.
-
Cover the pan tightly with plastic wrap or a lid. Freeze for a minimum of 5 to 6 hours, or preferably overnight, until firm.
-
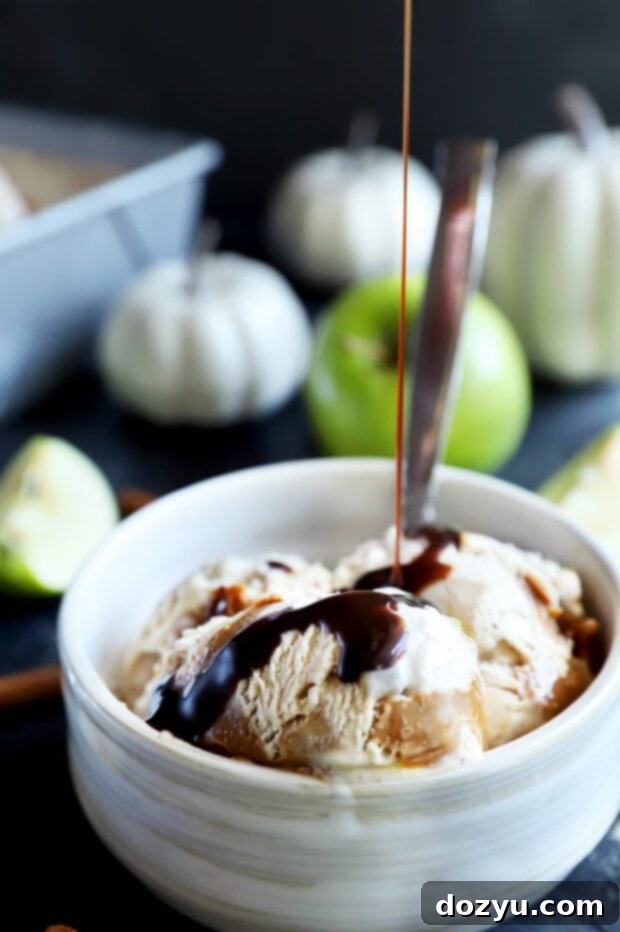
Serve: Scoop and serve chilled. For an extra touch, drizzle with additional dulce de leche or chocolate sauce. Enjoy your ultimate fall dessert!
