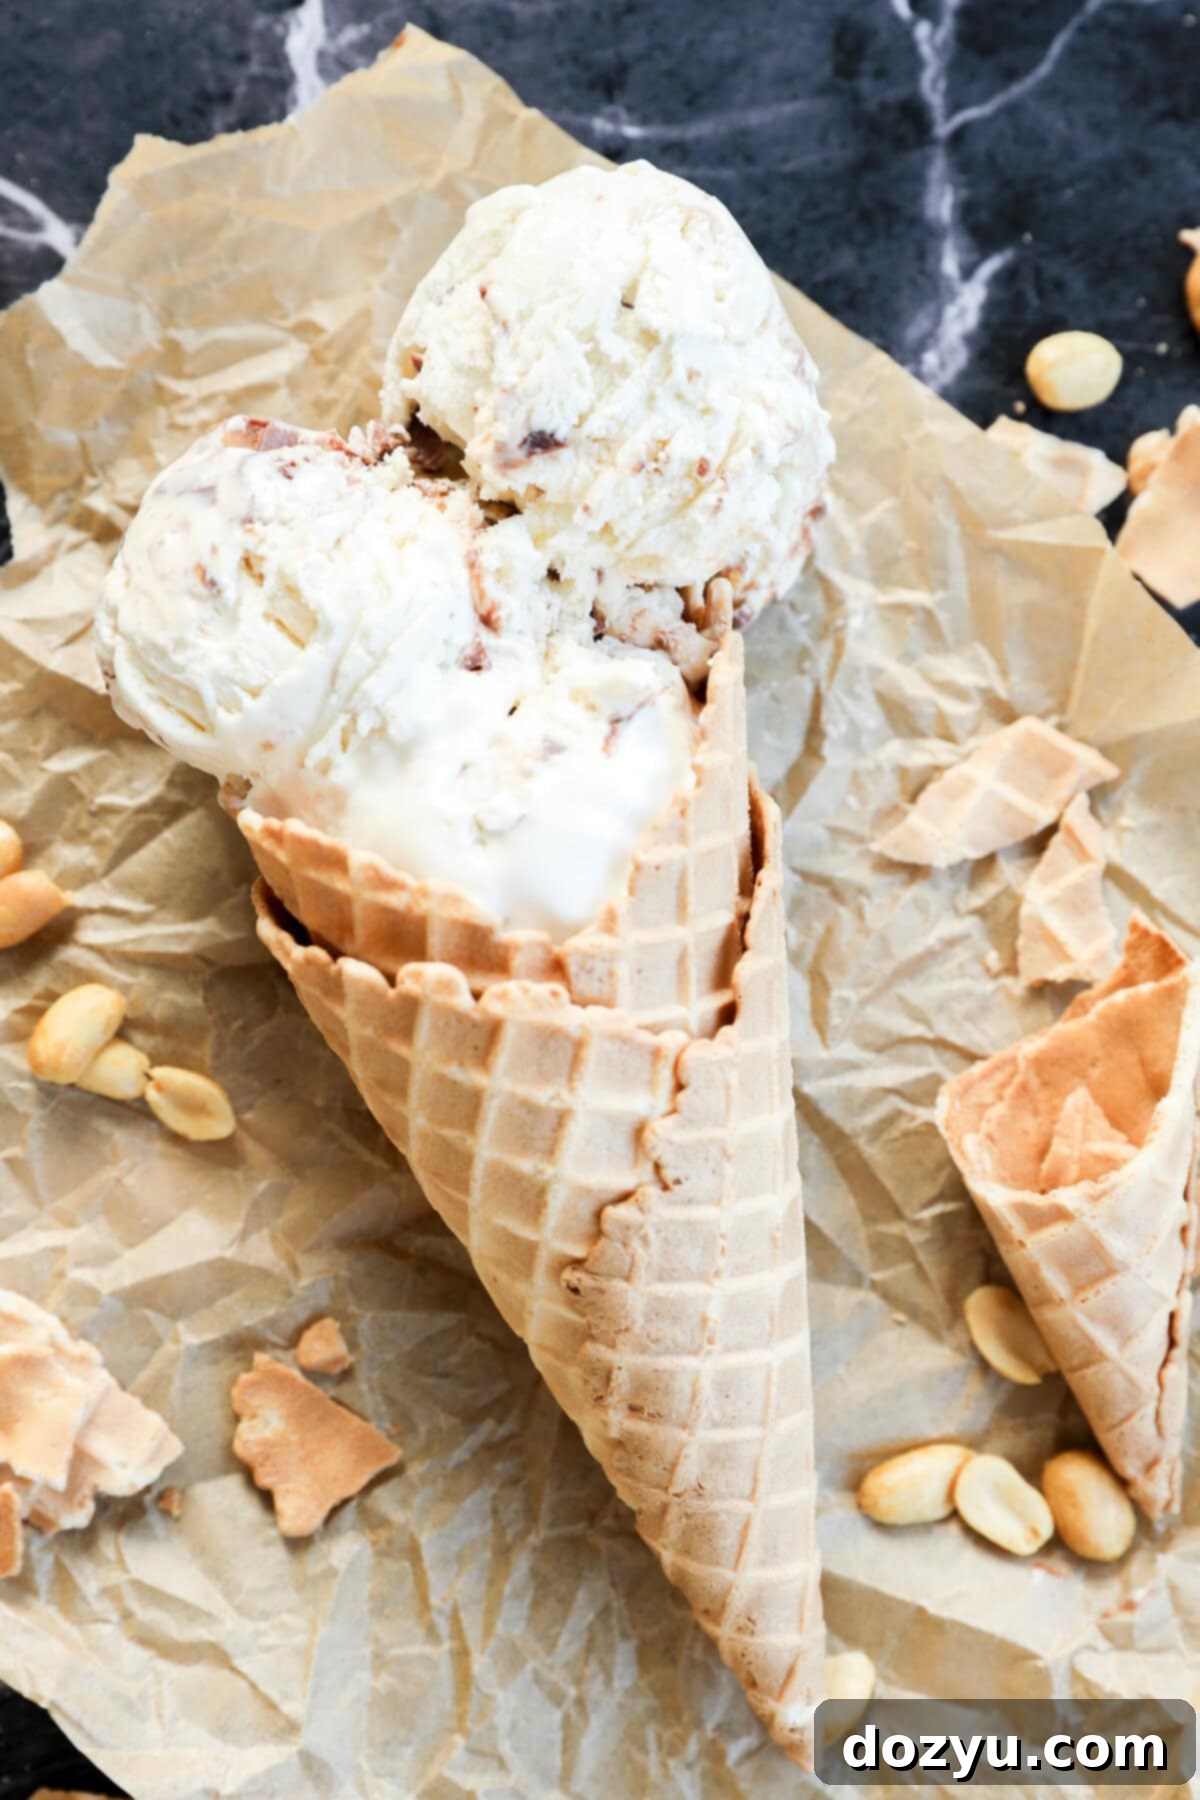
Ultimate No-Churn Snickers Ice Cream: Creamy, Crunchy, and Perfectly Sweet
Craving an indulgent dessert that’s ridiculously easy to make? This Snickers ice cream recipe is your ultimate answer. It’s an incredibly rich, no-churn treat that brings together everything you love about the iconic candy bar in a scoopable form. Imagine ultra-creamy vanilla ice cream, generously loaded with generous chunks of real Snickers bars, all finished with a luscious, swirling ribbon of hot fudge. The best part? There’s no fancy ice cream maker needed! With just a few simple ingredients and minimal effort – whip, fold, and freeze – you can create a homemade candy-bar ice cream that’s as effortless as it is exquisitely delicious. Get ready to impress your taste buds and any guests with this irresistible, texture-rich dessert.

Table of Contents
Toggle
About This Snickers Ice Cream
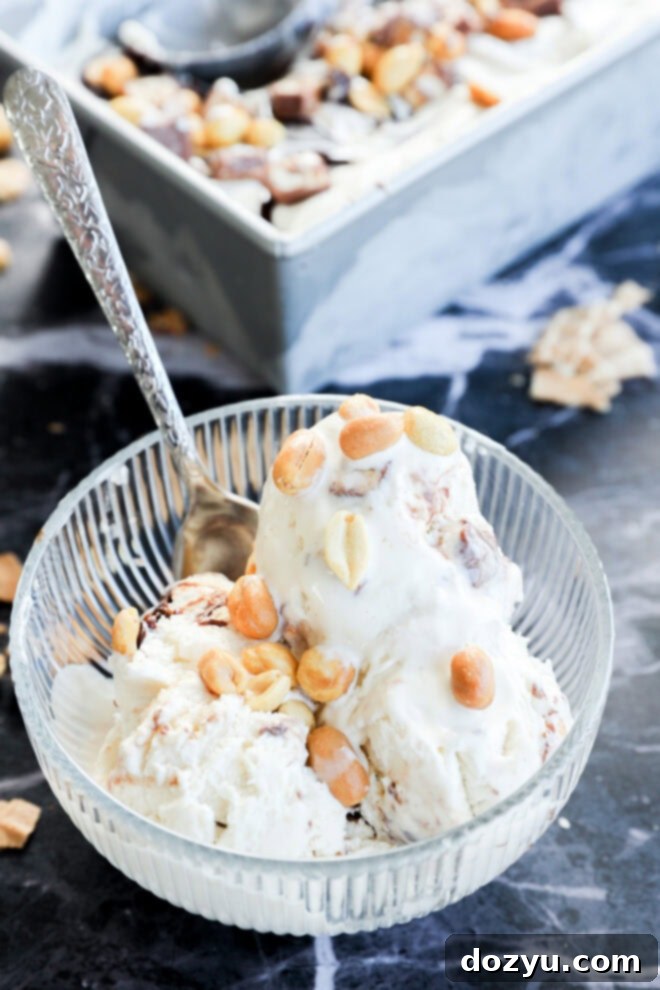
There’s an undeniable magic in the combination of rich chocolate, gooey caramel, crunchy peanuts, and smooth, creamy vanilla ice cream. This homemade Snickers ice cream recipe captures that magic perfectly, bringing all those beloved flavors and textures together in every decadent scoop. This recipe yields almost two full quarts of candy-studded, ultra-creamy ice cream, generously topped with a bold swirl of hot fudge that adds an extra layer of decadence. Each bite is a delightful journey through various textures: from the silky-smooth, melt-in-your-mouth base to the satisfying crunch and chew of the chopped Snickers candy bars. It’s a dessert that truly has it all!
The beauty of this recipe lies in its simplicity and accessibility. You only need a few common pantry staples, a reliable hand mixer or stand mixer to whip the cream, and a loaf pan for freezing. This is a true no-churn ice cream, meaning it’s incredibly beginner-friendly and requires absolutely zero special equipment like an ice cream maker. Forget complicated steps or hours of effort; just a handful of ingredients and a simple freezer-safe container are all you need to create a dessert that tastes like a gourmet, special occasion treat. Its ease makes it ideal for anyone wanting to create impressive homemade desserts without the fuss.
This dessert offers pure creamy bliss, beautifully layered with the iconic flavors of a Snickers bar. It’s the kind of treat that looks incredibly impressive when served but takes minimal effort to prepare, making it your new go-to for entertaining guests or simply satisfying those spontaneous weeknight cravings. The rich, sweet, and salty combination is a crowd-plepleaser, guaranteed to bring smiles all around.
Growing up, I was absolutely obsessed with Snickers ice cream bars. Every summer outing, whether to the pool or a family picnic, meant I was on a mission to get my hands on one of those delicious caramel-drizzled, chocolate-coated delights. This homemade version brings back all those cherished childhood memories in the most delightful way possible: it’s cool, intensely creamy, and absolutely crammed with candy goodness. It’s the perfect dessert for summer BBQs, potlucks, or even a clever way to use up any leftover Halloween candy you might have lingering in the pantry. This recipe is wonderfully kid-friendly, sure to please any crowd, and easily customizable to suit different tastes. So go ahead, serve it up at your next summer party or keep a stash in the freezer for whenever your sweet tooth strikes!
Why You’ll Love This Recipe
This recipe transforms everything you adore about Snickers bars into an incredibly creamy, no-churn ice cream that demands only about 15 minutes of active preparation time. Here are even more reasons why this will become your new favorite dessert:
- Effortlessly Delicious: Forget complicated techniques and specialized machinery. This recipe simplifies the ice cream making process, making it accessible for home cooks of all skill levels.
- Freezer-Friendly & Convenient: Once prepared, it holds up beautifully in the freezer for weeks, making it an ideal make-ahead dessert for parties or to have on hand for impromptu cravings.
- Highly Adaptable Base: The simple, sweet vanilla base is incredibly versatile. It’s perfect for customization, allowing you to easily experiment with different flavors and mix-ins beyond just Snickers.
- Luxuriously Creamy Texture: Achieve a remarkably smooth and velvety texture without needing eggs (like in a custard base), stabilizers, or an ice cream churner. The key lies in the whipped cream and sweetened condensed milk.
- Customizable Candy Craze: While Snickers are the star, you can easily swap them for other favorite candy bars or add extra elements like chocolate chips, pretzels, or different nut varieties to make it truly your own.
- Impressive Results with Minimal Effort: It looks and tastes like a gourmet dessert from a high-end ice cream shop, yet requires very little fuss, leaving you more time to enjoy it!
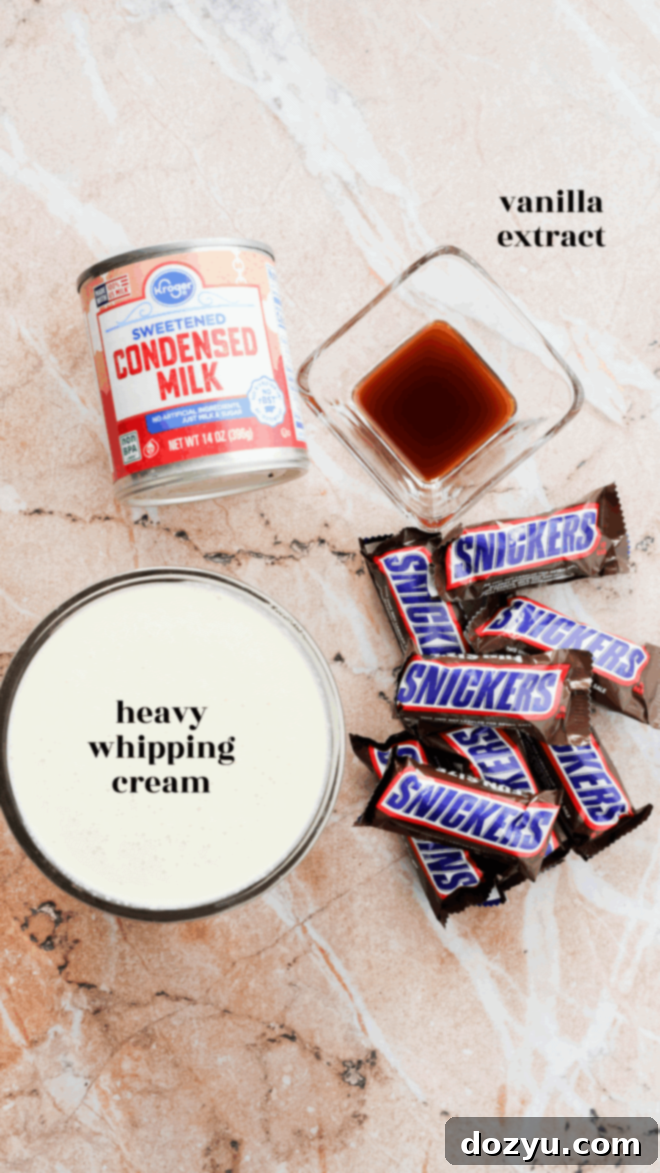
Ingredients You’ll Need
Creating this decadent Snickers ice cream requires just a few key ingredients. Each plays a vital role in achieving that perfect creamy texture and rich flavor profile:
Heavy Cream: This is the foundation of our no-churn ice cream, providing the essential richness and airy volume. For the best results and easiest whipping, always use cold heavy cream or heavy whipping cream. Avoid using lighter creams like half-and-half or light cream, as they lack the fat content needed to whip properly and achieve the desired fluffy texture.
Vanilla Extract: A crucial flavor enhancer, pure vanilla extract delivers the richest and most authentic taste, complementing the other sweet elements. If pure vanilla isn’t available, imitation vanilla can be used in a pinch, though the flavor may be slightly less intense.
Sweetened Condensed Milk: This magical ingredient serves a dual purpose: it adds the necessary sweetness to the ice cream base and contributes significantly to its dense, velvety smooth texture. Crucially, do not attempt to swap this for evaporated milk, as evaporated milk is unsweetened and will not provide the same body or flavor.
Chopped Snickers Candy Bars: These are the star mix-ins! Using fun-size bars makes for easy chopping, providing perfect bite-sized pieces throughout the ice cream. A helpful tip: allow the chopped Snickers to sit out at room temperature for about 10-15 minutes before folding them into the mixture. This prevents them from becoming rock-hard and difficult to chew once frozen solid in the ice cream.
Hot Fudge: Whether you choose a high-quality store-bought hot fudge or a homemade version, this ingredient is swirled into the ice cream for a bold hit of chocolate flavor and that irresistible gooey, decadent texture. Ensure it’s cooled to room temperature before swirling.
Chopped Peanuts: An optional but highly recommended topping! A sprinkle of chopped peanuts adds an extra layer of crunch and reinforces the classic Snickers flavor profile. For an even deeper flavor, you can lightly toast the peanuts before chopping.
Essential Equipment
While this is a no-churn recipe, a few basic kitchen tools will make the process smooth and successful:
Stand Mixer or Hand Mixer: This is essential for whipping the heavy cream to stiff peaks, which is critical for the ice cream’s airy and creamy texture. If using a hand mixer, make sure you have the largest bowl from your set of mixing bowls to prevent spills as the cream increases in volume.
Mixing Bowls: You’ll need at least two: one large bowl for whipping the cream and combining ingredients, and potentially a smaller one for melting fudge or holding chopped candy.
Flexible Rubber Spatula: This tool is indispensable for gently folding the sweetened condensed milk and chopped Snickers into the whipped cream without deflating it, which is key to maintaining a light and airy texture.
9×5-inch Loaf Pan or Freezer-Safe Container: A standard 9×5-inch loaf pan works perfectly for freezing and serving, offering a classic shape for easy scooping. However, any freezer-safe container of a similar size (around 1.5-2 quarts capacity) with a tight-fitting lid will do the trick.
Plastic Wrap: Essential for covering the ice cream directly on its surface before freezing. This creates an airtight barrier that helps prevent ice crystals from forming, ensuring a smoother, creamier final product.
Ice Cream Scoop: When your delicious Snickers ice cream is perfectly frozen and ready to enjoy, a sturdy ice cream scoop will be your best friend for serving up those irresistible portions.
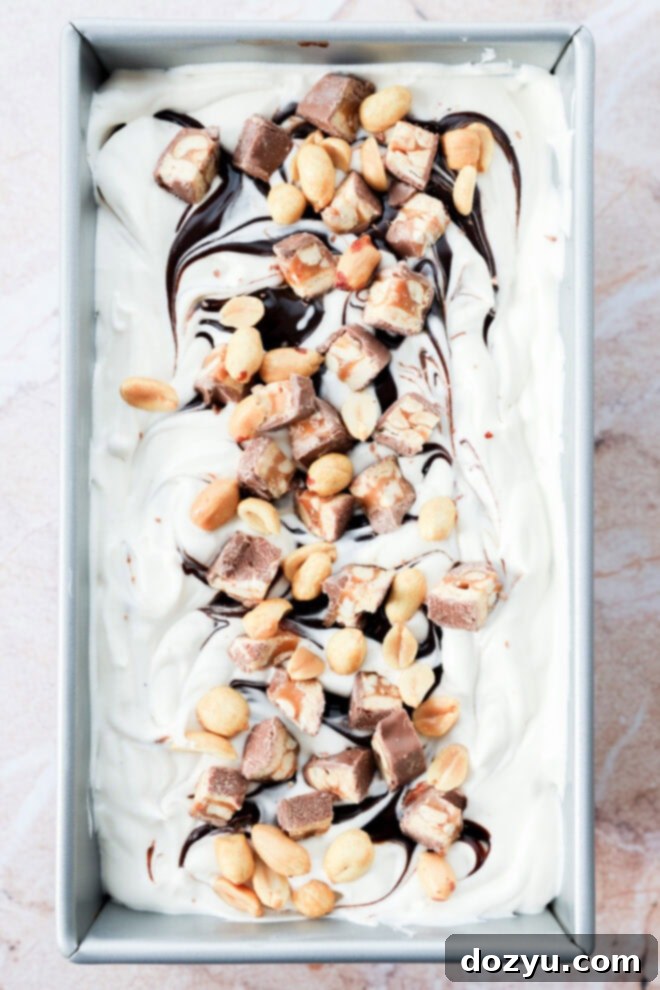
How to Make Snickers Ice Cream
Making this incredible no-churn Snickers ice cream is surprisingly simple. Just follow these easy steps:
Whip the Cream
Begin by pouring your cold heavy cream into the bowl of a stand mixer fitted with the whisk attachment (or a large bowl if using a hand mixer). Beat the heavy cream on medium-high speed until it transforms into beautiful, stiff peaks. This means the cream will hold its shape when the whisk is lifted. Be careful not to over-whip, as it can turn grainy. Once stiff peaks are achieved, add the vanilla extract and continue to beat for just a few seconds until it’s fully combined.
Fold in Sweetness and Candy
Now, gently add the sweetened condensed milk to the whipped cream mixture. Using a flexible rubber spatula, fold it in with light, upward motions until it’s just combined. The goal is to incorporate it without deflating the airy whipped cream. Next, carefully add your chopped Snickers bars. Again, gently fold them into the mixture until they are evenly distributed, making sure not to overmix.
Layer and Swirl
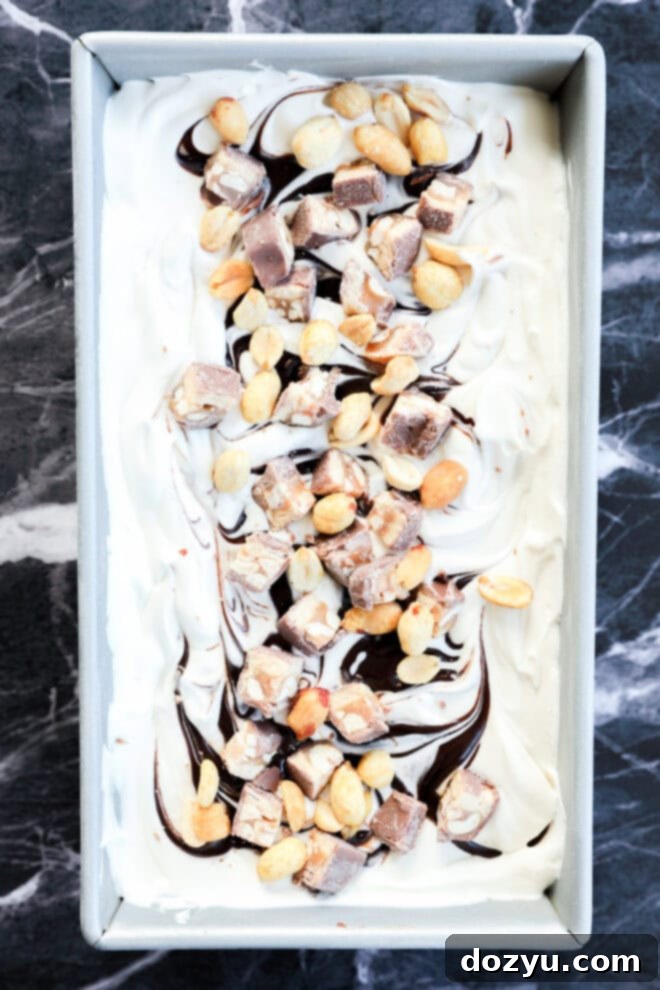
Transfer the creamy ice cream mixture into a 9×5-inch loaf pan or your chosen freezer-safe container. Use your spatula to spread it into an even, smooth layer. For an extra touch of indulgence and visual appeal, generously drizzle a thick line of hot fudge (ensuring it’s cooled to room temperature) over the top. Then, using a knife or a skewer, gently swirl the fudge into the ice cream mixture to create beautiful marbling. Finally, sprinkle with additional chopped Snickers and chopped peanuts for an appealing garnish and extra crunch.
Chill Until Perfect
Cover the loaf pan tightly with plastic wrap, pressing it directly onto the surface of the ice cream to prevent any ice crystals from forming. Place it in the freezer for at least 5 to 6 hours. For the absolute best, firm, and scoopable texture, freezing it overnight is highly recommended. Once thoroughly frozen, it’s ready to be scooped and enjoyed!
Tips for Making the Best No-Churn Ice Cream
Achieving that perfectly creamy, scoopable, and delicious no-churn ice cream is easy with a few simple tips:
- Don’t Over-Whip the Cream: Whip the heavy cream just until it forms stiff peaks. Over-whipping can cause the cream to separate and lead to an icy or grainy texture in your finished ice cream. Look for peaks that hold their shape firmly when the whisk is lifted.
- Chill Your Equipment: For best results, place your mixing bowl and whisk attachments (or hand mixer beaters) in the freezer for about 15-20 minutes before you start whipping the cream. This helps the cream whip up much faster and achieves a fluffier, more stable consistency.
- Room Temperature Snickers: Let your chopped Snickers bars sit out at room temperature for a few minutes before folding them into the ice cream base. If they are too cold, they can freeze into rock-hard chunks that are difficult to chew, and they can also cause the ice cream base to firm up too quickly before it’s properly mixed.
- Strategic Swirling: If you’re adding hot fudge or caramel swirls, ensure they are cooled to room temperature before incorporating them. Use a knife or skewer to create gentle, appealing swirls rather than mixing them completely in. This creates beautiful marbling and delightful pockets of concentrated flavor.
- Gentle Folding is Key: When adding the sweetened condensed milk and Snickers, use a light, folding motion with a rubber spatula. This technique helps to maintain the air whipped into the cream, which is crucial for the light and creamy texture of no-churn ice cream. Avoid vigorous stirring.
- Prevent Freezer Burn: After transferring the mixture to your loaf pan, press plastic wrap directly onto the surface of the ice cream before covering the pan. This airtight seal prevents freezer burn and minimizes the formation of ice crystals, ensuring a smoother consistency for longer.
- Allow for Softening: Even the best homemade ice cream will firm up quite a bit in the freezer. For easy scooping and the ideal creamy texture, let your Snickers ice cream sit at room temperature for 5-10 minutes before serving.
Delicious Variations and Mix-Ins
While this Snickers ice cream is perfect as is, its no-churn base is incredibly versatile, inviting endless possibilities for customization. Get creative with these delicious variations:
Peanut Butter Lover’s Dream: If you’re a true peanut butter enthusiast, try folding in a generous spoonful of creamy or crunchy peanut butter with the sweetened condensed milk. You can even drizzle in a little extra peanut butter swirl alongside the hot fudge for an even richer, nuttier twist.
Homemade Ice Cream Bars: Elevate your dessert by turning this ice cream into individual bars! Simply freeze the prepared mixture in silicone molds (popsicle molds or small rectangular molds work great). Insert popsicle sticks once partially frozen, then continue to freeze until solid. For an extra treat, dip the frozen bars in melted chocolate and sprinkle with more chopped Snickers or peanuts.
Swap Your Favorite Candy Bars: Don’t limit yourself to just Snickers! The beauty of this recipe is its adaptability. Feel free to swap Snickers for any of your other favorite candy bars. Reese’s Peanut Butter Cups add an extra dose of peanut butter and chocolate, Twix brings a delightful cookie crunch, Kit Kat offers a crisp wafer texture, while Butterfinger or Heath bars introduce a crunchy toffee element. M&M’s, Milky Way, or even chopped caramels would also work wonderfully, creating unique flavor combinations with the creamy base.
Add Extra Textures: Beyond candy bars, consider folding in other mix-ins like mini chocolate chips, crushed pretzels for a salty-sweet kick, or even soft caramel bits. Crushed cookies, like Oreos or shortbread, also make fantastic additions. For more nut varieties, try chopped almonds, pecans, or cashews.
Fruity Twist: For a touch of freshness, swirl in some berry preserves or add fresh diced strawberries or raspberries before freezing. This provides a lovely tart contrast to the richness of the ice cream and candy.
Spiced or Boozy Options: For an adult twist, a splash of bourbon or coffee liqueur can be added to the base before folding. A pinch of cinnamon or a hint of sea salt can also deepen the overall flavor profile.
More Ice Cream Recipes You’ll Want to Try: Honeycomb Ice Cream I Lavender Honey Ice Cream I PB&J Ice Cream I Oreo Ice Cream
Can I make this without an ice cream maker?
Absolutely, that’s the beauty of this recipe! This is explicitly designed as a no-churn ice cream, meaning you do not need any special ice cream making equipment. The magic happens by whipping heavy cream until it’s light and airy, then folding in sweetened condensed milk, which provides both sweetness and a dense, creamy texture that freezes beautifully without churning. It’s truly a beginner-friendly recipe that relies on simple pantry staples and basic kitchen tools like a hand mixer or stand mixer.
Do I need to freeze it before serving?
Yes, freezing is a crucial step for this recipe to achieve the proper ice cream consistency. You’ll need to freeze it for at least 6 hours to allow it to firm up sufficiently. For the absolute best texture – perfectly scoopable and creamy – freezing it overnight is highly recommended. This extended chill time allows all the flavors to meld together and the mixture to set completely, ensuring a delightful eating experience.
Can I swap the candy?
Yes, definitely! This recipe is incredibly flexible when it comes to candy additions. Feel free to unleash your creativity and swap out the Snickers for any of your favorite candy bars. Popular choices that work wonderfully include Milky Way for a softer caramel and nougat experience, Twix for a delightful biscuit crunch, or Reese’s Peanut Butter Cups for an extra boost of peanut butter flavor. Even Kit Kat bars or Butterfinger pieces would be fantastic additions. The base recipe is designed to accommodate various mix-ins, so choose what you love!
How long does it keep in the freezer?
When stored properly in an airtight container with plastic wrap pressed directly onto the surface to prevent freezer burn, this homemade Snickers ice cream can keep beautifully in the freezer for up to 2 months. While it remains delicious, it may firm up a bit more over time. For the best scooping experience and creamy texture, let it sit out at room temperature for about 5-10 minutes before you dive in.
Can I make this ahead for a party?
Absolutely! This Snickers ice cream is an ideal make-ahead dessert, perfect for entertaining. Preparing it in advance means one less thing to worry about on the day of your party. The recipe yields a generous amount, serving about 12 people easily, making it fantastic for gatherings. Just prepare it a day or two before your event, keep it well-covered in the freezer, and take it out 10-15 minutes before serving for optimal texture.
What if I don’t like peanuts?
No problem at all! If peanuts aren’t your preference, or if you have an allergy, you can easily adapt this recipe. Simply use peanut-free candy bars (like chocolate bars, caramel bars, or peppermint patties) for the mix-ins. Instead of peanuts, try mixing in crushed chocolate cookies, broken pretzel pieces for a salty crunch, caramel bits, or even sprinkles for a fun pop of color and texture. The base is delicious on its own, so any mix-in will be fantastic.
Need more inspiration for a sweet treat? Check out my dessert recipes page!

What to Serve with This Snickers Ice Cream
This Snickers ice cream is a showstopper on its own, but it also pairs wonderfully with other desserts and toppings. Here are some delicious ideas:
Add Extra Crunch and Contrast: For an irresistible textural contrast, sprinkle crushed pretzel crisps, a handful of toasted pecans, or chunks of homemade Mini Chocolate Chip Cookies over the top just before serving. The salty crunch perfectly balances the sweetness of the ice cream.
Fresh Fruit Pairing: A handful of fresh berries can provide a lovely tart pop that beautifully cuts through the richness of the ice cream. Strawberries, raspberries, or even blueberries are fantastic choices, offering a refreshing counterpoint.
Build an Epic Sundae: Transform a simple scoop into a full-blown sundae experience! Drizzle extra hot fudge, a dollop of freshly whipped cream, a scattering of colorful sprinkles, and don’t forget a cherry on top. For a fun twist, build a banana ice cream sundae by slicing a banana lengthwise and topping it with scoops of Snickers ice cream and all your favorite sundae fixings, creating a deconstructed banana split.
Warm Dessert Companions: This Snickers ice cream is absolutely incredible when served on top of a warm, gooey dessert. The contrast between the cold, creamy ice cream and a warm, decadent baked treat is pure heaven. Try a generous scoop on top of these rich, chewy coffee brownies or decadent triple chocolate brownies. It also melts beautifully over a sizzling skillet brownie straight from the oven or to crown a warm pizookie for two, creating an unforgettable dessert experience.
Behind the Recipe: A Sweet Nostalgia
This recipe is more than just a dessert; it’s a delicious trip down memory lane. It was directly inspired by my profound childhood obsession with Snickers ice cream bars. Every summer, a trip to the local pool or beach wasn’t complete without getting my hands on that perfect combination of chocolate-covered, caramel-drizzled goodness. The anticipation of that first cool, creamy, and crunchy bite was a highlight of my warm weather days. This homemade version perfectly captures all those nostalgic flavors and textures, but in a way that feels even more luxurious and satisfying. There’s no need to chase down the ice cream truck or wait for a special occasion; you can create this indulgent experience right in your own kitchen with minimal effort. It’s a dessert that truly checks every box: intensely creamy, wonderfully crunchy, perfectly sweet, with just the right hint of salty peanut goodness. It’s a taste of summer, a comforting treat, and a celebration of simple pleasures, all in one scoop.
How to Store Homemade Ice Cream
Proper storage is key to keeping your homemade Snickers ice cream fresh, creamy, and free from ice crystals for as long as possible:
Store: Once your ice cream is frozen and set, transfer it to an airtight container. For an extra layer of protection against freezer burn and ice crystal formation, place a piece of plastic wrap directly on the surface of the ice cream before securing the lid. This creates an additional barrier that helps maintain its creamy texture. Stored this way, it will keep beautifully for up to 2 months.
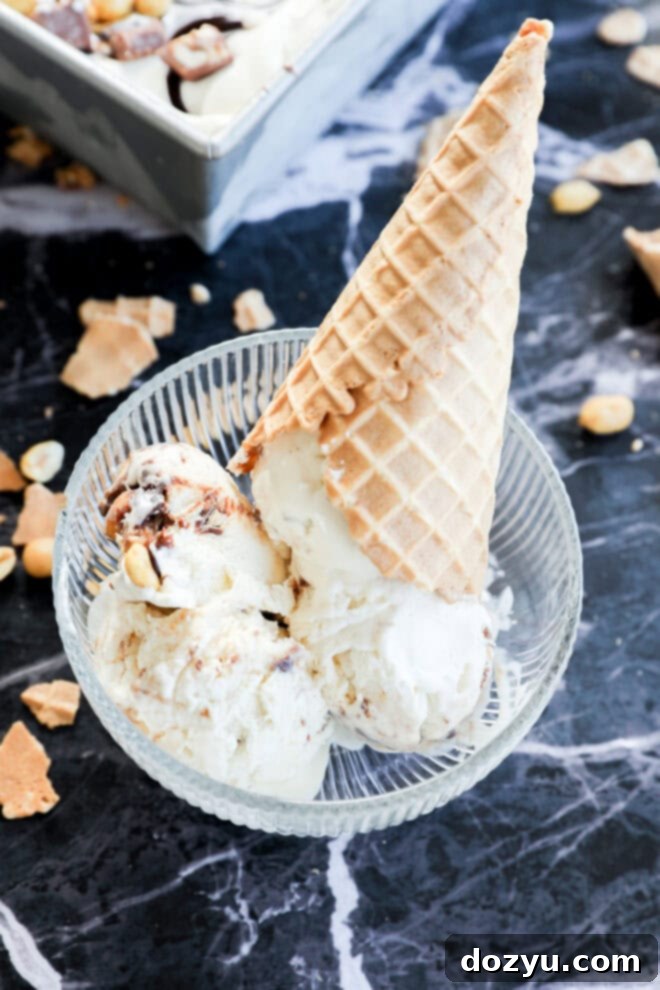
Freeze: This ice cream is excellent for long-term freezing. However, over time, all homemade ice cream can become firmer than store-bought varieties due to the lack of stabilizers. When you’re ready to enjoy it, simply remove the container from the freezer and let it sit at room temperature for 5 to 10 minutes. This brief softening period will make it much easier to scoop and restore its wonderfully creamy consistency.
More of Our Favorite Candy Fixes
If this Snickers ice cream has sparked your love for candy-inspired treats, you’ll definitely want to explore more options! For something delightfully crisp and fun-to-eat, try these candy apple slices – a nostalgic classic with a satisfying crunch. If you’re seeking a richer, more decadent experience, these gooey Snickers caramel cheesecake bars hit every sweet and salty spot with their layered perfection. Or, for a more elegant and zesty bite, our chocolate-dipped candied orange slices are sweet, subtly tangy, and enrobed in just the right amount of dark chocolate. There’s a candy-inspired treat for every craving!
Finally, if you make this incredible Snickers ice cream recipe, please be sure to give this recipe a star rating on the recipe card and/or leave a comment below! I absolutely adore hearing from you all when you try my recipes, and I make it a priority to respond to every single comment. Your feedback truly means the world to me.
Feel free to drop any questions you have below too – I’m always happy to help!
Oh, and don’t forget to tag me on Instagram, Facebook, or Pinterest if you whip up this delicious recipe! I absolutely love seeing these recipes come to life in your homes – scrolling through your photos is genuinely my favorite thing. It truly makes all the effort worthwhile!
Want to be the first to know when I publish a new recipe or share the latest news? Sign up for my newsletter to get them delivered straight to your inbox!
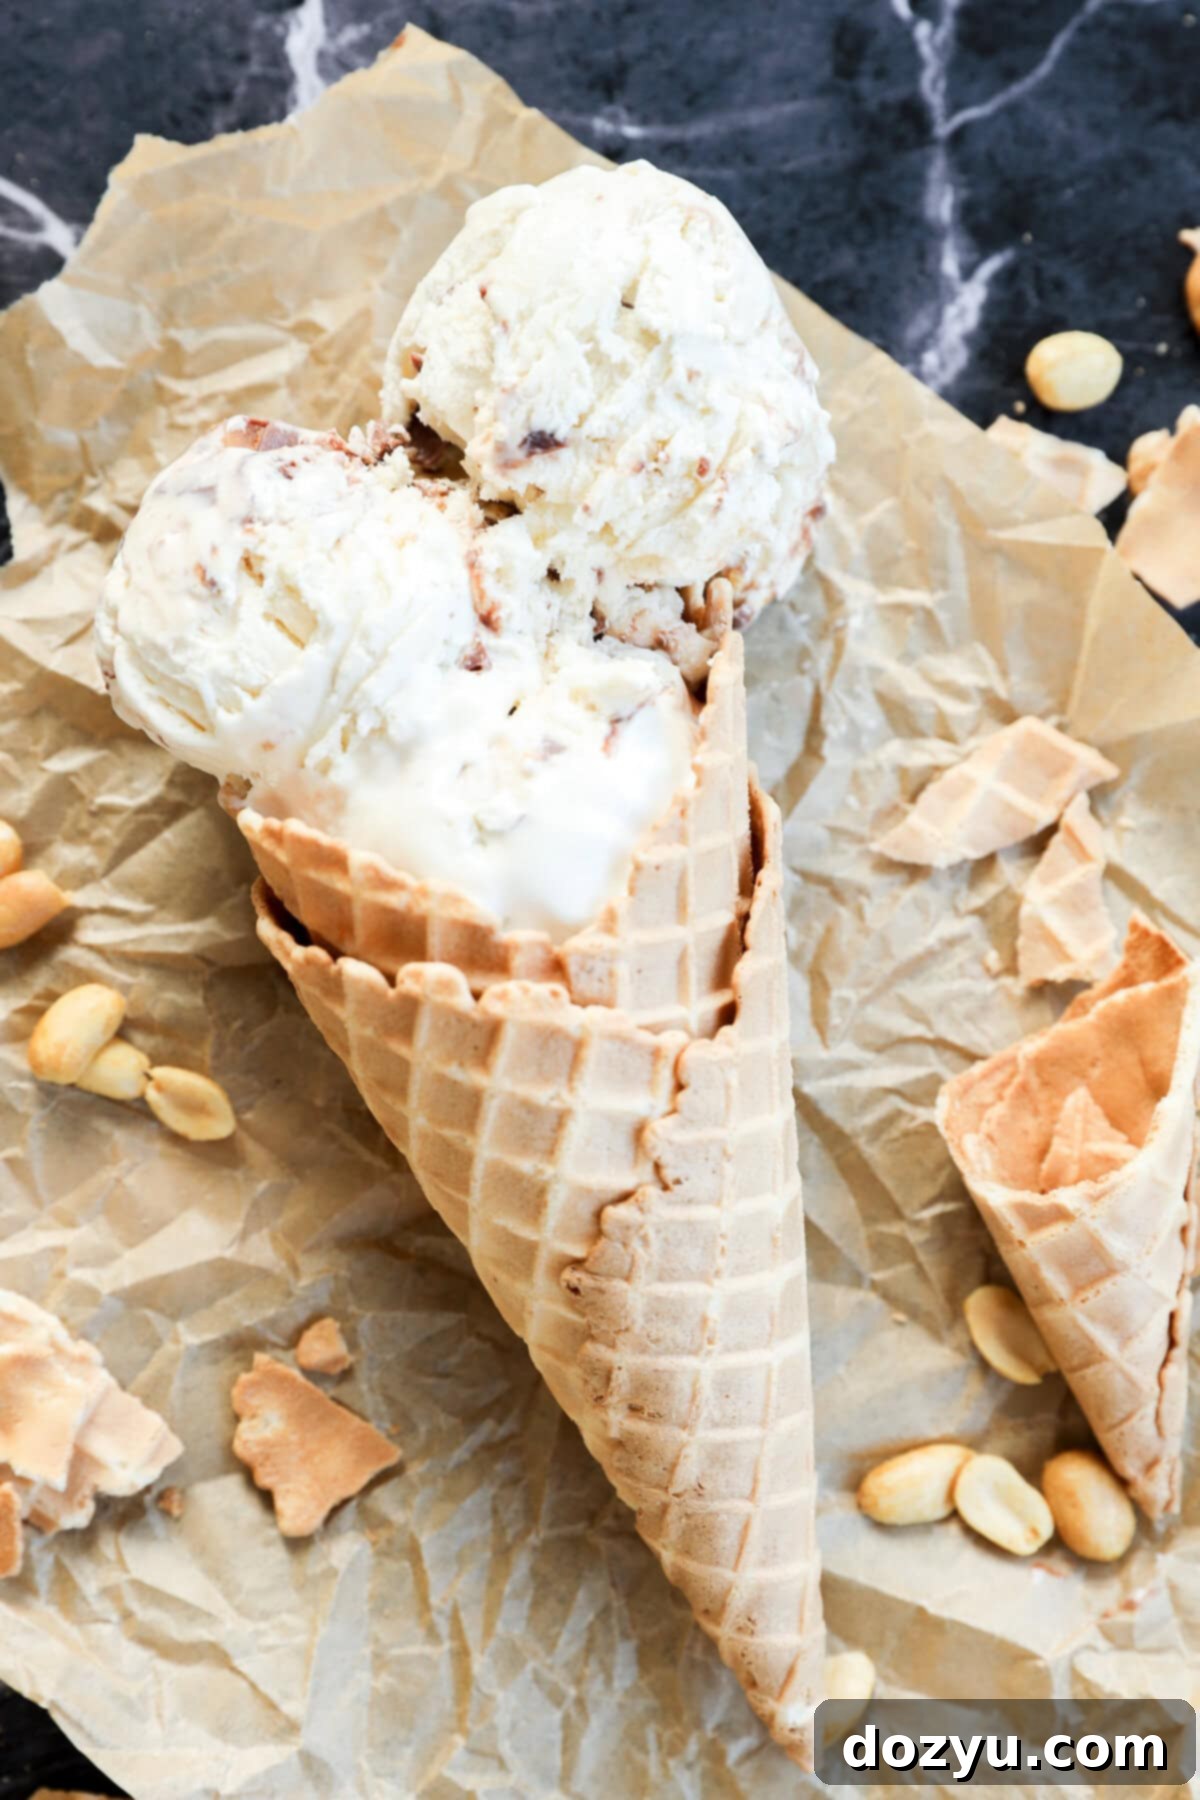
Snickers Ice Cream Recipe Card
Equipment
-
Stand Mixer or Hand Mixer
-
Large Mixing Bowl
-
Rubber Spatula
-
9×5-inch Loaf Pan (or other freezer-safe container)
-
Plastic Wrap
-
Ice Cream Scoop
Ingredients
- 2 cups cold heavy cream
- 1/2 tsp pure vanilla extract
- 14 oz sweetened condensed milk (14 oz can, not evaporated milk)
- 10 Snickers Candy Bars (1.56 ounce each, chopped into bite-sized pieces + more for topping)
- 1/4 cup hot fudge (cooled to room temperature, optional for swirling)
- 1/4 cup chopped peanuts (optional for topping)
Instructions
-
In the chilled bowl of a stand mixer fitted with the whisk attachment (or a large, chilled bowl with a hand mixer), beat the cold heavy cream on medium-high speed until it forms stiff, stable peaks. Carefully add the vanilla extract and beat for just a few more seconds until fully incorporated. Avoid over-whipping.
-
Gently pour the sweetened condensed milk into the whipped cream. Using a flexible rubber spatula, carefully fold the milk into the cream with light, upward motions until it is just combined, being careful not to deflate the airy cream. Then, add the chopped Snickers bars (which should be at room temperature) and gently fold them in until they are evenly distributed throughout the mixture.
-
Carefully spoon the ice cream mixture into a 9×5-inch loaf pan or a similar freezer-safe container. Spread it into an even layer using your spatula. If desired, generously drizzle the room-temperature hot fudge over the top, then use a knife or skewer to gently swirl it into the ice cream. Finish by sprinkling more chopped Snickers and chopped peanuts on top for extra flavor and texture.
-
Cover the loaf pan tightly with plastic wrap, pressing the plastic wrap directly onto the surface of the ice cream to prevent ice crystals. Place in the freezer for at least 5 to 6 hours, or ideally overnight, until firm. Let soften slightly at room temperature for 5-10 minutes before scooping and serving.
