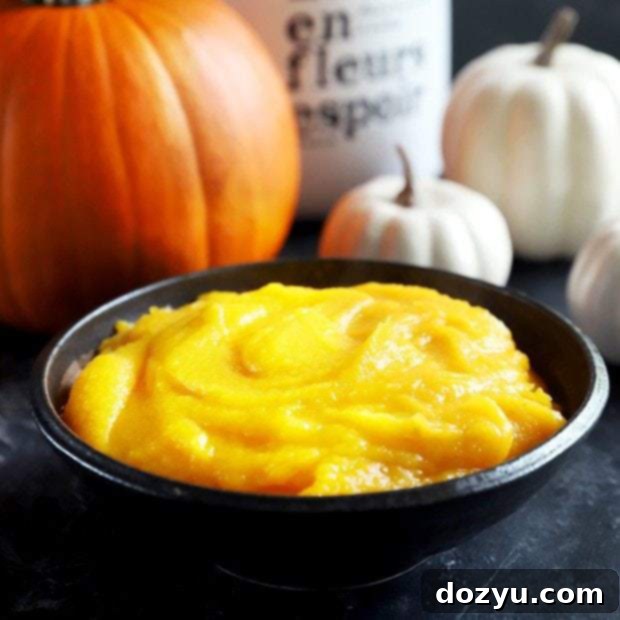
Homemade Pumpkin Puree: Your Essential Guide to Fresh Fall Flavor
Embrace the essence of autumn by learning how to make your own pumpkin puree. This versatile ingredient is a cornerstone of fall cooking, lending its rich, earthy flavor to everything from comforting savory dishes to delectable sweet treats. Forget the can and discover the unparalleled taste and texture of freshly made pumpkin puree—it’s surprisingly simple, requires minimal effort, and delivers a superior culinary experience.

Why Choose Homemade Pumpkin Puree Over Canned?
You might be thinking, “But I can just grab a can of pumpkin puree from the store. Why bother making it at home?” While canned pumpkin puree offers convenience, the difference in quality and flavor is truly remarkable. There are certain ingredients that, when prepared from scratch, elevate a dish to an entirely new level. Pumpkin puree is unequivocally one of them.
First and foremost, homemade pumpkin puree tastes undeniably better. The vibrant, natural sweetness and deep, nuanced flavor of a freshly roasted pumpkin simply cannot be replicated by its canned counterpart. Canned pumpkin often carries a slight metallic or “tinny” undertone, which can subtly alter the taste of your recipes. While this can sometimes be masked by other ingredients, it’s a flavor you won’t encounter with homemade puree.
Beyond taste, making your own pumpkin puree offers several distinct advantages:
- Superior Flavor and Texture: Roasting pumpkins caramelizes their natural sugars, intensifying their flavor and creating a smooth, rich puree with a wonderfully creamy texture.
- No Additives or Preservatives: When you make it yourself, you control every ingredient. Your homemade puree will be 100% pure pumpkin, free from any added sugars, salt, or preservatives found in some commercial products.
- Cost-Effective: Especially during the fall season when pie pumpkins are abundant and often on sale, making your own puree can be more economical than buying multiple cans.
- Seasonal Connection: There’s a certain satisfaction that comes with creating ingredients from scratch, particularly those tied to seasonal traditions. It connects you more deeply with the spirit of autumn and the joy of home cooking.

Throughout the fall season, I adore incorporating pumpkin into both sweet and savory dishes. From classic pumpkin pies and spiced lattes to hearty pumpkin soups and creamy pasta sauces, the possibilities are endless. This comprehensive guide will walk you through the simple process of making perfect pumpkin puree, complete with essential tips and tricks. If you’re eager to jump straight to the recipe, feel free to scroll to the bottom of the post for the condensed version.
Ready to embark on this delicious journey?
Let’s begin!
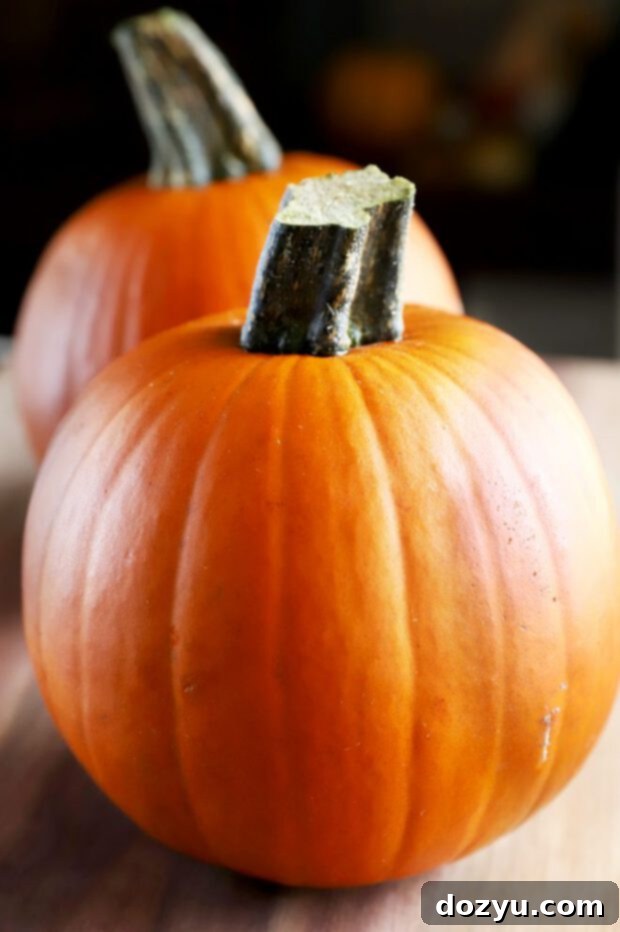
Table of Contents
Toggle
Choosing the Right Pumpkin for Puree
The secret to exceptional pumpkin puree begins with selecting the right pumpkin. While any pumpkin can theoretically be pureed, not all are created equal for culinary purposes. Avoid the large, stringy carving pumpkins often seen around Halloween; these are typically watery and lack the dense, sweet flesh ideal for puree.
Instead, look for “pie pumpkins” or “sugar pumpkins,” which are much smaller, usually weighing between 4 to 6 pounds. These varieties are specifically grown for their rich flavor and smoother texture. When selecting your pumpkin, look for one that is:
- Firm and Heavy: A good pie pumpkin should feel solid and heavy for its size, indicating dense flesh.
- Uniform Color: Look for a deep orange color, free from large green patches (unless it’s a specific heirloom variety).
- No Soft Spots or Blemishes: Avoid pumpkins with soft spots, cuts, or signs of mold, as these can indicate spoilage.
- Intact Stem: A healthy, firm stem (or at least the area where it was attached) helps prolong shelf life.
One 4 to 6 lb pumpkin typically yields about 2-3 cups of puree, which is roughly equivalent to two 15-ounce cans.
Essential Tools for Pumpkin Puree
Before you dive in, gather your necessary kitchen tools. Having everything at hand will make the process smooth and efficient:
- Baking Pumpkin (4-6 lbs): As discussed, opt for a pie or sugar pumpkin for the best results.
- Sharp Chef’s Knife and Sturdy Cutting Board: A sharp, heavy knife is crucial for safely halving the tough pumpkin.
- Spoon for Scooping: A strong metal spoon works, but a grapefruit spoon with its serrated edges is particularly effective at scraping out seeds and fibers cleanly.
- Half Baking Sheet: For roasting your pumpkin halves. Line it with parchment paper for easy cleanup.
- Food Processor or High-Speed Blender: To achieve that silky-smooth puree. A food processor is generally easier for thicker purees, while a high-speed blender (like a Vitamix) can create an incredibly fine texture, though it might require adding a tiny bit of water to get things moving.
- Salt: A pinch of salt enhances the pumpkin’s natural sweetness during roasting.
Step-by-Step Guide: How To Make Pumpkin Puree
1. Halve Your Pumpkin
Begin by preheating your oven to 400˚F (200˚C). Line a baking sheet with parchment paper to prevent sticking and make cleanup a breeze.
Next, carefully remove the stem from the pumpkin using your chef’s knife. You don’t need to dig out every last bit, but getting most of it off prevents it from burning in the oven and emitting an unpleasant smell. Pumpkins can be quite tough, so exercise caution and ensure you have a firm grip on the pumpkin as you cut it in half from top to bottom. A gentle rocking motion with your knife can help. Take your time and prioritize safety.

2. Scoop Out Seeds and Fibers
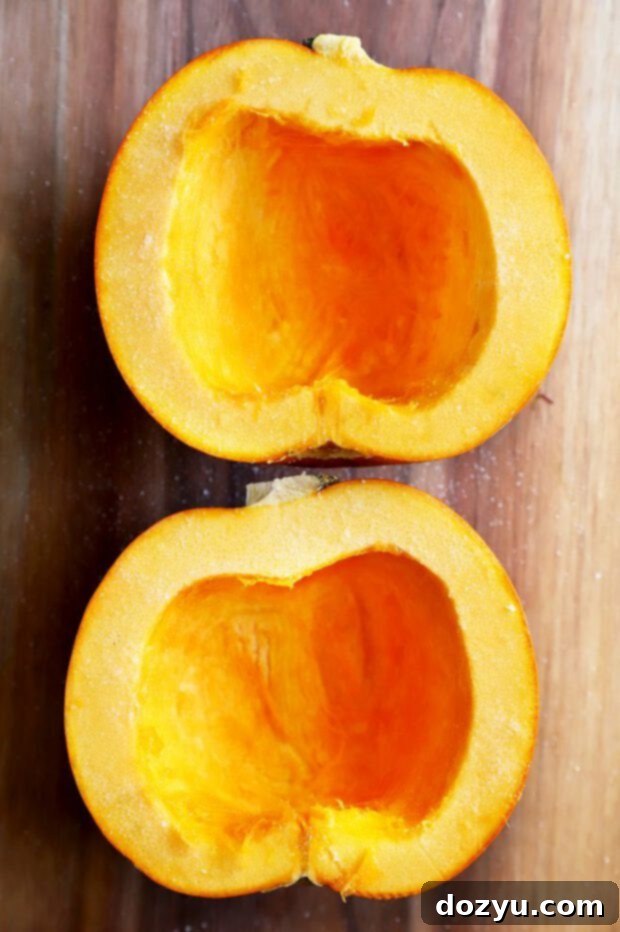
Once your pumpkin is halved, it’s time to remove the stringy pulp and seeds from the center. A sturdy spoon or, even better, a grapefruit spoon with its serrated edges, will make this task quick and efficient, ensuring you get a clean cavity.
Don’t discard those seeds! Pumpkin seeds are a fantastic fall snack. Simply separate them from the stringy fibers, rinse them thoroughly under cold water, pat them dry, and then you can roast them with a little oil and salt for a delicious, crunchy treat.
3. Season and Roast
Lightly sprinkle a pinch of salt evenly over the cut surfaces of both pumpkin halves. While optional, a touch of salt can help draw out moisture and enhance the pumpkin’s natural sweetness during roasting. For a more aromatic puree, you could also consider a tiny dash of cinnamon or nutmeg if you plan to use it in sweet dishes, or a sprig of fresh rosemary or thyme for savory applications.
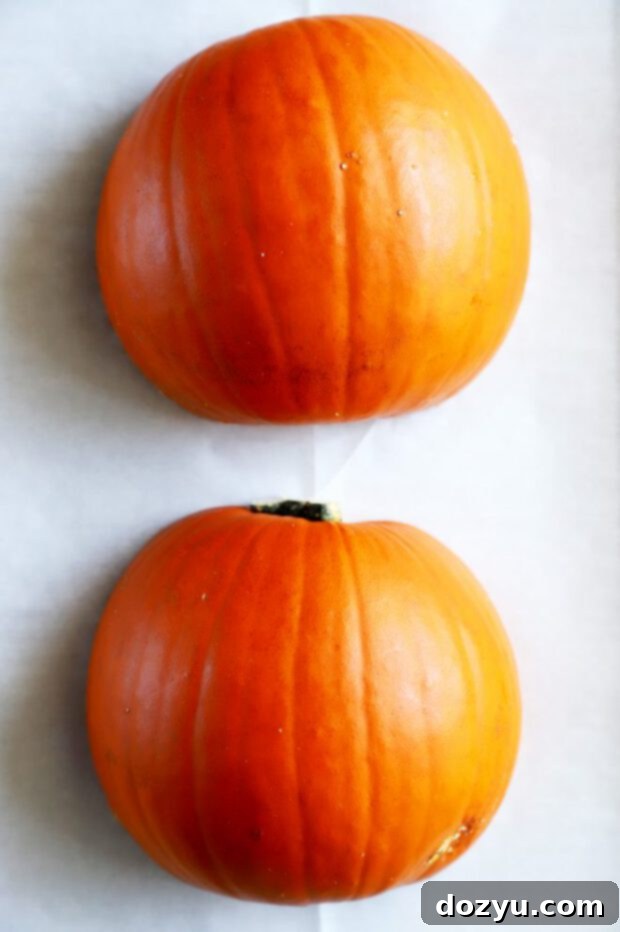
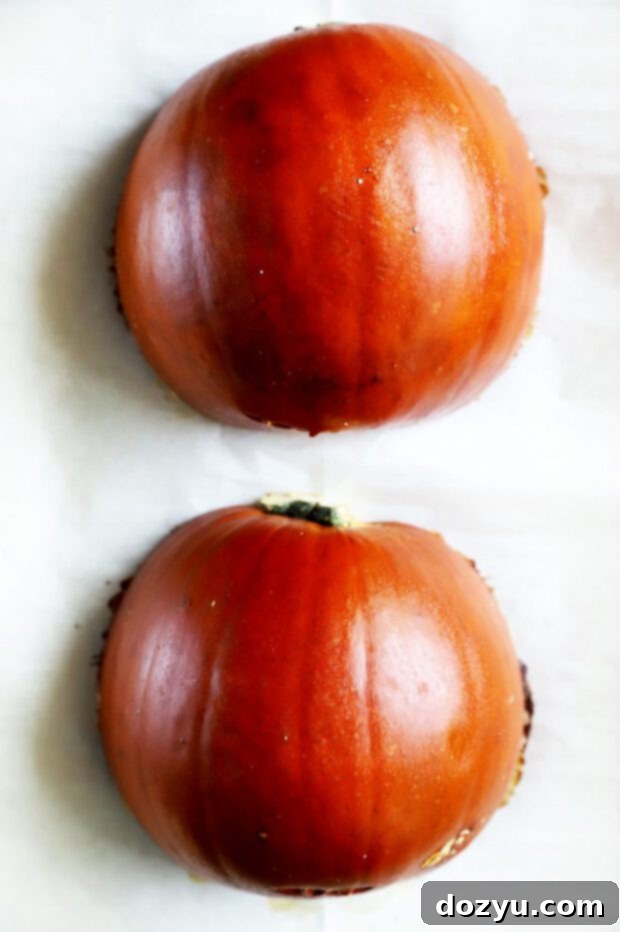
Place the pumpkin halves cut-side down onto your prepared baking sheet. Roasting them this way helps to steam the pumpkin flesh slightly, keeping it moist, and allows the natural sugars to caramelize beautifully, deepening the flavor.
4. Cool and Scoop the Flesh
Transfer the baking sheet to your preheated oven and roast for approximately 30 to 45 minutes. The exact baking time will vary depending on the size and density of your pumpkin. You’ll know the pumpkin is perfectly done when its flesh is incredibly tender and can be easily pierced with a fork. It should feel soft and yielding.
Once baked, carefully remove the pan from the oven. It’s crucial to let the pumpkin halves cool down significantly before handling them. Allowing them to cool for at least an hour, or even longer until they reach room temperature, makes them much easier and safer to handle. This also helps the moisture redistribute, resulting in a less watery puree.
After cooling, grab a large spoon and scoop out all the soft, roasted pumpkin flesh from the skin into the bowl of your food processor or a high-speed blender. Be thorough; you want to get every delicious bit!
5. Puree to Perfection
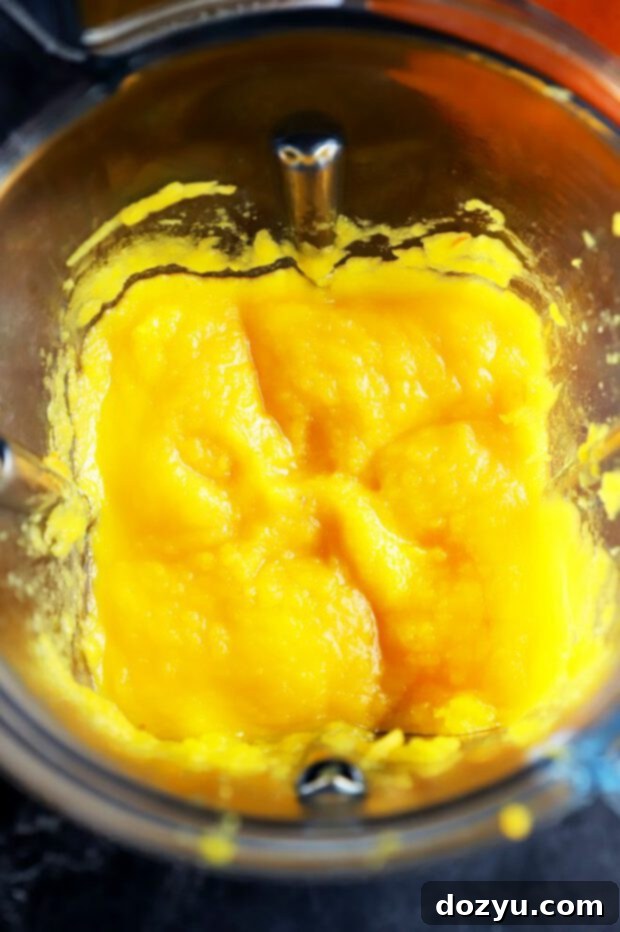
With the pumpkin flesh in your food processor or blender, it’s time to transform it into smooth, luscious puree. Process on medium-high speed until the pumpkin is entirely smooth and creamy, with no lumps remaining. This usually takes about 3-5 minutes, depending on your appliance.
If using a blender, especially a high-speed one like a Vitamix, you might need to stop occasionally to scrape down the sides with a spatula to ensure all the pumpkin gets thoroughly blended. If the puree seems too thick for your blender to process efficiently, you can add a tablespoon or two of water at a time until it reaches a consistency that blends smoothly, but avoid adding too much, as this can make your puree watery.
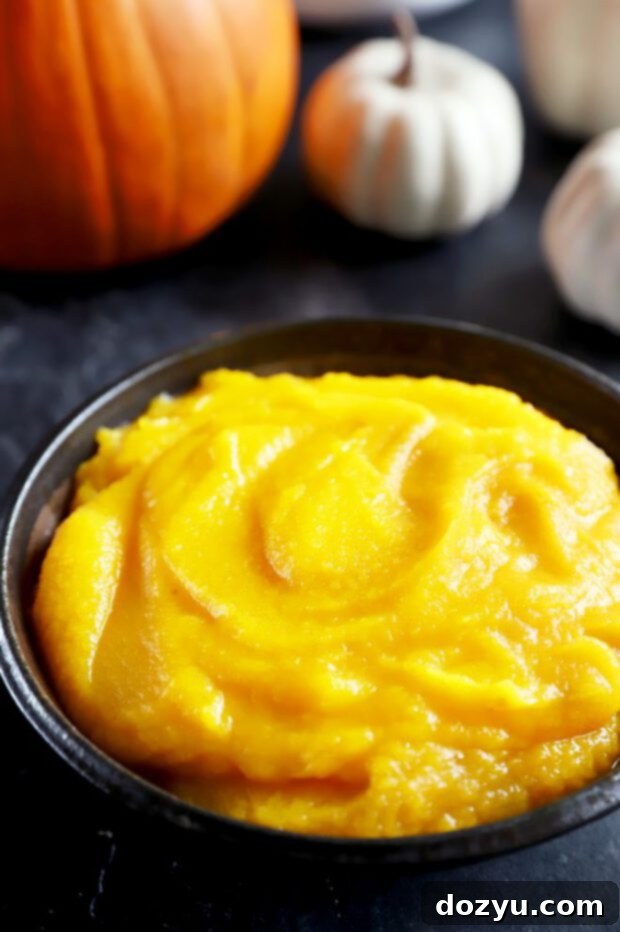
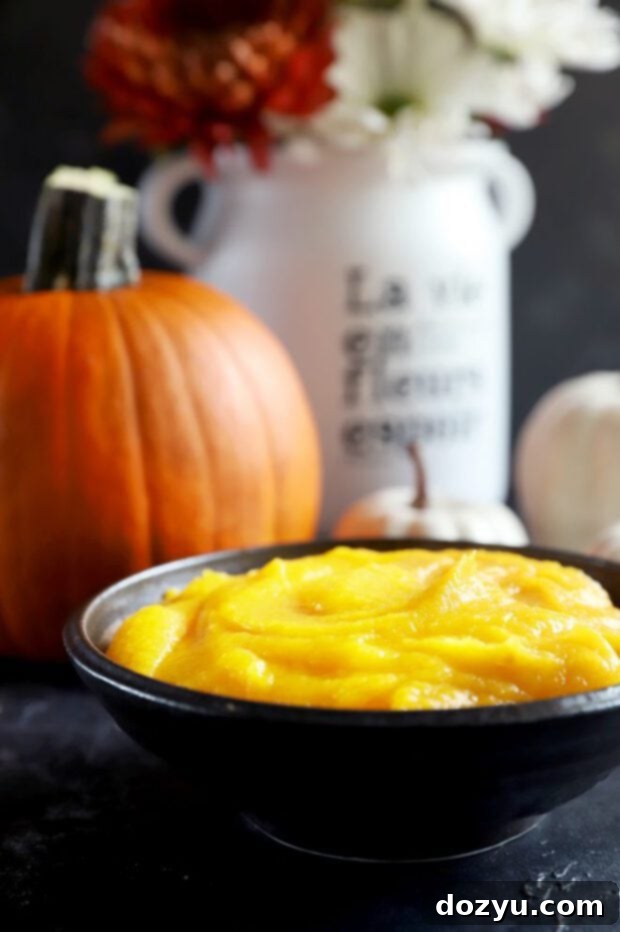
Once pureed, your homemade pumpkin goodness is ready! Store it in an airtight container until you’re ready to use it in your favorite recipes.
Storing Your Homemade Pumpkin Puree
Proper storage is key to enjoying your delicious homemade pumpkin puree for as long as possible. Before transferring it to a container, ensure the puree has cooled completely to room temperature. This prevents condensation and inhibits bacterial growth.
Once cooled, place the pumpkin puree in an airtight container. It will keep beautifully in the refrigerator for up to 5-7 days. Always label your container with the date it was made so you can keep track of its freshness.
Freezing Pumpkin Puree for Later Use
One of the best advantages of making your own pumpkin puree is the ability to freeze it for extended enjoyment! This allows you to savor the taste of fresh pumpkin long after the fall season has passed, ensuring you have a stash ready for all your holiday baking and cooking.
To freeze, first ensure your puree is completely cooled to room temperature. Then, you have a few excellent options:
- Airtight Containers: Portion the puree into freezer-safe airtight containers, leaving a little headspace for expansion.
- Freezer Bags: For flat storage and easy thawing, spoon puree into sealable freezer bags. Press out as much air as possible, then flatten the bags and stack them in your freezer.
- Ice Cube Trays: For smaller, pre-portioned amounts (great for smoothies, sauces, or single servings), spoon puree into ice cube trays. Once frozen solid, transfer the pumpkin cubes to a larger freezer bag.
Homemade pumpkin puree can be frozen for up to 3 months without significant loss of quality. Don’t forget to label your frozen portions with the date. When you’re ready to use it, simply thaw in the refrigerator overnight or use a microwave on a defrost setting.
Creative Ways to Use Pumpkin Puree
The culinary versatility of pumpkin puree is truly astounding! Once you have a batch of fresh, homemade puree, you’ll find countless ways to incorporate its delicious flavor into your meals. It’s not just for pie (though pie is certainly a fantastic use!).
Here are just a few ideas, along with some tempting recipes, to inspire your fall cooking:
- Baked Goods: Classic pumpkin pie, muffins, bread, cookies, pancakes, and waffles.
- Soups and Stews: Creamy pumpkin soup, hearty chili, or a rich curry base.
- Drinks: Pumpkin spice lattes, smoothies, or festive cocktails.
- Pasta and Sauces: Risotto, ravioli filling, or a creamy pasta sauce.
- Breakfast: Stir into oatmeal, yogurt, or make a pumpkin spice granola.
Check out the following recipes that feature the rich flavor of pumpkin puree:
Pumpkin Spice Simple Syrup
Pumpkin Banana Bread with Nutella Swirl
Slow Cooker Pumpkin Turkey Chili
Pumpkin Pie Mimosa
Bourbon Hot Chocolate with Pumpkin
Pumpkin Ricotta Ravioli
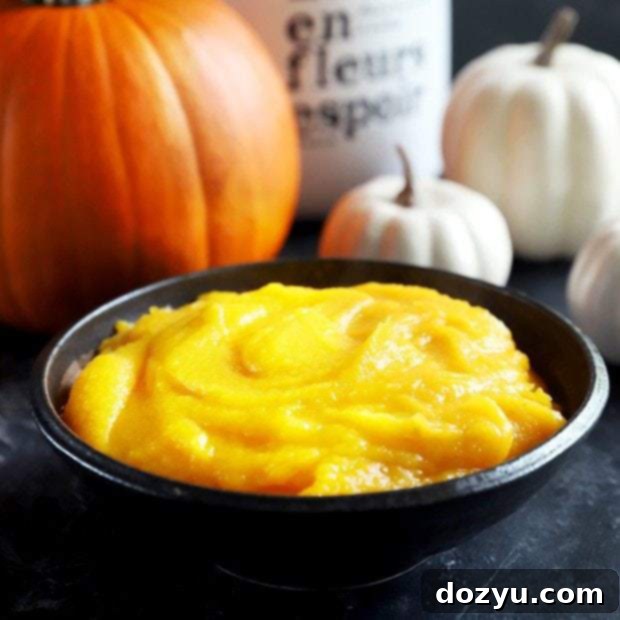
Homemade Pumpkin Puree Recipe
equipment
-
9-Cup Food Processor
-
Half Sheet Pan
ingredients
- 1 4 to 6 pound baking pumpkin
- 1 tsp salt
instructions
-
Preheat oven to 400˚F (200˚C). Line a baking sheet with parchment paper.
-
Carefully remove the stem from the pumpkin. Using a sharp chef’s knife, cut the pumpkin in half from top to bottom.
-
With a sturdy spoon (a grapefruit spoon works wonderfully), scoop out all the seeds and stringy fibers. Remember to save the seeds for roasting!
-
Sprinkle both pumpkin halves evenly with salt. Place them cut-side down onto the prepared baking sheet.
-
Bake for 30 to 45 minutes, or until the pumpkin flesh is very tender and easily pierced with a fork.
-
Remove the baking sheet from the oven and let the pumpkin cool completely to room temperature (at least 1 hour).
-
Once cooled, scoop out the soft pumpkin flesh into a food processor or high-speed blender. Process on high until smooth and creamy, about 3-5 minutes, scraping down the sides as needed.
-
Store your homemade pumpkin puree in an airtight container in the refrigerator for up to 1 week, or freeze for up to 3 months.
