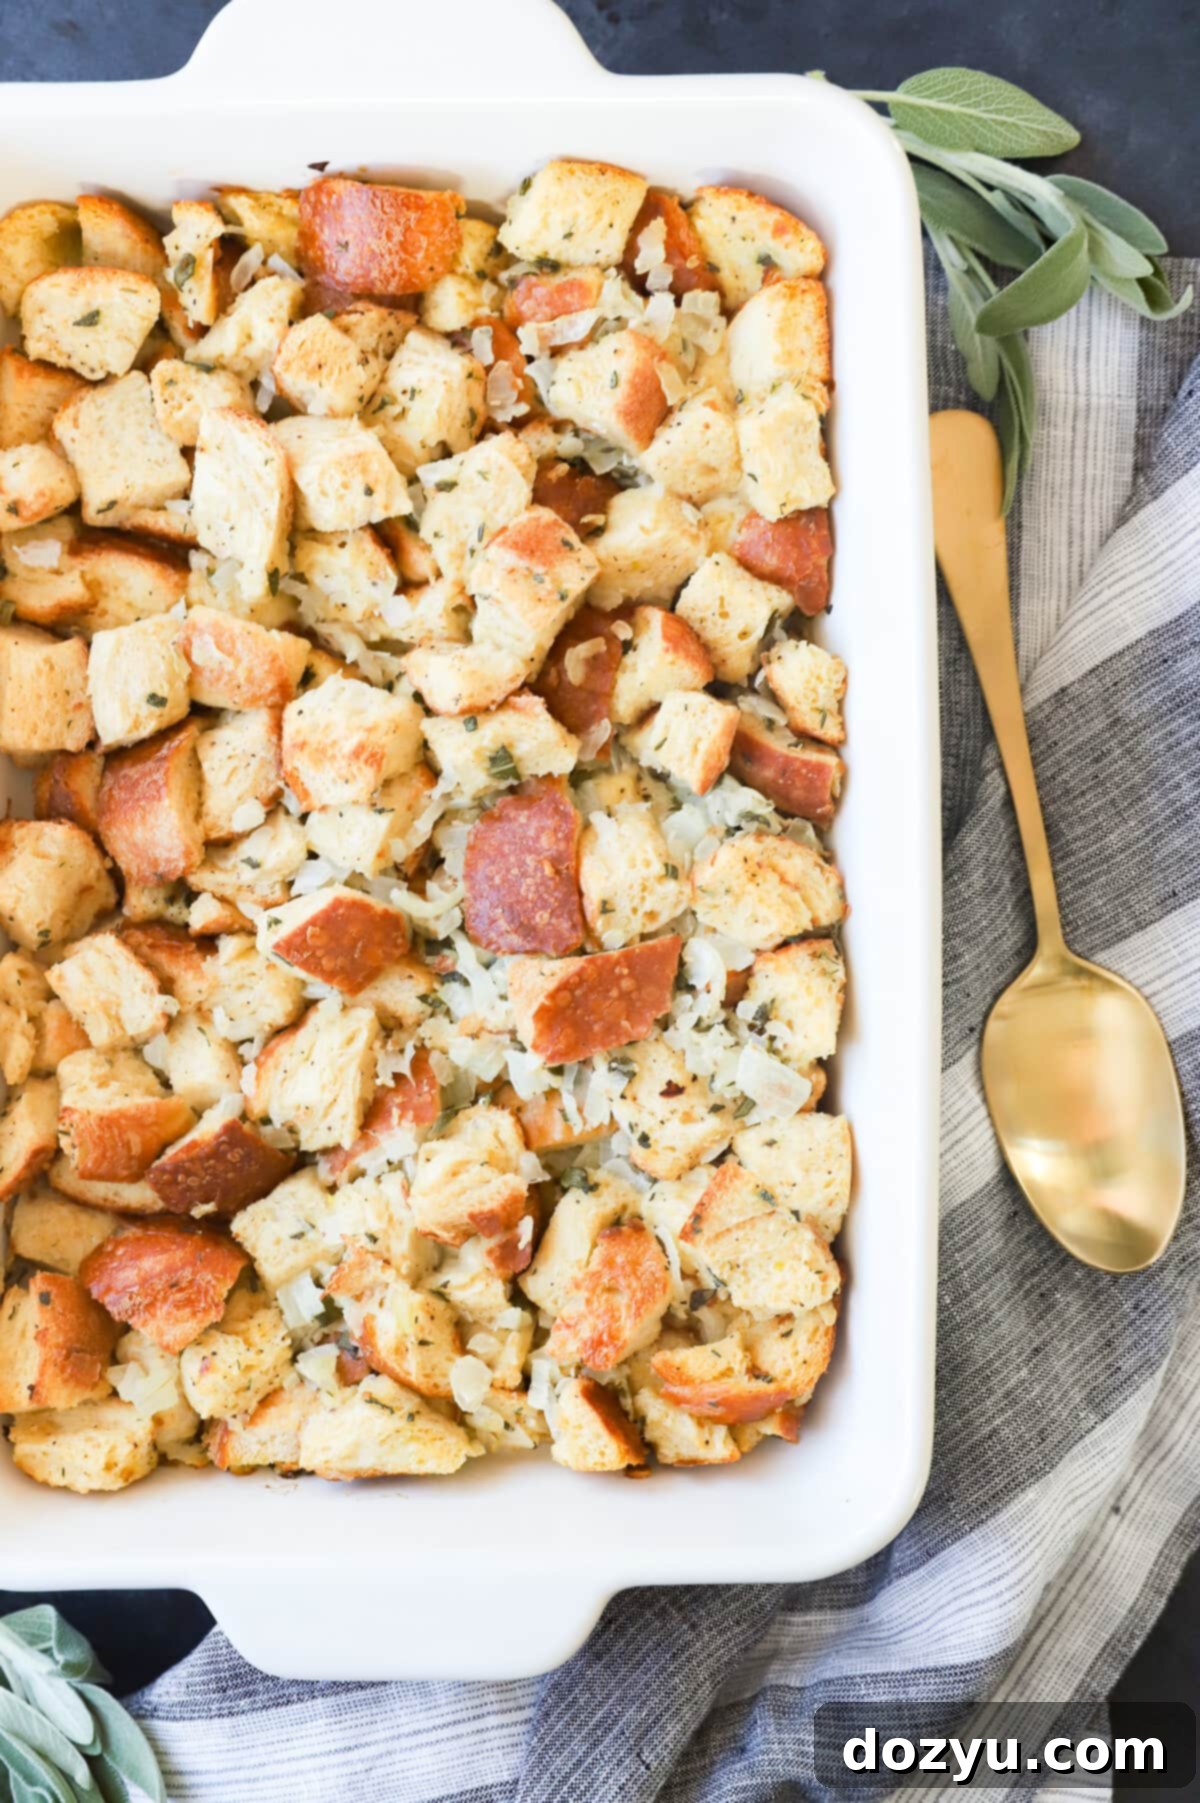
The Ultimate Homemade Sage and Onion Stuffing: A Classic Recipe for Comfort and Flavor
Welcome to the definitive guide for crafting the most delicious Sage and Onion Stuffing you’ll ever taste. This isn’t just a recipe; it’s a culinary journey back to comforting, familiar flavors that evoke warmth and joy with every hearty bite. Perfect for holiday feasts, Sunday roasts, or any meal needing a touch of aromatic excellence, this classic side dish is surprisingly simple to prepare and can even be made ahead of time, freeing you up to savor the big day!
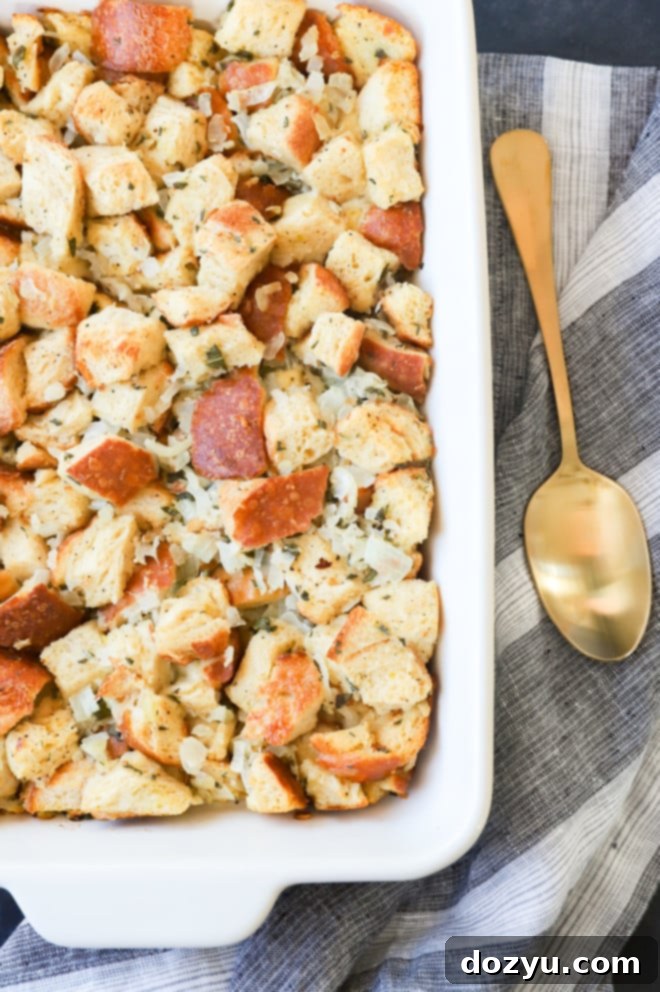
table of contents
Toggle
About This Sage and Onion Stuffing
Sage and onion stuffing is more than just a side dish; it’s a cornerstone of hearty meals, especially during the holidays. This recipe delivers a classic, deeply satisfying flavor profile that sets it apart from any store-bought mix. It’s an unsung hero, providing a delicious, aromatic counterpoint to rich main courses like roasted turkey, chicken, or ham.
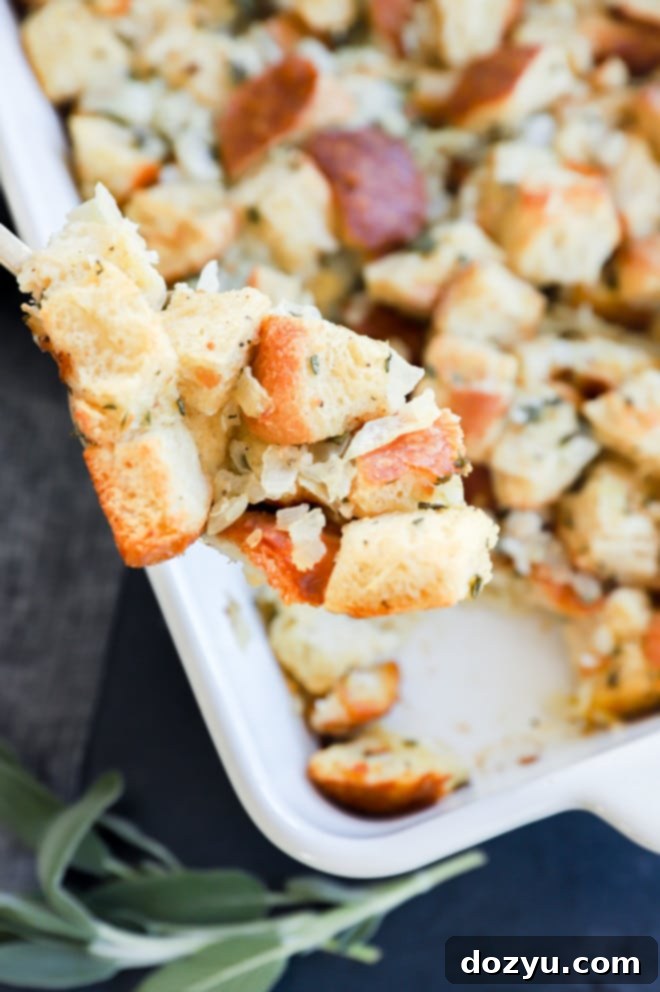
The beauty of this homemade stuffing lies in its blend of fragrant sage, sweet and savory onions, and perfectly toasted bread. The combination of fresh herbs, tender vegetables, and a light, custardy texture (with those coveted crispy edges when baked separately) creates an experience far superior to anything from a box. It truly tastes like a “cozy hug” on a plate, bringing warmth and comfort to any gathering. While often associated with Thanksgiving, its versatility makes it an excellent choice for Christmas dinner, a comforting Sunday supper, or even a special weeknight meal.
Unlike pre-packaged mixes that often lack depth, this recipe builds layers of flavor by sautéing fresh onions, celery, and garlic until tender, then infusing them with aromatic sage and thyme. This simple yet crucial step elevates the entire dish, ensuring every spoonful is packed with authentic, wholesome taste. Plus, knowing you can prepare it ahead of time makes it a stress-free addition to even the busiest holiday menu.
Is It Stuffing or Dressing? The Great Debate
Ah, the age-old culinary debate: stuffing or dressing? The distinction often boils down to semantics and geography, but both terms refer to a beloved bread-based side dish. Historically, the term “stuffing” came about quite literally because the bread mixture was “stuffed” into the cavity of a bird, like a turkey, before roasting. This method allowed the stuffing to absorb the delicious juices from the cooking meat, infusing it with incredible flavor and moisture.
However, as culinary practices evolved and food safety became a greater concern (stuffing cooked inside a bird must reach a specific internal temperature to be safe), many started baking the mixture in a separate pan. When cooked this way, it’s technically no longer “stuffed” inside anything, leading to the alternative name “dressing.” Baking it separately also offers a distinct advantage: the ability to achieve a wonderfully crunchy, golden-brown top layer, a texture contrast many adore.
Despite the technicality, many people, myself included, grew up calling it “stuffing” regardless of where it’s cooked. So, in our kitchen, it remains stuffing! Ultimately, the name matters less than the delicious result. Whether you call it stuffing or dressing, this sage and onion recipe promises to be a delightful addition to your table. Feel free to share your own passionate opinions on this debate in the comments below – it’s always fun to hear different perspectives!
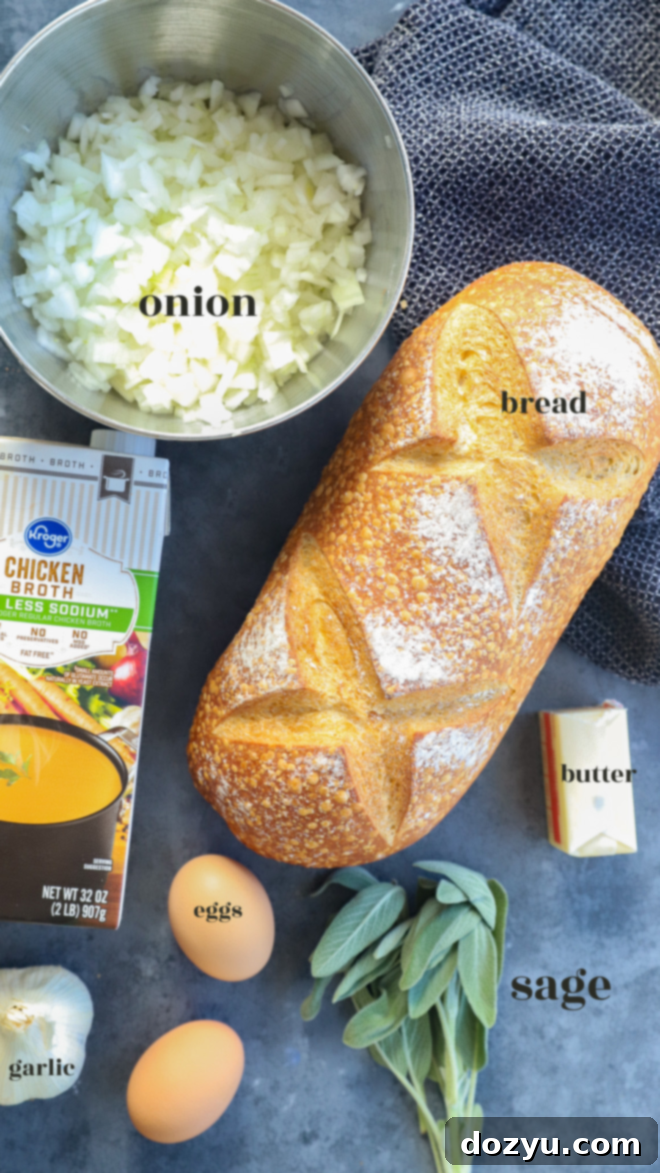
Key Ingredients for Flavorful Stuffing
Creating an outstanding sage and onion stuffing starts with quality ingredients. Here’s a closer look at what you’ll need and why each component is vital:
- White Bread: The foundation of any great stuffing. Opt for a rustic loaf like country white bread, French bread, or even a good quality white sandwich bread. The key is to use real bread that can dry out properly and absorb the rich liquids without becoming mushy. Avoid pre-packaged bread cubes, as they often lack the right texture and can result in a bland stuffing.
- Unsalted Butter: Butter is essential for sautéing the aromatics and adding a rich, decadent flavor to the stuffing. Using unsalted butter gives you precise control over the overall sodium content. If you only have salted butter, simply omit or significantly reduce the added salt in the recipe to avoid an overly salty dish.
- Vegetables: A classic combination of yellow or white onion and celery stalks provides both aromatic depth and textural contrast. The onions lend a sweet and savory base, while celery offers a subtle freshness and crunch.
- Minced Garlic: Garlic adds an indispensable layer of savory flavor. While you can mince fresh garlic yourself, a jar of pre-minced garlic is a fantastic time-saver, especially during busy holiday preparations.
- Herbs: Fresh is always best for maximum flavor! Fresh sage and fresh thyme leaves are the stars here, infusing the stuffing with their earthy, aromatic notes. If fresh herbs aren’t available, you can substitute with dried ground sage and dried thyme, but be sure to adjust the quantities as dried herbs are more concentrated.
- Low-Sodium Broth: This provides the necessary moisture and flavor, allowing the bread cubes to soften and meld with the other ingredients. Chicken or turkey broth are traditional choices, but for a vegetarian version, opt for vegetable broth. Using low-sodium ensures you can season the stuffing to your exact preference without it becoming too salty.
- Large Eggs: Eggs act as a binding agent, helping to hold the stuffing together and giving it a pleasing, slightly custardy texture rather than a crumbly one.
- Salt and Pepper: Fine kosher salt and freshly cracked black pepper are crucial for seasoning the stuffing to perfection. Seasoning in layers (when cooking vegetables and in the broth mixture) ensures balanced flavor throughout the dish.
Essential Equipment for Stuffing Success
To whip up this incredible sage and onion stuffing, you won’t need an arsenal of specialty tools. A few basic kitchen essentials will ensure a smooth and successful cooking experience:
- Large Skillet: A spacious skillet is crucial for sautéing the vegetables. Its ample surface area allows the onions, celery, and garlic to cook evenly and tenderize beautifully, developing rich flavors without overcrowding.
- Mixing Bowls: You’ll need a set of mixing bowls of various sizes. A medium bowl is perfect for whisking the wet ingredients, while a very large bowl will be essential for combining the bread cubes with the cooked aromatics and the liquid mixture, ensuring everything is thoroughly and evenly moistened.
- Wooden Spoon: A sturdy wooden spoon is ideal for stirring vegetables in the skillet and gently folding the ingredients together in the mixing bowl without damaging the bread cubes.
- 9×13-inch Baking Dish or 3-Quart Casserole Dish: This standard size baking pan or casserole dish is perfect for baking the stuffing. Its dimensions ensure a good ratio of crispy top to moist interior.
Here’s How to Make Sage and Onion Stuffing
Making homemade sage and onion stuffing is a straightforward process that yields incredibly rewarding results. Follow these steps for a perfectly flavored and textured dish:
Prepare Your Bread Cubes
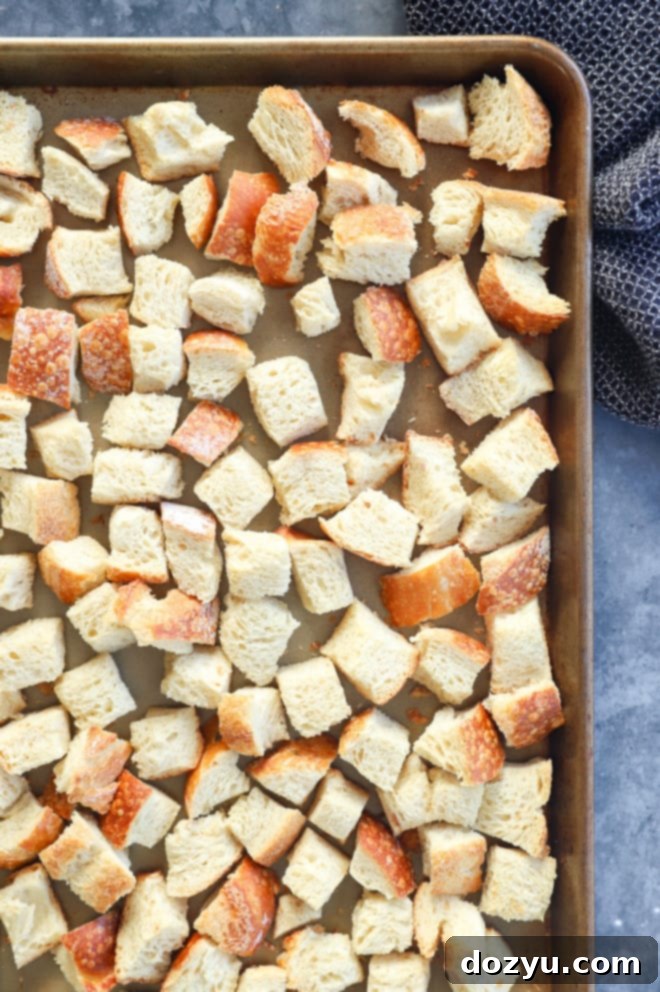
Begin by cutting your chosen bread into 1-inch cubes. The drier the bread, the better it will absorb the flavorful liquids without turning soggy. You have two excellent methods for drying your bread:
- Air Dry (24-48 hours): Spread the bread cubes out in a single layer on a large rimmed sheet pan. Leave them uncovered on your kitchen counter for 24 to 48 hours. This allows them to naturally dry out, ensuring a superb texture.
- Oven Dry (Quick Method): If you’re short on time, preheat your oven to 325°F (160°C). Spread the bread cubes on a rimmed sheet pan and bake for 15 to 20 minutes, stirring them every 5 minutes. This quickly dries them out, giving them a slight toast that adds to the stuffing’s depth of flavor.
Once dried, lightly grease a 9×13-inch baking dish with cooking spray or butter and set it aside, ready for assembly.
Craft the Stuffing Base
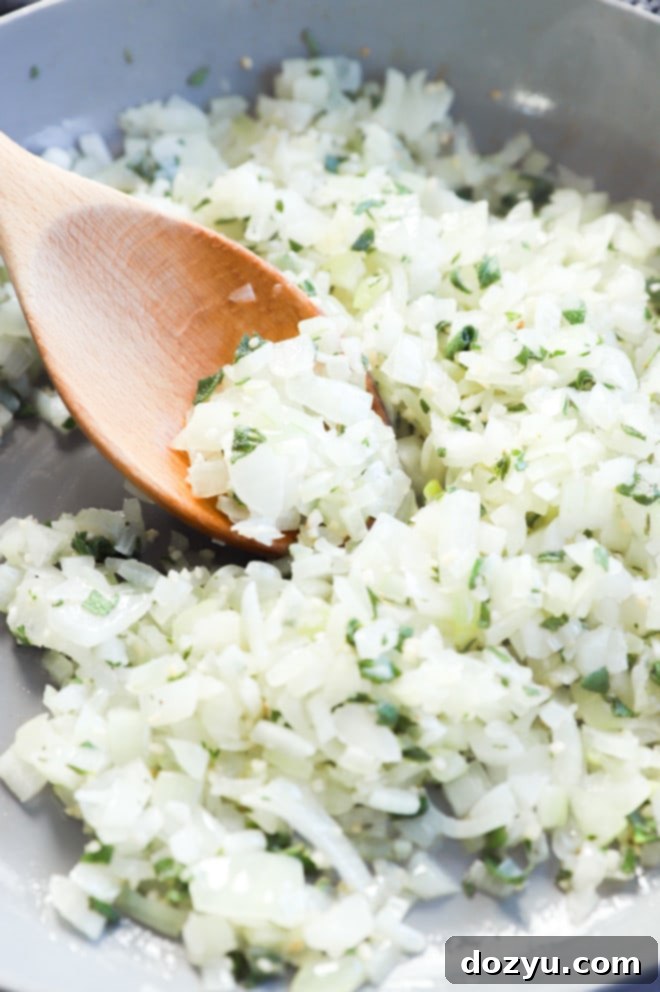
In a large skillet, melt the unsalted butter over medium-high heat. Add your diced yellow or white onion, celery, and minced garlic. Sauté these aromatics, stirring frequently, until they become soft and translucent, which usually takes about 10 minutes. This step is crucial for building the foundational flavors of your stuffing.
Next, stir in the fresh sage and fresh thyme leaves (or their dried equivalents, adjusted for potency) and cook for another 2 to 3 minutes. This short cooking time helps to release their aromatic oils and meld their flavors with the softened vegetables. Remove the skillet from the heat and set the mixture aside to cool slightly.
In a separate medium bowl, whisk together the low-sodium chicken (or turkey/vegetable) broth, large eggs, kosher salt, and freshly ground black pepper until well combined. This liquid mixture is what will moisten and bind your stuffing.
Assemble and Moisten
In a very large mixing bowl, combine the dried bread cubes and the sautéed onion and herb mixture. Gently fold them together until the vegetables are evenly distributed throughout the bread. The goal is to combine thoroughly without crushing the bread cubes.
Next, gradually drizzle the whisked egg and broth mixture over the bread and vegetable blend. Continue to fold gently until all the bread cubes are evenly moistened. Be careful not to overmix, as this can make the stuffing dense. You want the bread to be saturated but still retain some structure.
Transfer the entire mixture into your prepared 9×13-inch baking dish, spreading it out into an even layer. Cover the dish tightly with aluminum foil to ensure the stuffing cooks through and remains moist in the first stage of baking.
Bake to Golden Perfection
Bake the covered stuffing in the preheated 375°F (190°C) oven for 25 minutes. Covering it initially helps to steam the stuffing, making it moist and tender.
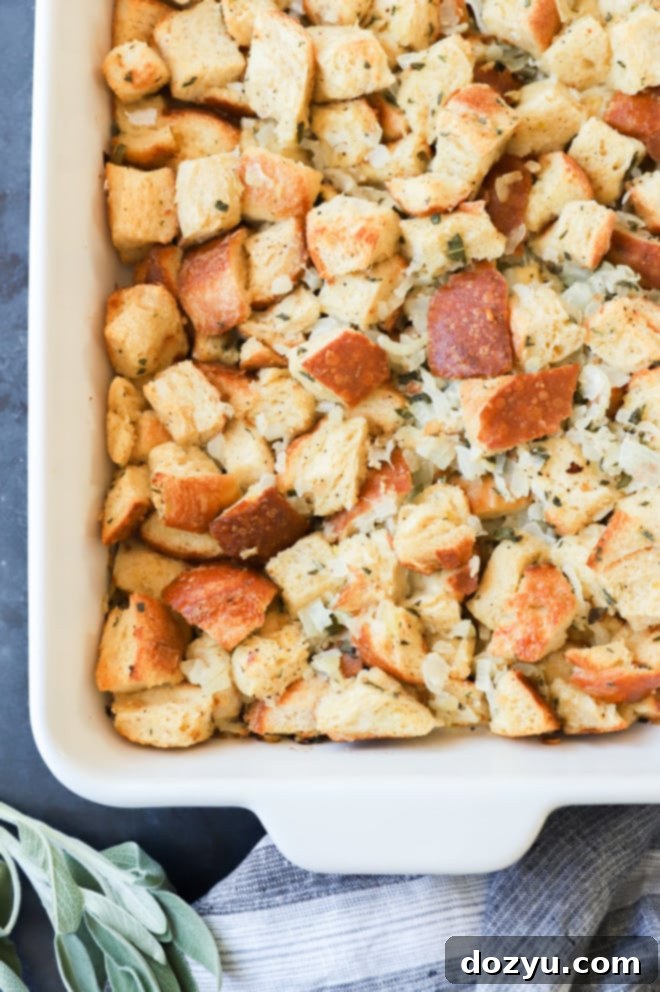
After 25 minutes, remove the foil and continue to bake for another 15 minutes, or until the top is beautifully golden brown and crispy. If you are baking stuffing that has been refrigerated, you will need to add an extra 10 minutes to the initial covered baking time to allow it to come up to temperature.
Once baked, remove the stuffing from the oven and let it stand for about 10 minutes before serving. This brief resting period allows the stuffing to set, making it easier to serve and ensuring the flavors are fully developed. The result is a perfectly balanced stuffing: moist and flavorful on the inside with a delightful crispness on top.
Expert Tips and Tricks for the Best Stuffing
Achieving truly exceptional sage and onion stuffing is easy with a few insider tips:
- Embrace Day-Old Bread (or Toast It!): This step is non-negotiable for superior stuffing. Dried bread acts like a sponge, eagerly soaking up all the flavorful broth and butter without turning into a soggy mess. For optimal results, cut your bread into cubes and leave them exposed on a sheet pan for 24 to 48 hours to air dry. If time is of the essence, the oven-drying method at 325°F for 15-20 minutes is a fantastic shortcut. This crucial step prevents a dense, mushy stuffing and ensures a wonderfully light and flavorful final product. For more insights on selecting the perfect base, check out our guide on the best bread for stuffing.
- Add Savory Sausage: For a heartier, more robust stuffing, consider incorporating cooked sausage. A half-pound of ground Italian sausage (mild or spicy, depending on your preference) can be cooked and crumbled, then added to the onion and celery mixture before combining with the bread. This brings an extra layer of savory depth that’s especially welcome in a holiday spread.
- Master the Sage: Fresh vs. Dried: While both fresh and dried sage can be used, fresh sage offers an unparalleled aromatic brightness and nuanced flavor that truly elevates this dish. If you have access to fresh sage, it’s highly recommended. However, dried ground sage is a convenient alternative. Remember, dried herbs are significantly more potent than fresh; as a general rule, use 1 teaspoon of dried ground sage for every tablespoon of fresh chopped sage. This recipe calls for 3 tablespoons of fresh sage, so reduce to 1 teaspoon of dried if substituting.
- Don’t Skimp on the Butter: Butter is key to the stuffing’s rich flavor and golden crust. It not only helps to sauté the vegetables to perfection but also coats the bread cubes, contributing to the irresistible texture and taste.
- Taste and Adjust Seasoning: Before baking, always taste a small amount of the stuffing mixture (if no raw egg is present, or a tiny bit of the liquid mixture if the egg is already added). Adjust salt and pepper as needed. Different broths and bread types can vary in their inherent saltiness, so trusting your palate is essential.
Craving something sweet? Explore my delightful dessert recipes page for more inspiration!
Fresh vs. Dried Sage: Which Is Best for Stuffing?
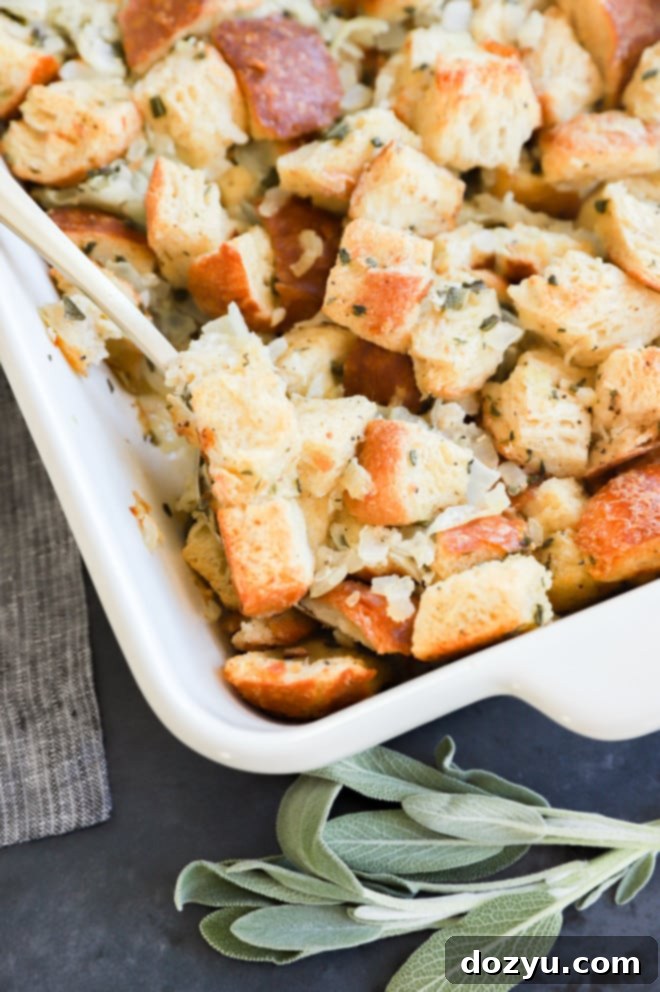
For this sage and onion stuffing recipe, I strongly advocate for fresh sage. The vibrant, slightly peppery, and earthy notes of fresh sage leaves impart a depth of flavor that is simply unparalleled. It brings a brightness and aromatic complexity that truly elevates the dish.
However, if fresh sage isn’t readily available, dried ground sage is a perfectly acceptable substitute. Just remember that dried herbs are far more concentrated than fresh ones. As a general rule of thumb, you should use about one-third the amount of dried herb compared to fresh. For this recipe, if you’re using dried ground sage instead of fresh chopped sage, you’ll want to use approximately 1 teaspoon (rather than 3 tablespoons) to achieve a balanced flavor without overpowering the stuffing. Always taste and adjust to your preference.
Stuffing the Turkey or Baking Separately?
The choice between stuffing your turkey or baking the stuffing in a separate dish is a matter of preference, tradition, and food safety. This sage and onion stuffing recipe is versatile enough for both methods. If you prefer the classic approach of stuffing the turkey, this mixture works wonderfully. Simply spoon the raw stuffing into the turkey cavity before roasting.
A crucial consideration for safety: ensure the stuffing cooked inside the turkey reaches an internal temperature of 165°F (74°C). You’ll need a meat thermometer to check both the turkey and the stuffing. Many cooks find that waiting for the internal stuffing temperature to be safe can sometimes lead to an overcooked turkey, or conversely, removing the turkey at its peak might leave the stuffing undercooked.
Personally, I lean towards baking the stuffing in its own baking dish. This method offers several advantages: it ensures even cooking, allows for the development of a deliciously crisp, buttery crust on top – a texture variation that’s hard to beat – and it simplifies food safety concerns. Plus, it frees up oven space if you’re dealing with a particularly large bird. Both methods yield fantastic results, so choose the one that best suits your comfort level and culinary goals.
Can I Make This Stuffing Ahead of Time?
Absolutely! This sage and onion stuffing recipe is an ideal candidate for make-ahead preparation, which is a huge plus when planning for busy holidays or gatherings. You have two convenient options for preparing it in advance:
- Prepare and Assemble Ahead: You can complete all the steps up to the point of baking. Mix all the ingredients, transfer the stuffing to your greased baking dish, cover it tightly with aluminum foil, and store it in the refrigerator for up to 24 hours. On the day of your meal, simply pop it into the preheated oven following the baking instructions. This method allows the flavors to meld beautifully overnight, potentially enhancing the overall taste.
- Bake Ahead and Reheat: For maximum convenience on the day of your event, you can bake the stuffing completely a day or two in advance. Once baked and cooled, cover it and refrigerate. To reheat, add about 1/4 cup of chicken or vegetable broth over the top of the stuffing to help restore moisture. Cover it with foil and reheat in a 350°F (175°C) oven for about 20-30 minutes, or until it’s warmed all the way through. Uncover for the last 5-10 minutes if you want to crisp up the top again. This option is perfect for reducing last-minute stress.
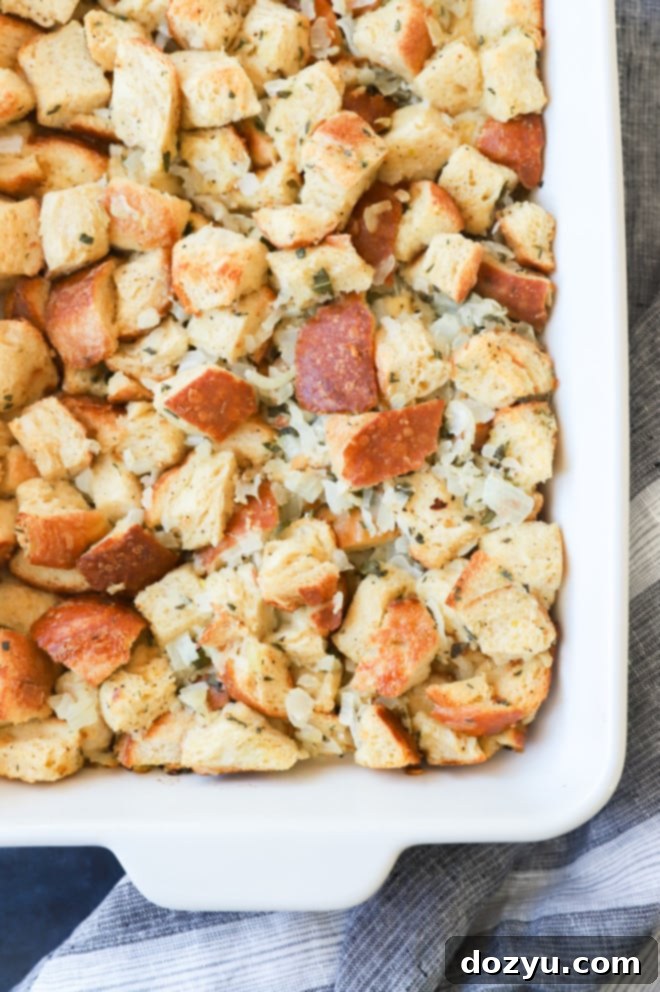
Choosing the Best Bread for Stuffing
The type of bread you choose is paramount to the success of your stuffing. Forget those pre-packaged bags of dry bread cubes; they often lack character and can lead to a bland, crumbly texture. For this sage and onion stuffing, I highly recommend using a fresh, rustic loaf of white bread. Options like French bread, country bread, or a high-quality white sandwich loaf are excellent choices.
The ideal bread should have a good balance of crust to soft interior. This allows it to dry out effectively, creating cubes that are firm enough to hold their shape and structure after absorbing the broth and butter, yet tender once baked. A bread that’s too soft or too dense won’t achieve the perfect texture, either becoming mushy or staying too hard. Aim for a bread that will dry well, providing both a tender crumb and those desirable crispy edges.
What Kind of Onion Should I Use?
For this classic sage and onion stuffing, I generally prefer using a yellow onion. Yellow onions, also known as Spanish onions, are incredibly versatile. They have a slightly sweeter, more balanced flavor when cooked, which beautifully complements the earthy sage and savory notes of the other ingredients. Their mild sweetness adds depth without overpowering the delicate herbs.
However, if you only have white onions on hand, they will also work perfectly fine. White onions tend to have a sharper, more pungent flavor when raw, but they mellow considerably when sautéed, still providing a wonderful aromatic base for your stuffing. Ultimately, both yellow and white onions will contribute to a delicious stuffing; it’s a matter of subtle preference.
Can I Freeze Sage and Onion Stuffing?
While freezing is a fantastic method for preserving many dishes, I do not recommend freezing this sage and onion stuffing, whether it’s before or after baking. The primary reason for this recommendation lies in the delicate texture of the stuffing, which is heavily reliant on the bread.
Freezing and subsequently thawing stuffing can cause significant changes to its structure. The bread cubes, after absorbing moisture and then undergoing freezing, often break down and become overly mushy or crumbly upon thawing and reheating. This results in a texture that is far from the light, flavorful, and slightly crisp consistency you want in a homemade stuffing. It simply won’t have the same delightful mouthfeel.
For best results and to preserve the intended texture and flavor, it’s always best to enjoy this stuffing fresh or within a few days of preparation from the refrigerator. If you need to prepare ahead, stick to the refrigerated make-ahead options discussed earlier.
Can I Make This Recipe Vegetarian?
Yes, absolutely! Making this sage and onion stuffing vegetarian is incredibly simple and requires just one substitution. The core ingredients – bread, vegetables, and herbs – are already plant-based. The only animal product in the original recipe (besides the butter and eggs) is the chicken or turkey broth. To make it vegetarian, simply swap out the chicken or turkey broth for an equal amount of high-quality vegetable stock or vegetable broth. This ensures you maintain all the delicious savory flavors while adhering to a vegetarian diet, without compromising on taste or texture.
Can I Make This Recipe Vegan?
Yes, with a few straightforward adjustments, this recipe can easily be made vegan! To transform this into a delicious vegan sage and onion stuffing, you’ll need to make the following substitutions:
- Butter: Replace the unsalted butter with an equal amount of plant-based butter (vegan margarine) for sautéing your vegetables and adding richness.
- Broth: Use vegetable stock or vegetable broth instead of chicken or turkey broth.
- Eggs: The eggs act as a binder. You can omit them entirely for a slightly looser, more crumbly stuffing, or use a “flax egg” (1 tablespoon ground flaxseed meal mixed with 3 tablespoons water, let sit for 5 minutes) per egg to help bind the mixture. Alternatively, some recipes use a small amount of mashed sweet potato or pumpkin puree for binding and moisture.
By making these simple swaps, you can create a flavorful and satisfying vegan stuffing that everyone can enjoy!
Would It Be OK to Use Gluten-Free Bread for the Bread?
Absolutely! This recipe can easily accommodate gluten-free dietary needs by simply substituting regular white bread with your favorite gluten-free bread. When choosing a gluten-free loaf, I recommend looking for one that has a good, sturdy crust and a relatively firm crumb. This will mimic the texture of traditional rustic bread and allow it to dry out effectively without becoming too fragile or mushy when moistened. Just like with regular bread, ensure you properly dry out the gluten-free bread cubes, either by air-drying for 24-48 hours or by toasting them in the oven, to achieve the best possible stuffing texture. This ensures that everyone can enjoy the comforting flavors of this classic side dish!
Looking for more sweet inspiration? Visit my dessert recipes page for delicious ideas!
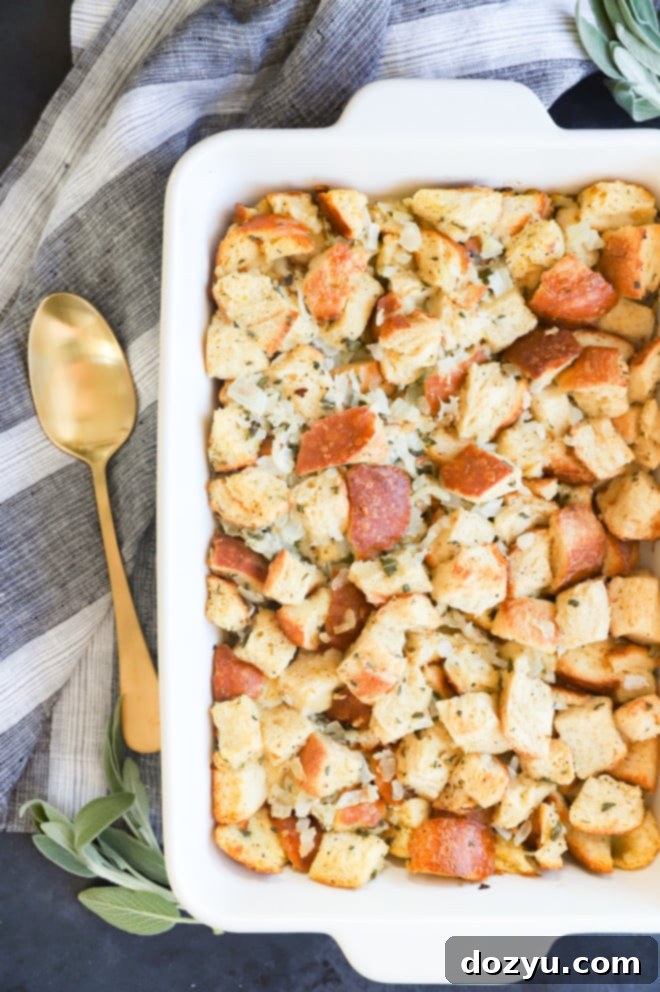
What to Serve with Classic Stuffing
Classic sage and onion stuffing is the ultimate versatile side dish, making it a perfect partner for a wide array of main courses, especially during holiday feasts and comforting Sunday dinners. Its savory, aromatic profile complements rich meats and other hearty sides beautifully. Here’s how you can build an unforgettable meal around this delicious stuffing:
For your main course, it’s a natural fit for Thanksgiving classics. A perfectly roasted turkey is a must, and starting with a flavorful turkey brine can make all the difference. Explore options from a traditional roasted turkey to a smoky beer-brined turkey or a tender smoked turkey breast. Beyond poultry, this stuffing pairs wonderfully with a succulent smoked pork loin or even elegant cheese-stuffed chicken breasts for a truly cozy main dish any time you crave a side of delicious stuffing.
No holiday meal is complete without a selection of tantalizing appetizers and drinks. Kick off your evening with a festive sparkling Thanksgiving cocktail – it’s incredibly easy to whip up with just four ingredients and can even be prepared in a pitcher for entertaining. If you’re looking for another effervescent option, a cranberry orange Moscow mule is simple and beautifully bubbly. Pair these with delectable appetizers like warm and gooey baked camembert with cranberries and walnuts or elegant roasted cranberry goat cheese crostini.
Don’t forget the dessert! While not directly served with stuffing, a perfect meal deserves a sweet ending. Elevate any pie or dessert with a dollop of homemade cinnamon whipped cream. It’s a simple trick that adds a touch of gourmet flair to your sweet treats.
How to Store and Reheat Leftovers
Proper storage and reheating are key to enjoying your delicious sage and onion stuffing long after the initial meal. Here’s how to ensure your leftovers remain as flavorful as possible:
- Storage: To store any leftover stuffing, first allow it to cool completely to room temperature. This is crucial to prevent condensation and bacterial growth. Once cooled, transfer the stuffing to an airtight container. It can then be safely stored in the refrigerator for up to 4 days.
- Reheating Portions: For individual servings, simply place a portion of stuffing on a microwave-safe plate. Reheat in the microwave until warmed through, typically around 30 seconds to a minute, depending on your microwave’s power. Stir halfway through for even heating.
- Reheating the Whole Dish (Oven Method): If you’re reheating a larger quantity of stuffing, the oven is often the best choice for maintaining texture. Preheat your oven to 350°F (175°C). To prevent the stuffing from drying out, I recommend adding a splash – about 1/4 cup – of extra chicken or vegetable stock over the top of the stuffing before covering the dish tightly with aluminum foil. Bake for 15 to 20 minutes, or until thoroughly warmed. If you desire a crispy top again, remove the foil for the last 5-10 minutes of reheating.
- Freezing: As mentioned previously, I do not recommend freezing this sage and onion stuffing. The freezing and thawing process tends to alter the texture of the bread, making it mushy and compromising the overall quality of the dish. For the best culinary experience, enjoy this stuffing fresh or refrigerated.
More Thanksgiving and Holiday Recipes
If you’re planning a holiday feast or simply love to bake, here are a few more recipes to inspire you:
- Pumpkin Sage Biscuits: For all you bread lovers, these pumpkin sage biscuits are a must-try. They are flaky, buttery, and infused with the delightful flavors of pumpkin and sage, making them a perfect complement to any seasonal meal.
- Creamy Roasted Butternut Squash Soup: Start your meal with a bowl of comforting creamy roasted butternut squash soup, elevated with savory bacon croutons. It’s a rich and velvety starter that sets the tone for a spectacular dinner.
- Pecan Pie Cheesecake: If you’re searching for a show-stopping dessert, this pecan pie cheesecake is always a hit! It’s a decadent fusion of two classic desserts that I consistently make year after year.
Finally, if you prepare this beloved sage and onion stuffing recipe, please take a moment to give it a rating and/or leave a comment below! Your feedback is incredibly valuable, and I genuinely enjoy hearing about your culinary experiences and insights. I make sure to respond to every single comment and question.
And of course, don’t forget to tag me on Instagram (@cakenknife) if you share your creations! Seeing these recipes come to life in your homes is truly my favorite part of what I do – it means the world to me!
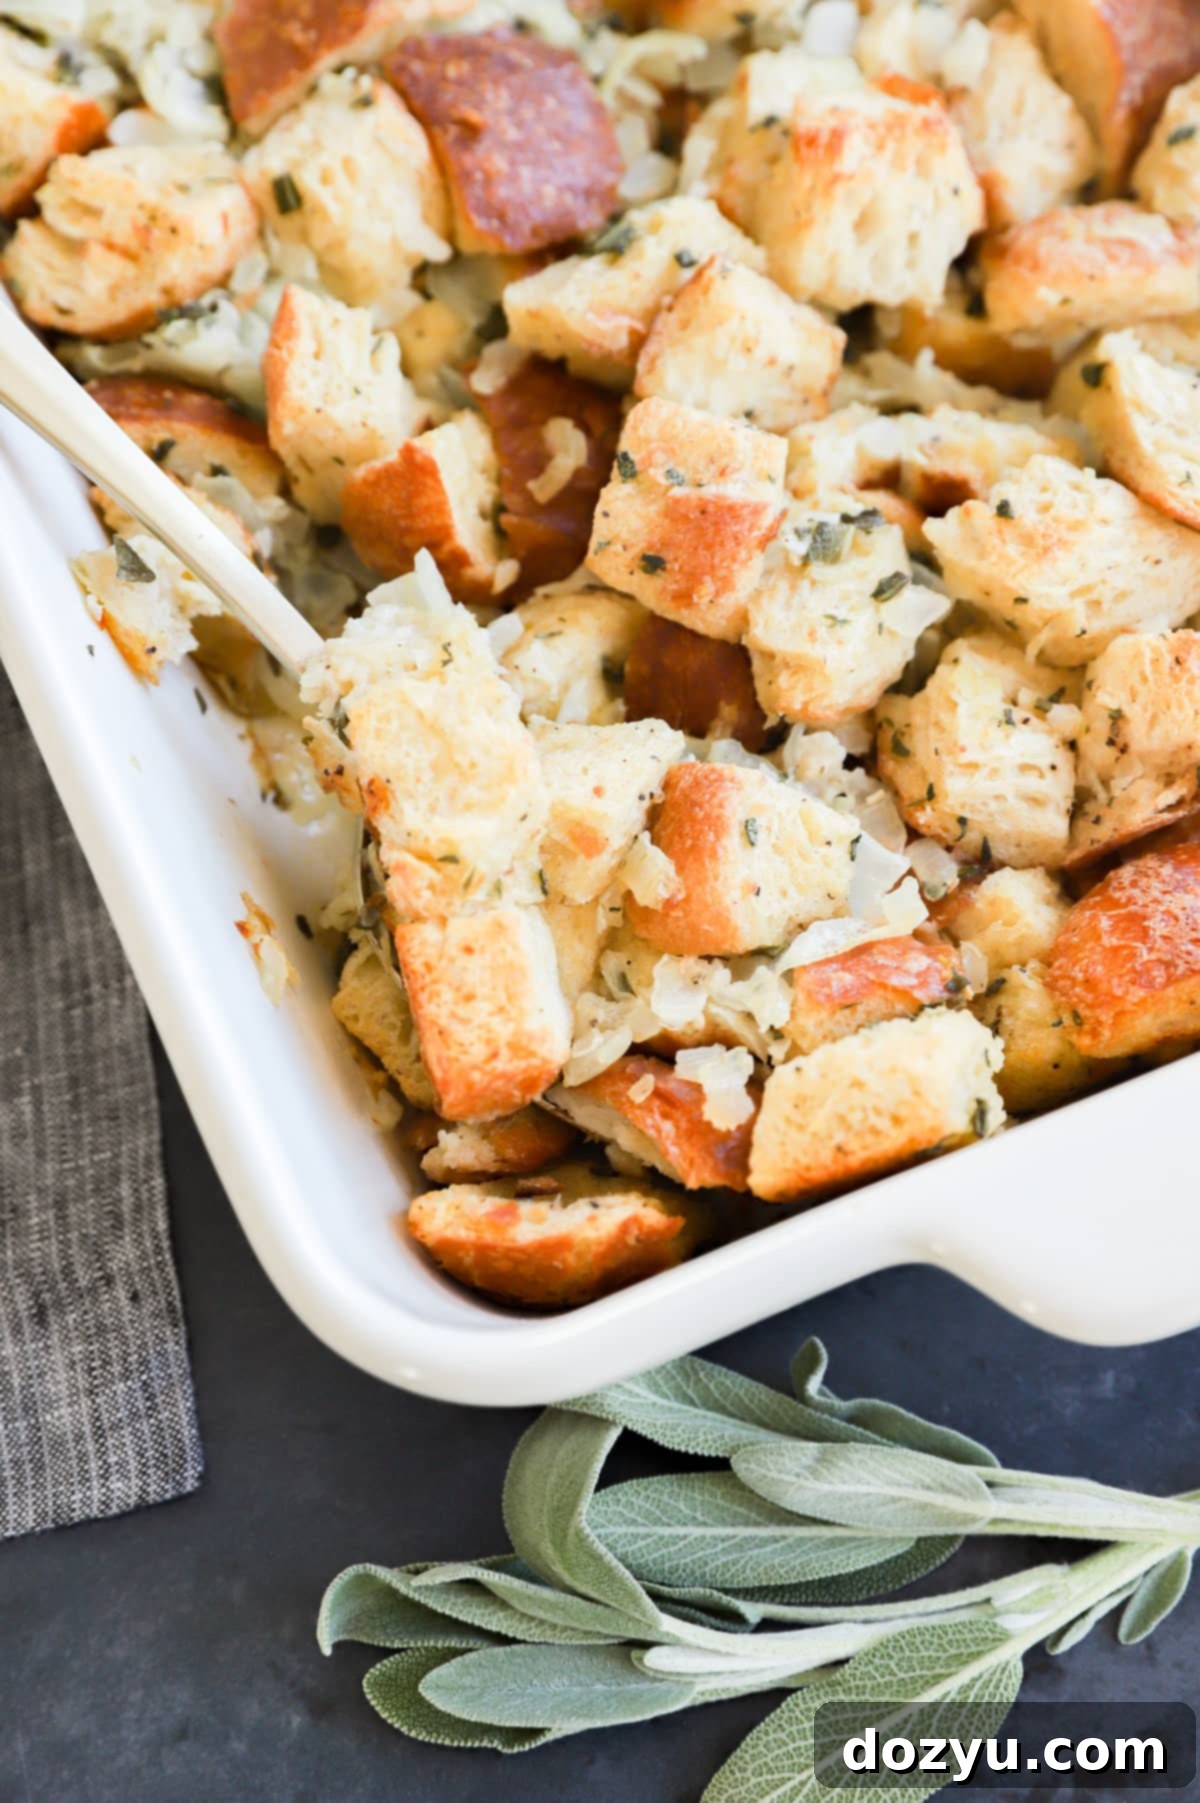
Sage and Onion Stuffing Recipe Card
Equipment
-
Mixing Bowls
-
Wooden Spoon
-
9×13 inch Baking Dish
Ingredients
- 1 lb rustic white bread loaf cut into 1-inch cubes (about 10 cups)
- 4 Tbsp unsalted butter
- 1 lb yellow onion about 2 medium onions, diced
- 3 large stalks celery diced
- 5 cloves garlic minced
- 3 Tbsp finely chopped fresh sage leaves or 1 tsp dried ground sage
- 2 tsp fresh thyme leaves or 1/2 tsp dried thyme leaves
- 2 1/4 cups low-sodium chicken broth or turkey/vegetable broth
- 2 large eggs
- 1/2 tsp kosher salt
- 1/4 tsp freshly ground black pepper
Instructions
-
Prepare your bread cubes: Cut bread into 1-inch cubes. Spread them on a large sheet pan and either leave on the counter for 24 to 48 hours to air dry, or, for a quicker method, proceed to the next step.
-
If using the quick oven method, preheat your oven to 375°F (190°C). Spread the bread cubes evenly on a large rimmed baking sheet. Bake until crisp and lightly toasted, about 15 to 20 minutes, stirring the cubes every 5 minutes to ensure even drying.
-
Lightly spray a 9×13-inch baking dish with cooking spray or butter. Set aside.
-
Prepare the aromatics: Add butter to a large skillet over medium-high heat. Once melted, add the diced onions, celery, and minced garlic. Cook, stirring frequently, until the vegetables are softened and translucent, which should take about 10 minutes. Stir in the finely chopped fresh sage and fresh thyme leaves, cooking for an additional 2 to 3 minutes to release their aromas. Remove the skillet from heat and set aside.
-
In a medium bowl, whisk together the low-sodium broth, large eggs, kosher salt, and freshly ground black pepper until well combined.
-
Assemble the stuffing: Add the dried bread cubes to a very large mixing bowl along with the cooked onion and herb mixture. Gently fold to combine the bread and vegetables evenly. Drizzle the whisked egg and broth mixture over the contents of the bowl. Continue to fold carefully until all the bread cubes are evenly moistened.
-
Pour the prepared stuffing mixture into the greased 9×13-inch baking dish. Spread it out into an even layer. Cover the dish tightly with aluminum foil.
-
Bake to perfection: Bake the covered stuffing for 25 minutes at 375°F (190°C). After 25 minutes, remove the aluminum foil and continue to bake uncovered for another 15 minutes, or until the top is golden brown and crispy. If baking from the refrigerator (after making ahead), add an additional 10 minutes to the initial covered cook time. Let the stuffing stand for 10 minutes before serving to allow it to set.
Notes
Add Ground Sausage: For a heartier stuffing, you can add 1/2 pound of cooked, crumbled ground sausage (spicy or mild) to the vegetable mixture before combining with the bread.
Storage: Store any leftover baked stuffing in an airtight container in the refrigerator for up to 4 days. Ensure it cools completely to room temperature before refrigerating.
Reheating: For individual portions, microwave until warmed through (approx. 30 seconds). For larger quantities, reheat in a 350°F (175°C) oven, covered with foil and a splash of broth, for 15-20 minutes or until heated through. Uncover for the last few minutes for a crispier top.
Freezing Not Recommended: Freezing is not advised for this recipe as it can significantly alter the texture of the bread, resulting in a mushy consistency upon thawing.
