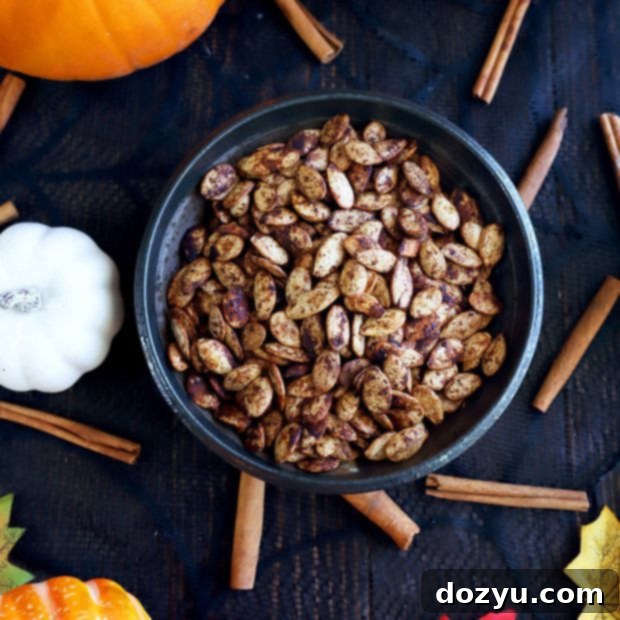
Crispy, Flavorful, and Irresistible: How to Make the Best Roasted Pumpkin Seeds at Home
What do you do with the leftover seeds after carving your pumpkin? Make the best roasted pumpkin seeds, of course! This simple yet incredibly flavorful recipe transforms humble pumpkin seeds into your new favorite snack, boasting a perfect blend of spices that highlights their naturally roasted and nutty essence. Get ready for an addictive crunch!
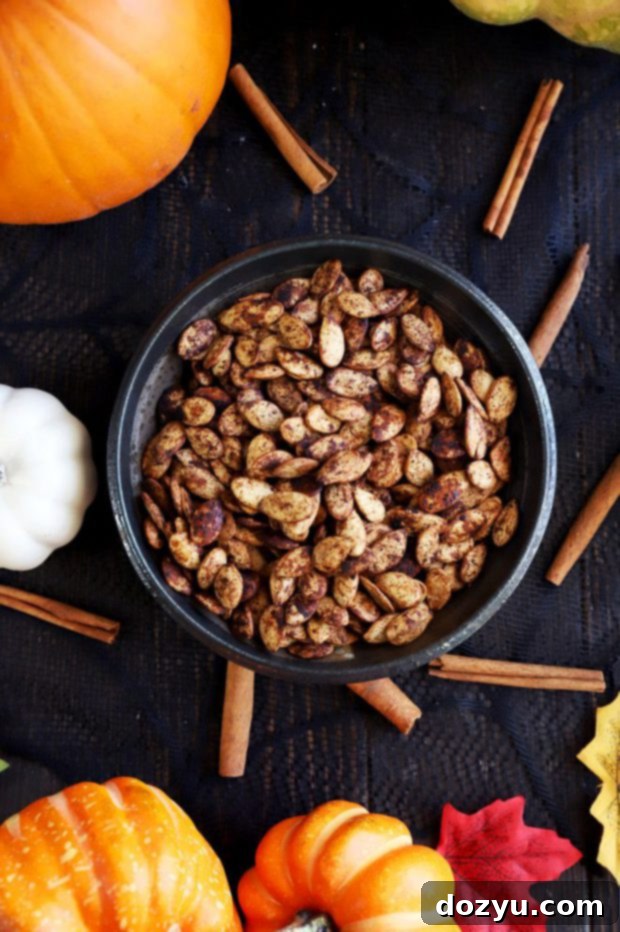
Autumn brings with it a symphony of cherished traditions, from the vibrant colors of changing leaves to cozy sweaters, pumpkin spice everything, and, of course, the excitement of Halloween. For many, Halloween isn’t just about the massive candy haul; it’s deeply rooted in the timeless ritual of pumpkin carving. There’s something truly magical about scooping out the gooey insides, transforming a plain pumpkin into a spooky, silly, or intricate masterpiece that glows on your porch.
While the jack-o’-lantern often takes center stage, an equally delightful and often overlooked treasure emerges from this festive activity: the humble pumpkin seeds! Growing up, pumpkin carving was a highly anticipated event in my household, though I’ll admit my artistic skills with a carving knife were, shall we say, “developing.” My mom, however, had a wonderful knack for making sure nothing went to waste. While I might not recall every single year we carved pumpkins, the vivid memory of her diligently saving those slippery seeds, knowing a delicious transformation was ahead, is crystal clear. It was her way of extending the Halloween magic, turning what others might discard into a truly irresistible culinary delight that filled our home with an amazing aroma.

Why Roasted Pumpkin Seeds Are the Ultimate Fall Snack
Roasted pumpkin seeds have always held a special place as one of my absolute favorite snacks. The moment they emerge from the oven, they fill your kitchen with an incredibly warm, inviting, and distinctly nutty aroma – it’s the smell of autumn bliss! But the experience gets even better, truly elevated, when you coat them in a rich, perfectly seasoned butter before roasting. Because let’s face it, butter makes everything better, and a thoughtful blend of spices takes these simple seeds from good to absolutely extraordinary. They offer a satisfying crunch, a burst of complex flavor, and a wholesome goodness that’s hard to beat in any snack.
The true beauty of this recipe lies in its incredible simplicity and versatility. Whether you’ve just finished carving a spooky jack-o’-lantern and have a fresh batch of raw seeds begging to be transformed, or you’re simply craving this seasonal treat and decide to pick up some unsalted pumpkin seeds from your local grocery store (no judgment here, we all appreciate convenience!), this recipe is your golden ticket to a consistently delicious and utterly addictive snack. These seeds are nutty, warmly spiced, with just a hint of heat that makes them disappear faster than you can say “trick or treat!” Seriously, consider making a double or even triple batch – you’ll thank me later when you find yourself reaching for them again and again.
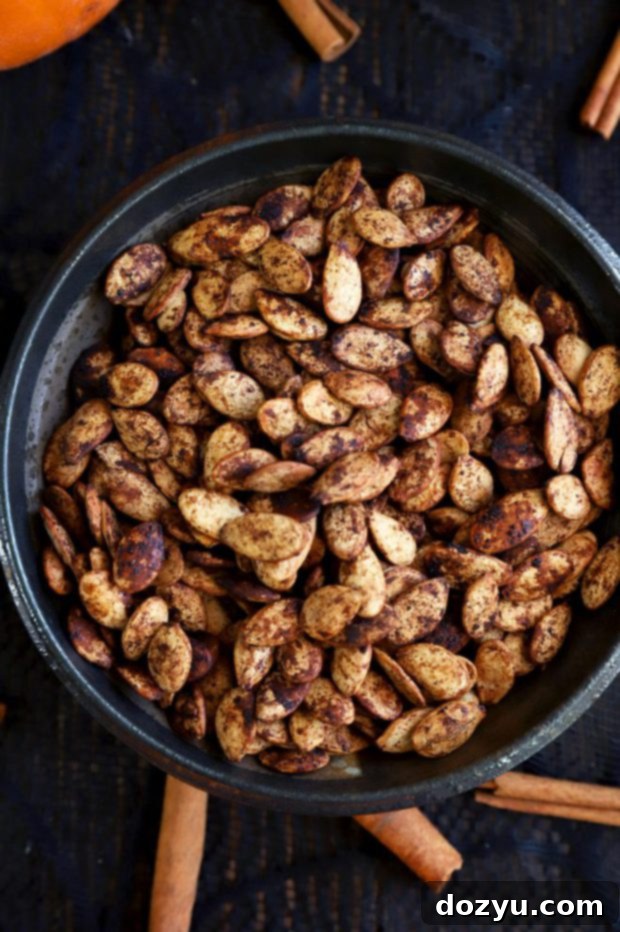
Nutritional Powerhouse: The Hidden Health Benefits of Pumpkin Seeds
Beyond their undeniably delicious taste and satisfying crunch, pumpkin seeds are a remarkable powerhouse of nutrition. This makes them not just a tasty treat, but also an incredibly smart and guilt-free snack choice. They are packed with an impressive array of valuable nutrients, offering significant health benefits with every handful. Here’s a quick look at some of the key nutritional advantages:
- Rich in Magnesium: Pumpkin seeds are an excellent source of magnesium, a mineral crucial for over 300 bodily functions. This includes supporting healthy muscle and nerve function, maintaining blood glucose control, and regulating blood pressure.
- Good Source of Zinc: Essential for immune function, cell growth and division, proper sleep, mood regulation, and maintaining a healthy sense of taste and smell, zinc is abundant in these tiny seeds.
- High in Antioxidants: These seeds are loaded with powerful antioxidants like carotenoids and vitamin E. These compounds play a vital role in protecting your cells from harmful free radicals, which can reduce inflammation and help prevent chronic diseases.
- Excellent Source of Fiber: With a significant amount of dietary fiber, pumpkin seeds support a healthy digestive system, promote regular bowel movements, and can help you feel fuller for longer, aiding in weight management.
- Healthy Fats: They contain beneficial omega-3 and omega-6 fatty acids, which are crucial for heart health, reducing bad cholesterol, and supporting overall brain function and cognitive health.
- Plant-Based Protein: For those on plant-based diets or anyone looking to boost their protein intake, pumpkin seeds are a fantastic source of plant-based protein, contributing to muscle repair, growth, and satiety.
So, the next time you’re enjoying these wonderfully crunchy delights, remember that you’re not just treating your taste buds to an exquisite flavor experience; you’re also nourishing your body with essential vitamins, minerals, and compounds that contribute to your overall well-being. It’s truly a win-win situation, making them an ideal snack for anyone seeking both flavor and health!

table of contents
Toggle
Essential Tools for Perfect Roasted Pumpkin Seeds
Creating these delightful roasted pumpkin seeds is wonderfully straightforward, and you’ll find that you don’t need a lot of specialized kitchen gadgets or complicated equipment. Simplicity is truly key here! With just a few basic items, you can achieve snack perfection in your own kitchen. Here’s a brief rundown of the essential tools that will help you along the way:
- Mixing Bowls: You’ll need at least two mixing bowls. A smaller one is perfect for whisking together the seasoned butter and spices, ensuring a smooth and evenly blended mixture. A medium-sized bowl is then ideal for tossing your cleaned pumpkin seeds thoroughly with that delicious butter mixture, ensuring every single seed is beautifully and consistently coated with flavor.
- Half Sheet Baking Pan: A sturdy, rimmed half sheet baking pan is absolutely crucial for this recipe. This size of pan provides ample space for the pumpkin seeds to spread out in a single layer, which is vital for proper air circulation, even roasting, and achieving that coveted, ultimate crispness. Lining it with parchment paper or a silicone baking mat will also prevent any sticking and make your cleanup afterwards an absolute breeze.
- Wooden Spoon or Spatula: A simple wooden spoon or a heat-resistant rubber spatula will be your best friend during the roasting process. It’s essential for stirring the seeds halfway through cooking, ensuring they brown evenly on all sides and preventing any single side from burning. This leads to uniformly golden, crunchy, and delicious results.
With just these basic, readily available items, you’re well on your way to making the best roasted pumpkin seeds you’ve ever tasted – a truly rewarding and simple culinary adventure!
More delicious Snack Recipes: Curried Nut Mix / Bacon Parmesan Quick Bread / Spicy Avocado Chimichurri Salsa / Jalapeño Agave Cornbread Fritters

How to Make Perfectly Roasted Pumpkin Seeds: A Step-by-Step Guide
Step 1: Clean and Prepare Your Pumpkin Seeds Thoroughly
This initial step is absolutely crucial for achieving that irresistible, consistent crunch in your finished roasted pumpkin seeds. If you’re using fresh seeds directly from your pumpkin carving adventures, you’ll need to give them a thorough and meticulous cleaning. Place the seeds in a colander and rinse them under cold running water. Use your fingers to gently, but firmly, separate any pumpkin pulp, stringy bits, or fibrous strands that might be clinging to the seeds. This process might take a few minutes, requiring a bit of patience and elbow grease, but trust me, it’s worth every second! Ensure they are completely free of any orange residue, as leftover pulp can prevent them from crisping up and can even cause them to burn.
Once they are meticulously clean, spread them out in a single layer on a few layers of paper towels or a clean, absorbent kitchen towel. Pat them as dry as humanly possible. Excess moisture is the enemy of crispiness and can lead to steamed rather than roasted seeds, so don’t rush this crucial drying step! You can even let them air dry for an hour or two on the counter if time permits.
Pro Tip: If you’re opting for convenience and using unsalted, pre-packaged store-bought pumpkin seeds, you can happily skip this cleaning and drying step entirely. They come ready to be seasoned and roasted! Just ensure they are truly unsalted if you plan to control the seasoning yourself.
Step 2: Create Your Flavorful Seasoned Butter Mixture
The real magic in this recipe truly happens with the seasoned butter. This is where we infuse the seeds with all the delicious flavors that make them so addictive. In a small, microwave-safe bowl (or a small saucepan if you prefer the stovetop), gently melt your unsalted butter. Once the butter is completely melted and smooth, add the fine sea salt, ground cinnamon, garlic powder, cayenne pepper (adjusting the amount to your desired level of heat), and freshly ground black pepper as specified in the comprehensive recipe card below. Whisk everything together thoroughly until all the spices are evenly and beautifully incorporated into the butter. This aromatic mixture will form the delicious, flavorful coating for your seeds.
Next, transfer your meticulously cleaned and dried pumpkin seeds to a medium mixing bowl. Pour the warm, seasoned melted butter directly over the seeds. Using a spoon or, for a more tactile and effective approach, your clean hands, toss the seeds vigorously. Ensure that every single seed is beautifully and thoroughly coated with the flavorful butter mixture. This even coating is what guarantees maximum flavor distribution and a consistent, golden roast across all your seeds.
Step 3: Bake Until Golden and Crispy Perfection
Now it’s time to bring those flavors to life! Preheat your oven to a precise 375°F (190°C). Line a large, rimmed baking sheet with either parchment paper or a silicone baking mat. This crucial step not only prevents sticking but also makes cleanup incredibly easy after you’ve enjoyed your snack. Spread the coated pumpkin seeds in a single, perfectly even layer across the entire prepared baking sheet. It’s absolutely essential to ensure that no seeds are overlapping, as this allows for optimal air circulation, which is key to achieving that perfectly even roasting and maximum crispness. Overcrowding the pan will lead to steaming rather than roasting, resulting in less crispy seeds.
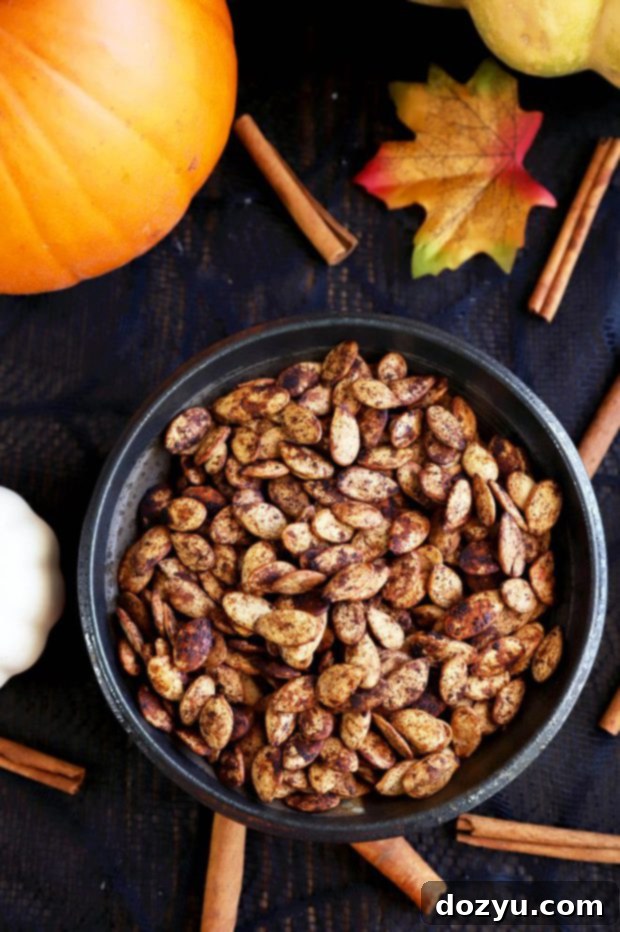
Carefully slide the tray into your preheated oven and bake for approximately 25 to 35 minutes. Keep a close eye on them, as oven temperatures can vary. About halfway through the roasting time (typically around the 15-20 minute mark), remove the tray from the oven and give the seeds a good, thorough stir with your wooden spoon or spatula. This ensures all sides get an equal chance to toast and brown evenly, guaranteeing uniformly golden and satisfyingly crunchy results. Continue baking until the seeds are beautifully golden brown and, when tapped, sound hollow and dry. They should be visibly toasted and have a fragrant, nutty aroma. Once they reach this stage, promptly remove them from the oven. Let them cool on the baking sheet for at least a few minutes; they will continue to crisp up as they cool. Then, transfer them to a serving bowl and get ready to enjoy your perfectly roasted, utterly addictive pumpkin seeds!
Customize Your Flavor Profile: Endless Possibilities for Your Pumpkin Seeds!
While this recipe provides a fantastic and foolproof baseline for perfectly spiced roasted pumpkin seeds, don’t hesitate to unleash your inner chef and get creative with the seasonings! The true beauty of homemade snacks lies in the ability to tailor them exactly to your unique taste preferences. The options for flavor variations are virtually endless, allowing you to create a personalized snack every time. Here are some inspiring ideas to experiment with for your next batch:
- Amp Up the Heat: If you’re a true fan of spicy snacks, feel absolutely free to increase the amount of cayenne pepper. For even more fiery kick, consider adding a pinch of smoked paprika, a dash of chili powder, or even a tiny amount of finely ground chipotle powder (mixed in with the butter). A touch of freshly cracked black pepper can also add a subtle, sharp heat.
- Sweet & Savory Sensation: For a delightful contrast that balances sweetness with saltiness, try adding a tablespoon of light brown sugar or a drizzle of maple syrup along with the specified sea salt and cinnamon. Spices like nutmeg, allspice, or even a touch of ginger powder could beautifully complement this sweet and savory profile, creating a truly autumnal treat.
- Herby Goodness: Incorporate finely chopped fresh or dried herbs like rosemary, thyme, or oregano for an earthy, aromatic, and savory twist. After roasting, a sprinkle of grated Parmesan cheese can also add a phenomenal umami depth, transforming them into a sophisticated snack.
- Global Flavors: Embark on a culinary journey by experimenting with international spice blends. Think a teaspoon of mild curry powder for an Indian-inspired snack, a generous sprinkle of za’atar for a fragrant Middle Eastern flair, or even a ready-made taco seasoning mix for a vibrant Tex-Mex kick. Harissa powder could also add an exciting North African heat.
- Bright Citrus Zest: For an unexpected burst of freshness, a little finely grated lemon or lime zest can brighten up any savory pumpkin seed blend. It’s best added after roasting to preserve its delicate, fresh flavor, preventing it from becoming bitter during baking.
I highly recommend trying the original recipe as written first to fully appreciate its balanced and comforting flavors. Once you’ve established your delicious baseline and understand the roasting process, you’ll know exactly what adjustments or additions you might want to make for your subsequent batches. Trust me, these are so good, you’ll be making them again and again, each time perhaps with a new and exciting twist!
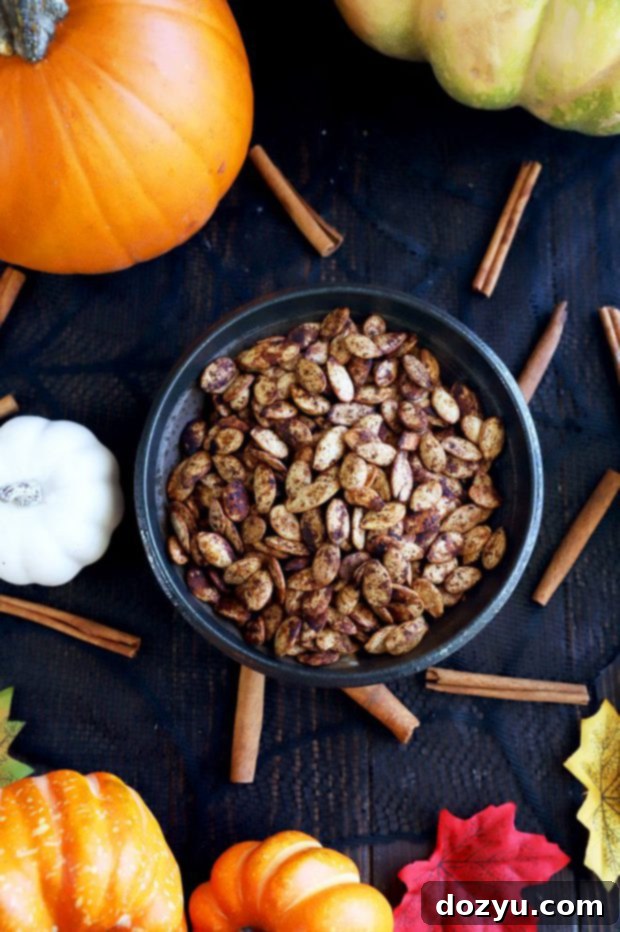
Storing Your Roasted Pumpkin Seeds for Maximum Freshness
Once your delectable roasted pumpkin seeds have cooled completely to room temperature, proper storage is absolutely key to maintaining their crispness, preventing staleness, and preserving their amazing flavor. Store them in an airtight container – a glass jar with a tight-fitting lid or a sturdy resealable plastic bag works perfectly. Ensure the container is truly airtight to protect them from moisture and air, which can cause them to soften. They will stay wonderfully fresh and crunchy for up to 1 to 2 weeks when stored at room temperature in a cool, dark pantry. Avoid refrigerating them, as the moisture in the fridge can actually cause them to lose their desired crisp texture and become chewy. If, over time, they happen to lose a little bit of their initial crunch, don’t fret! You can easily revitalize them by spreading them on a dry baking sheet and briefly reheating them in a preheated 300°F (150°C) oven for about 5-10 minutes, or tossing them in a dry pan on the stovetop over low heat, until they are crisp once more. Let them cool again before enjoying.
Serving Suggestions: Beyond the Snack Bowl – Versatile Ways to Enjoy Roasted Pumpkin Seeds
While these perfectly roasted pumpkin seeds are undeniably fantastic on their own – making for an irresistible and satisfying snack straight from the bowl – their versatility extends far beyond simple munching. They can be an incredible addition to elevate a wide variety of dishes, adding delightful texture, a nutty flavor, and a spiced kick. Here are some creative and delicious ways to incorporate them into your meals and snacks:
- Elevate Salads: Sprinkle a generous handful over any green salad for a delightful crunch and a warm, nutty flavor. They pair exceptionally well with autumnal ingredients like roasted butternut squash, crisp apples, creamy goat cheese, or a tangy vinaigrette.
- Soup Garnish: Add a fantastic textural contrast and depth of flavor by garnishing creamy soups. They are especially wonderful over comforting pumpkin soup, silky butternut squash soup, a hearty lentil soup, or even a spicy chili.
- Breakfast Boost: For a wholesome and flavorful breakfast or quick snack, stir a handful into your morning Greek yogurt, sprinkle them over your favorite granola, or mix them into a warm bowl of oatmeal for added protein and crunch.
- Baking Adventures: Incorporate them into your homemade baked goods. They can add an unexpected texture and savory element to artisan breads, savory muffins, cornbread, or even some unique crackers.
- Cheese Boards & Charcuterie: Offer these spiced seeds as a standout component on any cheese or charcuterie board. Their contrasting texture and savory-spicy flavor profile complement various cheeses and cured meats beautifully.
- Custom Trail Mix: Create your own personalized, energy-boosting trail mix by combining these roasted pumpkin seeds with other nuts (almonds, walnuts), dried fruits (cranberries, raisins), and perhaps a few dark chocolate chips for a balanced sweet and savory treat.
- Vegetable Topping: Sprinkle them over roasted vegetables like Brussels sprouts, green beans, or sweet potatoes just before serving for an extra layer of flavor and crunch.
Don’t limit yourself! These roasted pumpkin seeds are a testament to how a simple ingredient, prepared with care and flavor, can become a versatile star in your culinary repertoire.
Frequently Asked Questions (FAQs) About Roasted Pumpkin Seeds
- Q: Do I need to boil pumpkin seeds before roasting them?
- A: While some recipes suggest boiling pumpkin seeds briefly in salted water, it’s not strictly necessary for this particular recipe. Thorough cleaning and drying (as described in Step 1) are usually sufficient to achieve a fantastic crunch. Boiling can help soften the shells a bit and infuse salt, but it adds an extra step that many find unnecessary for delicious, crispy results. Feel free to skip it for simplicity!
- Q: How do I ensure my pumpkin seeds get extra crispy and don’t end up chewy?
- A: The key to achieving supremely crispy seeds lies in several important steps: First, ensure they are *completely* dry before you add any seasoning or oil/butter. Second, spread them in a single, non-overlapping layer on the baking sheet to allow for even heat distribution and air circulation. Third, make sure your oven is preheated to the correct temperature. Fourth, don’t overcrowd the pan – if you have too many seeds, roast them in batches. Lastly, stirring them halfway through cooking helps all sides toast evenly. Patience is also key; let them cool fully, as they crisp up more once off the heat.
- Q: Can I use olive oil or another type of oil instead of butter?
- A: Absolutely! Olive oil is a fantastic alternative if you prefer a dairy-free option, a vegan snack, or simply a different flavor profile. Other neutral oils like avocado oil or grapeseed oil also work well. The overall cooking time and temperature should remain similar, but always keep a close eye on them as different oils can affect browning slightly.
- Q: My roasted pumpkin seeds aren’t getting crispy, what might have gone wrong?
- A: This is a common issue! It most often happens if the seeds weren’t dried thoroughly enough before roasting, if the oven temperature was too low, or if the baking sheet was overcrowded, which causes the seeds to steam instead of roast. Revisit the drying and spreading instructions carefully. You can try extending the cooking time by a few minutes, or even increasing the oven temperature slightly (perhaps by 25°F or 15°C) for the last few minutes if they are still soft. Also, ensure your oven is accurately calibrated.
- Q: How long can roasted pumpkin seeds be stored?
- A: When stored properly in an airtight container at room temperature, roasted pumpkin seeds will stay fresh and crunchy for up to 1-2 weeks. For longer storage, you can keep them in the refrigerator for up to a month, though they may lose a bit of crispness (which can be restored with a quick reheat).
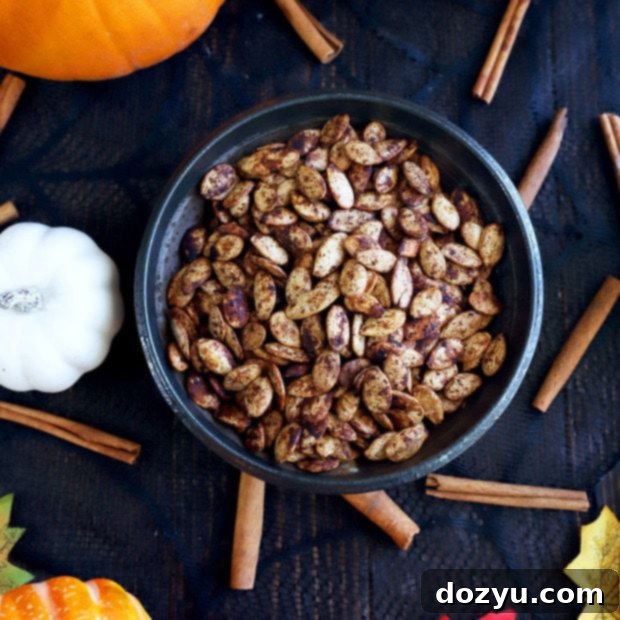
The Best Roasted Pumpkin Seeds Recipe
equipment
-
OXO Good Grips Wooden Corner Spoon & Scraper
-
Stainless Steel Mixing Bowls
-
USA Pan Bakeware Half Sheet Pan
ingredients
- 1 1/2 cups pumpkin seeds well-cleaned, well-dried
- 2 Tbsp unsalted butter melted
- 1/2 tsp fine sea salt
- 1/4 tsp ground cinnamon
- 1/4 tsp garlic powder
- 1/4 tsp cayenne pepper (adjust to taste for desired heat)
- 1/4 tsp freshly ground black pepper
instructions
-
Prepare your oven and baking sheet: Preheat oven to 375˚F (190°C). Line a large, rimmed baking sheet with parchment paper or a silicone mat for easy cleanup and to prevent sticking.
-
Clean and dry the seeds: If using fresh pumpkin seeds from a carved pumpkin, rinse them thoroughly in a colander under cold water, removing all pulp and stringy bits. Pat them completely dry with paper towels or a clean kitchen towel. This step is crucial for crispiness. If using store-bought seeds, you can skip this.
-
Make the seasoned butter: In a small bowl, combine the melted unsalted butter, fine sea salt, ground cinnamon, garlic powder, cayenne pepper, and freshly ground black pepper. Stir until all the spices are well-blended.
-
Coat the pumpkin seeds: Add the cleaned and dried pumpkin seeds to a medium bowl. Pour the seasoned melted butter over the seeds and toss well, ensuring every seed is evenly coated with the flavorful mixture.
-
Spread and roast: Spread the coated seeds onto the prepared baking sheet in a single, even layer. Make sure no seeds are overlapping, as this promotes even roasting and crispness. Bake for 25 to 35 minutes, or until the seeds are golden brown and crunchy.
-
Stir halfway: About halfway through the baking time (around 15-20 minutes), remove the tray from the oven and give the seeds a good stir with a wooden spoon or spatula. This ensures all sides get a chance to toast evenly. Return to the oven to finish baking.
-
Cool and enjoy: Once baked to perfection, remove the baking sheet from the oven and let the roasted pumpkin seeds cool on the pan for a few minutes. They will become even crispier as they cool. Transfer to a serving bowl and enjoy this addictive autumn snack!
