The Ultimate Foolproof Galette Dough: Your Go-To Recipe for Flaky Perfection
Mastering the art of galette dough opens up a world of culinary possibilities, allowing you to create both exquisite savory and sweet galette recipes with ease. In this comprehensive guide, I’ll share my tried-and-true, foolproof recipe along with all my best tips and tricks to ensure a consistently flaky, buttery crust every single time. Get ready to make this your new favorite versatile dough!
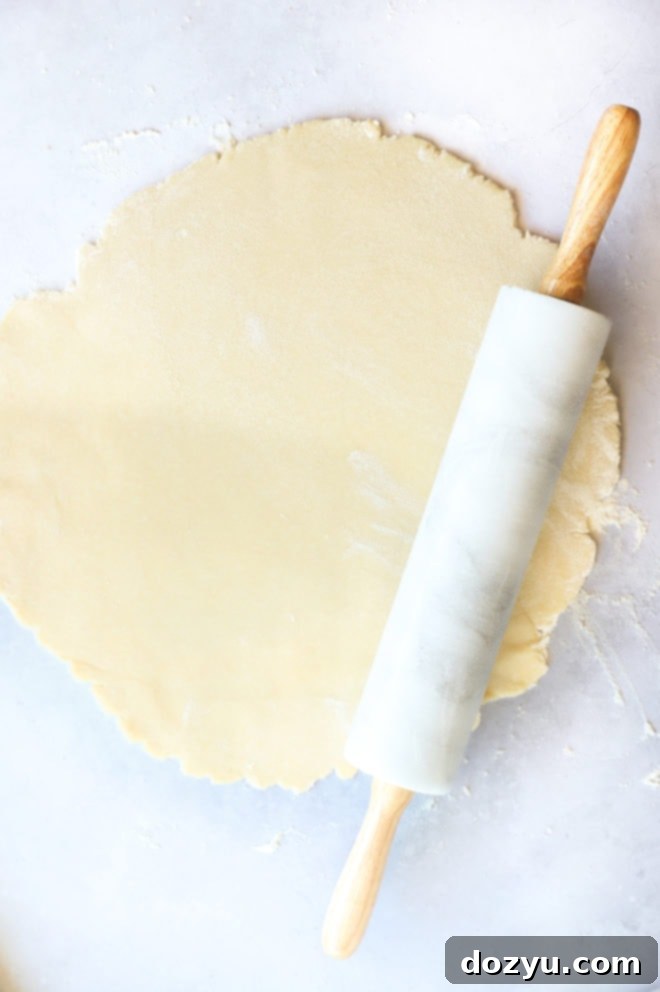
table of contents
Toggle
About This Foolproof Galette Dough
My journey to perfecting galette dough began many years ago, culminating in the creation of my much-loved savory chicken caprese galette (yes, those early photos are a trip down memory lane!). Once I finally nailed the irresistibly flaky crust that perfectly cradled its flavorful filling, I knew I had a winner. That recipe quickly became a cornerstone in my culinary notebook, a recipe I’ve returned to time and again for every galette I’ve made since.
Over the years, I’ve streamlined the process, evolving from making it entirely by hand to utilizing a food processor for added speed and convenience. But rest assured, whether you own a food processor or prefer a more hands-on approach, you can absolutely achieve this incredible result! A little flour on your hands is a small price to pay for such deliciousness, wouldn’t you agree?
This galette dough, with its buttery layers and robust texture, stands as one of my proudest achievements. It truly deserved its own dedicated post. Once you have this versatile base, you’re free to explore endless fillings, from vibrant sweet fruits to rich savory combinations. For me, a galette is often lovingly referred to as a “lazy pie.” It offers all the comforting, flaky goodness of a traditional pie crust without the intricate effort. There’s no need for a specific pie pan; its charmingly free-form, rustic appearance is part of its irresistible appeal. The more organic its shape, the better!
What Exactly is a Galette?
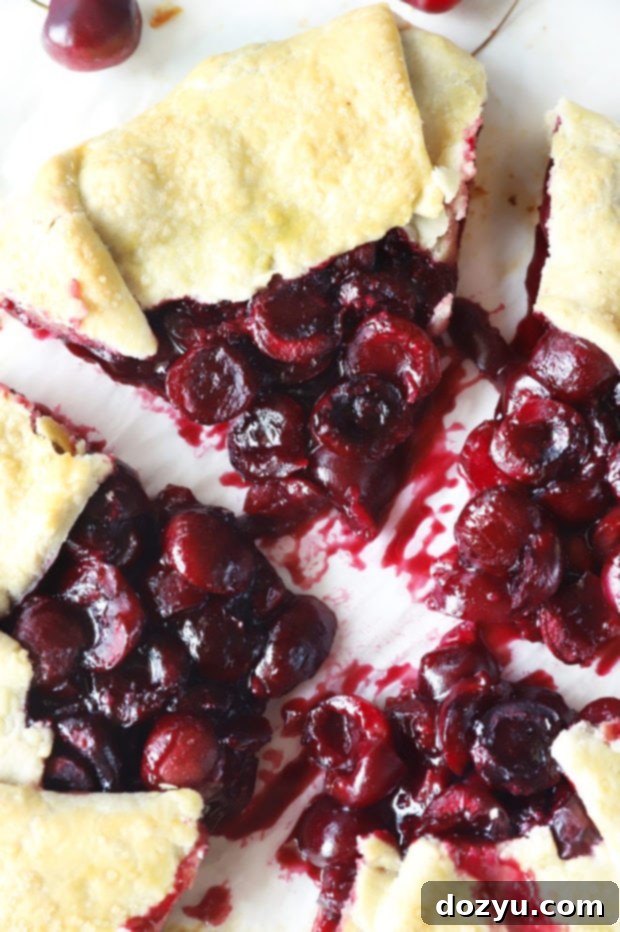
If you’re new to the world of galettes, allow me to introduce you to this wonderfully unfussy French tart. Essentially, a galette is a free-form pastry where a round of dough is gently folded over a delicious filling, leaving the center partially exposed. Unlike traditional pies that require meticulous crimping and often a pie plate, galettes embrace a rustic, natural aesthetic. They can be filled with virtually anything – from sweet seasonal fruits like plums, raspberries, blackberries, and apples to savory ingredients such as roasted vegetables, cheeses, and meats.
What I adore most about galettes is their beautiful imperfection. There’s no pressure to create a “perfect” pastry; its charm lies in its hand-folded, natural look. This makes it incredibly approachable for home bakers. You don’t need specialized tools or advanced techniques, just your standard kitchen essentials and a willingness to embrace its rustic elegance. The result is always a delightful, flaky crust contrasting with a rich, flavorful center, making it a show-stopping yet surprisingly simple dish for any occasion.
Essential Ingredients for Galette Dough
Crafting the perfect galette dough relies on a few simple, high-quality ingredients. Each plays a crucial role in achieving that desirable flaky, tender texture and rich, buttery flavor.
- Flour: For this foolproof galette dough, I primarily use **all-purpose flour**. It provides the ideal balance of structure and tenderness. If you’re looking for a slightly nuttier flavor and more wholesome texture, you can also experiment with whole wheat flour. For those with dietary restrictions, a gluten-free 1:1 substitute flour (such as Bob’s Red Mill Gluten-Free 1-to-1 Baking Flour) works wonderfully. However, please note that this recipe is not designed for alternative flours like almond or rice flour, which have different protein structures and absorbency.
- Sugar: You’ll only need granulated white sugar, and only if you’re preparing a sweet galette. A small amount helps with browning and adds a subtle sweetness to the crust, complementing fruit fillings beautifully. For savory galettes, omit the sugar entirely.
- Salt: Always use fine kosher salt for baking. It evenly disperses throughout the dough, enhancing all the other flavors. Coarse salt or fleur de sel are better reserved for finishing, adding a textural crunch, rather than being incorporated into the dough itself.
- Butter: Opt for **cold unsalted butter**, cut into small cubes. Since we’re adding salt separately, unsalted butter gives you precise control over the seasoning. If salted butter is all you have, you can use it, but be sure to omit the salt from the recipe. The key is to keep the butter as cold as possible; this creates pockets of steam during baking, resulting in a wonderfully flaky crust. You’ll also need a couple of extra tablespoons of melted butter for brushing the edges before baking, which helps achieve a beautiful golden-brown finish.
- Ice Water: This is a non-negotiable! The colder the water, the better. Ice water helps keep the butter solid and prevents the gluten in the flour from developing too much, which would lead to a tough crust. The goal is a tender, flaky pastry, and ice water is your secret weapon.
Recommended Equipment
While this galette dough recipe is quite forgiving, having the right tools can make the process even smoother and more efficient. Here’s what I recommend:
- Food Processor: My top recommendation! If you have one, absolutely use it. A food processor makes quick work of cutting the cold butter into the flour, yielding consistent pea-sized pieces crucial for a flaky crust, and bringing the dough together in mere seconds. It truly makes this “foolproof” dough even easier.
- Large Mixing Bowl: No food processor? No problem! A sturdy large bowl from a set of metal mixing bowls and a pastry cutter or even your fingertips will work just as well for incorporating the butter by hand.
- Silicone Brush: Essential for evenly brushing the galette edges with melted butter before baking. This step not only adds flavor but also promotes beautiful golden-brown edges.
- Parchment Paper: A game-changer for easy cleanup and preventing sticking. You’ll use it to line your baking sheet, making it effortless to transfer your rolled dough and later, your baked galette.
- Half Sheet Baking Pan: The perfect size for baking a standard galette. It provides ample space for the dough to spread slightly and ensures even heat distribution.
- Rolling Pin: A good quality rolling pin is indispensable for rolling out the dough evenly.
Step-by-Step: How to Make Foolproof Galette Dough
Follow these simple steps to create a truly perfect, flaky galette dough:
1. Combine Dry Ingredients
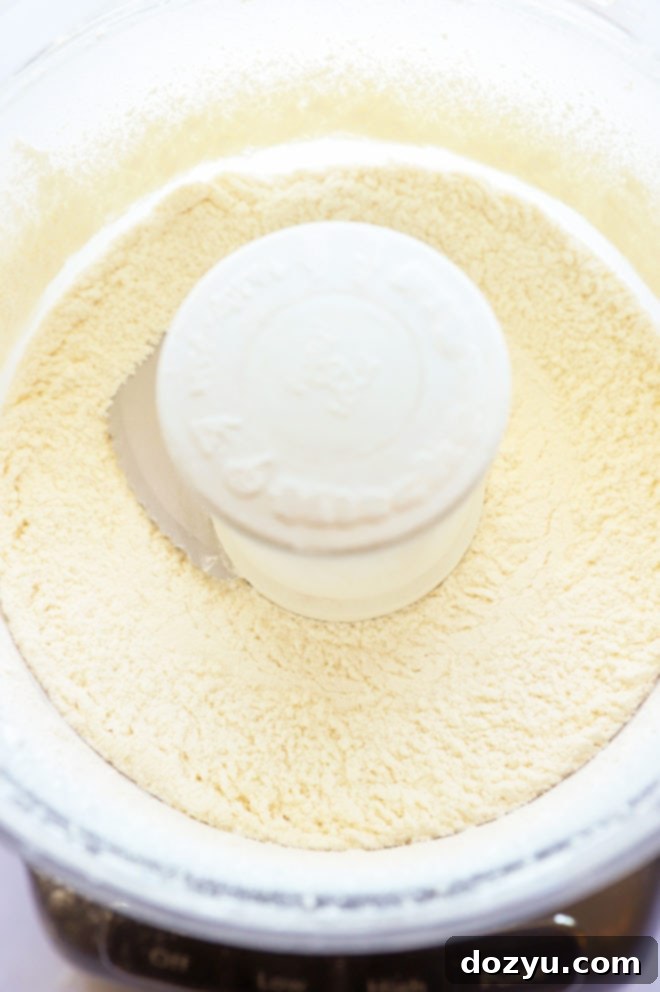
In the bowl of your food processor, combine the flour, salt, and sugar (if you are making a sweet galette; omit for savory). Pulse these dry ingredients a few times, just until they are well combined. This ensures even distribution of the salt and sugar throughout the dough.
2. Incorporate Cold Butter
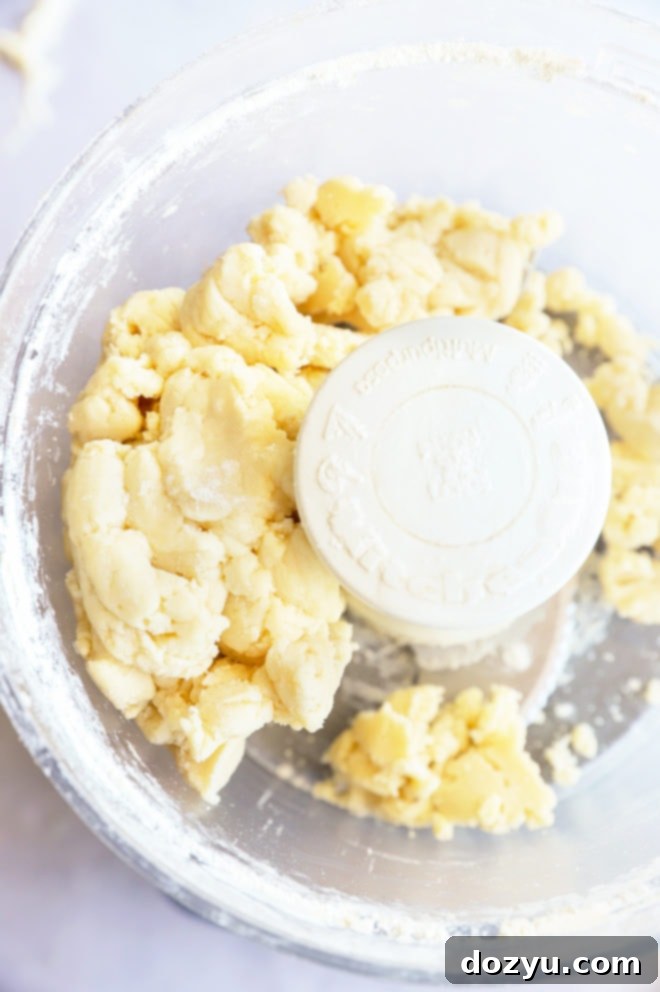
Add your chilled, cubed unsalted butter to the dry mixture. Pulse the food processor about 8 to 10 times. The goal is to break down the butter into pea-sized pieces, with some smaller and some slightly larger. Avoid over-processing, as you want distinct pieces of butter to create those coveted flaky layers. If mixing by hand, use a pastry cutter or your fingertips to cut the butter into the flour until it resembles coarse crumbs with pea-sized butter pieces.
3. Form the Dough
With the food processor running on low, gradually add the ice water, one tablespoon at a time, through the feed tube. The dough will begin to come together, forming a shaggy ball. Stop adding water as soon as the dough collects into a cohesive ball. Turn the dough out onto a clean, lightly floured work surface and gently press it together to form a uniform disk. Handle the dough as little as possible to prevent overworking the gluten.
4. Chill and Roll to Perfection
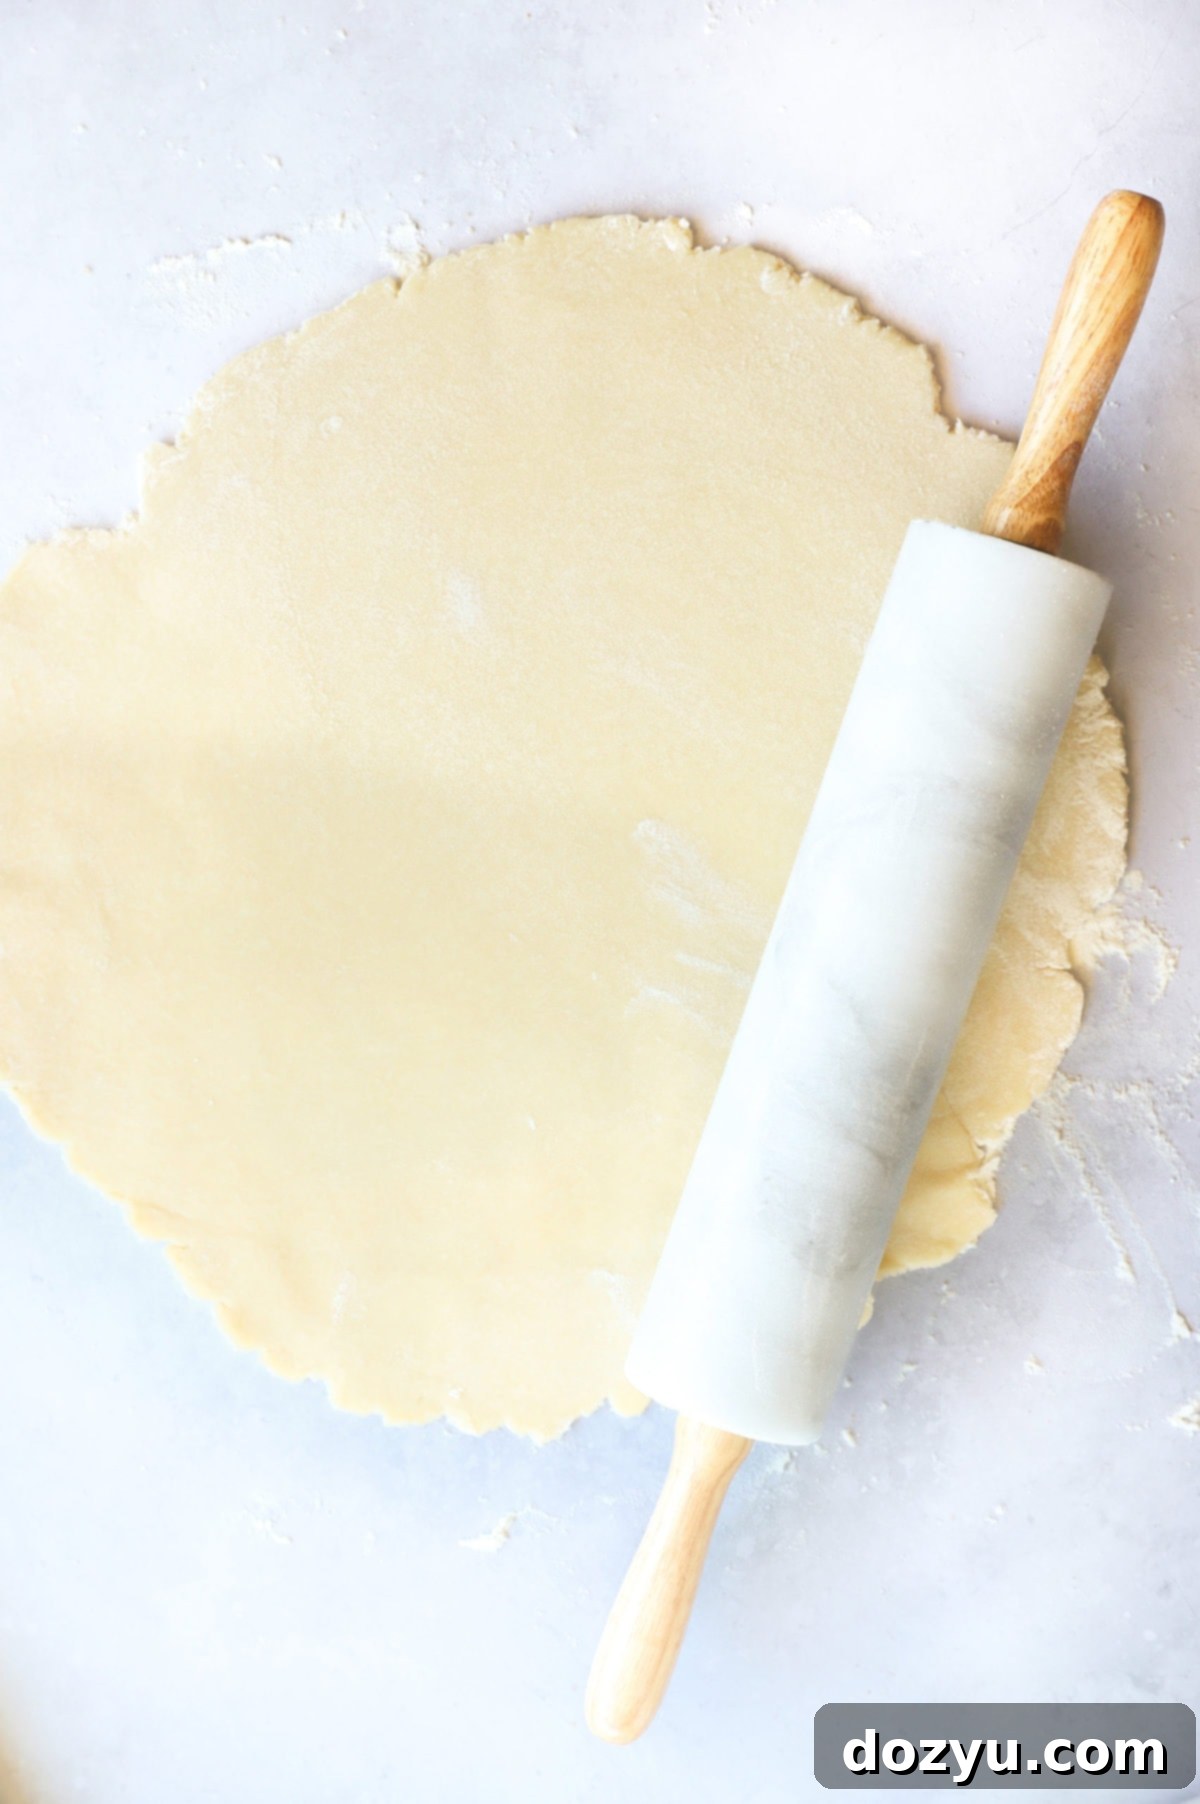
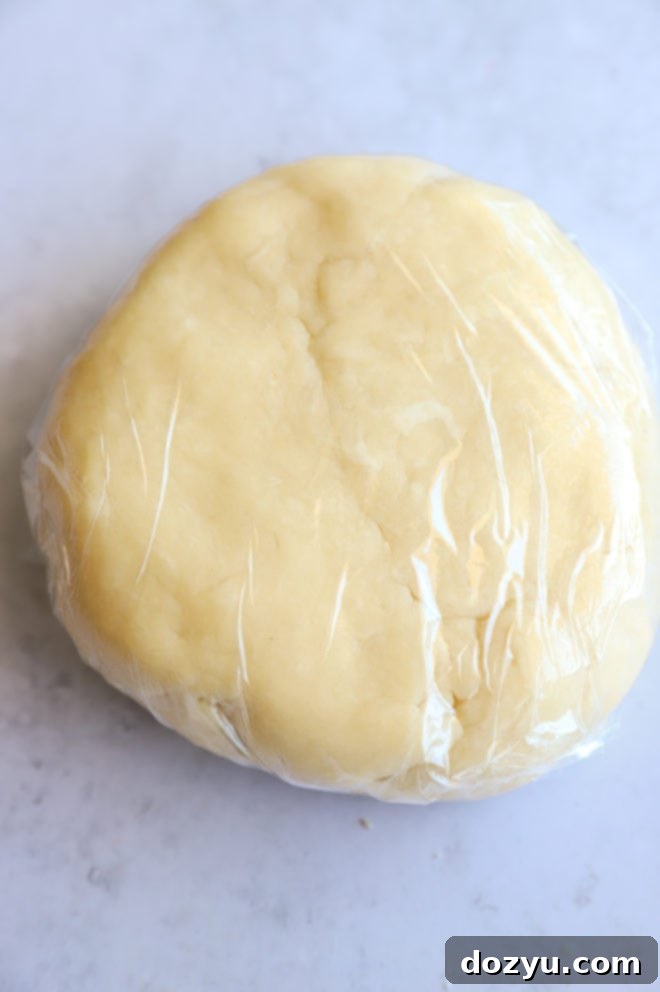
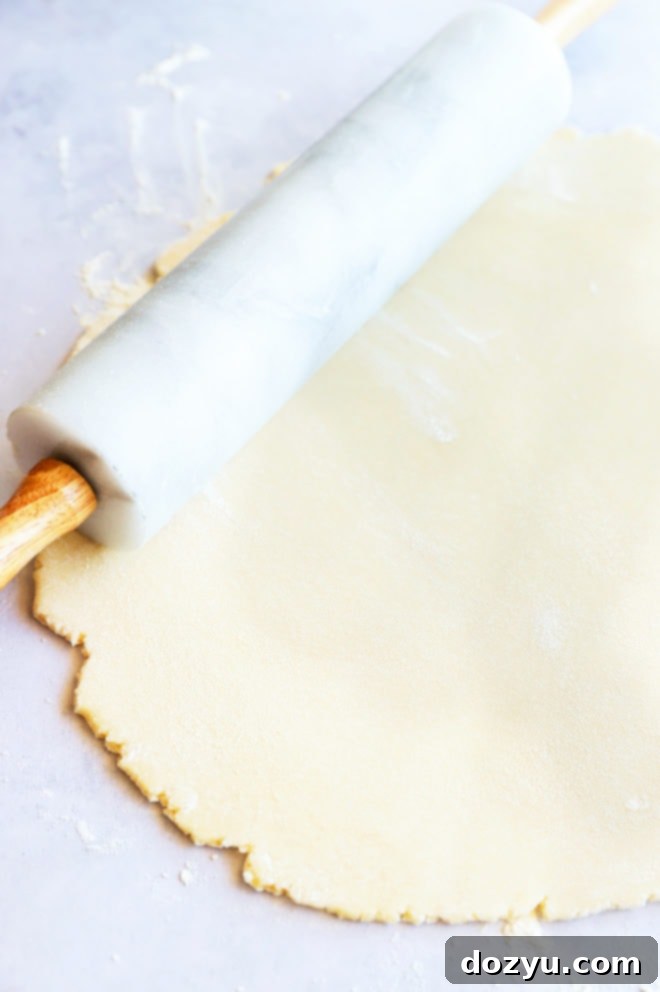
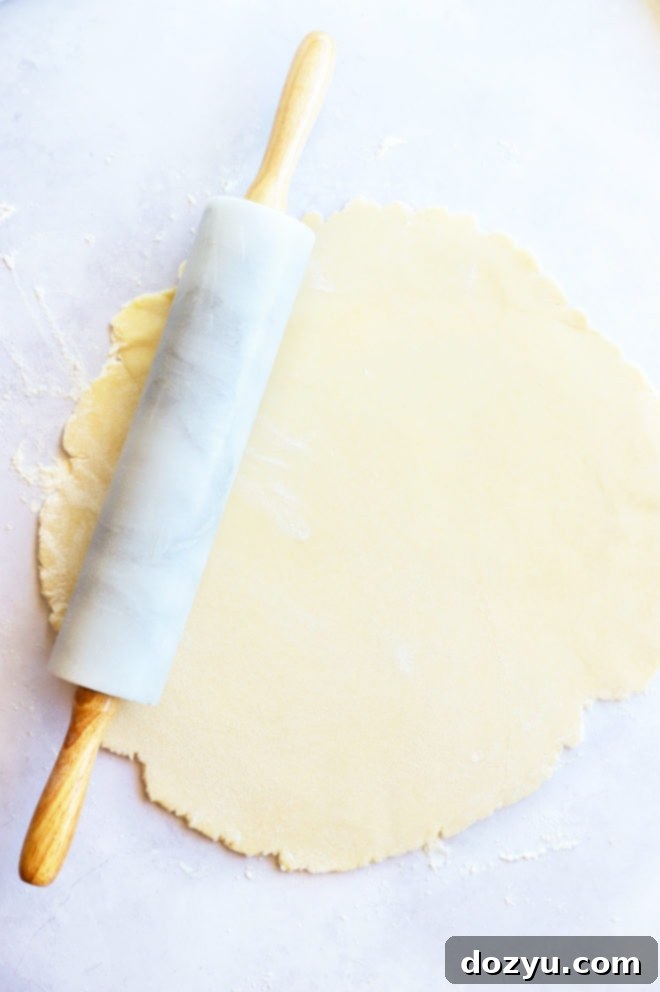
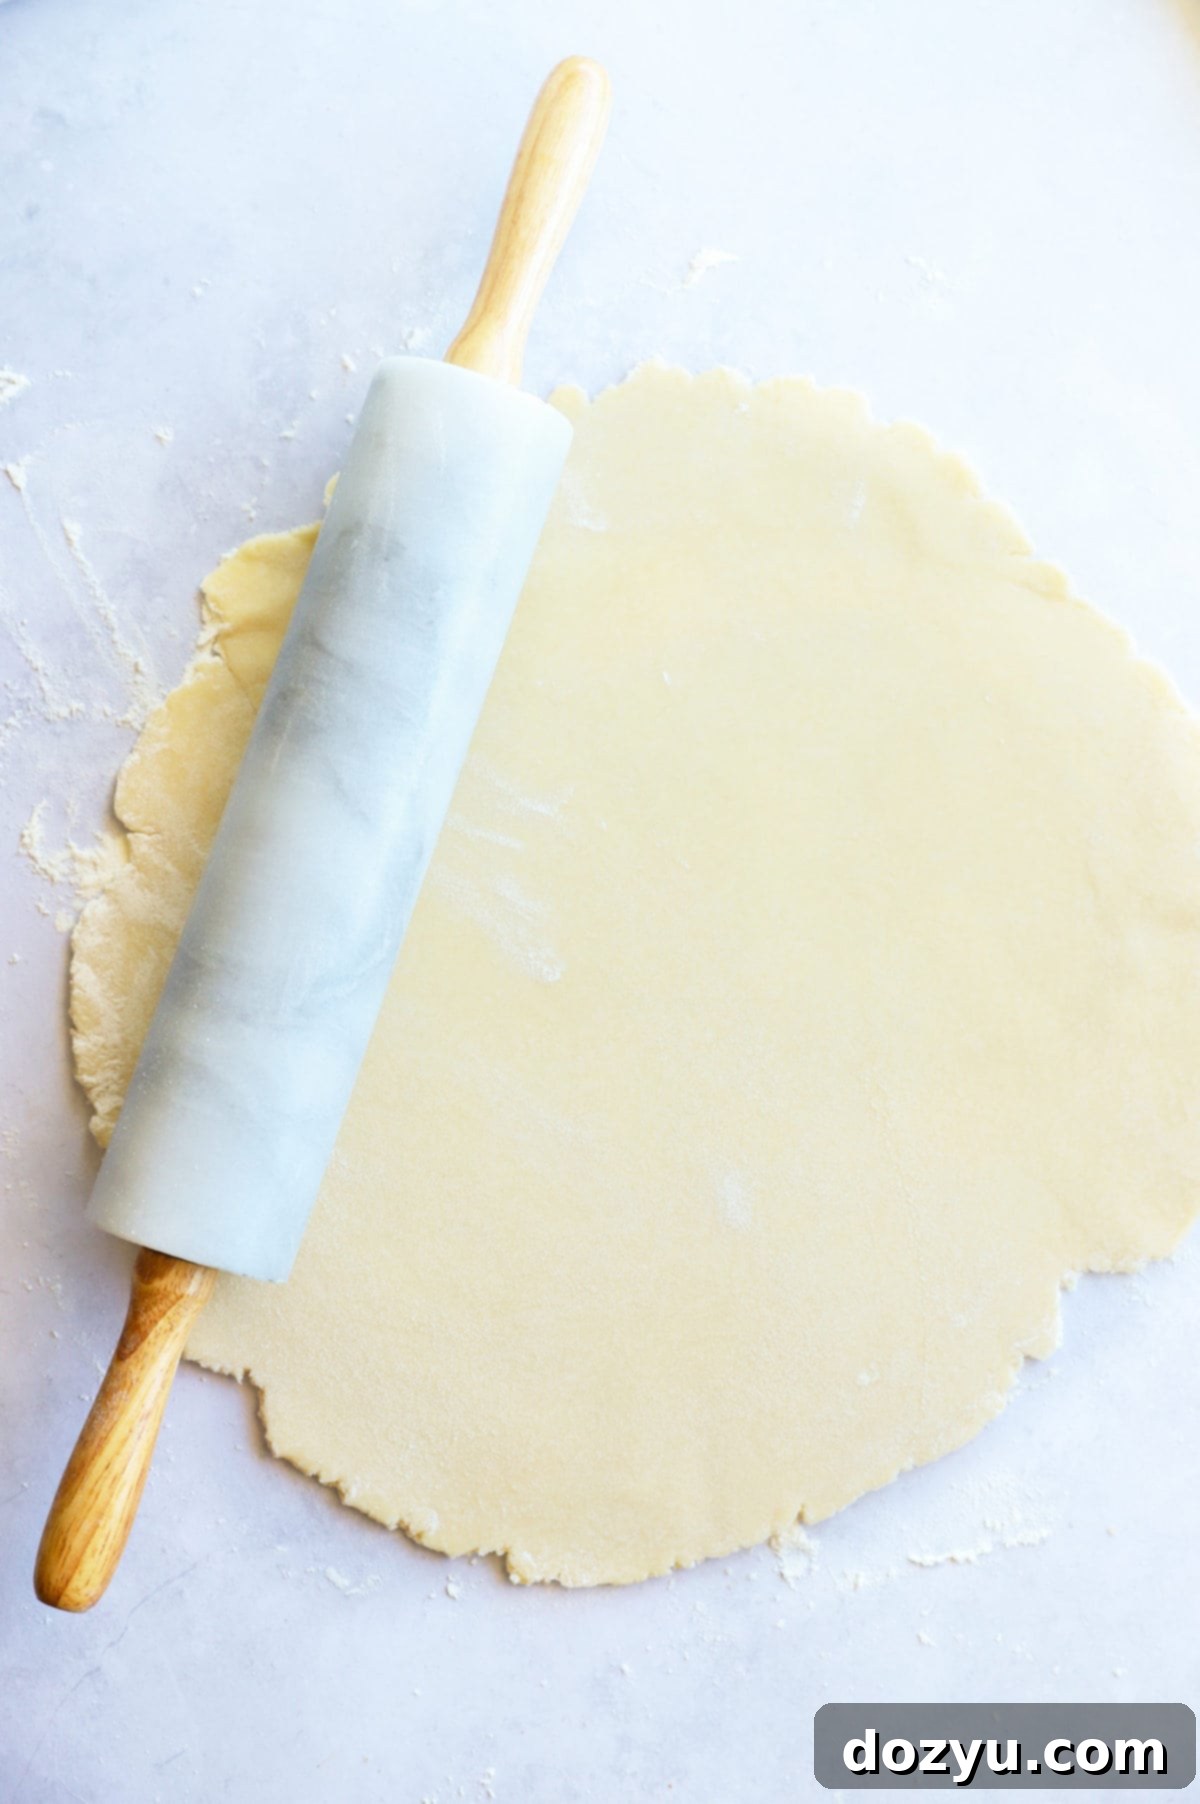
Tightly wrap the dough disk in plastic wrap and place it in the refrigerator for at least 30 minutes. This crucial chilling step allows the gluten to relax, making the dough easier to roll, and ensures the butter remains very cold. Once chilled, unwrap the dough and place it on a lightly floured surface. Using a rolling pin, roll the dough evenly into approximately a 14-inch round. Carefully transfer the rolled dough to a baking sheet that has been lined with parchment paper.
5. Bake Your Galette
Evenly spoon your chosen filling (sweet or savory) onto the center of the rolled dough, leaving a generous 1 to 2-inch border of dough exposed around the edges. Then, gently fold the dough edges up and over the filling, creating natural, rustic pleats as you work your way around the circle. Press the folds together gently to seal them. Remember, the beauty of a galette lies in its free-form, imperfect appearance, so don’t stress about making it look “perfect” – rustic is best!
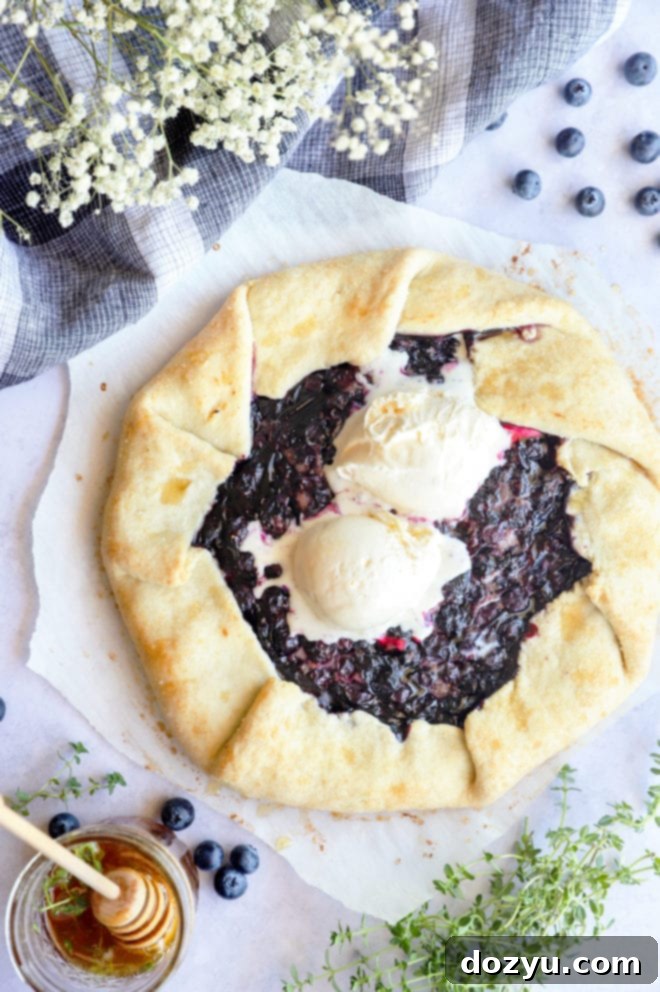
Brush the folded edges of the dough with melted butter. If you’re preparing a sweet galette, generously sprinkle the buttered edges with turbinado or raw sugar for an extra crunchy, sparkling finish. Transfer the baking sheet to a preheated oven and bake for 35 to 45 minutes, or until the crust turns a beautiful light golden brown and the filling is bubbly and cooked through. Once baked, let the galette cool on the baking sheet for about 15 minutes before slicing and serving. For sweet galettes, a scoop of vanilla ice cream makes for an irresistible accompaniment.
Expert Tips for Galette Dough Success
Achieving a truly flaky and tender galette dough is simple once you understand a few key principles:
- Temperature is Paramount: Just like with any pastry dough, keeping everything cold is essential. Your butter should be thoroughly chilled and cubed just before you add it. I often place my cubed butter back into the fridge for a few minutes while I measure out other ingredients. The colder the butter, the more it resists blending completely with the flour, creating those crucial pockets of steam that result in a super flaky crust when baked. Likewise, ensure your water is ice-cold. If the dough gets too warm during handling, it becomes sticky and difficult to work with – that’s why the chilling step is so important!
- Don’t Skip the Chill: This is a crucial step for a reason! Chilling the dough for at least 30 minutes (or even longer) allows the butter to solidify again and gives the gluten in the flour time to relax. This makes the dough much easier to roll out without shrinking back, and it helps maintain those beautiful flaky layers. Patience truly pays off here.
- Avoid Overworking the Dough: Less is more when it comes to handling pastry dough. Overmixing or excessive kneading develops the gluten too much, leading to a tough, chewy crust instead of a light, flaky one. Mix just until the ingredients are combined and the dough forms a ball.
- Flour Your Surface Lightly: When rolling out the dough, use just enough flour on your work surface and rolling pin to prevent sticking. Too much flour can dry out the dough, altering its texture.
- Roll Evenly: Strive for a consistent thickness when rolling out your dough. An uneven crust will bake unevenly, with thinner spots burning and thicker spots remaining undercooked.
- Preheat Your Oven: Always preheat your oven completely before baking. A hot oven helps to set the crust quickly and ensures even cooking, contributing to a perfect texture and golden-brown color.
Craving more delicious galettes? Explore these incredible recipes: Brandy Cherry Galette | Raspberry Blueberry and Strawberry Galette | Bourbon Caramel Apple Galette | Whole Wheat Asiago Sweet Potato Galette
Can I Prepare Galette Dough in Advance?
Absolutely! Preparing galette dough ahead of time is one of its many conveniences, making your baking day much smoother. There are a couple of excellent ways to store your raw dough:
- Refrigeration: Once you’ve formed your dough into a disk and wrapped it tightly in plastic wrap, it can be kept in the fridge for up to 2-3 days. This is perfect for getting a head start on a recipe or making it the night before a special occasion. Before rolling, let it sit at room temperature for 10-15 minutes to soften slightly, making it easier to work with without cracking.
- Freezing: Galette dough freezes beautifully for longer storage. After forming the disk and wrapping it tightly in plastic wrap, place it in an airtight freezer bag. It can be frozen for up to one month. When you’re ready to use it, transfer the frozen dough to the refrigerator the night before to thaw slowly. Alternatively, you can let it thaw at room temperature for a couple of hours until it’s pliable enough to roll, but thawing in the fridge is generally preferred for best texture.
Galette Dough vs. Pie Crust: What’s the Difference?
While galette dough shares many similarities with traditional pie crusts in terms of ingredients (flour, butter, salt, water), there are key differences in their preparation and presentation that set them apart. The primary distinction lies in their form and the baking method:
- Rustic vs. Refined: Galette dough is intentionally designed for a free-form, rustic presentation, baked directly on a flat baking sheet. This eliminates the need for a pie plate and the often-fussy process of crimping edges or blind baking. The appeal of a galette is its charmingly imperfect, hand-folded appearance. Pie crusts, on the other hand, are typically baked in a pie dish, requiring careful shaping, crimping, and often pre-baking (blind baking) to ensure a sturdy, neat structure capable of holding a substantial filling.
- Ease of Preparation: Many home bakers find galette dough significantly easier and less intimidating to work with than a traditional pie crust. Its forgiving nature means you don’t have to worry about tears or precise shaping. This saves a lot of the headache often associated with achieving a perfect pie crust, making it an excellent entry point for new bakers or a go-to for experienced ones looking for simplicity.
- Texture: Both can be wonderfully flaky and buttery, but the galette’s free-form edges often result in a slightly crispier, more varied texture around the perimeter, contrasting beautifully with the tender base beneath the filling.
In essence, a galette is a wonderfully relaxed cousin to the more formal pie, offering all the deliciousness with a fraction of the stress. It truly embodies that “lazy pie” concept!
Need some more inspiration for dessert? Check out my desserts recipe page for endless sweet treats!
How to Use Your Versatile Galette Dough
The beauty of this foolproof galette dough lies in its incredible versatility. Once you’ve mastered the dough, your options for fillings are virtually limitless! Whether you’re in the mood for something sweet to serve as a dessert or breakfast, or a savory main course or appetizer, galettes are a fantastic choice. Here are just a few ideas, along with some of my favorite recipes from the blog:
- Seasonal Fruit Galettes: Embrace the bounty of each season! In summer, think berries, peaches, plums, and cherries. Fall brings apples and pears, often paired with warming spices or caramel. The beauty of these is their simple elegance, allowing the natural flavors of the fruit to shine.
- Hearty Savory Galettes: Don’t limit yourself to sweet! Galettes make incredible savory dishes. Fill them with roasted vegetables like sweet potatoes, zucchini, and bell peppers, along with herbs and cheese. They’re also fantastic with caramelized onions, mushrooms, spinach, or even cooked meats like chicken or sausage. A savory galette can be a light lunch, an impressive appetizer, or a comforting weeknight dinner.
- Cheese and Herb Galettes: A simple combination of cheeses (goat cheese, feta, cheddar, Gruyère) and fresh herbs (thyme, rosemary, basil) can create a wonderfully aromatic and flavorful galette, perfect as a starter or alongside a salad.
To get you started, here’s a round-up of all my beloved galette recipes already living on the blog:
- Blueberry Galette with Thyme Honey
- Brandy Cherry Galette
- Raspberry Blueberry and Strawberry Galette
- Bourbon Caramel Apple Galette
- Whole Wheat Asiago Sweet Potato Galette
- Rustic Pluot Lemon Galette
- Strawberry Mint Champagne Galette
- Peach Blueberry Galette
- Savory Chicken Caprese Galette
With this adaptable dough, you’re only limited by your imagination. Enjoy the process of creating beautiful, delicious galettes that are sure to impress!
Everyday Seasonal Cookbook
Elevate your cooking with my “Everyday Seasonal Cookbook,” packed with inspiring seasonal produce guides, delightful recipes, and innovative ideas for every occasion. Discover how to transform fresh, seasonal ingredients into unforgettable meals and treats.
The Perfect Galette Dough
Equipment
-
Measuring Cups
-
Measuring Spoons
-
9-Cup Food Processor
-
Stainless Steel Mixing Bowls
-
Marble Rolling Pin
-
Half Sheet Pan
Ingredients
- 1 1/2 cups all-purpose flour
- 1 1/2 tsp granulated sugar for sweet galettes only, omit for savory
- 1/4 tsp fine kosher salt
- 8 Tbsp cold unsalted butter cubed into 1/2” pieces
- 1/3 cup ice water
- 2 Tbsp melted butter
- Turbinado or raw sugar for sweet galettes only, omit for savory
Instructions
-
Add flour, sugar (if making a sweet galette), and salt to the bowl of a food processor.* Pulse a few times until combined. Add the cold butter cubes and pulse about 8 to 10 times until the mixture resembles coarse crumbs, with butter pieces no larger than a pea.
-
Turn the machine on and gradually add the ice water, one tablespoon at a time. Continue to process until the dough just comes together and forms a shaggy ball. Transfer the dough onto a clean, lightly floured work surface and gently press it together to form a 4-inch disk.
-
Wrap the dough disk tightly in plastic wrap and chill in the refrigerator for at least 30 minutes, or up to overnight. This step is crucial for optimal dough texture and ease of handling.
-
When ready to bake, preheat your oven to 375˚F (190˚C). Line a large baking sheet with parchment paper and set it aside.
-
On a lightly floured surface, roll out the chilled galette dough into a 14-inch round, about 1/8 to 1/4 inch thick. Carefully transfer the rolled dough to your prepared baking sheet. Add your desired filling to the center of the dough, spreading it out evenly but leaving a border of about 1 to 2 inches around the perimeter.
-
Gently fold the dough edges up and over the filling, pleating the dough evenly as you work your way around. Be sure to press the folds together well to seal them, creating a rustic, free-form border. Brush the folded edges of the dough with melted butter and, if making a sweet galette, sprinkle generously with turbinado or raw sugar.
-
Bake for 35 to 45 minutes, or until the galette’s crust is a beautiful golden brown and the filling is bubbly. Allow the galette to cool on the baking sheet for about 15 minutes before slicing and serving. Enjoy!
Notes
The success of this galette dough heavily relies on keeping the butter very cold and avoiding overworking the dough. Cold ingredients and minimal handling are your best friends for a flaky, tender crust.
