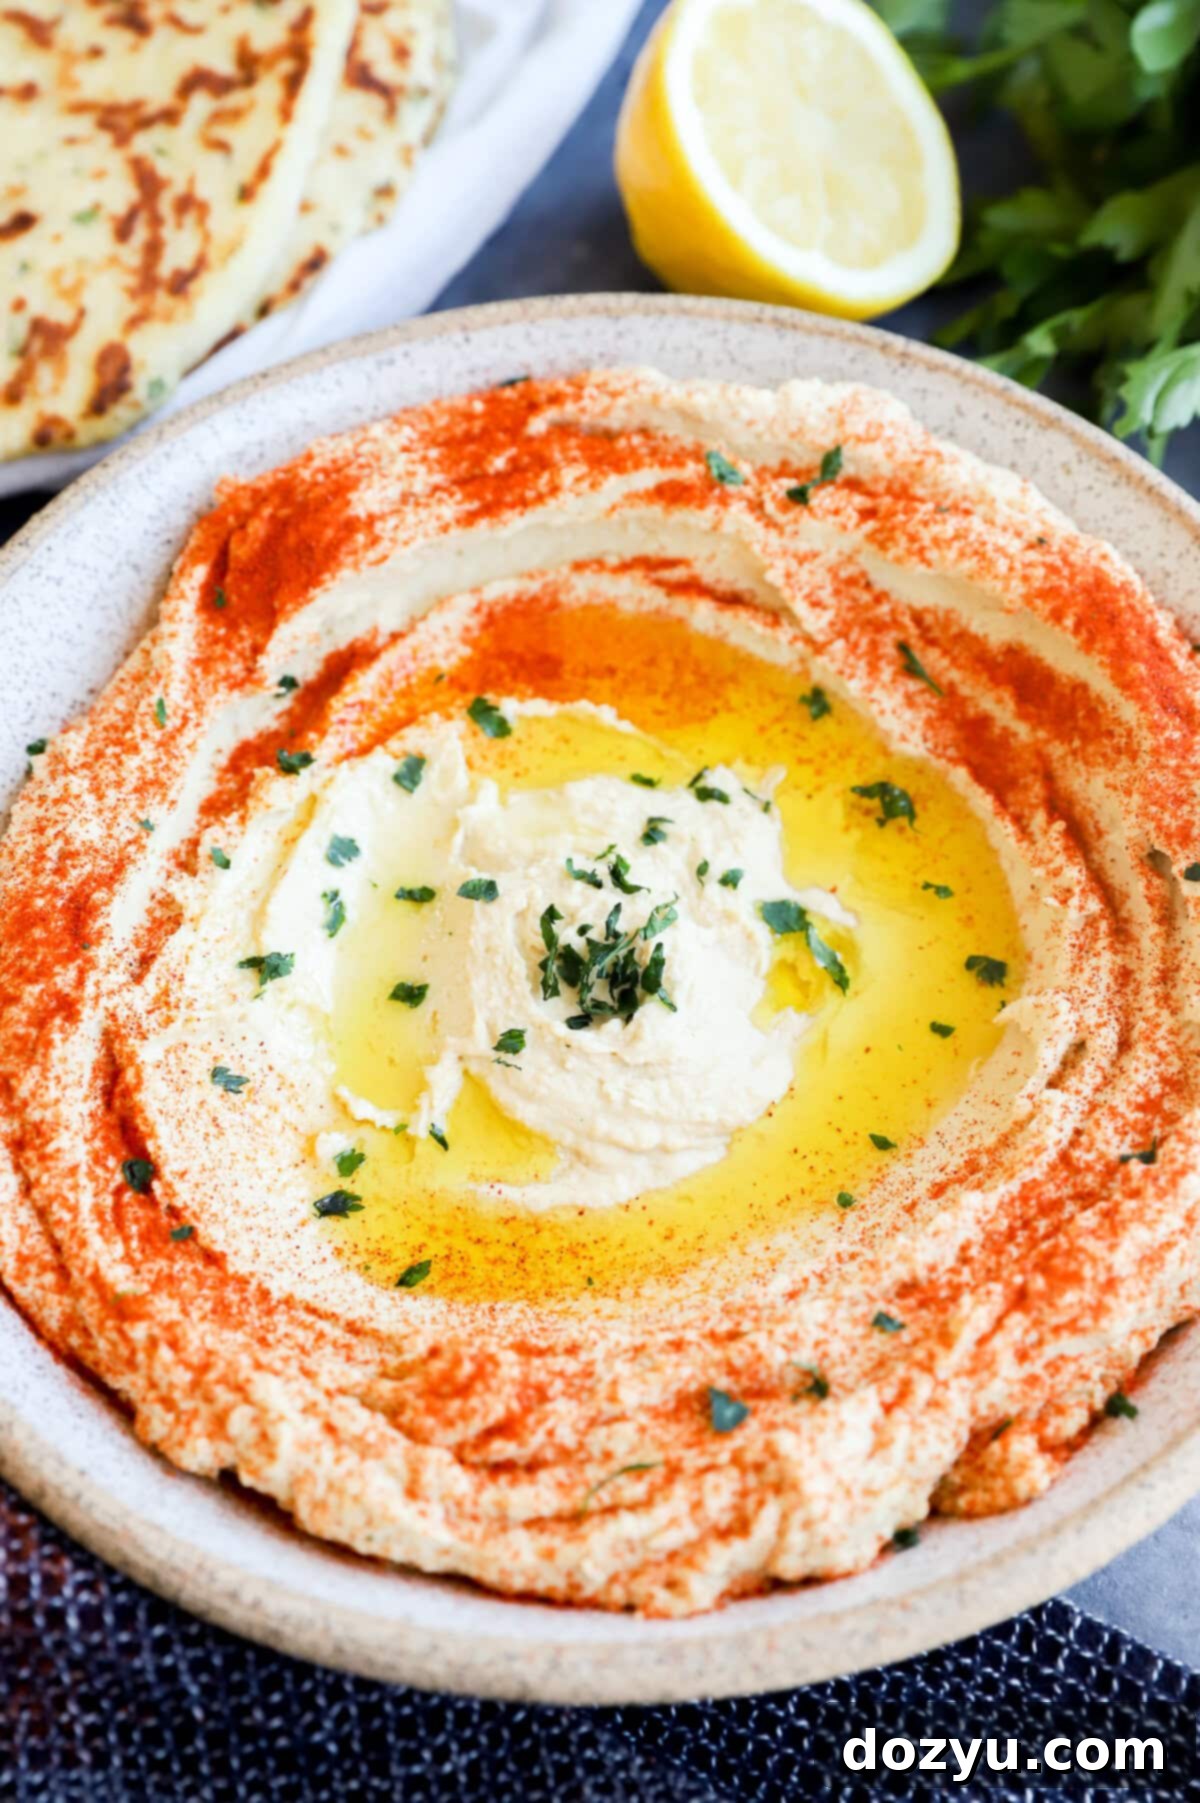
The Ultimate Guide to Making Authentic, Creamy Greek Hummus at Home
Welcome to the definitive guide for crafting the most flavorful and authentic Greek Hummus you’ve ever tasted! This recipe promises a dip that is incredibly smooth, luxuriously creamy, and bursting with traditional Mediterranean flavors, far surpassing any store-bought alternative. We’ll share all the essential tips, tricks, and secrets to ensure your homemade Greek-style hummus is nothing short of perfection.
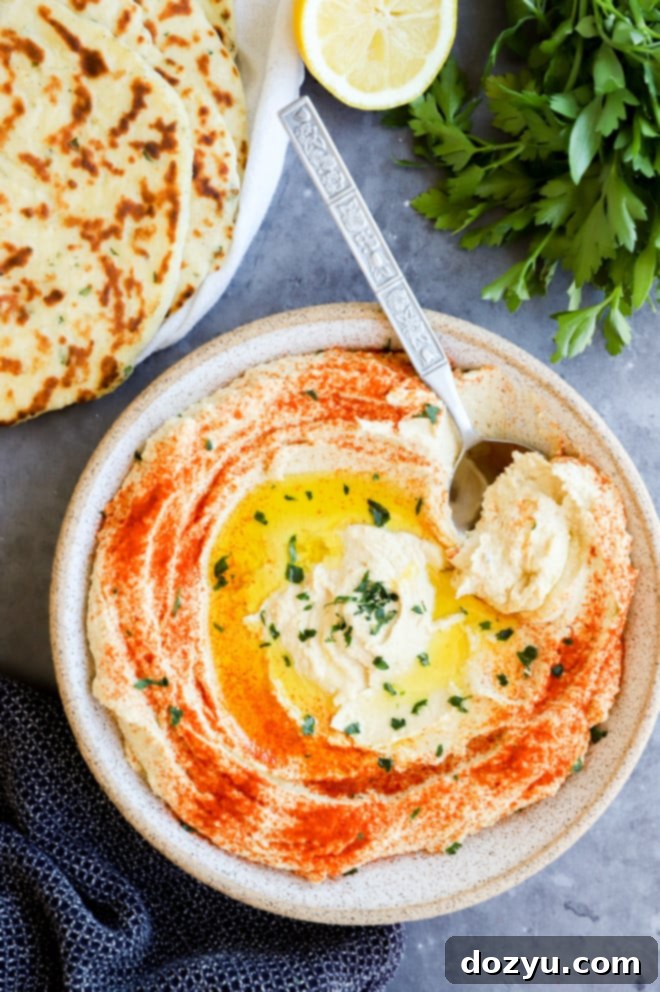
Table of Contents
Toggle
The Magic of Homemade Greek Hummus
There’s an undeniable allure to homemade hummus that sets it miles apart from its store-bought counterparts. For countless food enthusiasts, discovering the joy of preparing fresh, authentic hummus from scratch is nothing short of a culinary revelation. This simple act opens up a world of unparalleled flavor and texture, transforming a humble chickpea dip into a gourmet delight right in your own kitchen.
One of the most significant advantages of making hummus at home is the complete control it offers over every ingredient. You become the master chef, meticulously adjusting the balance of garlic, lemon juice, and tahini to suit your personal preference. Feel like a bolder garlic punch? Add more. Craving an extra zesty kick? A squeeze of fresh lemon will do the trick. The freedom to experiment extends to exciting additions like smoky roasted red peppers, aromatic roasted garlic, or even a hint of spicy chili, allowing you to personalize your dip endlessly.
Beyond flavor, the texture is where homemade hummus truly shines. This authentic Greek hummus recipe promises an insanely smooth consistency, achieved by gently pressure cooking the chickpeas. Whether you opt for the efficiency of an Instant Pot or the traditional stovetop method, this extra step ensures the chickpeas break down beautifully, resulting in a velvety, airy dip. You can dictate the thickness too – from a rich, scoopable spread to a lighter, more pourable dressing – giving you total command over your culinary creation.
The satisfaction derived from crafting this classic Mediterranean dip from scratch is profoundly rewarding. It’s a quick and simple recipe that consistently delivers on both taste and texture. Perfect as a wholesome snack, a versatile spread for sandwiches, or an impressive appetizer for your next gathering, your homemade hummus is guaranteed to be a crowd-pleaser. Be prepared for it to disappear quickly; it’s simply that good!
So, why invest your time in this homemade authentic hummus recipe? Because it guarantees a fresher, more vibrant, healthier, and uniquely customizable dip. It’s an invitation to elevate your snacking experience and delight your taste buds with genuine Mediterranean goodness.
What Makes Hummus Greek-Style?
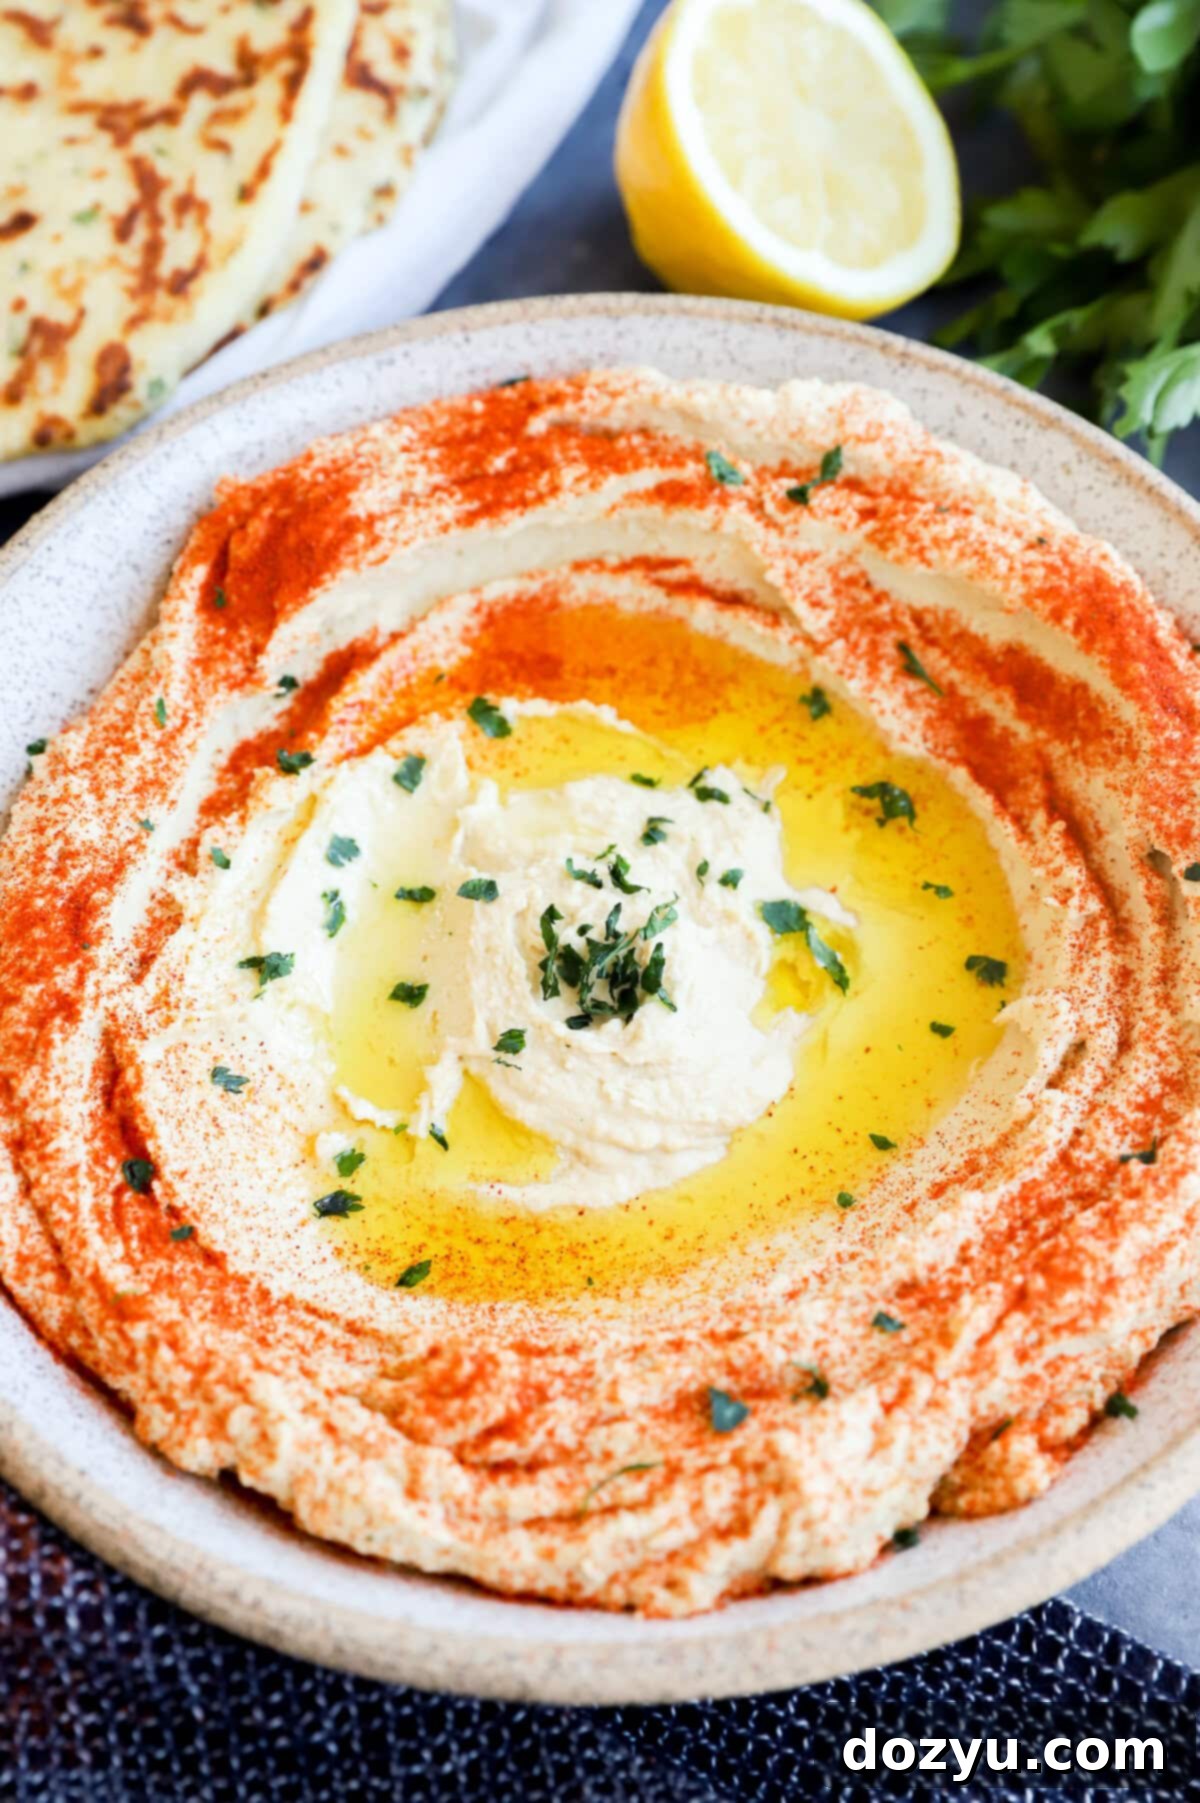
Hummus, a beloved Mediterranean dip, is renowned for its rich, earthy flavor and irresistibly creamy texture. While it enjoys widespread association with Greek cuisine, its true origins are deeply rooted in the broader Middle East, with historical traces pointing to regions across Egypt, Lebanon, and Syria. Despite this, Greece has masterfully adopted and adapted this cherished dish, infusing it with its own distinctive culinary flair that sets Greek hummus apart in the vibrant tapestry of Mediterranean food.
The exceptional flavor profile of Greek hummus stems from its deceptively simple yet perfectly balanced ingredients. At its heart lies the humble chickpea, also known as garbanzo beans. These protein-rich legumes form the velvety base of the dip, contributing a naturally smooth texture and a subtle, nutty undertone. In the Greek rendition, these chickpeas are meticulously blended with tahini – a rich paste made from ground sesame seeds. Tahini is crucial, imparting a profound earthiness and a delicate bitterness that skillfully balances the brighter notes of the other ingredients, creating a complex and satisfying taste.
Freshly squeezed lemon juice brightens the entire dip, cutting through the richness of the tahini and chickpeas with its tangy acidity. High-quality garlic adds an essential aromatic depth, while a generous pour of excellent extra virgin olive oil not only enriches the texture but also enhances the overall Mediterranean essence. The combination of these fresh, high-quality components, blended to a silky smooth consistency, is what truly defines an authentic Greek hummus, making it a staple and a highlight of any mezze platter.
Key Ingredients for Flawless Hummus
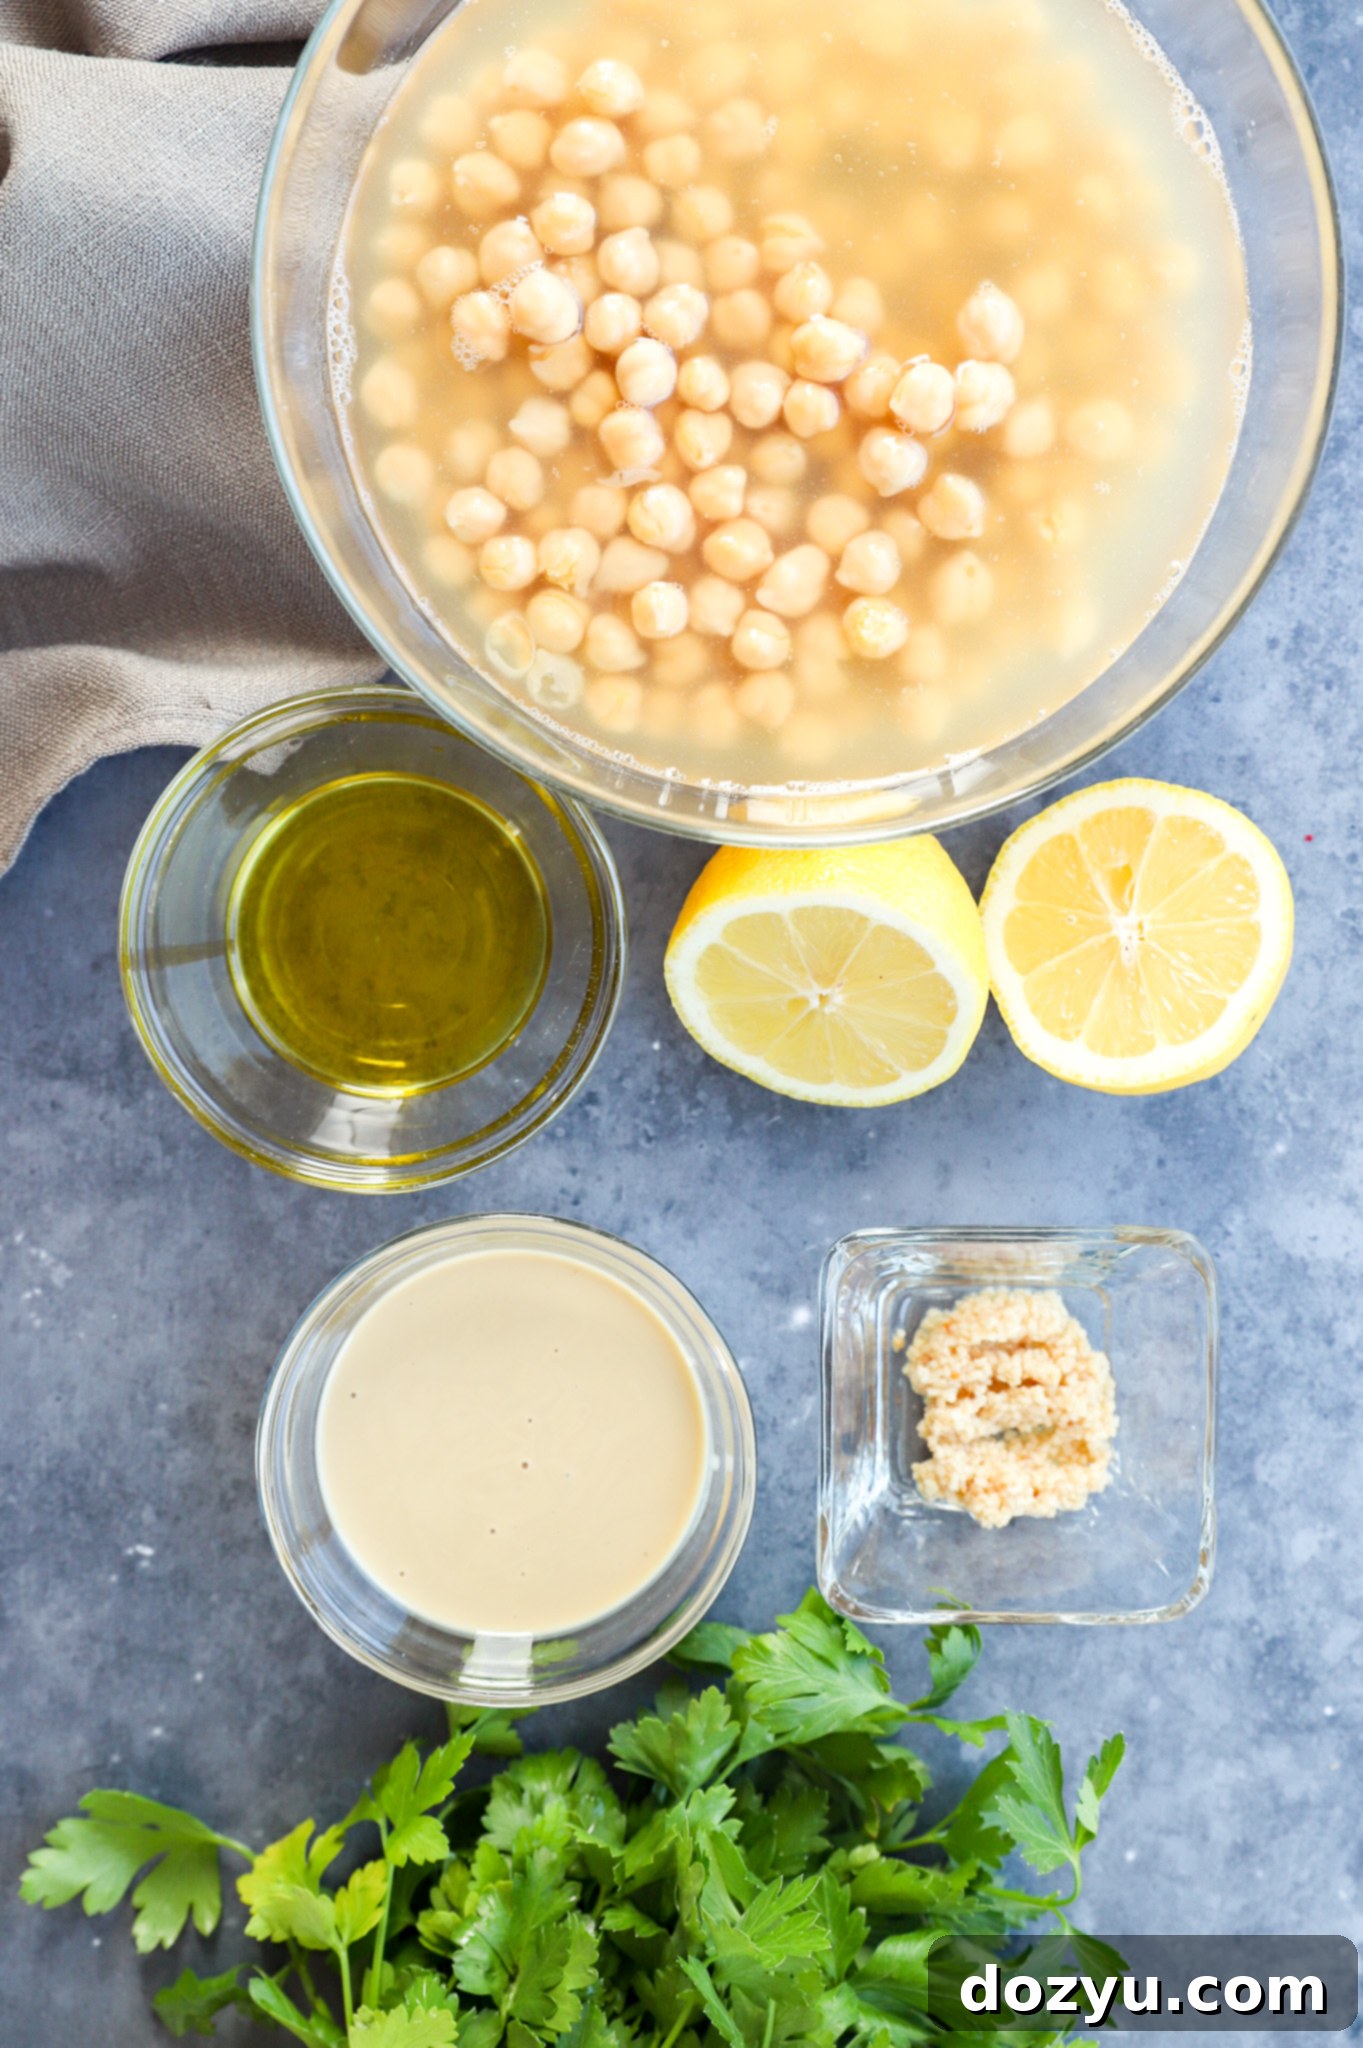
Crafting the perfect Greek hummus begins with selecting high-quality ingredients. Each component plays a vital role in achieving that rich flavor and luxurious texture we all crave.
- Chickpeas (Garbanzo Beans): We recommend using two 14-ounce cans of chickpeas for this recipe. Crucially, don’t discard the liquid from the can! This aquafaba is a secret weapon for achieving unparalleled creaminess and will be used later to adjust the hummus’s consistency. If using dried chickpeas, soak them overnight and cook until very tender.
- Garlic: Fresh garlic is key to a vibrant hummus. While fresh cloves can be minced, a fantastic shortcut is to use quality minced garlic from your fridge. This ensures a consistent flavor without the fuss, and pre-cooking it with the chickpeas helps mellow its pungency.
- Lemon Juice: For that essential bright, zesty kick, fresh lemon juice is non-negotiable. You’ll need the juice from about half a large lemon, but always taste and adjust to your preference. Freshly squeezed lemon elevates the entire dip, providing balance and acidity.
- Tahini: This rich, earthy paste made from ground hulled sesame seeds is a foundational ingredient in authentic hummus. It provides a distinct depth of flavor and contributes significantly to the creamy texture. Look for a tahini with a smooth, pourable consistency and a mildly nutty (not bitter) flavor for the best results. It’s also a key ingredient in other Mediterranean favorites like baba ghanoush and halva.
- Extra Virgin Olive Oil: The quality of your olive oil truly matters here, as its flavor will shine through. Opt for a good quality extra virgin olive oil both within the recipe and for drizzling on top, adding a rich, fruity note and beautiful sheen.
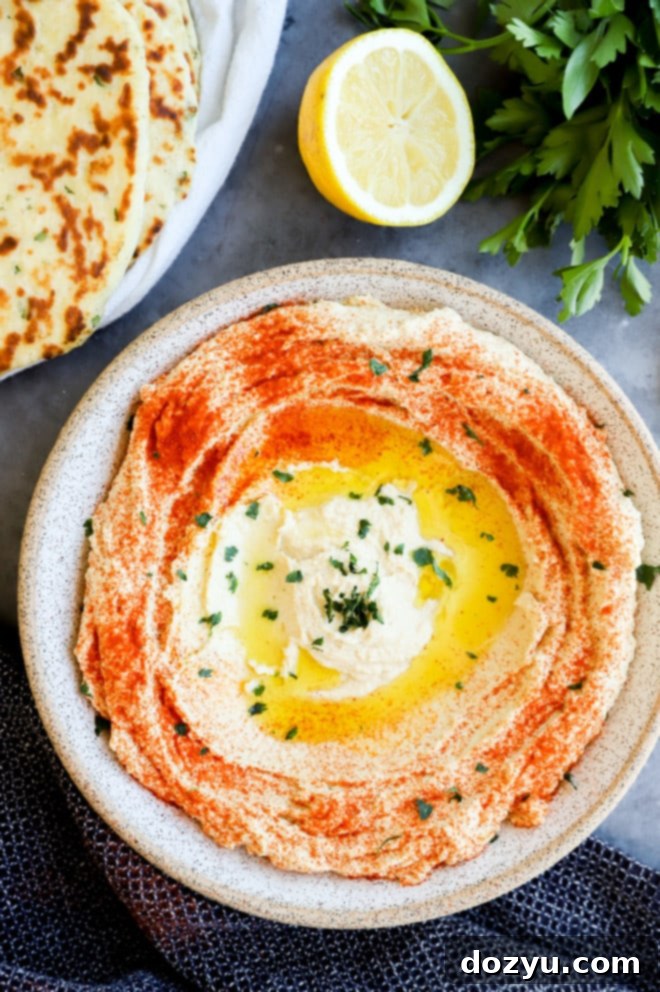
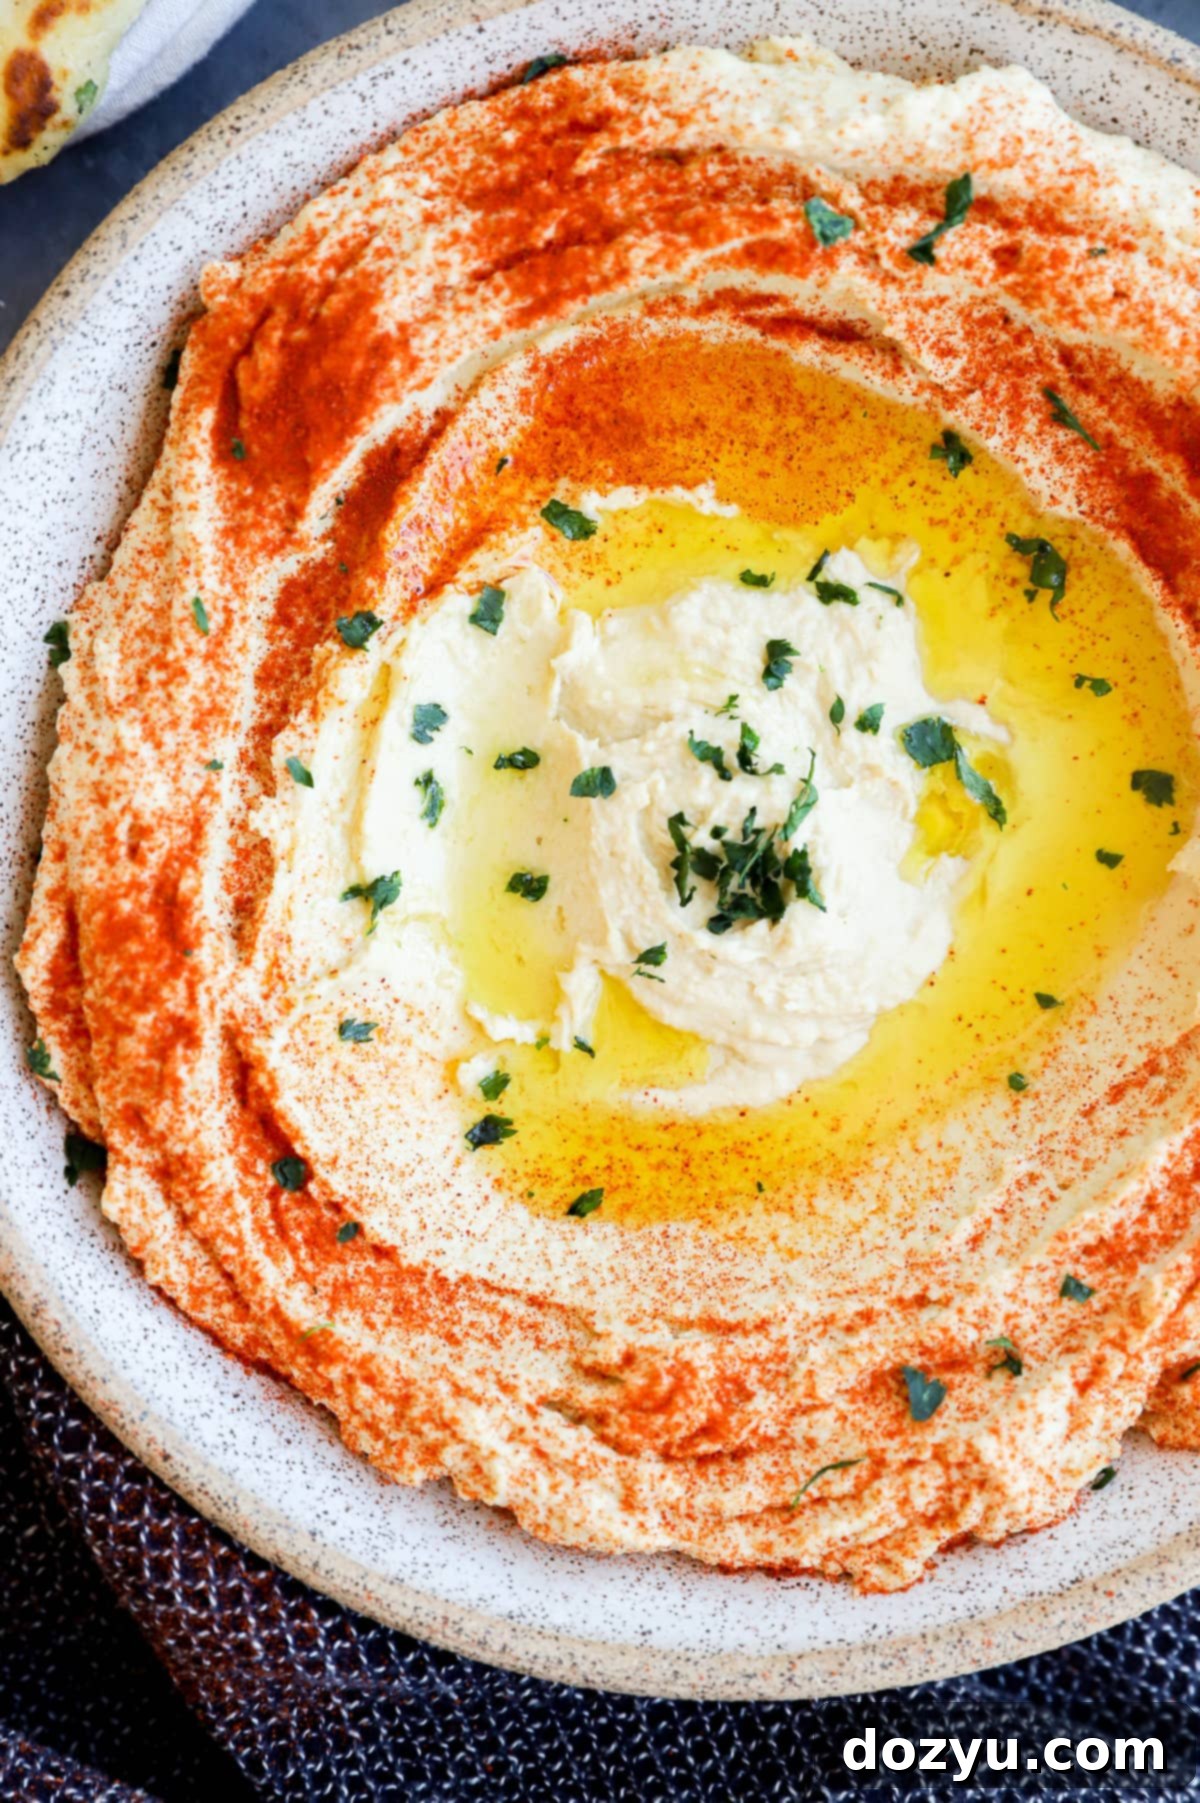
- Garnish: Elevate your hummus presentation and flavor with a final flourish. A generous drizzle of extra-virgin olive oil is a must, followed by a dusting of sumac or paprika for color and subtle spice. A sprinkle of freshly chopped flat-leaf parsley adds freshness and visual appeal.
Essential Equipment for the Best Hummus
While making hummus is a straightforward process, having the right tools can make all the difference in achieving that signature smooth and creamy texture. Here’s what you’ll need:
- Electric Pressure Cooker (e.g., Instant Pot Ultra or Instant Pot Duo): This is highly recommended for quickly softening chickpeas to an ultra-tender state, which is key for the creamiest hummus. The high pressure breaks down the chickpea skins and interiors efficiently.
- Spider Strainer or Fine Mesh Sieve: Essential for easily separating the cooked chickpeas from their valuable cooking liquid. This liquid is gold for adjusting hummus consistency, so be sure to reserve it!
- Food Processor (or High-Powered Blender like a Vitamix): The star of the show for blending all your ingredients into a silky-smooth dip. A good food processor will make quick work of the chickpeas and emulsify the tahini and oil perfectly. While a blender can work, a food processor often provides more control over texture.
- Measuring Spoons and Cups: For accurate ingredient proportions, ensuring a balanced flavor profile every time.
Step-by-Step: How to Make Creamy Greek Hummus
Follow these simple steps to create a truly irresistible batch of homemade Greek hummus.
Perfectly Softening the Chickpeas
The secret to super smooth hummus lies in thoroughly cooking your chickpeas. Even canned chickpeas benefit from this extra step.
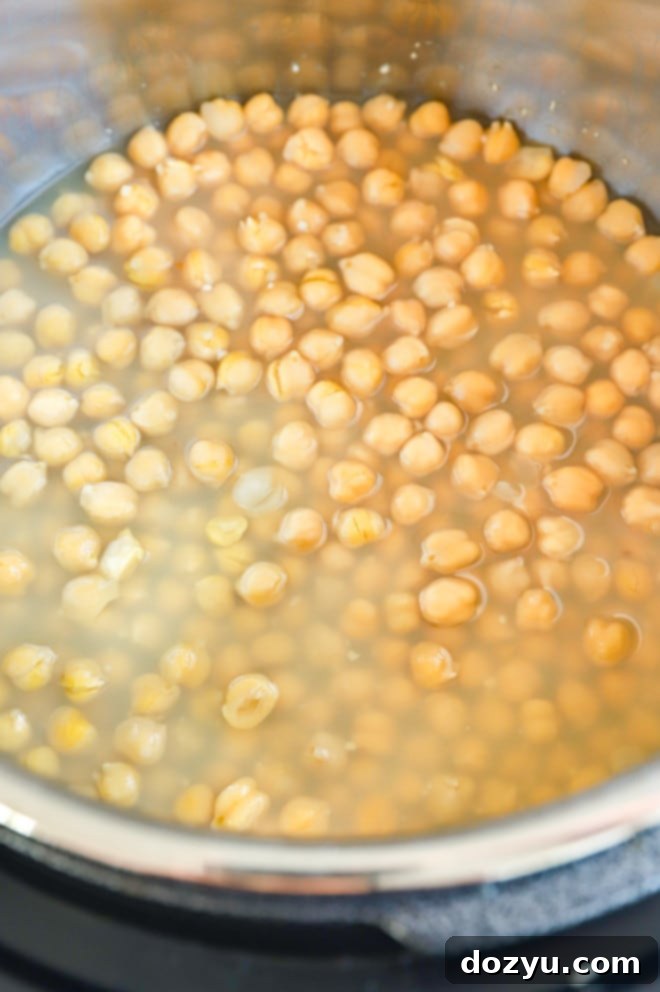
- Add the canned chickpeas along with their liquid (aquafaba) and minced or smashed garlic cloves to the insert of your Instant Pot. This communal cooking infuses the chickpeas with garlic flavor while softening both.
- Seal the Instant Pot and cook on High pressure for 10 minutes. Once cooking is complete, you can either perform a quick release of the pressure (for speed) or allow it to naturally release (for slightly softer results).
- Carefully drain the cooked chickpeas and garlic using a fine mesh sieve. **Crucially, reserve ALL the cooking liquid!** This liquid is vital for achieving the desired creamy consistency later on. Set it aside for now.
No Electric Pressure Cooker? No Problem! If you don’t own an Instant Pot, you can achieve similar results on the stovetop. Simply combine the chickpeas and their liquid in a saucepan and bring them to a gentle simmer over medium-high heat. Continue to simmer for 20 to 25 minutes, or until the chickpeas are exceptionally soft. Then proceed with draining and reserving the liquid as above.
Creating the Initial Puree
Now it’s time to bring everything together in your food processor.
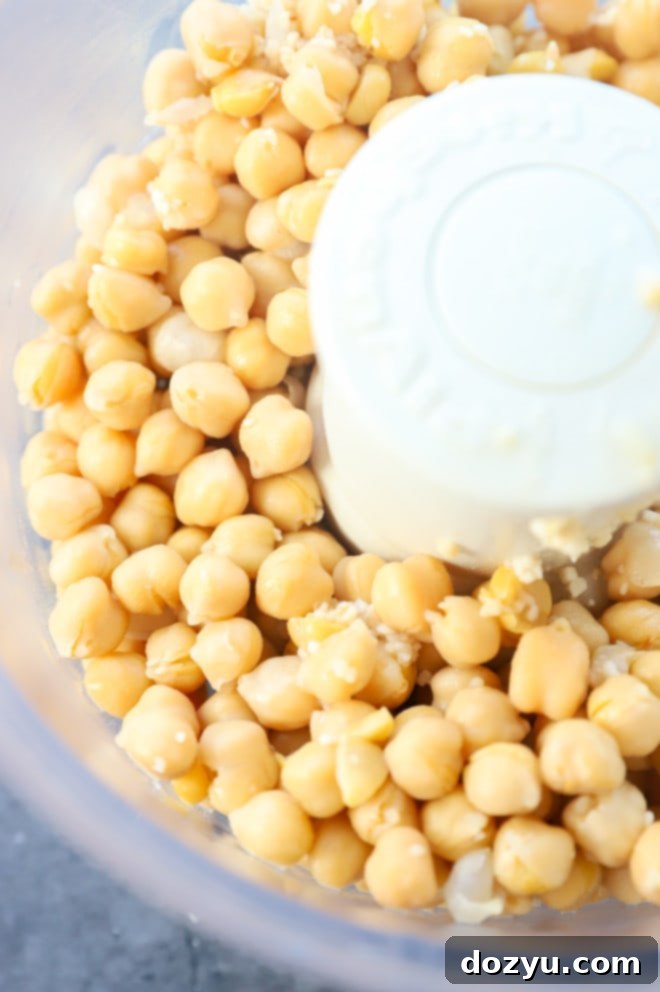
- Transfer the warm, cooked chickpeas and garlic into the bowl of your food processor. Pulse the mixture until it forms a coarse, mostly smooth paste. Don’t worry about perfection at this stage; we’re just getting started.
- Next, add the fresh lemon juice, tahini, and 2 tablespoons of extra-virgin olive oil to the chickpea mixture. These ingredients are essential for the classic hummus flavor profile.
- Pulse again until all components are well combined and the mixture starts to look more uniform.
Achieving Ultimate Smoothness and Flavor
This final blending phase is where your hummus transforms into that irresistibly smooth and creamy dip.
- Set your food processor to medium or high speed and let it run continuously. While the blades are spinning, slowly drizzle in the reserved chickpea cooking liquid, one tablespoon at a time, through the opening in the top.
- Continue adding the liquid until your hummus reaches your desired velvety consistency. It typically takes about 3 tablespoons, but adjust based on how thick or thin you prefer it. The warmth of the chickpeas and the gradual addition of liquid help to create an incredibly emulsified and creamy texture.
- Once smooth, taste the hummus and season generously with flaky sea salt to taste.
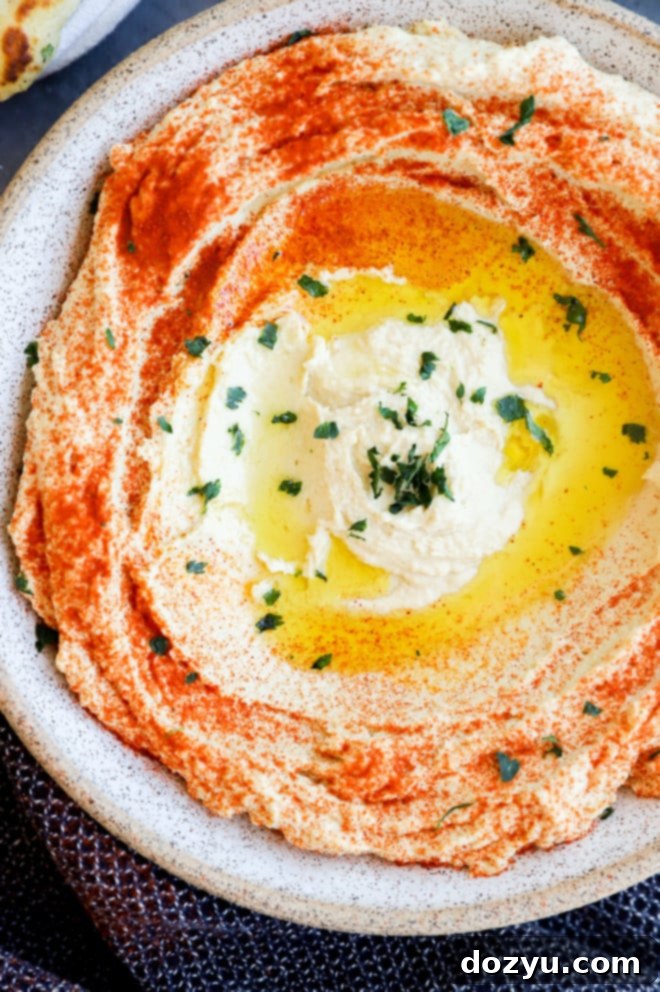
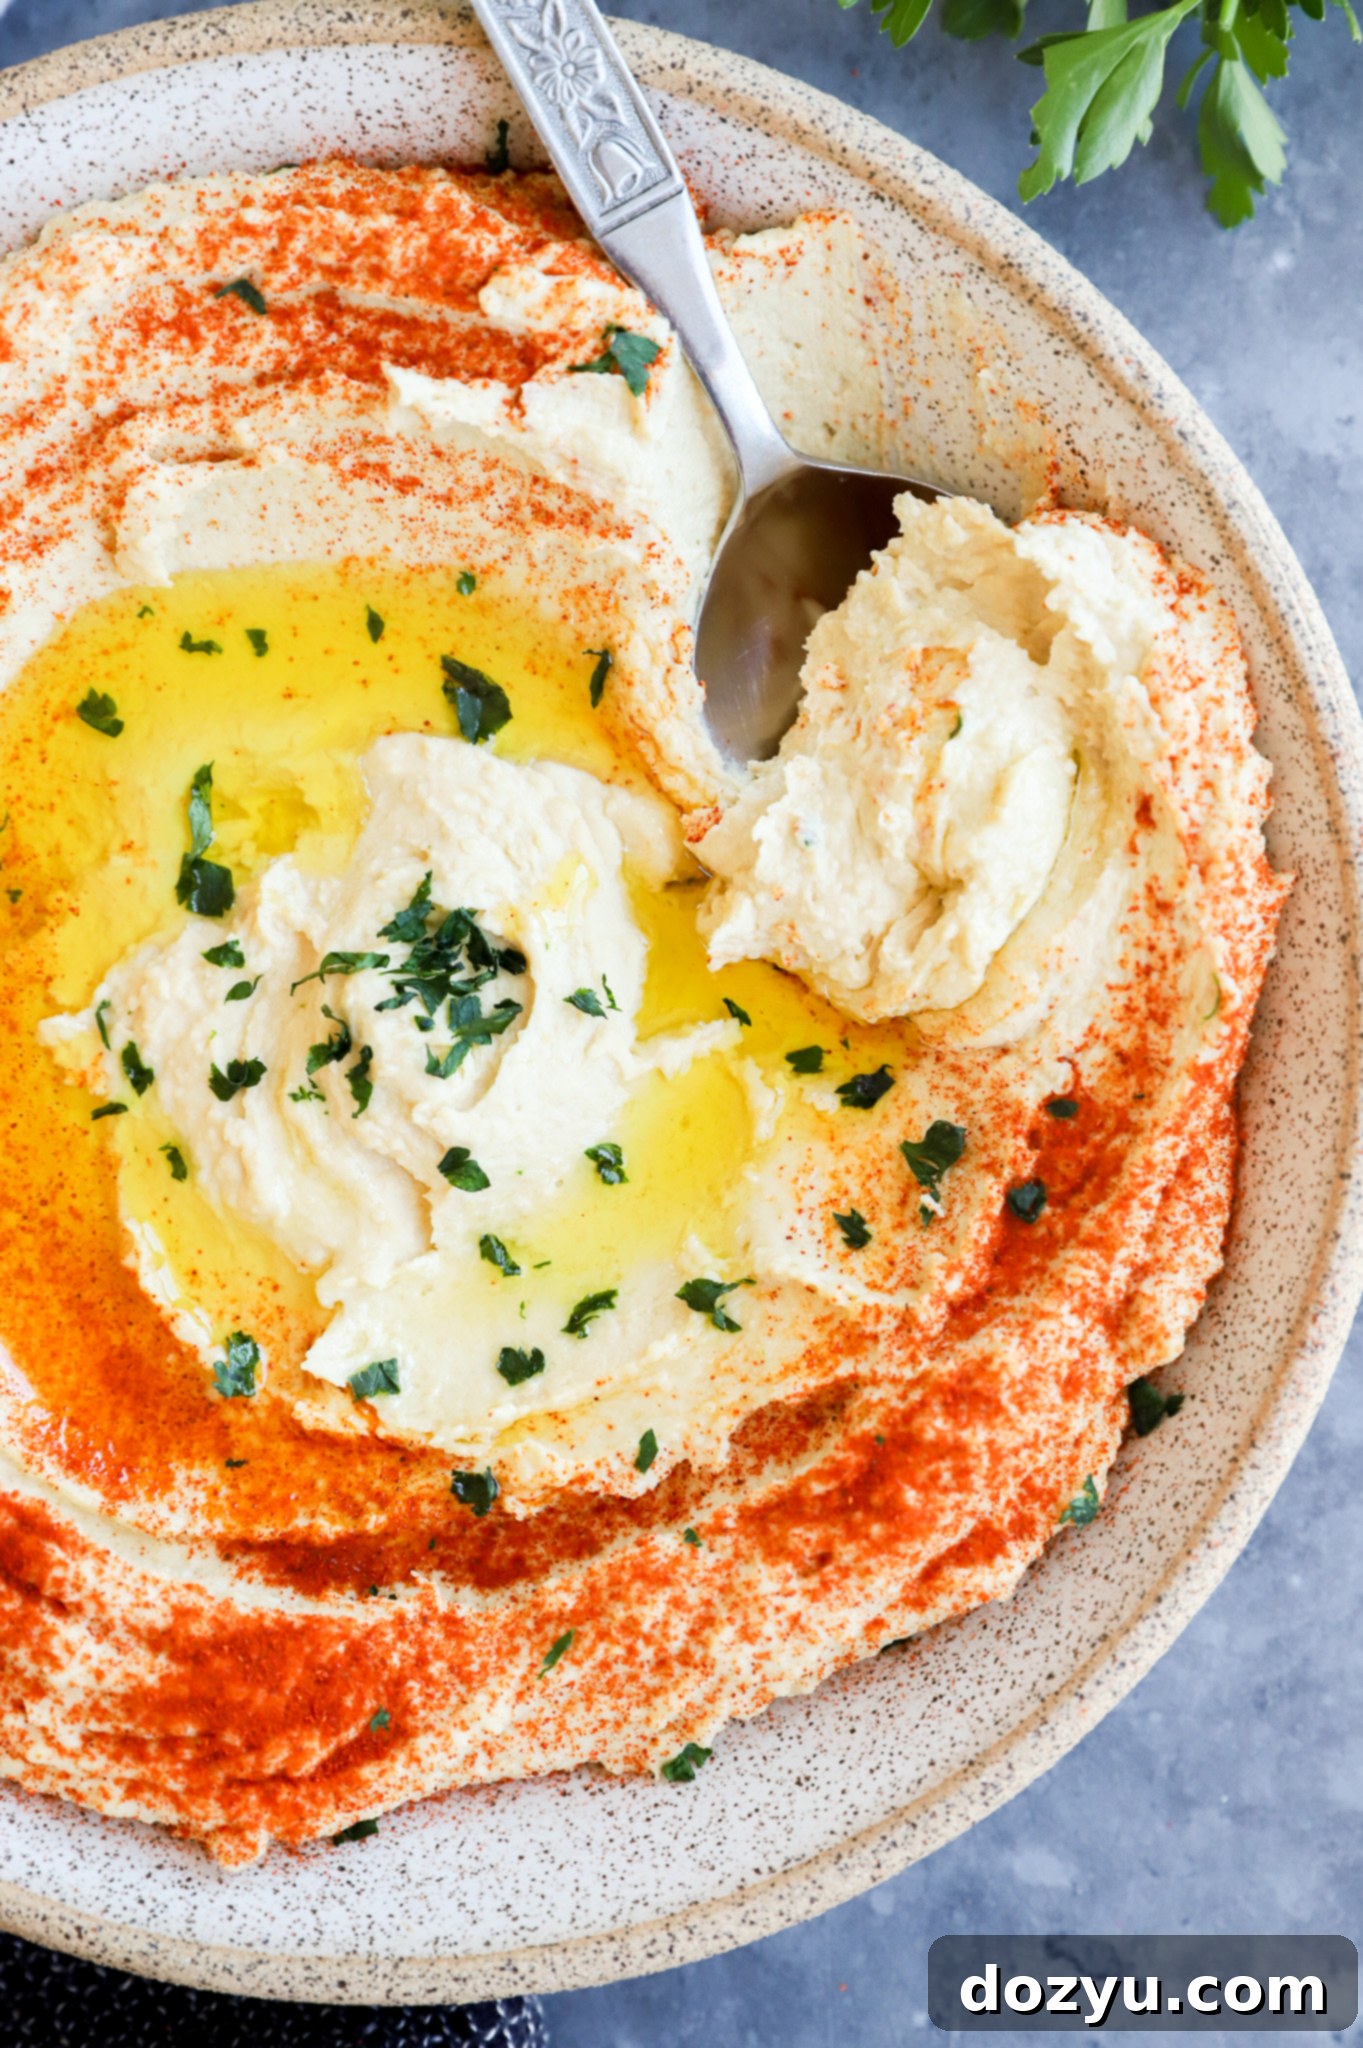
- Finally, transfer the creamy hummus to a serving bowl. Create a beautiful swirl on top, then drizzle with more extra-virgin olive oil. Sprinkle with a dash of sumac or paprika for color and a delicate flavor, and garnish with fresh, chopped parsley. Serve immediately with your favorite dippers.
Pro Tips for Unbeatable Hummus
To truly elevate your homemade Greek hummus, consider these expert tips:
- Don’t Skip Cooking the Chickpeas (Even Canned Ones!): This step is paramount for achieving the creamiest hummus possible. The added cooking time, especially under pressure, breaks down the chickpea skins and flesh, allowing them to blend into an incredibly smooth texture. Cooking the garlic alongside also mellows its raw pungency, preventing it from overpowering the delicate flavors of the hummus.
- No Need to Peel Chickpeas: While some traditional recipes advocate for peeling individual chickpea skins for ultimate smoothness, with modern high-powered food processors and the pre-softening step, it’s largely unnecessary. The time saved is significant, and you’ll likely notice no discernible difference in the final texture. Embrace the shortcut!
- Let Your Food Processor Do the Work: Patience is a virtue when it comes to blending hummus. Don’t rush the process. Allow your food processor to run for several minutes on high speed. The continuous blending, especially when slowly incorporating the reserved liquid, is what creates that desirable airy, emulsified, and super creamy texture. Scrape down the sides of the bowl as needed to ensure everything is thoroughly incorporated.
- Adjust Seasoning to Perfection: Always taste your hummus before serving. The amount of salt, lemon, and even tahini can be adjusted to your personal preference. A little extra lemon can brighten a dull batch, while more salt can bring out all the underlying flavors.
- Consider Using Ice Water for Extra Creaminess: If you find your hummus still needs a boost in creaminess after adding the reserved chickpea liquid, a tablespoon or two of ice-cold water (or even an ice cube or two) can work wonders. The cold shock helps emulsify the ingredients further, resulting in an even silkier texture.
- Warm Hummus is Heavenly: While good at any temperature, warm hummus has a particularly inviting texture and aroma. Serving it freshly made, slightly warm, enhances its appeal.
More delicious dip recipes to try: Crab Rangoon Dip | Spinach and Artichoke Goat Cheese Dip | Whipped Goat Cheese Salsa Dip | Chipotle Chili Cheese Dip
Frequently Asked Questions About Greek Hummus
Is homemade hummus better than store-bought hummus?
Absolutely! The difference is remarkable. Homemade hummus, especially this Greek-style recipe, boasts a superior taste and texture that store-bought versions simply can’t replicate. The freshness of the ingredients, the control over seasoning, and the silky-smooth consistency achieved through proper blending make homemade a clear winner. Given how easy it is to prepare, it’s a culinary endeavor well worth your time.
Is Greek hummus gluten-free?
Yes, traditional hummus made from chickpeas, tahini, lemon juice, garlic, and olive oil is naturally gluten-free. It’s an excellent choice for those with gluten sensitivities or who follow a gluten-free diet. Just be mindful of what you serve it with; opt for fresh vegetables, gluten-free crackers, or certified gluten-free pita bread.
How long does hummus last in the refrigerator?
When stored properly in an airtight container in the refrigerator, your homemade hummus will remain fresh and delicious for 3 to 5 days. For optimal freshness, you can also drizzle a thin layer of olive oil over the top before storing, which helps to create a seal and prevent drying.
How can I add some extra flavor to the hummus?
One of the best aspects of homemade hummus is its versatility for flavor customization. You can easily create gourmet-flavored hummuses that rival specialty store offerings:
- Roasted Garlic Hummus: For a deeper, sweeter garlic flavor, add 2 to 3 cloves of air fryer roasted garlic to the food processor when pureeing the chickpeas. The roasting mellows the garlic’s sharpness and adds complexity.
- Roasted Red Pepper Hummus: Incorporate some marinated roasted red peppers into the food processor with the chickpeas. Their smoky sweetness is a fantastic addition.
- Sun-Dried Tomato Hummus: Similarly, a few sun-dried tomatoes (either oil-packed or rehydrated) blended into the hummus provide an intense, savory, and slightly sweet flavor boost.
- Mediterranean Toppings: Instead of plain olive oil and paprika, top your finished hummus with a spoonful of olive tapenade, a sprinkle of toasted pine nuts, or a dollop of fresh pesto for an extra layer of flavor.
What do I do if my hummus is too thick?
If your hummus turns out thicker than you prefer, don’t fret! This is an easy fix. Simply add a bit more of the reserved chickpea cooking liquid, one tablespoon at a time, while the food processor is running. Allow each addition to fully incorporate before adding more. Continue until you achieve your desired smooth and creamy consistency. It’s much easier to thin out hummus than to thicken it, so add liquid incrementally!
Need more inspiration for appetizers? Check out my appetizer recipes page!
Serving Suggestions for Your Homemade Hummus
The beauty of homemade hummus lies in its incredible versatility. It pairs wonderfully with a wide array of dippers and can even be incorporated into more substantial dishes.
For classic dipping, you can’t go wrong with warm pita bread or my personal favorite, pillowy Turkish bread. Crispy pita chips also offer a satisfying crunch. For a healthier option, fresh crudités like vibrant bell peppers, crisp cucumber slices, carrot sticks, and cherry tomatoes are perfect. Even crunchy air fryer zucchini chips make a delightful and unexpected pairing!
Beyond dipping, hummus serves as a fantastic spread or accompaniment:
- Sandwich & Wrap Spread: Ditch the mayonnaise! Spread a generous layer of hummus on your sandwiches and wraps for a flavorful, healthier alternative.
- Topping for Meats: A dollop of hummus can beautifully complement grilled chicken, lamb meatballs, or even falafel, adding moisture and a tangy counterpoint.
- Creative Appetizers:
- Elevate your breakfast or brunch with ratatouille hummus toast topped with soft scrambled eggs.
- Make it the star of your next gathering by assembling a stunning summer garden hummus board, surrounded by colorful vegetables, cheeses, and olives.
- Spread hummus on a flatbread and top it with roasted vegetables for a light and delicious meal, like this hummus grilled flatbread.
- Party Pairing: If you’re serving this for a party, complement its Mediterranean flavors with a refreshing beverage like this spiced rum punch, known for its citrusy and bold profile.
Looking to explore more hummus variations? Next time, try this flavorful roasted carrot hummus for a unique twist!
Storage Tips for Fresh Hummus
Proper storage ensures your delicious homemade hummus stays fresh and enjoyable for as long as possible.
- Refrigerate: Store any leftover hummus in an airtight container in the refrigerator. It will maintain its quality and taste for up to 3 to 5 days. For best results, press a piece of plastic wrap directly onto the surface of the hummus before sealing the container. You can also drizzle a thin layer of olive oil on top to prevent it from drying out and oxidizing.
- Freeze (with caution): While you can technically freeze hummus for up to 4 months, it’s important to note that the texture and sometimes the flavor can change upon thawing. The emulsion may break, leading to a slightly grainier or watery consistency. If you choose to freeze, store in an airtight, freezer-safe container, leaving a little headspace.
- Thaw: To thaw frozen hummus, transfer it to the refrigerator overnight. Once thawed, you might need to give it a good stir or even a quick re-blend in the food processor with a tablespoon of fresh lemon juice or olive oil to restore its creamy texture. However, for the absolute best taste and texture, fresh is always recommended.
Explore More Greek-Inspired Delights
If you love the vibrant flavors of Greek cuisine, you’ll adore these additional recipes that perfectly complement your homemade hummus or offer equally delicious meal ideas:
- Greek Beef Pitas: A fantastic option for a quick and flavorful weeknight dinner, these pitas are ready in just 25 minutes and packed with savory beef and fresh toppings.
- Butter Bean Hummus: For a unique twist on the classic, try this easy and creamy hummus made with butter beans. It offers a slightly different, yet equally delightful, flavor profile.
- Greek Stuffed Roasted Sweet Peppers: Utilize any leftover ingredients or simply enjoy another fresh and savory appetizer by stuffing sweet peppers with a delicious Greek-inspired filling.
- Greek Gyro Lamb Tacos: A fusion dish that combines the best of Greek gyro flavors with the fun of tacos, perfect for using up leftover lamb.
We genuinely hope you enjoy making this authentic Greek hummus recipe. If you do, please take a moment to give it a rating and/or leave a comment below! Your feedback is incredibly valuable, and I personally make an effort to respond to every single comment and question. Feel free to drop any queries you might have.
And remember to tag me on Instagram if you share your culinary creations! Seeing these recipes come to life in your homes is truly my favorite part, and it means the world to me.
Greek Hummus
10 minutes
10 minutes
10 minutes
30 minutes
6
Equipment
-
Measuring Spoons
-
Measuring Cups
-
Fine Mesh Strainers
-
Instant Pot Ultra
-
9-Cup Food Processor
Ingredients
- 2 14 ounce cans chickpeas
- 2 garlic cloves smashed or minced
- Juice of 1 lemon
- 1/2 cup tahini
- 2 Tbsp extra-virgin olive oil + more for drizzling
- Flaky sea salt
- Garnish: freshly chopped parsley sumac or paprika
Instructions
-
Add chickpeas with their liquid and garlic to the insert of the Instant Pot. Cook on High pressure for 10 minutes*. Manually release pressure at the end of cooking (you can also let the pressure release naturally).
-
Drain the chickpeas and garlic with a fine mesh sieve, making sure to reserve the cooking liquid for later use.
-
Add chickpeas and garlic to the food processor. Pulse until smooth.
-
Add lemon juice, tahini, and oil. Pulse to combine.
-
Set food processor to high speed and let it run. Through the opening at the top, add reserved cooking liquid 1 Tbsp at a time until it reaches the desired consistency. I typically use about 3 Tbsp total.
-
Taste and season with salt to taste.
-
Add hummus to a bowl. Drizzle with extra virgin olive oil, sprinkle with sumac or paprika, and fresh parsley. Serve with pita or Turkish bread.
Video
Notes
Nutrition
378
kcal
Greek
Appetizer
