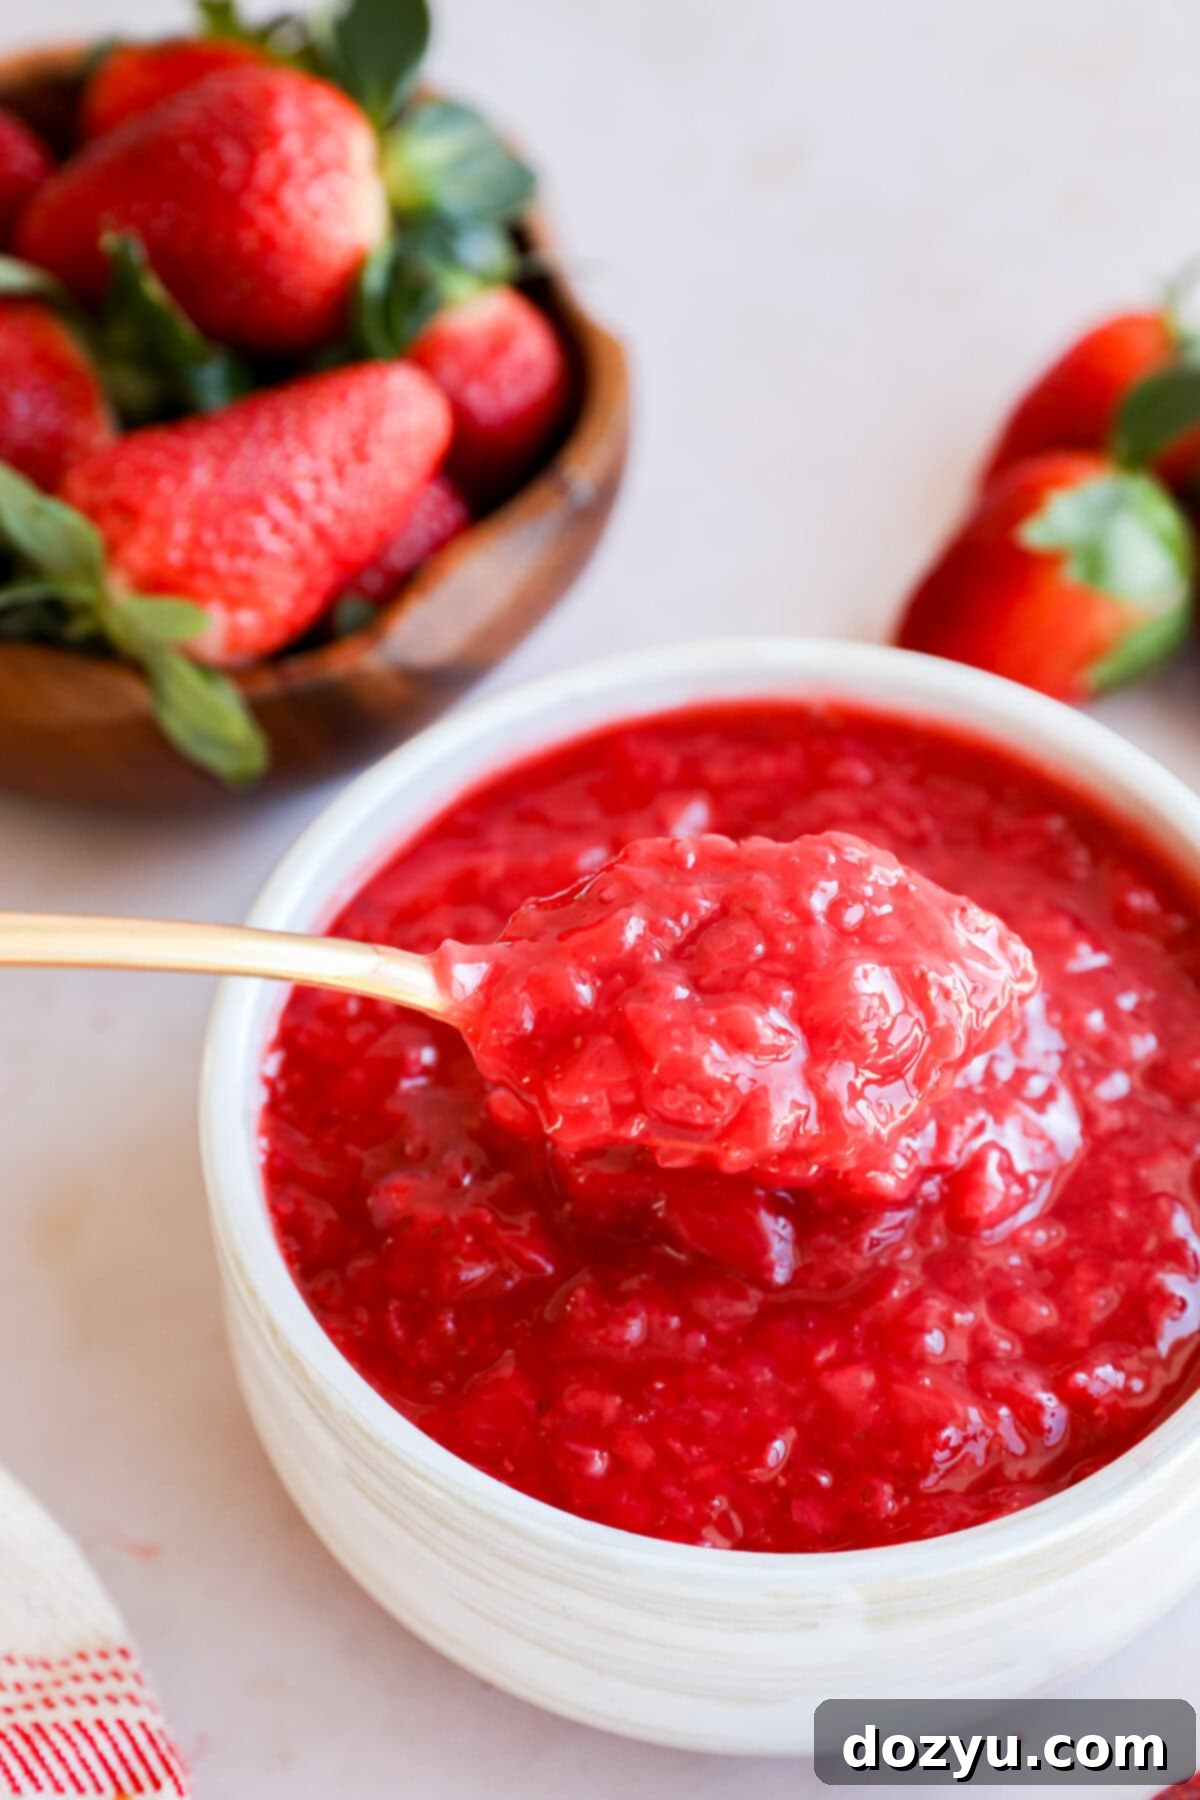
Delicious Homemade Strawberry Filling: Your Easy Recipe for Vibrant Cakes & Desserts
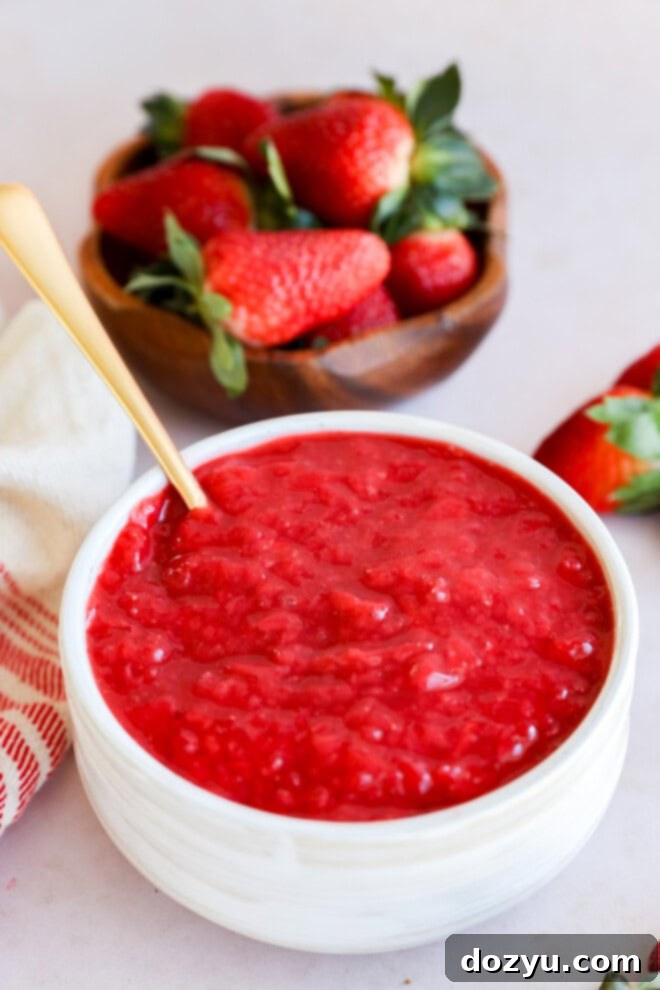
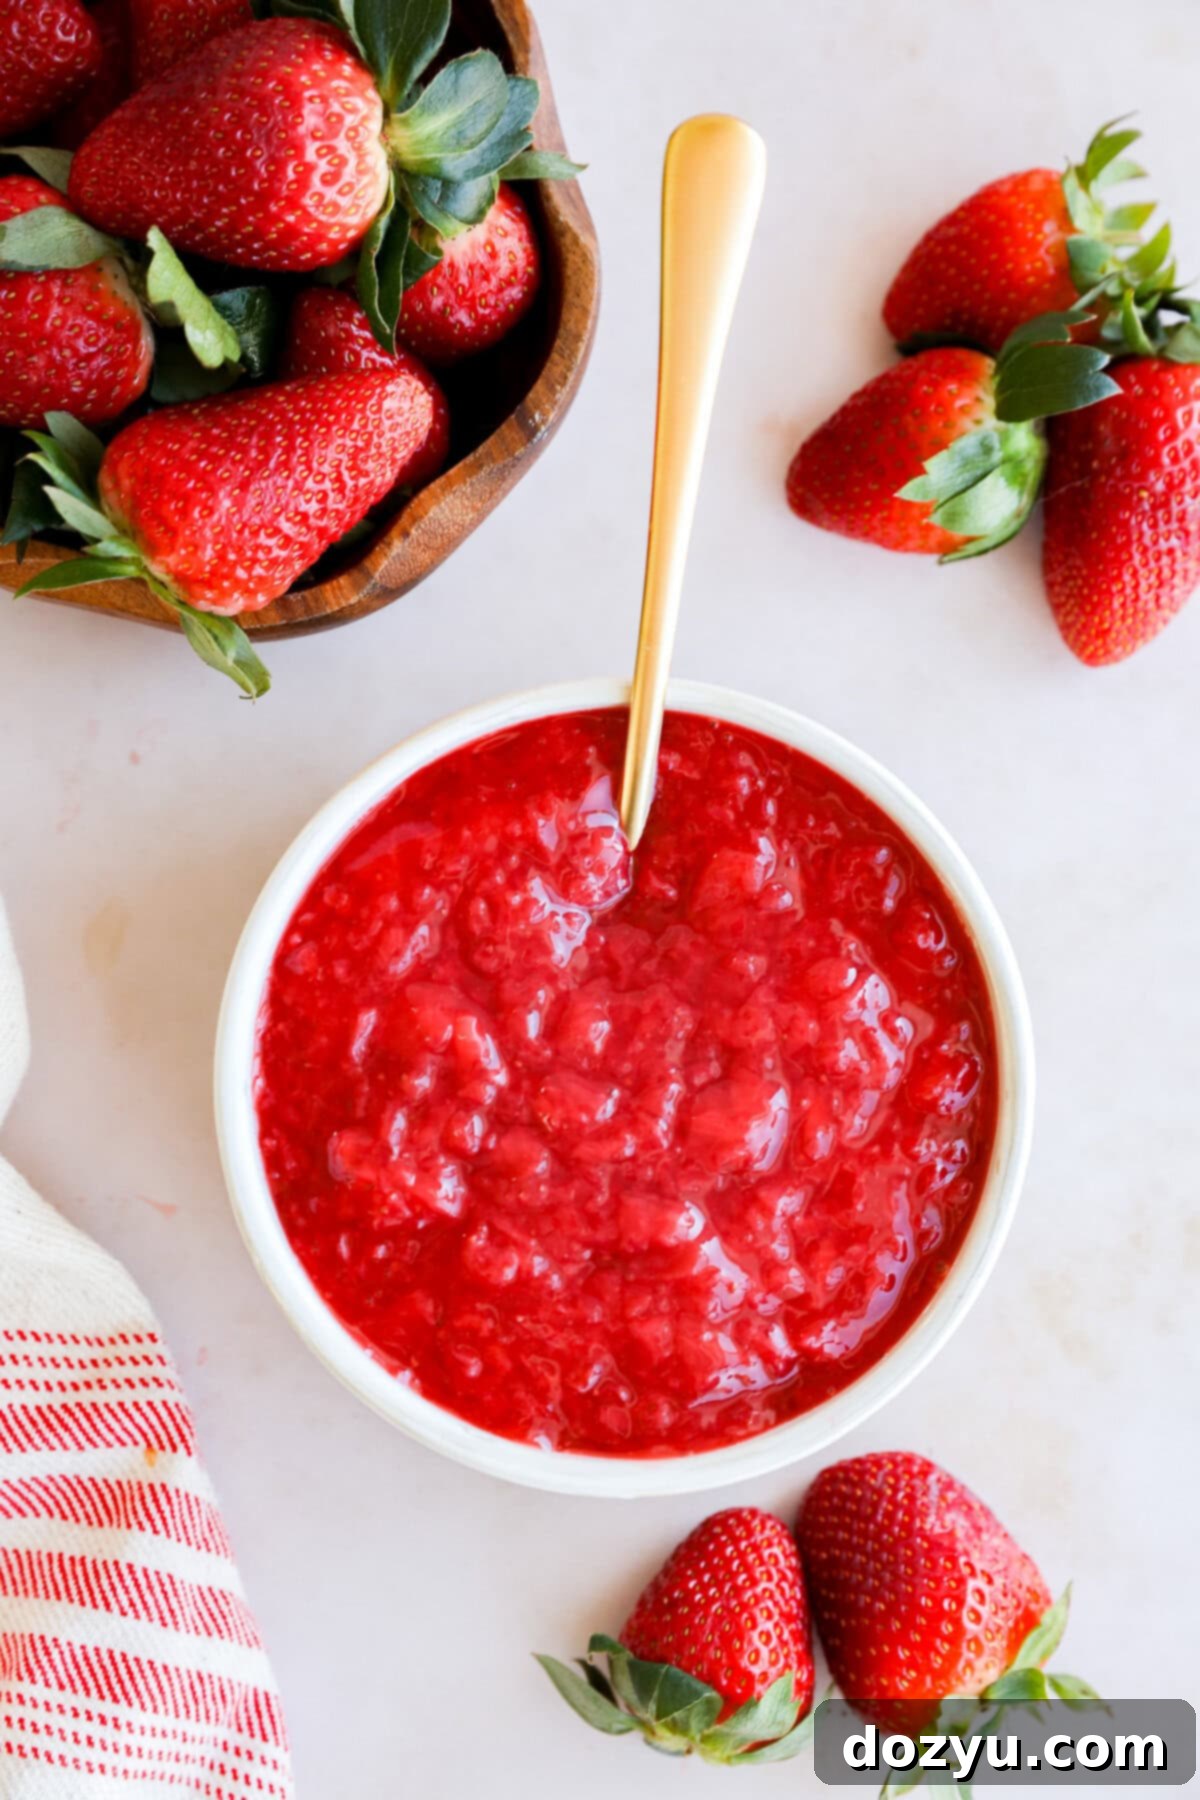
This homemade strawberry filling is a true culinary gem – fresh, incredibly flavorful, and astonishingly easy to make. It brings a vibrant, natural sweetness and a beautiful ruby hue to all your favorite desserts and breakfast dishes. Far superior to any store-bought alternative, this filling serves as an exquisite cake layer, a delightful topping for cupcakes, waffles, and pancakes, or even a simple yet elegant accompaniment to ice cream and yogurt. Get ready to elevate your sweet creations with this irresistible berry concoction!
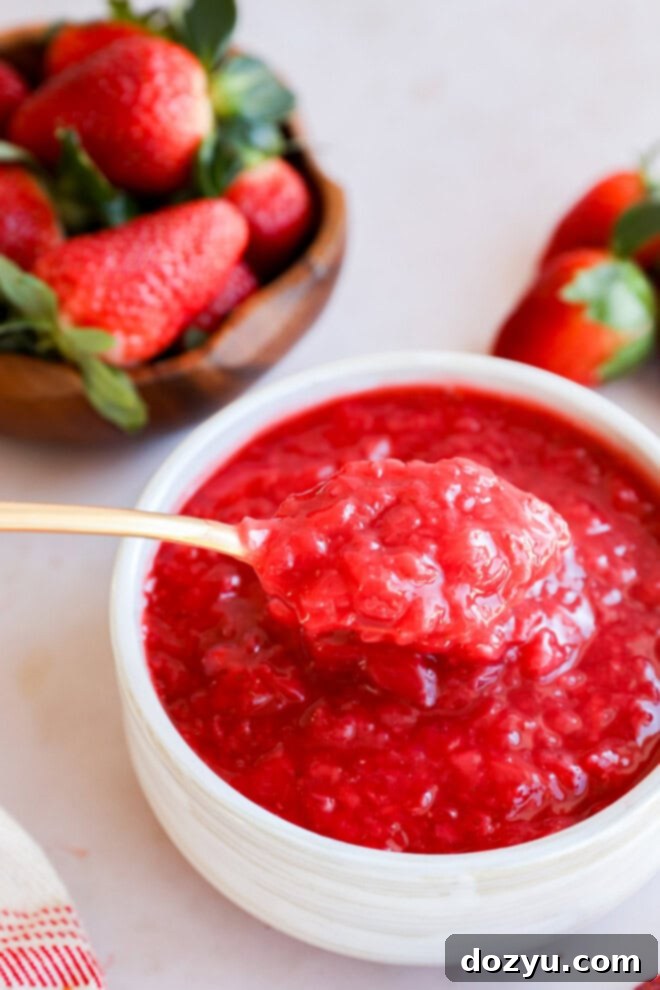
table of contents
Toggle
About This Homemade Strawberry Filling
You won’t believe how incredibly easy this homemade strawberry filling recipe is – I promise, I’m not exaggerating! With just five simple ingredients – ripe strawberries, granulated sugar, fresh lemon juice, cornstarch, and water – you can create a vibrant, fresh, and deeply flavorful filling that far surpasses any store-bought version. Forget artificial colors, preservatives, and bland taste; this recipe delivers pure, unadulterated strawberry goodness.
Requiring less than 15 minutes of active cooking time, this recipe is perfect for even the most beginner cooks. It’s an efficient and delightful way to capture the essence of fresh strawberries, especially at the peak of strawberry season. The process is straightforward, with no complex techniques involved, ensuring a hassle-free experience from start to finish. Once you taste the difference, you’ll never go back to canned fillings!
The versatility of this strawberry filling is truly remarkable. I absolutely adore swirling it into creamy Greek yogurt for a quick breakfast, layering it generously between delicate cake sponges for an unforgettable dessert, or serving it warm over a scoop of vanilla bean ice cream for a comforting treat. It’s also fantastic as a topping for pancakes, waffles, French toast, or even as a flavorful component in parfaits. This simple recipe provides endless possibilities to infuse your culinary creations with bright, fruity flavor.
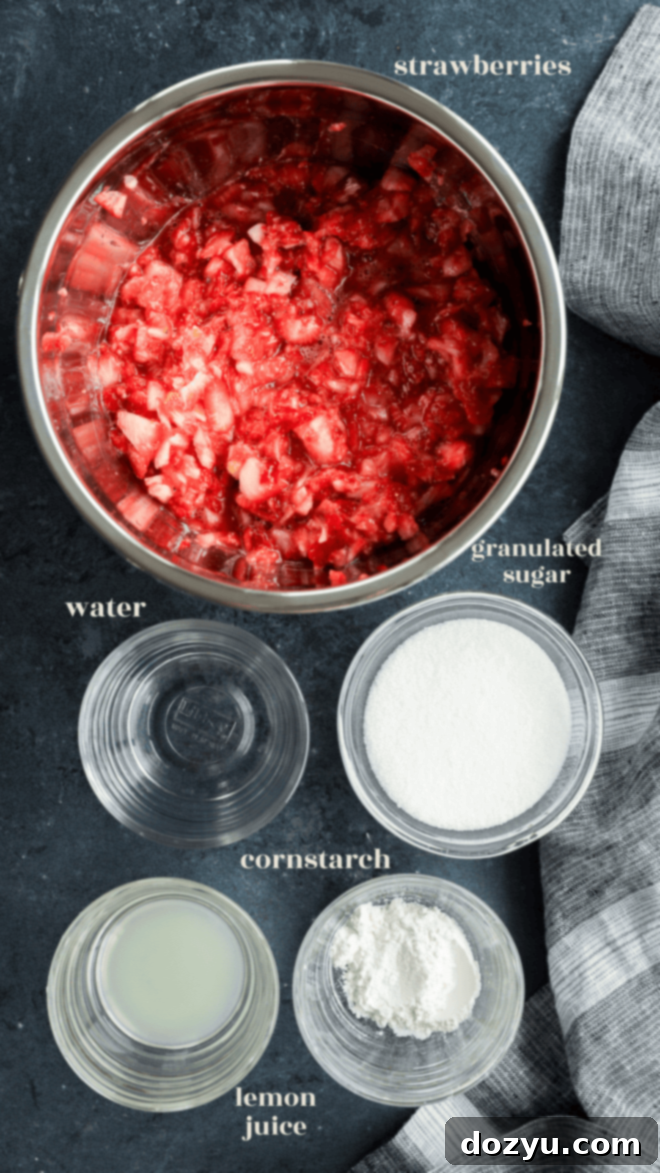
Key Ingredients for Success
Only a handful of common pantry staples are needed to create this spectacular strawberry filling. Each ingredient plays a crucial role in achieving the perfect balance of flavor and texture:
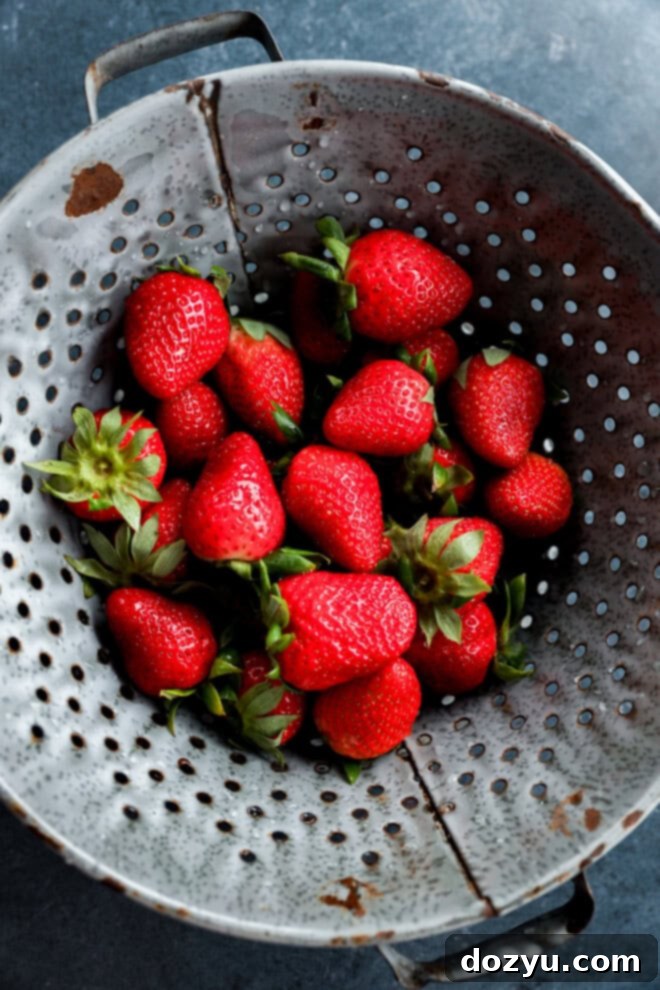
Strawberries: The star of the show! Fresh strawberries are highly recommended for the most vibrant and authentic flavor. Look for deep red, fragrant berries that are firm and free of blemishes. If fresh berries aren’t available, frozen strawberries work wonderfully too. Simply thaw them completely and drain any excess liquid before using to ensure the correct consistency and prevent a watery filling. This step is crucial for concentrated flavor.
Sugar: Granulated sugar is my go-to for this recipe. It not only provides sweetness but also helps to draw out the natural juices from the strawberries, creating a luscious syrup. While other sugars like brown sugar could be used, they might alter the color and depth of flavor of the final product, so sticking to granulated sugar is best for a classic strawberry taste.
Lemon Juice: A squeeze of fresh lemon juice is essential. It brightens the flavor of the strawberries, balancing their sweetness with a delicate touch of acidity. This acidity also helps to preserve the vibrant red color of the filling. Freshly squeezed lemon juice will always yield the best results, but bottled lemon juice can be used in a pinch. Just be mindful of the quantity, as bottled juice can sometimes be more concentrated and might make the filling too tart if over-measured.
Cornstarch: This is our secret weapon for achieving that perfectly thick, spoonable consistency. Cornstarch acts as a thickening agent, creating a smooth and glossy texture without imparting any flavor. It’s crucial for a filling that holds its shape, especially when used between cake layers. For alternatives, tapioca starch can work, but flour can sometimes leave a slightly cloudy appearance or a raw flour taste if not cooked long enough.
Water: Combined with cornstarch, water forms a “slurry” – a smooth paste that prevents the cornstarch from clumping when added to the hot berry mixture. This ensures an evenly thickened, lump-free filling. Make sure the water is cold when mixing with cornstarch to ensure it dissolves properly.
Essential Equipment for This Recipe
Making this strawberry filling requires only a few basic kitchen tools, making it accessible for everyone:
- A medium saucepan is necessary to cook the filling. Choose a heavy-bottomed, non-reactive pan (like stainless steel) to ensure even heating and prevent the fruit from reacting with the metal, which can sometimes affect the color or taste.
- For preparing the cornstarch slurry, you’ll need one of your trusty mixing bowls. A small bowl is sufficient for whisking the cornstarch and water together smoothly.
- A good quality whisk is indispensable for combining the cornstarch slurry without any clumps. It also comes in handy for gently stirring the strawberries as they begin to break down in the saucepan.
- As the mixture cooks and thickens, a wooden spoon or rubber spatula will be perfect for stirring. These tools help scrape the bottom and sides of the pan, preventing sticking and ensuring uniform cooking and thickening.
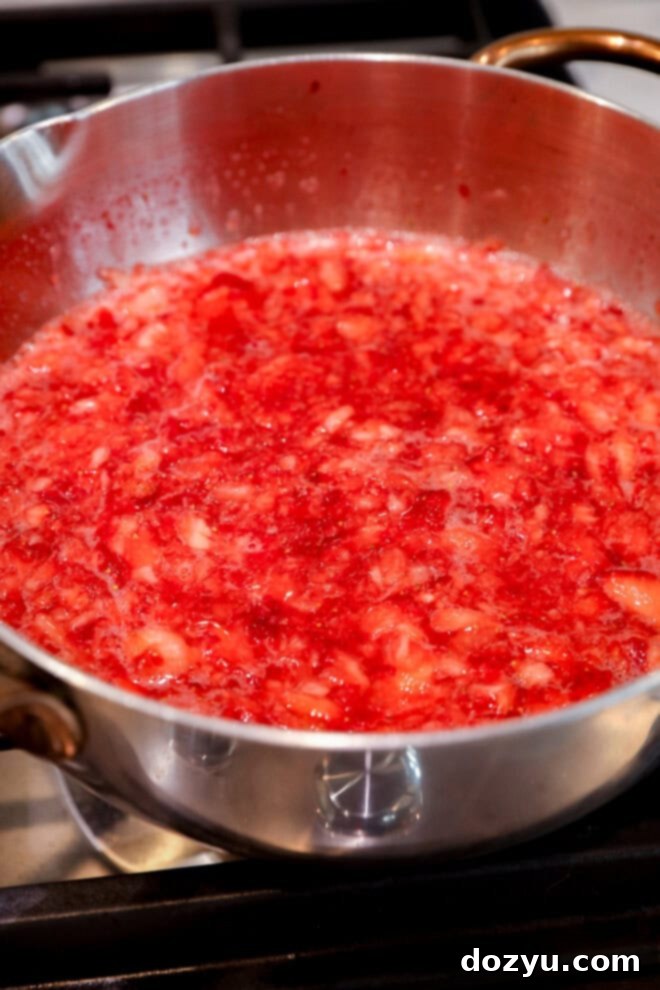
Step-by-Step: How to Make This Delicious Strawberry Filling
Prep the Strawberries
Begin by thoroughly washing your fresh strawberries under cold running water. Gently pat them dry. Next, remove the green tops (hull them) and finely chop the strawberries. Aim for pieces about 1/4 inch in size for a delightful chunky texture in your filling. You can do this by hand using a sharp knife, or for speed, use a food processor. If using a food processor, be cautious: pulse lightly and briefly to avoid turning the berries into a watery puree. You want discernible pieces, not a smoothie! Working in batches might be necessary depending on the size of your appliance to ensure even chopping.
Cook the Berries
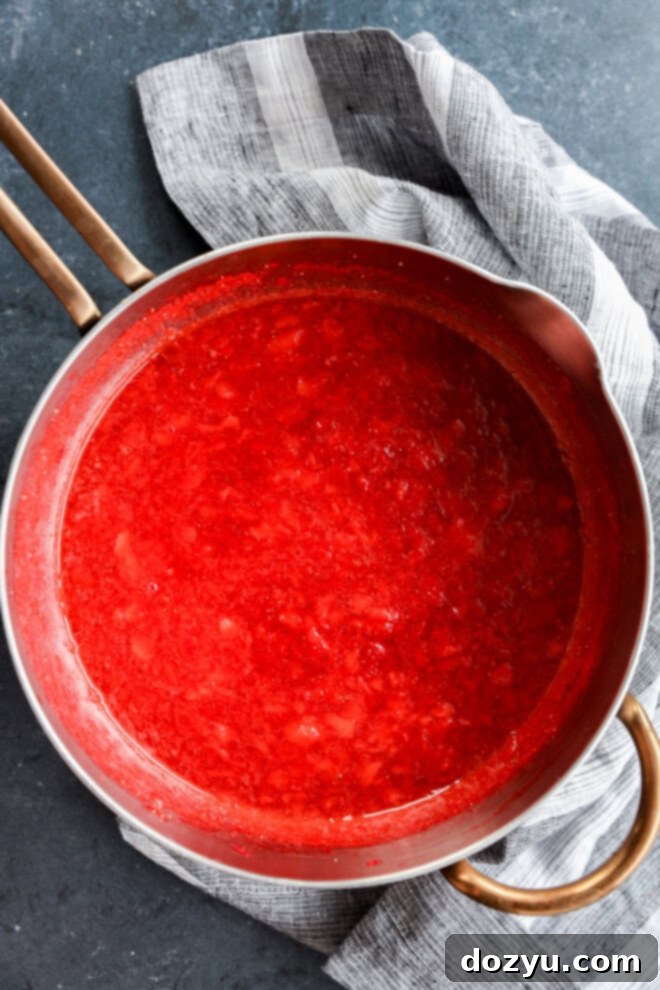
In a medium saucepan, combine your finely chopped strawberries, granulated sugar, and fresh lemon juice. Place the saucepan over medium-low heat. Stir constantly to dissolve the sugar and prevent sticking, allowing the strawberries to release their juices. Continue stirring until the mixture gently starts to simmer – you’ll see small bubbles forming around the edges. Once simmering, reduce the heat to low and continue to simmer gently for approximately 6 to 8 minutes. During this time, stir occasionally to prevent burning. The strawberries will soften, break down slightly, and the mixture will begin to reduce, intensifying its flavor and color.
Thicken the Mixture
While the strawberries are simmering, prepare your cornstarch slurry. In a small bowl, whisk together the cornstarch with water until a completely smooth paste forms. It’s crucial that there are no lumps of cornstarch remaining, as these will lead to a lumpy filling. Once your strawberry mixture has reduced and the berries are tender, slowly pour the cornstarch slurry into the simmering strawberry mixture, stirring continuously. Continue cooking for another 2 to 3 minutes, stirring occasionally. The filling will visibly thicken, achieving a consistency that easily coats the back of a spoon or spatula. Remember, the filling will continue to thicken significantly as it cools, so don’t overcook it at this stage.
Cool and Store
Once the desired thickness is reached, remove the saucepan from the heat. Carefully transfer the hot strawberry filling into a clean bowl. To prevent a skin or film from forming on the surface as it cools, immediately cover the filling with plastic wrap, pressing the wrap directly onto the surface of the filling. Allow it to cool completely at room temperature before refrigerating. For the best consistency and to allow the flavors to meld beautifully, refrigerate the covered filling for at least 12 hours, or even overnight, before using. This crucial cooling time ensures the filling sets up perfectly.
Expert Tips & Tricks for the Best Strawberry Filling
Achieving a perfect homemade strawberry filling is simple with these expert tips:
- Choose Ripe Strawberries: The foundation of exceptional flavor starts with your berries. Select strawberries that are deep red throughout, intensely fragrant, and firm to the touch. Avoid any berries with significant white or green patches near the stems, as these are underripe and will lack sweetness and depth of flavor. Locally sourced, seasonal strawberries are often the best choice.
- Don’t Overcook or Boil Hard: Patience is key. Cook the mixture at a gentle simmer, not a vigorous boil. As soon as the filling thickens enough to coat the back of a spoon, remove it from the heat. Remember, cornstarch continues to thicken as it cools, so if you overcook it on the stove, it might become too stiff or gummy once chilled. Overcooking can also dull the bright, fresh taste and deepen the color too much.
- Adjust Consistency After Cooling: It’s common for the filling to be quite thick once fully refrigerated. If you find your filling is too thick for your intended use (e.g., drizzling), simply stir in a teaspoon or two of warm water, milk, or even a splash of lemon juice until you reach your desired consistency. For a thicker filling, you can gently reheat it and simmer briefly, though this is rarely necessary if the initial thickening step was followed correctly.
- For a Smoother Texture: If you prefer a less chunky filling, you can use a potato masher or an immersion blender directly in the saucepan to break down more of the strawberry pieces during cooking. For an ultra-smooth, coulis-like consistency, press the cooled filling through a fine-mesh sieve.
- Prevent a Film: Covering the hot filling with plastic wrap directly touching its surface (known as “saran wrapping”) is a crucial step. This prevents a rubbery film from forming on top as it cools, ensuring a uniformly smooth texture throughout.
- Troubleshooting Watery Filling: If your filling remains too thin after cooling and refrigerating, it likely needed more time on the stove or a bit more cornstarch. You can gently reheat it over low heat and, if necessary, add another small slurry (1/2 tsp cornstarch mixed with 1 tbsp cold water), stirring constantly until it reaches the desired thickness.
Looking for more sensational strawberry recipes? Dive into some of our other fruity favorites like Chocolate Strawberry Cake | Chocolate Covered Strawberry Brownies | Strawberry Cheesecake Mousse | Raspberry Blueberry and Strawberry Galette
Creative Variations to Try
While delicious on its own, this strawberry filling is also a fantastic base for creative flavor variations:
- Balsamic Twist: For an unexpected yet delightful depth of flavor, add a tablespoon of good quality balsamic vinegar along with the lemon juice. The tangy, slightly sweet notes of balsamic vinegar beautifully complement and boost the natural sweetness of the strawberries, creating a more complex and sophisticated taste that works surprisingly well in both sweet and even some savory applications.
- Vanilla Bean Infusion: Elevate your filling with the luxurious aroma of vanilla. Scrape the seeds from one fresh vanilla bean and stir them into the mixture while the strawberries are cooking. The real vanilla offers a warm, rich, and wonderfully aromatic flavor that surpasses any extract, making this sauce feel extra special and gourmet. A small step with a huge reward in terms of fragrance and taste.
- Boozy Kick: For an adult-friendly version, stir in a tablespoon of your favorite liqueur after the filling has finished cooking and has been removed from the heat. Rum adds a warm sweetness, Grand Marnier introduces a bright orange note, and Chambord (raspberry liqueur) enhances the berry profile beautifully. Most of the alcohol will evaporate from the residual heat, leaving behind a subtle, bold flavor complexity.
- Fresh Mint: For a refreshing, summery twist, finely chop a tablespoon of fresh mint leaves and stir them into the filling once it has completely cooled. Mint adds a bright, invigorating herbaceous note that pairs perfectly with strawberries, making it ideal for spring and summer desserts, especially when served with lighter dishes or in a fruit salad.
- Spicy Hint: For a subtle kick, add a tiny pinch of finely minced jalapeño or a very small dash of cayenne pepper during the cooking process. This unexpected heat complements the sweetness of the strawberries beautifully, especially for savory applications or adventurous palates.
Strawberry Filling vs. Jam: What’s the Difference?
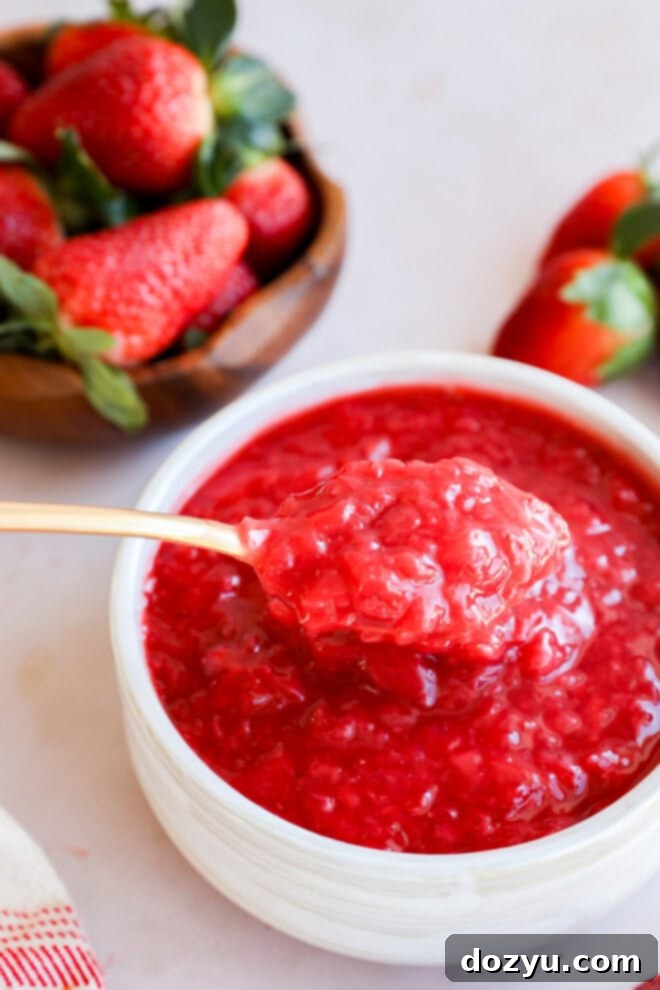
While both strawberry filling and jam celebrate the deliciousness of fresh strawberries, sugar, and often lemon juice, they serve different purposes and have distinct characteristics. The main difference lies in their cooking time and resulting texture.
Strawberry jam is typically cooked for a longer duration, often with the addition of pectin (either naturally occurring or added), to achieve a much thicker, more set, and spreadable consistency. The fruit pieces are usually broken down more thoroughly, resulting in a homogenous mixture that’s ideal for toast, sandwiches, and as a baking ingredient that won’t run. Jam is designed for long-term preservation.
Strawberry filling, on the other hand, is generally cooked for a shorter period. It’s often thickened with agents like cornstarch (as in this recipe) or flour, which allows for a more controlled and often quicker thickening process without the need for extensive boiling. The goal is a consistency that is thick enough to hold its shape (especially in cakes or tarts) but still retains distinct chunks of fruit and a syrupy, luscious texture. It’s usually less sweet than jam and intended for immediate use or short-term storage in the refrigerator, acting as a component of a larger dish rather than a standalone preserve.
Troubleshooting: Why Isn’t My Strawberry Filling Thickening?
If your strawberry filling isn’t achieving the desired thickness, don’t worry – it’s a common issue and usually easily remedied. Here are the most likely reasons and how to fix them:
- Not Cooked Long Enough: Cornstarch needs heat to activate its thickening properties. If the mixture isn’t brought to a simmer or isn’t cooked for the full 2-3 minutes after adding the slurry, it won’t thicken properly. Ensure it reaches a gentle boil and maintains it for the specified time, stirring constantly.
- Not Enough Cornstarch: The ratio of cornstarch to liquid is crucial. Double-check your measurements to ensure you’ve added the correct amount. If you suspect you’re short, you can always make a small additional slurry (1/2 tablespoon cornstarch mixed with 1 tablespoon cold water) and whisk it into the simmering filling, cooking for another minute or two until thickened.
- Strawberries Released Too Much Liquid: If you used frozen strawberries that weren’t thoroughly thawed and drained, or if your fresh strawberries were exceptionally juicy, they might have released more liquid than anticipated. This dilutes the thickening agent’s effect. If this happens, gently simmer the filling for a few extra minutes to reduce the liquid, or add a little more cornstarch slurry as described above.
- Cooling Time Ignored: Remember that cornstarch continues to thicken as it cools. The filling might seem too thin straight off the stove, but it will firm up significantly after several hours in the refrigerator. Always allow for adequate cooling time before determining if it’s truly too thin.
- Cornstarch Not Fully Dissolved in Slurry: If the cornstarch wasn’t thoroughly whisked into the water to form a smooth slurry, it might have clumped and not effectively thickened the mixture. Always ensure your slurry is lump-free before adding it to the hot berries.
Need more inspiration for a sweet treat? Check out my dessert recipes page!
Delicious Ways to Serve This Strawberry Filling
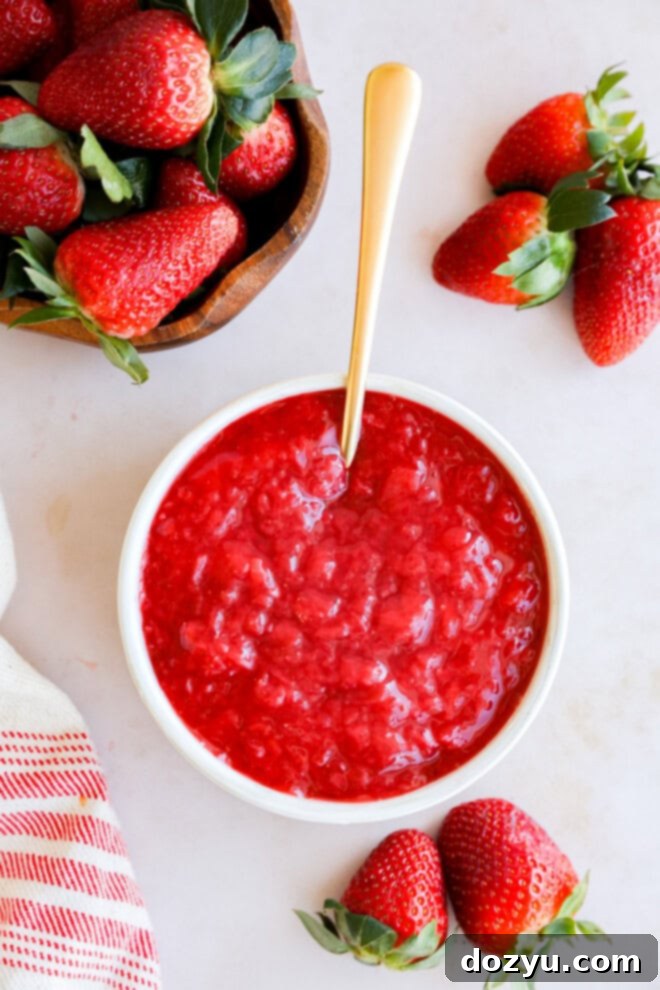
The versatility of this homemade strawberry filling makes it a staple for both everyday treats and special occasions. Here are just a few delicious ways to enjoy it:
- Breakfast Bliss: Elevate your morning routine by generously spooning this vibrant topping over your favorite breakfast recipes. It’s absolutely divine on fluffy pancakes, crisp strawberry waffles, golden French toast, or delicate crepes. Swirl it into a bowl of creamy Greek yogurt, mix it into warm oatmeal, or layer it in parfaits, perhaps even a Tiramisu Parfait, for an added burst of fruity flavor and a beautiful presentation.
- Dessert Delight: This filling shines as a central component in many desserts. Use it as a luscious layer between cake sponges for a classic strawberry cake, or spread it as a vibrant topping for cheesecakes. It’s fantastic dolloped onto individual cupcakes, tarts, or even used as a sweet filling for hand pies.
- Simple Sweet Treats: For an effortless dessert, spoon the filling over scoops of rich vanilla ice cream or gelato, allowing the warm or cool berry sauce to melt slightly into the frozen treat. You can also use it as a delightful fruit filling for thumbprint cookies or slather it onto freshly baked scones for a truly English tea-time experience.
- Elegant Entertaining: Create stunning trifles by layering the strawberry filling with whipped cream, cake cubes, and fresh berries. For a celebratory touch, add a spoonful to a flute of Prosecco or champagne, creating a beautiful and flavorful sparkling cocktail. It also makes a fantastic base for panna cotta or mousse.
- Savory Pairings: For an unexpected twist, particularly if you’ve added the balsamic variation, try pairing this filling with creamy goat cheese on crackers or as a topping for grilled chicken or pork. The sweet-tart profile can cut through richness beautifully.
Storage & Reheating Instructions
Proper storage ensures your homemade strawberry filling remains fresh and delicious for as long as possible:
- Refrigerate: Once completely cooled, transfer the strawberry filling to an airtight container. It will keep beautifully in the refrigerator for up to 5 days. For best results, stir it well before each use, especially if it’s been stored for more than 24 hours, as some separation might occur.
- Freeze: For longer storage, this filling freezes exceptionally well. Pour the cooled filling into freezer-safe bags or containers, leaving a little headspace for expansion. It can be frozen for up to 3 months. When you’re ready to use it, simply transfer it to the refrigerator to thaw overnight. Stir well after thawing before serving.
- Reheat: If you prefer a warm topping, gently reheat the filling on the stovetop over low heat, stirring occasionally until warmed through. Alternatively, you can microwave it in short bursts, stirring in between, until it reaches your desired temperature. If the filling has thickened too much during storage (which is common, especially after freezing and thawing), stir in a splash of water, orange juice, or even a tiny bit of lemon juice while reheating until it achieves the perfect consistency.
More Favorite Berry & Dessert Recipes
This homemade strawberry filling is a testament to how simple ingredients can truly create something amazing and versatile. Its bright, fresh flavor makes it a fantastic addition to a variety of other delightful berry-focused recipes. If you loved making this filling, you’ll surely enjoy exploring more of our sweet creations:
- For a lighter, drizzly sauce that’s perfect over pancakes, waffles, or even cheesecake, try our rich Strawberry Coulis. It offers a smooth, intense strawberry flavor that complements many desserts.
- If you’re craving something truly indulgent, this strawberry filling pairs wonderfully with our decadent Chocolate Covered Strawberry Brownies. Imagine the layers of rich chocolate and fresh berry goodness!
- For a charmingly rustic and utterly delicious dessert, consider using this homemade strawberry filling as the star in our Raspberry, Blueberry, and Strawberry Galette. The combination of mixed berries with a flaky crust makes for an unforgettable treat.
- And for those who can’t get enough of cheesecake, our Strawberry Cheesecake Mousse provides a light, airy, and creamy texture that melts in your mouth, perfectly balanced with the tang of strawberries.
Finally, if you make this homemade strawberry filling recipe, please be sure to give this recipe a star rating on the recipe card and/or leave a comment below! I absolutely love hearing when you all try my recipes, and I make it a point to respond to every single comment. Your feedback truly means the world to me!
Feel free to drop any questions you might have in the comments section below, and I’ll do my best to help you out!
Oh, and be sure to tag me on Instagram, Facebook, or Pinterest if you whip up this delicious recipe! There’s nothing I enjoy more than seeing these recipes come to life in your kitchens and homes – it’s truly my favorite thing to browse through your photos. Thank you for being a part of this culinary journey!
Want to be the first to know when I release a new recipe or share the latest news? Sign up for my newsletter to get them delivered straight to your inbox!
Strawberry Filling Recipe
Equipment
-
Medium saucepan
-
Mixing bowls
-
Whisk
-
Wooden spoon or spatula
Ingredients
- 18 ounces fresh strawberries (or thawed frozen, drained)
- 1/2 cup granulated sugar
- 1 Tbsp freshly squeezed lemon juice
- 1 Tbsp cornstarch
- 1 1/2 Tbsp cold water
Instructions
-
Remove the tops (hull) of the strawberries. Finely chop* the strawberries by hand, aiming for roughly 1/4-inch pieces for a nice texture. Alternatively, use a food processor, but pulse lightly until finely chopped, taking care not to over-process into a puree. You may need to work in batches.
-
In a medium saucepan, combine the chopped strawberries, granulated sugar, and lemon juice. Place over medium-low heat. Stir constantly until the sugar dissolves and the mixture begins to gently simmer. Reduce the heat to low and continue to simmer, stirring occasionally, for 6 to 8 minutes, until the strawberries soften and the mixture slightly reduces.
-
While the strawberry mixture simmers, whisk together the cornstarch and cold water in a small bowl until a smooth, lump-free slurry is formed. Set aside.
-
Once the strawberries have softened and reduced slightly, slowly stir in the cornstarch slurry. Continue to simmer for about 2 to 3 minutes, stirring occasionally, until the filling thickens enough to coat the back of a spoon or spatula. Be careful not to overcook, as it will thicken further as it cools.
-
Remove the saucepan from the heat. Transfer the hot filling to a clean bowl.
-
Immediately cover the surface of the filling with plastic wrap, pressing it directly onto the top to prevent a film from forming. Let it cool completely at room temperature.
-
Refrigerate for at least 12 hours (overnight is best) before using, as the flavors meld and the consistency fully sets during this time. Stir well before using, especially if it’s been refrigerated for more than 24 hours.
-
Enjoy this versatile strawberry filling in cakes, as a topping for ice cream, waffles, pancakes, and many other delicious desserts!
Video
Notes
Storage:
- This filling keeps well in an airtight container in the refrigerator for up to 5 days.
- For longer storage, it can be frozen for up to 3 months. Thaw overnight in the refrigerator before using. Stir well after thawing.
- If the filling becomes too thick after chilling or thawing, simply stir in a teaspoon or two of warm water or lemon juice until desired consistency is achieved.
