Authentic Italian Rainbow Cookies: Your Ultimate Guide to Festive Layered Delights
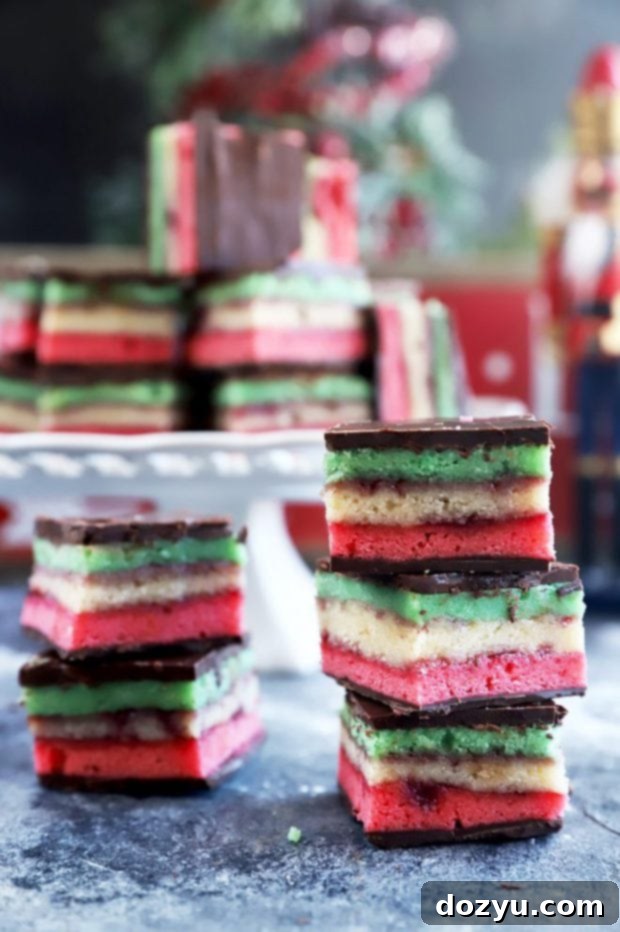
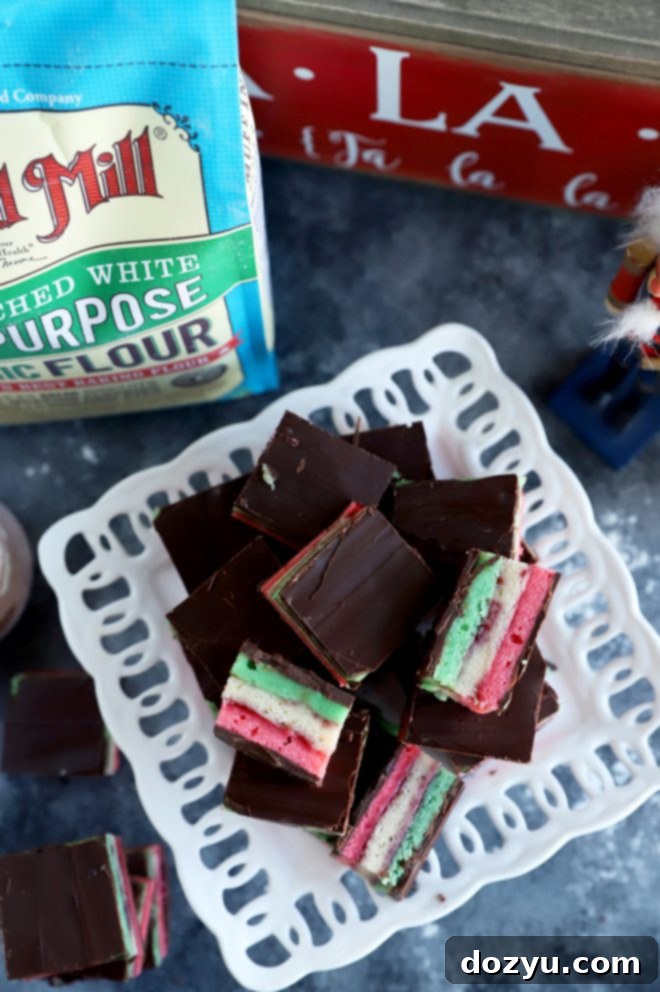
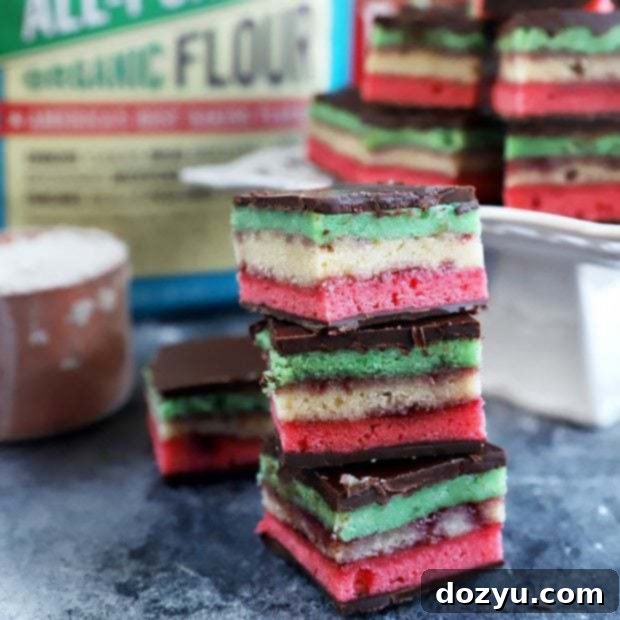
Layered Italian Rainbow Cookies are truly a unique and festive highlight of the holiday season, beloved for their vibrant colors and distinctive flavor profile. These exquisite treats, infused with almond, sweet raspberry, and rich dark chocolate, beautifully capture the iconic red, white, and green hues of the Italian flag, making them a perfect addition to any Christmas celebration or festive gathering.
Disclosure: This post has been sponsored by Bob’s Red Mill! As always, all opinions are my own.
Last year, during a memorable visit with my brother in picturesque Connecticut, I had the immense pleasure of encountering what I can only describe as the best Italian rainbow cookies I had ever tasted. They were presented in a magnificent box, brimming with an array of festive cookies that were utterly irresistible.
The distinctive red, white, and green stripes of these Italian rainbow cookies were perfectly layered with a delicate raspberry jam and a coating of smooth dark chocolate. Each bite offered a rich, authentic almond flavor that simply melted in my mouth, creating a moment of pure culinary bliss. It was an experience that inspired me to recreate this beloved classic at home, bringing the taste of Italy and the joy of the holidays right into my kitchen.
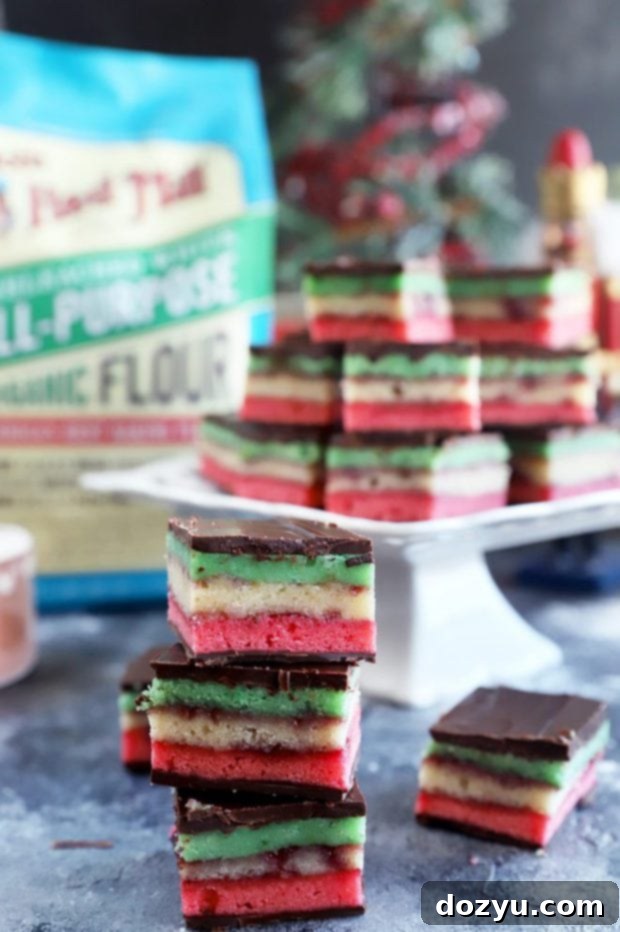
Table of Contents
Toggle
The Irresistible Allure of Holiday Cookies
There’s something magical about the holiday season that intensifies my craving for cookies. Perhaps it stems from childhood memories of leaving treats out for Santa Claus, or maybe it’s simply the perfect excuse to indulge in the joy of baking. Whatever the reason, this year, I’ve taken my holiday baking game to a new level with these extraordinary Italian Rainbow Cookies, and I genuinely believe this is one recipe you absolutely must set aside time to make this weekend.
When it comes to achieving baking perfection, I have an unwavering trust in one particular brand as I gather my measuring cups and spoons: Bob’s Red Mill. Their commitment to quality ensures that every baked good, from simple cookies to intricate cakes, turns out wonderfully. Their reliable products are the foundation of any successful baking endeavor, especially during the festive holiday rush.
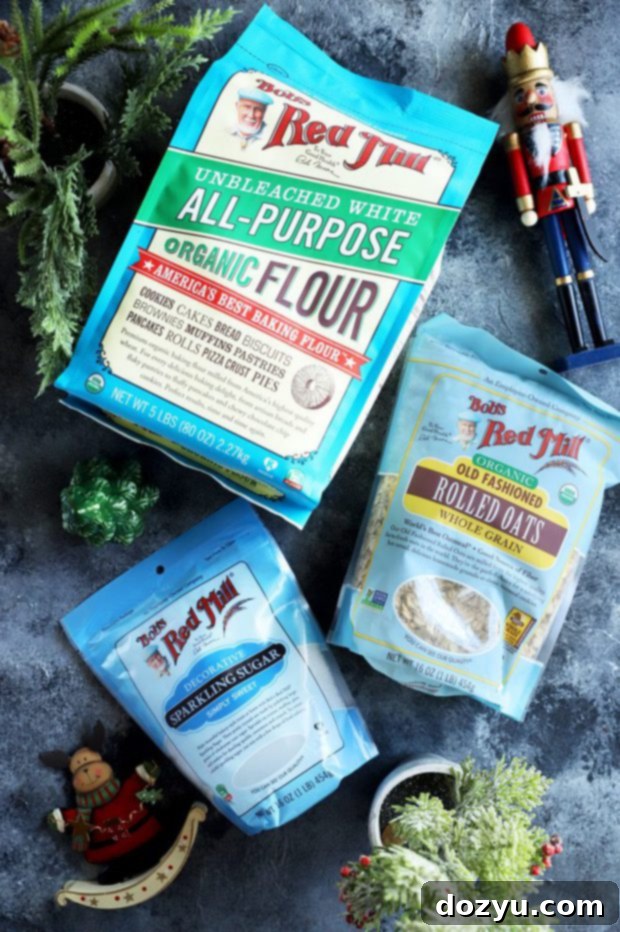
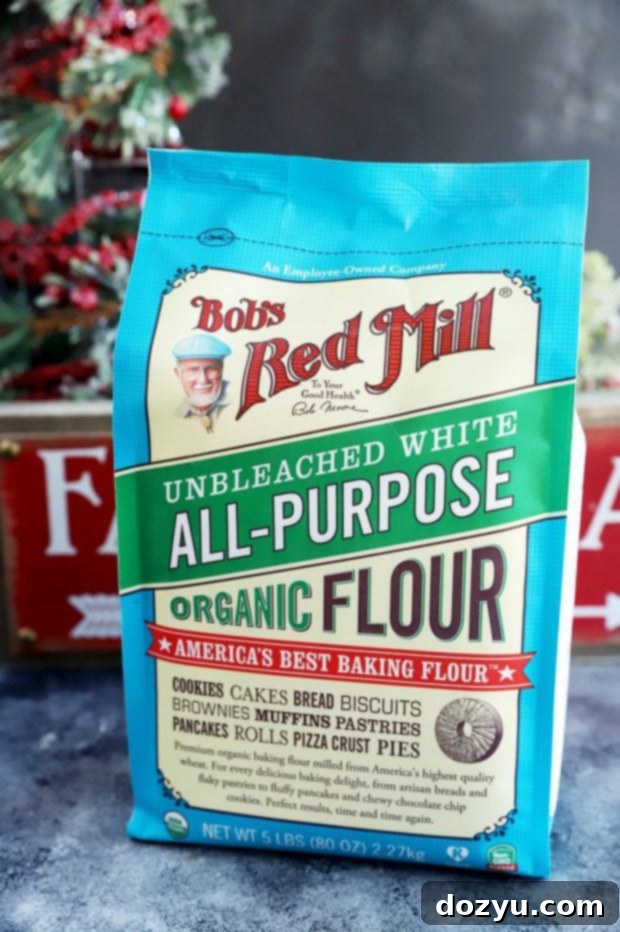
You’ve likely seen me feature their organic all-purpose unbleached white flour on numerous occasions, and for good reason. This flour, freshly milled from certified organic hard red wheat, boasts an exceptional quality that makes it suitable for virtually any baked good you can imagine. It’s my absolute favorite for creating holiday cookies, as it provides the perfect structure and tenderness, but it performs equally well in cakes, muffins, breads, biscuits, and a myriad of other delightful treats.
What truly sets Bob’s Red Mill flour apart is its natural state: it’s both unbleached and unenriched. This means you can bake with complete confidence, knowing that the foundation of your festive goodies is pure and wholesome. For Italian Rainbow Cookies, where texture and integrity are paramount for those beautiful layers, using a high-quality flour like this makes all the difference, contributing to a consistently perfect result every time you bake. To keep those delightful Italian vibes going strong, consider pairing these exquisite cookies with a refreshing Disaronno Sour!
Essential Equipment for Baking Rainbow Cookies
Creating the delicate and vibrant layers of Italian Rainbow Cookies requires a few key pieces of kitchen equipment to ensure a smooth baking process and perfect results. For preparing the cookie batter, a robust stand mixer fitted with the paddle attachment is indispensable. This will efficiently cream together your sugar, almond paste, and butter, creating a smooth and well-aerated base for your cookies.
You will also need several mixing bowls and an electric hand mixer specifically for whipping the egg whites. Achieving stiff peaks in the egg whites is crucial for adding lightness and structure to the cookie batter, and a hand mixer offers the control needed for this delicate task. These additional bowls are also incredibly useful for neatly dividing the batter into three equal portions and precisely coloring each one.
For baking each individual layer, I highly recommend using quarter sheet baking pans. Their smaller size allows for easier handling and ensures that each layer bakes evenly. However, if quarter sheet pans aren’t readily available, 9×13-inch baking dishes can be used as an alternative, though you may need to adjust baking times slightly or use a larger batch to fill them properly. Finally, an offset spatula is an absolute must-have tool for evenly spreading the raspberry jam and melted dark chocolate between and on top of your cookie layers, ensuring a professional and beautiful finish.
Explore More Cookie Recipes: Lemon Meringue Cookies / Mocha Orange Mexican Wedding Cookies / Vanilla Bean Cardamom Sugar Cookies
Step-by-Step: How To Make Italian Rainbow Cookies
Making Italian Rainbow Cookies is a rewarding process that results in a visually stunning and incredibly delicious treat. While the multi-layered approach might seem intricate, breaking it down into manageable steps makes it entirely achievable for any home baker.
Preparing the Almond Batter
The foundation of these exquisite cookies is a rich and flavorful almond batter. Unlike a simple drop cookie, this batter requires a bit more attention. You’ll begin by creaming together the wet ingredients – sugar, almond paste, and softened butter – until they are wonderfully smooth and completely lump-free. This creaming process is vital for incorporating air and ensuring a tender texture in the finished cookies. Following this, the remaining butter is beaten in, followed by egg yolks, milk, and almond extract, each addition ensuring a well-emulsified and harmonious mixture. Finally, the flour is gradually mixed in until just combined, creating a thick, fragrant base. Separately, egg whites are whipped to stiff peaks. This step is critical; the stiff egg whites are then gently folded into the almond flour mixture. This careful folding technique ensures that the batter remains light and airy, resulting in delicate cake-like layers that are a hallmark of authentic Italian Rainbow Cookies.
Coloring and Separating the Batter
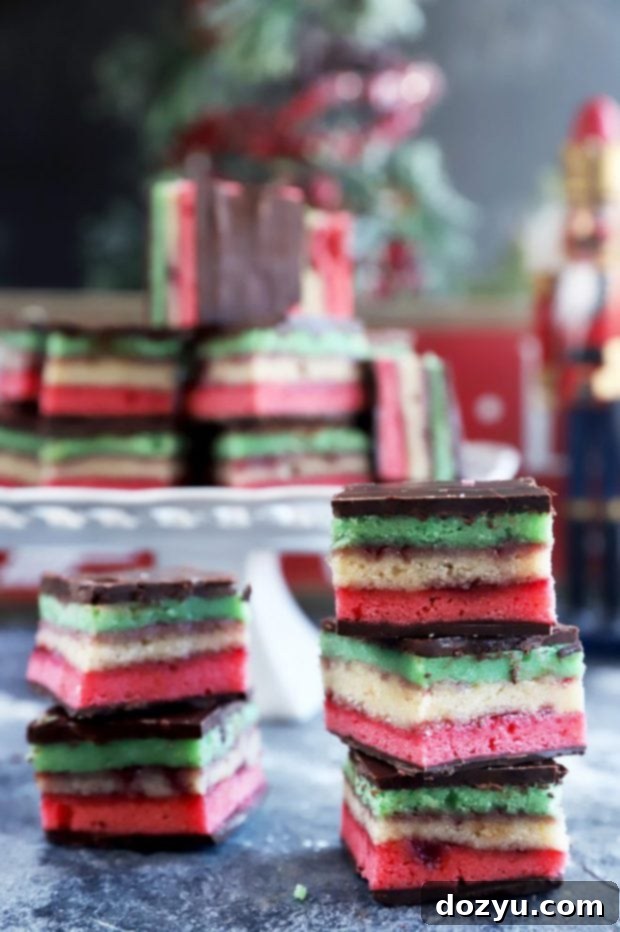
Once your velvety batter is prepared, it’s time to bring in the iconic colors of the Italian flag. The batter needs to be divided into three perfectly equal portions. You can achieve this precision either by carefully weighing the batter into three separate bowls or by using accurate measuring cups. Accuracy here is key to ensuring uniform layer thickness and appearance. One-third of the batter will be dyed a vibrant red, another third a rich green using food coloring, and the final third will be left its natural, undyed color, representing the white stripe of the flag. This step is where the visual magic of rainbow cookies truly begins to take shape.
Baking the Colorful Layers
Each of the three colored batters is then spread into its own prepared baking pan. It’s essential to spread the batter as evenly as possible to ensure uniform thickness across all layers, which will contribute to a beautifully structured cookie. These thin cake layers are then baked in a preheated oven for approximately 10 to 12 minutes. During baking, you’ll observe the batter puffing up slightly and setting completely. To ensure even cooking and browning, remember to rotate the pans halfway through the baking time. The goal is a tender, moist layer that is fully cooked but not overly dry, retaining its vibrant color.
Layering, Chilling, and Setting
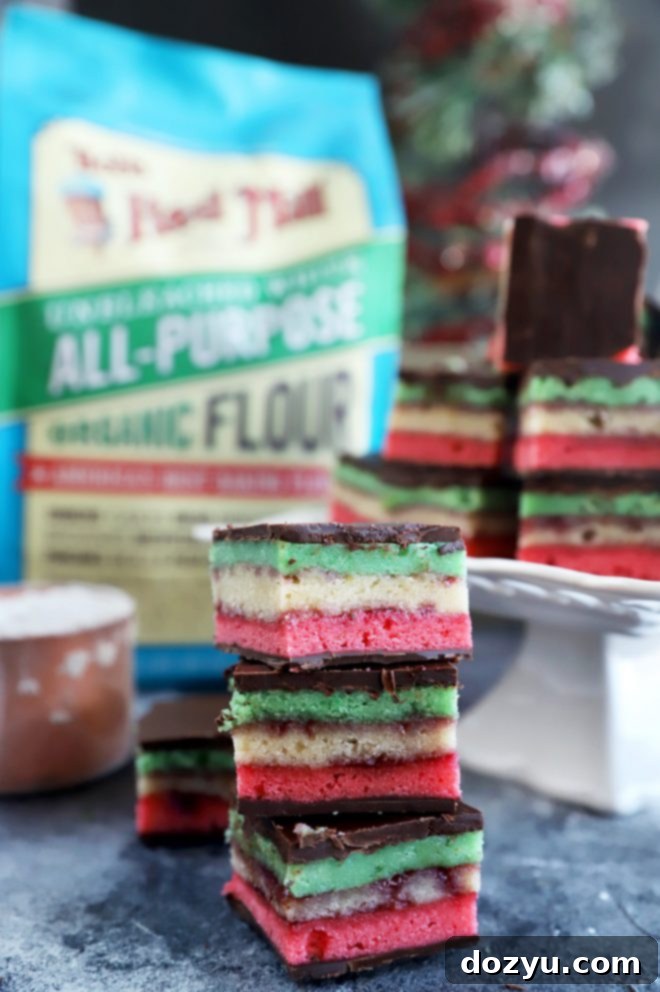
After the baked cake layers have cooled completely in their pans, the assembly process begins. Carefully remove the green layer from its pan and place it on a large sheet pan, gently peeling off the parchment paper from the bottom. Spread half of your delicious raspberry jam evenly over the green cake. Next, carefully remove the undyed “white” layer from its pan, peel off the parchment, and place it precisely on top of the jam-covered green layer. Spread the remaining raspberry jam over the white layer. Finally, the red layer is gently placed on top, again ensuring the parchment paper is removed. This precise layering creates the iconic rainbow effect. To ensure these delicate layers adhere firmly, cover the assembled cakes with plastic wrap, then place another sheet pan on top. Weight the layers down with heavy plates and refrigerate for at least 4 hours, or ideally, overnight. This crucial chilling period compresses the layers, allowing the jam to set and bind them together, preventing them from falling apart when cut.
The Final Chocolate Coating
Once the initial chilling is complete and your layers are firmly set, it’s time for the decadent chocolate finish. Remove the weights and plastic wrap. Melt your dark chocolate chips until smooth and glossy. Spread half of the melted chocolate in a perfectly even layer over the top of the cake. Return the cake to the refrigerator for about 30 minutes to allow this first chocolate layer to set completely. Once firm, carefully but confidently flip the entire cake onto a clean cutting board. Now, generously cover the other side with the remaining melted chocolate, spreading it evenly. Chill once more for another 30 minutes until the second chocolate layer is fully set and firm. Finally, with a sharp knife, trim the edges of the cake to create clean, uniform sides, and then cut the large cake into charming, bite-sized 1 1/2-inch squares. These beautiful, delicious Italian Rainbow Cookies are now ready to be served and enjoyed!
Should you be seeking another delightful and festive recipe to enhance your holiday cookie box, these chocolate-dipped candied orange slices are an absolutely fantastic choice, offering a bright and zesty counterpoint to richer flavors.
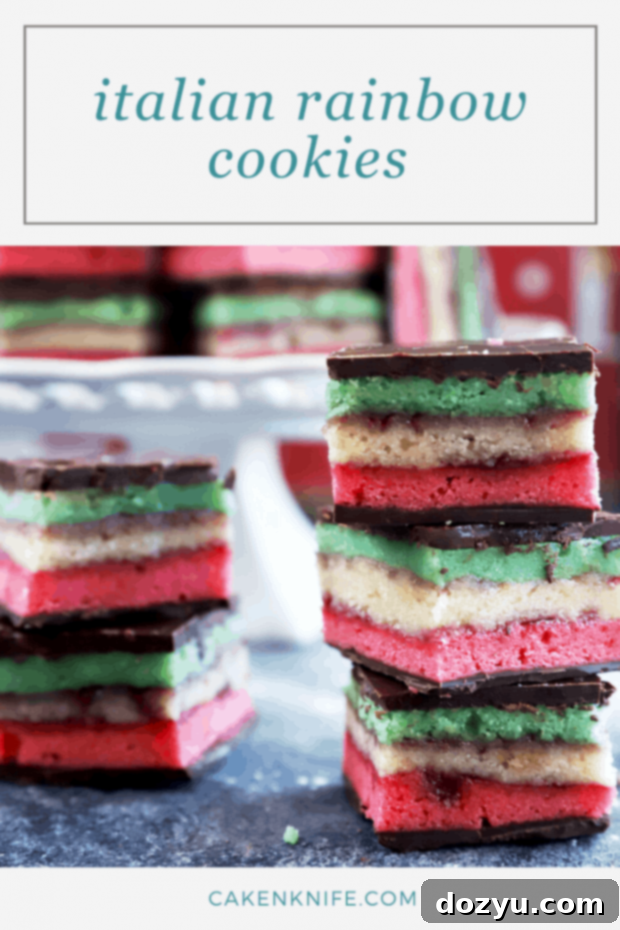
Pin this Italian Rainbow Cookies recipe for later!

Continuing the Holly Jolly Giveaways on Cake ‘n Knife!
Baking is often described as a science, and much like any scientific endeavor, consistent success hinges on using the right ingredients. This is precisely why I invariably turn to Bob’s Red Mill products for all my baking needs, whether I’m crafting sweet holiday treats or savory dishes for the festive season! Their dedication to quality ensures that my recipes are always a hit. Today, I’m thrilled to announce a special partnership with Bob’s Red Mill to give one fortunate winner a fantastic gift set. This prize package includes their highly acclaimed Unbleached All-Purpose Organic Flour, hearty Rolled Oats, dazzling Sparkling Sugar, and a generous $50 gift card to bobsredmill.com!
Enter to Win a Bob’s Red Mill Gift Set!
To participate in this exciting giveaway and have a chance to win these incredible baking essentials, simply head below the recipe card. Don’t miss out on the opportunity to elevate your own holiday baking!
And be sure to stay updated with all of our amazing giveaways throughout this festive season. You can check out this page for all the current posts and ensure you don’t miss any opportunities!
Italian Rainbow Cookies
20 minutes
12 minutes
5 hours
5 hours 32 minutes
prevent your screen from going dark
equipment
-
7-Speed Hand Mixer
-
KitchenAid 7-Quart Pro Line Stand Mixer
-
Nordic Ware Natural Aluminum Commercial Baker’s Quarter Sheet, 2-Pack
ingredients
- 1 cup sugar
- One 8-ounce can almond paste
- 3 sticks 24 Tbsp unsalted butter, softened and divided
- 4 eggs separated
- 1/4 cup milk
- 2 teaspoons almond extract
- 2 cups all-purpose flour
- 1/4 teaspoon red food coloring
- 1/4 teaspoon green food coloring
- 2/3 cup raspberry jam divided
- 1 1/2 cups dark chocolate chips melted
instructions
-
Preheat oven for 325˚F. Grease three separate 9×13-inch quarter sheet baking pans or cake pans with cooking spray. Line each with parchment paper, letting it hangover the sides for easy removal.
-
Add sugar, almond paste, and 8 Tbsp (1 stick) unsalted butter to a stand mixer fitted with a paddle attachment. Beat until smooth and there are no more lumps. Beat in remaining butter until smooth, scraping down the sides as needed with a spatula.
-
Add the egg yolks in, beating until combined. Beat in milk and almond extract until combined. Add flour, slowly mixing in until combined, scraping down the sides of the bowl as needed. Once combined, set aside.
-
Add egg whites to a large bowl, beating with a handheld electric mixer until they form still peaks. Fold the egg whites into the almond flour mixture to form the batter until combined. Divide the batter equally into three separate bowls.
-
Stir in red food coloring into the first bowl until evenly colored. Stir in green food coloring into the second bowl until evenly green in color. Leave the third bowl untouched.
-
Evenly spread each batter into its own greased and parchment-lined pan. Bake, rotating halfway through, until set, about 10 to 12 minutes. Cool completely in the pans.
-
Once cooled, remove the green cake from the pan onto a large sheet pan, removing the parchment paper from the bottom. Spread half the jam on top of the green cake. Remove the parchment off the undyed layer and place on top. Spread with remaining jam and top with the pink layer, making sure to remove the parchment paper before.
-
Cover the layered cakes with plastic wrap and top with another sheet pan. Weight the layers down using heavy plates and refrigerate for 4 hours or overnight.
-
Remove weights and plastic wrap, then spread half the melted chocolate on top of the cake. Place in the refrigerator to set for 30 minutes. Once solid, carefully flip cake onto a cutting board. Spread with remaining chocolate in an even layer. Return to the refrigerator to let set for 30 minutes.
-
Once set, trim edges to make even. Then cut into 1 1/2 inch squares. Serve.
Holiday
Cookies
