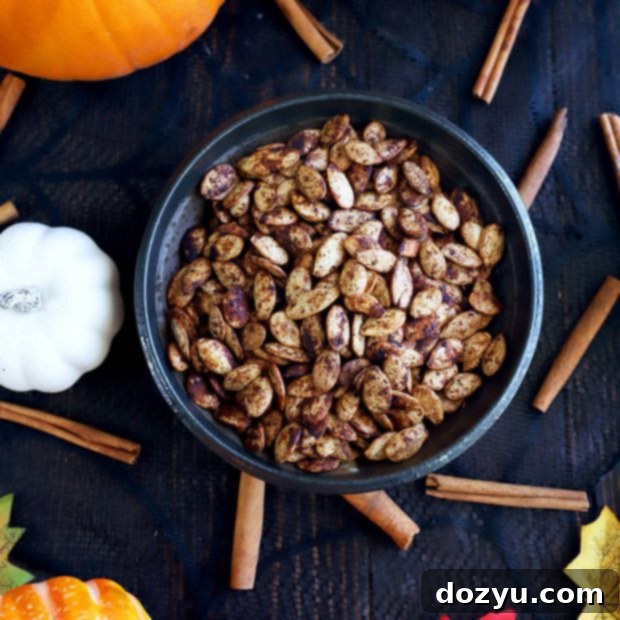
The Ultimate Guide to Making Perfectly Spiced Roasted Pumpkin Seeds
As the crisp autumn air arrives and Halloween festivities draw near, there’s one beloved tradition that many families cherish: pumpkin carving! Transforming a simple pumpkin into a grinning jack-o’-lantern is a delightful activity, creating lasting memories and festive decor. But what about all those precious seeds scooped out during the process? Far too often, they end up discarded, an oversight for what could be your new favorite seasonal snack. Instead of tossing them, let’s turn those humble seeds into an irresistibly crunchy, warmly spiced, and utterly addictive treat: homemade roasted pumpkin seeds!
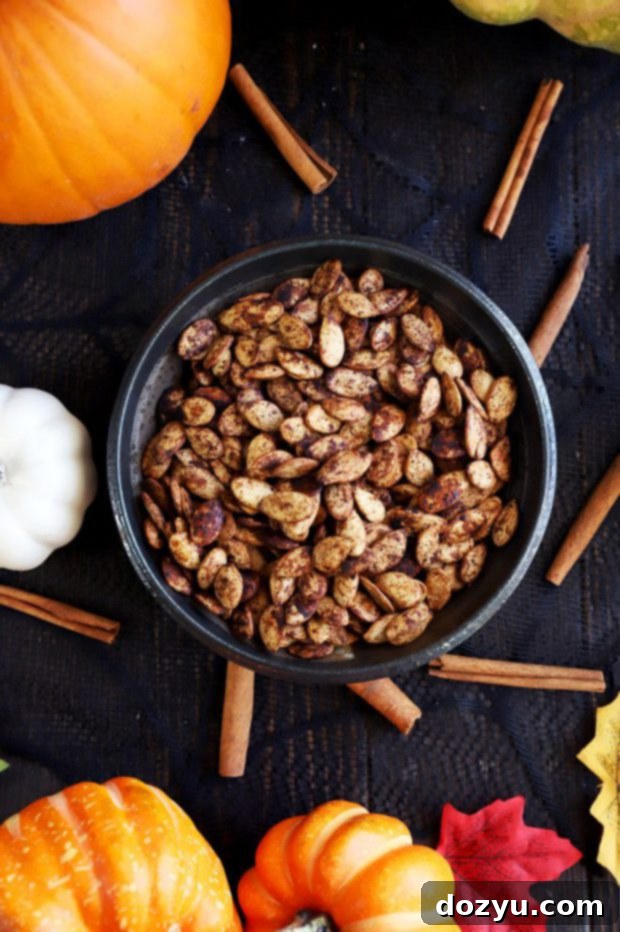
For many, myself included, Halloween evokes a flood of vivid memories, and beyond the mountains of candy, pumpkin carving stands out. I recall the excitement of choosing the perfect pumpkin, the slightly messy but satisfying task of scooping out the pulp, and the ambition of intricate designs that rarely materialized exactly as planned. My carving skills were never truly remarkable, and looking back, I can’t quite pinpoint if my mom and I carved pumpkins every single year – a detail lost to time, much like a forgotten Halloween costume.
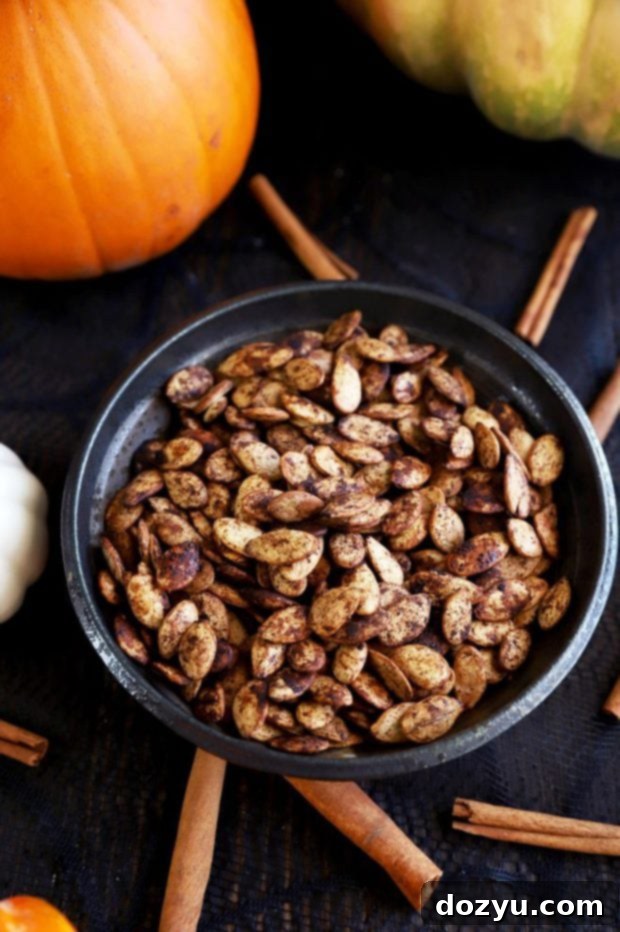
What I do remember vividly, however, is my mom’s unwavering tradition of saving those precious seeds. Her ritual of roasting them transformed a messy byproduct into a culinary delight, filling the kitchen with an irresistible, warm, and nutty aroma. Roasted pumpkin seeds quickly became one of my absolute favorite snacks. Even now, though I carve pumpkins less frequently, the desire for that perfectly spiced, crunchy treat remains strong. There’s something truly magical about the way the seeds transform when roasted, especially when enveloped in a fragrant, seasoned butter. Because let’s be honest, butter makes everything better, and a well-chosen blend of spices elevates it to an entirely new level.
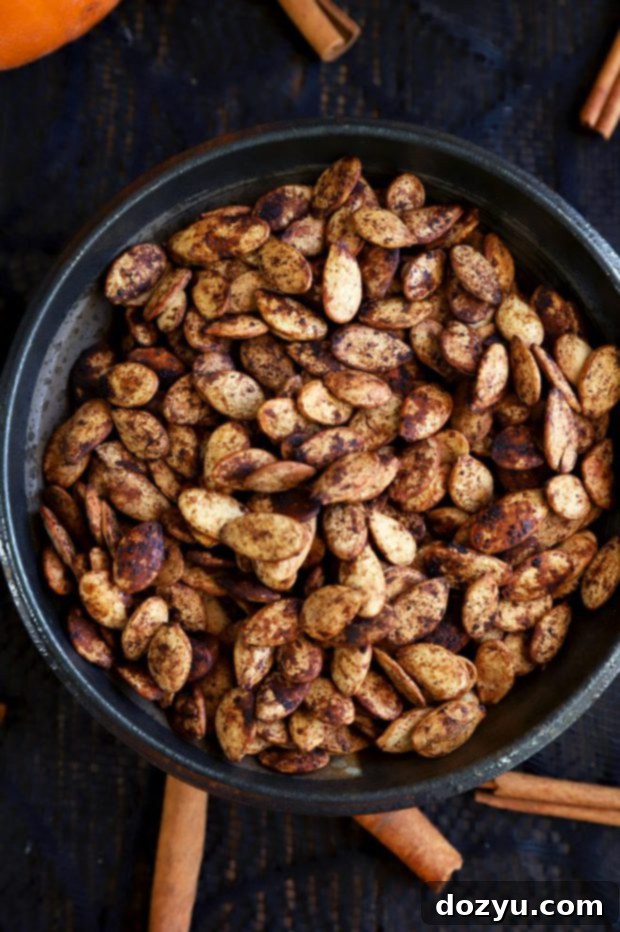
This recipe is an absolute game-changer, and it couldn’t be simpler to prepare. Whether you’re making use of the fresh seeds from your Halloween pumpkin carving adventures or, like me, you sometimes opt for the convenience of store-bought unsalted pumpkin seeds, the result is equally delightful. These seeds emerge from the oven nutty, warm, subtly spicy, and incredibly addictive. You’ll find yourself reaching for them again and again, making it wise to consider a double or even triple batch – they disappear remarkably fast!
Beyond being a delicious snack, roasting your own pumpkin seeds offers several advantages. It’s an excellent way to reduce food waste, transforming a usually discarded part of the pumpkin into a wholesome treat. Furthermore, homemade roasted seeds allow you complete control over the ingredients, meaning you can adjust the salt, spices, and even the type of fat to suit your dietary preferences. They’re a fantastic source of nutrients, including magnesium, zinc, and healthy fats, making them a much healthier alternative to many processed snacks. This recipe is designed to be quick and straightforward, ensuring that even novice cooks can achieve perfectly crunchy, flavorful results every time.
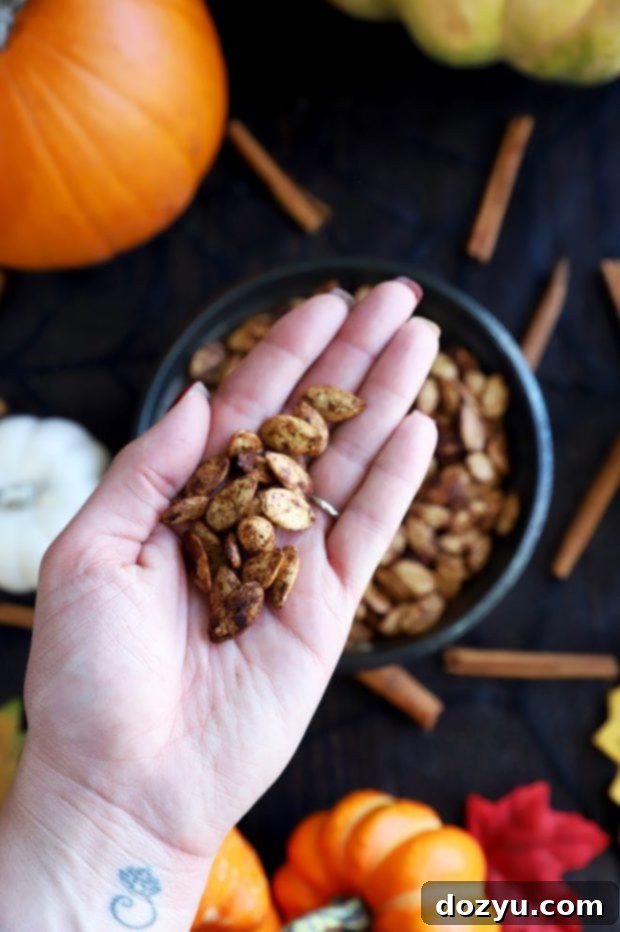
table of contents
Toggle
Essential Equipment for Roasting Pumpkin Seeds
One of the many beauties of this roasted pumpkin seed recipe is its simplicity, which extends to the minimal equipment required. You won’t need any fancy gadgets or specialized tools. To get started, you’ll need a reliable set of mixing bowls – one for preparing your aromatic seasoned butter, and another, preferably medium-sized, for tossing the cleaned pumpkin seeds until they’re perfectly coated. The even coating of seasoning is key to their incredible flavor, so make sure your bowls are large enough for easy mixing.
Next, a sturdy half sheet baking pan is essential for ensuring your seeds roast evenly without overcrowding. Lining it with parchment paper or a silicone mat is highly recommended to prevent sticking and make cleanup a breeze. Finally, a versatile wooden spoon or spatula will come in handy for stirring the seeds halfway through cooking, guaranteeing that every side gets that delightful golden-brown crispness. These simple tools are all you need to create a truly spectacular batch of homemade roasted pumpkin seeds.
More Delightful Snack Recipes to Explore:
If you’re looking to expand your repertoire of delicious and easy-to-make snacks, consider trying some of these fantastic recipes:
- Curried Nut Mix: A savory and aromatic blend of nuts, perfect for parties or a satisfying crunch.
- Bacon Parmesan Quick Bread: A flavorful, cheesy bread that’s great on its own or alongside soup.
- Spicy Avocado Chimichurri Salsa: A vibrant and zesty dip that adds a kick to any meal or chip.
- Jalapeño Agave Cornbread Fritters: Sweet and spicy fritters that make an excellent appetizer or side dish.
How To Make Perfectly Roasted Pumpkin Seeds
Making delicious roasted pumpkin seeds is a straightforward process that yields incredibly rewarding results. Follow these simple steps for a perfect batch every time:
Thoroughly Clean Your Pumpkin Seeds
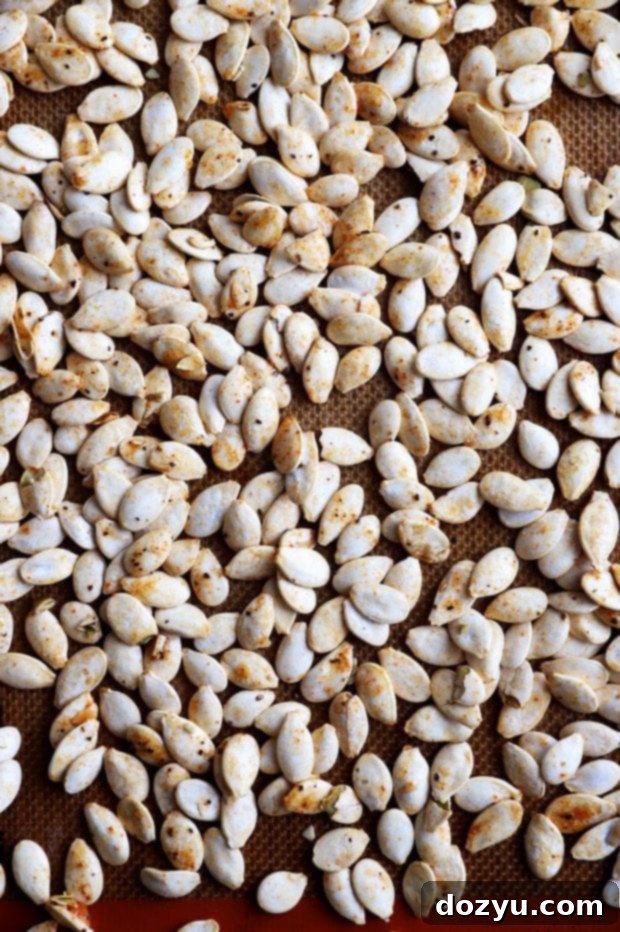
This initial step is crucial for achieving truly crispy pumpkin seeds. If you’re using seeds freshly scooped from your Halloween pumpkin, they’ll likely be coated in fibrous pumpkin pulp. Place them in a colander and rinse them under cold running water, using your fingers to separate any remaining strings or bits of pumpkin flesh. Continue rinsing and gently scrubbing until the seeds are completely clean. Once clean, spread them out on a few layers of paper towels or a clean kitchen towel and pat them as dry as possible. Excess moisture can steam the seeds rather than roast them, preventing them from reaching that desired crunch. A truly dry seed will roast better and absorb the seasoning more effectively. If you’re using unsalted pumpkin seeds purchased from a store, you can conveniently skip this cleaning step altogether, as they come pre-cleaned and dried.
Prepare the Flavorful Seasoned Butter
The seasoned butter is where the magic happens, infusing the pumpkin seeds with their irresistible flavor. In a small bowl, combine the melted butter with the salt, ground cinnamon, garlic powder, cayenne pepper, and black pepper as listed in the ingredients. Whisk or stir vigorously until all the spices are well-incorporated into the butter, creating a fragrant, uniform mixture. Then, transfer your thoroughly dried pumpkin seeds to a medium mixing bowl. Pour the seasoned melted butter over the seeds and toss them thoroughly. Ensure every single seed is evenly coated with the buttery spice blend. This step ensures that each bite delivers a burst of delicious flavor and contributes to a beautiful golden-brown finish.
Roast to Golden Perfection
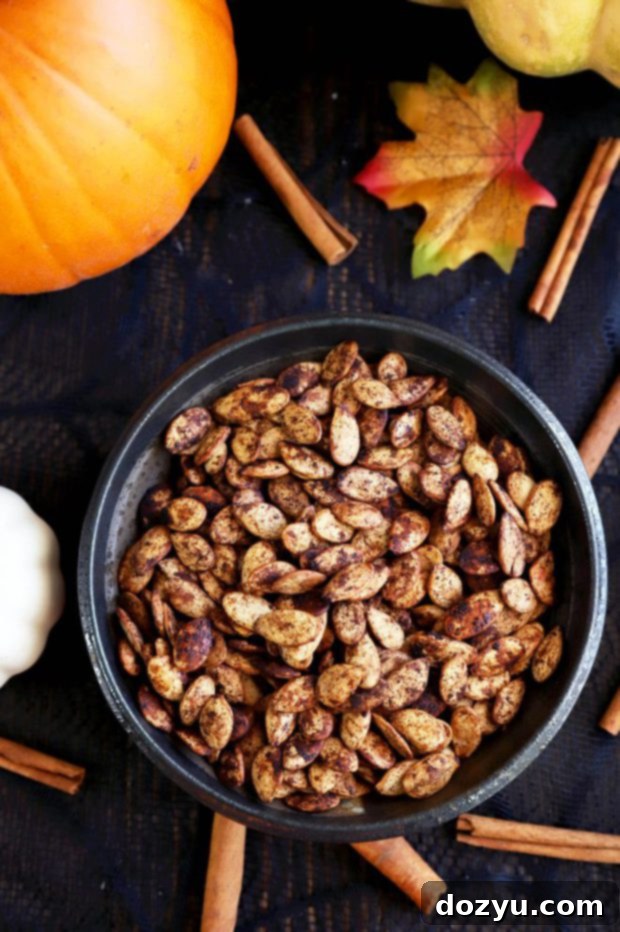
Once your seeds are beautifully coated, spread them out in a single, even layer on the prepared baking sheet. It’s crucial to avoid overcrowding the pan; if the seeds are piled on top of each other, they will steam instead of roast, resulting in a less crispy texture. Give each seed a little space to breathe. Place the baking sheet into your preheated oven and let the roasting begin! During the baking process, make sure to stir the seeds halfway through. This simple action ensures that all sides of the pumpkin seeds are exposed to the heat, leading to an even golden-brown color and uniform crispness. Keep a close eye on them during the final few minutes, as they can go from perfectly roasted to slightly burnt quite quickly. Once they are golden and fragrant, remove them from the oven and allow them to cool slightly before indulging.
Get Creative: Customize Your Pumpkin Seed Flavors!
While the classic spiced butter blend in this recipe is truly exceptional, don’t hesitate to experiment and tailor the flavors to your personal preferences. The beauty of roasted pumpkin seeds lies in their versatility. Here are some ideas to inspire your culinary creativity:
- For the Heat Seekers: If you crave an extra kick, feel free to increase the amount of cayenne pepper, or add a pinch of red pepper flakes for visible heat and texture. A dash of smoked paprika can also add a smoky spice dimension.
- Sweet and Salty Delight: For a delightful contrast, add a teaspoon of brown sugar or maple syrup to the butter mixture, along with a sprinkle of sea salt. Cinnamon, nutmeg, and a touch of allspice would complement this profile beautifully.
- Herbal and Savory: Explore a more sophisticated savory blend with dried rosemary, thyme, and a hint of onion powder. A touch of grated Parmesan cheese after roasting (while still warm) would also be divine.
- Asian-Inspired: Combine soy sauce (or tamari), a touch of sesame oil, and a sprinkle of ginger powder and garlic powder for an umami-rich snack.
- Cajun/Creole Kick: Use a pre-made Cajun seasoning blend, ensuring it has enough salt, or mix your own with paprika, garlic powder, onion powder, oregano, thyme, and a good amount of cayenne.
I highly recommend trying the recipe as written for your first batch to appreciate the balanced flavors. Once you’ve experienced the original, you’ll have a better sense of how you might want to adjust the seasoning for future batches. Trust me, you’ll want to make them again, and each time is an opportunity to discover a new favorite flavor combination!
Storing Your Roasted Pumpkin Seeds
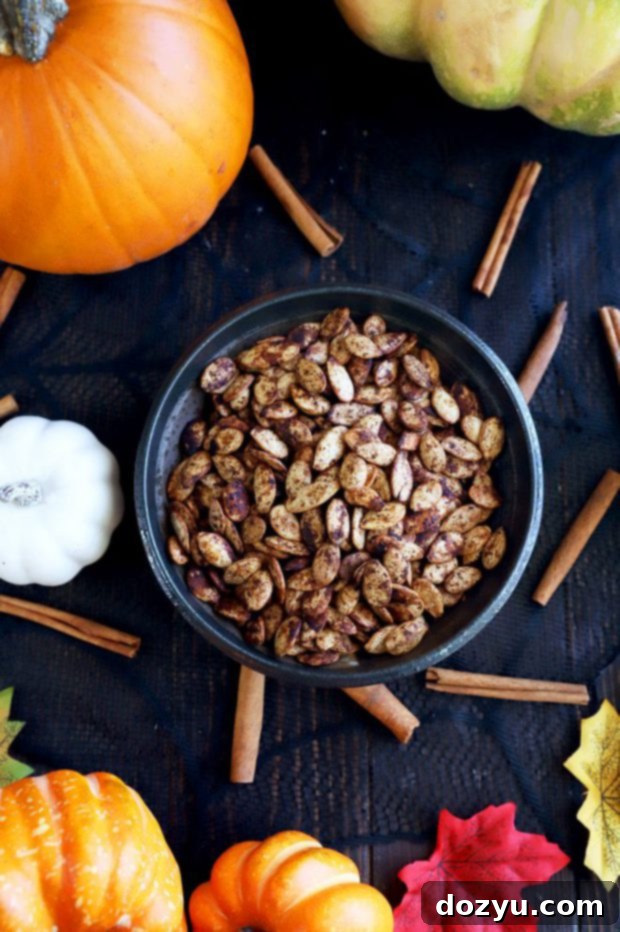
To keep your perfectly roasted pumpkin seeds fresh and crunchy, proper storage is key. Once they have completely cooled to room temperature, transfer them to an airtight container. A glass jar with a tight-fitting lid or a resealable plastic bag works wonderfully. Store them in a cool, dry place away from direct sunlight, such as your pantry or a kitchen cabinet. They will maintain their optimal freshness and crispness for up to 1-2 weeks. Avoid refrigerating them, as the moisture in the fridge can soften them. If they do lose a bit of their crunch over time, you can briefly re-toast them in a dry skillet or in the oven at a low temperature (around 250°F / 120°C) for a few minutes until crisp again.
Creative Serving Suggestions
While roasted pumpkin seeds are undeniably delicious on their own as a simple snack, their versatility means they can enhance a variety of dishes. Here are some creative ways to enjoy them:
- Salad Topping: Sprinkle them over your favorite green salads for an added crunch and burst of flavor. They pair especially well with fall-themed salads featuring apples, goat cheese, or dried cranberries.
- Soup Garnish: Add a handful to creamy soups, like butternut squash or tomato soup, just before serving. The textural contrast is delightful.
- Yogurt or Oatmeal Topping: For a healthy breakfast or snack, sprinkle them over Greek yogurt with a drizzle of honey, or add them to your morning oatmeal for extra protein and crunch.
- Baking Ingredient: Incorporate them into homemade bread, muffins, or granola bars for a nutty flavor and satisfying texture.
- Cheese Board Addition: Elevate your next charcuterie or cheese board with a small bowl of these spiced seeds. They offer a unique savory element that complements various cheeses and cured meats.
- Trail Mix Upgrade: Mix them with other nuts, dried fruits, and a few chocolate chips for a custom, energizing trail mix.
Frequently Asked Questions (FAQs)
Here are answers to some common questions about roasting pumpkin seeds:
Q: Do I need to boil pumpkin seeds before roasting?
A: No, it’s not strictly necessary. While some recipes suggest boiling to tenderize the shells and make them easier to eat, this recipe focuses on roasting them dry after a thorough cleaning and drying process. This method yields a crispier seed without the extra step of boiling.
Q: Can I use seeds from any type of pumpkin?
A: Yes, you can use seeds from most types of pumpkins, including carving pumpkins, pie pumpkins, and other squash varieties. Larger, flatter seeds tend to be easier to clean and handle. Just ensure they are fresh and clean.
Q: How can I tell when the pumpkin seeds are done roasting?
A: The seeds are done when they are golden brown, crunchy, and fragrant. They might make a slight popping sound as they roast. Taste one after about 25 minutes; if it’s still chewy, continue roasting for a few more minutes, stirring occasionally, until crisp.
Q: My seeds aren’t getting crispy, what went wrong?
A: The most common reason for non-crispy seeds is insufficient drying before roasting or overcrowding the baking sheet. Ensure the seeds are thoroughly patted dry before seasoning, and spread them in a single, even layer on the baking sheet to allow for proper air circulation and roasting.
Q: Can I make a large batch and freeze them?
A: While you can freeze roasted pumpkin seeds, they tend to lose some of their crispness and flavor upon thawing. It’s generally best to roast smaller batches more frequently for optimal freshness and crunch. However, if you must freeze, ensure they are completely cool and stored in an airtight freezer-safe bag or container.
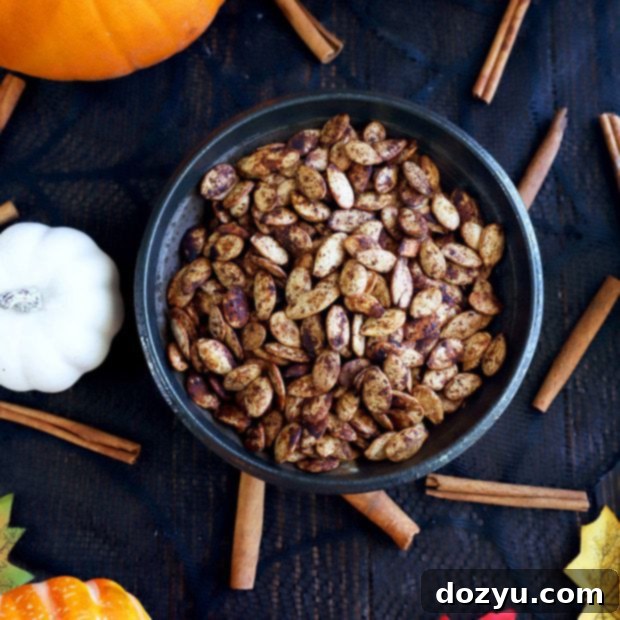
The Best Roasted Pumpkin Seeds Recipe
equipment
-
OXO Good Grips Wooden Corner Spoon & Scraper
-
Stainless Steel Mixing Bowls
-
USA Pan Bakeware Half Sheet Pan
ingredients
- 1 1/2 cups pumpkin seeds well-cleaned, well-dried
- 2 Tbsp melted butter
- 1/2 tsp salt
- 1/4 tsp ground cinnamon
- 1/4 tsp garlic powder
- 1/4 tsp cayenne pepper
- 1/4 tsp black pepper
instructions
-
Preheat oven to 375˚F (190°C). Line a rimmed baking sheet with parchment paper or a silicone mat to prevent sticking and for easy cleanup.
-
In a small bowl, add the melted butter, salt, ground cinnamon, garlic powder, cayenne pepper, and black pepper. Stir thoroughly to combine all the spices, creating a well-blended seasoned butter.
-
Place the well-cleaned and thoroughly dried pumpkin seeds into a medium bowl. Pour the prepared seasoned melted butter over the seeds and toss them well until they are evenly coated. Every seed should be glistening with the spice mixture.
-
Spread the coated seeds on the prepared baking sheet in a single, even layer. It’s important to ensure no seeds overlap each other, allowing them to roast rather than steam, which guarantees maximum crispness.
-
Bake for 25 to 35 minutes, or until the seeds are beautifully golden-brown and crunchy. Make sure to stir them halfway through the roasting time to ensure even cooking and browning on all sides. Remove from the oven and let them cool for a couple of minutes on the baking sheet before transferring to a bowl and enjoying this irresistible snack.
