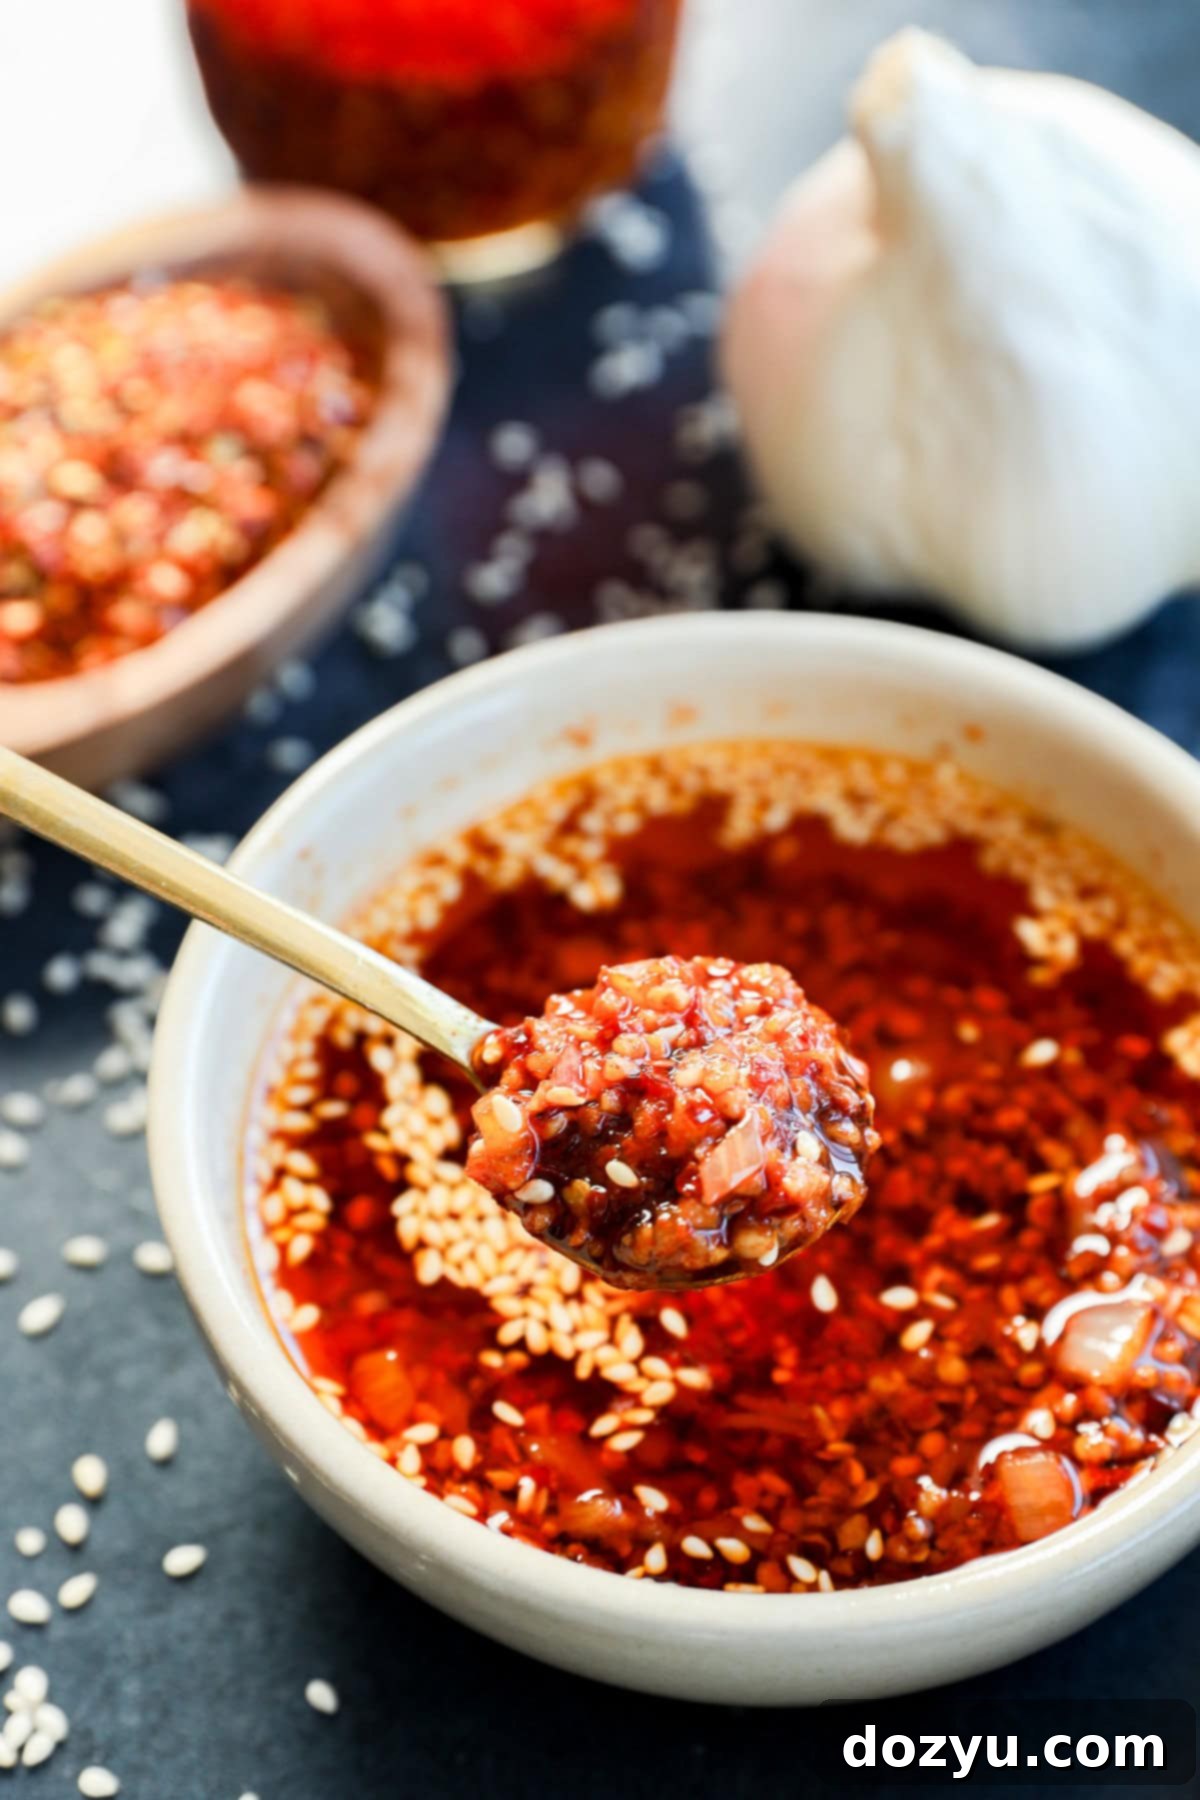
Homemade Chili Garlic Oil: Your New Favorite Spicy Condiment and Flavor Enhancer
Transform your everyday cooking with this incredible homemade chili garlic oil recipe. It’s a perfectly balanced blend of fiery heat and deep, aromatic flavors that will instantly elevate almost any dish you make. From humble dumplings to rich ramen and beyond, a single spoonful adds an irresistible kick and savory depth that’s truly addictive.
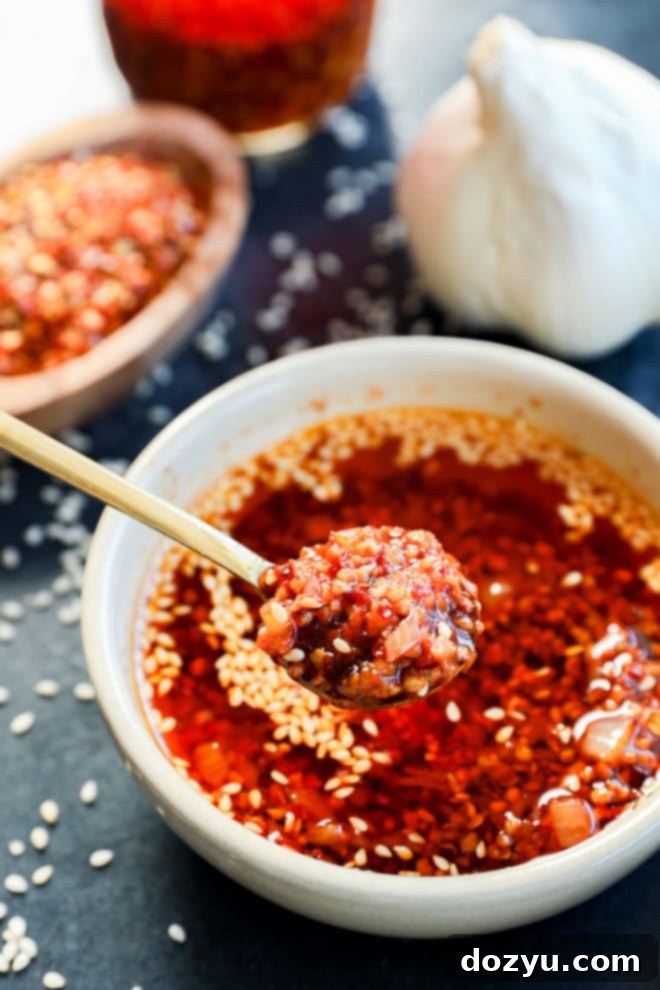
Table of Contents
About This Chili Garlic Oil Recipe
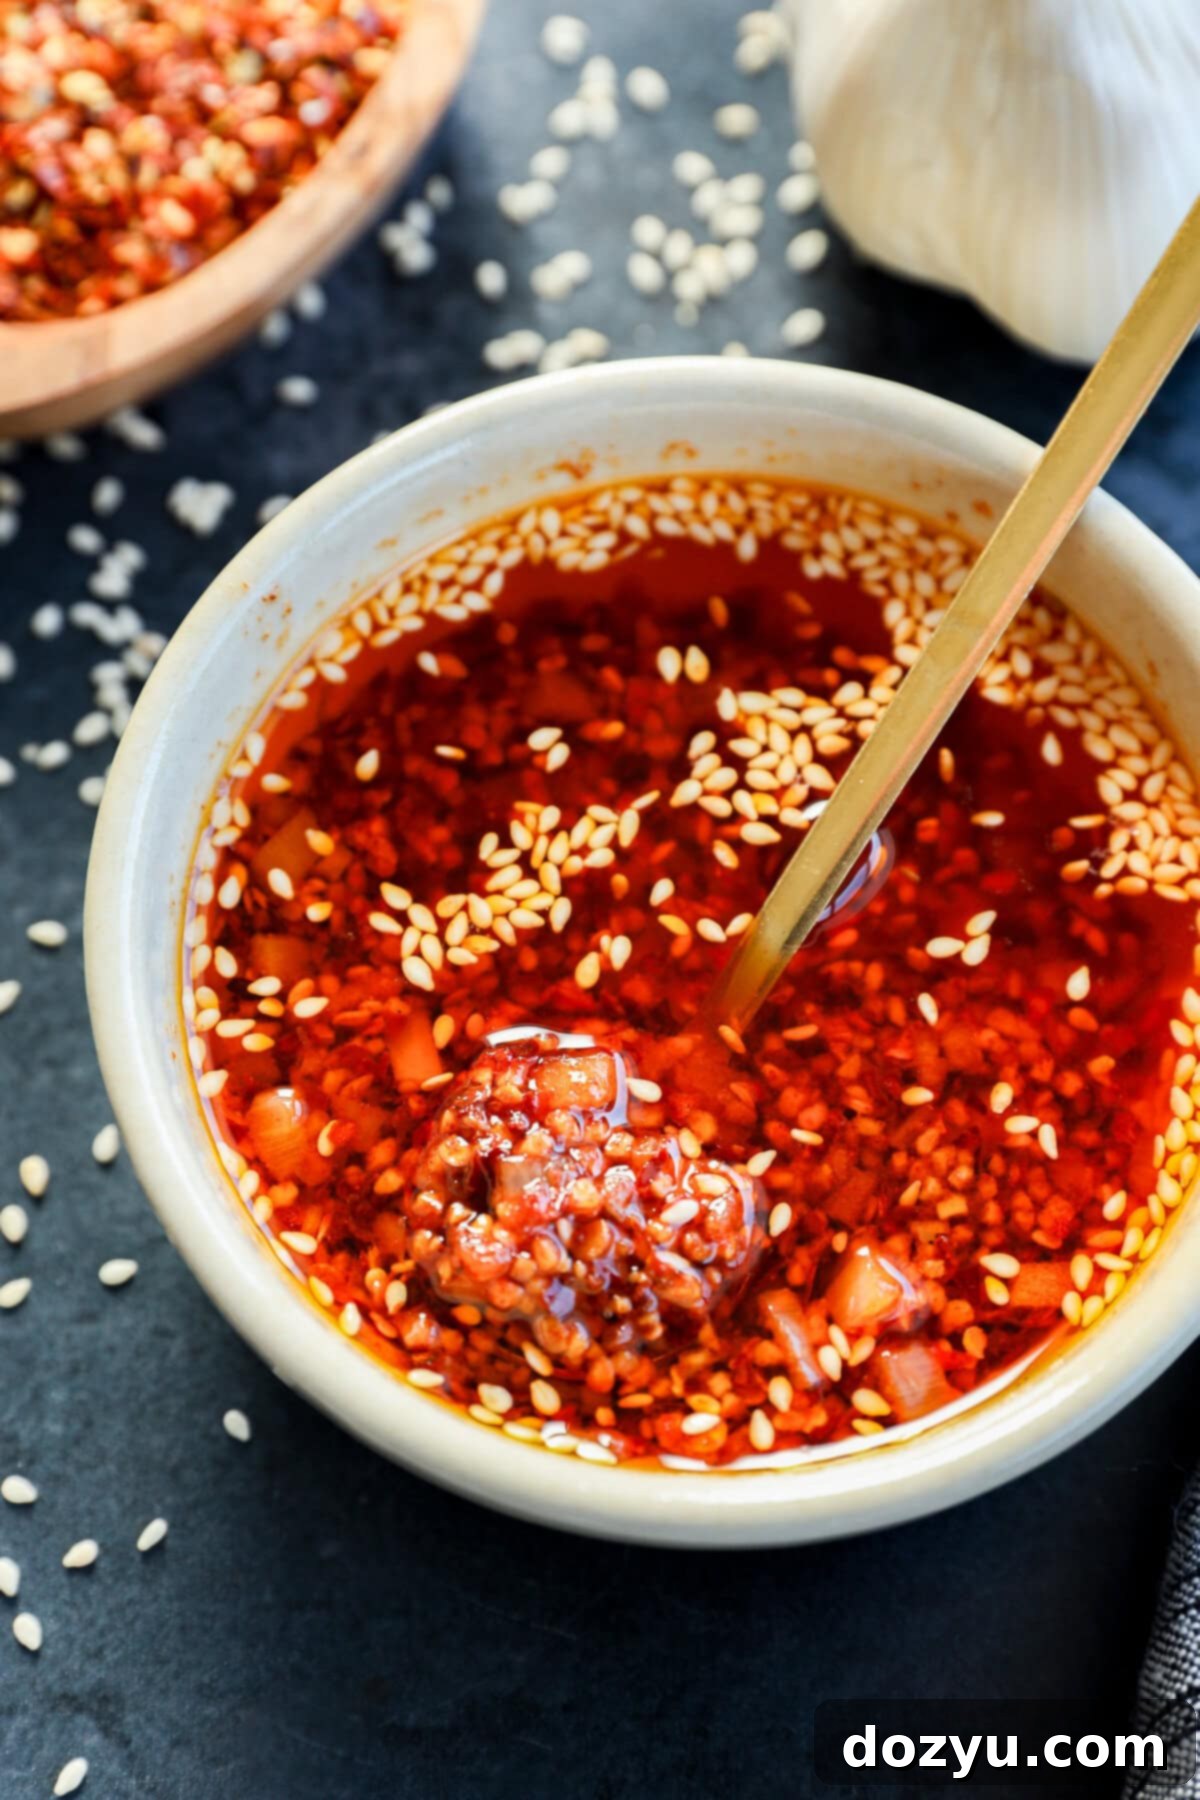
This homemade chili garlic oil recipe isn’t just about adding heat; it’s about infusing your food with incredible depth of flavor. Each spoonful delivers a powerful boost that transforms simple meals into culinary experiences. Imagine golden, crispy garlic bits mingling with vibrant red chili flakes, all suspended in a beautifully deep-red infused oil. The rich aroma alone, filling your kitchen with its toasty, garlicky goodness, is enough to tell you this condiment is special.
Forget store-bought versions; once you experience the freshness and robust flavor of homemade chili garlic oil, there’s no going back. It’s incredibly versatile – use it to drizzle over eggs in the morning, mix it into your favorite noodle dishes, or even add a spicy kick to pizza. The possibilities are truly endless.
The best part? Crafting a batch of this flavorful oil is surprisingly straightforward. You simply heat your chosen oil to the perfect temperature, then pour it over a harmonious blend of finely minced garlic, shallots, chili flakes, and other spices. The sizzle you hear is the magic happening – the hot oil gently cooks the aromatics, coaxing out their full flavor without burning them, while activating the spices for a truly fragrant infusion. The addition of toasted sesame seeds and a touch of paprika further enhances its complexity, adding nutty notes and a beautiful color. This is a project you can easily tackle during a relaxed weekend, requiring minimal hands-on time but yielding maximum flavor reward.
Ingredients for the Perfect Chili Garlic Oil
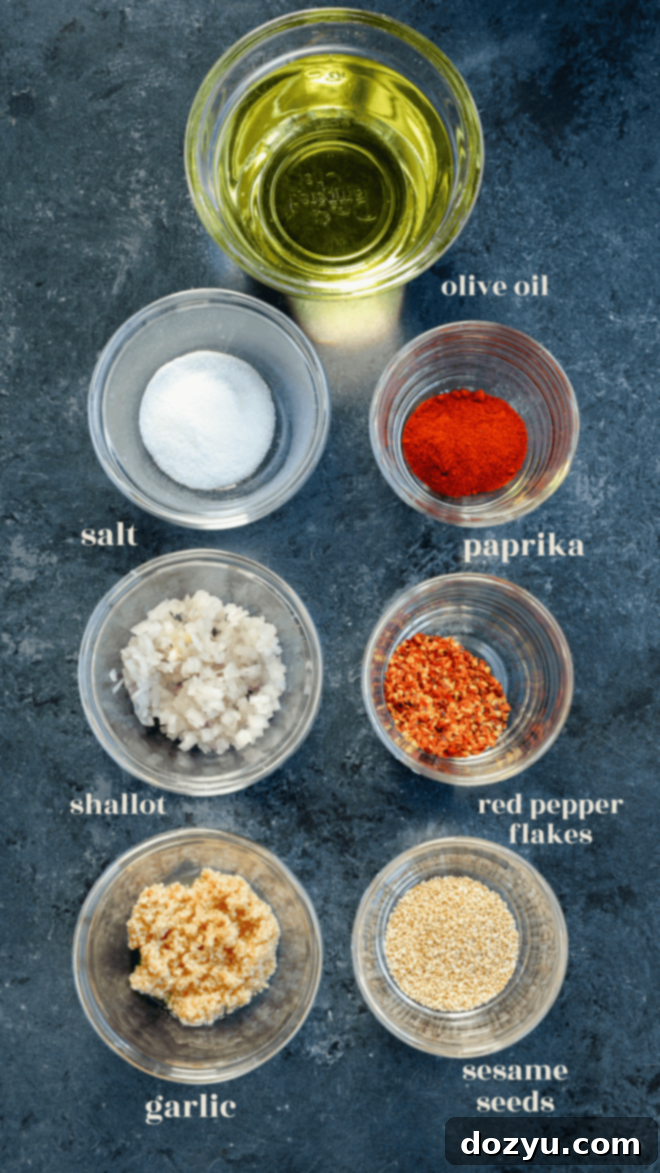
Crafting exceptional chili garlic oil begins with a thoughtful selection of fresh, high-quality ingredients. Each component plays a crucial role in building the layers of flavor that make this condiment truly stand out:
- Garlic: The star of the show! For convenience, many home cooks opt for pre-minced garlic from a jar, which is a fantastic shortcut that saves time on peeling and mincing. If you prefer, fresh garlic cloves can also be used; just make sure to peel and finely mince them yourself to unlock their pungent, aromatic essence. The fine mince ensures the garlic crisps up beautifully in the hot oil.
- Shallot: Often mistaken for a small onion, the shallot brings a delicate sweetness and a subtle, milder onion flavor compared to its larger cousins. When finely minced, it caramelizes in the hot oil, contributing an additional layer of complexity and depth that elevates this homemade chili oil beyond a simple garlic-only version.
- Sesame Seeds: These tiny seeds contribute a wonderful nutty flavor and a slight textural crunch. It’s crucial to use toasted sesame seeds for this recipe. If you only have raw sesame seeds, you can easily toast them yourself in a dry small skillet over medium-low heat for a few minutes until fragrant and lightly golden. Just be sure to watch them closely, as they can burn very quickly! This toasting step amplifies their inherent nutty aroma, which then infuses into the oil.
- Red Chili Flakes: Also known as crushed red pepper flakes, these provide the essential heat and vibrant color. You can use any type of red pepper flakes you prefer, depending on your desired spice level and flavor profile. Standard grocery store flakes offer a moderate heat, while specific varieties like Gochugaru (Korean chili flakes) or specific Mexican chili flakes can introduce different nuances of flavor and heat. Feel free to adjust the quantity to your personal preference for mild or extra spicy results.
- Paprika: This spice not only adds a beautiful rich red hue but also contributes a mild, earthy flavor. You have the option of using either sweet paprika or smoked paprika. If you appreciate a deeper, smoky undertone in your chili oil, smoked paprika is an excellent choice that adds another dimension to the overall taste profile.
- Salt: A pinch of salt is vital for balancing the flavors and enhancing the taste of all the other ingredients. Fine kosher salt is highly recommended for this recipe because its smaller crystals dissolve more easily and evenly into the oil, ensuring consistent seasoning throughout.
- Oil: The foundation of your chili oil, the choice of oil is critical. You’ll want a neutral-flavored oil with a high smoke point that won’t compete with the bold flavors of garlic and chili. Excellent choices include avocado oil, vegetable oil, or grapeseed oil. These oils allow the aromatics and spices to shine through. It’s important to avoid canola oil due to its distinct flavor profile, and definitely do not use extra virgin olive oil, as its strong olive notes will overpower the delicate balance of this chili garlic infusion.
Essential Tools for This Recipe
Making homemade chili garlic oil is surprisingly simple and requires only a few basic kitchen tools. You don’t need any specialized equipment, which makes this recipe accessible for everyone. Here’s what you’ll need:
- Small Saucepan: A sturdy saucepan is perfect for heating the oil safely and evenly to the correct temperature. Its size helps concentrate the heat and makes it easier to manage the oil.
- Heat-Safe Medium Bowl: You’ll need a durable mixing bowl that can withstand high temperatures. Ceramic, glass, or stainless steel bowls are excellent choices, as they won’t crack or melt when hot oil is poured into them. This is where all your aromatic ingredients will sizzle and infuse.
- Thermometer (Optional but Recommended): While not strictly a “must-have” if you’re experienced, a candy thermometer or instant-read thermometer helps ensure the oil reaches the precise temperature (250˚F to 260˚F). This prevents the garlic and shallots from burning while ensuring they cook perfectly and infuse maximum flavor.
How to Make Homemade Chili Garlic Oil
Follow these simple steps to create your own flavorful and aromatic chili garlic oil:
Carefully Heat the Oil
Begin by adding your chosen neutral oil (avocado or vegetable oil are ideal) to a small saucepan. Place the saucepan over medium-high heat. The goal is to gently bring the oil to a temperature of approximately 250˚F to 260˚F (120˚C to 127˚C). This temperature is crucial: it’s hot enough to cook the aromatics and release their flavors without burning them, which can lead to a bitter taste. It is vital to monitor the oil carefully; it should never smoke or bubble rapidly. If you see smoke, the oil is too hot – remove it from the heat immediately and let it cool slightly before proceeding.
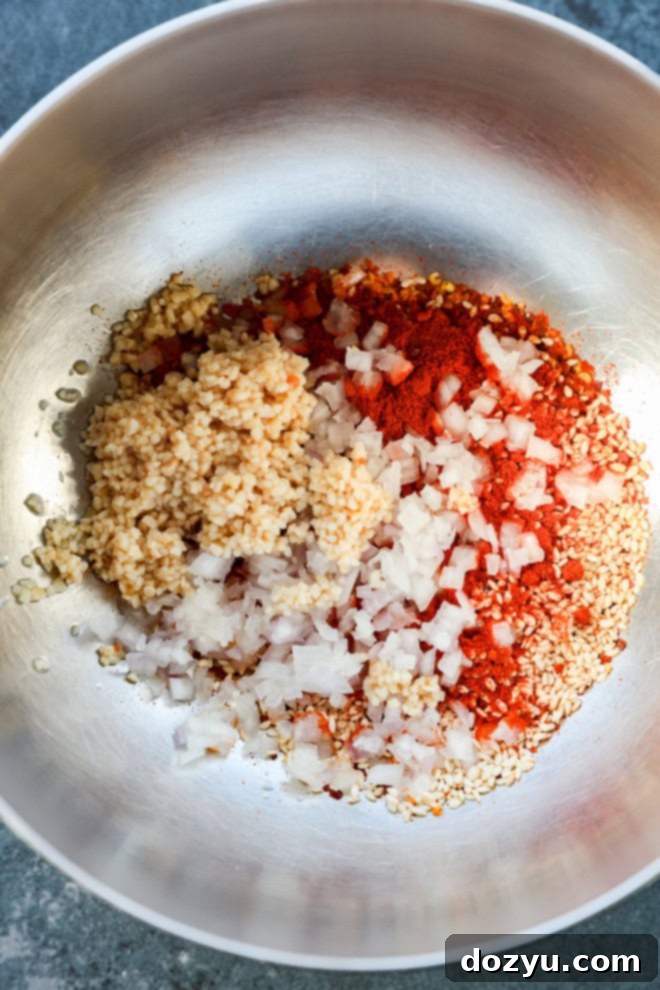
While your oil is warming up, take your heat-safe medium bowl and add the finely minced garlic, minced shallot, toasted sesame seeds, crushed red chili flakes, paprika (or smoked paprika), and kosher salt. Give these ingredients a quick stir to ensure they are well combined. This prepared mixture will be ready to receive the hot oil, ensuring an even infusion of flavors.
Combine and Infuse the Sauce
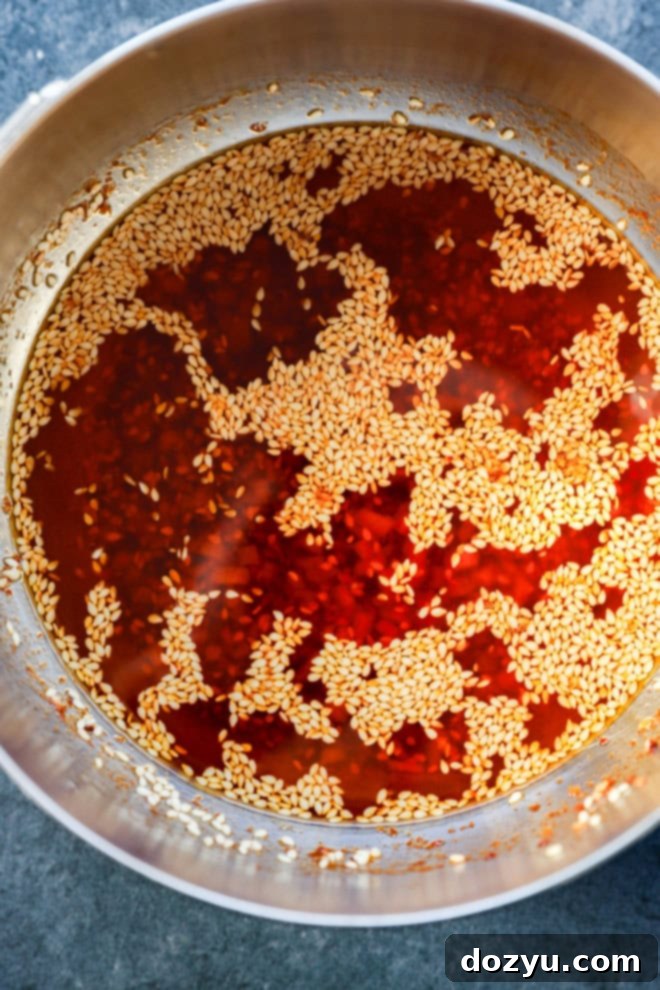
As the oil approaches the target temperature, you’ll notice small bubbles beginning to form at the bottom of the saucepan. This is your cue to double-check the temperature with a thermometer if you have one. Once the oil is within the 250˚F to 260˚F range, carefully and slowly pour the hot oil directly over the chili and aromatic mixture in your heat-safe bowl. Listen for that satisfying sizzle – it’s a sign that the hot oil is immediately activating the flavors of the garlic, shallots, and spices.
After pouring, stir the mixture well to ensure all the ingredients are fully submerged and evenly coated in the hot oil. This allows for optimal infusion and ensures that the garlic and shallots cook perfectly, turning golden and crispy. Now comes the hard part: patience! Allow the chili garlic oil to cool completely to room temperature before transferring it to an airtight glass jar for storage. Cooling completely is essential for both flavor development and safe storage.
Expert Tips and Tricks for Chili Garlic Oil
To ensure your homemade chili garlic oil is perfect every time and safe to consume, keep these valuable tips in mind:
- Exercise Caution with Hot Oil: Safety is paramount when working with hot oil. When you pour the heated oil over the chili and garlic mixture, it will inevitably splatter a bit as the moisture from the aromatics interacts with the hot oil. Always pour slowly and deliberately, keeping your face and hands at a safe distance. Consider wearing oven mitts for added protection.
- Straining for Different Textures: Your chili garlic oil will have a delicious mix of crispy garlic, shallots, and chili flakes. If you prefer a clear, infused oil without the solids, you can easily strain the mixture once it has completely cooled. Simply pour the oil through a fine-mesh sieve into a clean jar. The resulting clear, vibrant oil is fantastic for cooking: use it in place of regular cooking oil for sautéing vegetables, roasting meats, or drizzling over dishes where you want the flavor without the texture. Don’t discard the solids! These flavorful bits are excellent sprinkled over rice, noodles, or even mixed into dips.
- Never Leave Hot Oil Unattended: It cannot be stressed enough – never walk away from oil heating on the stove. Oil can heat up quickly and, if it reaches its smoke point, can ignite. Maintain constant vigilance and keep the oil temperature strictly within the recommended range, ideally no higher than 260˚F (127˚C), to prevent any hazards.
- Customizing Your Heat Level: The amount and type of red chili flakes you use will directly impact the spiciness of your oil. If you enjoy a milder flavor, start with a slightly smaller amount or opt for milder chili flakes. For those who crave intense heat, feel free to increase the quantity or experiment with hotter varieties like Calabrian chili flakes.
- Enhance with Additional Aromatics: While this recipe is fantastic as is, feel free to experiment with other whole spices for an even deeper, more complex flavor. A few star anise pods, a bay leaf, or even a pinch of Sichuan peppercorns (for a numbing sensation) can be added to the oil as it heats, then strained out before pouring over the chili mixture. This infuses the oil with even more layers of aroma.
- Ensure Dry Ingredients: Any moisture introduced to hot oil will cause excessive splattering. Make sure your garlic and shallots are thoroughly dry before mincing and adding to the bowl.
More tasty spicy recipes to try: Spicy Lasagna Dip | Spicy Taco Chili | Spicy Italian Stuffed Peppers | Spicy Avocado Chimichurri Salsa
How Long Does Homemade Chili Garlic Oil Last?
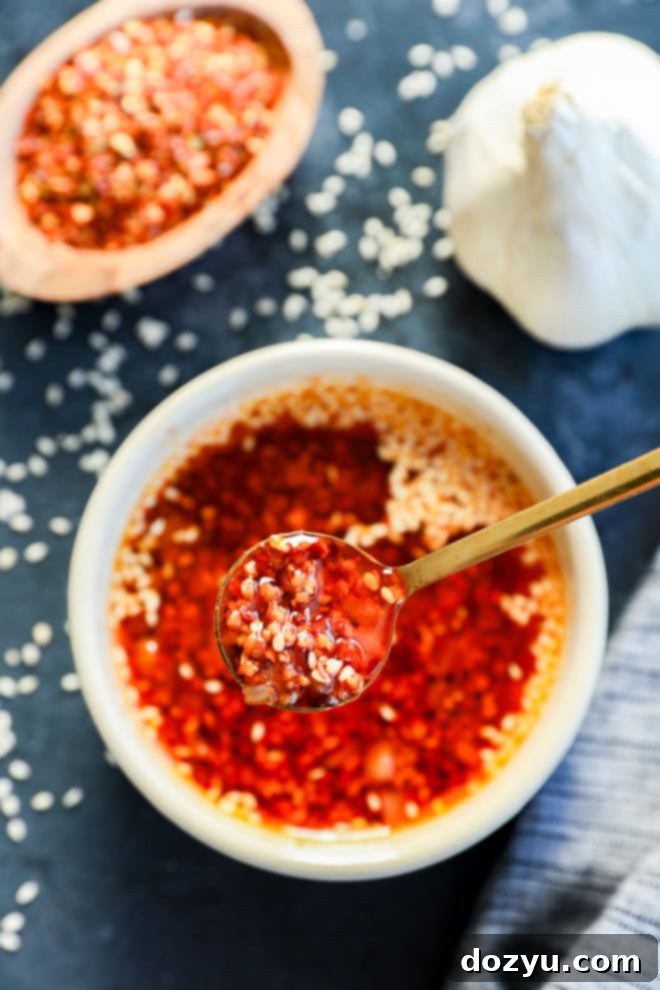
Proper storage is key to both the longevity and safety of your homemade chili garlic oil. When stored correctly in an airtight glass container, this delicious condiment can last for up to 2 weeks in the refrigerator. It’s important to note that the oil may solidify or become cloudy when chilled – this is a completely normal reaction due to the oil’s fat content. To return it to its original liquid state, simply scoop out the desired amount into a small bowl and let it come to room temperature, or gently warm it. You can also place the jar in a bowl of warm water for a few minutes.
A critical safety consideration for any oil infused with fresh aromatics like garlic and shallots is the risk of botulism. To minimize this risk and prevent spoilage and contamination, ensure that the garlic and shallot pieces are always completely submerged in the oil. This deprives anaerobic bacteria of oxygen. Additionally, always use a clean, dry spoon or utensil every time you scoop out the oil. Introducing moisture or food particles can significantly shorten its shelf life and introduce harmful bacteria. If you notice any unusual smells, discoloration, or mold, it’s best to discard the oil immediately.
Choosing the Best Oil for Chili Garlic Oil
The type of oil you select for your chili garlic oil recipe profoundly impacts the final flavor. The goal is to choose a neutral-flavored oil with a high smoke point that allows the vibrant tastes of garlic, chili, and shallot to truly shine without any overpowering notes from the oil itself.
- Recommended Oils: We highly recommend using vegetable oil or avocado oil. Both are excellent choices because they have a very mild flavor profile, ensuring that your chili garlic oil tastes predominantly of its namesake ingredients. They also possess high smoke points, making them safe and effective for heating to the temperatures required for infusing. Grapeseed oil is another fantastic neutral option.
- Oils to Avoid: It is crucial to steer clear of certain oils. Extra virgin olive oil, while delicious in many culinary applications, has a distinct, robust flavor that will dominate and mask the more subtle nuances of the garlic and chili. Additionally, extra virgin olive oil has a lower smoke point, making it less suitable for this hot oil infusion method. Similarly, canola oil, while neutral in flavor, can sometimes impart a slightly greasy mouthfeel or a subtle off-flavor when heated, which isn’t ideal for this delicate condiment. Sticking to avocado or vegetable oil will guarantee the best results for your homemade chili garlic oil.
Need some inspiration for dinner recipes? Check out my dinner recipes page!
Creative Ways to Use Chili Garlic Oil
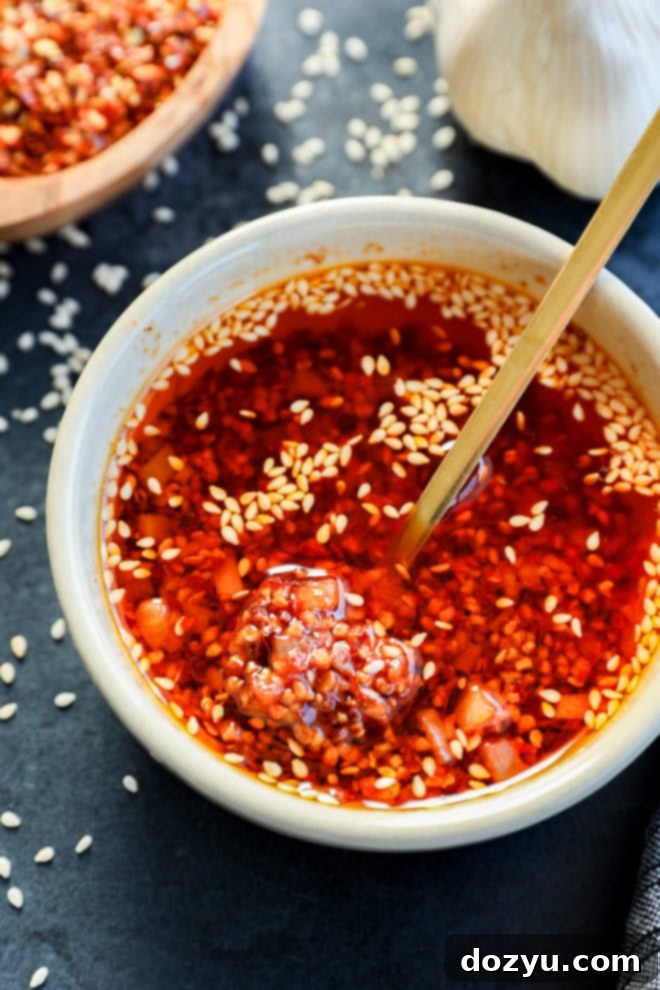
Once you have a jar of this glorious homemade chili garlic oil, you’ll discover its incredible versatility across countless dishes. It’s more than just a condiment; it’s a flavor powerhouse!
- Dipping Sauce: It shines as an irresistible dipping sauce for classic Asian appetizers like dumplings, egg rolls, spring rolls, or even crusty bread.
- Noodles & Stir-Fries: Spoon it generously over hot noodles – whether it’s ramen, lo mein, udon, or a simple pasta dish – for an instant flavor upgrade. It’s also a perfect finishing drizzle for any stir-fry, adding heat and aromatic depth.
- Pizza Enhancer: Drizzle it over your favorite spicy skillet pizza or a classic Margherita for an extra layer of garlicky heat.
- Salads & Dressings: Whisk it into salad dressings for a spicy, savory kick, or simply drizzle it over a crisp green salad or roasted vegetable salad.
- Marinades & Rubs: Incorporate it into marinades for chicken, pork, or tofu before grilling or roasting. It adds fantastic flavor and helps tenderize.
- Eggs & Breakfast: A surprising but delicious addition! Drizzle it over scrambled eggs, fried eggs, or even avocado toast for a morning wake-up call.
- Soups & Stews: Stir a spoonful into your favorite soup, chili, or stew just before serving to add warmth and a complex flavor boost.
- Sandwiches & Wraps: Spread a thin layer on your sandwich or wrap for an unexpected burst of flavor that transforms a simple meal.
- Roasted Vegetables: Toss roasted broccoli, Brussels sprouts, carrots, or potatoes with chili garlic oil for a spicy, savory side dish.
- Rice Bowls: Elevate any plain rice bowl, poke bowl, or grain bowl with a generous drizzle.
- Gourmet Gift: Jarred in a beautiful container, homemade chili garlic oil makes an excellent, thoughtful gift for friends, family, and fellow foodies!
Proper Storage for Freshness
To maximize the flavor and shelf life of your homemade chili garlic oil, proper storage is essential:
Storage Instructions: Once your chili garlic oil has cooled completely to room temperature, transfer it to a clean, sterile, airtight glass jar. A mason jar works perfectly. Store the sealed jar in the refrigerator. When stored this way, your chili garlic oil will remain fresh and flavorful for up to 2 weeks.
Remember that the oil will likely solidify in the cold environment of the fridge. This is normal and does not affect the quality or safety of the oil. Simply let it sit at room temperature for a while before using, or spoon out a portion and allow it to warm up gently, to return it to its liquid consistency. Always ensure the garlic and shallot pieces are fully submerged in the oil to maintain freshness and safety.
More Delicious Sauce Recipes to Explore
If you love the idea of enhancing your meals with homemade sauces and condiments, here are a few more easy recipes to whip up and enjoy this week:
- Bang Bang Sauce: This incredibly popular and easy-to-make sauce is a go-to for chicken, shrimp, and even roasted veggies. Keep a batch in your fridge to amp up any meal with its creamy, sweet, and spicy kick.
- Easy Sauce for Crab Cakes: Ready in just 5 minutes, this simple yet flavorful sauce is miles better than any store-bought alternative and perfectly complements delicate crab cakes.
- Thai Peanut Dressing: Prepare to find your new favorite go-to sauce! This versatile Thai peanut dressing is fantastic not only for salads but also as a marinade or topping for chicken, shrimp, pork, and noodle bowls.
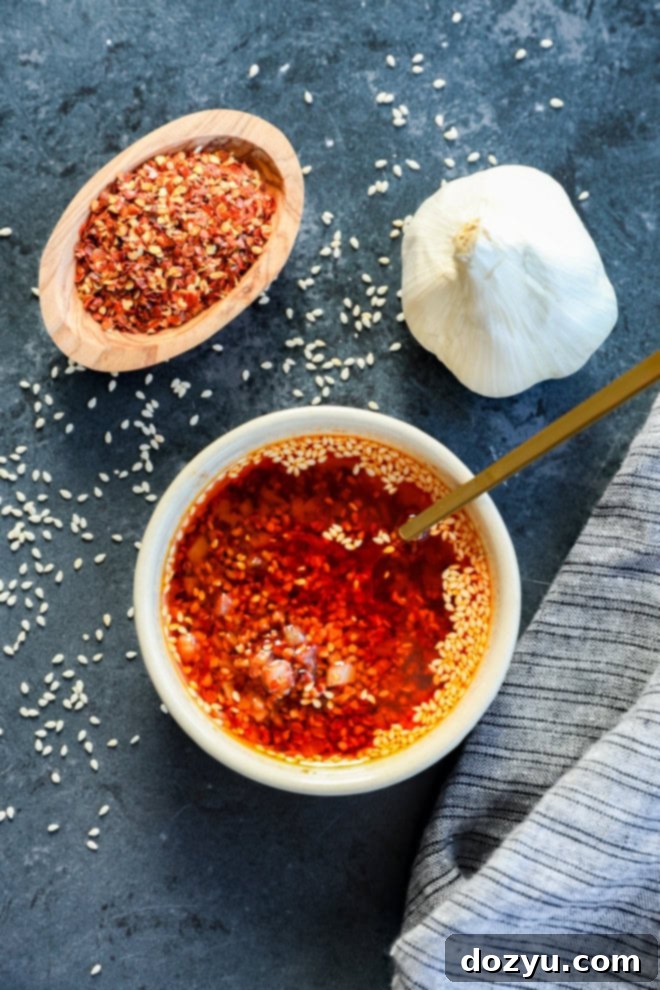
Finally, if you make this homemade chili garlic oil recipe, please be sure to give this recipe a star rating on the recipe card below and/or leave a comment! I absolutely love hearing when you all try my recipes, and I truly take the time to respond to every single comment. Your feedback is invaluable!
Feel free to drop any questions below in the comments section too – I’m always here to help!
Oh, and be sure to tag me on Instagram, Facebook, or Pinterest if you make the recipe! It brings me so much joy to see these recipes come to life in your homes – looking through your photos is genuinely my favorite thing. It truly means the world to me!
Want to know when I come out with a new recipe or get the latest news straight to your inbox? Sign up for my newsletter and never miss an update!
Everyday Seasonal Cookbook
Our “Everyday Seasonal Cookbook” is a treasure trove of culinary inspiration, featuring comprehensive seasonal produce guides, delightful recipes for every occasion, and much more. It’s designed to help you cook with the freshest ingredients all year round.
Chili Garlic Oil
5
5
10
1 cup
★
★
★
★
★
Equipment
-
Saucepan (small)
-
Mixing Bowls (one heat-safe medium bowl)
-
Mason Jar (for storage)
Ingredients
- 5 cloves garlic (peeled and finely minced, or use pre-minced from a jar)
- 1/2 medium shallot (peeled and finely minced)
- 1 Tbsp toasted sesame seeds (ensuring a nutty flavor)
- 1 Tbsp crushed red chili flakes (adjust to your preferred heat level)
- 2 tsp paprika or smoked paprika (smoked for extra depth)
- 1 1/2 tsp kosher salt (fine grain dissolves best)
- 1 cup avocado oil or vegetable oil (neutral oil with high smoke point)
Instructions
-
Place a small saucepan over medium-high heat and pour in the oil. Allow the oil to heat up to approximately 250˚F to 260˚F (120˚C to 127˚C). It’s crucial not to let the oil get too hot; it should not smoke or bubble vigorously at any point.
-
While the oil is heating, combine the minced garlic, minced shallot, toasted sesame seeds, crushed red chili flakes, paprika, and kosher salt in a heat-safe medium bowl. Stir these ingredients together until well mixed. Set the bowl aside.
-
Once small bubbles begin to form in the saucepan, carefully check the temperature of the oil to ensure it has reached the ideal range of 250˚F to 260˚F.
-
Slowly and cautiously pour the hot oil over the prepared chili and aromatic mixture in the bowl. Listen for the satisfying sizzle as the flavors begin to infuse. Stir well to combine all ingredients, ensuring everything is thoroughly coated.
-
Allow the chili garlic oil to cool completely to room temperature before transferring it to a clean, airtight glass jar for storage in the refrigerator.
Video
Nutrition
Carbohydrates: 15g |
Protein: 4g |
Fat: 224g |
Saturated Fat: 34g |
Polyunsaturated Fat: 128g |
Monounsaturated Fat: 51g |
Trans Fat: 1g |
Sodium: 3627mg |
Potassium: 387mg |
Fiber: 6g |
Sugar: 2g |
Vitamin A: 4345IU |
Vitamin C: 6mg |
Calcium: 148mg |
Iron: 4mg
Asian
Sauce
