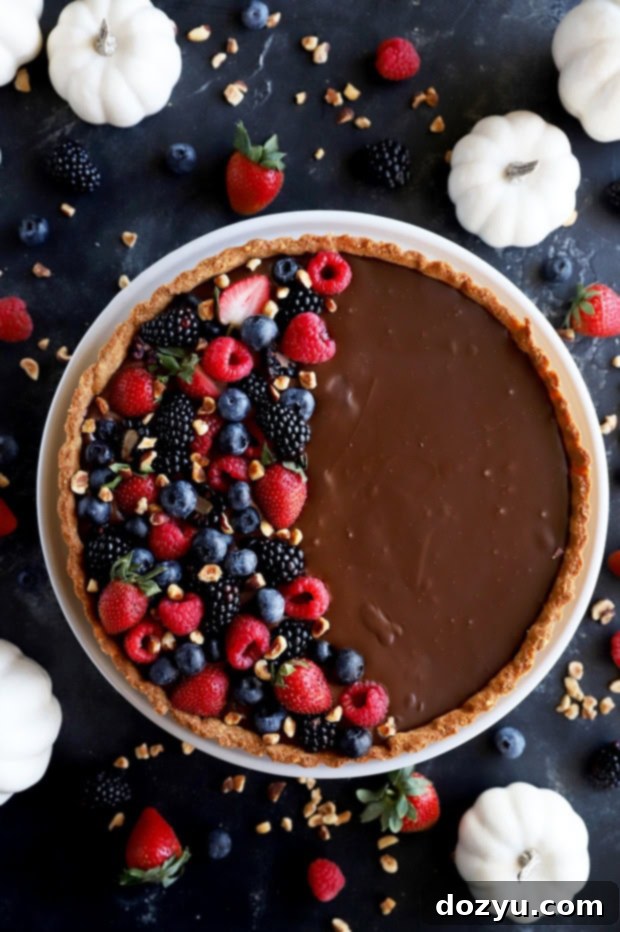
Decadent Chocolate Tart with Hazelnut Crust: An Easy, Make-Ahead Dessert
This Chocolate Tart with Hazelnut Crust is the epitome of elegant dessert that is deceptively simple to create. Imagine a creamy, intensely rich dark chocolate ganache filling nestled in a perfectly toasted hazelnut pastry shell. The vibrant burst of tart berries on top adds a beautiful contrast, making this a killer combination for any gathering, from casual dinners to grand holiday feasts!
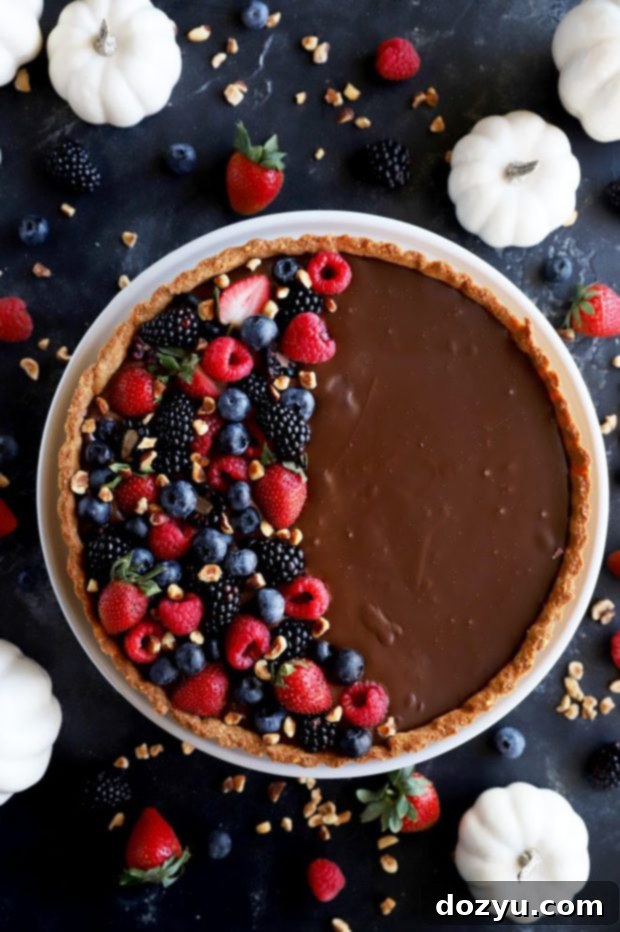
Have you ever heard the word “ganache” and immediately thought it was something reserved for elite pastry chefs? For many, the idea of making ganache evokes images of complex techniques and intricate steps. But here’s a little secret: ganache is one of the easiest, most impressive components you can master in the kitchen!
Seriously, it couldn’t be simpler. The magic of ganache happens with just two main ingredients: chocolate and cream. You heat the cream, pour it over chopped chocolate, let it rest, and then whisk it into a smooth, glossy, irresistible mixture. That’s it! No fancy equipment, no painstaking methods—just pure, luxurious chocolate goodness.
Why a Chocolate Tart with Hazelnut Crust is Your Go-To Holiday Dessert
When planning for holiday gatherings or special occasions, the last thing you want is a dessert that adds stress. This chocolate tart is your secret weapon. Why? Because it’s incredibly simple to make, yet looks like a million bucks, and—the best part—you can prepare it almost entirely ahead of time!
Imagine this: the main meal is winding down, conversations are flowing, and you effortlessly bring out a stunning dessert that you prepped days ago. No last-minute fuss, no frantic baking, just pure enjoyment. This tart can be kept in the fridge for several days, making it an absolute lifesaver during the busy holiday season. Entertaining should be joyful, not a headache. There’s always an easy, show-stopping recipe waiting to help you celebrate and create cherished memories around the dinner table, and this tart is exactly that.
Essential Tools for Your Decadent Chocolate Tart
To embark on this delightful baking journey, you’ll need a few key pieces of kitchen equipment. Don’t worry, nothing too specialized!
- For the Crust: A good set of mixing bowls and a stand mixer equipped with a paddle attachment will make quick work of bringing the hazelnut pastry together. The stand mixer simplifies the process, ensuring a consistent texture without overworking the dough.
- For the Filling: A sturdy saucepan to heat the cream and another heatproof mixing bowl for melting the chocolate are essential. A whisk will be your best friend for achieving that perfectly smooth, lump-free ganache.
- For the Tart: The star of the show here is a 9-inch fluted tart pan with a removable bottom. This design is crucial for easily releasing your beautiful tart from the pan, ensuring crisp edges and an elegant presentation.
- For Decoration: A sharp chef’s knife and a cutting board will help you prepare the fresh berries and chop the toasted hazelnuts for a stunning finish.
More Tart Inspiration:
- Easy Butterfinger Caramel Ganache Tart
- Lemon Rosemary Meringue Tart
- Plum Ginger Tart Tatin
- Chocolate Bourbon Caramel Tart
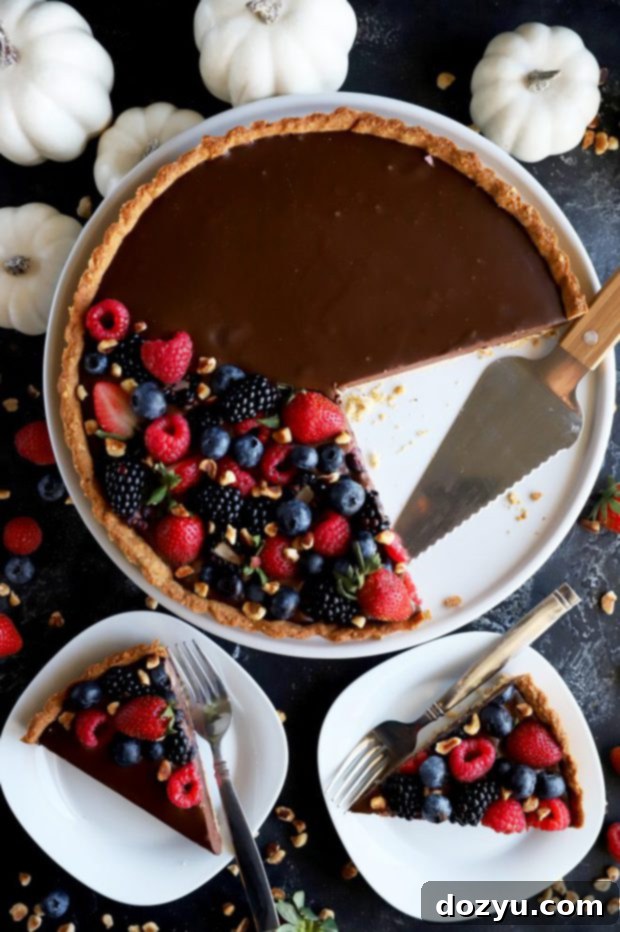
Step-by-Step Guide to Making Your Chocolate Tart
1. Crafting the Perfect Hazelnut Crust
The foundation of this incredible tart is its hazelnut crust, which brings a delightful nutty flavor and a delicate crunch. Making this pastry is surprisingly straightforward, especially with a stand mixer doing most of the work for you. Unlike traditional pie crusts, there’s no laborious kneading involved, making it a very forgiving dough to handle and roll out.
First, finely grind your toasted hazelnuts with a bit of sugar in a food processor – this ensures an even distribution of flavor and texture. Then, combine the hazelnut mixture with flour, salt, and the remaining sugar in your stand mixer. Gradually add cold, cubed butter, beating on low speed until the mixture resembles coarse crumbs. Finally, incorporate the egg and vanilla extract until the dough just comes together. Form it into a disc, wrap it, and chill it for at least an hour. This chilling step is vital, as it allows the gluten to relax and the butter to firm up, preventing shrinkage during baking.
Once chilled, roll out the dough on a lightly floured surface into a 12-inch round. Carefully transfer it to your 9-inch fluted tart pan with a removable bottom. Gently press the dough into the fluted edges and up the sides. Don’t worry about small tears; they can be easily patched. Trim any excess pastry, then pop the pan back into the refrigerator for another 10 minutes while your oven preheats.
For a beautifully even crust, you’ll partially bake it using pie weights (or dried beans). This blind baking prevents the crust from puffing up or shrinking excessively. After the initial bake, remove the weights and parchment paper, then return the crust to the oven to bake until it achieves a lovely golden brown hue and is perfectly crisp. The key here is patience: allow the crust to cool completely in the pan before adding the filling. If you’re in a hurry, you can place the tart pan (on a trivet if hot) in the fridge or freezer to speed up the cooling process.
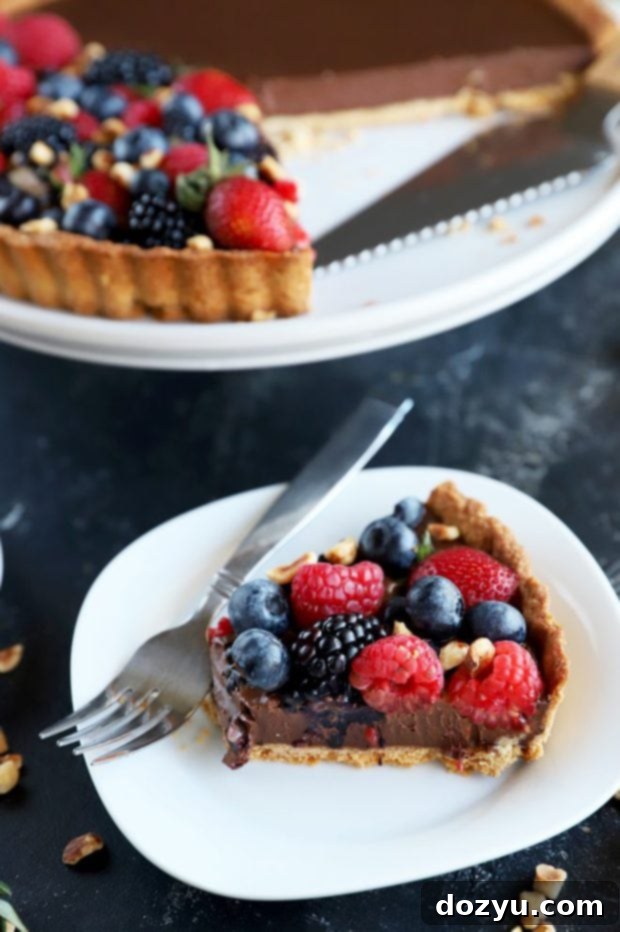
2. Mastering the Silky Dark Chocolate Ganache
This is where the magic truly happens, and as mentioned, it’s astonishingly simple! The secret to a perfect ganache lies in the quality of your ingredients and following a few basic steps. First, ensure your bittersweet chocolate is finely chopped. This helps it melt more evenly and quickly when the hot cream is added.
Place your chopped chocolate into a heatproof mixing bowl. In a small saucepan, gently bring heavy cream to a simmer over medium heat. You’ll know it’s ready when you see tiny bubbles forming around the edges of the pan—don’t let it come to a rolling boil. Once simmering, immediately remove the cream from the heat and pour it evenly over the chopped chocolate in the bowl.
This next step is crucial: resist the urge to stir right away! Let the hot cream sit over the chocolate for 5 minutes. This allows the residual heat from the cream to gently melt the chocolate, ensuring a smooth, emulsified ganache. After 5 minutes, grab your whisk and begin whisking from the center outwards. You’ll witness a beautiful transformation as the chocolate and cream combine into a luxurious, glossy, and perfectly smooth ganache. Continue whisking until there are no lumps and the mixture is uniform. That’s all there is to it – your rich chocolate filling is now ready!
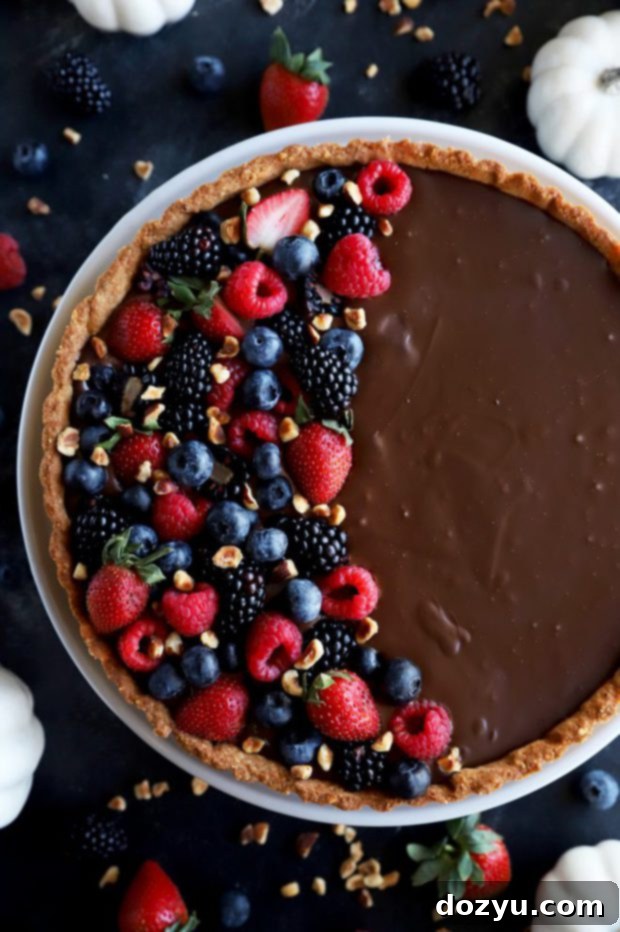
3. Decorate and Chill for Perfection
With your flawless hazelnut crust cooled and your silky ganache ready, it’s time to assemble and beautify your tart. Carefully pour the warm ganache into the cooled tart shell, spreading it evenly with an offset spatula if needed. The surface will be wonderfully smooth and inviting.
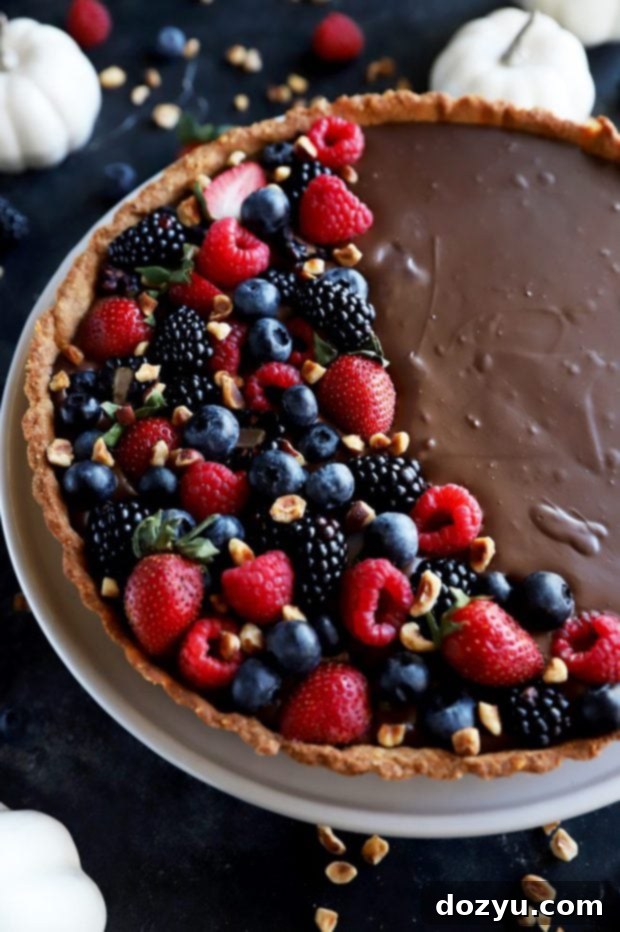
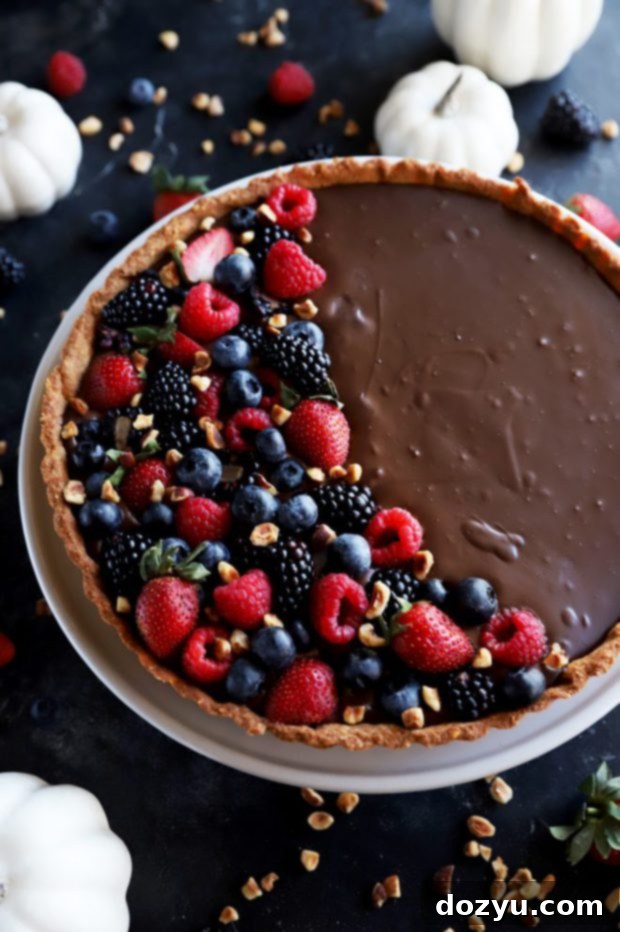
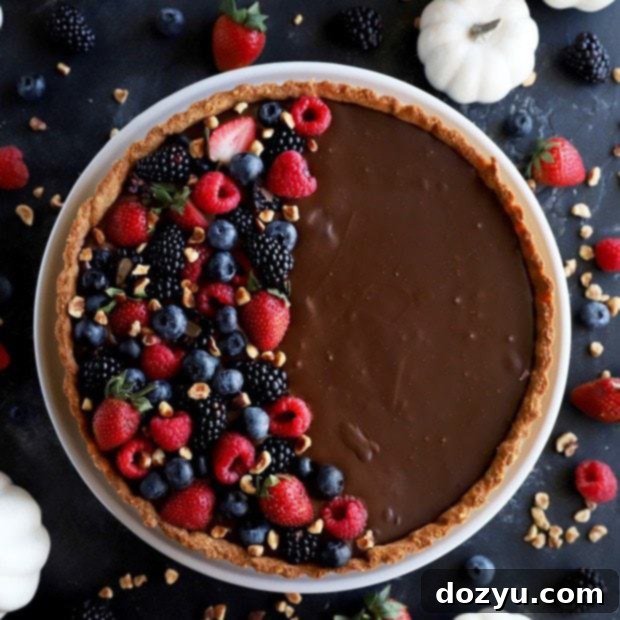
Now for the fun part: decorating! This is your moment to get creative. Immediately arrange your favorite fresh, tart berries on top. The contrast of the vibrant fruit against the dark chocolate is not only visually stunning but also provides a delightful balance of flavors. A sprinkle of chopped toasted hazelnuts adds another layer of texture and reinforces the crust’s nutty essence. Don’t overthink the arrangement – a natural, slightly random scattering can be incredibly charming and elegant.
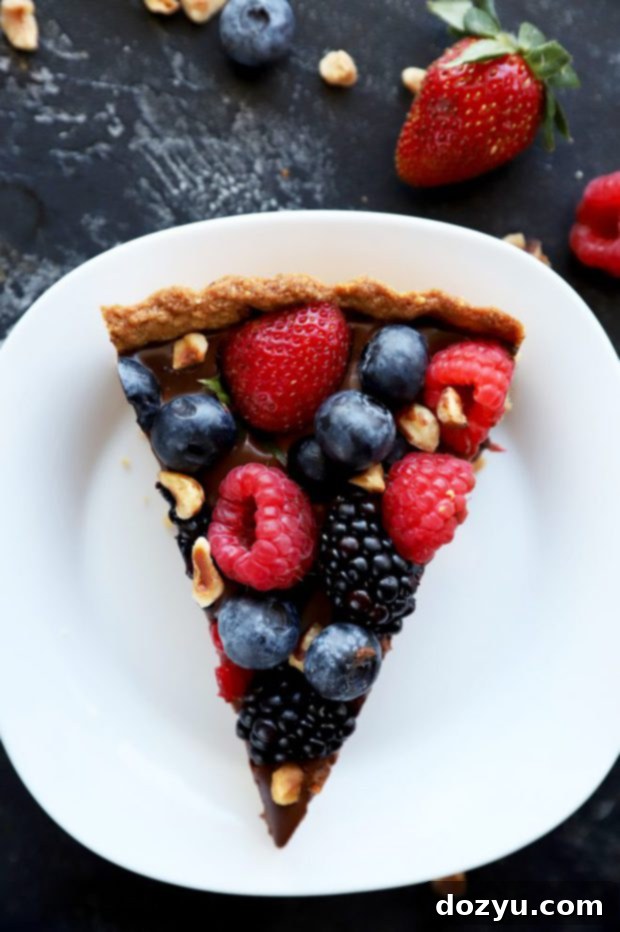
Once decorated, the hard part is over! Gently transfer your masterpiece to the fridge and let it chill until the ganache is firm, which usually takes about 1 hour and 30 minutes. This chilling process allows the ganache to set perfectly, making it easy to slice and ensuring a delightful, fudgy texture. When it’s time to serve, simply remove the tart ring, slice into elegant wedges, and prepare for a chorus of compliments!
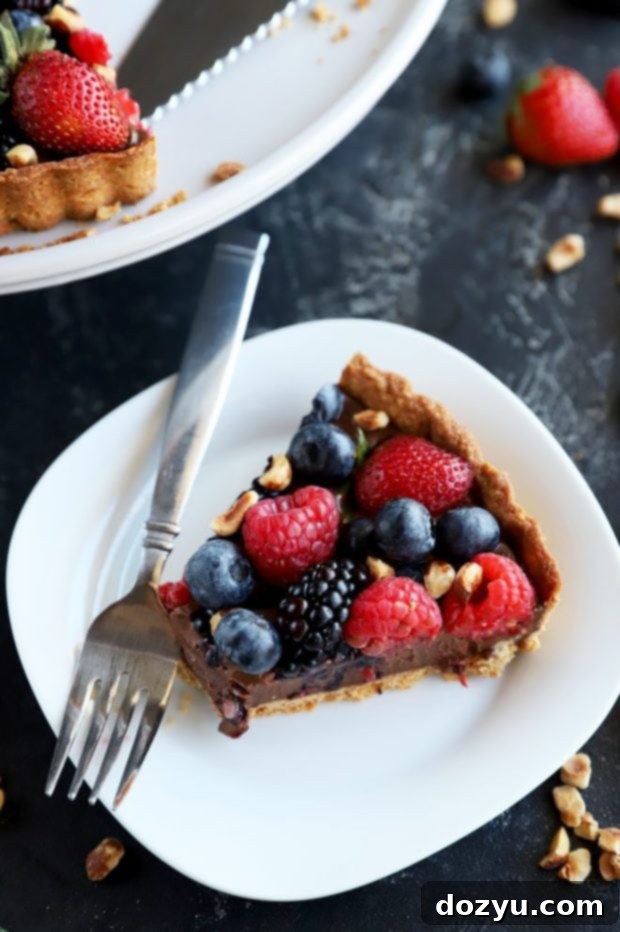
Choosing the Right Chocolate: Percentage Matters
The quality and type of chocolate you use are paramount for this tart, as chocolate is the dominant flavor. For a truly decadent and balanced taste, I highly recommend using bittersweet or dark chocolate. The ideal range for the cocoa percentage is between 70% and 85%. This percentage provides a deep, complex chocolate flavor without being overly sweet, which perfectly complements the richness of the ganache and the slight tartness of the berries. Avoid milk chocolate or semi-sweet chocolate, as they can make the tart too sweet and less sophisticated. Think of this as an opportunity to splurge on a high-quality chocolate bar – it truly makes all the difference!
Creative Decoration Ideas for Your Tart
The beauty of this tart lies not only in its taste but also in its presentation. While fresh berries offer a classic and stunning look, there are many ways to decorate your tart to suit your occasion or personal style. I particularly love how the mix of fruit pops against the dark chocolate. If you’re a berry fanatic, consider doubling the amount of fruit and covering the entire surface for a burst of freshness in every bite!
When it comes to arranging, don’t overthink it! Embrace a natural, slightly random approach. A good strategy is to start by spacing out one type of berry (like blueberries) over one half of the tart, then adding another type (like sliced strawberries) to fill in the gaps, and so on. Leave some of each berry aside to fill in any sparse areas at the very end. Finish with a generous sprinkle of finely chopped toasted hazelnuts to tie the flavors together and add a delightful crunch. Other ideas include:
- Chocolate Shavings: Use a vegetable peeler to create elegant chocolate curls over the top.
- Edible Flowers: For a truly sophisticated touch, add a few delicate edible flowers.
- Cocoa Powder Dusting: A light dusting of unsweetened cocoa powder or powdered sugar adds a subtle finish.
- Citrus Zest: A fine grating of orange or lemon zest can brighten the flavors beautifully.
- Whipped Cream Dollops: Serve slices with a dollop of freshly whipped cream for extra indulgence.
Pro Tips for a Flawless Chocolate Tart Every Time
To ensure your chocolate tart is nothing short of perfection, keep these expert tips in mind:
- Invest in Quality Chocolate: As this tart is a celebration of chocolate, the quality of your bittersweet chocolate will directly impact the depth and richness of your ganache. Choose a brand you love and don’t be afraid to splurge a little; it’s worth it for the superior flavor.
- Toasting Hazelnuts is Key: Whether you buy them pre-toasted or toast them yourself, ensure your hazelnuts for the crust are properly toasted. Toasting brings out their natural oils and intensifies their nutty flavor, which is essential for a truly aromatic crust. To toast them yourself, spread them on a baking sheet and bake at 350°F (175°C) for 10-15 minutes, or until fragrant and lightly browned. Rub them in a clean kitchen towel to remove the skins if desired.
- Chill the Dough Thoroughly: Don’t rush the chilling process for the crust. A well-chilled dough is easier to roll, less prone to shrinking, and results in a flakier texture.
- Allow Crust to Cool Completely: Pouring warm ganache into a warm crust can lead to a soggy bottom. Ensure your hazelnut crust is completely cooled before adding the ganache.
- Patience with Ganache Resting: That 5-minute rest time after pouring hot cream over chocolate is not optional. It allows the chocolate to fully melt and relax, preventing a gritty texture or a split ganache.
- Proper Chilling for Ganache: Once filled and decorated, the tart needs ample time in the refrigerator to set. This firming up is essential for clean slices and a delightful, rich mouthfeel.
- Make Ahead Advantage: This tart truly shines as a make-ahead dessert. Prepare it a day or two in advance, store it covered in the refrigerator, and simply bring it out when it’s time to serve. This frees you up to enjoy your guests and the occasion.
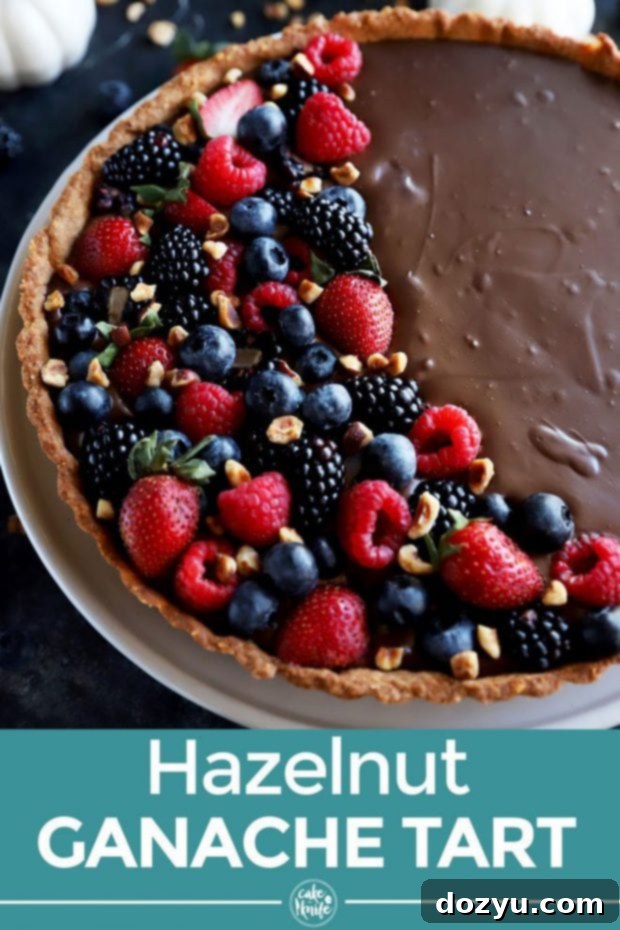
Pin this Chocolate Tart with Hazelnut Crust recipe for later!
Chocolate Tart with Hazelnut Crust
equipment
-
French Wire Whisk
-
mixing bowls
-
Wilton Excelle Elite Non-Stick Tart with Removable Bottom
ingredients
- 1/4 cup plus 2 tablespoons toasted hazelnuts 2 ounces
- 1/4 cup sugar
- 1 cup all-purpose flour
- Pinch of salt
- 1 stick cold unsalted butter cut into 1/2-inch cubes
- 1 large egg
- 1/2 teaspoon pure vanilla extract
- 12 ounces bittersweet chocolate at least 80%, chopped
- 1 1/2 cups heavy cream
- 1/2 cup strawberries halved
- 1/2 cup blueberries
- 1/2 cup blackberries halved
- 1/2 cup raspberries
- 1/4 cup chopped toasted hazelnuts
instructions
-
To make the pastry, add hazelnuts to a food processor with 1 Tbsp sugar. Process until finely ground.
-
Scrape the nut mixture into a bowl of a stand mixer fitted with the paddle attachment. Add flour, salt, and remaining 3 Tbsp sugar, mixing until combined.
-
Add butter and beat on low speed until incorporated fully. Beat in egg and vanilla until combined. For the dough into a disc and wrap tightly in plastic wrap. Refrigerate for 1 hour.
-
When ready to bake, preheat oven to 350˚F. Spray a 9-inch fluted tart pan with removable bottom with vegetable oil spray.
-
On a lightly floured work surface. roll out pastry into a 12-inch round. Gently lift the dough and place in the tart pan. Be sure to press it into the corners and patch any tears. Remove any excess pastry. Refrigerator for 10 minutes while oven preheats.
-
Line the pastry shell with parchment paper and fill with pie weights or dried beans. Bake for 20 minutes, then remove parchment and weights. Bake for another 15 minutes, until golden brown. Cool completely in the pan.
-
Add chocolate to a heatproof mixing bowl.
-
Bring cream to a simmer in a small saucepan. Once simmering, remove from heat and pour over chocolate. Let stand for 5 minutes, then whisk until smooth.
-
Pour chocolate into the cooled tart shell. Arrange fruit on top as desired with chopped hazelnuts.
-
Refrigerate until firm, about 1 hour and 30 minutes.
-
When ready to serve, remove tart ring and cut into wedges.
notes
