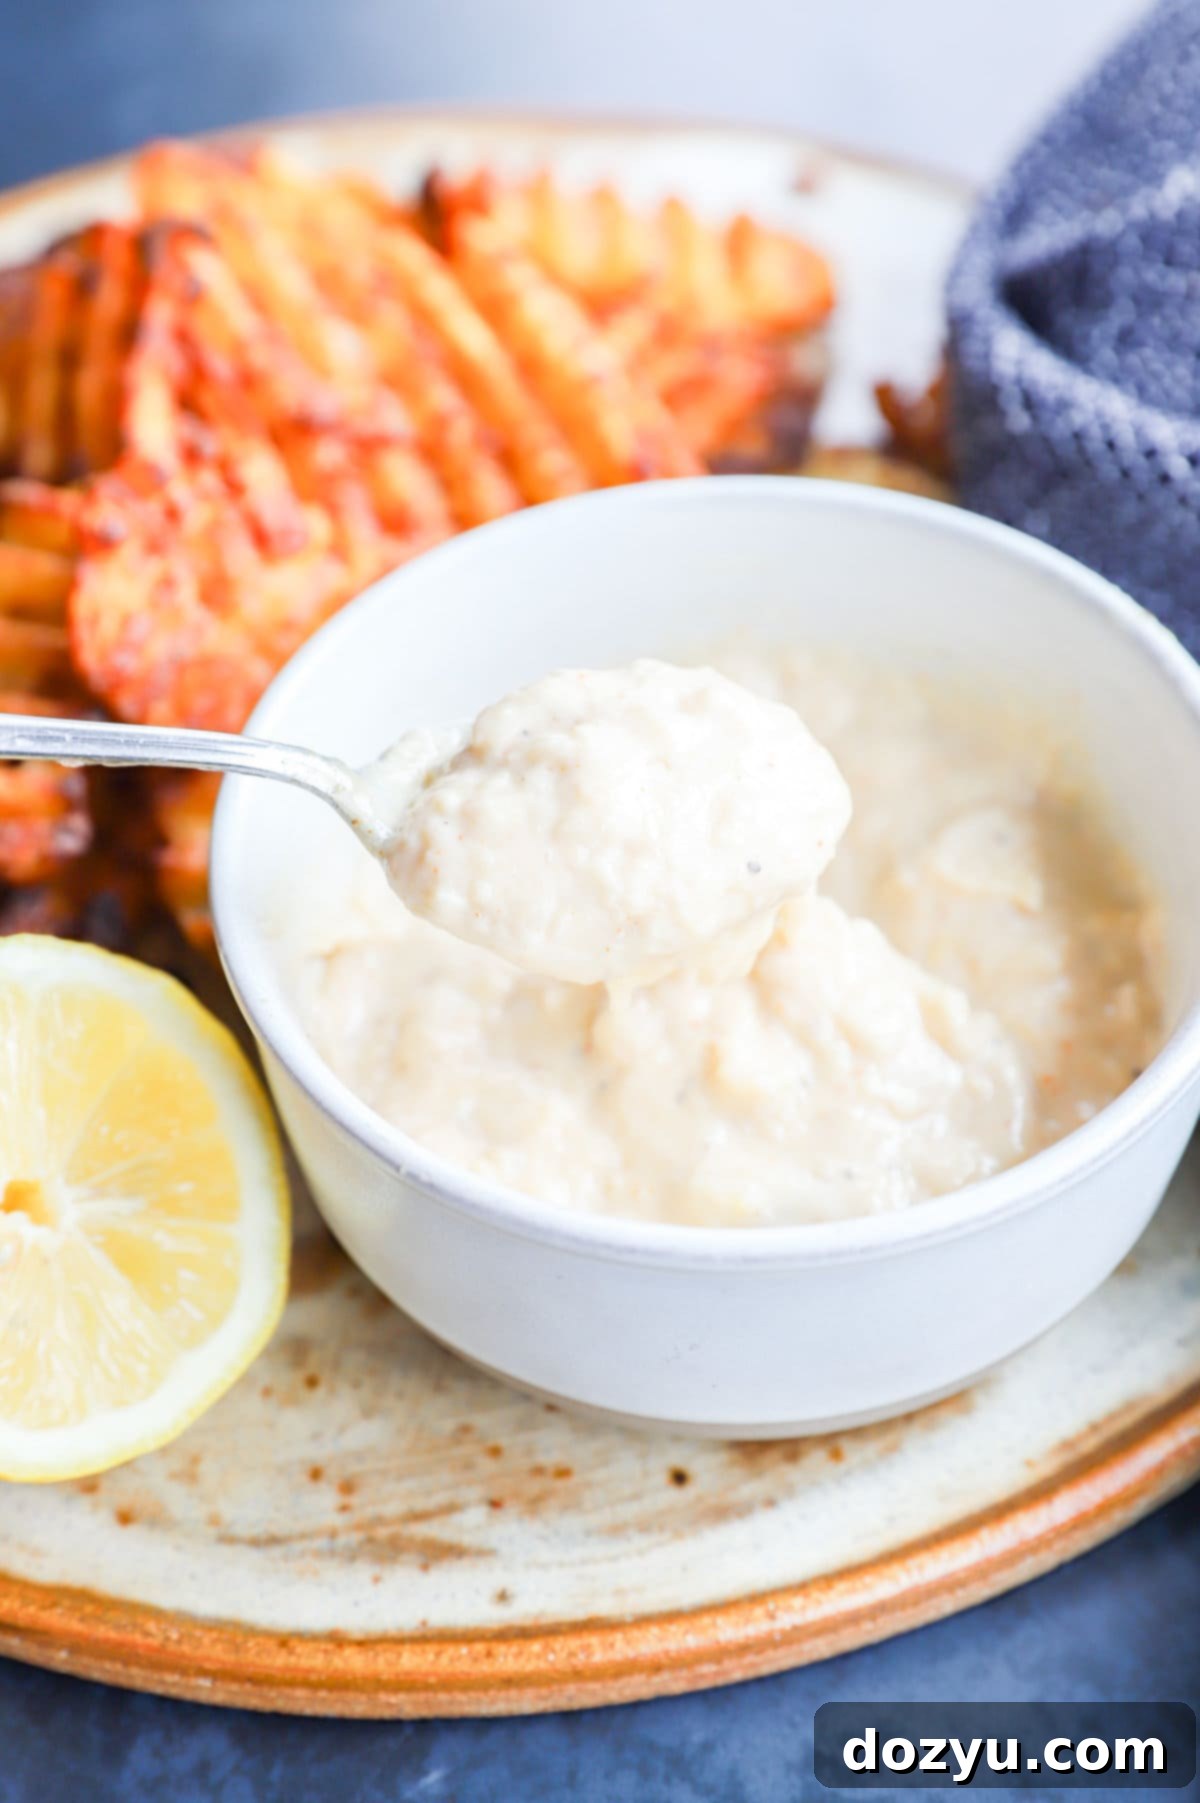
The Best Creamy Roasted Garlic Aioli Recipe: Easy & Versatile Homemade Sauce
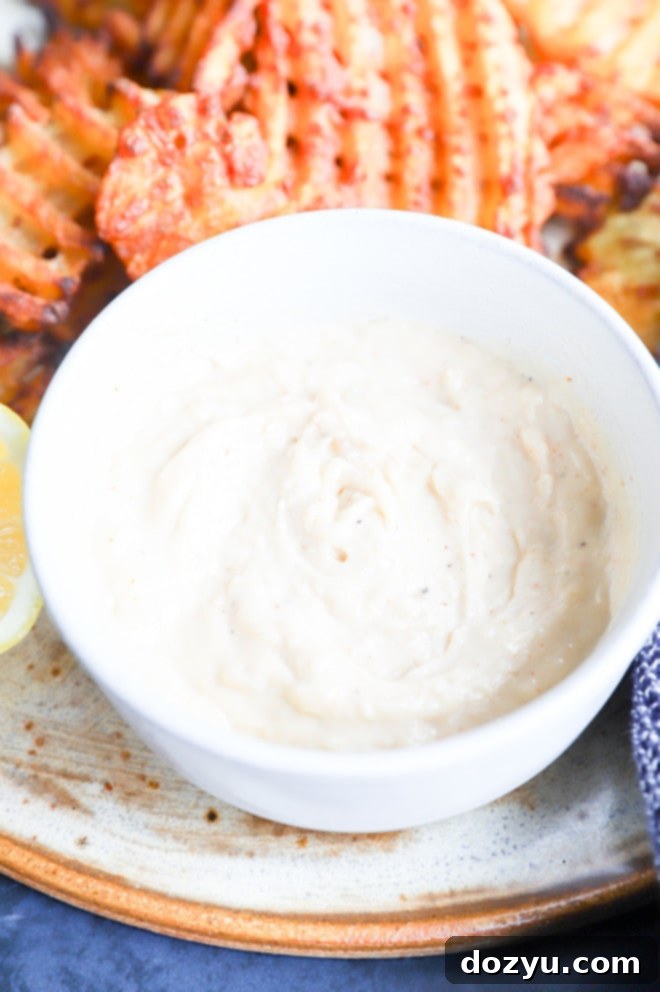
Prepare to elevate your culinary creations with this incredible Creamy Roasted Garlic Aioli! Bursting with savory, tangy, and subtly bright flavors, this homemade sauce is a game-changer you’ll want to keep stocked in your refrigerator. Crafted from a harmonious blend of mellow roasted garlic, rich mayonnaise, a zing of fresh lemon juice, a hint of umami-rich Worcestershire sauce, and a touch of salt, it’s a condiment that truly does it all. For those who love a little kick, a dash of cayenne pepper can add a delightful warmth. Simple to make, effortlessly creamy, and endlessly versatile – get ready for your new favorite go-to sauce!
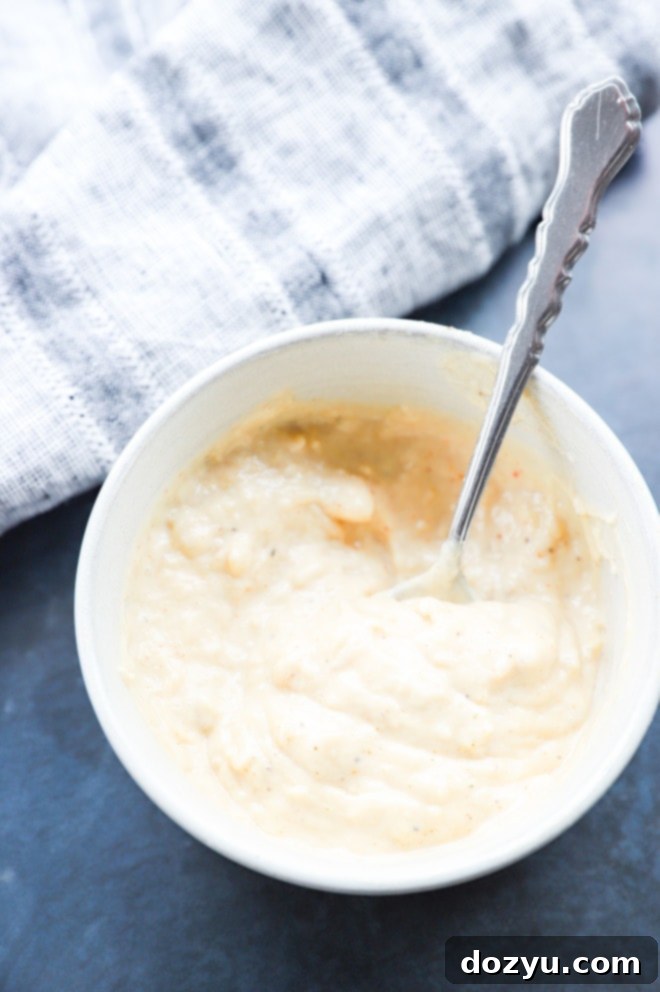
table of contents
Toggle
About This Roasted Garlic Aioli
For many home cooks, the dream of a refrigerator consistently stocked with a variety of gourmet sauces and aiolis feels like a luxury. But what if I told you that achieving this dream, at least with a phenomenal roasted garlic aioli, is incredibly simple? This recipe delivers a condiment so rich in flavor and versatile in application that it will quickly become a staple in your kitchen.
Forget bland dips and uninspired spreads. This roasted garlic aioli is a true flavor powerhouse. The roasting process transforms raw garlic’s pungent bite into a sweet, nutty, and incredibly mellow delight, which then gets folded into a creamy base. The result is a sauce that’s lusciously smooth, deeply savory, perfectly tangy from fresh lemon juice, and boasts a hint of umami from Worcestershire sauce. It’s a complex flavor profile that manages to be both comforting and sophisticated.
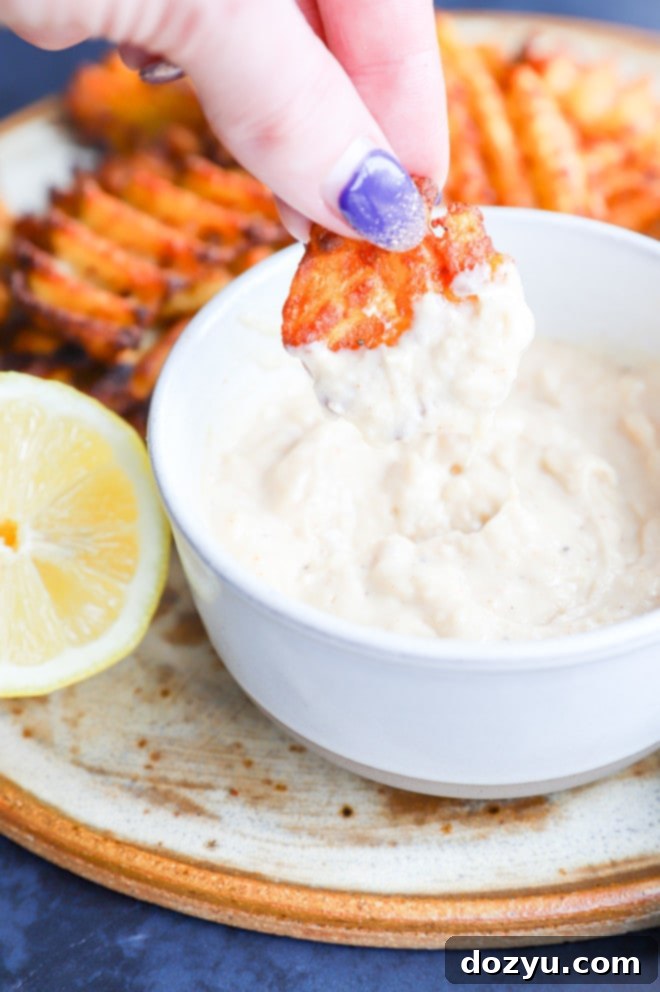
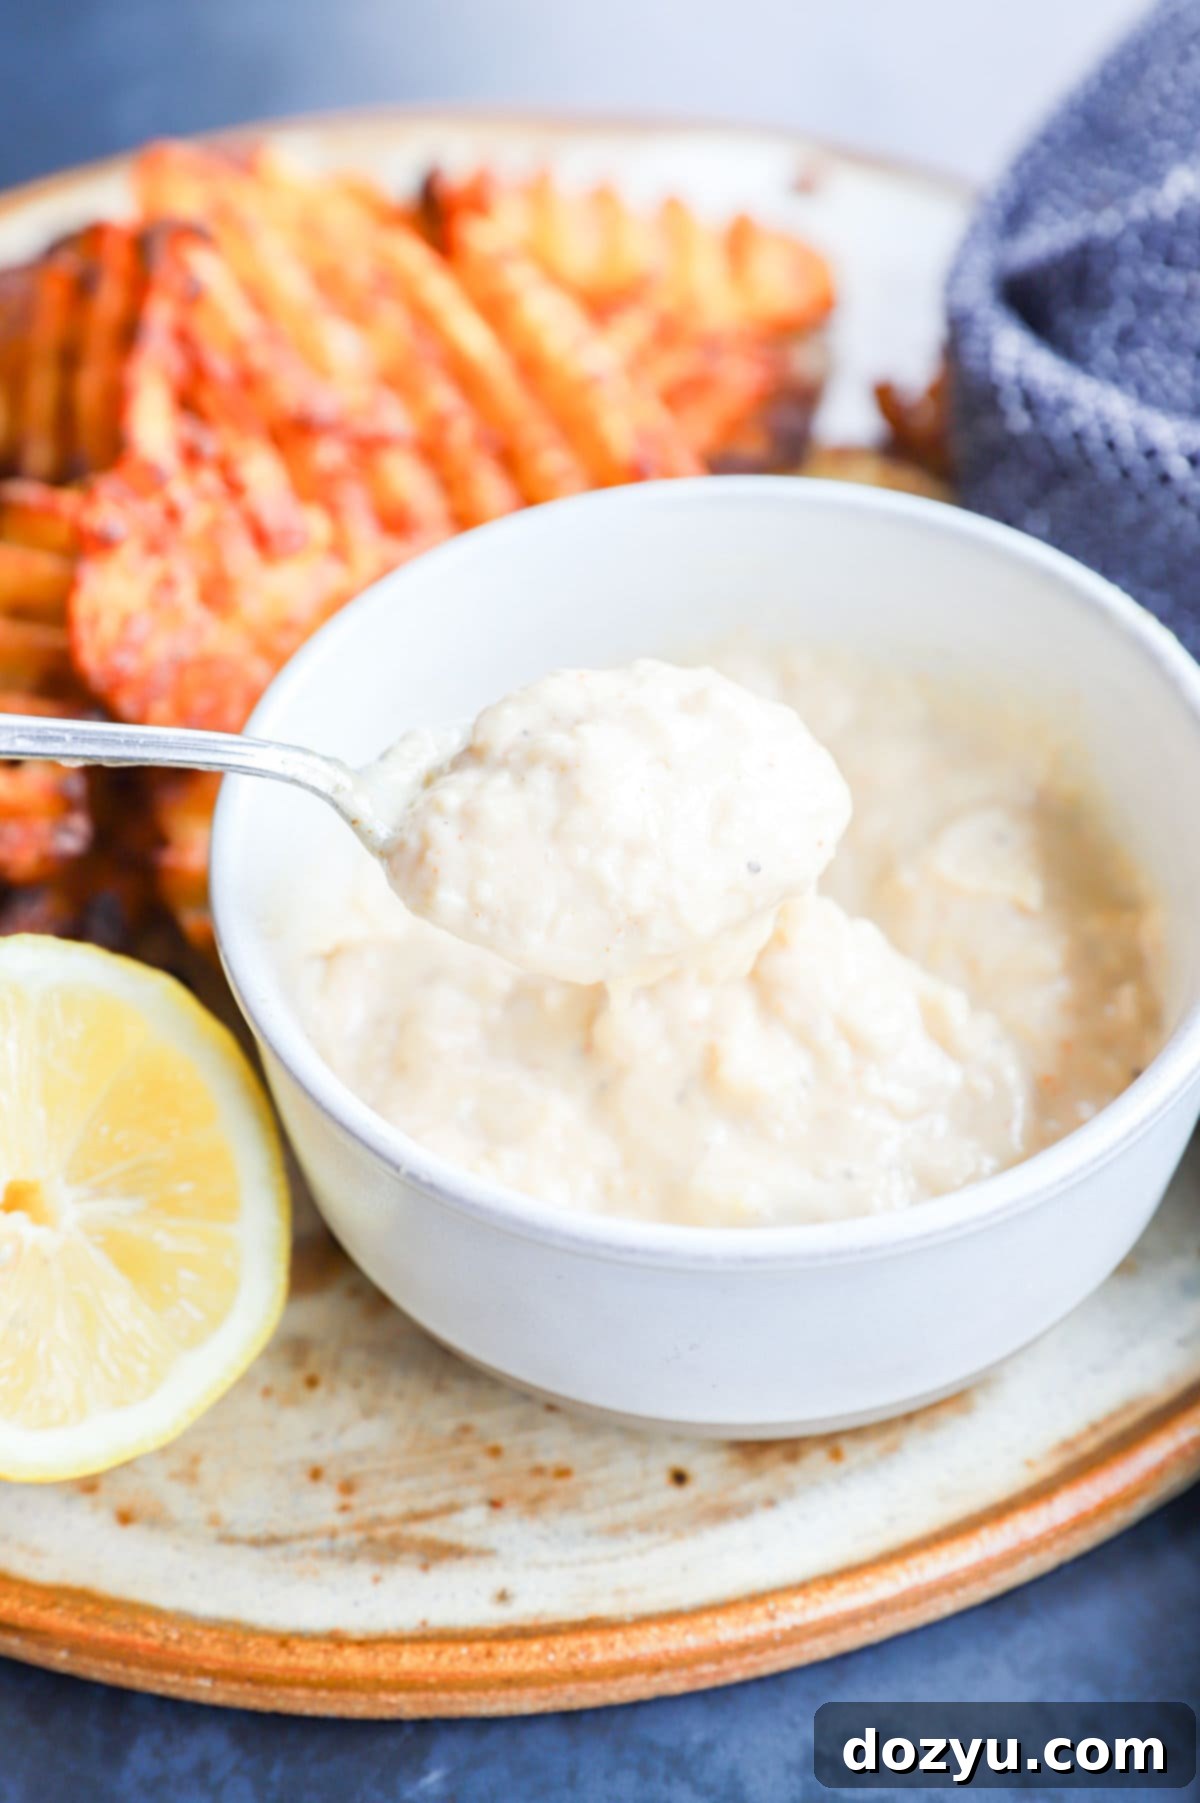
Beyond being an amazing dip for crispy french fries or onion rings, this aioli truly shines as a creamy element in sandwiches, a flavorful spread for wraps, or even as the star of your favorite avocado toast. Imagine slathering it onto a juicy burger, using it to dress up roasted vegetables, or serving it alongside grilled fish or chicken. Its versatility is genuinely endless, making it an indispensable secret weapon in your culinary arsenal. While roasting garlic takes a little time, the depth of flavor it imparts is absolutely worth every minute, elevating this aioli far beyond any store-bought alternative. This isn’t just a condiment; it’s a culinary experience waiting to happen!
Short on time but still craving garlic goodness? Don’t fret! You can still enjoy a fantastic sauce by making this quick and easy garlic aioli in just 5 minutes without the roasting step!
What is Aioli? A Culinary Clarification
The term “aioli” often sparks a bit of debate among food enthusiasts, mainly due to its traditional origins versus its modern, more widely recognized interpretations. Traditionally, aioli is a sauce deeply rooted in Mediterranean cuisine, specifically from regions like Provence in France and Catalonia in Spain. At its core, a classic aioli is an emulsion made primarily from garlic and olive oil, often thickened with raw egg yolk for added creaminess and stability. This emulsification process, typically done by hand with a mortar and pestle, combines the crushed garlic with a slow, steady drizzle of olive oil to create a rich, pungent, and incredibly flavorful sauce.
However, if you’re in the United States or many other parts of the world today, you’re likely more familiar with aioli in a different form: essentially, a flavored mayonnaise. This is precisely the approach we take with this recipe, leveraging the convenience and consistent emulsification of store-bought or homemade mayonnaise as our base. While both traditional aioli and mayonnaise are emulsions, meaning they blend immiscible liquids (like oil and water) into a stable mixture, they do have distinct characteristics.
Mayonnaise itself is an emulsion of oil, egg yolk, and an acid like lemon juice or vinegar. By using mayonnaise as the foundation for our roasted garlic aioli, we create a shortcut that bypasses the sometimes finicky process of emulsifying oil and garlic from scratch. This method yields a deliciously creamy, stable, and incredibly easy-to-make sauce that captures the essence of garlic aioli without the extra effort. For the purists who might raise an eyebrow at a mayonnaise-based aioli, rest assured, this modern take is beloved for a reason – it’s irresistibly delicious and accessible to every home cook!
Essential Ingredients for Roasted Garlic Aioli
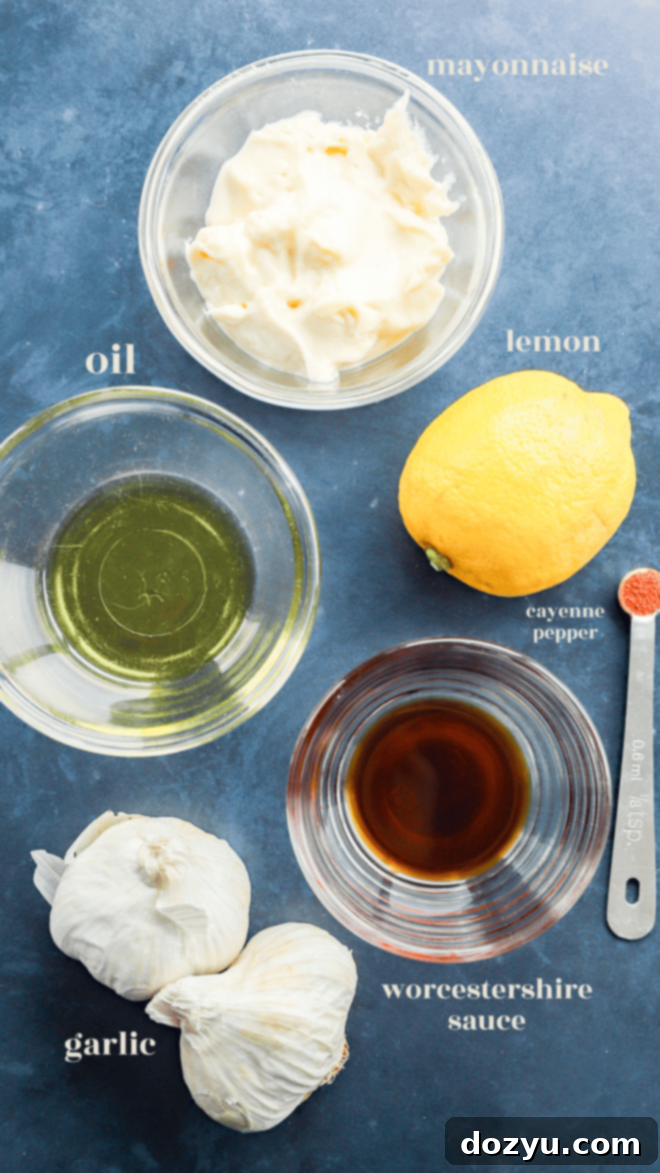
Crafting this flavorful aioli requires just a few key ingredients, each playing an important role in achieving that perfect balance of creamy, savory, and tangy goodness. Here’s what you’ll need:
- Garlic: The star of the show! We recommend using two whole heads of garlic for this recipe. While it might seem like a generous amount, roasting mellows its intensity, transforming it into a sweet, caramelized, and irresistible paste. This ensures a deep, rich garlic flavor without being overpowering. When selecting garlic, look for firm, intact heads without any squishy spots or cracks. If you prefer a milder garlic presence, one head will suffice, but we highly encourage two for maximum flavor impact.
- Oil: For roasting the garlic, extra virgin olive oil is our top choice. Its fruity notes complement the garlic beautifully and contribute to the overall richness. However, if you prefer a more neutral flavor or have dietary restrictions, avocado oil, grapeseed oil, or even a standard vegetable oil will work perfectly well for the roasting process.
- Mayonnaise: This forms the creamy base of our aioli. Feel free to use your favorite brand and preferred fat content – whether that’s full-fat for ultimate richness or low-fat for a lighter option, the choice is yours. For those following a plant-based diet, vegan mayonnaise is an excellent substitute, making this recipe entirely vegan-friendly. While we use convenient store-bought mayonnaise, if you’re feeling ambitious, homemade mayonnaise can also be used for an extra layer of freshness.
- Lemon Juice: Freshly squeezed lemon juice is paramount here. It provides that essential bright, tangy note that cuts through the richness of the mayonnaise and roasted garlic, balancing the flavors beautifully. Bottled lemon juice can work in a pinch, but fresh will always deliver a superior, more vibrant taste.
- Worcestershire Sauce: This ingredient adds a fantastic layer of umami and a subtle complexity to the aioli. Its savory, slightly fermented notes deepen the overall flavor profile. For vegetarian or vegan versions of this aioli, you can easily substitute Worcestershire sauce with soy sauce or liquid aminos, which offer similar savory depth.
- Cayenne Pepper: This is an optional but highly recommended ingredient. A small touch of cayenne pepper introduces a subtle hint of heat that elevates the aioli, adding an exciting spark without making it overtly spicy. It really wakes up the other flavors. Adjust the amount to your preferred level of warmth.
- Salt: Essential for seasoning, use kosher fine salt to taste. Salt is crucial for bringing all the flavors into harmony and making them truly sing. Always start with a small amount and adjust as needed after mixing.
Kitchen Tools You Will Need
One of the beauties of this roasted garlic aioli recipe is its simplicity, which extends to the minimal equipment required. You won’t need any fancy gadgets, just a few basic kitchen essentials:
- Chef’s Knife and Cutting Board: These are indispensable for preparing the garlic heads before roasting. A sharp chef’s knife makes trimming the tops of the garlic effortless and safe, ensuring all cloves are exposed for even caramelization.
- Aluminum Foil: A large piece of heavy-duty aluminum foil is crucial for wrapping the garlic heads. This creates a cozy packet that steams the garlic while it roasts, resulting in incredibly soft, sweet, and perfectly cooked cloves.
- Mixing Bowl: A medium to large mixing bowl will be used to mash the roasted garlic and combine all the aioli ingredients. Stainless steel mixing bowls are durable and easy to clean.
- Fork or Spoon: A sturdy fork or the back of a spoon is all you need to mash the tender roasted garlic cloves into a smooth paste. It’s also perfect for stirring the aioli until all ingredients are well incorporated.
- Baking Dish (Optional): While you can place the foil-wrapped garlic directly on your oven rack, a small baking dish can help contain any potential drips and makes transferring the garlic in and out of the oven a bit easier.
That’s it! With these simple tools, you’re well-equipped to create a gourmet roasted garlic aioli that tastes like it came from a high-end restaurant.
How to Make the Best Roasted Garlic Aioli: Step-by-Step
Making this creamy roasted garlic aioli is a straightforward process, divided into three simple stages. Follow these steps to achieve a perfectly flavorful and smooth sauce:
Roast the Garlic to Perfection
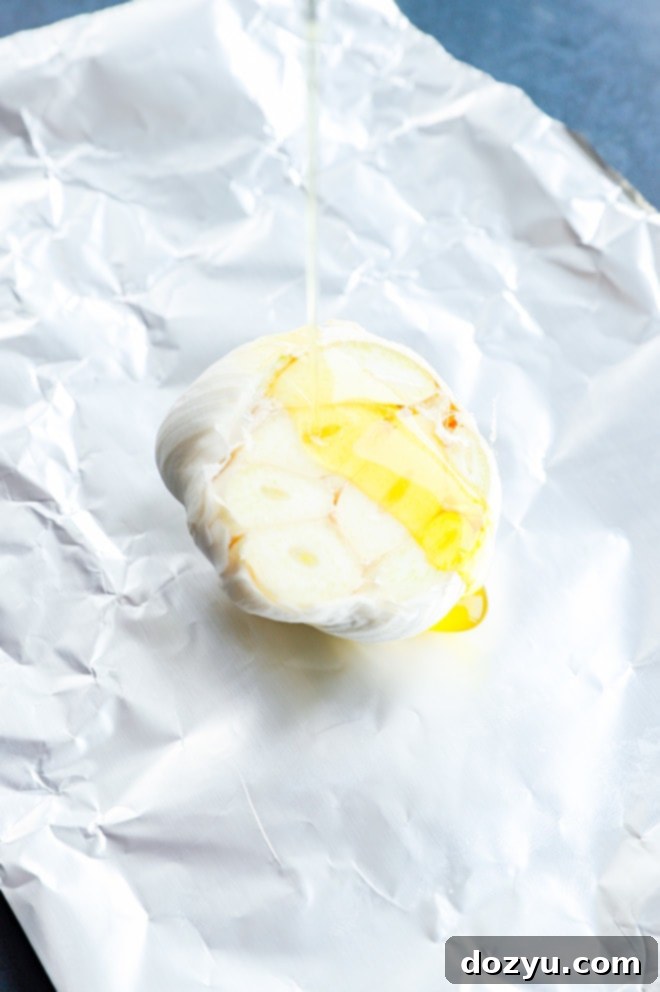
The key to this aioli’s incredible flavor lies in perfectly roasted garlic. Start by preheating your oven to 400˚F (200˚C). Next, carefully trim about a quarter to half-inch off the top of each garlic head, exposing the individual cloves beneath. This crucial step ensures that the oil and seasonings can penetrate the cloves, and the heat can caramelize them evenly. Drizzle each trimmed garlic head with approximately 1 teaspoon of olive oil, ensuring it seeps into the exposed cloves. A sprinkle of salt and freshly ground black pepper over the top will enhance the flavor.
Now, individually wrap each seasoned garlic head snugly in a piece of aluminum foil. The foil acts like a mini-oven, steaming the garlic as it roasts and preventing it from drying out, leading to tender, caramelized cloves. You can place these foil packets directly on the oven rack or, for easier handling and to catch any potential drips, place them in a small baking dish.
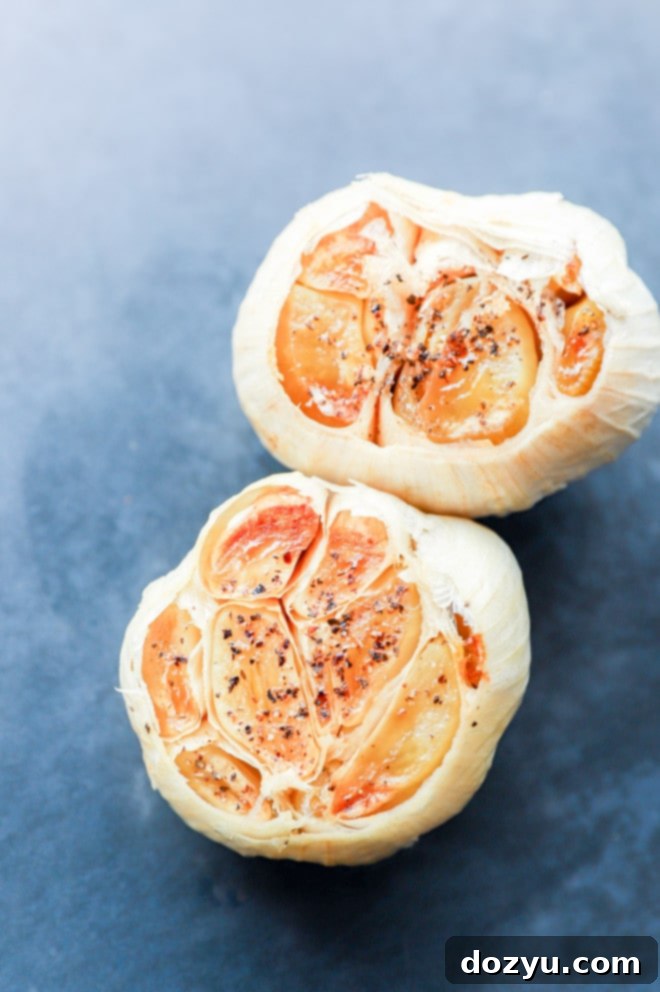
Bake for 50 to 60 minutes. The garlic is ready when it’s incredibly soft to the touch (you should be able to squeeze a clove easily through the foil) and beautifully golden brown. Once roasted, remove the garlic from the oven and allow it to cool for about 5 to 10 minutes, or until it’s comfortable enough to handle without burning yourself. If you’re in a hurry, you can pop them into the refrigerator briefly to speed up the cooling process. Unwrapping each head will release that wonderful, sweet roasted garlic aroma.
Mash the Roasted Garlic
Once the roasted garlic has cooled slightly, it’s time to extract its tender, sweet cloves. Hold each head firmly and gently squeeze from the bottom, allowing the soft, buttery garlic cloves to easily pop out into a medium-sized bowl. Discard the papery skins. Using a fork, mash the roasted garlic until it forms a smooth, creamy paste. You want to ensure there are no large lumps for the best texture in your aioli. If you encounter any pieces that seem too hard or fibrous to mash, simply remove and discard them to maintain a silky consistency.
Mix All Ingredients for Creamy Aioli
With your roasted garlic paste ready, the final step is to combine it with the remaining ingredients. To the bowl with the mashed garlic, add the mayonnaise, fresh lemon juice, Worcestershire sauce, and the optional cayenne pepper if you’re including it for a subtle hint of heat. Stir all the ingredients together thoroughly using a spoon or whisk until everything is well combined and the aioli is smooth and uniform in color and texture. Taste and adjust seasonings as needed, adding more salt, lemon juice, or cayenne to suit your preference.
While tempting to use immediately, for the absolute best flavor, refrigerate the aioli for at least 30 minutes before serving. This crucial chilling period allows all the wonderful flavors to meld and deepen, resulting in an even more delicious and harmonious sauce. The longer it sits, the better it tastes!
Pro Tips and Delicious Variations
Making a great roasted garlic aioli is easy, but a few simple tips and variations can help you customize it to perfection and elevate its flavor even further:
- Embrace the Chill: We can’t stress this enough – let the aioli chill in the refrigerator for at least 30 minutes, or even a few hours, before serving. This isn’t just about getting it cold; it’s about allowing the complex flavors of the roasted garlic, tangy lemon, and savory Worcestershire to fully meld and deepen. The patience pays off with a much more harmonious and flavorful sauce.
- Speed Up Roasting with an Air Fryer: If you’re short on time and prefer not to wait an hour for oven roasting, your air fryer is a fantastic alternative! Making air fryer roasted garlic significantly cuts down the cooking time, delivering tender, sweet cloves in a fraction of the time. Just be sure to keep an eye on it to prevent burning.
- Adjust Seasoning to Your Taste: This recipe is a fantastic base, but don’t hesitate to make it your own.
- Heat Level: If you love a spicier kick, increase the amount of cayenne pepper, or consider adding a pinch of smoked paprika for a smoky warmth, or even a tiny amount of your favorite hot sauce.
- Tanginess: Crave more zest? Add an extra squeeze of lemon juice.
- Umami: For deeper savory notes, a touch more Worcestershire sauce can be added. If using soy sauce or liquid aminos as a substitute, adjust for saltiness.
- Herbs: Fresh herbs are a wonderful addition. Finely chopped fresh parsley, chives, dill, or even a hint of rosemary can add an aromatic layer. Stir them in just before the final chilling stage.
- Customize Consistency: If your aioli is too thick for your liking (perhaps for a drizzle or dressing), whisk in a tiny amount of water, extra lemon juice, or even a splash of olive oil until you reach your desired consistency. If it’s too thin, you can try adding a bit more mayonnaise, but generally, this recipe yields a good thickness.
More tasty dips to dive into: Spinach and Artichoke Goat Cheese Dip | Spicy Lasagna Dip | Avocado Chimichurri Salsa | Veggie Guacamole
Can Roasted Garlic Aioli Replace Regular Mayonnaise?
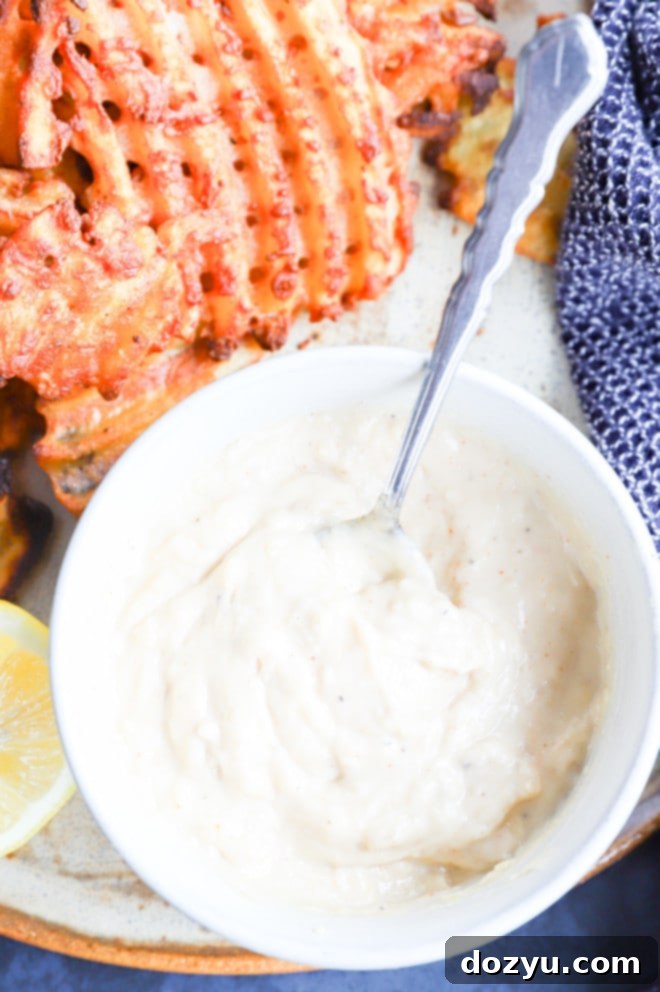
Absolutely, yes! This roasted garlic aioli is not just a substitute for plain mayonnaise; it’s a significant upgrade. Once you try it, you’ll find yourself reaching for it whenever a recipe calls for mayonnaise, thanks to its rich, complex, and intensely flavorful profile. The mellow sweetness of roasted garlic combined with its creamy base adds a gourmet touch to almost anything.
Think beyond just sandwiches! While it undeniably elevates any sandwich, burger, or wrap, its applications extend far and wide:
- In Salads: Swap it into your favorite potato salad, coleslaw, or chicken/tuna salad recipes for an incredible depth of flavor. It brings a new dimension that plain mayo simply can’t match.
- On Deviled Eggs: For truly exceptional deviled eggs, use this aioli in place of standard mayonnaise. The roasted garlic instantly makes them more sophisticated and delicious.
- As a Binder: Use it as a binder for crab cakes, salmon patties, or any recipe where mayonnaise adds moisture and richness. The garlic flavor will permeate the dish beautifully.
- In Dressings: Thin it slightly with a little extra lemon juice or water, and you have a fantastic creamy dressing for green salads or grain bowls.
The creamy texture and incredible roasted garlic flavor truly pack a punch, transforming everyday dishes into something special. Once you experience the difference, you might never go back to plain mayonnaise!
Is Roasting the Garlic Necessary for Aioli?
While you certainly *can* make a garlic aioli using raw garlic, and many traditional recipes do, we firmly believe that roasting the garlic is what makes this particular aioli recipe truly exceptional and stand out. There’s a profound difference in flavor between raw and roasted garlic that significantly impacts the final taste of your sauce.
Raw garlic, when crushed or minced, is potent, pungent, and sharply aromatic. Its flavor can be quite intense, sometimes even bordering on spicy or bitter. While fantastic in some contexts, using too much raw garlic in an aioli can easily overpower the other ingredients and leave a strong aftertaste.
Roasting, however, works magic on garlic. The high heat caramelizes its natural sugars, transforming those sharp, sulfuric compounds into sweet, mellow, and nutty notes. The cloves become soft, buttery, and incredibly spreadable, losing their raw bite entirely. This results in an aioli that is wonderfully complex, deeply savory, and subtly sweet, without any harshness. The flavor becomes rounder and more integrated into the creamy base.
If you absolutely must use raw garlic, we strongly recommend using significantly less – perhaps only 2 to 3 finely minced cloves – to avoid an overwhelming pungency. You’ll also want to make sure it’s very finely minced or even grated to prevent large, raw pieces from disrupting the smooth texture. While raw garlic aioli has its place, it’s the slight sweetness and incredible mellow depth of roasted garlic that truly elevates this particular recipe into a gourmet experience.
Need some inspiration for appetizers? Check out my appetizer recipes page!
Creative Ways to Use Roasted Garlic Aioli
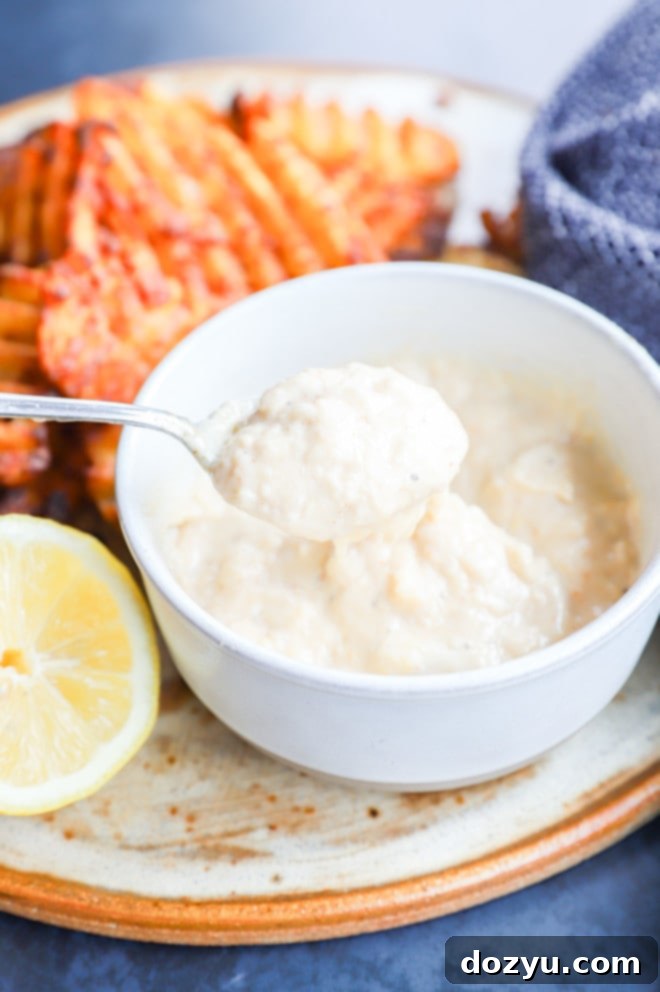
The beauty of this creamy roasted garlic aioli lies not just in its exquisite taste, but in its boundless versatility. Once you have a batch in your fridge, you’ll discover countless ways to incorporate its savory goodness into your meals. Here are some of our favorite ideas:
- The Ultimate Dipping Sauce: This is arguably its most popular use, and for good reason! Its creamy, savory profile makes it the best dipping companion for almost anything.
- Classic Fries and Rings: French fries, sweet potato fries, crispy onion rings, potato wedges – they all get an instant upgrade.
- Snacks and Appetizers: Elevate simple kettle chips, tater tots, mozzarella sticks, or even homemade potato cheese balls with a generous dollop.
- Vegetables: Whether it’s raw veggie sticks (carrots, celery, bell peppers) or perfectly roasted vegetables like broccoli, asparagus, green beans, or even crispy Brussels sprouts, this aioli is a fantastic pairing.
- Enhance Your Proteins: This aioli adds a gourmet touch to grilled, baked, or pan-seared meats and fish.
- Seafood: Drizzle it over baked salmon, grilled cod, or pan-seared scallops. The lemon in the aioli brightens seafood beautifully.
- Poultry: Serve it alongside grilled chicken breasts, roasted turkey, or even as a dipping sauce for chicken tenders.
- Steak: A dollop on a perfectly cooked steak can add an unexpected, savory creaminess.
- Sandwiches, Burgers, and Wraps: Say goodbye to plain mayo!
- Burgers: Spread a generous layer on your burger buns for an instant flavor boost. It’s especially good with beef, chicken, or veggie burgers.
- Gourmet Sandwiches: Use it in any deli-style sandwich, grilled cheese, or a hearty vegetarian wrap. It adds moisture and an incredible depth of flavor.
- Avocado Toast: Spread it on toast before adding your avocado for an extra layer of savory goodness.
- With Potatoes and Roasts:
- Roasted Potatoes: Drizzle over a side of crispy oven-roasted potatoes and onions, or use it as a base for mashed potatoes.
- Breakfast Potatoes: A dollop on hash browns or home fries is simply divine.
- Creative Culinary Uses:
- Salad Dressing Base: Thin it with a little water or vinegar to create a rich, creamy salad dressing.
- Pasta Sauce Helper: Stir a spoonful into pasta dishes for added creaminess and garlic flavor.
Truly, if it goes well with roasted garlic, it’s going to be fantastic with this aioli. Don’t be afraid to experiment and discover your own favorite combinations!
How to Store Your Homemade Aioli
Proper storage is essential to keep your delicious roasted garlic aioli fresh and flavorful for as long as possible.
- Store: Always transfer your freshly made aioli to an airtight container. A glass jar with a tight-fitting lid or a plastic container will work perfectly.
- Refrigerate: Place the container in the refrigerator immediately after making it and after each use.
- Shelf Life: Stored correctly, your homemade roasted garlic aioli will last for up to 2 weeks in the refrigerator. Always trust your senses – if it smells or looks off, it’s best to discard it.
Enjoying your homemade aioli over several days or weeks is easy when you store it correctly, ensuring you always have a gourmet touch ready for your meals.
More Irresistible Dip Recipes
If you’ve fallen in love with homemade dips, then you’re in for a treat! Here are a few more delicious recipes to add to your repertoire that are sure to impress:
- This savory and spicy chili cheese dip is incredibly quick to make, ready to serve in just 10 minutes!
- For a classic crowd-pleaser, our chunky salsa is perfect for dipping your favorite tortilla chips, or for adding fresh flavor to tacos, burritos, and more.
- Guacamole lovers, rejoice! You’ll adore this unique BLT guacamole, packed with the delicious flavors of crispy bacon, fresh lettuce, and ripe tomatoes.
- Keep the aioli creations coming with this fiery chipotle aioli! It boasts a smoky kick that you will absolutely crave on everything.
We truly hope you enjoy making and savoring this roasted garlic aioli! If you do give this recipe a try, please be sure to give it a star rating on the recipe card below and/or leave a comment! Your feedback means the world to us, and we always take the time to respond to every single comment. Don’t hesitate to drop any questions you might have below as well!
And for all our creative cooks out there, be sure to tag us on Instagram if you make the recipe! It’s truly our favorite thing to see these recipes come to life in your homes – it really means the world to us to see your delicious creations.
Roasted Garlic Aioli
5 minutes
1 hour
1 hour 5 minutes
0.5 cup
Equipment
-
8-Inch Chef’s Knife
-
Utility Cutting Board
-
Stainless Steel Mixing Bowls
Ingredients
- 2 large whole heads of garlic
- 2 tsp extra virgin olive oil
- 1/2 cup mayonnaise full fat or low fat
- 1 Tbsp fresh lemon juice about 1/2 lemon
- 1 tsp Worcestershire Sauce
- 1/8 tsp cayenne pepper optional
- Salt to taste
Instructions
-
Preheat the oven to 400˚F (200˚C).
-
Trim the tops off each head of garlic (about 1/4-1/2 inch) so all of the cloves are exposed. Drizzle with 1 tsp olive oil each, then sprinkle with salt and pepper.
-
Wrap the heads individually in aluminum foil, sealing them tightly. You can place them in a small baking dish or directly on the oven rack.
-
Bake for 50 to 60 minutes until the garlic cloves are very soft and golden brown. Let cool for about 5 to 10 minutes until you can handle them comfortably. Unwrap each whole head of garlic.
-
Squeeze out the roasted garlic cloves into a medium bowl. Mash thoroughly with a fork until smooth, discarding any hard pieces.
-
Stir in mayonnaise, fresh lemon juice, Worcestershire sauce, and cayenne pepper (if using) until all ingredients are well combined and the aioli is smooth.
-
Refrigerate for at least 30 minutes before using to allow the flavors to meld and deepen. Serve and enjoy!
Video
Nutrition
Calories: 1700kcal |
Carbohydrates: 10g |
Protein: 3g |
Fat: 184g |
Saturated Fat: 28g |
Polyunsaturated Fat: 102g |
Monounsaturated Fat: 49g |
Trans Fat: 0.4g |
Cholesterol: 94mg |
Sodium: 1581mg |
Potassium: 230mg |
Fiber: 1g |
Sugar: 3g |
Vitamin A: 366IU |
Vitamin C: 17mg |
Calcium: 55mg |
Iron: 1mg
