Indulge in the Ultimate No-Churn Caramel Apple Ice Cream: Your Perfect Fall Dessert
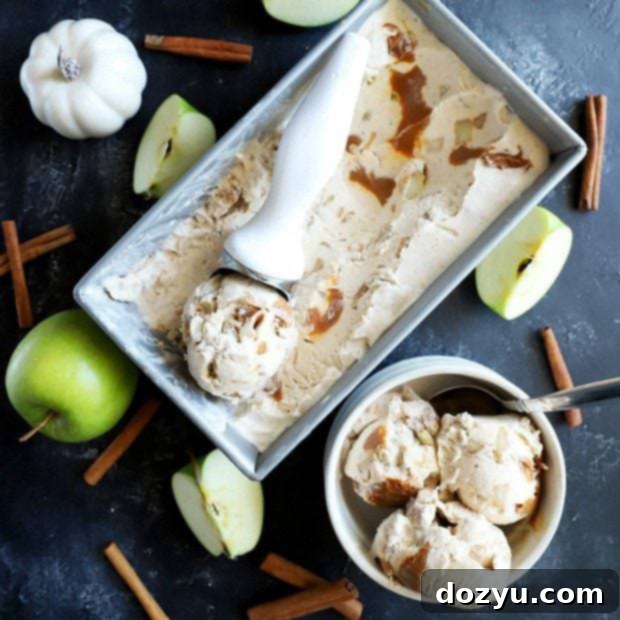
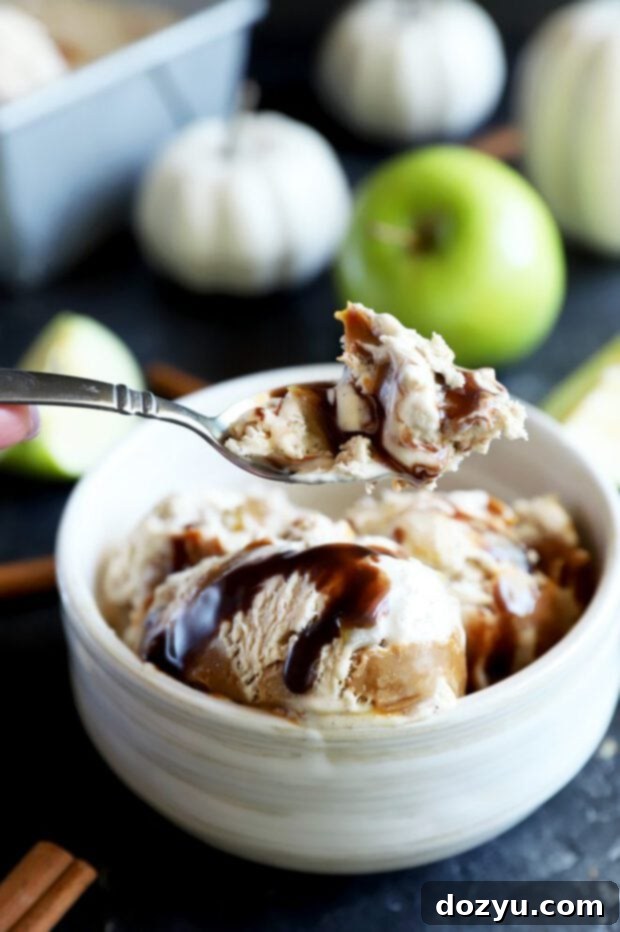
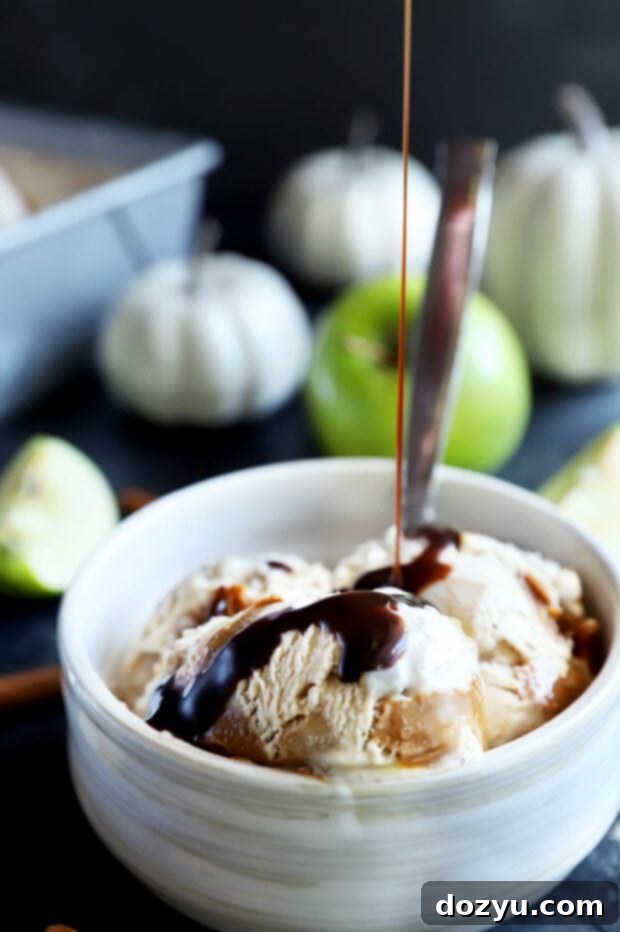
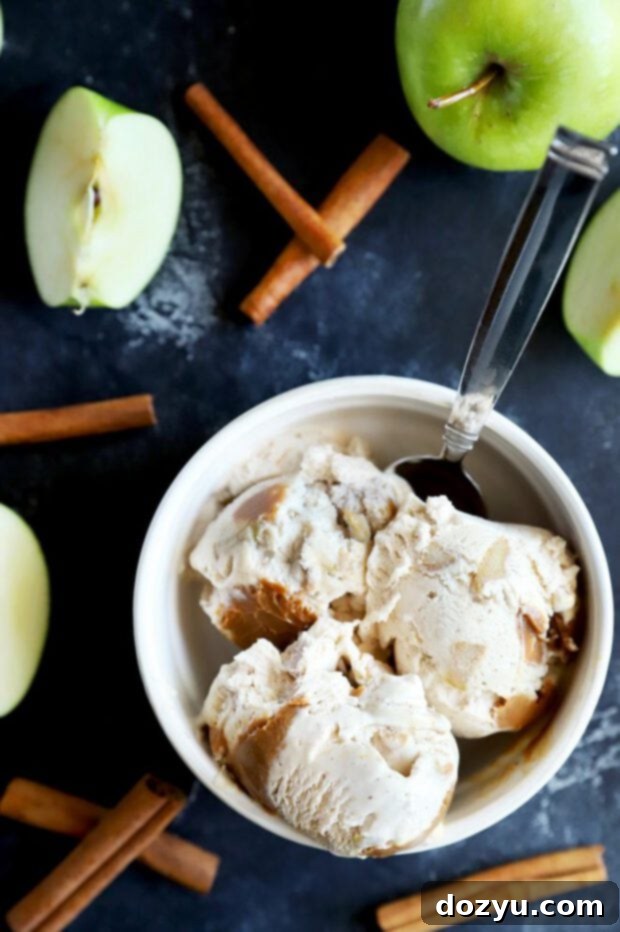
Caramel Apple Ice Cream is a celebration of fall flavors, combining aromatic apple pie spices, tender fresh apples, and luxuriously creamy dulce de leche into one unforgettable sweet treat. Best of all, it’s a no-churn dessert, so you can whip up this delightful frozen confection without the need for an ice cream maker. Prepare yourself to crave a generous double scoop of this seasonal delight every single day!
Prepare your taste buds, because this isn’t just *any* frozen treat – this is THE fall frozen treat, poised to outshine all others. As autumn leaves begin to change and the air turns crisp, my mind invariably drifts to one particular indulgence: caramel apples. For years, I was absolutely obsessed with them. So much so, that between September and November, friends and family would spontaneously bring me caramel apples from the grocery store, knowing it was my ultimate seasonal craving. It was a running joke, but a delicious one!
That delightful combination of a crisp, slightly tart apple generously coated in sweet, sticky caramel and then often adorned with fun, crunchy toppings was truly my jam. However, in recent years, I found myself enjoying them less than before, which left me with a serious, undeniable craving this autumn. The solution? Transform that beloved classic into something even more extraordinary – a creamy, dreamy ice cream! And let me tell you, it works wonders.
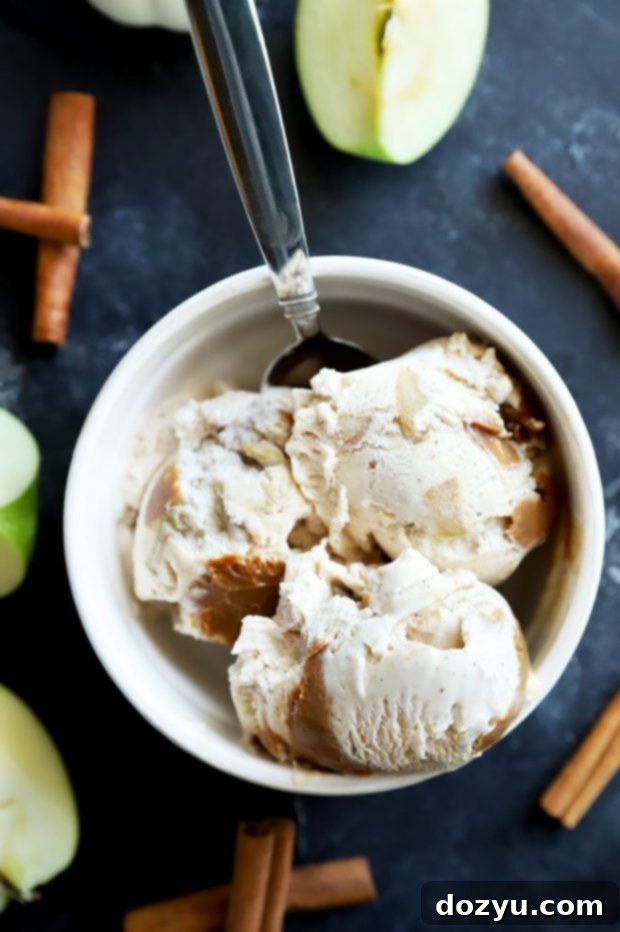
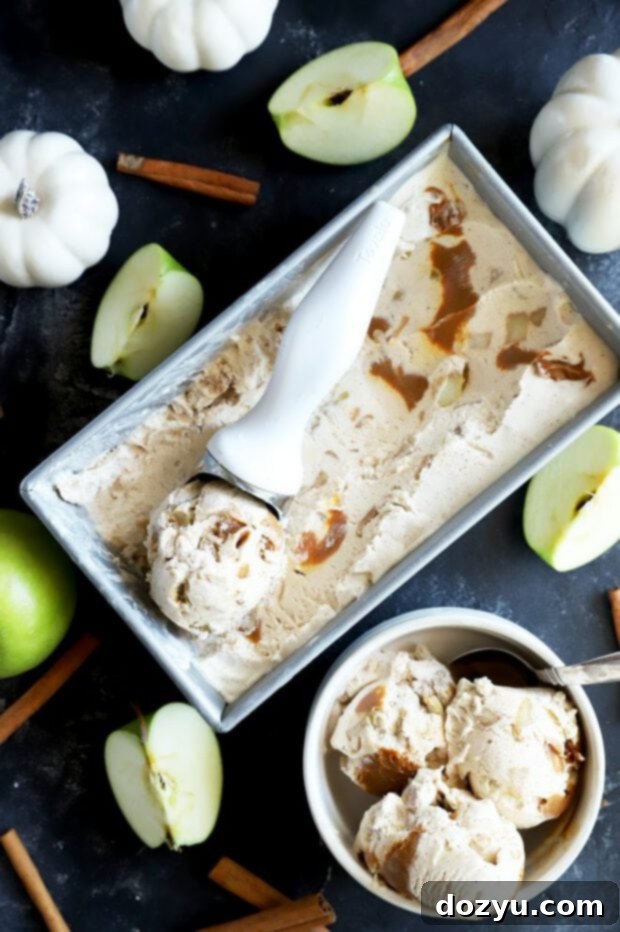
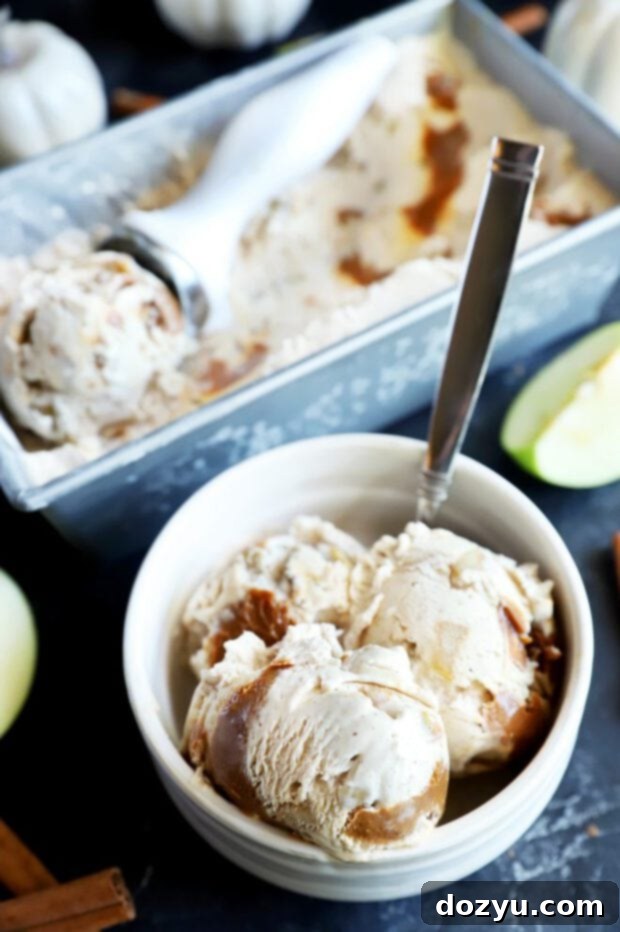
This Caramel Apple Ice Cream captures the very essence of fall in every spoonful. It’s richly spiced with the warm, comforting aromas typically found in a classic apple pie – think cinnamon, nutmeg, and cloves. But that’s not all; it’s loaded with real, tender chunks of cooked fresh apple that burst with flavor in your mouth, adding a wonderful textural contrast. Then, for that essential caramel element, we swirl in creamy, decadent dulce de leche. The result is pure perfection, an absolute game-changer. Once you try this homemade delight, you might never go back to those plain old caramel apples again; this elevated version truly is the ultimate fall sweet treat.
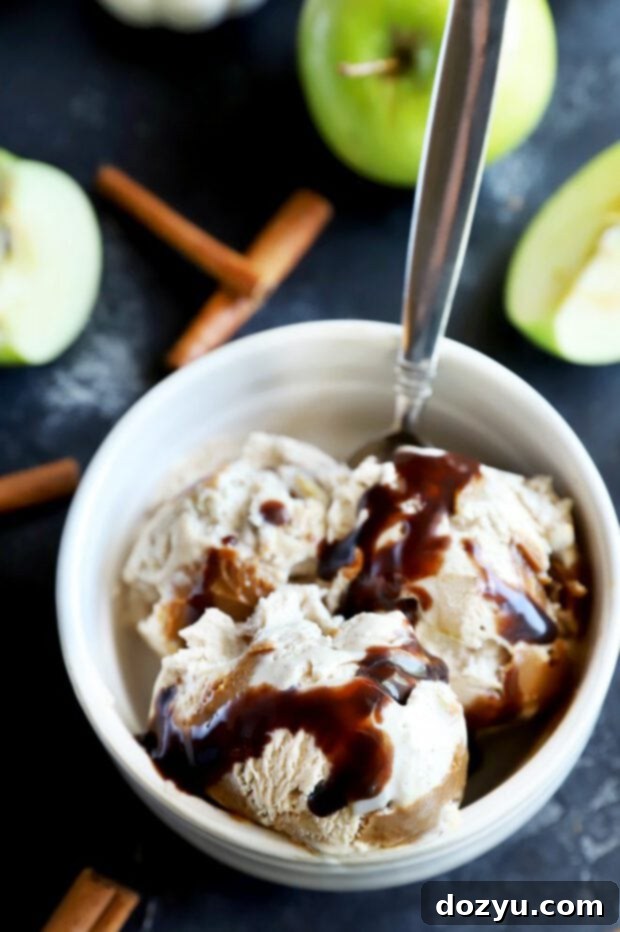
Table of Contents
Toggle
This Recipe’s Must-Haves: Essential Equipment
To craft the absolutely delectable apple mixture that forms the heart of this ice cream – providing those delightful bites of tender apple and infusing the entire batch with authentic apple pie flavor – you’ll need a truly reliable nonstick skillet. I recently had the pleasure of working extensively with Tuxton Home Concentrix Cookware, and I can confidently say, it’s a game-changer. These skillets are incredibly reliable, offering genuine nonstick performance that makes cooking and cleanup a breeze. Plus, they come in vibrant, cheerful colors that add a pop of life and joy to any kitchen.
I am genuinely obsessed with them, and you’ll be thrilled to know they are also super affordable! I shared a bit about them last month on Instagram, but seriously, you can get two skillets – a small and a large – for an incredible price. This kind of value for such high quality is hard to beat, making it a fantastic investment for your kitchen, especially for recipes like this one where a smooth release is key.
Beyond the skillet, a simple wooden spoon will be your best friend for stirring the apple mixture as it gently cooks down, ensuring all those beautiful spices are evenly distributed and the apples soften perfectly. For making the light and airy whipped cream, a stand mixer or an electric hand mixer is highly recommended. While you *could* attempt it by hand with a whisk and a large bowl, it’s quite an arm workout, and I generally don’t recommend it unless you’re looking for an intense upper body workout!
Finally, a sturdy spatula is essential for gently folding all the components together, preserving the airiness of the whipped cream, which is crucial for that no-churn texture. And to house this heavenly ice cream as it freezes, a 9×5-inch loaf pan is ideal. Its rectangular shape makes for easy scooping. If a loaf pan isn’t readily available, any airtight freezer-safe container will work just as well, ensuring your ice cream stays fresh and delicious.
How to Make Homemade Caramel Apple Ice Cream
Creating this irresistible Caramel Apple Ice Cream is surprisingly simple, especially since it’s a no-churn recipe! Let’s break down the steps to achieve that perfect creamy texture and burst of fall flavor.
Step 1: Cook Down the Spiced Apples
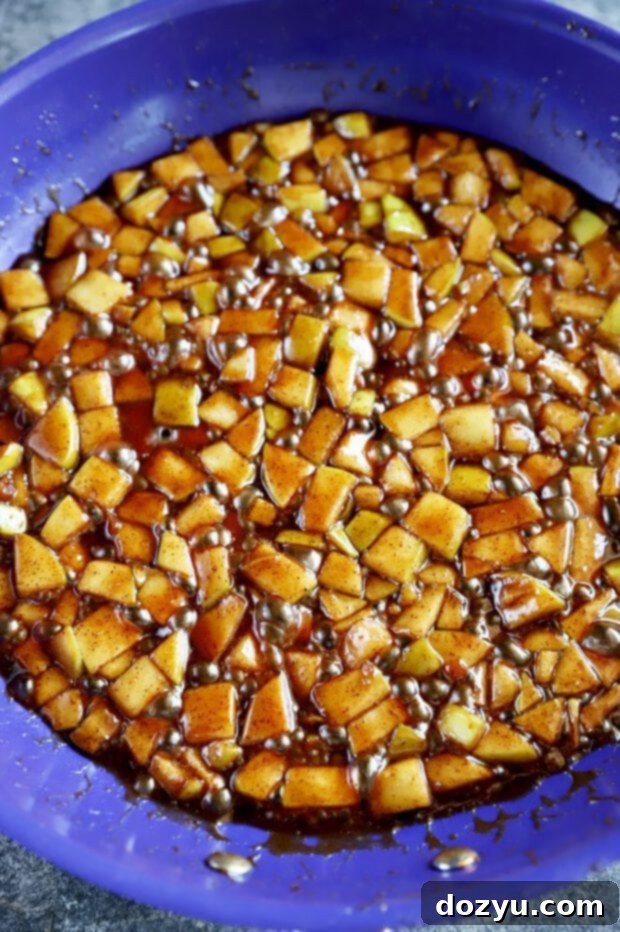
The first crucial step is to cook down the apples. As I mentioned, a high-quality nonstick skillet is absolutely essential here. Why? Because as the butter melts and the sugars combine with the apples and spices, you’ll create a bubbling, fragrant fruit filling that could easily stick to a lesser pan. A truly reliable nonstick surface ensures that this delicious mixture easily slides out, leaving no sticky residue behind. With cookware like Tuxton Home Concentrix, it comes out effortlessly, preserving every precious bit of that spiced apple goodness. Cook until the apples are beautifully softened and fragrant, about 6 to 7 minutes, stirring occasionally to prevent sticking and ensure even cooking.
Step 2: Create Perfect Whipped Cream
For the base of your no-churn ice cream, you’ll need light and airy whipped cream. Using a stand mixer fitted with a whisk attachment or an electric hand mixer in a large, chilled bowl makes this step quick and easy. The goal is to beat the heavy cream until it forms stiff peaks. This means when you lift the whisk, the cream should hold its shape firmly. Be careful not to overbeat, though, as you can quickly turn it into butter! Stop as soon as those stiff peaks are achieved to maintain maximum airiness.
Step 3: Gently Fold Everything Together
Once your spiced apple mixture has completely cooled – this is important to prevent melting the whipped cream – you’ll combine it with sweetened condensed milk in a separate medium bowl. Stir these two ingredients until they are thoroughly combined. Then, using a spatula, gently fold this mixture into your freshly whipped cream. The key here is to fold, not stir, to preserve all the air you’ve incorporated into the cream. This aeration is what gives no-churn ice cream its wonderfully light and creamy texture. It’s a remarkably easy process that comes together beautifully.
Step 4: Layer and Freeze for Best Results
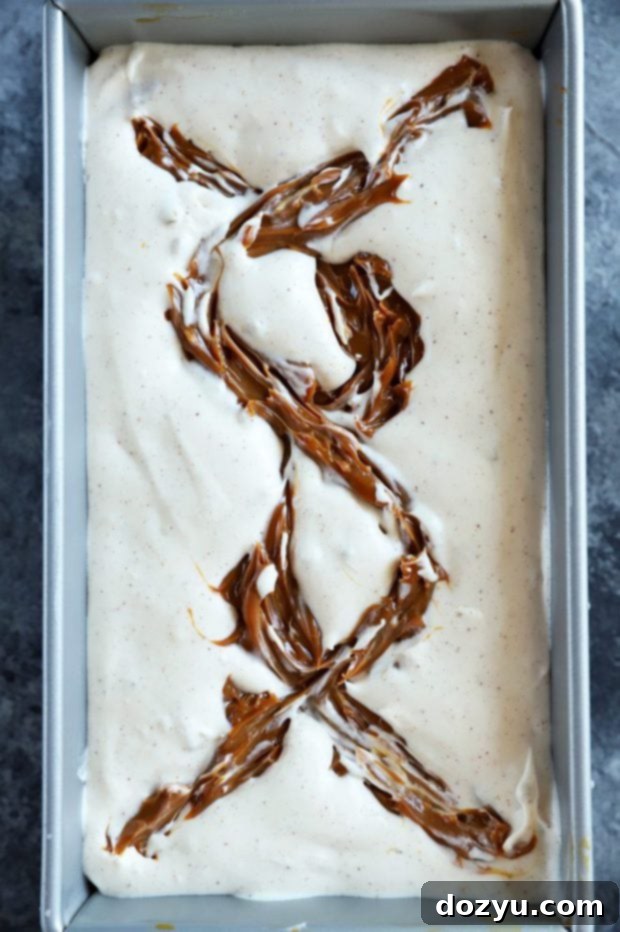
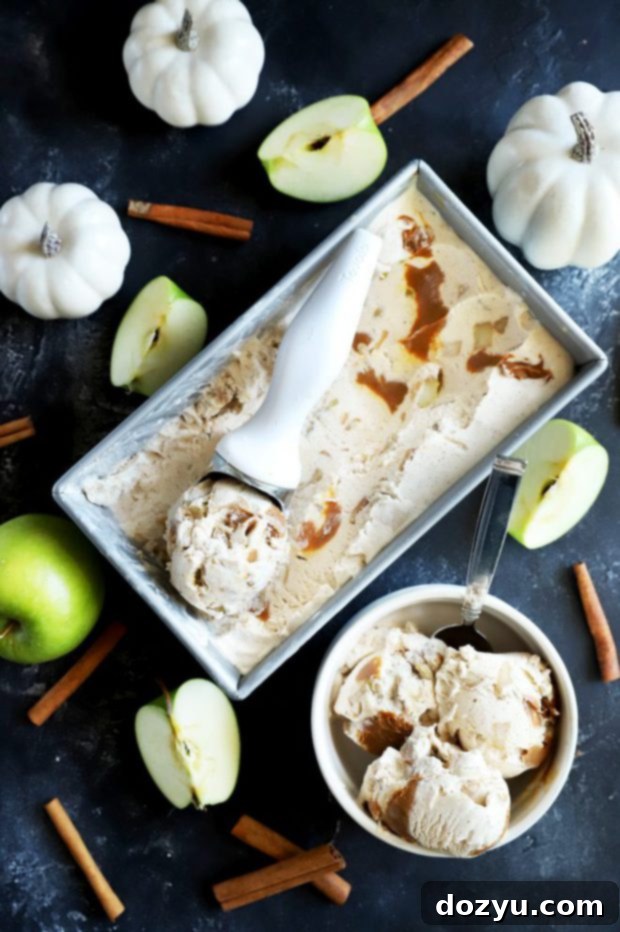
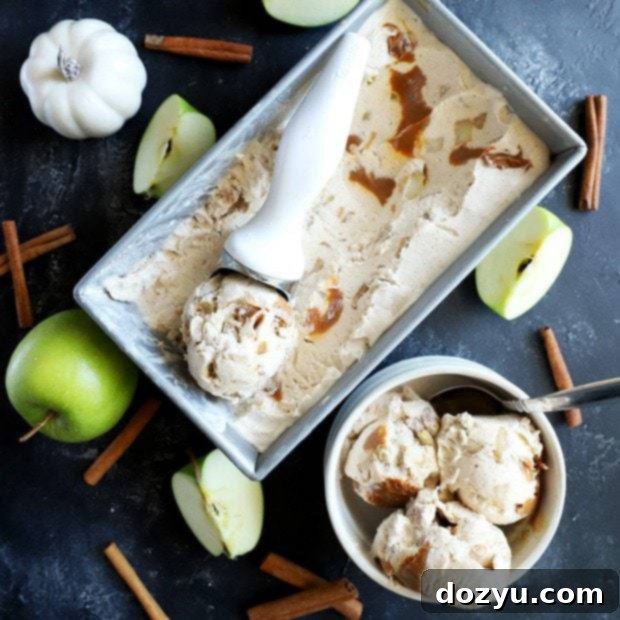
The final assembly step involves layering the whipped cream and apple mixture with the rich dulce de leche. This layering technique isn’t just for aesthetics; it ensures you get that beautiful, luscious caramel swirl in every single scoop of your finished ice cream, providing a balance of flavors in each bite. Spoon half of the ice cream base into your loaf pan, dollop half of the dulce de leche over it, and then use a knife or skewer to gently swirl it through. Repeat with the remaining ice cream mixture and dulce de leche. Cover your pan tightly with plastic wrap and freeze for at least 5 to 6 hours, or even better, overnight for the absolute best results. And just like that, you’ll have the Best. Fall. Dessert. EVER!
More No-Churn Ice Cream Recipes to Explore: Bailey’s No-Churn Ice Cream / No-Churn Key Lime Pie Ice Cream / Pumpkin Spice Latte Ice Cream / PB&J Ice Cream
What Exactly is No-Churn Ice Cream?
No-churn ice cream is a fantastic innovation in the world of homemade desserts, and its name truly says it all: it’s ice cream that requires absolutely no churning! This means you don’t need any specialized equipment like an expensive ice cream machine with a freezer bowl or compressor. It’s a game-changer for home cooks who love the idea of fresh, homemade ice cream but don’t want to invest in or store another kitchen gadget.
The magic behind no-churn ice cream lies in its two primary ingredients: heavy cream and sweetened condensed milk. When heavy cream is whipped to stiff peaks, it incorporates a significant amount of air, creating a light, airy base. Sweetened condensed milk, on the other hand, is not only sweet but also very thick and contains very little water. This high sugar and low water content helps prevent large ice crystals from forming during freezing, resulting in an incredibly creamy, smooth texture that’s remarkably similar to traditional churned ice cream. It’s a simple, brilliant method that delivers delicious results with a heck of a lot less effort!
How Long Does No-Churn Ice Cream Take to Freeze?
For this specific Caramel Apple Ice Cream recipe, it typically takes about 5 to 6 hours for the mixture to freeze through completely, reaching a scoopable consistency. At this point, the ice cream will be delightfully soft, making it easy to scoop and enjoy. However, if you prefer your ice cream to be on the firmer, more solid side, I highly recommend letting it freeze overnight – about 8 to 12 hours. This extended freezing time allows the flavors to meld even further and produces a wonderfully dense and creamy texture.
One of the best advantages of no-churn ice cream is how easy it is to serve. Unlike some traditional ice creams that require a few minutes to thaw at room temperature before scooping, no-churn varieties remain relatively soft. To make scooping even easier and ensure perfectly smooth, effortless scoops every time, simply run your ice cream scoop under hot water for about 30 seconds before diving into your frozen delight. It’ll glide through the ice cream like a dream, leaving you with perfect, creamy spoonfuls!
Can I Use Different Apple Varieties for This Ice Cream?
Absolutely, you can! While I personally adore using Granny Smith apples for this recipe – largely because their crisp, tart flavor provides that signature apple pie zing and a fantastic balance to the sweet caramel and cream – feel free to experiment with other baking apples. Granny Smiths hold their shape well when cooked and their tartness really shines through the richness of the ice cream.
However, if you prefer a sweeter profile or a slightly different texture, other excellent choices include Gala, which are mildly sweet and crisp; Golden Delicious, known for their sweet, mellow flavor and softer texture when cooked; Honeycrisp, which are wonderfully crisp and sweet-tart; or Braeburn, offering a pleasant balance of sweet and tart with a firm flesh. Each of these varieties will impart its own unique character to the ice cream, allowing you to customize the flavor to your preference. Don’t be afraid to mix and match for a more complex apple flavor!
Wondering what to serve this incredible ice cream with? A scoop of this Caramel Apple Ice Cream is an absolute dream alongside my apple blackberry crumble. The warm, fruity crumble paired with the cold, creamy ice cream creates a symphony of textures and flavors. It’s super simple to make and can be enjoyed any time of year, whether you use fresh or frozen blackberries!
If you’re looking for another tasty ice cream adventure beyond this fall delight, classic homemade recipes like chocolate chip cardamom ice cream, with its exotic spice twist, or the rich and indulgent black forest ice cream are hard to beat and offer delightful variations to your frozen dessert repertoire.
Caramel Apple Ice Cream
prevent your screen from going dark
Equipment Needed
-
Stainless Steel Mixing Bowls
-
KitchenAid Stand Mixer
-
Loaf Pan (9×5-inch recommended)
-
Nonstick Skillet (like Tuxton Home Concentrix)
-
Wooden Spoon or Spatula
Ingredients List
- 2 Tbsp unsalted butter
- 2 medium apples peeled, cored, and finely chopped (Granny Smith or your preferred baking apple)
- ¼ cup light brown sugar
- 1 Tbsp granulated white sugar
- 1 tsp ground cinnamon
- 1/4 tsp ground nutmeg
- 1/4 tsp ground cloves
- ½ tsp pure vanilla extract
- 2 cups cold heavy cream
- 1 14 oz can of sweetened condensed milk (chilled for best results)
- 1/4 cup dulce de leche (plus more for drizzling if desired)
Detailed Instructions
-
Add butter to a large nonstick skillet over medium-high heat. Once melted and shimmering, add the chopped apples, brown sugar, white sugar, cinnamon, nutmeg, ground cloves, and vanilla extract. Cook, stirring occasionally with a wooden spoon, until the apples have softened and the mixture has become syrupy, about 6 to 7 minutes. This caramelizes the apples and infuses them with rich spice.
-
Remove the spiced apple mixture from the heat and transfer it to a separate bowl or plate to cool completely. It’s crucial that the apples are cool before mixing them with the cream to prevent it from deflating.
-
In the bowl of a stand mixer fitted with the whisk attachment (or using an electric hand mixer and a large bowl), beat the cold heavy cream on high speed until it forms stiff peaks. The cream should hold its shape when the whisk is lifted. Be careful not to overbeat.
-
In a separate medium bowl, stir together the chilled sweetened condensed milk and the completely cooled apple mixture until they are well combined.
-
Gently fold the apple and condensed milk mixture into the whipped cream using a spatula. Use a light hand to preserve as much air as possible in the whipped cream, ensuring a light and creamy final texture. Fold until just combined, with no streaks of cream visible.
-
Add half of the combined ice cream mixture into a 9×5-inch loaf pan, spreading it into an even layer. Dollop half of the dulce de leche randomly over the top of this layer and use a knife or skewer to gently swirl it through the ice cream base.
-
Carefully top with the remaining whipped cream mixture, spreading it gently to cover the first layer. Dollop the remaining dulce de leche over the top and swirl again with a knife to create beautiful caramel ribbons throughout.
-
Cover the loaf pan tightly with plastic wrap or an airtight lid and freeze for a minimum of 5 to 6 hours, or ideally, overnight, until the ice cream is firm.
-
Serve generous scoops with an optional drizzle of chocolate sauce or extra dulce de leche on top for an added touch of indulgence!
