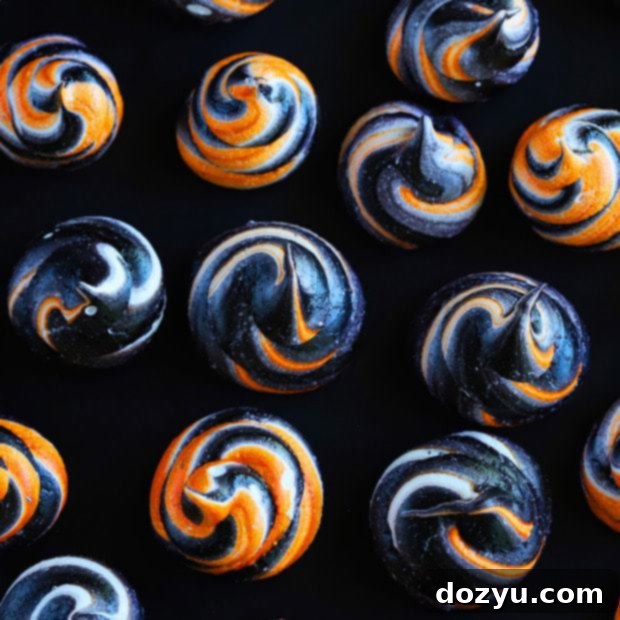
Spooky Halloween Meringue Swirls: An Easy & Festive Treat Recipe
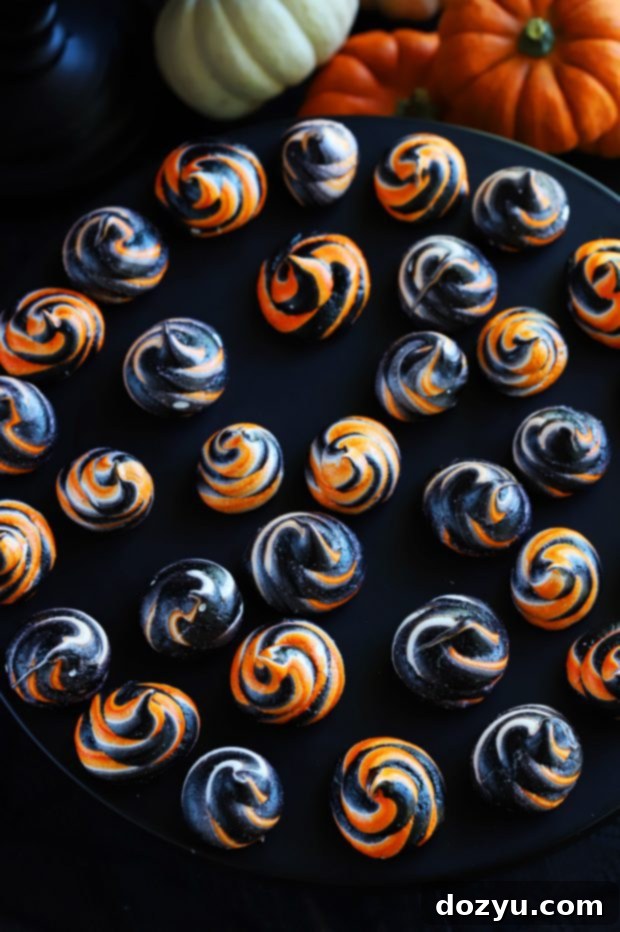
Get ready to embrace the spirit of the spooky season with these delightful Spooky Halloween Meringue Swirls! This recipe offers a truly satisfying dessert that is not only visually stunning but also incredibly simple to make. Each petite swirl boasts a perfectly sweet, crisp exterior and a wonderfully chewy interior, making them an irresistible treat for any Halloween gathering or cozy night in.
The Joy of Crafty Halloween Baking for Halloween
There’s something uniquely satisfying about creating festive treats for Halloween. It’s not just about the taste; it’s about the entire experience – from planning the concept to seeing the final, spooktacular result. My journey into seasonal kitchen craftiness often involves finding recipes that are not only fun to make but also deliver that “wow” factor without too much fuss. Last year, I ventured into making peanut butter spiderweb cookies, which was a delightful success and one of those rare moments where my culinary creativity truly shone. It was a proud moment to see those intricate designs come to life, proving that even a casual baker can pull off something amazing.
This year, I was determined to continue that tradition of simple yet impressive Halloween baking. I wanted something that would capture the essence of the holiday – vibrant, a little bit mysterious, and utterly delicious. And that’s exactly how these meringue swirls came into being. They combine ease of preparation with striking visual appeal, making them the perfect candidate for a new annual tradition.

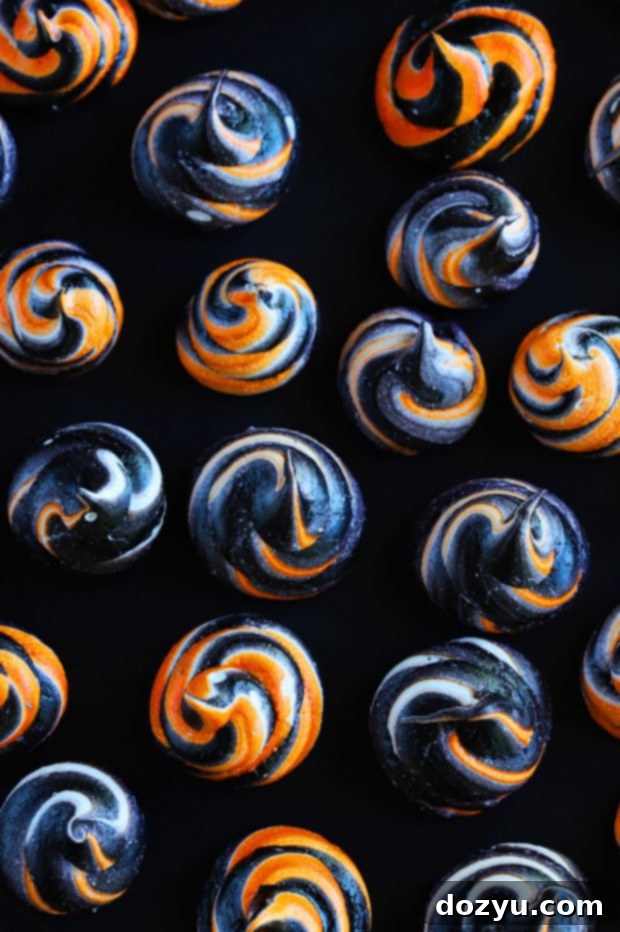
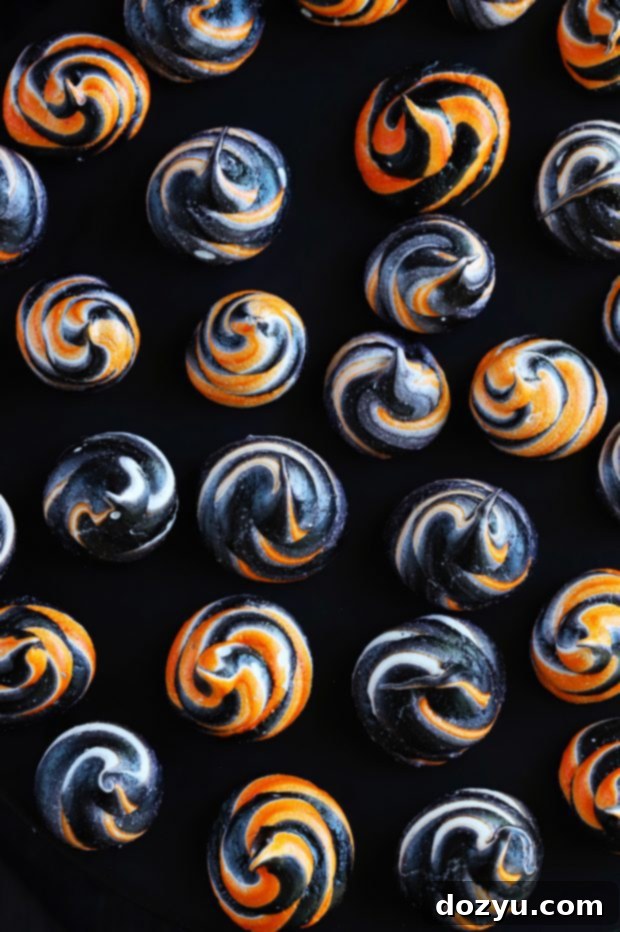
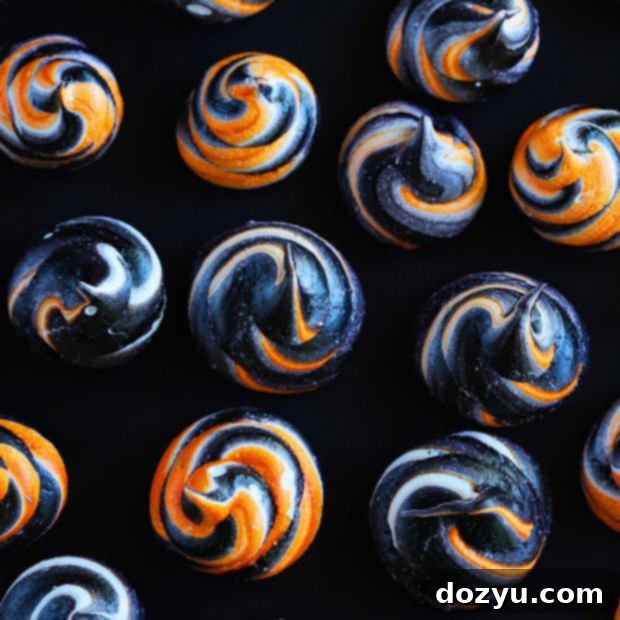
The beauty of these meringue swirls lies in their simplicity. Despite their intricate appearance, the actual process is incredibly straightforward, proving that you don’t need to be a pastry chef to create something magical. The vibrant orange and black hues swirl together hypnotically, evoking classic Halloween imagery, while the delicate texture of the meringue provides a delightful contrast to the holiday’s often heavy and rich treats.
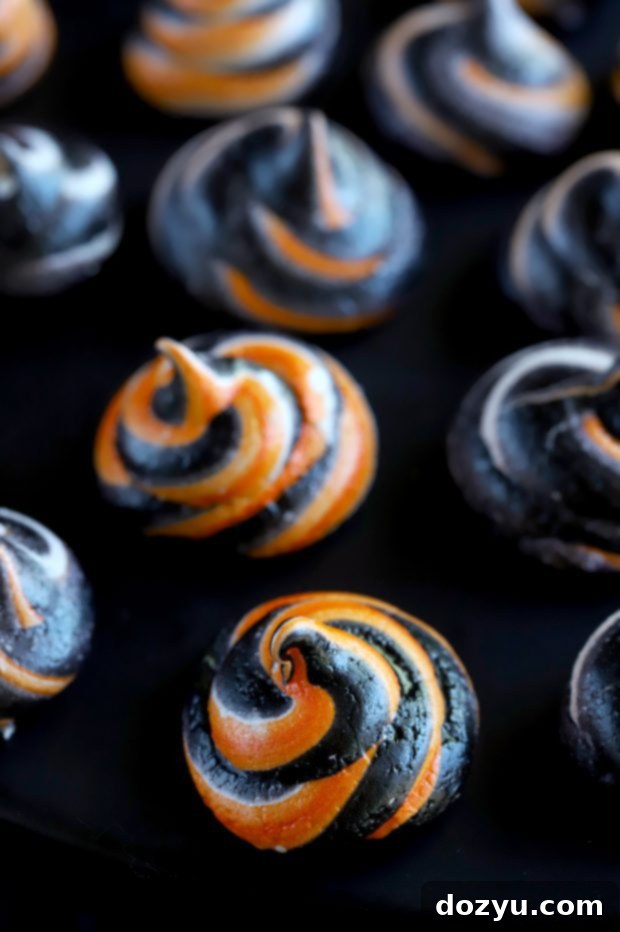
Table of Contents
Unleashing Vibrant Colors with Gel Food Coloring
The visual appeal of these black and orange meringue swirls is simply captivating. I was genuinely amazed at how beautifully the colors held up during the baking process. Before trying this recipe, I harbored a secret fear that the vibrant hues would fade or dull in the oven. To my pleasant surprise, there was no magic trick required; they emerged from the oven just as bright and vivid as when they went in! The secret to achieving these striking, long-lasting colors lies in using high-quality gel food coloring. Unlike liquid food coloring, gels are highly concentrated, meaning you need less to achieve intense colors, and they won’t thin out your meringue mixture.
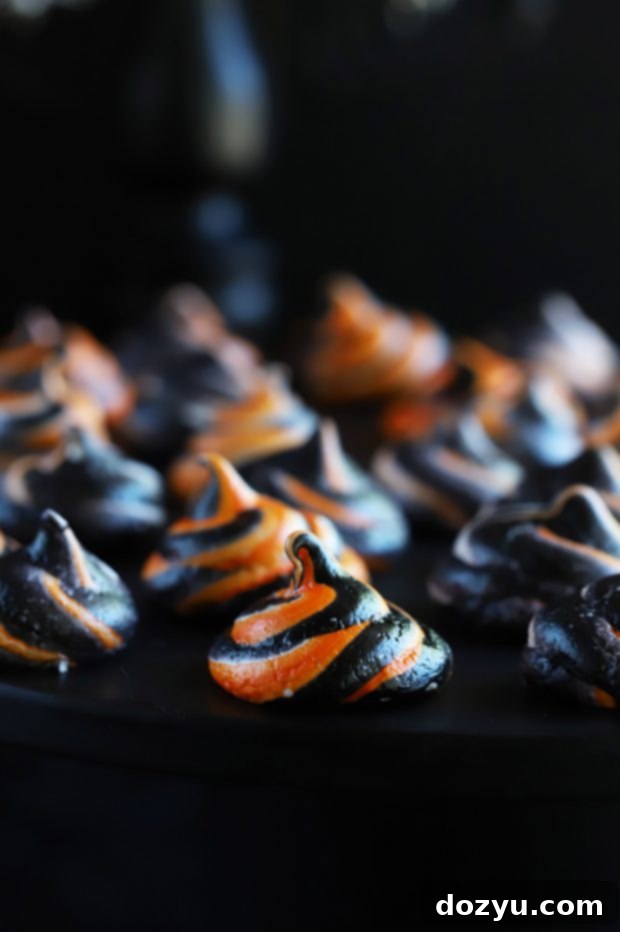
The adaptability of this coloring technique is one of its greatest strengths. While orange and black are perfect for Halloween, the concept can easily be extended to any holiday or celebration throughout the year. Imagine festive red and green swirls for Christmas, elegant blue and gold for Hanukkah, or dazzling black and silver for New Year’s Eve. The possibilities are truly endless, allowing you to customize these meringues for any occasion, adding a personalized and colorful touch to your dessert spread. This versatility makes them not just a Halloween treat, but a year-round crafting opportunity in the kitchen.

Demystifying Meringue: Low and Slow Perfection
Many home bakers find the idea of making meringue a little intimidating. There’s a common misconception that it’s notoriously difficult to get right, often leading to sticky, collapsed, or unevenly baked results. However, I’m here to tell you that with a few simple guidelines and a bit of patience, perfect meringue is entirely achievable for everyone. The key truly lies in the “low and slow” baking method. By baking at a low temperature for an extended period, you allow the meringues to gently dry out rather than cook quickly, resulting in that signature crisp shell and delightfully chewy interior. This process ensures they hold their shape, maintain their vibrant colors, and achieve that melt-in-your-mouth texture that makes meringues so beloved.
Meringue has always held a special place in my heart, largely thanks to my grandmother. She absolutely adored pavlova, a dessert whose core is a large, dreamy meringue. I have vivid memories of her getting so excited about it, and while I never got to make small, intricate meringues with her, we shared many joyful moments whipping up meringue for her beloved pavlovas. Those sessions were always a blast. Of course, my younger self couldn’t resist the temptation to sneak a lick of the raw meringue off the beater, much to her playful admonition about health concerns. Despite her warnings, I always managed to get my licks in, and thankfully, never had a problem!
A Sweet Tradition with Family
These Halloween meringue swirls are more than just a dessert; they’re an experience waiting to happen. They are an effortlessly charming treat to bring to any Halloween party, guaranteed to impress guests with their festive appearance and delightful taste. Alternatively, they’re perfect for whipping out at the last minute to end a night of trick-or-treating on a sweet and memorable note. Imagine the faces of little ghouls and goblins lighting up as they receive these colorful, whimsical treats.
What makes this recipe truly special is its family-friendly nature. The process of piping the swirls and adding the colors is simple enough for even younger family members to help with (under supervision, of course!). It’s a wonderful activity to bond over in the kitchen, creating not just delicious desserts but also lasting memories. The tactile experience of working with the meringue, the anticipation as the colors come alive, and the joy of sharing the finished product make this a cherished seasonal tradition.
A Word on Messiness and Fun
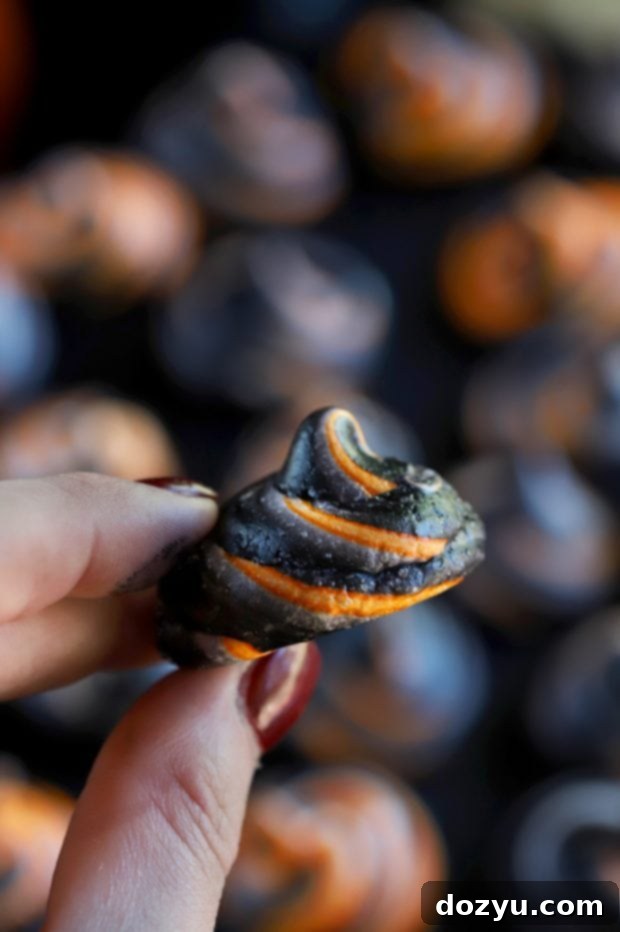
Just a friendly heads-up from personal experience: when working with black gel food coloring, be prepared for it to make its presence known! It has a knack for clinging to hands, countertops, and anything else it touches. But don’t let that deter you; a little bit of playful mess is all part of the fun of holiday baking. Simply keep some wipes or a damp cloth handy, and embrace the vibrant chaos. After all, what’s a Halloween craft without a little bit of a spooky stain?
Essential Tools for Meringue Magic
To embark on your meringue-making adventure and create these picture-perfect swirls, a few key pieces of equipment will make the process incredibly smooth and enjoyable. You don’t need a professional pastry kit, just these helpful items:
- Disposable Decorating Bags: These are an absolute must-have. They make piping the meringue incredibly easy and cleanup a breeze. Unlike reusable bags, there’s no need to meticulously clean out sticky meringue. Simply use and toss! You won’t even need a fancy frosting tip for this recipe; a simple snipped end of the bag does the trick perfectly for those beautiful swirls.
- Sharp Kitchen Shears: A good pair of kitchen shears is an invaluable tool in any kitchen, and they come in surprisingly handy for baking tasks. For this recipe, they are perfect for neatly snipping the end of your decorating bag to create the ideal opening size. I personally love having a sharp, multi-purpose pair like Shun DM7300 Multi-Purpose Shears in my utensil jar; they prove their worth daily.
- Gel Food Coloring Kit: To achieve those deep, vibrant orange and black hues, a quality gel food coloring kit is essential. Gel colors are concentrated and won’t thin your meringue. For the iconic swirl effect, I found that using a small, clean paintbrush to paint thick lines of the orange and black gel color along the inside walls of the piping bag before adding the meringue mixture works wonders. This creates those beautiful, distinct stripes as you pipe, making each swirl a miniature work of art.
Spooky Halloween Meringue Swirls
15 minutes
1 hour
1 hour 15 minutes
Equipment
-
Wilton Disposable 16-Inch Decorating Bags, 12 Pack
-
Shun DM7300 Multi-Purpose Shears, Black/Silver
-
Food Coloring Liqua-Gel – 12 Color Variety Kit in .75 fl. oz. (20ml) Bottles
Ingredients
- 3 large egg whites
- 1/2 teaspoon cream of tartar
- 3/4 cup granulated sugar
- 2 tsp orange gel food coloring
- 2 tsp black gel food coloring
Instructions
-
1. Prepare Oven and Baking Sheets: Preheat your oven to 200 degrees F (95 degrees C). Line two large baking sheets with parchment paper to prevent sticking and ensure easy cleanup. Set them aside.
-
2. Whip Egg Whites: In the clean, dry bowl of a stand mixer fitted with the whisk attachment, add the large egg whites and cream of tartar. Beat on medium speed until the mixture becomes frothy and slightly bubbly.
-
3. Add Sugar and Form Stiff Peaks: Gradually add the granulated sugar to the frothy egg whites while the mixer is still running. Increase the mixer speed to high and continue to beat until stiff, glossy peaks form. This process typically takes about 5 minutes, but keep an eye on it to ensure the meringue is firm and holds its shape when the whisk is lifted.
-
4. Prepare Piping Bag for Swirls: Take a disposable pastry bag and place it inside a tall pint glass or a large mug, folding the edges of the bag over the rim of the glass. Make sure the tip of the bag hangs down into the glass, creating an open space for coloring.
-
5. Add Gel Food Coloring: Using a small, clean paintbrush, paint thick, distinct lines of orange gel food coloring on two opposite sides of the inside of the pastry bag. Repeat this process with the black gel food coloring on the other two opposite sides. This technique is what creates the beautiful marbled, swirled effect in your meringues.
-
6. Fill Piping Bag and Test Color: Carefully transfer the whipped egg white meringue mixture into the prepared pastry bag. Twist the top of the bag to seal it, then snip off the very end of the tip, creating about a 1/2-inch opening. Before piping onto the baking sheets, pipe a small amount onto a paper towel until you see the orange and black colors begin to swirl through.
-
7. Pipe Meringue Swirls: Pipe small, 1-inch swirls onto your prepared baking sheets. The meringues will not spread much during baking, so you can space them relatively close together without worrying about them touching. Create as many charming little swirls as your heart desires!
-
8. Bake Low and Slow: Bake the meringue swirls in the center of your preheated oven for approximately 1 hour, or until the outsides are completely dry to the touch and firm. Once baked, turn off the oven and let them cool completely inside the oven with the door slightly ajar for an hour or so, to prevent cracking. This “low and slow” method ensures a crisp exterior and chewy interior.
-
9. Cool and Serve: Carefully transfer the cooled meringue swirls to a cooling rack to cool completely. Once fully cooled, they are ready to be served and enjoyed!
Notes
Halloween
Dessert
These Spooky Halloween Meringue Swirls are truly a testament to how easy and rewarding holiday baking can be. With their stunning appearance and delightful texture, they are sure to be a hit at any gathering, charming both kids and adults alike. So gather your ingredients, unleash your inner kitchen crafter, and get ready to create some truly magical treats this Halloween season. Happy baking!
