The Best Fluffy Red Velvet Muffins with White Chocolate Chips: A Perfect Breakfast Treat
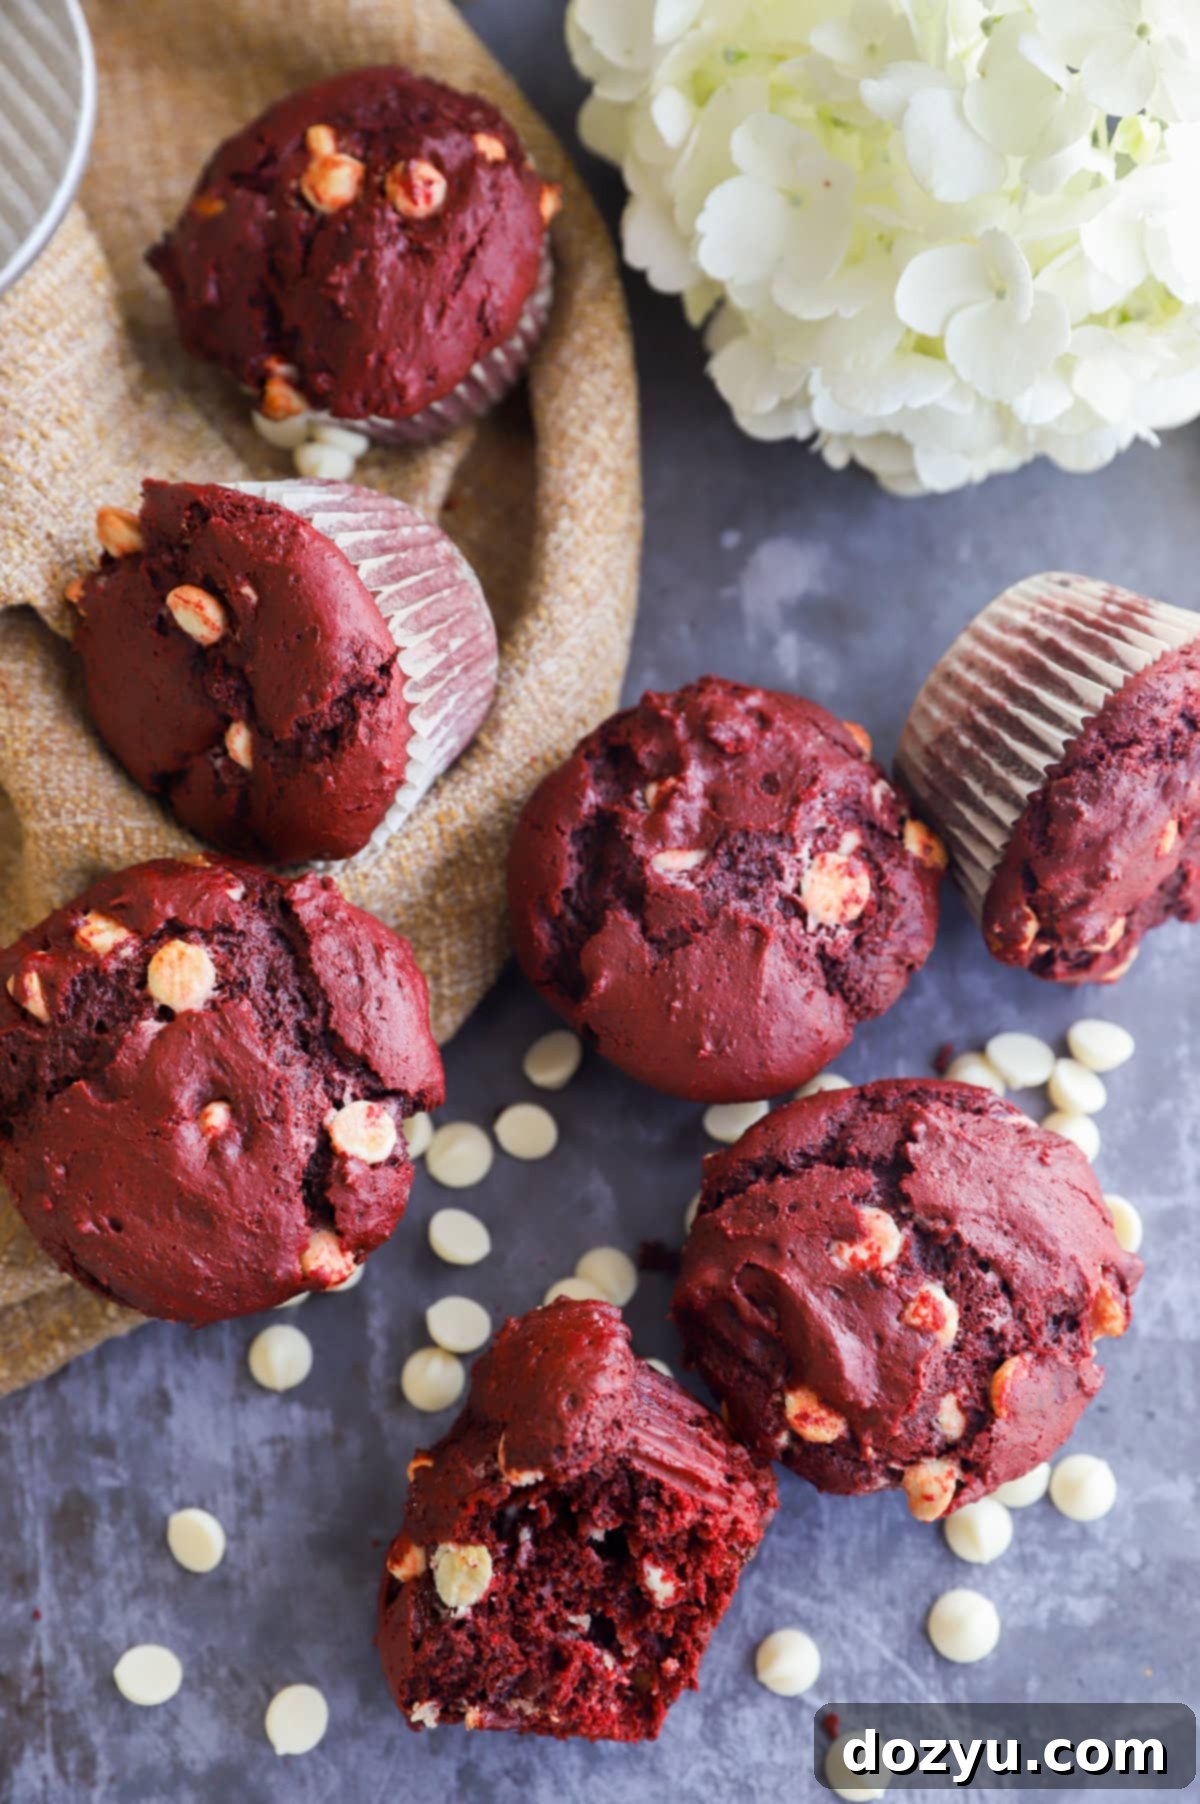
Imagine starting your day with the decadent, classic flavor of red velvet, but in a convenient, pillowy-soft muffin! These **Red Velvet Muffins** are a dream come true for any breakfast or brunch enthusiast. Beautifully crimson and generously studded with sweet white chocolate chips, these simple yet elegant muffins are the ideal treat to brighten any morning, celebrate a special occasion, or simply satisfy that undeniable red velvet craving.

Table of Contents
Toggle
About These Red Velvet Muffins
Red velvet is more than just a flavor; it’s an experience. The rich, deep red hue, the subtle hint of chocolate, and that signature tangy note are simply irresistible. If red velvet is on a menu, I’m almost certainly ordering it! That’s why transforming this beloved classic into a muffin feels like such a culinary triumph – it provides the perfect excuse to enjoy that indulgent taste first thing in the morning.
These **Red Velvet Muffins with white chocolate chips** are incredibly versatile. Their striking red color makes them an instant hit for holiday celebrations like Valentine’s Day or Christmas morning, adding a festive pop of color to your breakfast spread. But don’t relegate them to special occasions only! They’re so easy to make and utterly delicious, you’ll find yourself reaching for this recipe any time you need a delightful pick-me-up or a simple indulgence.
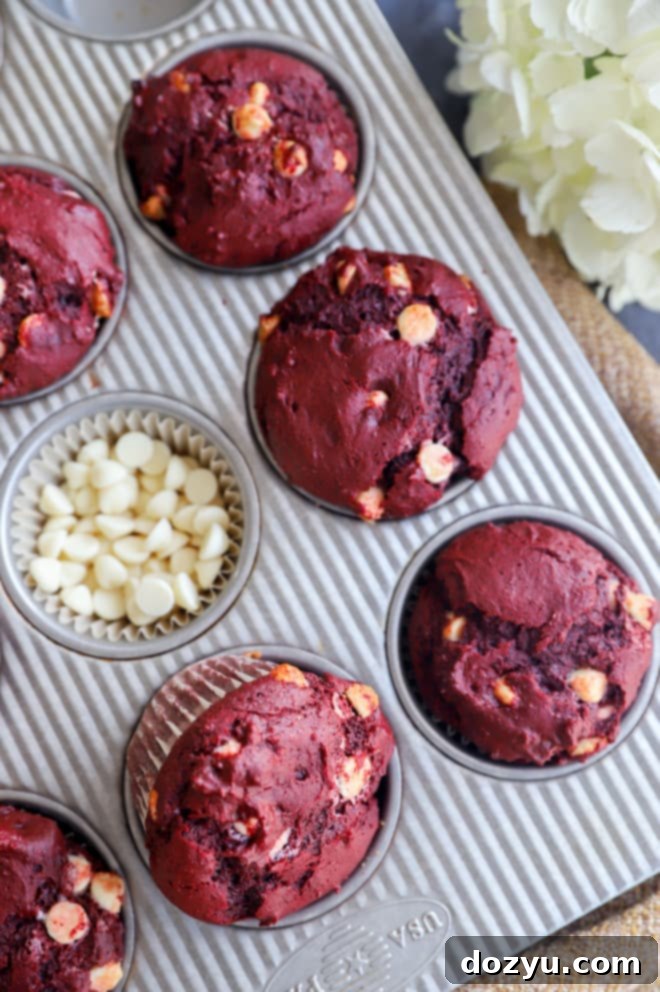
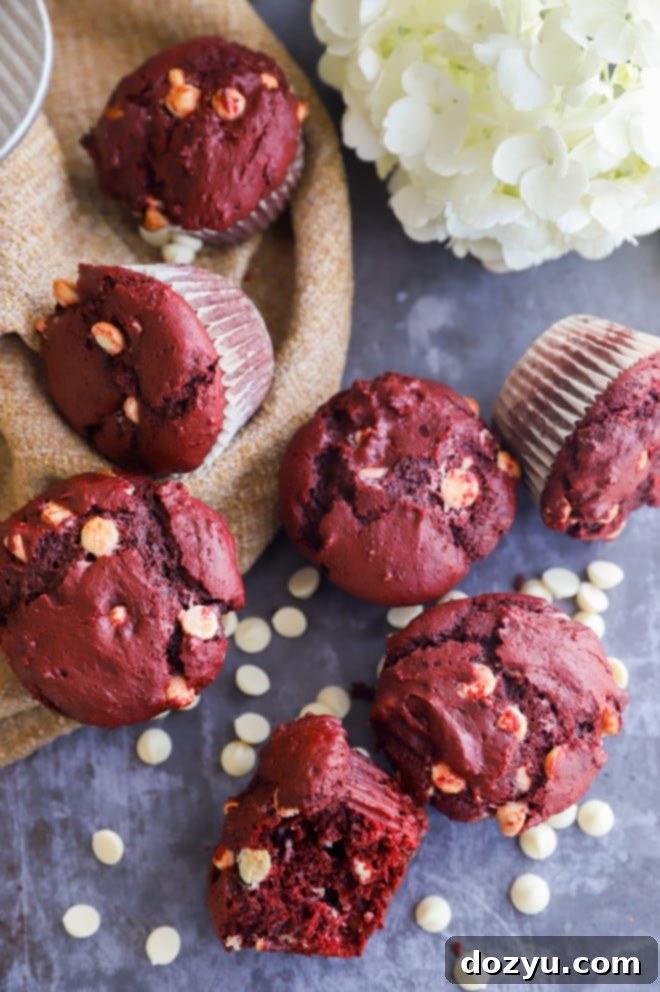
From the very first bite, you’ll be captivated by the gloriously fluffy and tender interior of these muffins. They boast a light chocolate flavor that perfectly complements the characteristic tang of red velvet. The addition of creamy white chocolate chips introduces a wonderful textural contrast and an extra touch of sweetness, making each bite an absolute delight. Trust me, you won’t even miss the traditional cream cheese frosting; these muffins stand on their own as a truly fantastic treat!
Key Ingredients for Perfect Red Velvet Muffins
Crafting the perfect red velvet muffin starts with understanding the role each ingredient plays in achieving that iconic flavor and texture. Here’s a detailed look at what you’ll need:
- Cocoa Powder: This is where the “chocolate” in red velvet comes from. While natural cocoa powder works, I personally love using **Dutch Process Cocoa Powder** in all my red velvet recipes. It provides a darker, less acidic chocolate flavor, which helps to deepen the red color and balance the tang from the buttermilk. Use your favorite high-quality brand for the best results.
- Flour: Simple **all-purpose flour** is all you need for these muffins. Its balanced protein content helps create a tender yet structured crumb. For those with dietary restrictions, a 1:1 gluten-free flour substitute can also be used successfully, just ensure it’s a blend designed for baking.
- Sugar: Instead of granulated sugar, this recipe specifically calls for **light brown sugar**. The molasses in brown sugar adds a subtle caramel note and helps keep the muffins incredibly moist and tender, contributing to their soft texture. Make sure it’s packed when measuring for accuracy.
- Leaveners: For that perfect fluffy rise, both **baking soda and baking powder** are essential in this recipe. Baking soda reacts with the acidic buttermilk to create lift, while baking powder provides additional leavening, ensuring a light and airy muffin. Always double-check their freshness!
- Salt: A touch of **fine kosher salt** is crucial. It doesn’t just add flavor; it balances the sweetness and enhances all the other ingredients, making the chocolate and red velvet notes pop.
- Buttermilk: The signature tang of red velvet comes from **buttermilk**. It reacts with the baking soda to create a beautifully tender crumb and contributes a distinct moistness. You can use either store-bought buttermilk or easily make your own by adding 1 tablespoon of white vinegar or lemon juice to a measuring cup, then filling the rest with milk and letting it sit for 5-10 minutes until it slightly curdles. Ensure it’s at room temperature for optimal mixing.
- Eggs: I use **large eggs** in this recipe. Eggs act as a binder, provide structure, add moisture, and contribute to the rich flavor. Using room-temperature eggs helps them emulsify better with the other wet ingredients, leading to a smoother batter and a more uniform bake.
- Vanilla: A high-quality **pure vanilla extract** is a must. It complements the chocolate and buttermilk beautifully. My personal favorite is Nielsen Massey – their **Madagascar Bourbon Pure Vanilla Extract** is truly exceptional and makes a noticeable difference in any baked good.
- Red Food Coloring: To achieve that iconic vibrant red hue, you will need **one bottle of 1 oz liquid food coloring** or an equivalent amount (approximately 1 oz) of gel food coloring. Gel coloring often produces a more intense color with less liquid, but liquid works perfectly fine here.
- Butter: **Unsalted butter** is preferred as it allows you to control the exact amount of salt in the recipe. If you only have salted butter, be sure to omit the additional salt from the dry ingredients to prevent your muffins from tasting too salty. Melted butter adds richness and moisture to the muffins.
- White Chocolate Chips: These sweet, creamy chips are a delightful addition, providing a lovely contrast to the subtle chocolate and tang of the red velvet. However, feel free to customize! You can also use milk chocolate chips or dark chocolate chips if you prefer, or omit them altogether for a pure red velvet experience.

Essential Equipment for Muffin Baking
Having the right tools on hand makes the baking process much smoother and more enjoyable. For these **Red Velvet Muffins**, you’ll need a few basic kitchen essentials:
- Whisk: A good quality wire whisk is indispensable for thoroughly combining your dry ingredients and for blending your wet ingredients until smooth.
- Mixing Bowls: You’ll need at least two mixing bowls – one large for the dry ingredients and one medium for the wet. This two-bowl method ensures everything is perfectly combined before mixing the batter.
- Spatula: A flexible silicone spatula is ideal for scraping down the sides of your bowls, ensuring all ingredients are incorporated, and gently folding in the white chocolate chips without overmixing.
- Measuring Spoons and Measuring Cups: Accurate measurements are key to successful baking. Make sure you have a complete set for both liquid and dry ingredients.
- Cookie Dough Scoop: While not strictly essential, a cookie dough scoop (or an ice cream scoop) is a fantastic tool for evenly dividing the muffin batter into the muffin tin. This ensures all your muffins bake uniformly and have a consistent size and shape.
- Muffin Tin: A standard 12-cup muffin tin is necessary for this recipe. A good quality non-stick pan will make cleanup easier.
- Parchment Paper Liners: This is a game-changer! I highly recommend using parchment paper liners for your muffin tin. Unlike traditional paper liners that can sometimes stick, parchment liners peel away effortlessly, ensuring your beautiful muffins come out perfectly every time. If you don’t have them, make sure to grease your muffin cups exceptionally well with baking spray.
Our Top Baking Favorites
Investing in reliable baking tools can elevate your entire baking experience. Here are some of our tried-and-true favorites that we recommend for this recipe and many others:
Muffin Tin
Buy Now →
Mixing Bowls
Buy Now →
9-inch Baking Pan
Buy Now →
How to Make Red Velvet Muffins: Step-by-Step Guide
Making these delightful red velvet muffins is a straightforward process, perfect for bakers of all skill levels. Follow these simple steps for a batch of incredibly moist and flavorful muffins:
1. Prepare the Dry Ingredients
In a spacious large bowl, combine your **cocoa powder, all-purpose flour, light brown sugar, baking powder, baking soda, and fine kosher salt**. Use a whisk to thoroughly blend these ingredients together. Whisking dry ingredients ensures that the leaveners are evenly distributed throughout the flour mixture, which is crucial for a uniform rise and texture in your finished muffins. Once well-combined, set this bowl aside.
2. Mix the Wet Ingredients
In a separate medium bowl, take your **room-temperature buttermilk, large eggs, pure vanilla extract, and red food coloring**. Whisk them together until they are completely smooth and the food coloring is evenly dispersed, creating that vibrant red hue. Ensuring your wet ingredients are well-mixed and at room temperature helps them incorporate seamlessly into the dry ingredients.
3. Combine and Fold
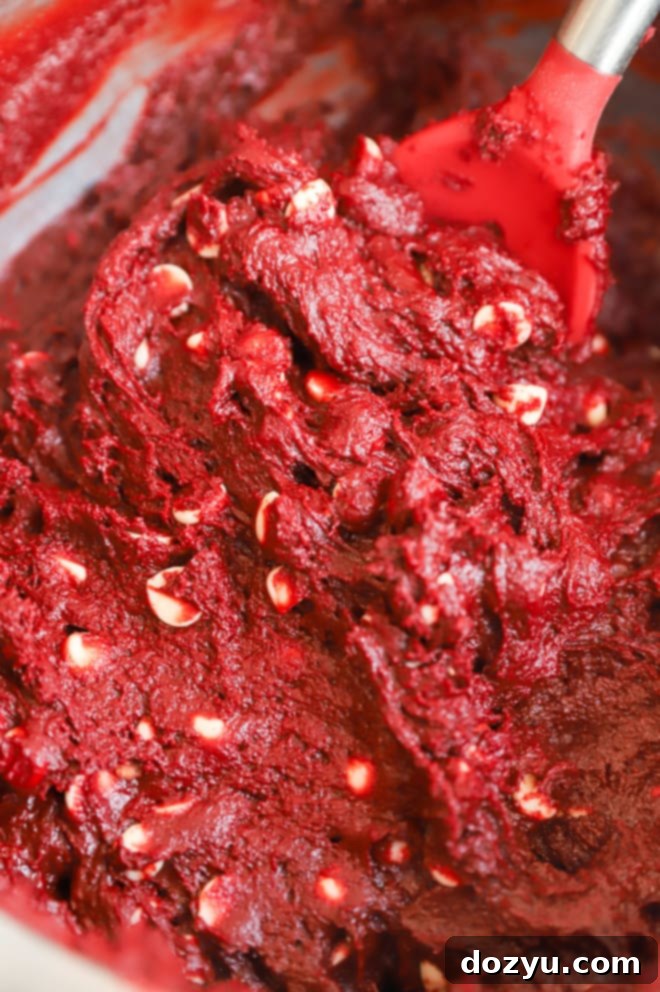
Now, pour the wet ingredients into the large bowl with your dry ingredients. Add the **melted unsalted butter** to the mixture. Using a spatula, gently stir the batter until it is *just combined*. It’s critical not to overmix here; a few lumps are perfectly fine and even desirable for tender muffins. Overmixing can develop the gluten in the flour too much, resulting in tough, dense muffins. Finally, gently fold in the **white chocolate chips** until they are just incorporated throughout the batter. You want them distributed but avoid stirring excessively.
4. Bake to Perfection
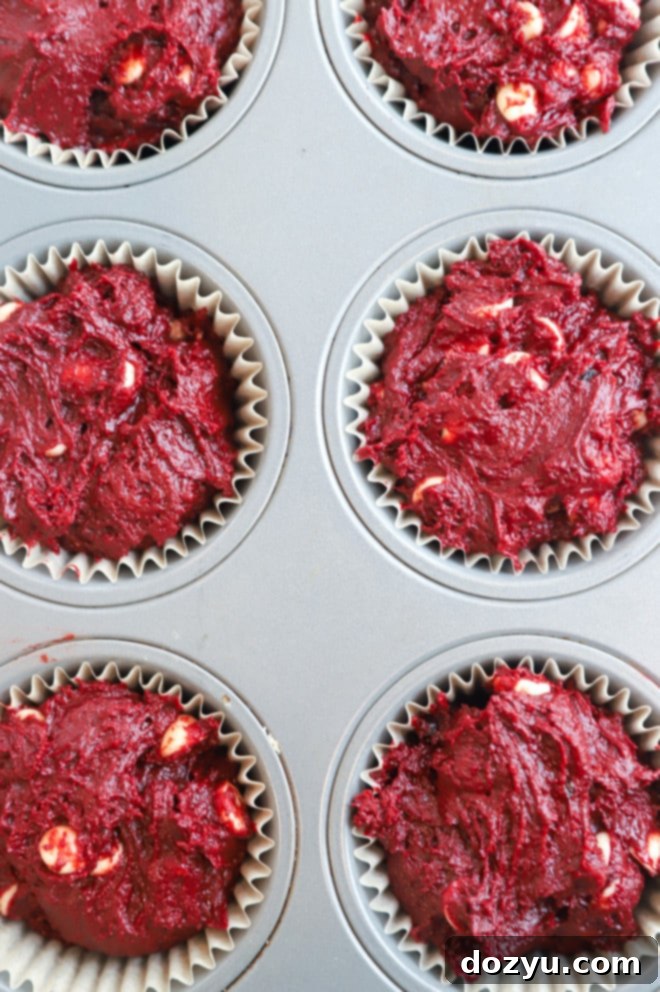
Divide the luscious red velvet batter evenly among the lined muffin cups. Bake in your preheated oven at 350˚F for approximately 18 to 20 minutes. The muffins are ready when they are puffed up, the edges are lightly set, and a wooden toothpick inserted into the center of a muffin comes out clean or with only a few moist crumbs attached. Avoid overbaking, as this can lead to dry muffins. Once baked, remove the muffin tin from the oven and let the muffins cool in the pan for a few minutes before transferring them to a wire rack to cool completely before serving. This cooling time is essential for the muffins to set properly.
Expert Tips for Muffin Baking Success
Achieving perfectly light, fluffy, and moist muffins is an art, but with these simple tips, you’ll master it every time:
- Check Your Leaveners: This is perhaps the most critical tip. Double-check the expiration dates of both your **baking soda and baking powder**. Expired leaveners are the most common culprit behind dense, flat muffins. If they’re old, a quick trip to the grocery store for fresh ones can make all the difference. To test baking soda, mix a teaspoon with a tablespoon of vinegar – it should fizz vigorously. For baking powder, mix a teaspoon with hot water – it should also fizz.
- Embrace Parchment Liners: For easy removal and a clean muffin, I can’t stress enough the benefit of **parchment paper liners**. Unlike standard paper liners that often stick, parchment liners ensure your muffins peel right off without losing any delicious crumbs. If you only have regular liners, make sure to grease them lightly with cooking spray inside.
- Don’t Overmix the Batter: This is a golden rule for muffins! Once you combine the wet and dry ingredients, stir *just* until they are incorporated. A few lumps are perfectly acceptable. Overmixing develops the gluten in the flour, leading to tough, chewy muffins instead of light and fluffy ones.
- Room Temperature Ingredients: Ensure your **buttermilk and eggs** are at room temperature. This allows them to combine more easily and evenly with the other ingredients, creating a smoother, more emulsified batter. A well-emulsified batter bakes more uniformly, resulting in a better texture.
- Fill Muffins High for Domed Tops: For those beautiful bakery-style domed muffin tops, fill your muffin cups almost to the brim. The initial high baking temperature (as specified in the recipe card) helps create a burst of steam, which lifts the muffins high before they set.
- Accurate Flour Measurement: For most baking, it’s best to measure flour by weight using a kitchen scale. If you’re measuring by volume, use the spoon-and-level method: spoon flour into your measuring cup until overflowing, then level it off with a straight edge. Scooping flour directly from the bag can compact it, leading to too much flour and dry muffins.
More tasty muffin recipes to try: Pumpkin Cream Cheese Streusel Muffins | Blueberry Jalapeño Bacon Cornbread Muffins | Orange Madeleine Mini Muffins | One Bowl Banana Nutella Muffins | Banana Mini Muffins
Troubleshooting: Why Aren’t My Muffins Light and Fluffy?
It can be disappointing when your muffins don’t turn out as light and fluffy as you hoped. Here are the most common reasons and how to fix them:
- Expired Leaveners: As mentioned in our tips, this is the most frequent cause. Baking soda and baking powder lose their potency over time. If they’re not fresh, they won’t produce enough carbon dioxide to make your muffins rise properly, resulting in a dense, heavy texture. Replace them regularly, even if the “expiration date” on the package seems far off, as they can degrade after being opened.
- Overmixing the Batter: When you overmix muffin batter, you develop the gluten in the flour too much. This creates a strong, elastic network that results in a tough, rubbery texture instead of a tender one. Always mix *just* until the wet and dry ingredients are combined, leaving a few lumps.
- Oven Temperature Issues: An oven that’s too cool or uneven can also impact the rise and texture. Ensure your oven is accurately calibrated (an oven thermometer is a great investment!) and preheated thoroughly before baking. Baking at the correct temperature allows the leaveners to activate effectively and creates that desirable fluffy crumb.
- Over-baked Muffins: If your muffins have a firm, crisp exterior and are dry inside, it’s likely they were baked for too long. Keep a close eye on them during the last few minutes of baking and rely on the toothpick test as a reliable indicator of doneness.
Can I Customize the Chocolate Chips in My Muffins?
Absolutely, you can! While white chocolate chips are a fantastic pairing with red velvet, offering a sweet contrast to the subtle cocoa and tang, don’t hesitate to experiment with your favorite chocolate. Both **dark chocolate chips** and **milk chocolate chips** would be equally delicious in these muffins. Dark chocolate would intensify the cocoa notes, while milk chocolate would add an extra layer of creamy sweetness.
You can also go beyond just different types of chocolate! Consider adding other mix-ins to personalize your muffins:
- Nuts: Toasted pecans or walnuts would add a lovely crunch and earthy flavor.
- Cream Cheese Swirl: For an extra decadent treat that nods to classic red velvet cake, swirl in a dollop of sweetened cream cheese mixture before baking.
- Chocolate Chunks: Larger chocolate chunks can provide more intense bursts of chocolate flavor and texture.
And if you prefer your **Red Velvet Muffins** plain or don’t have chocolate chips on hand, feel free to omit them entirely – the muffins without chocolate are still incredibly tasty on their own!
Freezing Red Velvet Chocolate Chip Muffins for Later
These **Red Velvet Chocolate Chip Muffins** are wonderfully freezer-friendly, making them perfect for meal prepping or having a quick treat on hand whenever a craving strikes! Freezing them properly ensures they retain their fresh taste and moist texture for longer.
Here’s how to do it:
- Cool Completely: First, ensure your muffins are completely cooled to room temperature. Freezing warm muffins will create condensation, leading to ice crystals and a soggy texture once thawed.
- Individual Wrapping: To prevent freezer burn and make it easy to grab just one muffin at a time, wrap each muffin individually. Start with a layer of plastic wrap, ensuring it’s sealed tightly around the muffin.
- Double Protection: Follow the plastic wrap with a layer of aluminum foil. This double layer provides excellent protection against moisture loss and freezer odors.
- Airtight Container: Place the individually wrapped muffins in a large freezer bag or an airtight freezer-safe container. This adds another layer of protection.
- Store: Label the bag or container with the date. Your muffins can be stored in the freezer for up to three months.
When you’re ready to enjoy them, simply follow the reheating instructions below!
Need more inspiration for breakfast? Check out my breakfast recipes page!

Delicious Pairings: What to Serve with Red Velvet Muffins
These **Red Velvet Muffins** are a treat on their own, but they also pair beautifully with a variety of breakfast and brunch items. Their rich, sweet, and slightly tangy flavor makes them a wonderful complement to savory dishes, creating a balanced and satisfying meal. When I serve them, it’s usually as part of a hearty breakfast spread alongside other traditional favorites.
Here are some fantastic ideas for what to serve with your red velvet muffins:
- Classic Breakfast Staples: Soft scrambled eggs, crispy bacon, and fresh seasonal fruit provide a perfect savory and fresh contrast to the sweet muffins.
- Hearty Savory Dishes: If you’re looking for a more substantial savory centerpiece that will balance the sweetness of the muffins, consider these delicious options:
- Southwestern Ham Hash: A flavorful and filling hash that would make a great brunch addition.
- BLAT Eggs Benedict: A gourmet twist on a brunch classic, offering rich, savory flavors.
- Fresh Salads: A light fruit salad or a simple green salad with a vinaigrette can add freshness and cut through the richness.
- Brunch Beverages: What would a celebratory breakfast or brunch be without a fantastic beverage? If you’re serving these muffins for a special occasion, be sure to pair them with a refreshing mimosa!
- Raspberry Mimosa
- Cranberry Mimosa
- Strawberry Mimosa
For non-alcoholic options, a good cup of coffee, a creamy latte, or a glass of cold milk are always excellent choices.
Storing and Reheating Your Muffins
To keep your **Red Velvet Muffins** fresh and delicious for as long as possible, proper storage is key. Here’s how to store and reheat them:
Storing Fresh Muffins:
- Room Temperature: Once your muffins have cooled completely to room temperature, store them in an airtight container. They will stay fresh and moist for up to 3 days at room temperature. A piece of paper towel placed at the bottom of the container and another on top before sealing can help absorb excess moisture and prevent sogginess.
- Avoid the Fridge: I do not recommend storing these muffins in the refrigerator. The cool, dry air of the fridge can actually cause them to dry out and become stale much faster.
Freezing Muffins:
- Preparation: After the muffins have fully cooled, wrap each one individually in a layer of plastic wrap, followed by a layer of aluminum foil. This dual-layer wrapping provides optimal protection against freezer burn.
- Container: Place the wrapped muffins in a large freezer bag or an airtight freezer-safe container.
- Duration: Stored correctly, they will maintain their quality in the freezer for up to 3 months.
Reheating Muffins:
- From Room Temperature: To warm up fresh muffins, you can microwave them for about 15-20 seconds for a soft, warm center.
- From Frozen:
- Oven Method: For best results, reheat frozen muffins in a preheated oven at 350˚F (175˚C) for 10 to 15 minutes. This method helps restore some of their original texture and warmth.
- Microwave Method: If you’re short on time, you can microwave a frozen muffin for about 30-60 seconds, or until warmed through. Be careful not to overheat, as this can make them tough.
Finally, if you make these incredible **Red Velvet Muffins**, please be sure to give this recipe a rating or leave a comment below! I genuinely love to hear when you all try my recipes, and I always take the time to respond to every single comment. Feel free to drop any questions you might have about the recipe too – I’m here to help!
Oh, and don’t forget to tag me on Instagram if you make the recipe! Seeing these recipes come to life in your homes is truly my favorite thing, and I love looking through those photos. It really means the world to me!
Everyday Seasonal Cookbook
Looking for more delicious recipes throughout the year? Our **Everyday Seasonal Cookbook** is packed with inspiration! Featuring detailed seasonal produce guides, a variety of mouth-watering recipes, and helpful cooking tips, this cookbook will guide you through creating delightful seasonal food for every occasion.
Red Velvet Muffins Recipe
Equipment
-
Measuring Spoons
-
Measuring Cups
-
Silicone Spatula
-
French Wire Whisk
-
Mixing Bowls
-
Muffin Pan
Ingredients
- 2/3 cup cocoa powder
- 2 cups all purpose flour
- 1 cup + 1 Tbsp light brown sugar packed
- 1 tsp baking powder
- 1 tsp baking soda
- 1/2 tsp salt
- 3/4 cup buttermilk room temperature
- 2 large eggs room temperature
- 1 1/2 tsp pure vanilla extract
- 1 1 oz bottle red food coloring
- 1/2 cup unsalted butter melted
- 1 cup white chocolate chips you can also use dark or milk chocolate
Instructions
-
1. Preheat oven to 350˚F (175˚C). Line a 12-cup muffin tin with muffin liners (preferably parchment) and set aside.
-
2. In a large bowl, whisk together cocoa powder, all-purpose flour, light brown sugar, baking powder, baking soda, and salt until thoroughly combined. Set aside.
-
3. In a separate medium bowl, whisk together the room-temperature buttermilk, eggs, vanilla extract, and red food coloring until the mixture is smooth and evenly colored.
-
4. Add the wet ingredients to the dry ingredients along with the melted butter. Stir gently with a spatula until the batter is just combined. Be careful not to overmix; a few lumps are fine.
-
5. Gently fold in the white chocolate chips until they are evenly incorporated into the batter.
-
6. Divide the batter evenly between the lined muffin cups, filling each almost to the top. Bake for 18 to 20 minutes, or until a wooden toothpick inserted into the center comes out clean.
-
7. Remove the muffins from the oven and let them cool in the muffin tin for 5 minutes before transferring them to a wire rack to cool completely. Serve and enjoy!
Nutrition
