The Ultimate Guide to Making Homemade Vanilla Extract: Elevate Your Baking
Welcome to the definitive guide on creating your very own homemade vanilla extract! You’ll be amazed at how simple it is, requiring just two core ingredients: premium vanilla beans and a good quality spirit. This DIY approach offers a significantly more cost-effective and superior-tasting alternative to expensive store-bought options. While it demands patience, with an optimal infusion period of 6 months to a year, the reward is a rich, aromatic vanilla extract that will transform your baking. Plus, it provides a thoughtful and impressive supply for your kitchen or as cherished gifts for friends and family.
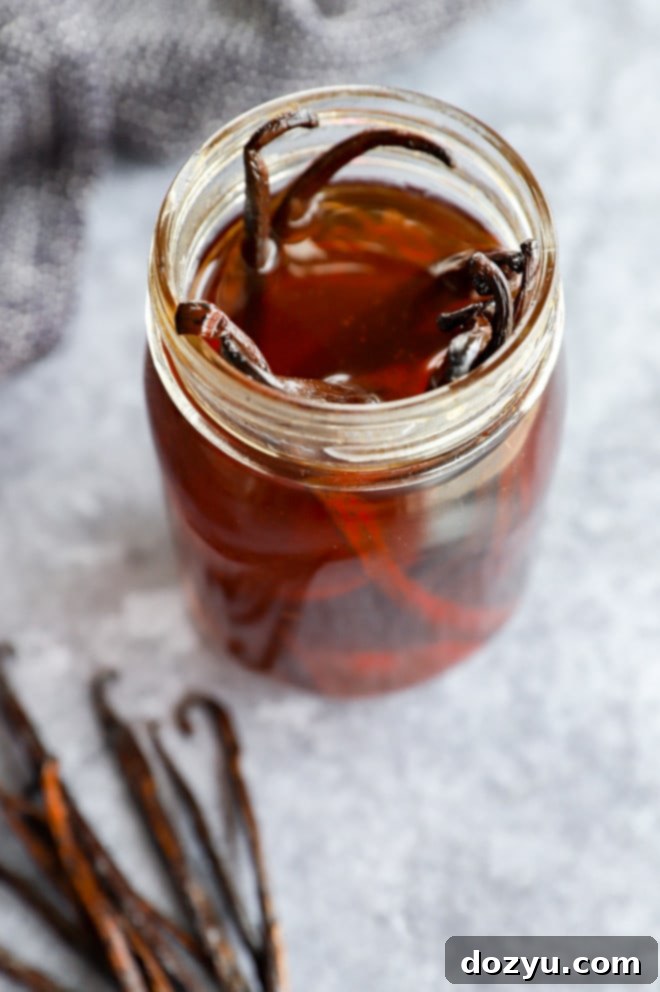
Table of Contents
Toggle
About This Vanilla Extract Recipe
Honestly, the journey to homemade vanilla extract in our home began as my husband’s spontaneous project. He embarked on this endeavor almost on a whim, and I admit, with the long waiting period involved, I completely forgot about it until it was ready. But when that moment arrived, it was truly transformative!
The exquisite aroma and profound flavor of our homemade vanilla extract were beyond anything I had ever experienced from a store-bought bottle. It’s a difference you can genuinely taste and appreciate in every bake. Not only is the quality vastly superior, but it’s also incredibly cost-effective in the long run. Once you have a well-stocked supply, you’ll wonder why you ever paid premium prices for commercial extracts.
Vanilla extract is an indispensable pantry staple for most home bakers and chefs. It’s the secret ingredient that elevates countless recipes, from simple cookies and elaborate cakes to creamy custards, homemade ice creams, and much more. It deepens and enhances the overall flavor profile, adding that distinctive warmth and sweetness that only real vanilla can provide.
If you’ve never considered making your own vanilla extract, now is the perfect opportunity to start. It’s more than just a money-saving venture; it’s a delightful and rewarding DIY project. You’ll end up with a product of unparalleled quality and an incredible flavor that often surpasses even the biggest brand names on the market. Imagine the satisfaction of knowing every drop of vanilla in your dessert was lovingly crafted right in your own kitchen!
This post is designed to be your comprehensive, step-by-step guide to crafting the finest homemade vanilla extract possible. We’ll meticulously walk you through every stage, from selecting your ingredients to the crucial infusion process. We’ll also address the most commonly asked questions and share expert tips on how to properly store your precious extract. Whether you’re making it for your personal baking needs or as a heartfelt, gourmet gift, mastering the art of homemade vanilla extract means you’ll never settle for store-bought alternatives again.
Ingredients for Homemade Vanilla Extract
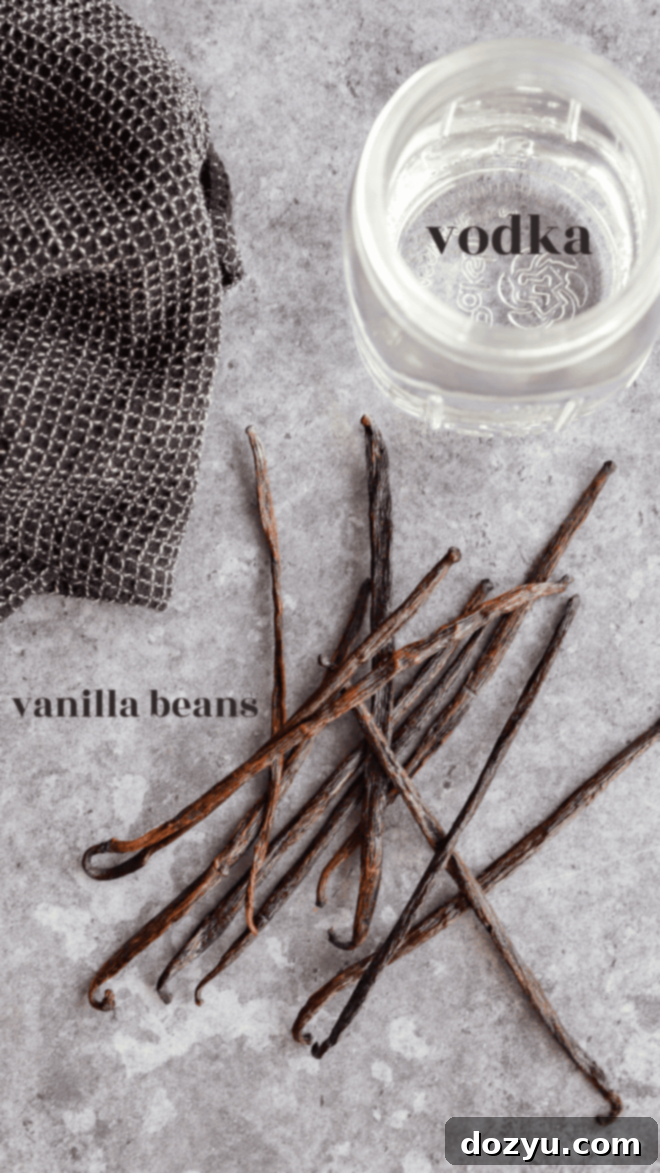
Creating your own vanilla extract truly requires only two star ingredients, but selecting them wisely makes all the difference in the final product’s quality and flavor.
Vanilla Beans: The Heart of Your Extract. While you might find vanilla beans in the spice aisle of major grocery stores, they are often quite expensive and sometimes lack the plump, moist quality essential for robust extract. For the best value and quality, consider sourcing them online from reputable suppliers. The two most popular and versatile options for vanilla extract are Madagascar (Bourbon) vanilla beans and Tahitian vanilla beans, each offering a distinct flavor profile. We’ll delve deeper into choosing the right beans in a dedicated section below, but understanding their origin is key to their taste.
Alcohol: The Flavor Extractor. Vodka is hands down the most common and recommended choice for making vanilla extract, and it’s what we personally use for its neutral flavor, which allows the vanilla to shine. However, if you’re feeling adventurous and want to impart subtle secondary notes, you can also experiment with bourbon, brandy, or even rum. Each spirit will lend a unique character to your finished extract. The crucial factor here is the alcohol proof: ensure your chosen alcohol is at least 80 proof (40% alcohol by volume). This alcohol content is vital for effectively extracting the complex flavor compounds from the vanilla beans. And here’s a money-saving tip: there’s absolutely no need to splurge on high-end liquor! In fact, cheaper, neutral spirits work perfectly. We often opt for a budget-friendly handle of vodka, usually around $13. Just be sure to avoid any flavored vodkas, as these will undeniably compromise the pure, delightful taste of your vanilla extract.
Essential Equipment for Making Vanilla Extract
Beyond the ingredients, a few key pieces of equipment will make your vanilla extract-making process smooth and successful.
For the initial infusion, I highly recommend using sturdy glass mason jars with tight-fitting, airtight seals. Their wide mouths are incredibly practical, allowing you to easily insert the vanilla beans and remove them later after the infusion is complete. Before use, ensure all glass bottles are thoroughly cleaned. While complete sterilization isn’t strictly necessary due to the alcohol content, a fresh and clean container is always best practice.
Once your vanilla extract has fully infused, you’ll want to bottle it for storage or gifting. The choice of storage bottles is entirely up to your personal preference and aesthetic! For elegant gifts, we’ve successfully used charming 4 oz bottles like these. Another favorite, pictured here, are hot sauce bottles. Just remember to carefully remove the small plastic insert at the top that restricts flow before you fill them. These hot sauce bottles are particularly appealing because they often come with shrink capsules for a professional-looking, secure seal, adding a lovely touch, especially when presenting them as gifts.
Personalized labels add a wonderful touch to your homemade vanilla extract, whether for your pantry or as gifts. You can purchase pre-made vanilla extract labels, design your own, or simply handwrite them for a rustic charm. My husband, for instance, created the beautiful labels you see adorning the bottles in this guide. For DIY label design, Canva offers a wealth of templates and customization options. These practical 2-inch by 2-inch Avery labels are user-friendly, allowing you to quickly upload and apply your designs. Alternatively, if you prefer a professionally personalized touch, there are numerous options to purchase custom vanilla extract labels on Etsy, ensuring your bottles look as exquisite as the extract inside.
Choosing the Right Vanilla Beans
The quality and origin of your vanilla beans are paramount for creating truly exceptional homemade vanilla extract. Vanilla beans exhibit distinct flavor and aromatic profiles based on their geographical origin, and this diversity will directly influence the unique character of your finished extract. For vanilla extract, two primary types of beans are most commonly favored: Madagascar and Tahitian.
Madagascar Vanilla Beans (Bourbon Vanilla). Hailing from Madagascar and its neighboring Indian Ocean islands, these are often referred to as “Bourbon vanilla beans.” They are the quintessential choice for classic vanilla extract, as well as for beloved desserts like ice cream and crème brûlée. Madagascar beans are renowned for their rich, sweet, deeply creamy, and universally appealing vanilla flavor. If you’re new to making vanilla extract, starting with these beans is an excellent choice for a familiar and delightful result. You have the option of using Grade B Madagascar vanilla beans, which are typically drier and less expensive but perfect for extraction due to their concentrated flavor, or the more premium Grade A Madagascar vanilla beans, which are plumper and more moist. We’ve used both and found that both yield delicious results. Each grade offers a nuanced flavor, so I recommend beginning with Grade B for cost-effectiveness and then perhaps experimenting with Grade A once you’ve refined your preferred infusion timeline.
Tahitian Vanilla Beans. Predominantly cultivated in Tahiti and its surrounding islands, these vanilla beans offer a remarkably different profile. They are celebrated for their more floral, fruity, and sometimes even cherry-like notes. If you’re seeking an extract with a unique, exotic, and subtly complex aroma that stands out from the traditional, Tahitian beans are the way to go. Similar to Madagascar beans, you can choose between Grade B Tahitian vanilla beans or the higher-grade Grade A Tahitian vanilla beans, depending on your budget and desired moisture content.
Important Note: It’s worth remembering that Grade B vanilla beans, characterized by their lower moisture content, are generally the standard choice for most commercial vanilla extracts you find in stores. This is because they contain a higher concentration of vanillin per pound, making them ideal for the lengthy infusion process. For homemade extract, their robust flavor profile is perfectly suited.
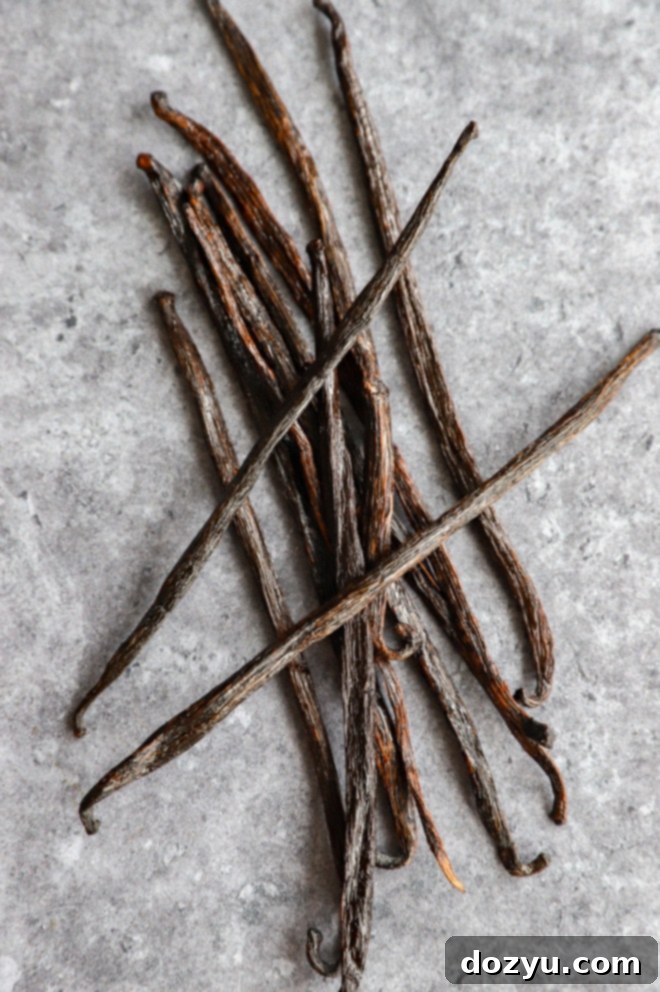
Regardless of the origin, when selecting your vanilla beans, look for those that appear plump, oily, and moist. They should feel soft and possess a good degree of flexibility. The more pliable and supple the bean, the fresher it is, and the more potent and vibrant the flavor it will impart to your homemade vanilla extract. Avoid beans that feel brittle, dry, or cracked, as these will yield a less impactful flavor.
How Many Vanilla Beans Do I Need?
The concentration of vanilla flavor in your extract depends directly on the ratio of vanilla beans to alcohol. For a standard “single-fold” vanilla extract, which is what most commercial extracts are, the minimum recommendation is 4 to 6 whole vanilla beans, totaling approximately 1 ounce in weight, per 8 ounces of 80-proof alcohol. Through our own extensive trial and error, we’ve discovered that using approximately 5 vanilla beans per 8 ounces of alcohol consistently delivers a beautifully balanced and rich flavor, hitting that sweet spot for homemade extract. Keep in mind that the exact number can fluctuate slightly depending on the individual size and weight of your specific beans.
This means, if you’re preparing a batch in a standard 16-ounce mason jar, you will typically need around 10 vanilla beans, equating to about 2 ounces in total weight, for each jar to achieve optimal flavor extraction.
We’ve found it highly beneficial to make an initial investment in a larger quantity of vanilla beans. This allows us to prepare multiple 16-ounce mason jars of vanilla extract at once. While the upfront cost for the beans might seem a bit higher, the long-term savings are truly remarkable when you compare it to the price of even a small 4-ounce bottle of quality vanilla extract from the store. This strategy ensures you always have a fantastic supply on hand, ready for all your baking adventures, and makes for fantastic, economical gifts.
Choosing the Right Alcohol
The alcohol you select plays a critical role in the extraction process, serving as the solvent that draws out the rich, aromatic compounds from the vanilla beans. As mentioned, vodka is the most frequently chosen alcohol for making vanilla extract, and for good reason. Its neutral flavor profile ensures that the pure, unadulterated essence of the vanilla bean is the star of your extract. However, your choice isn’t limited to just vodka.
You can also opt for spirits like bourbon, rum, or brandy, each of which will infuse your vanilla extract with subtle, complementary flavor notes. Bourbon, for instance, adds a warm, caramel-like undertone; rum can introduce a hint of sweetness and tropical warmth; while brandy might lend a sophisticated, slightly fruity complexity. The key to successful extraction, regardless of your chosen spirit, is to ensure the alcohol is at least 80 proof (40% alcohol by volume). This alcohol concentration is essential for efficiently breaking down the cell walls of the vanilla beans and dissolving the vanillin, ensuring you maximize the flavor yield from your precious beans.
Beyond the proof, there’s no need to reach for the top shelf. This is one of those wonderful instances where being frugal pays off! You absolutely don’t need a fancy, expensive spirit to create a gourmet vanilla extract. Any reputable, budget-friendly brand of 80-proof vodka, bourbon, rum, or brandy will work perfectly. The robust flavors of the vanilla beans will dominate, making the subtle nuances of a high-end liquor largely go unnoticed. So, feel free to save your premium spirits for sipping and grab an economical bottle for your homemade vanilla extract project!
Step-by-Step: How to Make Homemade Vanilla Extract
Prepare the Vanilla Beans
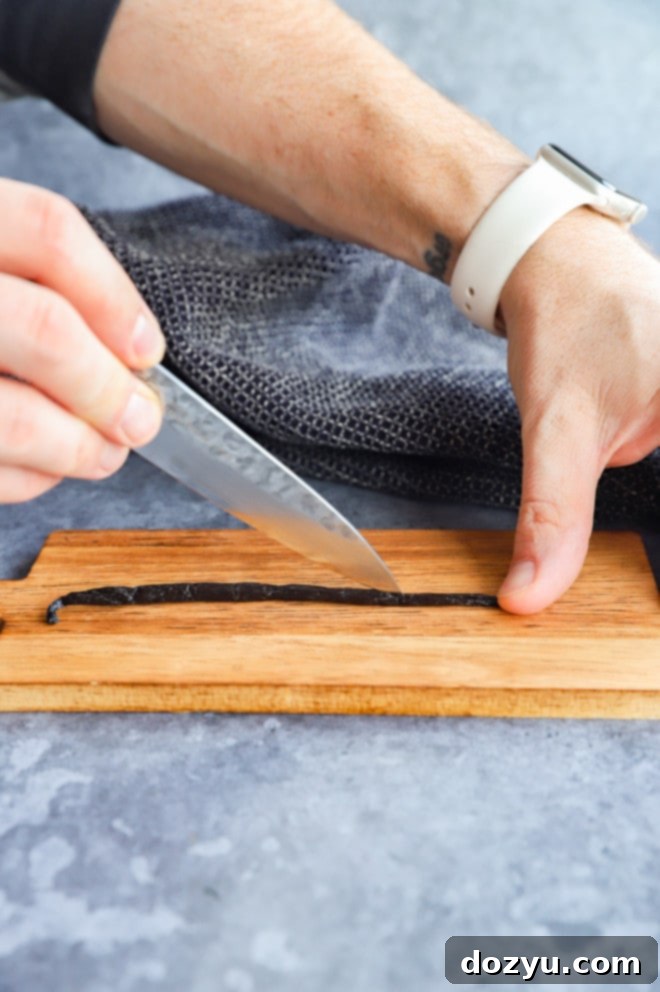
To ensure maximum flavor extraction, the vanilla beans need to be prepared correctly. Using a sharp knife, carefully split each bean in half lengthwise. It’s crucial not to cut all the way through to the very end on either side. Instead, think of it as creating a long, deep slit down the middle of the bean. The primary goal of this incision is to expose the tiny, aromatic seeds nestled inside, allowing their rich flavor compounds to fully infuse into the alcohol. This increased surface area dramatically enhances the extraction process, leading to a more potent and flavorful vanilla extract.
Select Your Container
For making your vanilla extract, choose a clean, clear glass container. While I personally favor mason jars due to their practicality and tight-sealing lids, any glass jar or bottle with an airtight closure will suffice. The container must be large enough to comfortably accommodate both the chosen quantity of alcohol and all the vanilla beans, ensuring they have ample space for proper infusion without being cramped. Make sure the container is sparkling clean before you begin.
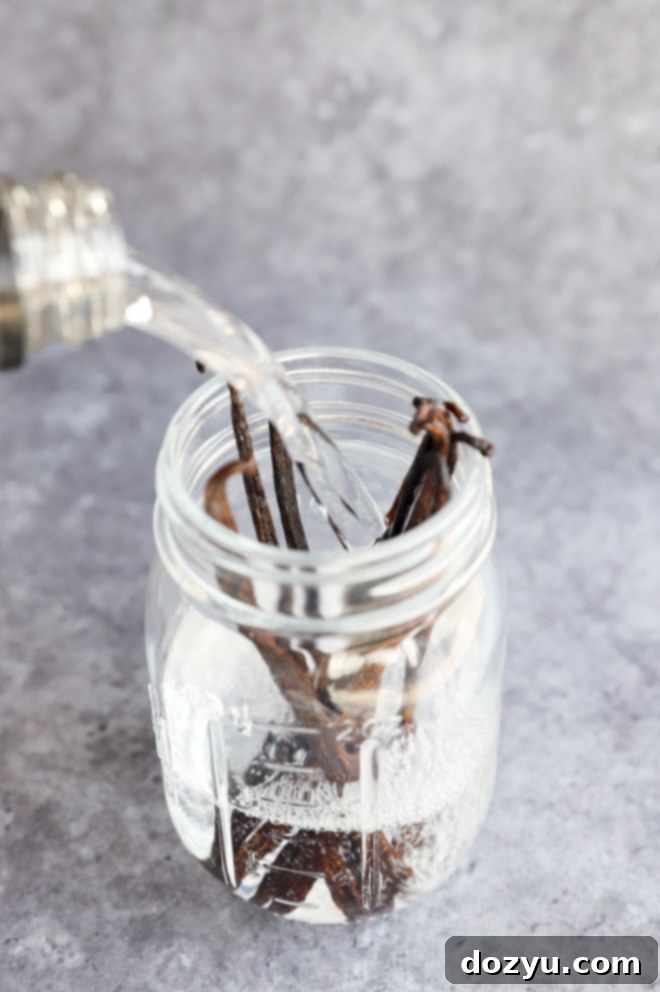
Measure the Alcohol
Precisely measure the quantity of alcohol you intend to use. Whether you’re making a single 16-ounce batch in one jar or preparing a large quantity across several containers, consistency in your bean-to-alcohol ratio is key. Begin with our recommended starting point of 5 to 6 vanilla beans (approximately 1 ounce in total weight) per 8 ounces of 80-proof alcohol. This ratio provides a solid foundation for a flavorful extract. After your first batch has fully infused, you can assess its strength and decide if you’d like to adjust the bean-to-alcohol ratio for subsequent batches to suit your personal preference for intensity. Don’t be afraid to keep a log of your ratios and results!
Add Vanilla Beans to Alcohol
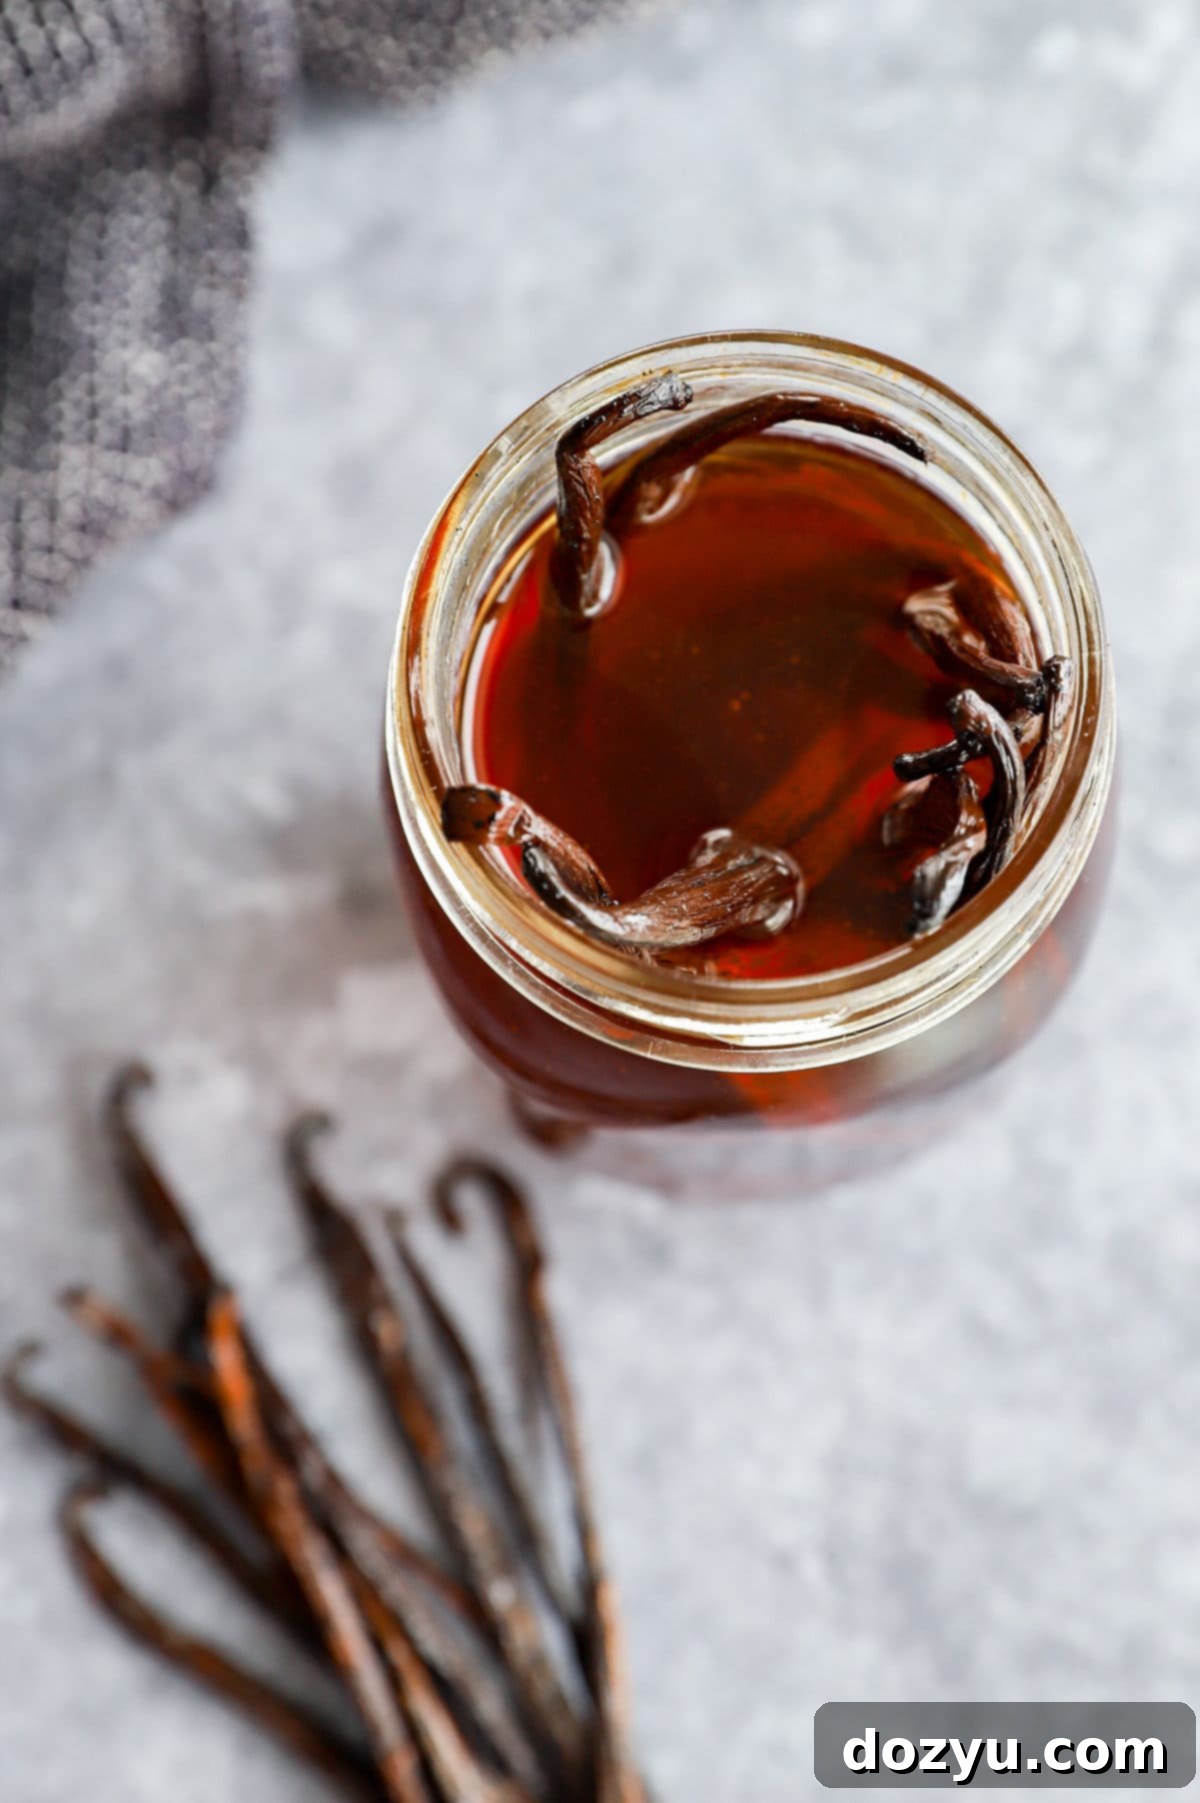
Once your alcohol is measured, pour it into your chosen container. Next, carefully fold or gently insert your prepared vanilla beans into the alcohol. It is absolutely critical that the vanilla beans are entirely submerged in the alcohol. This full submersion ensures that the beans can properly infuse, releasing their exquisite flavor compounds without any part of the bean being exposed to air, which could lead to spoilage or incomplete extraction. If your beans are too long for the jar, gently fold them in half to ensure they are fully covered.
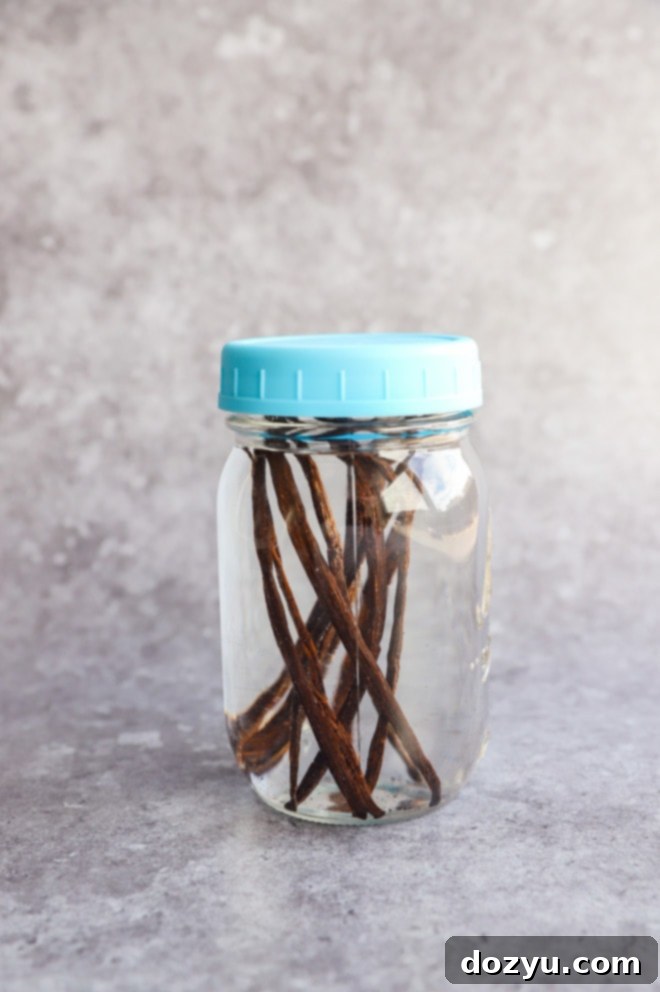
Seal and Store for Infusion
With the vanilla beans submerged, securely seal the container with its tight-fitting lid. This airtight seal is crucial to prevent evaporation and maintain the integrity of your extract. Now, find a cool, dark place to store your vanilla, away from any direct sunlight or heat sources. A pantry, cupboard, or even a basement corner works perfectly. It’s a good habit to check on your extract periodically – once every couple of weeks is ideal – to ensure the beans remain fully submerged. Additionally, giving the bottle(s) a gentle shake every two weeks helps to evenly distribute the infusing flavor throughout the alcohol, promoting a more consistent and robust extract.
The Patience Game: Wait for Flavor
This is arguably the most challenging part of the entire process: waiting! While some enthusiasts might suggest you can begin using your homemade vanilla in as little as 8 weeks, for a truly exceptional, deep, and nuanced flavor, extreme patience is rewarded. We strongly recommend allowing your extract to infuse for at least 6 months, with the absolute best results often achieved after a full year. The longer it sits, the more complex and rich the vanilla flavor becomes, making the wait truly worthwhile. During this period, the alcohol slowly extracts the vanillin and hundreds of other flavor compounds from the beans, creating that incomparable depth.
Strain and Bottle Your Homemade Extract
Once your homemade vanilla extract has reached its desired potency and flavor (which you can determine by occasional tasting after the initial 6-month period), it’s time for the final steps. Carefully strain out all the vanilla beans and any loose seeds using a fine mesh strainer. For an even clearer extract, you can line the strainer with a piece of cheesecloth. Next, use a funnel to neatly pour the beautifully colored and fragrant strained vanilla extract into your chosen storage or gifting bottles. Don’t forget to label them with the date and perhaps the type of vanilla bean used! Now, you can finally enjoy the wonderful fruits of your labor – or, more accurately, your patience! This isn’t just an ingredient; it’s a culinary masterpiece you created.
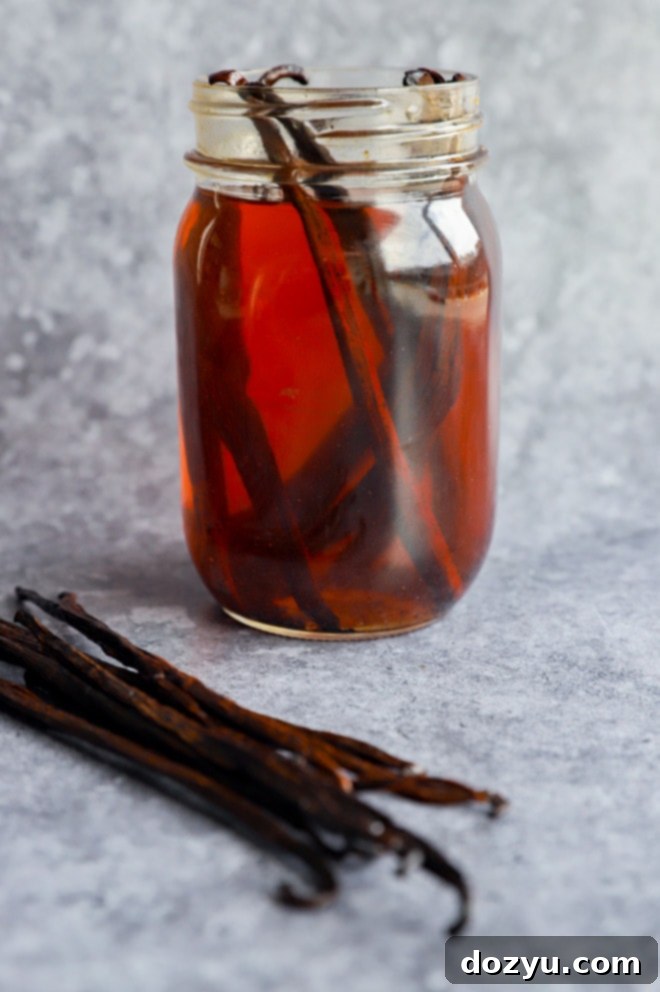
How Long Should I Wait to Use My Vanilla Extract?
Patience is truly a virtue when it comes to homemade vanilla extract. While you might be tempted to use it sooner, for the absolute best and most profound flavor, you should ideally wait a minimum of 6 months. For a truly rich, complex, and deeply infused extract, aiming for 10-12 months (or even longer) will yield superior results. During this extended period, the alcohol has ample time to extract a full spectrum of flavor compounds from the vanilla beans, developing a depth that simply isn’t achievable in a shorter timeframe. Trust us, the wait is worth every aromatic drop!
Do I Need to Refrigerate Homemade Vanilla Extract?
No, you absolutely do not need to refrigerate homemade vanilla extract. Thanks to its high alcohol content (at least 80 proof), vanilla extract is naturally self-preserving and extremely shelf-stable. During the infusion process, ensure the vanilla beans remain fully submerged in the alcohol, as this prevents any exposure to air that could lead to mold. After straining, simply store your finished extract in a tightly sealed glass container in a cool, dark place, away from direct sunlight and heat sources. A pantry or cupboard is perfect. This stable environment will help maintain its exquisite flavor and potency for many years.
Can I Reuse Vanilla Beans for a Second Batch?
Absolutely, reusing vanilla beans for a second batch (or even a third!) is a fantastic way to maximize your investment and extend their life. You have a couple of options here: you can either leave the spent beans and seeds in the original container and simply top it off with more alcohol, effectively creating a continuous extract, or you can remove the beans and use them to start a completely new batch in a fresh container. The main consideration when reusing beans is that their flavor intensity will naturally diminish over time and with each successive infusion. Therefore, to ensure your second batch of extract is just as flavorful and potent as the first, we highly recommend increasing the bean-to-alcohol ratio. Instead of the initial 5 to 6 beans per 8 ounces of alcohol, aim to use 8 to 10 beans (approximately 1.5 to 2 ounces total weight) per 8 ounces of alcohol for their second round of infusion. This compensates for the reduced potency and helps maintain that rich, vibrant vanilla flavor you desire.
Can Homemade Vanilla Extract Be Given as a Gift?
Homemade vanilla extract makes an absolutely wonderful and highly appreciated gift for any occasion! It’s personal, thoughtful, and incredibly useful for anyone who loves to bake or cook. You can present it simply in beautiful bottles tied with a elegant ribbon, or elevate your gift by designing and attaching personalized labels that add a charming, professional touch. Get creative with your presentation – perhaps add a tag with a little note about how long it was infused, or suggest a favorite recipe to use it in. This handmade gift truly shows care and effort, making it perfect for holidays, birthdays, housewarmings, or as a host/hostess present. It’s a gift that keeps on giving, enhancing countless culinary creations for the recipient!
Certainly! Here are answers to some common questions about homemade vanilla extract:
How Can I Tell if My Homemade Vanilla Extract Has Gone Bad?
Homemade vanilla extract boasts an exceptionally long shelf life, primarily due to its high alcohol content. When stored correctly in a cool, dark place, it rarely “goes bad” in the traditional sense. It’s much more likely to simply lose some of its flavor intensity over a very extended period, perhaps many years. However, there are a few rare signs that might indicate an issue. If your extract develops an unmistakably “off” or sour smell that is uncharacteristic of vanilla, or if you observe any visible mold growth floating in the liquid or on the beans (if still present), it’s best to err on the side of caution and discard it. These instances are highly uncommon if proper procedures and storage are followed, but they are indicators that something may have gone awry. Otherwise, a properly stored and aged extract is generally safe and delightful to use.
Need more inspiration for something sweet? Check out my dessert recipes page!
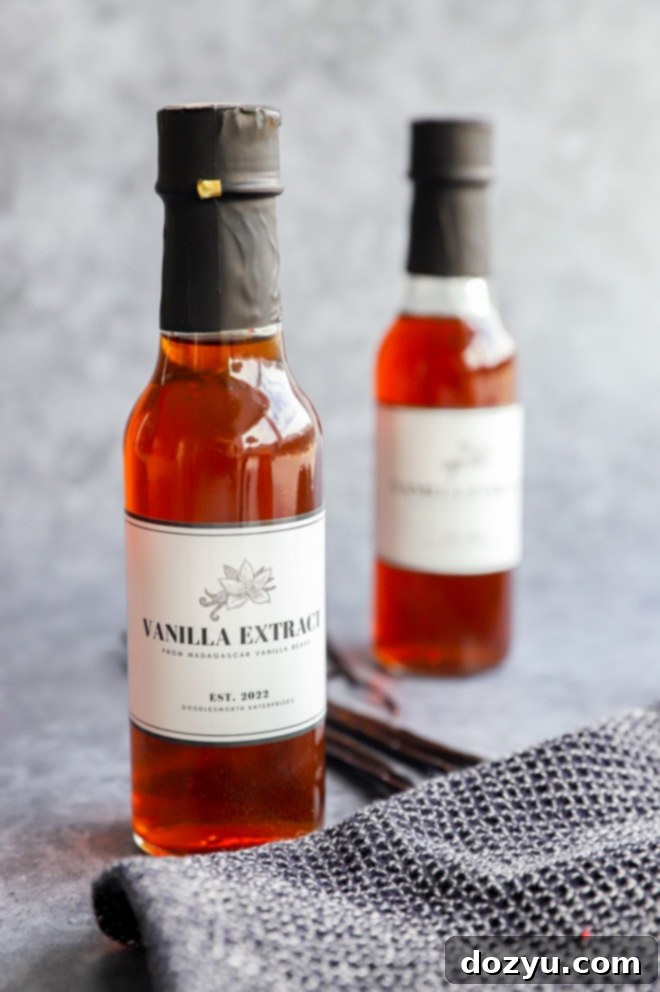
How to Use Homemade Vanilla Extract
The beauty of homemade vanilla extract is its versatility – you can proudly use it in virtually any recipe that calls for vanilla extract! Simply substitute your artisanal creation cup for cup, or teaspoon for teaspoon, just as you would with any store-bought variety. The difference, however, will be immediately noticeable. Your baked goods, desserts, and other culinary creations will now benefit from the nuanced, robust, and authentic vanilla flavor imparted by your carefully selected beans and the ample time you dedicated to its infusion. Imagine the elevated taste in your favorite chocolate chip cookies, the depth it brings to a classic vanilla cake, or the aromatic touch in custards, puddings, or even morning pancakes. Homemade vanilla extract doesn’t just add flavor; it adds a touch of gourmet excellence to every dish, making your kitchen creations truly shine!
How to Store Homemade Vanilla Extract
Proper Storage for Longevity: To preserve the rich flavor and extend the life of your precious homemade vanilla extract, store it in a glass jar or bottle with a tightly sealed lid. The most crucial factor is to keep it away from direct sunlight and any sources of heat, as these can degrade the delicate flavor compounds and reduce its potency over time. A cool, dark pantry, a kitchen cupboard, or even a drawer are ideal locations. When stored correctly, homemade vanilla extract has an impressively long shelf life, often improving in flavor over several years. As a general rule, if you ever notice visible mold or if the extract develops an unusual or “off” smell, it’s safest to discard it, though this is a very rare occurrence with properly made and stored extract.
Delicious Recipes to Use Your Homemade Vanilla Extract In
Now that you have your exquisite homemade vanilla extract ready, it’s time to put it to good use! Here are some fantastic recipes where its superior flavor will truly make a difference:
- Lemon Lavender Shortbread Cookies: The floral notes of vanilla will beautifully complement the lemon and lavender.
- Dark Chocolate Coffee Cookies with Sea Salt: Vanilla deepens the chocolate and coffee flavors, adding balance.
- Cookie Dough Bites: Essential for that classic, comforting cookie dough taste.
- One Bowl Banana Nutella Muffins: A touch of vanilla brings out the sweetness of banana and richness of Nutella.
- Cinnamon Whipped Cream: Vanilla is a must-have for elevating homemade whipped cream.
- Cinnamon Simple Syrup: Add a dash for a more complex and aromatic syrup.
- Banana Bread Muffins: Vanilla is key to a comforting, perfectly flavored banana bread.
Finally, if you embark on this rewarding journey of making your own vanilla extract, please don’t hesitate to give this recipe a rating or leave a comment below! I genuinely love hearing about your experiences and successes, and I always make an effort to respond to every single comment. Feel free to drop any questions you might have about the process too – I’m here to help!
Oh, and be sure to tag me on Instagram if you share photos of your homemade extract or the delicious creations you make with it! Seeing these recipes come to life in your homes is truly one of my favorite things, and it means the world to me!
Homemade Vanilla Extract Recipe Card
Equipment
-
Fine Mesh Strainers
-
Mason Jar (16 oz or desired size)
Ingredients
- 5 to 6 whole vanilla beans (Madagascar or Tahitian, approx. 1 ounce total weight)
- 8 oz 80 proof liquor (preferably neutral vodka, but bourbon, rum, or brandy work well for nuanced flavors)
Instructions
-
Using a sharp knife, carefully split each vanilla bean lengthwise. Ensure you do not cut completely through to either end; the goal is a long slit that exposes the aromatic seeds inside.
-
Pour your chosen 80-proof liquor into a clean glass jar with a tight-fitting lid (a mason jar is ideal). Gently add the split vanilla beans to the jar, folding them in half if necessary to ensure they are entirely submerged in the alcohol. Securely seal the container.
-
Store the sealed jar in a cool, dark place, away from direct sunlight and heat. Allow the extract to infuse for a minimum of 6 months, and ideally up to 1 year, for the richest flavor development. Check the jar every 2 weeks, ensuring beans remain submerged, and give it a gentle shake to distribute flavors evenly. After 6 months, you may taste it periodically to determine if it has reached your desired strength.
-
Once your vanilla extract has fully infused to your liking, strain out the vanilla beans and any loose seeds using a fine mesh strainer. For an even clearer extract, you can line the strainer with cheesecloth.
-
Using a funnel, carefully pour the strained homemade vanilla extract into smaller bottles for storage or gifting. Label your bottles as desired with the date and type of vanilla bean used.
Video
Nutrition Information (per 1 tbsp serving)
