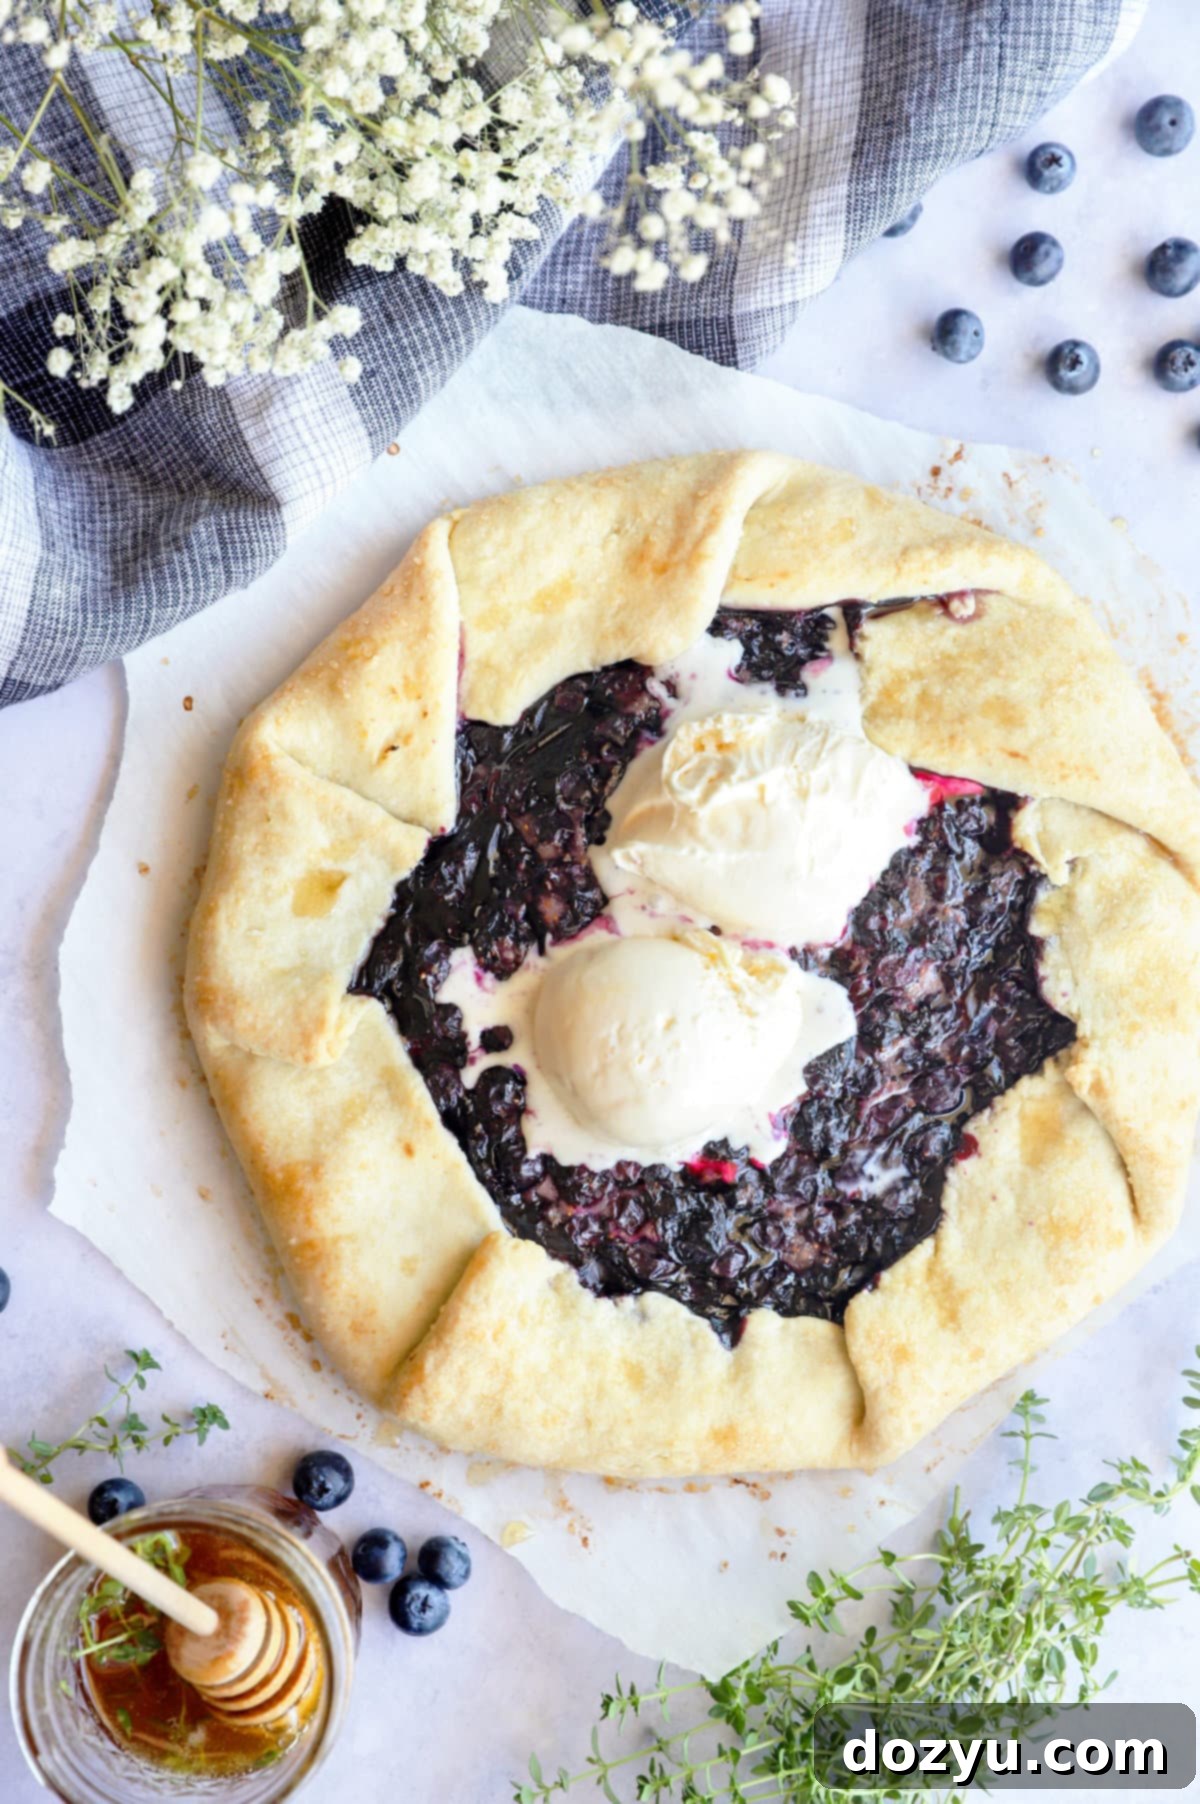
Easy & Rustic Blueberry Galette with Thyme Honey: Your Perfect Summer Dessert
Welcome to the quintessential summer dessert! This Easy Blueberry Galette with Thyme Honey is a celebration of fresh flavors and effortless baking. Often affectionately called my “lazy pie,” it captures all the deliciousness of a traditional blueberry pie without any of the fuss. Imagine a golden, flaky crust cradling plump, juicy blueberries, all elevated by a unique drizzle of aromatic thyme-infused honey. This rustic, free-form tart is guaranteed to impress your guests and become a seasonal favorite that everyone will adore. Get ready to bake a dessert that’s bursting with flavor and unbelievably simple to create!
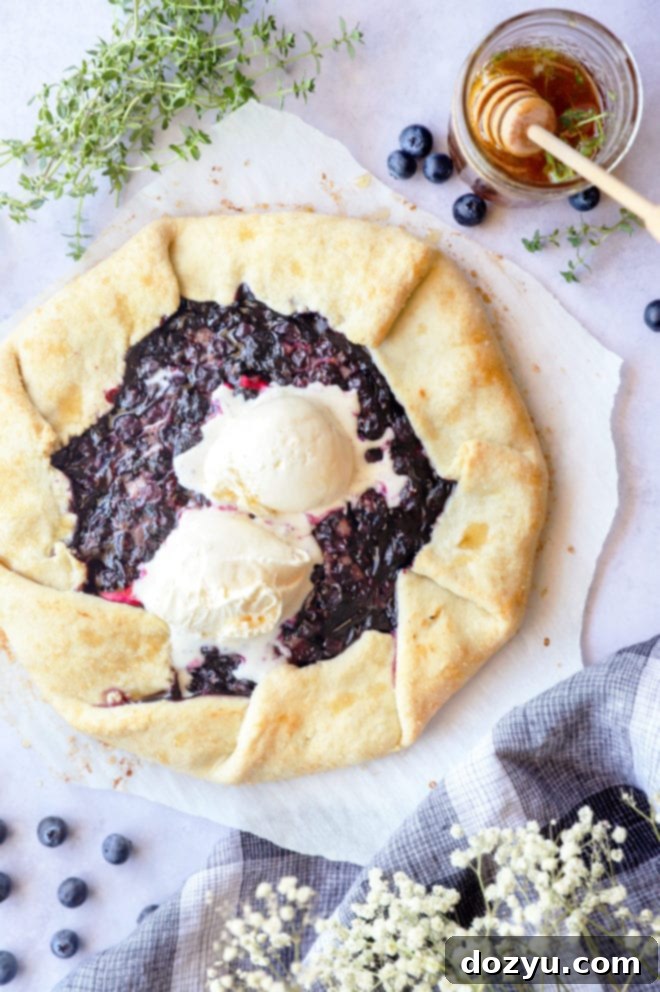
Table of Contents
Toggle
About This Easy Blueberry Galette
There’s nothing quite like the joy of a warm, fruity pie, especially when summer berries are at their peak. Like many of you, I’ve always had a special place in my heart for blueberry pie – the vibrant flavor, the comforting aroma, it’s truly a classic. However, I often found myself in a wrestling match with traditional pie recipes, typically ending up with a frustratingly soggy bottom crust or spending an excessive amount of time striving for that elusive “perfect” pie dough. The struggle was real, and it often took the fun out of baking.
That’s where the beauty of a galette comes in! For me, a galette is the ultimate solution for anyone who loves pie but wants a simpler, more forgiving approach. It delivers all the delightful taste and texture of a homemade pie without the need for fancy pie plates or intricate crust designs. This blueberry galette, in particular, is a game-changer for summer baking. It celebrates the fresh, sweet blueberries of the season, and the addition of thyme honey introduces an unexpectedly delicious herbaceous note that elevates the entire dessert. If you’re looking for a fuss-free dessert that tastes utterly divine, you’ve found it!
By the way, if your love for blueberries knows no bounds, you should also try these fantastic blueberry cookies. They’re another easy and delightful treat!
What Exactly Is a Galette?
A galette is essentially a rustic, free-form tart, originating from French cuisine. It consists of a single crust of pastry dough that is folded loosely over a filling, typically fresh fruit for sweet versions, or vegetables and cheese for savory ones. The beauty of a galette lies in its simplicity and charmingly imperfect appearance. Unlike a meticulously crimped pie, a galette embraces a more natural, hand-formed look, making it incredibly approachable for bakers of all skill levels.
What I truly adore about galettes is their unpretentious nature. There’s no need for special pie dishes, intricate lattice work, or complex techniques. You simply roll out the dough, pile on your chosen filling, and fold the edges inward, creating a beautiful, naturally crimped border. This “free-form” characteristic means that every galette looks unique, adding to its rustic appeal. It’s the kind of dessert that looks like you spent hours on it, but actually comes together with minimal effort, using basic kitchen tools. This particular recipe focuses on a sweet blueberry filling, but the possibilities for other fillings are endless (I’ve even included some other delicious galette ideas later if you’re feeling adventurous!). It’s baking at its most relaxed and rewarding.
Key Ingredients for Your Blueberry Galette
Crafting the perfect blueberry galette relies on a few simple, high-quality ingredients. Here’s a closer look at what you’ll need and why each component is essential for that irresistible flavor and texture:
- Fresh Blueberries: The star of our show! For this galette, fresh blueberries are absolutely crucial. They offer the best flavor and texture, ensuring your filling isn’t watery. While blueberries are in season all summer long, they are typically at their peak sweetness and juiciness in July. If you have the chance, grab them at your local farmer’s market for an unparalleled taste. Avoid using frozen blueberries for this particular recipe, as they tend to release too much moisture during baking, which can lead to a soggy crust.
- All-Purpose Flour: The foundation of our perfectly flaky galette crust. Standard all-purpose flour works wonderfully here. If you’re looking for a gluten-free option, a 1:1 gluten-free baking flour blend (such as Bob’s Red Mill) can be substituted, producing a delicious and tender crust.
- Granulated White Sugar: Used in both the crust for a touch of sweetness and in the blueberry filling to enhance the natural sugars of the fruit. A little sugar helps to balance the tartness of the blueberries and contributes to the golden-brown caramelization of the crust.
- Salt: A small but mighty ingredient! I prefer using fine kosher salt in baking as it disperses evenly and enhances all the other flavors. Don’t skip it in the crust – it brings out the richness of the butter and balances the sweetness. Coarse or fleur de sel are wonderful finishing salts, but fine salt is best for integrating into the dough and filling.
- Unsalted Butter: Essential for a rich, flaky crust. Always opt for unsalted butter so you can control the overall salt content of your galette. Using cold butter, cubed into small pieces, is crucial for achieving that desirable flaky texture, as it creates pockets of steam in the dough during baking. Avoid salted butter, as it can make your dough overly savory or unevenly seasoned.
- Cornstarch: Our secret weapon for a perfectly thickened blueberry filling. Cornstarch acts as a thickening agent, preventing the filling from becoming too watery and ensuring it sets beautifully after baking. It helps create that luscious, slightly jammy texture without overpowering the fruit’s natural flavor.
- Lemon Juice: Freshly squeezed lemon juice brightens the flavors of the blueberries, adding a zesty counterpoint to their sweetness. It’s a small addition that makes a big difference. While fresh is always best, bottled lemon juice can be used in a pinch.
- Fresh Thyme: This herb is the star of our unique thyme honey infusion. Fresh thyme sprigs will release their fragrant, earthy notes beautifully into the honey. Dried thyme, unfortunately, won’t provide the same vibrant flavor for the infusion and is not recommended.
- Raw Honey: The base for our delightful thyme honey. Use your favorite high-quality raw honey. Clover honey is a popular and readily available choice, offering a balanced sweetness. For an extra floral dimension, consider using orange blossom honey. The honey not only adds sweetness but also a wonderful stickiness and sheen when drizzled over the baked galette.
Essential Tools for Baking This Galette
One of the many reasons to love making a galette is that it doesn’t require a lot of specialized equipment. Here are the must-have tools that will make preparing this blueberry galette a breeze:
- Food Processor: This is the secret weapon for effortless galette dough. A food processor makes quick work of cutting the cold butter into the flour, ensuring a perfectly crumbly mixture without overworking the dough. It’s truly a foolproof way to achieve that wonderfully flaky crust texture. If you don’t have one, you can use a pastry cutter or your fingertips, but it will require a bit more effort.
- Large Mixing Bowls: You’ll need at least one large mixing bowl for preparing the blueberry filling. Metal mixing bowls are durable and easy to clean, making them ideal for this task.
- Wooden Spoon or Spatula: Perfect for gently stirring the blueberry filling ingredients together without bruising the delicate fruit too much.
- Parchment Paper: A true baking essential! Lining your baking sheet with parchment paper prevents the galette from sticking and makes for easy cleanup. It also makes transferring the rolled dough to the baking sheet much simpler.
- Half Sheet Baking Pan: The ideal size for baking your galette. A sturdy half sheet pan provides enough surface area for the galette to bake evenly and allows for any potential berry juices to bubble without overflowing.
- Rolling Pin: Crucial for rolling out your chilled dough into a nice, even round. A good rolling pin makes the process smooth and ensures uniform thickness for the crust.
Recommended Baking Favorites
Beyond the essentials, these are a few items that make baking even more enjoyable:
Mixing Bowls
Buy Now →
Cookie Dough Scoop
Buy Now →
Cooling Racks
Buy Now →
Food Processor
Buy Now →
Half Sheet Baking Pan
Buy Now →
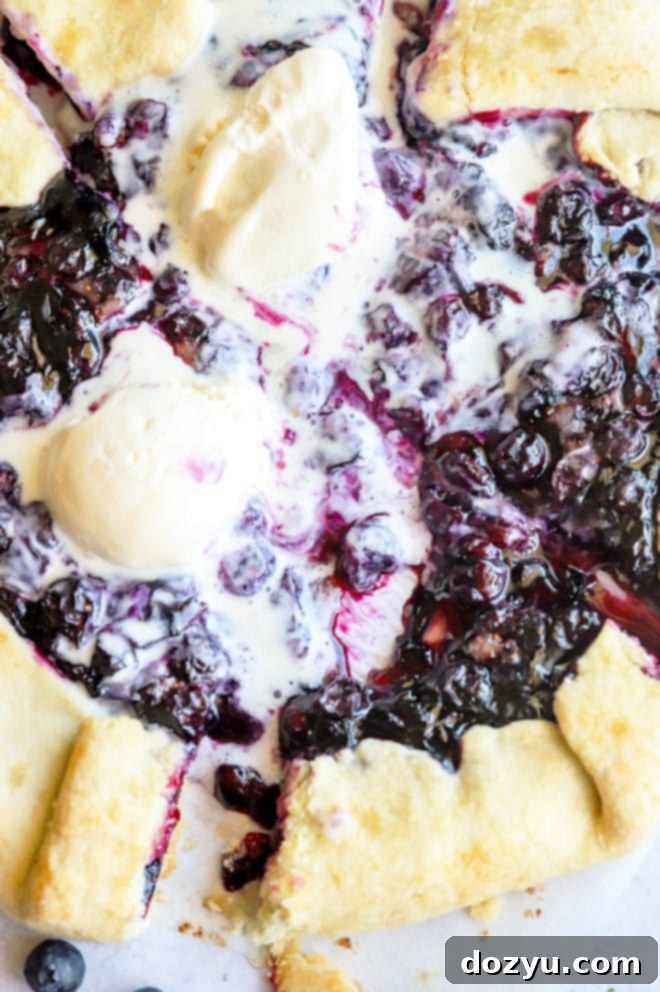
Step-by-Step: How to Make a Blueberry Galette
Creating this delicious blueberry galette is a straightforward process, broken down into a few simple steps. Follow these instructions carefully for a perfect rustic dessert every time:
Crafting the Thyme Honey Infusion
The thyme honey adds a sophisticated, herbaceous note that perfectly complements the sweet blueberries. To begin, gather your fresh thyme sprigs and raw honey. In a small mason jar or an airtight container, combine the fresh thyme sprigs with the honey. Stir gently to ensure all the thyme is submerged and coated in the honey, and to release any trapped air bubbles. Close the jar tightly and place it in a warm spot in your kitchen. Allowing it to sit for at least a few hours, or ideally overnight, will let the thyme’s essential oils infuse into the honey, creating a fragrant syrup that’s perfect for drizzling over your baked galette.
Preparing the Flaky Galette Dough
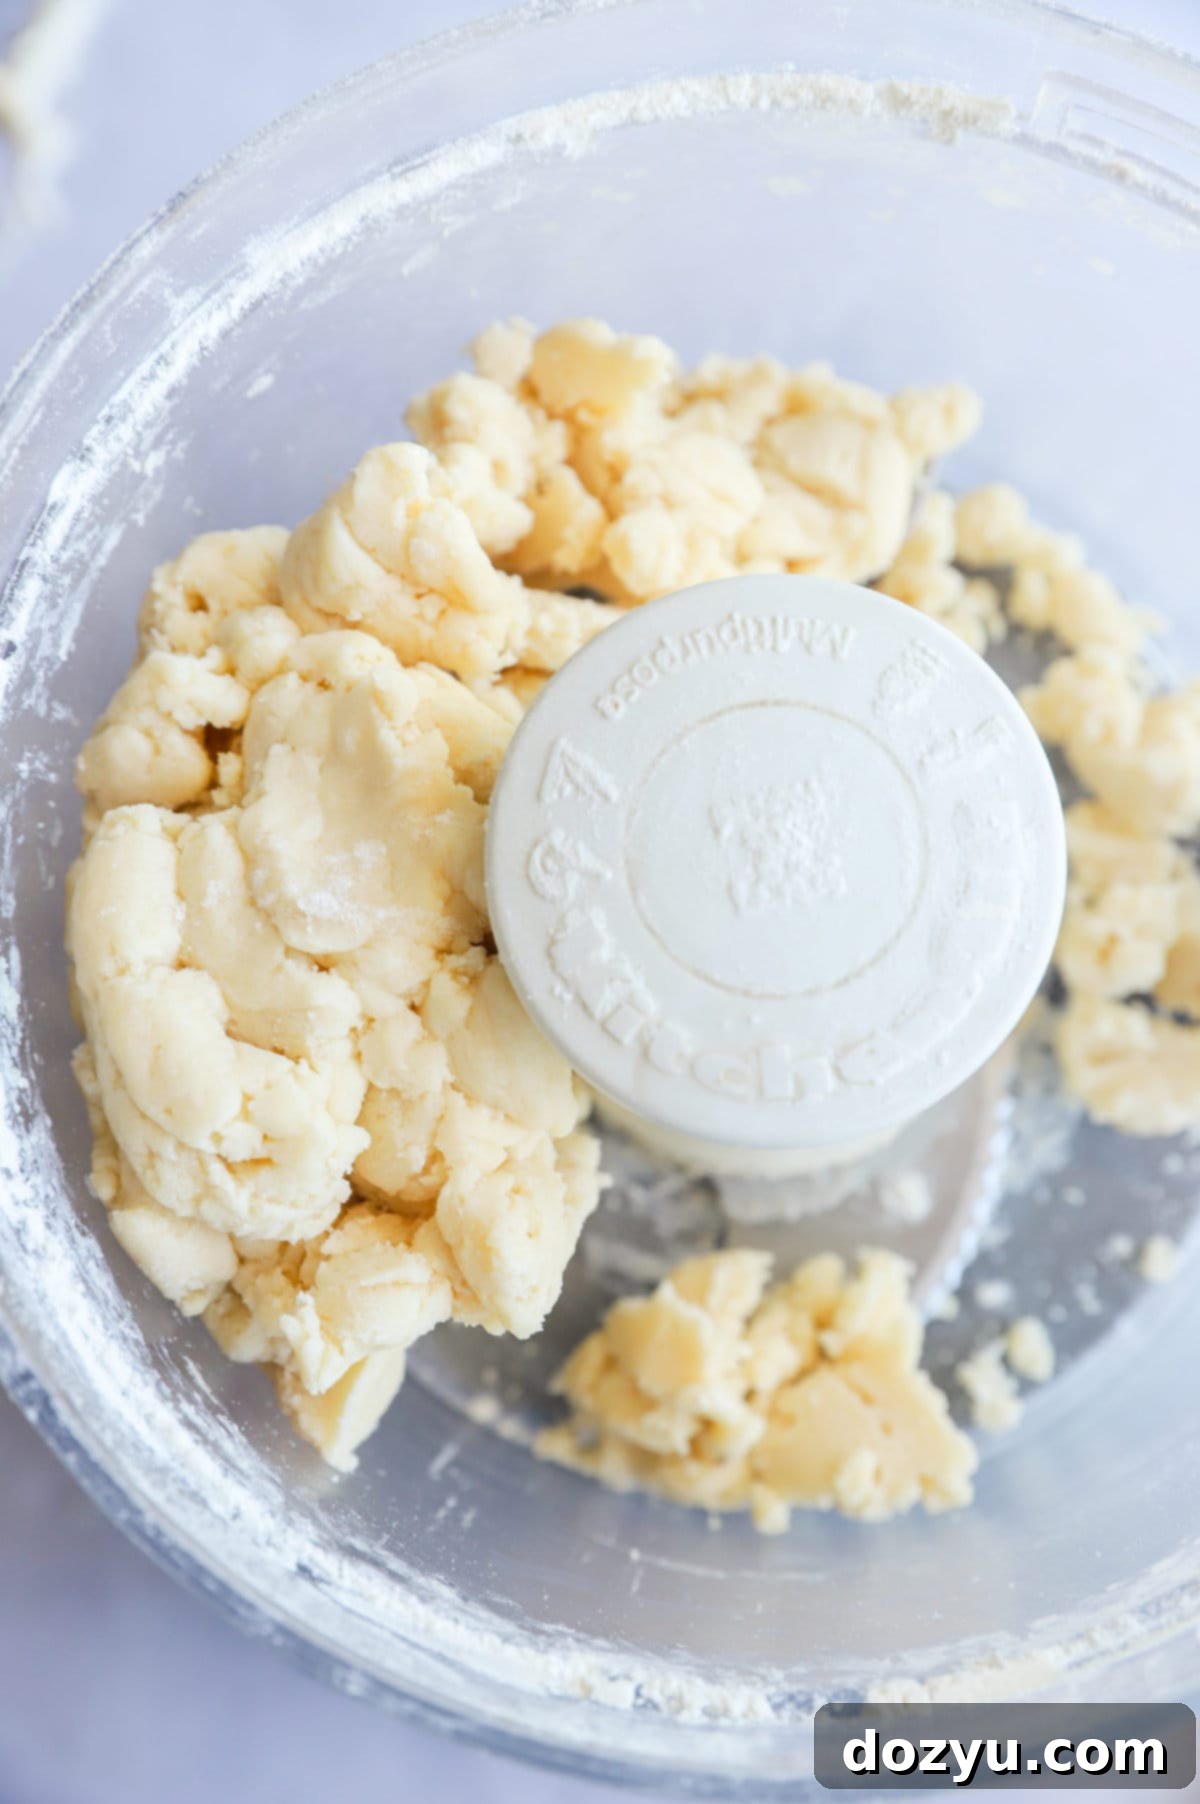
A truly great galette starts with a fantastic crust. This recipe utilizes a food processor for a quick and foolproof dough. First, add the all-purpose flour and fine kosher salt to the bowl of your food processor. Pulse a few times to thoroughly combine them. Next, add in your very cold, cubed unsalted butter. The coldness of the butter is key to creating a flaky crust. Pulse the mixture about 8 to 10 times, or until the butter is broken down into pea-sized pieces and the mixture resembles coarse crumbs. Be careful not to over-process at this stage, as you want distinct pieces of butter.
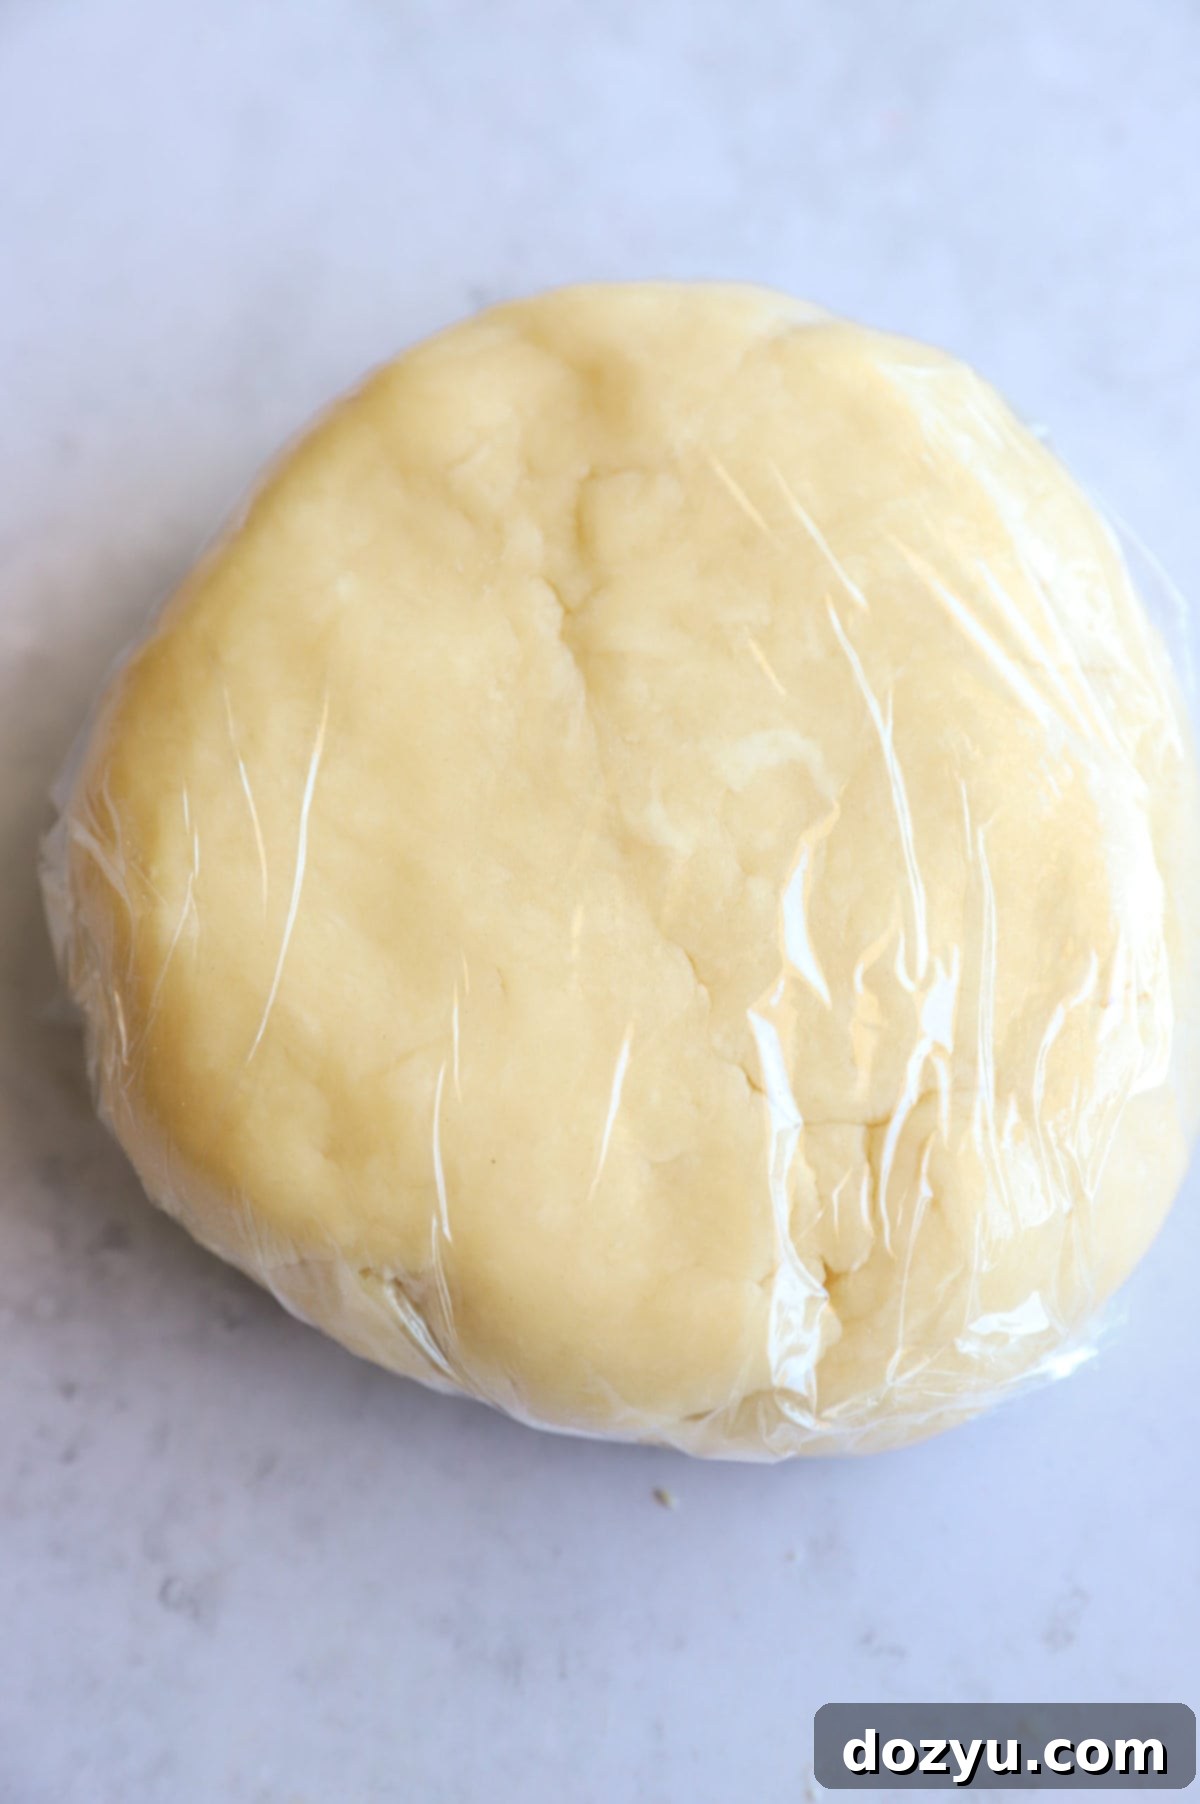
Now, with the machine running, gradually add the ice water, one tablespoon at a time, through the feed tube. The dough will begin to come together, eventually forming a ball. Stop processing as soon as it forms a cohesive ball – overmixing will develop the gluten too much, resulting in a tough crust. Carefully turn the dough out onto a lightly floured, clean work surface. Gently bring it together and form it into a flattened disk, about 4 inches in diameter. Wrap the disk tightly in plastic wrap to prevent it from drying out, and place it in the refrigerator for at least 30 minutes. Chilling the dough is a crucial step; it allows the butter to firm up again and the gluten to relax, making the dough easier to roll out and ensuring a wonderfully flaky texture.
Creating the Luscious Blueberry Filling
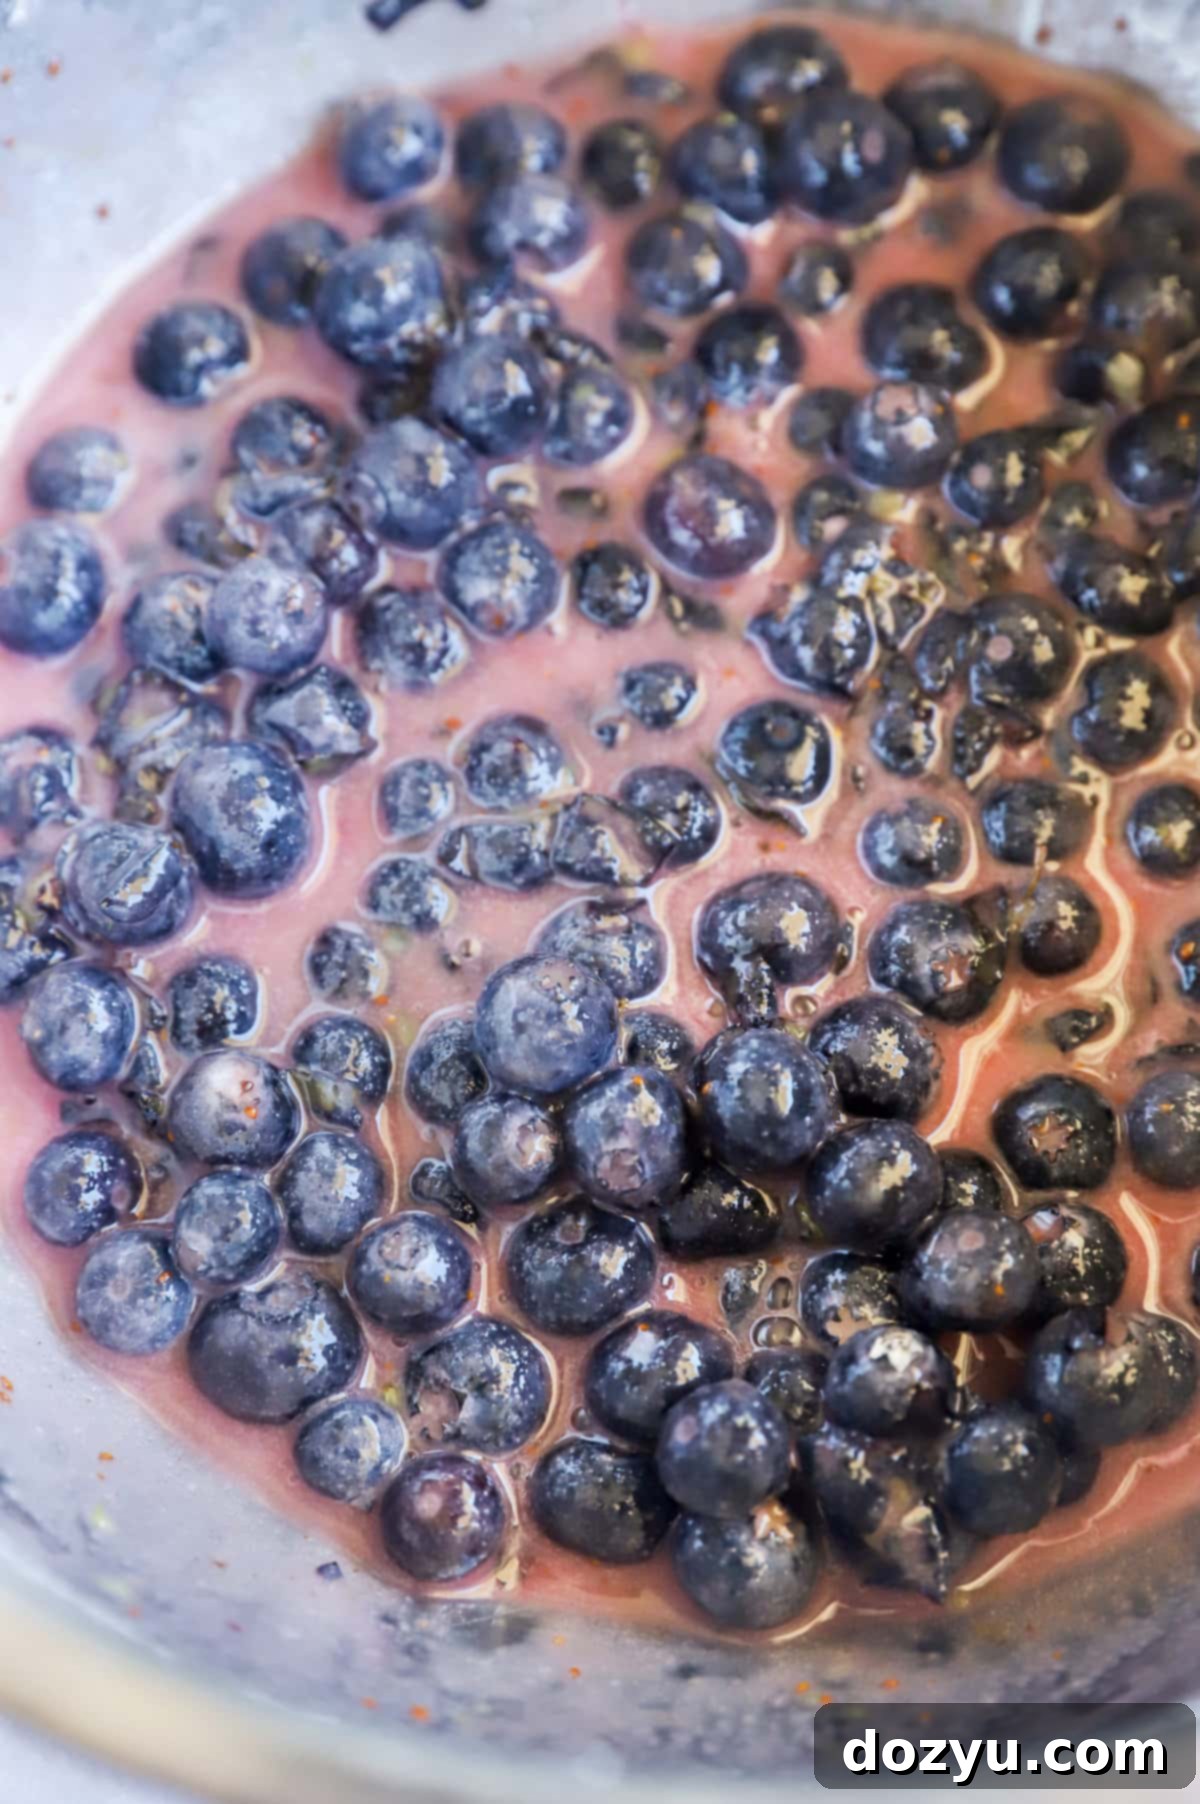
While the dough is chilling, prepare your vibrant blueberry filling. In a large mixing bowl, take about half a cup of your fresh blueberries and gently crush them with the back of a fork or a potato masher. This initial mashing helps to release some of the berries’ juices, which will create a more cohesive and flavorful filling base. Then, add the remaining whole blueberries to the bowl. To this, sprinkle in the granulated sugar, cornstarch (our thickening agent!), a pinch of salt, and the fresh lemon juice. Stir all the ingredients together gently until the blueberries are evenly coated. The cornstarch will help to thicken the juices released during baking, preventing a runny filling. Set the bowl aside at room temperature while you roll out your dough; the berries will continue to macerate slightly, releasing more flavor.
Assembling and Baking Your Rustic Tart
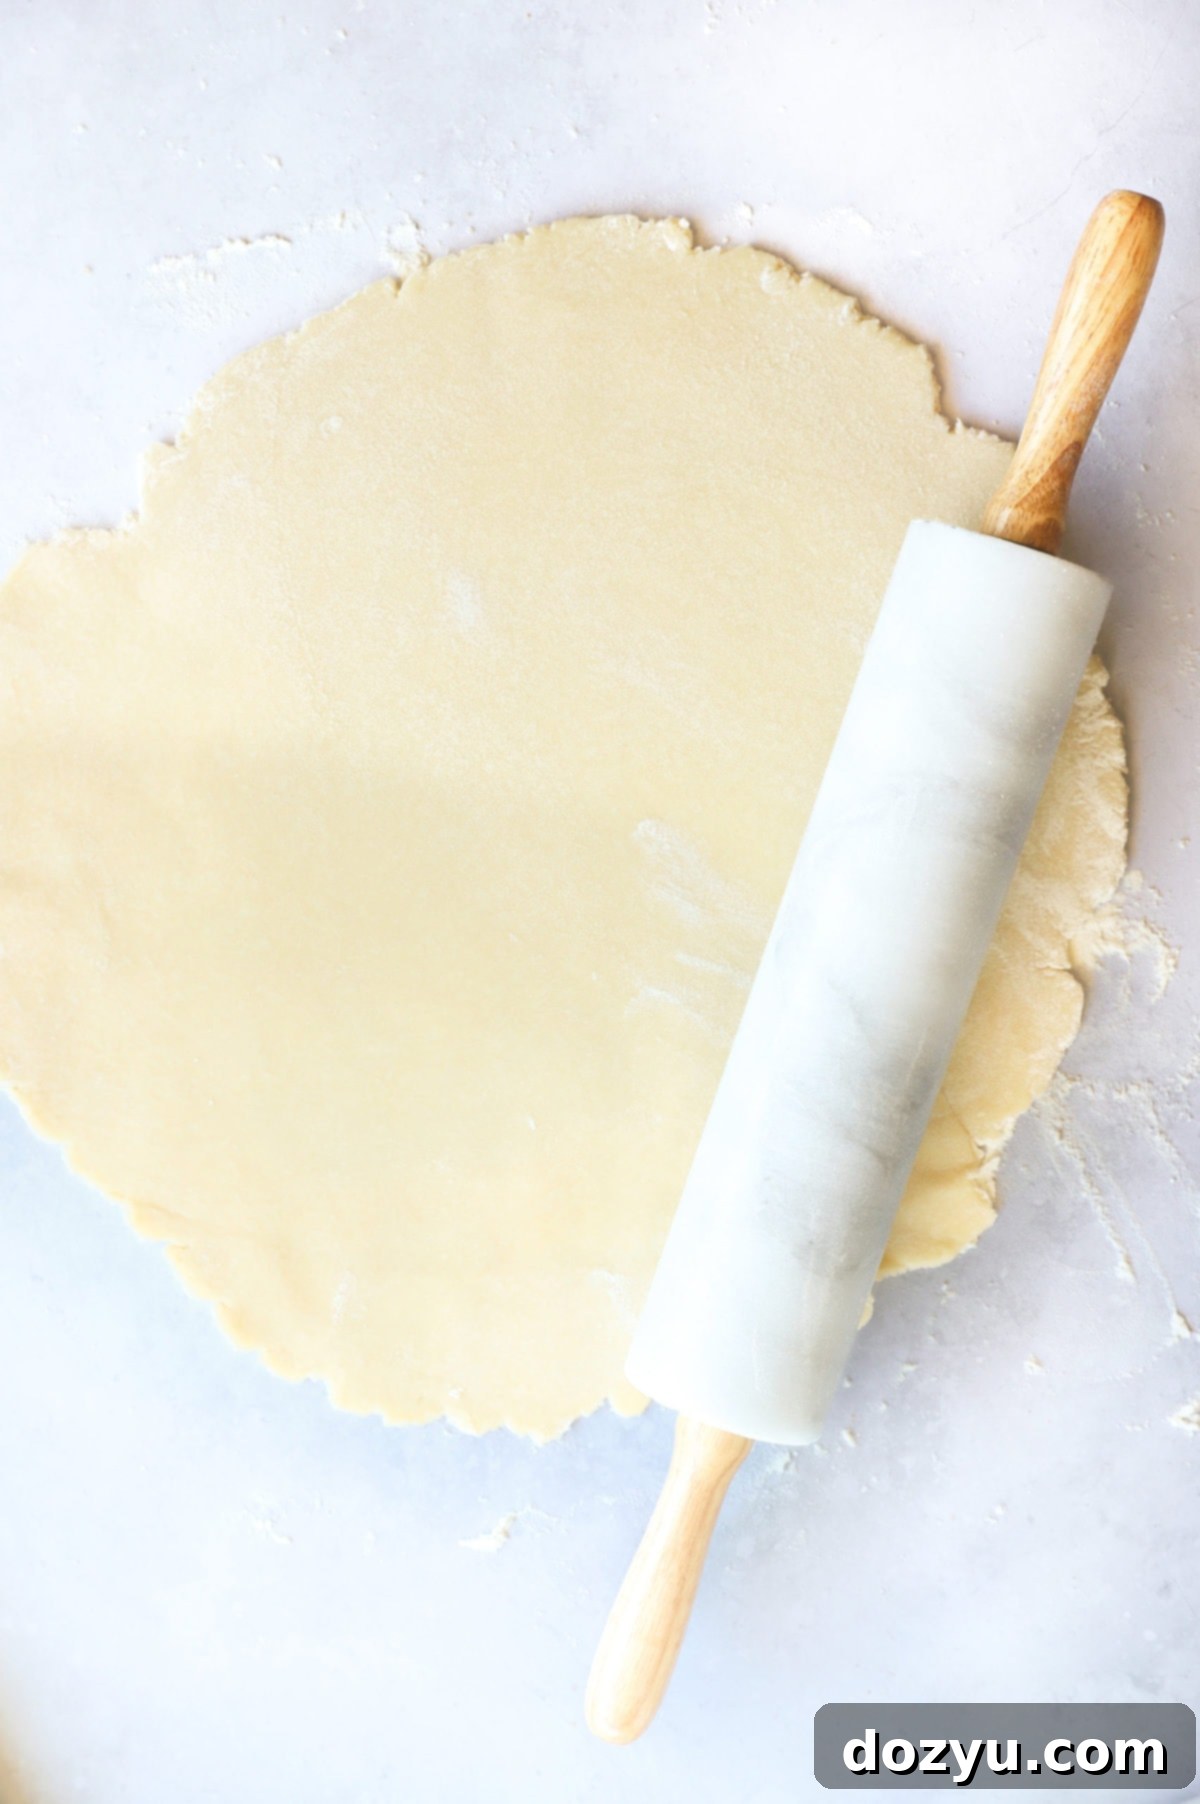
Once your dough is thoroughly chilled, it’s time for assembly. On a lightly floured surface, roll out the dough into a roughly 14-inch round. Don’t worry if it’s not a perfect circle; the rustic charm of a galette is part of its appeal! Carefully transfer the rolled-out dough to a baking sheet that has been lined with parchment paper. This makes cleanup easy and prevents sticking.
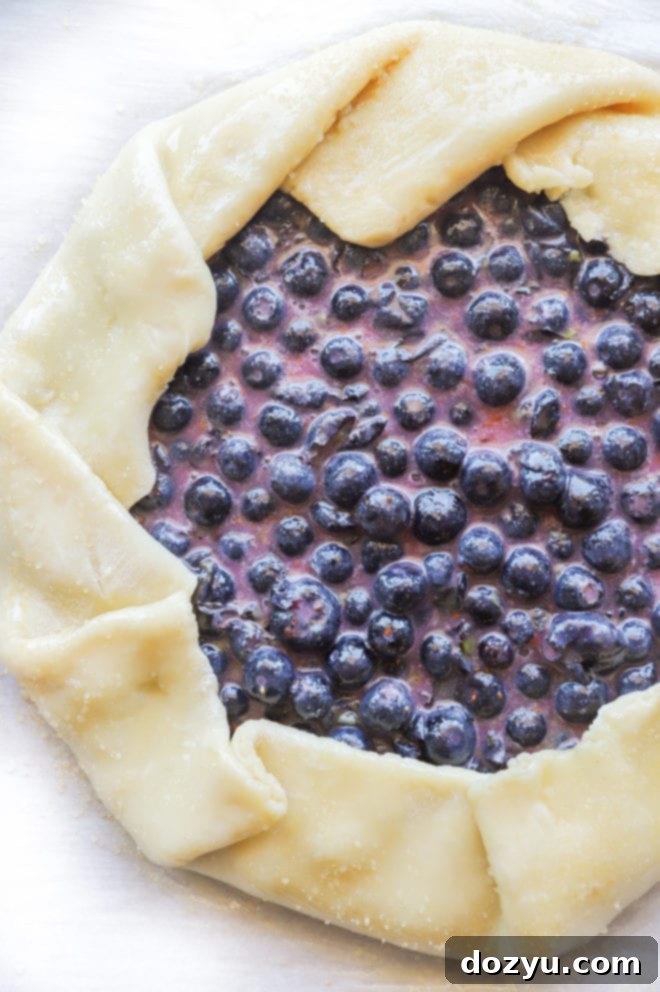
Now, spoon the prepared blueberry filling into the center of the dough. Spread the filling out evenly, making sure to leave a generous 1 to 2-inch border of dough all the way around the edges. This border will be folded over to create the galette’s crust. Begin folding the edges of the dough up and over the filling, pleating the dough as you go. Work your way around the entire perimeter, making evenly spaced folds. As you fold, gently press and seal the pleats together to ensure the juices stay contained during baking. This creates the signature rustic edge of the galette.
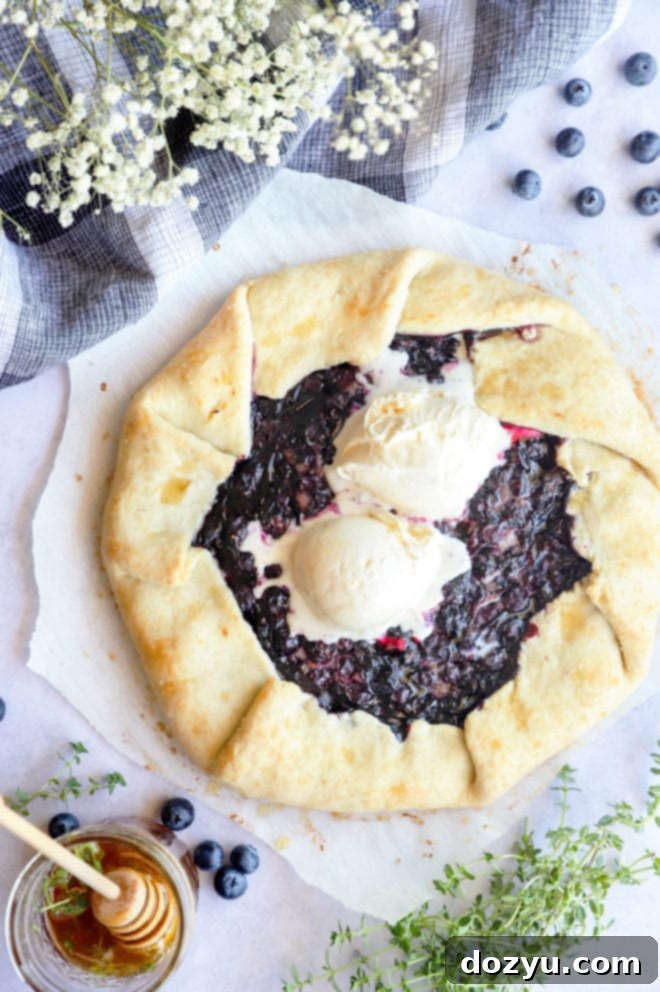
For a beautiful, golden-brown crust, brush the folded edges of the dough with melted unsalted butter. Then, generously sprinkle turbinado sugar (or raw sugar) over the buttered edges. This adds a lovely crunch and sparkling finish. Finally, bake your galette in a preheated oven at 375˚F (190˚C) for 35 to 45 minutes, or until the crust turns a rich, light golden brown and the blueberry filling is bubbly and tender. Once baked, remove the galette from the oven and let it cool on the baking sheet for about 15 minutes. This cooling time allows the filling to set properly. Before serving, drizzle generously with your homemade thyme honey, slice, and enjoy!
Expert Tips for a Perfect Blueberry Galette
Achieving a delicious, flaky blueberry galette is simpler than you might think, especially with these key tips:
- Always Use Fresh Blueberries: This is a non-negotiable for the best galette. While convenient, frozen blueberries release significantly more liquid as they bake, leading to a watery filling and a potentially soggy crust. For optimal flavor and texture, stick to fresh, ripe berries. If you absolutely must use frozen, do not thaw them first and consider tossing them with an extra tablespoon of cornstarch to absorb excess moisture.
- Don’t Skip Chilling the Dough: This step is critical for a truly flaky and tender crust. Cold butter creates pockets of steam in the oven, which results in those coveted layers. Chilling also relaxes the gluten, making the dough easier to roll out without shrinking. Ensure your dough chills for at least 30 minutes, or even longer if time permits.
- Keep Your Butter Cold: When making the dough, work quickly and use very cold butter, ideally cut into small cubes. This ensures the butter doesn’t fully incorporate into the flour, which is essential for flakiness. If your kitchen is warm, you can even chill your food processor bowl and blade before starting.
- Avoid Overworking the Dough: After the food processor, handle the dough as little as possible. Overworking the dough develops gluten, leading to a tough rather than tender crust. A few gentle kneads to form a disk are all that’s needed.
- Roll Dough on Parchment: For easier transfer and less mess, roll out your galette dough directly on a piece of parchment paper. You can then simply slide the parchment with the dough onto your baking sheet.
- Don’t Overfill: Be mindful of the amount of filling you add. Too much filling, especially one with a high liquid content, can make the crust difficult to fold and prone to leaking, resulting in a soggy bottom.
- Seal the Edges Well: When folding the dough over the filling, press the pleats firmly together. This helps create a seal that prevents the juices from leaking out and keeps your galette structurally sound.
- Brush with Melted Butter and Sugar: This step isn’t just for looks! Brushing the crust with melted butter before baking promotes a beautiful golden color, while a sprinkle of turbinado or raw sugar adds a delightful sparkle and a textural crunch.
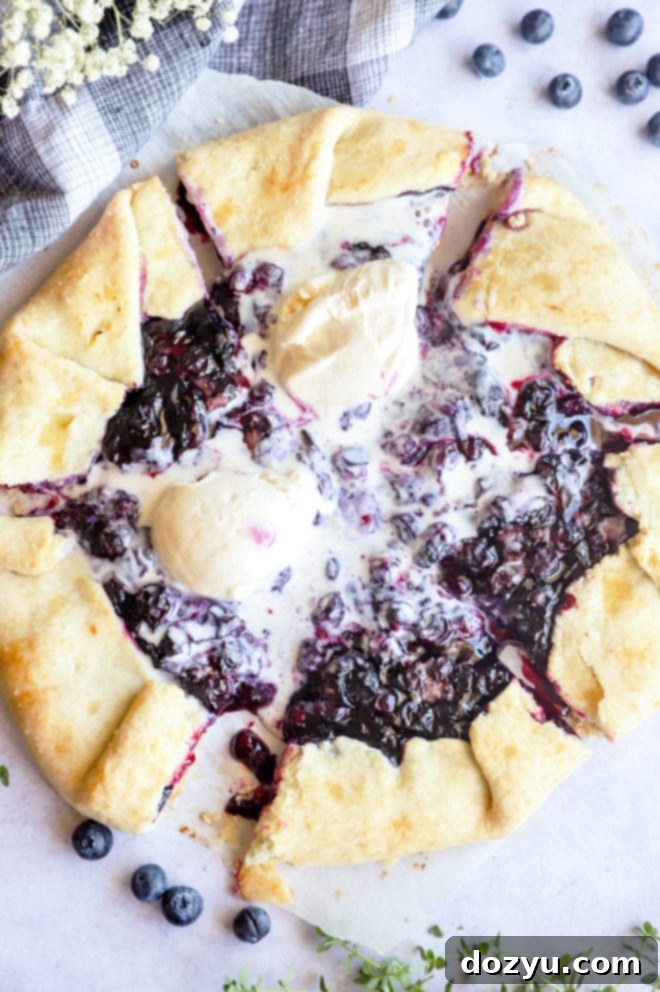
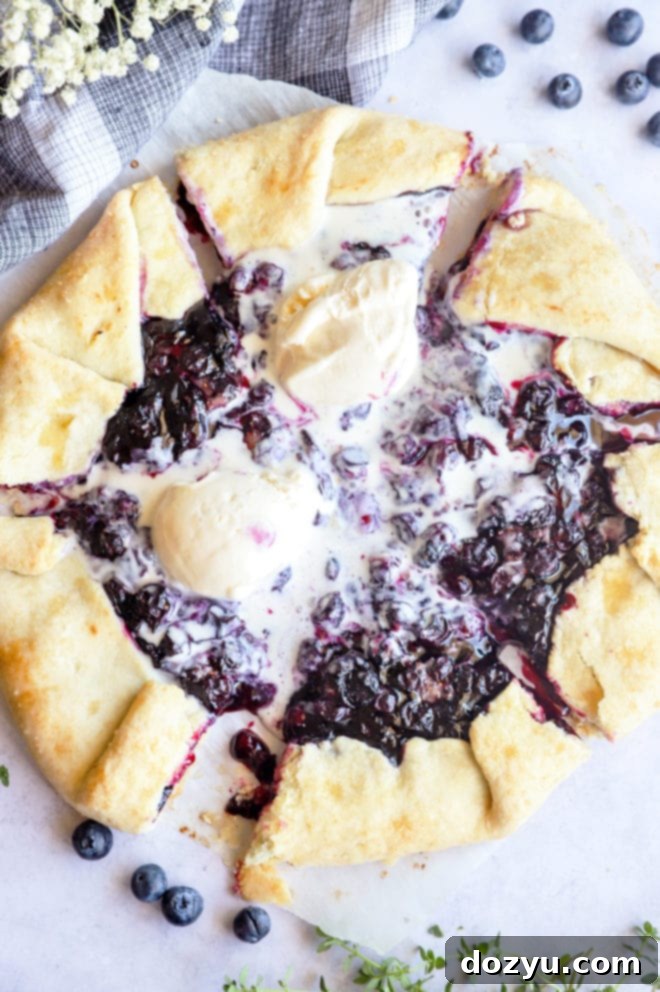
- Cool Before Slicing: Resist the urge to slice into your galette immediately after it comes out of the oven. Allowing it to cool for at least 15-20 minutes lets the filling set, preventing it from running out when cut and ensuring clean slices.
More tasty galettes to try: Brandy Cherry Galette | Raspberry Blueberry and Strawberry Galette | Bourbon Caramel Apple Galette | Whole Wheat Asiago Sweet Potato Galette
Can I Prepare the Galette Dough in Advance?
Absolutely! Preparing the dough ahead of time is a fantastic way to streamline your baking process, especially when entertaining. You can make the raw galette dough, form it into a disk, wrap it tightly in plastic wrap, and store it in the refrigerator overnight. This allows the flavors to meld and the gluten to relax even further, potentially resulting in an even more tender crust. Just remember to let it sit at room temperature for a few minutes before rolling if it’s too firm straight from the fridge.
For longer storage, the dough can also be frozen! Simply wrap the disk of dough tightly in multiple layers of plastic wrap, then place it in a freezer-safe bag. It will keep well in the freezer for up to one month. When you’re ready to use it, transfer the frozen dough to the refrigerator the night before to thaw. Once thawed, proceed with the recipe as usual.
Can Frozen Blueberries Be Used for This Galette?
While frozen fruit is a convenient option for many recipes, for this particular blueberry galette, frozen blueberries are generally not recommended. The primary reason is that frozen berries tend to release a significantly larger amount of juice when they thaw and cook. This excess moisture can easily lead to a soggy galette crust, diminishing the desired flaky texture. If a soggy bottom is what you’re trying to avoid (which is often the case with traditional pies), then using fresh blueberries is your best bet for a perfectly crisp and golden crust. If fresh blueberries are truly unavailable, and you must use frozen, do not thaw them before mixing with the other filling ingredients, and consider adding an extra tablespoon of cornstarch to absorb some of the additional liquid.
Is Galette Crust the Same as Pie Crust?
While galette dough and traditional pie crust share many similarities in ingredients (flour, butter, salt, water), they are not exactly the same, and the way they are used results in different characteristics. Galette dough is designed to be a bit more forgiving and rustic. It’s often a single crust, baked free-form on a flat baking sheet rather than inside a pie plate. This means you don’t need to worry about precise crimping or fitting the dough perfectly into a pan, which can be a major headache with traditional pie crusts. The beauty of a galette is its “imperfect” charm – cracks and uneven edges are part of its appeal, making it a much more relaxed and enjoyable baking experience. So, while you could technically use a pie crust recipe for a galette, a dedicated galette dough recipe often focuses on ease of handling and a slightly more robust texture to hold up to the free-form baking, ultimately saving you stress and ensuring a beautiful, delicious result.
Need some more inspiration for dessert? Check out my desserts recipe page!
What to Serve with Your Delicious Blueberry Galette?
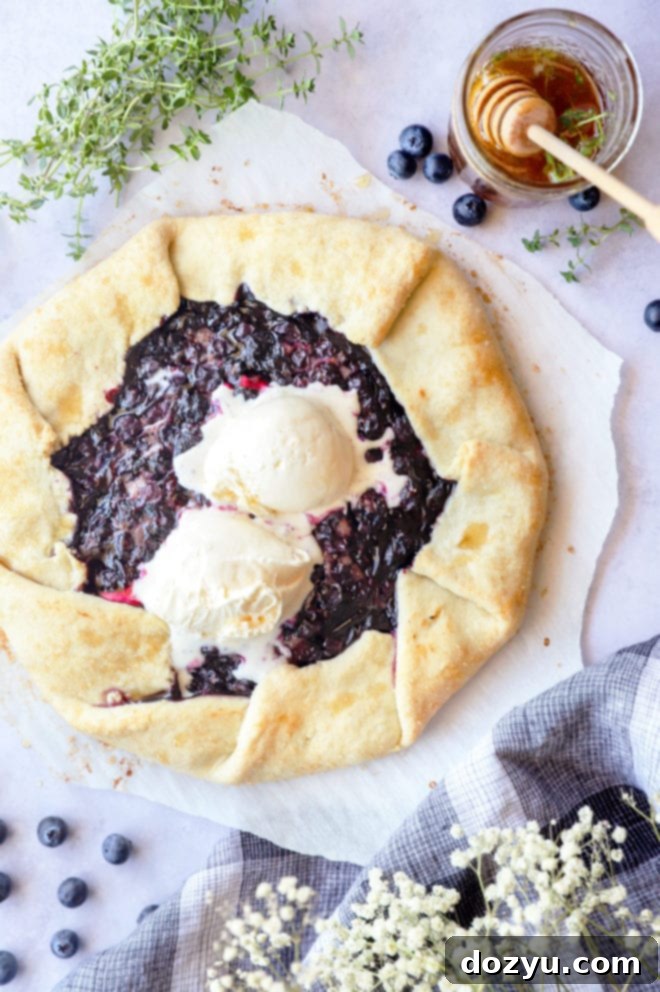
A warm slice of blueberry galette, with its sweet and tart filling and flaky crust, is truly a treat on its own. However, a few simple additions can elevate the experience even further. Personally, I find that a generous scoop of good quality vanilla bean ice cream is the absolute ideal pairing. The cold, creamy sweetness of the ice cream provides a delightful contrast to the warm, fruity galette. Alternatively, a dollop of freshly whipped cream or a spoonful of crème fraîche would also be exquisite, adding a touch of richness.
If you’re planning a summer meal and looking for main dishes to serve before this delightful dessert, here are some of my personal favorites that complement the light, fresh feel of a blueberry galette:
- Farmer’s Market Pasta: A light and fresh pasta dish that highlights seasonal vegetables.
- Salsa Jalapeno Crunch Burger: For a heartier option with a kick, this burger offers a great balance of flavors.
- Summer Corn Risotto: Creamy and savory, this risotto celebrates summer produce.
- Mojo Steak Salad with Grilled Corn: A vibrant and satisfying salad that’s perfect for a warm evening.
How to Store and Reheat Leftover Galette
If you happen to have any delicious leftover blueberry galette (a rare occurrence!), proper storage ensures you can enjoy it later. I recommend wrapping any remaining slices or the whole galette loosely in aluminum foil. This helps to protect the crust and prevent it from drying out. Store the wrapped galette in the refrigerator overnight. It will stay fresh and delicious for 2-3 days.
When you’re ready to enjoy your leftovers, reheating can bring it back to its almost-fresh-baked glory. For the best results and to restore some of that crispy crust, I suggest re-warming it in the oven. Preheat your oven to 325˚F (160˚C), place the foil-wrapped galette directly on the oven rack, and heat for about 10-15 minutes, or until warmed through. Alternatively, for a quicker option, individual slices can be reheated in the microwave. Place a single slice on a microwave-safe plate and heat for approximately 20 to 30 seconds, or until warm. While the microwave won’t crisp up the crust, it’s perfect for a quick indulgence.
Finally, if you make this blueberry galette recipe, please be sure to give this recipe a star rating on the recipe card and/or leave a comment! I love to hear when you all make recipes, and I do take the time to respond to every single comment.
Feel free to drop questions below too, if you have them!
Oh and be sure to tag me on Instagram, Facebook, or Pinterest if you make the recipe! I love being able to see these recipes come to life in your homes – it’s my favorite thing to look through those photos. It really means the world to me!
Seasonal Ingredient Spotlight: Blueberries
Blueberries are undeniably at their most delicious and sweetest in July! This is their peak season, making it the perfect time to not only bake this incredible galette but also to stock up. Consider buying extra fresh blueberries to freeze at their peak for enjoying the taste of summer even during the colder winter months. Freezing them whole on a baking sheet before transferring to a bag helps prevent clumping.
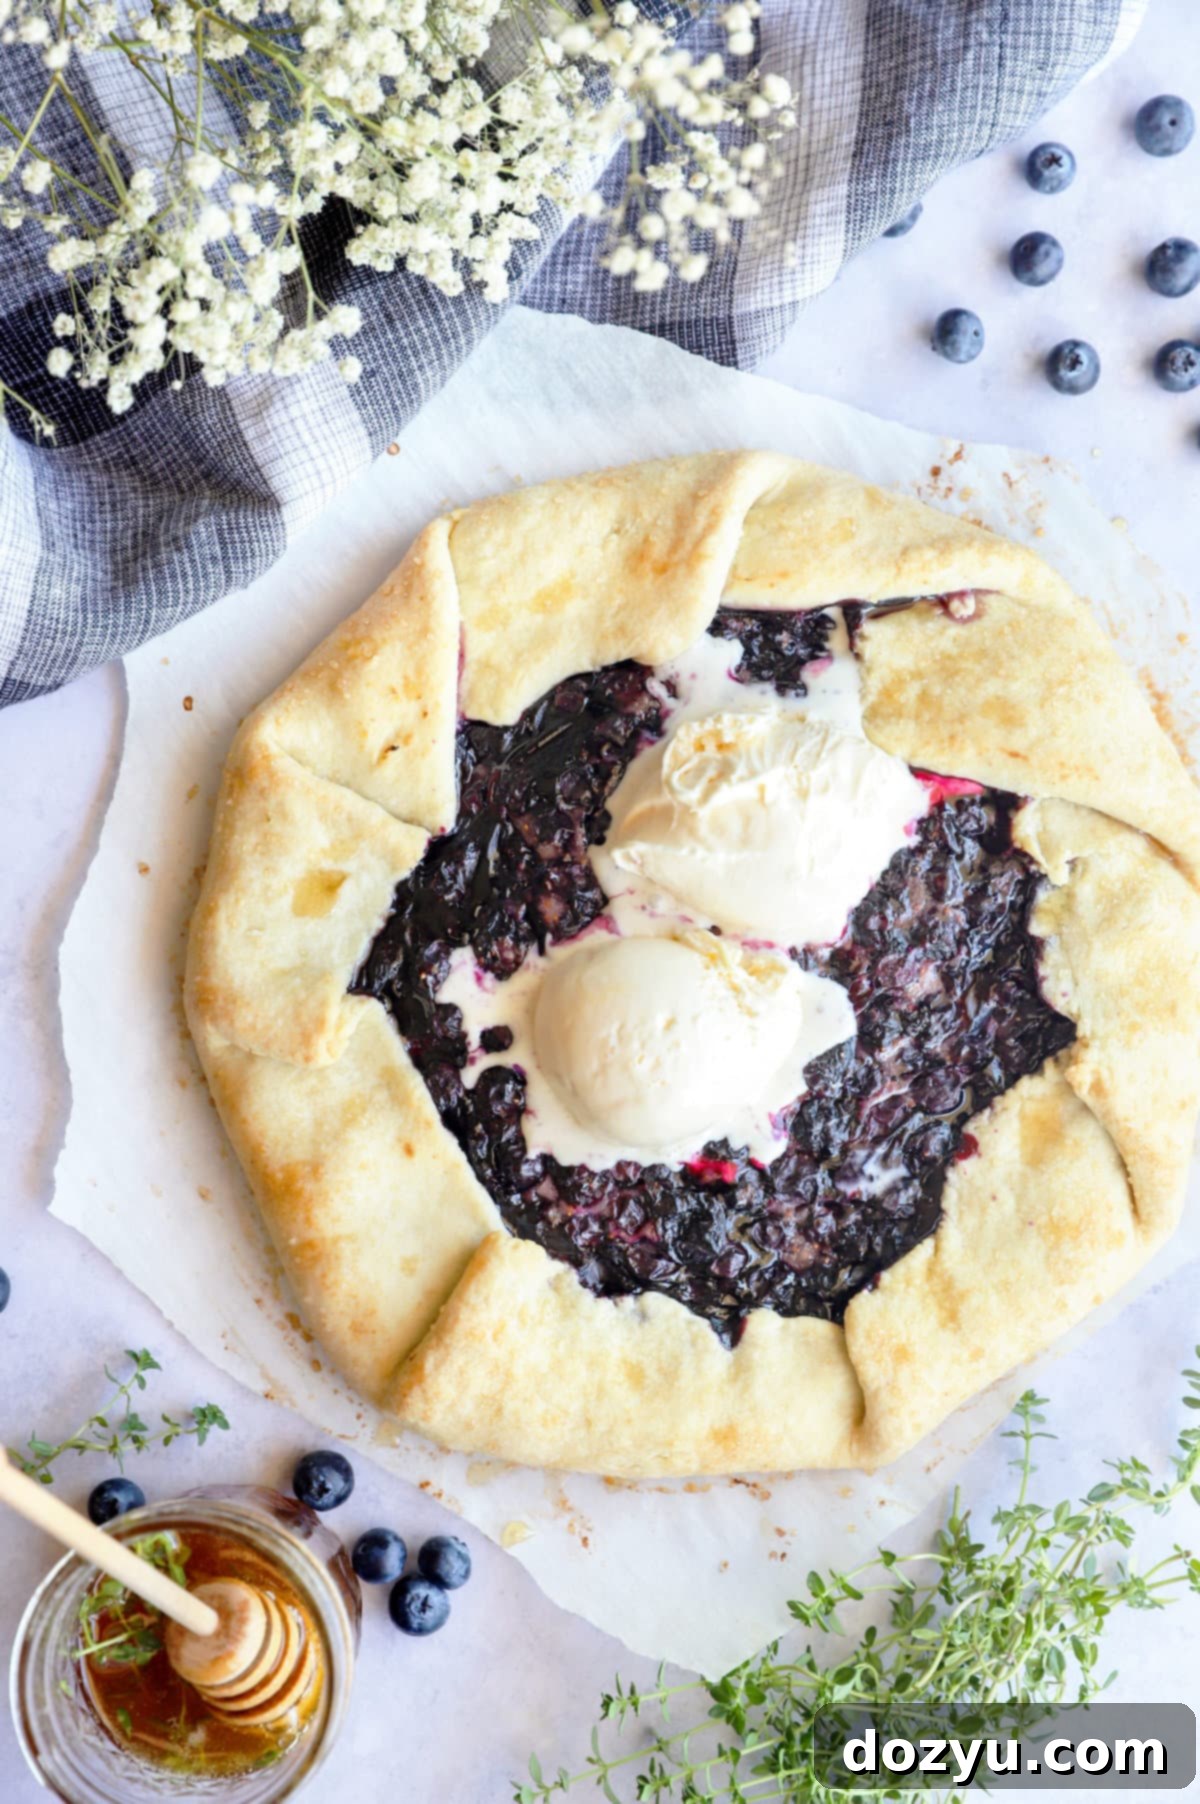
Blueberry Galette with Thyme Honey Recipe
15 minutes
45 minutes
30 minutes
1 hour
30 minutes
6
prevent your screen from going dark
Ingredients
- 8 sprigs of fresh thyme
- 1/2 cup raw honey
- 1 1/2 cups all-purpose flour
- 1 1/2 tsp granulated sugar
- 1/4 tsp fine kosher salt
- 8 Tbsp cold unsalted butter cubed into 1/2” pieces
- 1/3 cup ice water
- 3 cups fresh blueberries divided
- 2/3 cup granulated sugar
- 2 Tbsp cornstarch
- 1/8 tsp salt
- 1 tsp fresh lemon juice
- 2 Tbsp melted unsalted butter for brushing crust
- Turbinado or raw sugar for sprinkling
Instructions
-
Prepare Thyme Honey: In a small mason jar, combine the fresh thyme sprigs and raw honey. Stir well to coat the thyme and remove any air bubbles. Cover tightly and let it infuse in a warm place for at least a few hours, or preferably overnight, to develop maximum flavor.
-
Make the Galette Dough: In the bowl of a food processor, combine flour, 1½ tsp sugar, and ¼ tsp salt. Pulse a few times to mix thoroughly. Add the cold butter cubes and pulse 8 to 10 times until the mixture resembles coarse crumbs with some pea-sized pieces of butter remaining.
-
Form and Chill Dough: With the food processor running, gradually add the ice water, one tablespoon at a time, until the dough comes together and forms a ball. Be careful not to overmix. Transfer the dough onto a clean, lightly floured work surface and gently form it into a 4-inch disk. Wrap the disk tightly in plastic wrap and chill in the refrigerator for a minimum of 30 minutes, or up to overnight.
-
Preheat Oven: When ready to bake, preheat your oven to 375˚F (190˚C). Line a large baking sheet with parchment paper and set aside.
-
Prepare Blueberry Filling: In a large bowl, place 1/2 cup of the fresh blueberries and mash them gently with the back of a fork. Add the remaining whole blueberries, 2/3 cup sugar, cornstarch, 1/8 tsp salt, and lemon juice. Stir everything together until well combined.
-
Assemble Galette: On a lightly floured surface or directly on the parchment paper, roll out the chilled galette dough into a roughly 14-inch round. Carefully transfer the dough on the parchment paper to your prepared baking sheet. Spoon the blueberry filling into the center of the dough, spreading it out evenly while leaving a border of about 1 to 2 inches around the edges.
-
Fold and Finish: Fold the edges of the dough up and over the filling, pleating the dough evenly as you work your way around the circle. Press the folds together gently to seal them well. Brush the exposed dough edges with the melted unsalted butter and generously sprinkle with turbinado or raw sugar for a sparkling finish.
-
Bake and Serve: Bake for 35 to 45 minutes, or until the galette crust is golden brown and the filling is bubbly. Remove from the oven and let it cool on the baking sheet for about 15 minutes to allow the filling to set. Drizzle with your prepared thyme honey, slice, and serve warm.
Nutrition
Calories:
510
kcal
|
Carbohydrates:
84
g
|
Protein:
4
g
|
Fat:
20
g
|
Saturated Fat:
12
g
|
Polyunsaturated Fat:
1
g
|
Monounsaturated Fat:
5
g
|
Trans Fat:
1
g
|
Cholesterol:
50
mg
|
Sodium:
152
mg
|
Potassium:
120
mg
|
Fiber:
3
g
|
Sugar:
54
g
|
Vitamin A:
686
IU
|
Vitamin C:
10
mg
|
Calcium:
23
mg
|
Iron:
2
mg
510
kcal
American
Dessert
