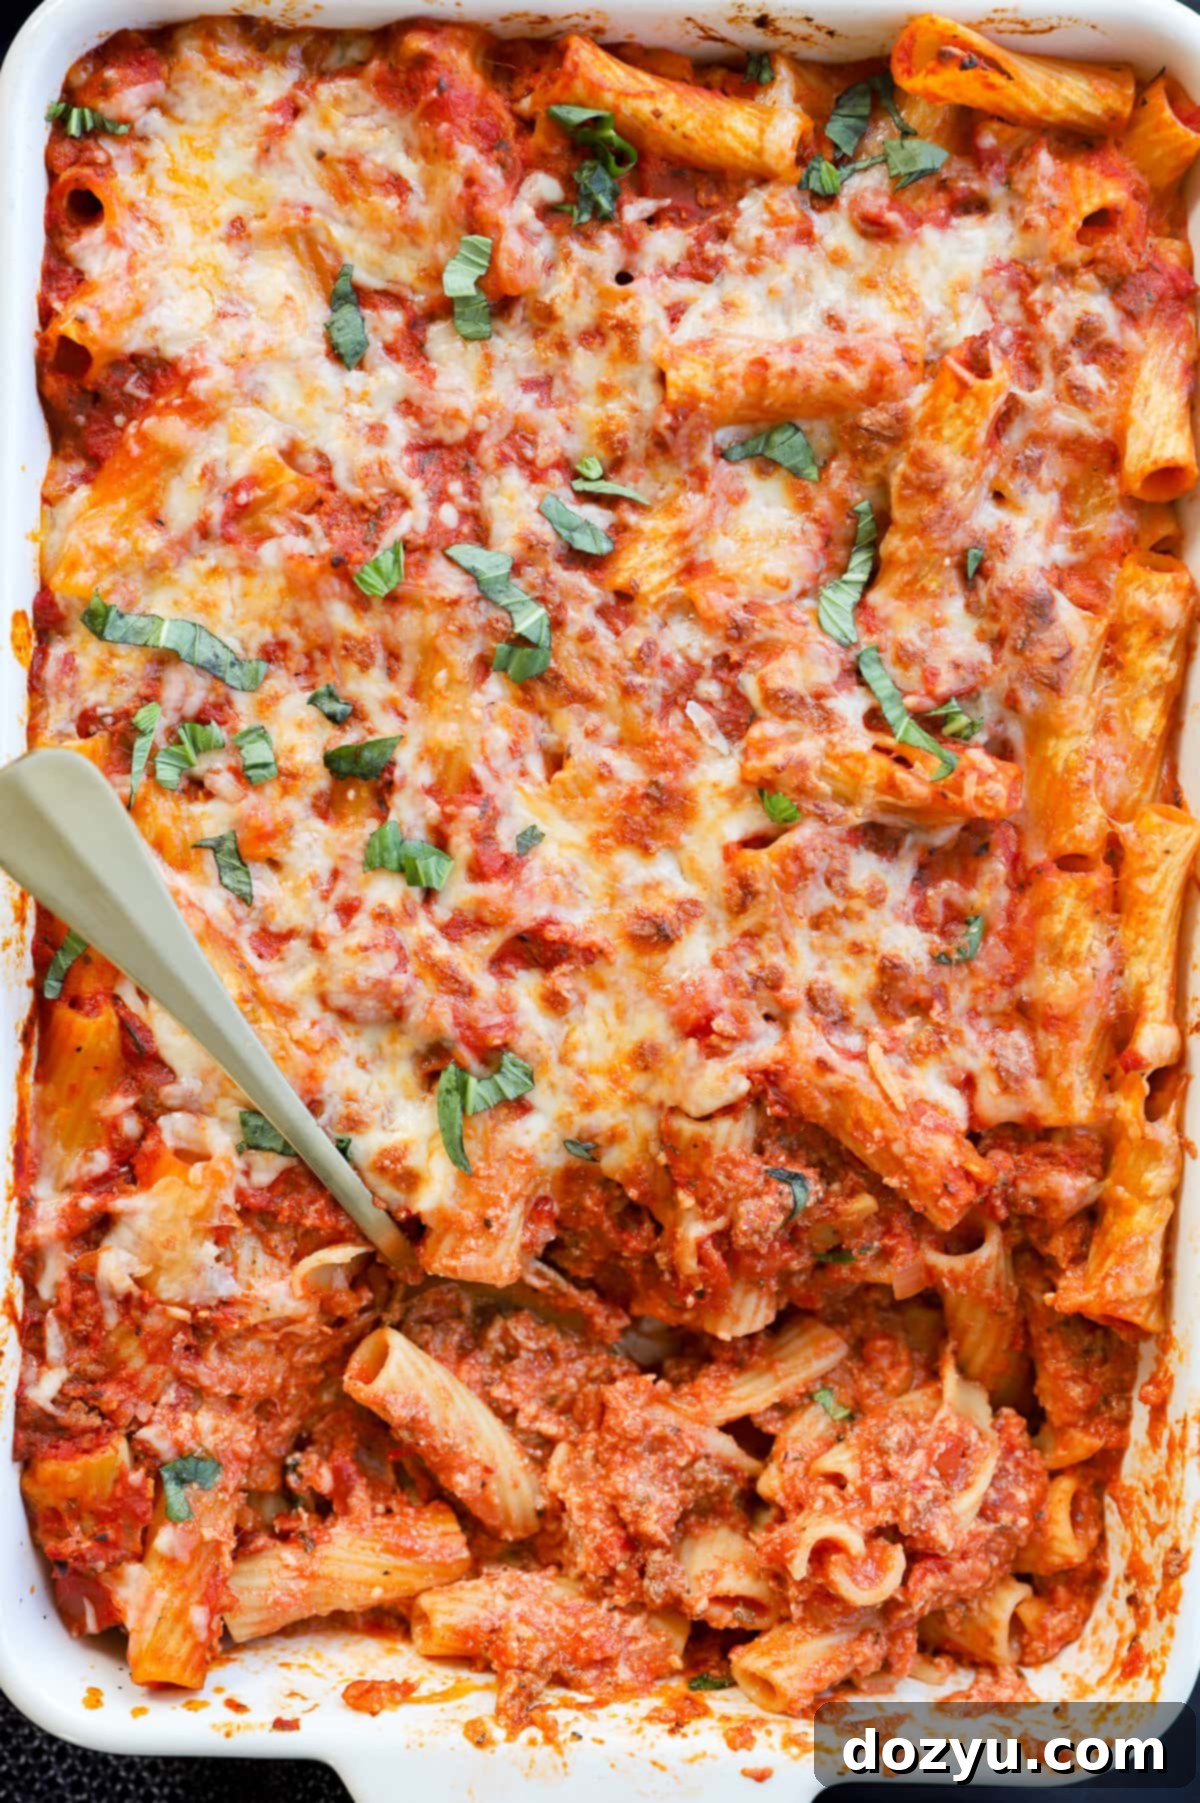
Classic Rigatoni al Forno: The Ultimate Cheesy Baked Pasta with Rich Meat Sauce
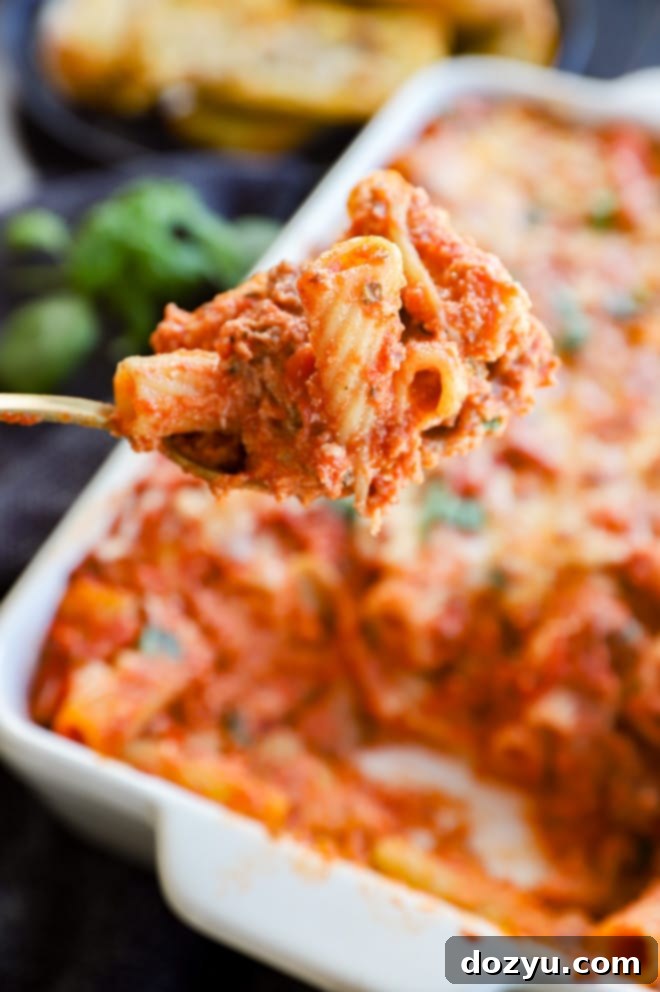
Rigatoni al Forno, often known as baked rigatoni, stands as the quintessential Italian comfort food. This hearty dish features a robust, homemade meat sauce, perfectly cooked rigatoni pasta, and an abundance of gooey, melted cheese, all baked until golden brown and irresistibly bubbling. It’s a remarkably easy-to-follow recipe that effortlessly feeds a large gathering and can be prepared in advance, making it perfect for family dinners or entertaining guests.
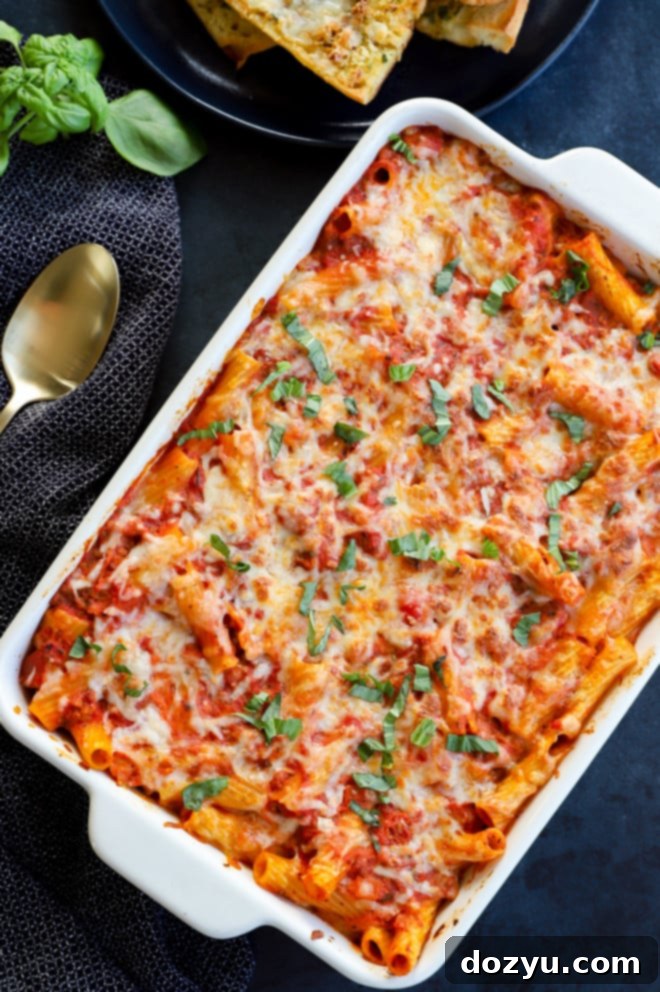
table of contents
Toggle
About This Rigatoni al Forno Recipe
Who can resist a rich, cheesy, and meaty pasta dish, especially when the weather turns chilly? This classic Italian baked pasta is more than just a meal; it’s an experience. It evokes memories of warm, lively dinner tables, shared laughter, and deeply satisfied appetites. There’s an undeniable charm and comforting allure to traditional Italian pasta recipes that makes them perpetual favorites.
Our Rigatoni al Forno recipe brings together a rich, flavorful homemade tomato sauce, hearty rigatoni pasta, and a generous blend of cheeses, all baked to golden perfection. This creates a dish so inviting and delicious, it will instantly become a centerpiece for any family meal or gathering. It’s the kind of dish that nourishes both body and soul, leaving everyone feeling happy and full.
You’ll discover numerous reasons to fall in love with this particular recipe:
- **Unmatched Flavor Profile:** Experience a deep, bold flavor thanks to the perfect combination of lean ground beef and savory ground pork. This blend creates a sauce that is rich and complex.
- **Simplified Preparation:** We’ve streamlined the classic approach by omitting the traditional béchamel sauce, opting instead for the creamy richness of ricotta and abundant shredded mozzarella cheese. This simplification makes the dish more accessible without compromising on taste or texture.
- **Convenient Make-Ahead Option:** This recipe is incredibly freezer-friendly! You can easily prepare it ahead of time and store it in the freezer for up to two months, making it ideal for busy weeknights or unexpected guests.
- **Feeds a Crowd Effortlessly:** Designed to serve a generous portion, this baked rigatoni is perfect for family dinners, potlucks, or any occasion where you need to feed many hungry people without stress.
Everyday Seasonal Cookbook
Unlock the secrets to fresh, flavorful cooking all year round with our Everyday Seasonal Cookbook. Packed with seasonal produce guides, inspiring recipes, and practical tips, this cookbook will help you create delightful meals for every occasion. Discover how to make the most of nature’s bounty and bring delicious, seasonal food to your table.
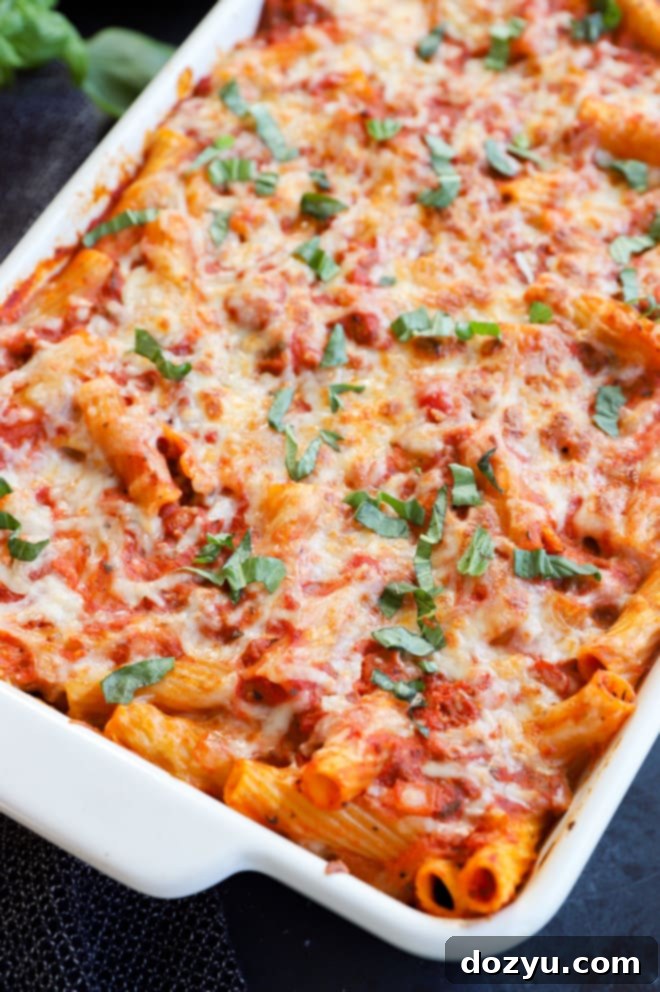
What Does Al Forno Style Mean?
The Italian term “al forno” directly translates to “to the oven.” This means that any dish prepared “al forno” is intended to be baked in an oven, resulting in a wonderfully crispy top layer and a perfectly cooked interior. Many beloved Italian pasta dishes, such as lasagna, are prepared in this style.
Therefore, “Rigatoni al Forno” literally signifies “baked rigatoni.” This baking process is key to creating that irresistible golden-brown, bubbly cheese crust and ensuring all the rich flavors of the sauce and pasta meld together beautifully. It’s what transforms a simple pasta dish into an extraordinary comforting experience.
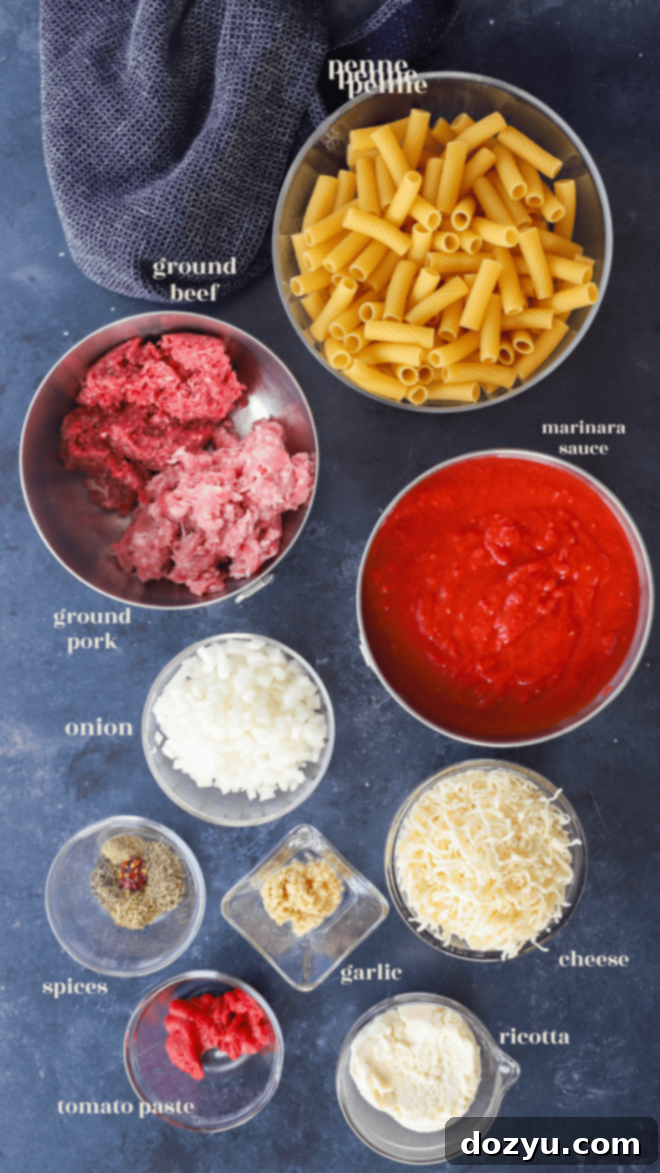
Essential Ingredients for Rigatoni al Forno
Crafting the perfect Rigatoni al Forno begins with selecting high-quality ingredients. Here’s a detailed look at what you’ll need to create this comforting Italian masterpiece:
- Onion: A small yellow onion is our preferred choice for its sweet and pungent flavor, which forms a crucial aromatic base for the sauce. However, a white onion can be used as a suitable substitute if yellow is unavailable. Finely dicing the onion ensures it softens and melds seamlessly into the sauce.
- Meat: For the most exquisite flavor and texture in your sauce, we highly recommend a combination of lean ground beef (preferably 80/20 or 85/15 for a good balance of flavor and less grease) and rich ground pork. This duo creates a deeply savory and satisfying ragu. If preferred, you can use all ground beef, or lighter alternatives like ground chicken or ground turkey for a leaner option. For an extra kick, try incorporating spicy Italian sausage, removed from its casing.
- Garlic: Minced garlic is essential for that authentic Italian aroma and taste. While pre-minced garlic in a jar is convenient and perfectly acceptable, mincing fresh cloves by hand will always offer a more intense and vibrant flavor. Aim for about four cloves, or roughly two tablespoons if using pre-minced.
- Dried Herbs: A thoughtful blend of dried herbs elevates the flavor of the sauce. You’ll need dried basil, dried oregano, dried thyme, and a touch of ground sage. These herbs work in harmony to create the classic, herbaceous notes characteristic of Italian cooking.
- Spices: For a subtle warmth and a hint of zing, red pepper flakes are a must. Adjust the quantity to your preference – a pinch adds depth, while more will introduce a noticeable heat. Throughout the cooking process, don’t forget to season generously with kosher salt and freshly cracked black pepper. Regular tasting and adjusting will ensure your sauce is perfectly balanced.
- Tomatoes: The heart of any great Italian red sauce is quality tomatoes. We strongly advocate for using crushed San Marzano tomatoes. These tomatoes are renowned for their sweet, balanced flavor and lower acidity, making them ideal for a rich, well-rounded marinara sauce.
- Sugar: A small amount of granulated sugar helps to balance the acidity of the tomatoes, creating a smoother, more palatable sauce without making it sweet. It simply rounds out the flavors.
- Rigatoni: As the name suggests, rigatoni is the star pasta here. Its large, ridged, tube-like shape is perfect for catching and holding onto the robust meat sauce and gooey cheese. If rigatoni isn’t available, other large, tube-shaped pastas like ziti are excellent alternatives. Penne can also work in a pinch, but rigatoni or ziti are preferred for their superior sauce-holding capabilities.
- Cheese: This recipe calls for a generous combination of creamy ricotta cheese and shredded mozzarella cheese. Ricotta adds a wonderful richness and smooth texture to the pasta mixture, while mozzarella provides that classic melty, stretchy, golden crust when baked.
- Basil: To finish this magnificent dish, a generous sprinkle of freshly chopped basil leaves is indispensable. Added after baking, the fresh basil brings a vibrant, aromatic freshness that beautifully complements the rich, savory flavors of the baked pasta.
Kitchen Must-Haves for This Recipe
To prepare this delectable Rigatoni al Forno, you’ll need a few essential kitchen tools:
- **Two Large Pots or Dutch Ovens:** One for simmering the rich meat sauce and another equally large one for cooking the rigatoni pasta to perfection. A Dutch oven is particularly excellent for the sauce due to its even heat distribution.
- **Wooden Spoons:** Keep one or two sturdy wooden spoons handy for stirring the sauce, breaking up the meat, and gently mixing the pasta with the sauce and cheeses without damaging the pasta.
- **9×13-inch Baking Pan:** This standard-sized pan is crucial for assembling and baking your rigatoni al forno, providing ample space for all the delicious layers to meld together.
Step-by-Step Guide to Making Rigatoni al Forno
Follow these detailed steps to create a show-stopping Rigatoni al Forno that will impress everyone at your table:
Prepare the Rich Meat Sauce
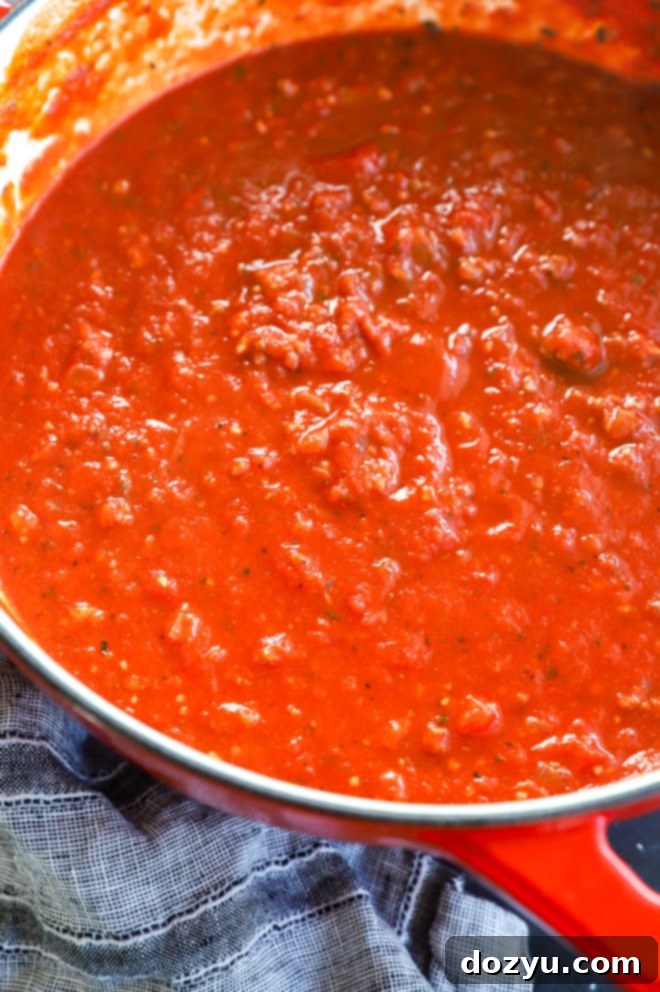
Begin by heating one tablespoon of extra virgin olive oil in a large pot or Dutch oven over medium-high heat. Once the oil shimmers, add the diced small yellow onion. Cook, stirring occasionally, for about 2 to 3 minutes until the onion softens and becomes translucent, releasing its fragrant aroma. Next, add the ground beef and ground pork to the pot. Lightly season the meat with a generous pinch of kosher salt and freshly cracked black pepper. Using your spoon, break up the meat into small crumbles as it cooks. Continue to cook for 3 to 4 minutes until the meat is almost fully browned. There’s no need to drain any fat; it adds to the flavor.
Once the meat is mostly cooked, stir in the two tablespoons of tomato paste, four cloves of minced garlic, dried basil, dried oregano, dried thyme, ground sage, and a pinch of red pepper flakes. Cook for another minute or two, stirring constantly, until the ingredients become wonderfully fragrant. This step allows the tomato paste to caramelize slightly and the aromatics to bloom, deepening the sauce’s flavor.
Simmer for Deeper Flavor
Pour in the two 28-ounce cans of crushed San Marzano tomatoes and sprinkle in the 1/4 teaspoon of white granulated sugar. Using your spoon, gently scrape up any browned bits that may have stuck to the bottom of the pan; these are packed with flavor! Bring the sauce to a gentle simmer, then reduce the heat to low. Allow the sauce to simmer, uncovered, for at least 15 minutes, and ideally up to 30 minutes. The longer it simmers, the more the flavors will meld and deepen, creating a truly exceptional meat sauce. Stir occasionally to prevent sticking.
Cook the Rigatoni to Perfection
While your rich meat sauce is simmering, bring a separate large pot of generously salted water to a rolling boil. Preheat your oven to 350°F (175°C) and lightly grease a 9×13-inch baking dish with cooking spray, setting it aside. Add the 1 pound of rigatoni pasta to the boiling water and cook for approximately 2 minutes less than the time recommended on the package instructions. This ensures the pasta remains al dente and can absorb more sauce without becoming mushy during the baking process. Drain the pasta thoroughly and return it to the same pot it was cooked in.
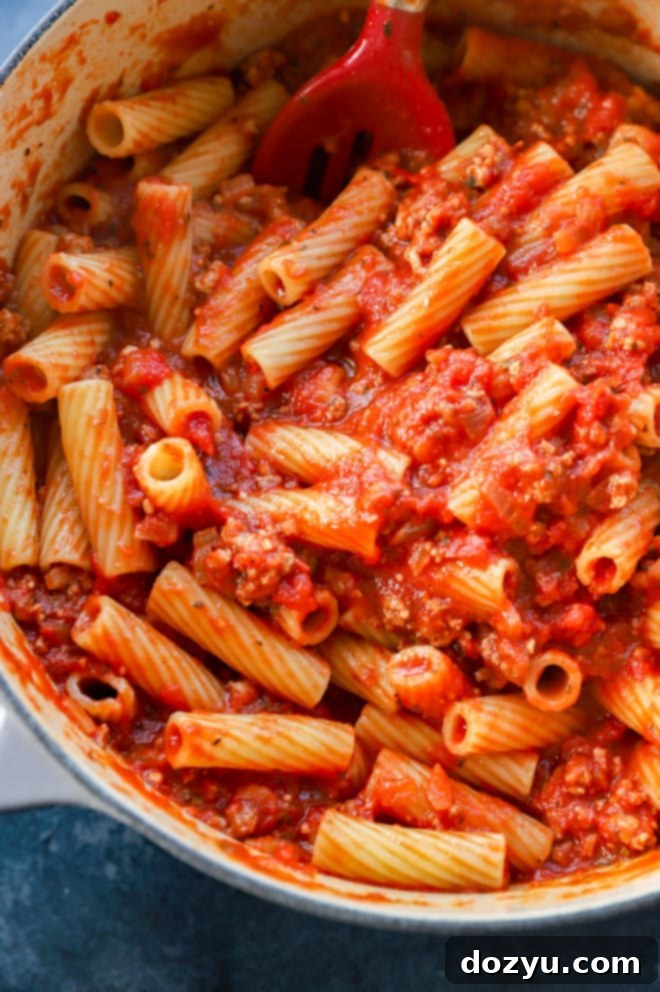
Carefully pour the fragrant meat sauce directly into the pot with the drained pasta. Stir gently but thoroughly to ensure every piece of rigatoni is generously coated in the rich sauce. Then, add the 1/2 cup of creamy ricotta cheese and 3 cups of shredded mozzarella cheese. Fold everything together until the cheeses are evenly distributed throughout the pasta and sauce mixture. This creates a wonderfully cohesive and cheesy base for your baked dish.
Assemble Your Baked Pasta
Transfer the entire pasta mixture into the prepared 9×13-inch baking pan. Spread it out evenly to create a uniform layer. This ensures consistent cooking and a beautiful presentation. Finally, sprinkle the remaining 1/3 cup of shredded mozzarella cheese evenly over the top of the pasta. This top layer of cheese will melt and become wonderfully golden and bubbly during baking.
Bake Until Golden and Bubbly
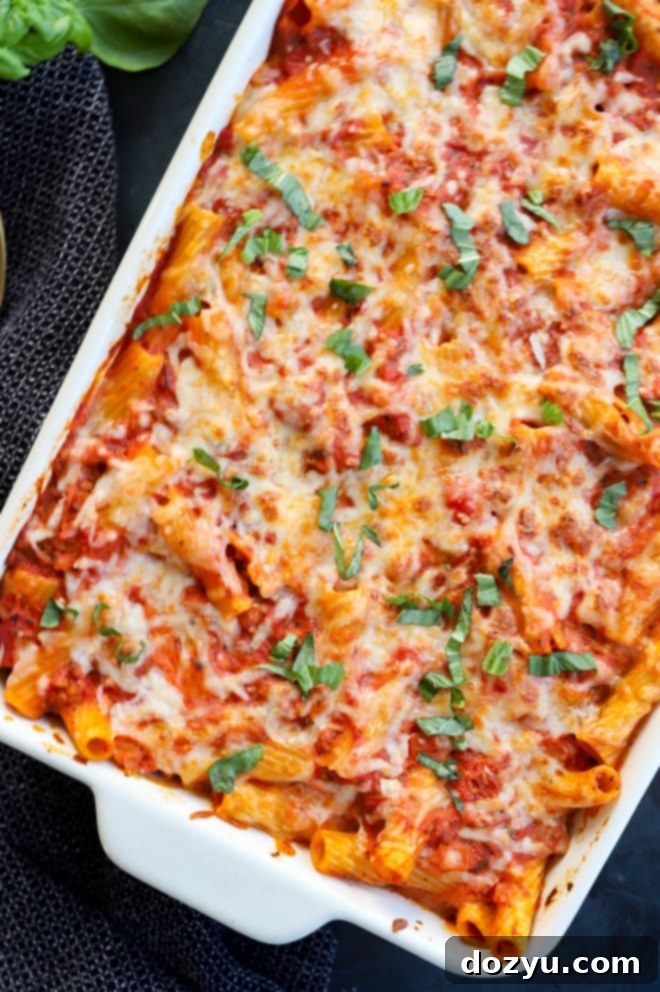
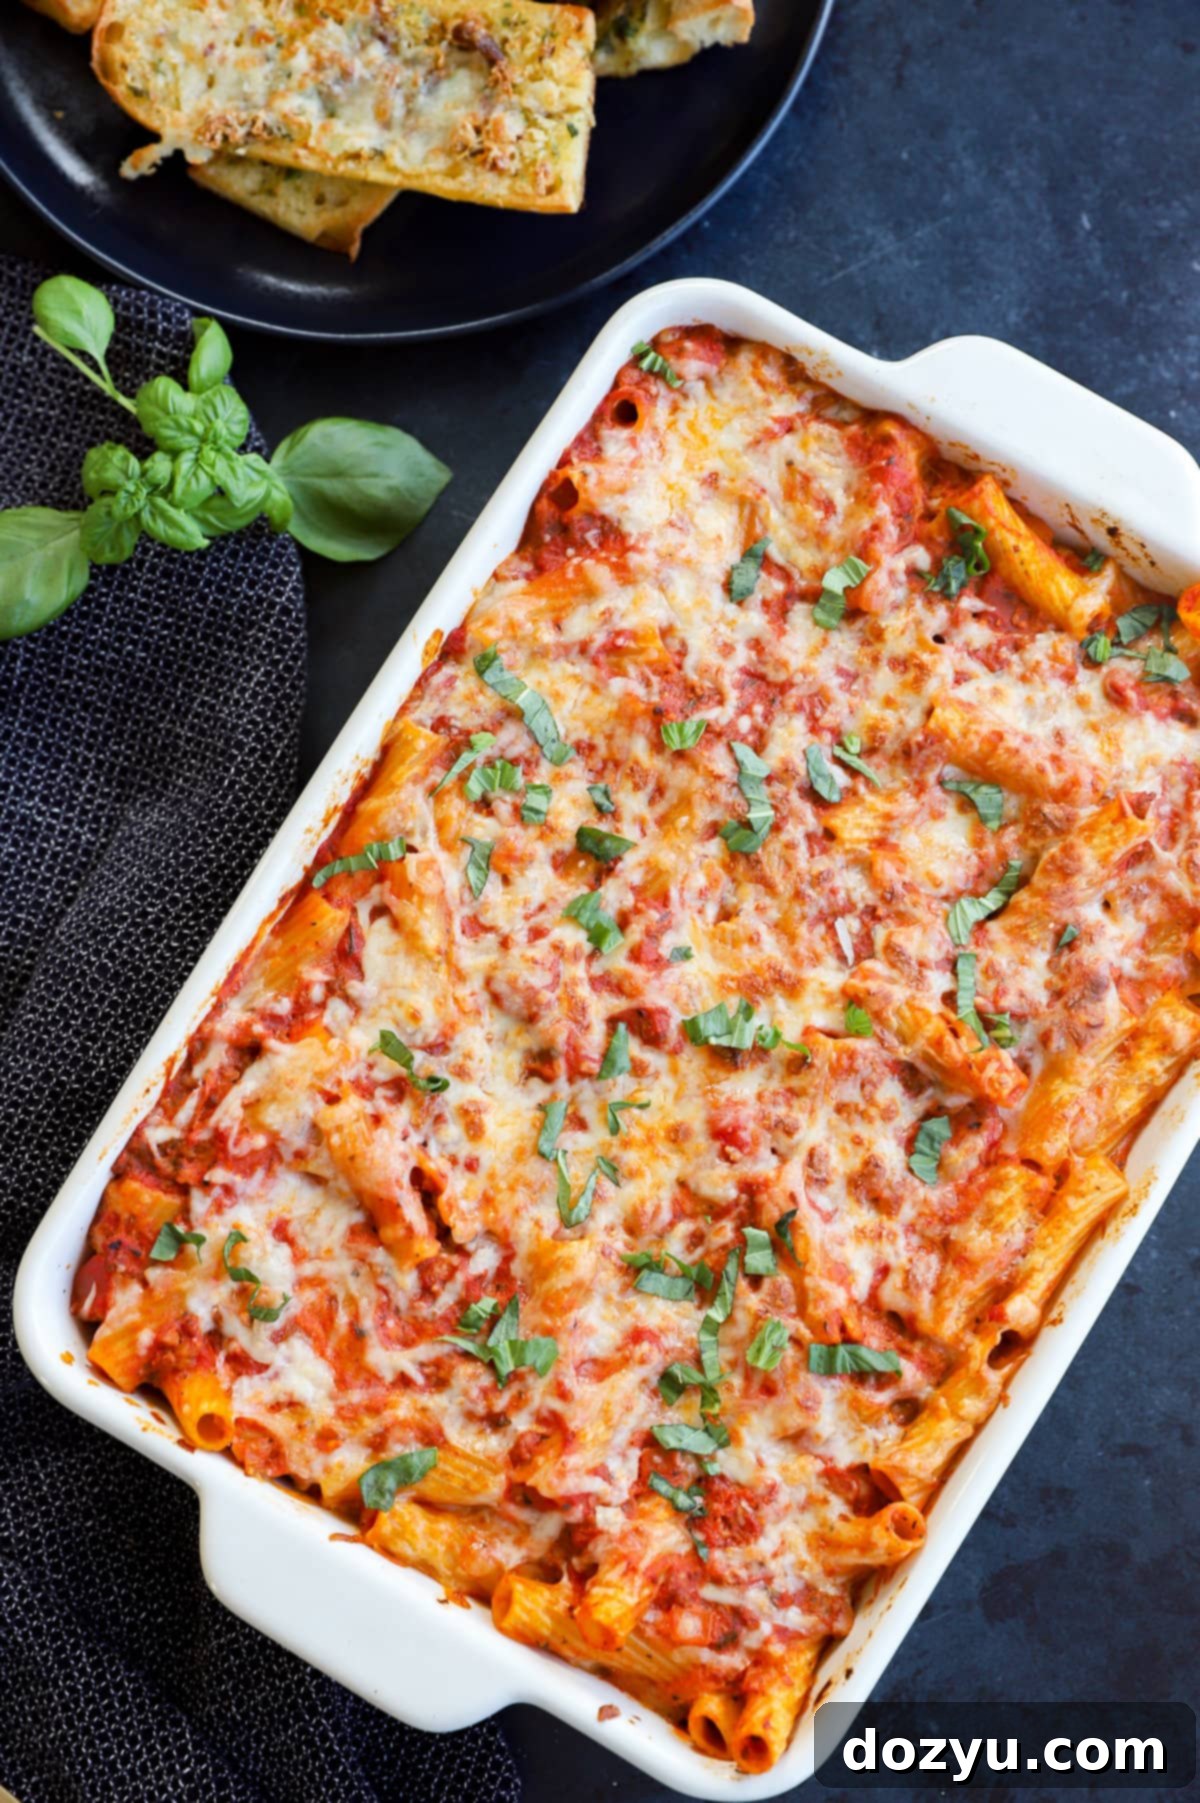
Place the assembled rigatoni al forno into your preheated oven. Bake for approximately 30 minutes, or until the top layer of mozzarella cheese is beautifully melted and golden brown, and the rich sauce is bubbling invitingly around the edges of the pan. The aromas filling your kitchen will be incredible!
Once baked, remove the pan from the oven and let it cool for about 10 minutes before serving. This resting period allows the cheese and sauce to set slightly, making it easier to portion and preventing it from being too runny. Just before serving, garnish generously with freshly chopped basil leaves for a burst of fresh flavor and vibrant color.
Expert Tips for the Best Rigatoni al Forno
To ensure your Rigatoni al Forno is truly exceptional every time, keep these expert tips in mind:
- Use Two Types of Meat: As mentioned in the ingredients, combining lean ground beef with ground pork or Italian sausage is key. This blend provides a depth of flavor and a richness that a single type of meat often can’t achieve on its own, creating a more complex and satisfying sauce.
- Prioritize Sauce Simmering Time: Don’t rush the sauce! Allowing it to simmer for at least 15 minutes, and preferably up to 30 minutes, is crucial. This low and slow cooking process enables the flavors to fully meld, intensify, and develop. The longer it simmers, the more robust and delicious your sauce will be.
- Taste and Season Continuously: Seasoning is a continuous process in Italian cooking. Regularly taste your sauce as it simmers and adjust with salt and pepper as needed. Pay attention to the balance of flavors; sometimes a little more salt can make all the difference. This proactive approach ensures the best possible end result, yielding a rigatoni that is perfectly seasoned and bursting with flavor.
- Cook Pasta Al Dente: Since the pasta will continue to cook in the oven, it’s vital to cook it al dente – meaning firm to the bite – in the boiling water. Cook it 2-3 minutes less than the package instructions suggest. This prevents the rigatoni from becoming mushy and ensures it holds its shape and texture during baking.
- Freshly Grated Cheese is Best: While pre-shredded mozzarella is convenient, freshly grating your own cheese will always melt smoother and taste better. Pre-shredded varieties often contain anti-caking agents that can slightly alter the texture.
- Don’t Skimp on the Basil: Fresh basil added at the end is more than just a garnish; its aromatic punch brightens the entire dish and provides a lovely contrast to the rich sauce and cheese.
More tasty Italian pasta recipes: Pasta Napolitana | Roasted Lemon Garlic Shrimp Pasta | Instant Pot Bolognese | Lemon Ricotta Pasta
Is Pasta al Forno the Same as Lasagna?
While both pasta al forno and lasagna are beloved Italian baked pasta dishes, and indeed, lasagna is technically a type of pasta al forno (meaning “oven-baked pasta”), they are distinct dishes with key differences. The most significant distinction lies in the composition and texture.
Traditional lasagna typically features alternating layers of pasta sheets, a rich meat ragù (often similar to the sauce used here), and a creamy béchamel sauce, which provides a smooth, unctuous element throughout the dish. This béchamel sauce is a hallmark of classic lasagna.
In contrast, this Rigatoni al Forno recipe, while equally comforting and delicious, skips the béchamel. Instead, it relies on the creamy ricotta and abundant shredded mozzarella cheese mixed directly into the rigatoni and meat sauce. This creates a more cohesive, less layered, and wonderfully cheesy consistency, distinct from the stacked layers of a traditional lasagna. Both are fantastic in their own right, but they offer different culinary experiences.
Can Rigatoni al Forno Be Frozen?
Absolutely, this rigatoni al forno is an excellent candidate for freezing, especially if you want to prepare meals in advance. You can freeze the entire assembled dish *before* baking. To do this, simply prepare the rigatoni al forno up to the point where it’s ready to go into the oven. Then, cover the baking dish tightly with a layer of plastic wrap, followed by a layer of heavy-duty aluminum foil. This double-layer protection helps prevent freezer burn. Once properly wrapped, store it in the freezer for up to two months.
When you’re ready to enjoy it, transfer the frozen dish to the refrigerator and allow it to thaw for a full 24 hours. Once thawed, remove the plastic wrap and foil (or keep the foil on if you prefer a softer top), and bake as instructed in the recipe card until hot and bubbly.
Can You Make Rigatoni al Forno Ahead of Time?
Yes, preparing rigatoni al forno ahead of time is one of its greatest advantages, making it an ideal dish for meal prep or entertaining. You have a few convenient options for preparing it in advance:
- Prepare the Sauce Ahead: You can make the rich meat sauce completely ahead of time. Once cooked, allow it to cool, then transfer it to an airtight container. It will keep beautifully in the refrigerator for up to 3 days, or you can freeze it for up to 2 months. When you’re ready to bake, simply cook the pasta, combine it with the thawed or refrigerated sauce, and follow the remaining assembly and baking instructions.
- Assemble the Entire Dish Ahead: For maximum convenience, you can assemble the entire rigatoni al forno dish up to the point of baking. Cover the baking dish tightly with plastic wrap and store it in the refrigerator for up to 2 days. When it’s time to cook, remove it from the fridge about 30 minutes before baking to bring it closer to room temperature, then bake as directed. Alternatively, as mentioned above, you can wrap and freeze the assembled, unbaked dish for up to 2 months. Just remember to thaw it in the refrigerator before baking.
How Do You Know When Rigatoni al Forno Is Done Cooking?
Knowing when your Rigatoni al Forno is perfectly cooked is quite simple and relies on visual cues. The key indicators that it’s ready to be pulled from the oven are:
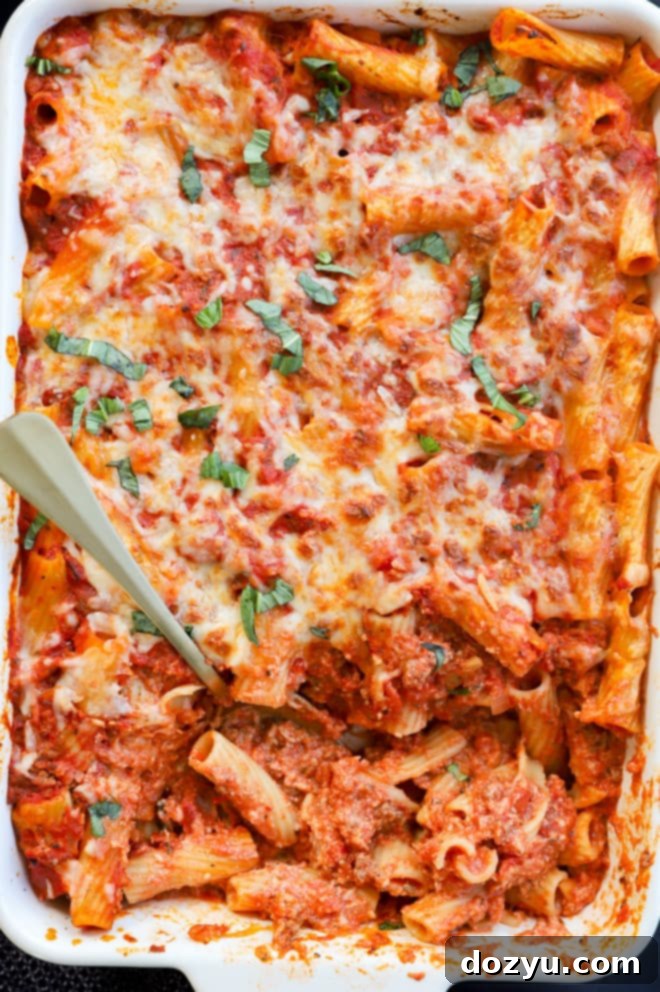
- Golden, Bubbly Cheese: The top layer of mozzarella cheese should be completely melted, gloriously golden brown, and delightfully bubbly. Some of the cheese might even develop slightly crispy edges, adding to the delicious texture.
- Sauce Bubbling on the Sides: You should see the rich meat sauce actively bubbling around the edges of the baking dish. This indicates that the entire dish is heated through and the flavors have properly melded together.
Once you observe these signs, your baked rigatoni is ready to be removed and rested before serving. The internal temperature should be piping hot and safe to eat.
Why Is My Rigatoni Breaking?
If you find your rigatoni pasta breaking apart, particularly when mixing or serving, it’s almost always a sign that it was overcooked in the boiling water. While it’s not the end of the world for a baked pasta dish, as some breakage is natural during serving, you can prevent excessive crumbling by cooking the pasta al dente. This means cooking it until it’s firm to the bite, with a slight resistance in the center.
For baked pasta recipes like Rigatoni al Forno, it’s crucial to undercook the pasta slightly in the initial boiling stage because it will continue to cook and absorb moisture in the oven. Aim to cook your noodles 2 to 3 minutes less than the minimum time suggested on the package instructions. This ensures the pasta retains its structure and a pleasant chewiness, even after its second round of cooking in the oven.
Need more inspiration for dinner? Check out my main dishes recipe page!
What to Serve with Rigatoni al Forno
Rigatoni al Forno is a truly hearty and satisfying meal on its own, so you don’t need to overcomplicate your side dishes. The goal is to complement its richness, not overpower it. Here are some excellent serving suggestions:
- Fresh Salad: A simple, crisp green salad with a bright, tangy vinaigrette (perhaps a lemon-herb or balsamic dressing) provides a refreshing counterpoint to the rich pasta. It adds a welcome freshness and helps cleanse the palate.
- Garlic Bread: You can never go wrong with warm, crusty bread for dipping into that incredible cheesy sauce! Consider serving slices of toasted overnight no-knead bread or flavorful air fryer garlic bread. The savory bread is perfect for soaking up every last drop of the delicious sauce.
- Extra Cheese and Fresh Herbs: Offer a bowl of freshly grated Parmesan cheese or Pecorino Romano at the table for guests to sprinkle over their individual portions. A handful of extra chopped fresh basil leaves will also add a lovely pop of color and herbaceous aroma.
- Wine Pairing: A medium-bodied red wine, such as a Chianti, Sangiovese, or a robust Merlot, would pair beautifully with the rich meat sauce. For white wine lovers, a dry Pinot Grigio or a crisp Sauvignon Blanc could offer a nice contrast.
- Dessert (Especially for Holidays): If you’re serving this during the holiday season or for a special occasion, round off the meal with a delightful dessert. A plate of festive Christmas cookies or a slice of Italian tiramisu would be a perfect ending.
How to Store, Reheat, and Freeze Rigatoni al Forno
This baked pasta dish is fantastic for leftovers and meal prepping. Here’s how to properly store, reheat, and freeze your Rigatoni al Forno:
- To Store: Allow any leftover rigatoni al forno to cool completely to room temperature. You can then cover the entire baking pan tightly with plastic wrap or transfer individual portions to airtight containers. Store in the refrigerator for up to 2 to 3 days. While an airtight container works well for individual servings, keeping it in the original baking pan can often make reheating easier. If you prepared the meat sauce separately in advance, it can also be stored in an airtight container in the fridge for up to 3 days.
- To Reheat: For reheating a large portion in the baking dish, cover it loosely with foil to prevent drying out and bake in a preheated oven at 350°F (175°C) for about 10-15 minutes, or until heated through and bubbling. If reheating individual portions, the microwave is a quick and convenient option. Heat on high power for a few minutes, stirring halfway, until piping hot.
- To Freeze: Both the sauce and the assembled, unbaked dish can be frozen.
- Freezing the Sauce: The cooked meat sauce can be frozen separately in an airtight container for up to 2 months. This is perfect for quick future meals.
- Freezing the Assembled Dish (Unbaked): If you want to freeze the entire rigatoni al forno before baking, assemble it in your baking dish, then wrap the dish securely with a layer of plastic wrap, followed by a layer of heavy-duty aluminum foil. Label with the date. It can be stored in the freezer for up to 2 months.
- To Thaw: Whether you’re thawing just the sauce or the entire prepared baked dish, always defrost it in the refrigerator. Transfer it from the freezer to the fridge at least 24 hours before you plan to use or bake it. This slow thawing process ensures even defrosting and maintains food safety.
More Delicious Baked Pasta Recipes
If you’re a fan of comforting baked pasta dishes, explore these other fantastic recipes:
- For gnocchi lovers, you are absolutely going to adore this gnocchi bolognese bake. It’s incredibly meaty, rich, and full of deep, comforting flavors that will warm you from the inside out!
- Seeking a perfect fall comfort dish? You must try this unique butternut squash fettuccine bake. Its creamy, savory, and slightly sweet notes make it a seasonal favorite.
- We simply can’t get enough of this wonderfully cheesy pumpkin gnocchi skillet bake! It’s an innovative twist on gnocchi, packed with creamy pumpkin and gooey cheese.
Finally, if you try this Rigatoni al Forno recipe, please be sure to give this recipe a rating and/or leave a comment! I genuinely love hearing about your culinary experiences and always take the time to respond to every single comment. Your feedback is incredibly valuable.
Feel free to drop any questions you might have in the comments section below – I’m here to help!
Oh, and be sure to tag me on Instagram if you make the recipe! Seeing these delicious recipes come to life in your homes is truly my favorite thing, and I love looking through those photos. It honestly means the world to me!
Rigatoni al Forno Recipe Card
Equipment
-
large stockpot
-
Dutch Oven
-
wooden spoon
-
2 1/2 quart baking dish
Ingredients
- 1 Tbsp extra virgin olive oil
- 1 small yellow onion diced
- 1/2 lb lean ground beef 80/20
- 1/2 lb ground pork or ground Italian sausage
- 4 cloves garlic minced
- 2 Tbsp tomato paste
- 2 tsp dried basil
- 1 tsp dried oregano
- 1/2 tsp dried thyme
- 1/4 tsp ground sage
- Pinch of red pepper flakes
- 2 28 oz cans crushed tomatoes
- 1/4 tsp white granulated sugar
- 1 lb rigatoni pasta
- 1/2 cup ricotta cheese
- 3 1/3 cups shredded mozzarella cheese divided
- Garnish: chopped fresh basil leaves
Instructions
-
Add extra virgin olive oil to a large pot or dutch oven over medium-high heat. Once hot, add onion and cook until softened, about 2 to 3 minutes, stirring occasionally. Add the ground beef and ground pork, seasoning with salt and pepper lightly. Cook the meat, using a spoon to crumble it up, until almost fully cooked, about 3 to 4 minutes.
-
Stir in tomato paste, garlic, dried herbs, and red pepper flakes, cooking for another minute or two until fragrant.
-
Stir in crushed tomatoes and sugar. Use the spoon to scrape up any bits that may have stuck to the bottom of the pan. Bring sauce to a simmer, reduce heat to low and simmer, uncovered, for at least 15 minutes, up to 30 minutes.
-
While the sauce is simmering, bring a large pot of salted water to a boil and preheat the oven to 350˚F. Grease a 9×13-inch baking dish with cooking spray and set aside.
-
Cook the pasta for 2 minutes less than instructed on the packaging. Drain pasta and add back to the pot you cooked it in.
-
Pour sauce into the pot of pasta and stir to coat. Fold in ricotta cheese and 3 cups shredded mozzarella cheese, stirring until everything is evenly incorporated.
-
Dump the pasta mixture into the prepared baking dish. Spread in an even layer. Top with remaining 1/3 cup shredded mozzarella cheese.
-
Bake for 30 minutes, until the cheese is melted and golden on top and the sauce is bubbling around the edges.
-
Let cool for 10 minutes in the pan before topping with freshly chopped basil and serving.
Video
Notes
How to Store (Recipe Card Notes)
Store. Cool the leftovers to room temperature. You can cover the pan with plastic wrap and store it in the refrigerator for up to 2 to 3 days. The pasta can also be stored in an airtight container if you prefer, but I prefer the pan for easy reheating.
Reheat. If reheating in the baking dish, do so in the oven for about 10 minutes at 350˚F. You can also reheat individual portions in the microwave for a few minutes on high power.
Freeze. The sauce can be made ahead of time and stored in an airtight container in the refrigerator for up to 3 days. You can also freeze the sauce for 2 months in an airtight container. Alternatively, you can assemble the entire dish and freeze it before baking! I wrap the baking dish in a layer of plastic wrap, followed by a layer of aluminum foil. Store in the freezer for up to 2 months.
Thaw. Defrost in the refrigerator (sauce or the entire prepared bake) for 24 hours before using/baking.
