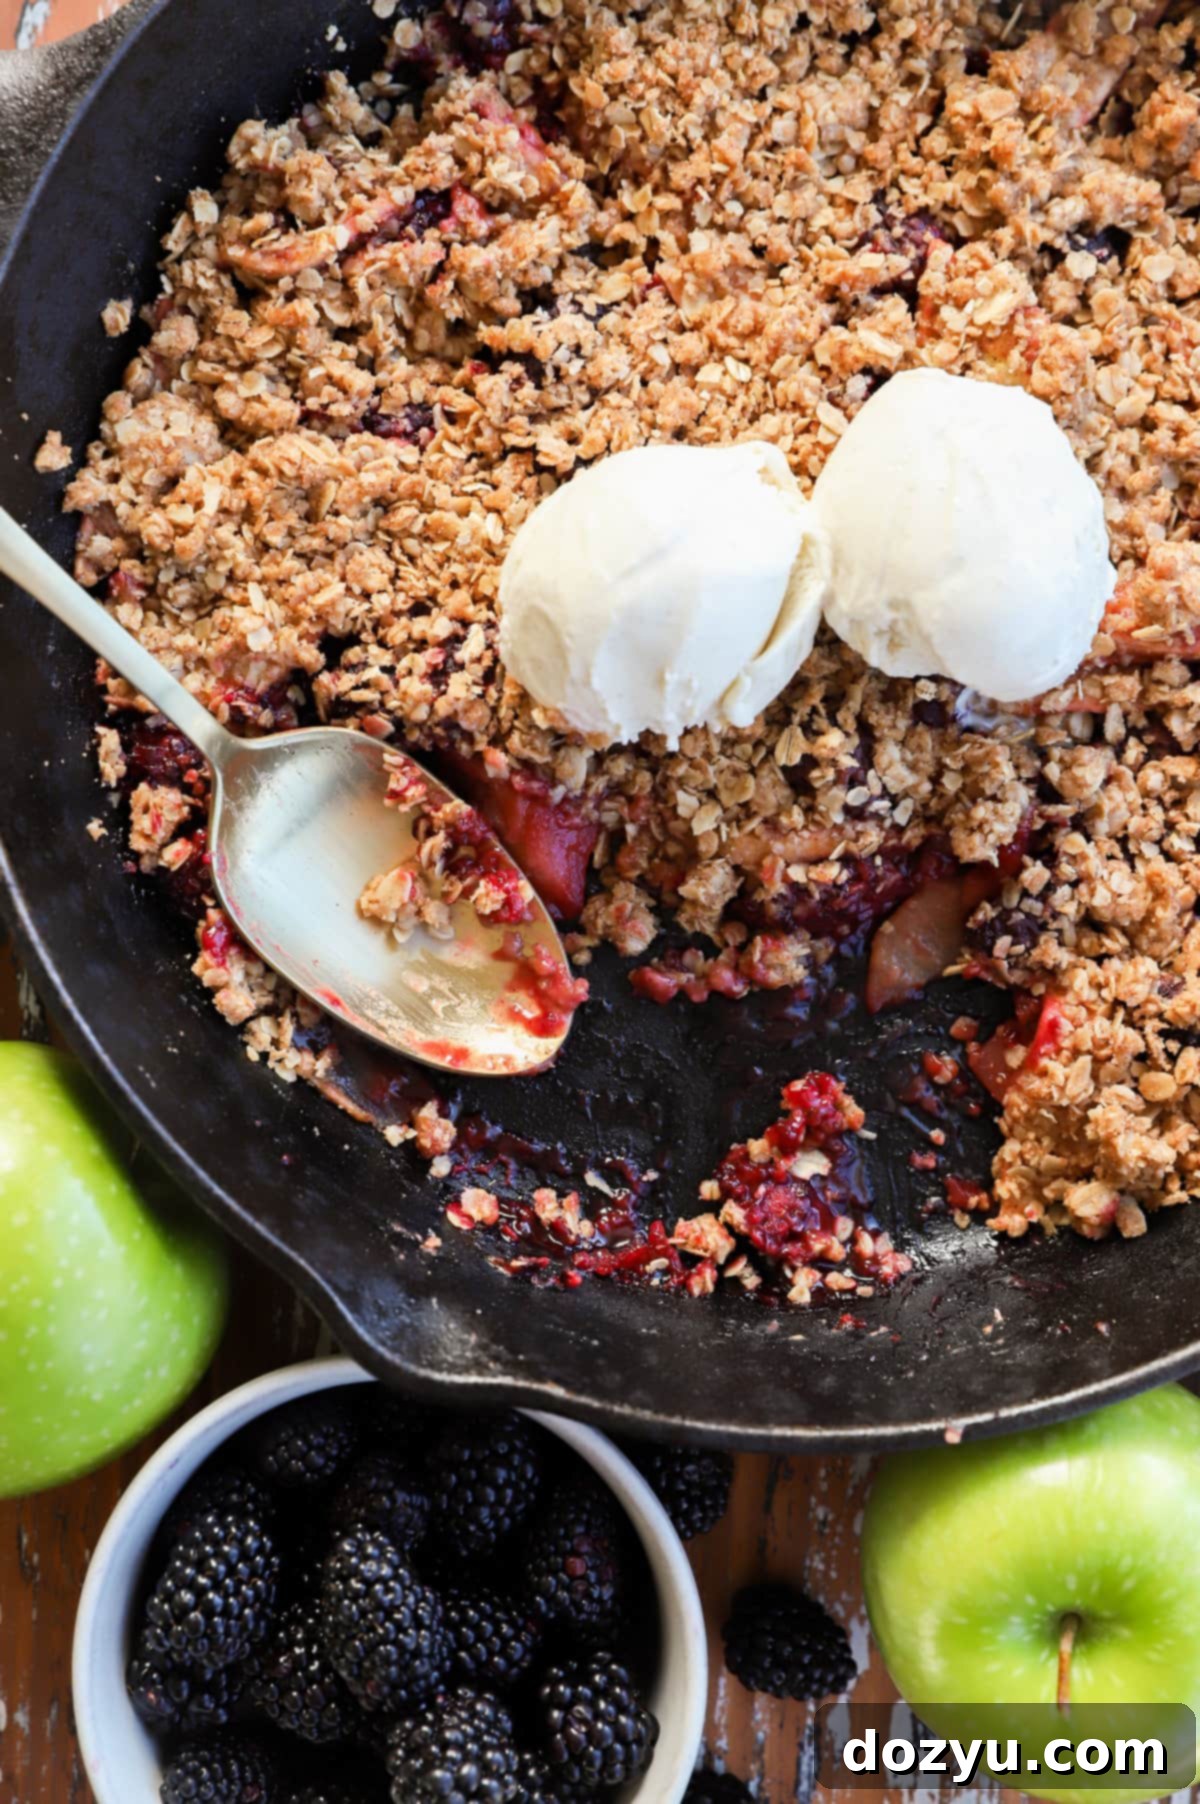
Homemade Apple Blackberry Crumble: Your Go-To Easy Dessert Recipe
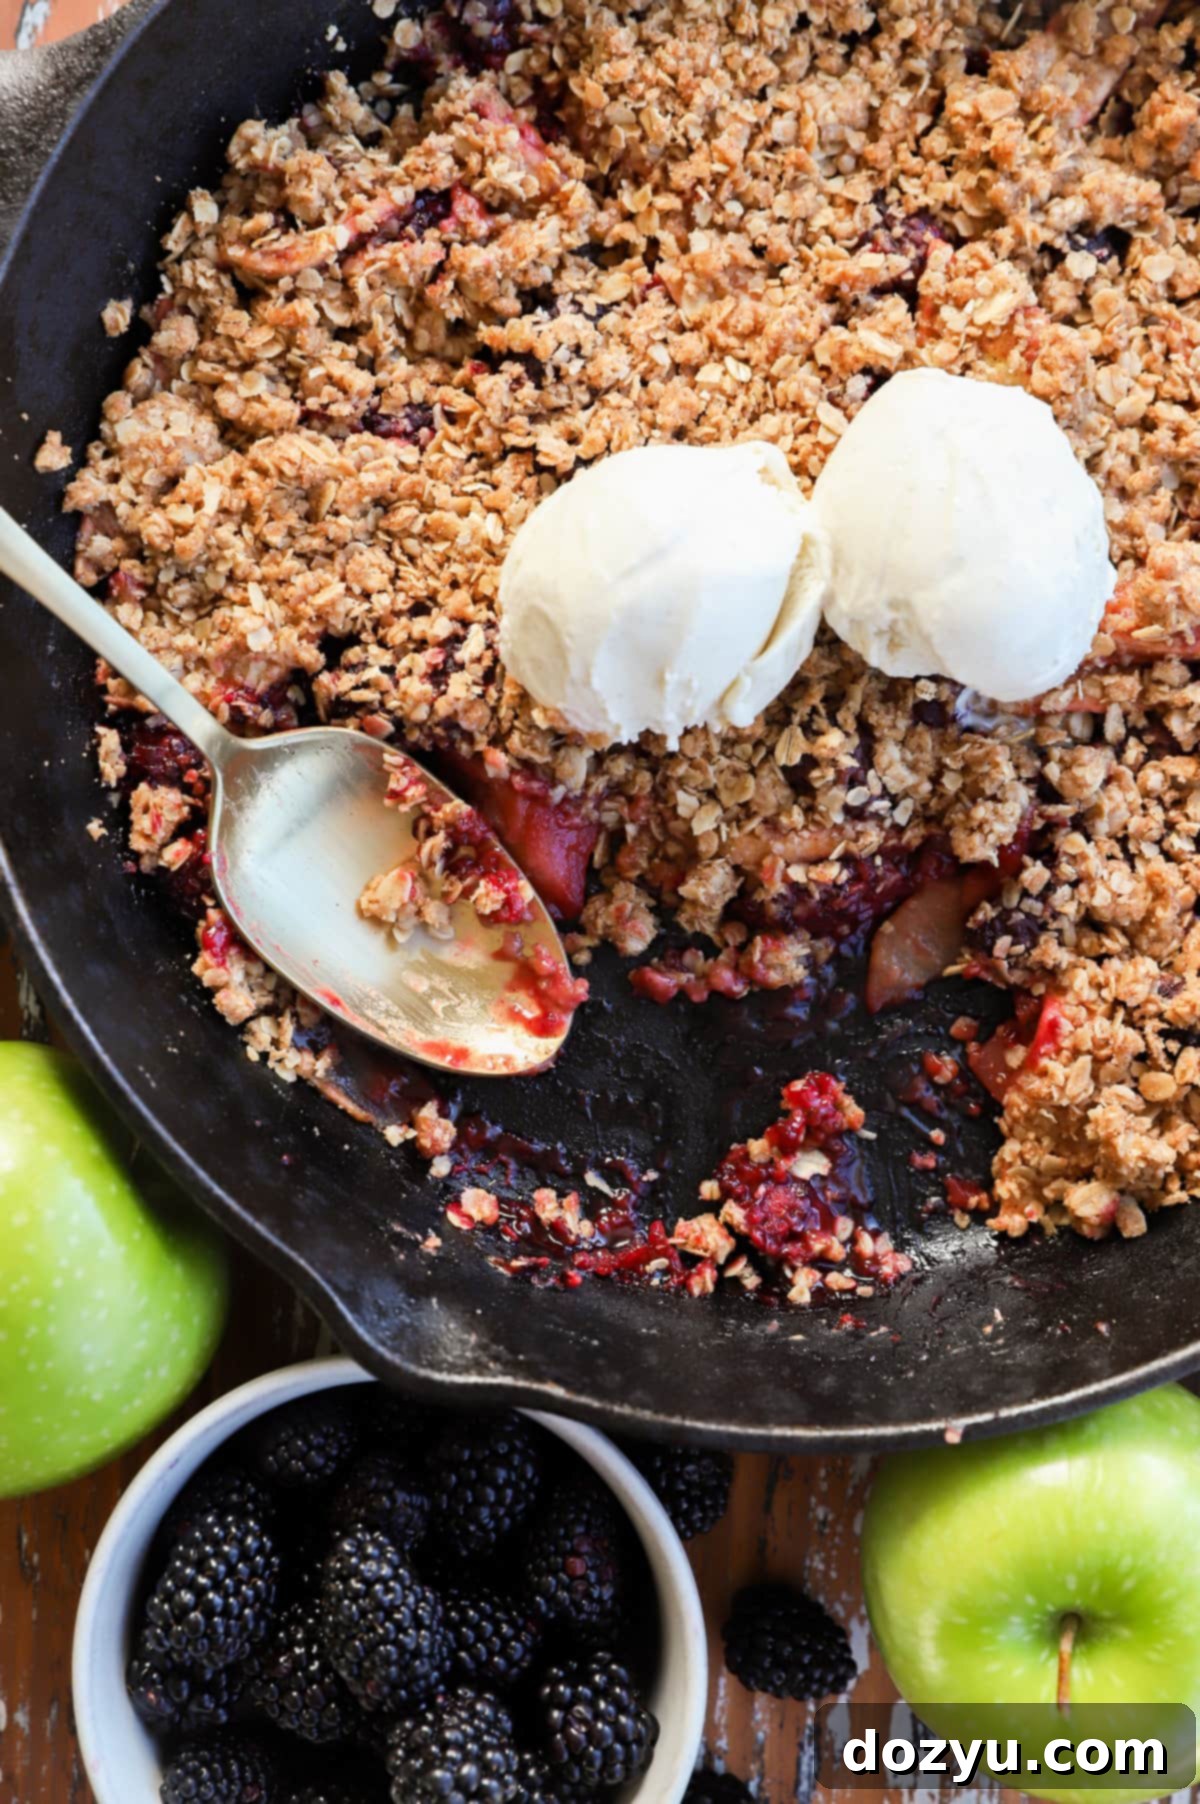
Indulge in the perfect blend of sweet and tart with this incredible Apple and Blackberry Crumble. This straightforward, flavorful dessert is a delight for any night of the week, taking less than an hour from prep to plate. Whether you’re celebrating a special occasion or simply craving a comforting treat, this crumble is ideal. Serve it warm with a generous scoop of vanilla ice cream for an unforgettable experience.
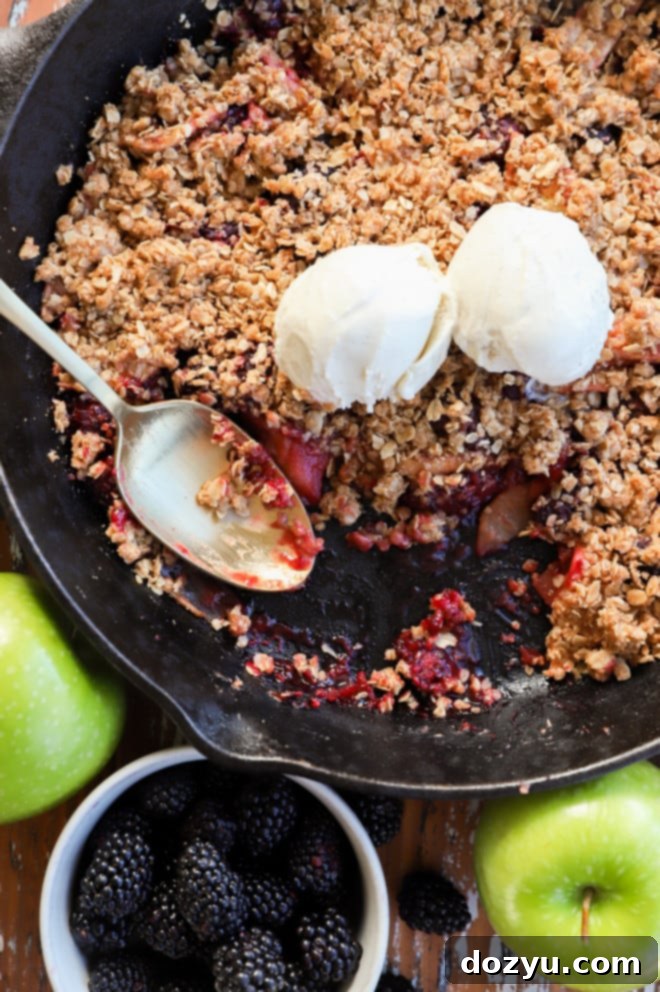
Table of Contents
Toggle
About This Scrumptious Apple Blackberry Crumble
There’s something truly magical about a classic fruit crumble, isn’t there? The irresistible combination of a warmly spiced, bubbling fruit filling nestled beneath a golden, crunchy topping is pure comfort. This Apple Blackberry Crumble takes that magic to a whole new level, offering a perfect balance of sweet and tart flavors with delightful textural contrasts that make every spoonful a joy. It’s a versatile dessert, equally suited for a cozy family dinner or a festive gathering with friends.
The Perfect Fruit Combination: Apples and Blackberries
Our star fruits in this recipe are apples and blackberries, chosen for their complementary flavors and textures. The crisp, slightly tart notes of apples pair beautifully with the juicy, sweet-tart burst of blackberries, creating a dynamic and well-rounded flavor profile. But why these specific fruits, and how can you ensure the best quality year-round?
Choosing Your Blackberries: Fresh or Frozen, Always Delicious
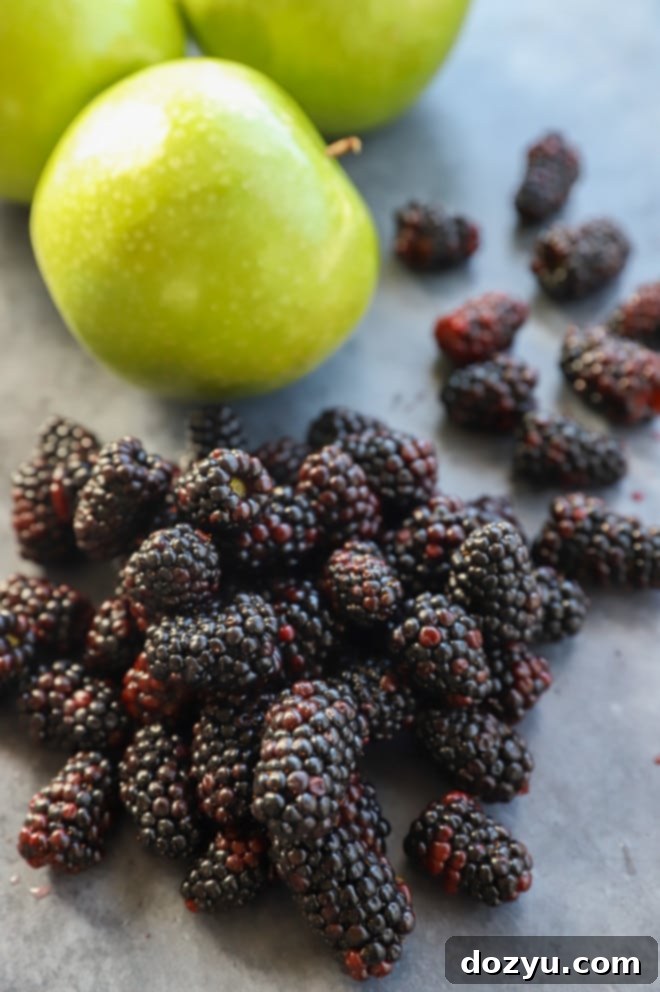
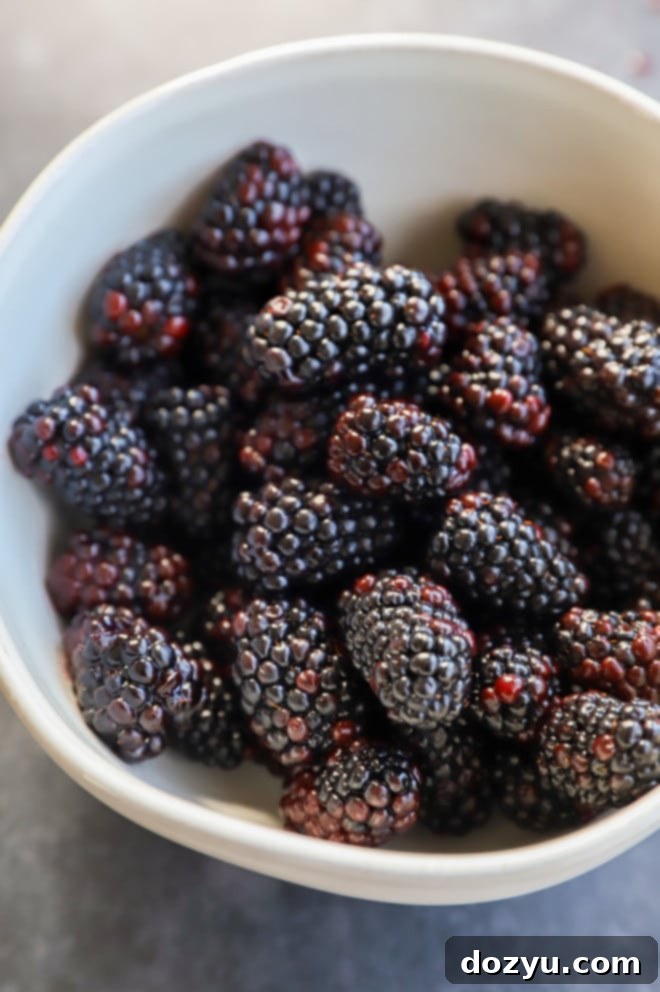
I adore using blackberries in my crumble recipes, and a key advantage is their year-round availability. For consistent quality and amazing flavor, I highly recommend Oregon blackberries. These berries are harvested at their peak ripeness and then flash-frozen within 24 hours. This rapid freezing process locks in not only their delicious flavor but also their nutritional value, making them an excellent choice no matter the season. If you’re using frozen blackberries, remember to thaw and drain any excess liquid before adding them to your filling to prevent a soggy crumble. Of course, when fresh blackberries are in season, those are a wonderful option too, but Oregon blackberries offer that fresh-picked taste all year long.
Selecting the Best Apples for Your Crumble
Apples are a staple in most kitchens, and while some varieties have distinct seasonal peaks, many great baking apples are available year-round. For this Apple Blackberry Crumble, I favor Granny Smith apples because their inherent tartness provides a fantastic counterpoint to the sweetness of the berries and the crumble topping. However, other excellent choices include Honeycrisp, Braeburn, and Golden Delicious. These varieties hold their shape well during baking and offer a pleasant texture. For optimal flavor, apples are typically at their peak from late summer through early winter, but major supermarkets usually stock high-quality options throughout the year. Always look for firm, unblemished apples for the best results.
Key Ingredients for Your Perfect Crumble
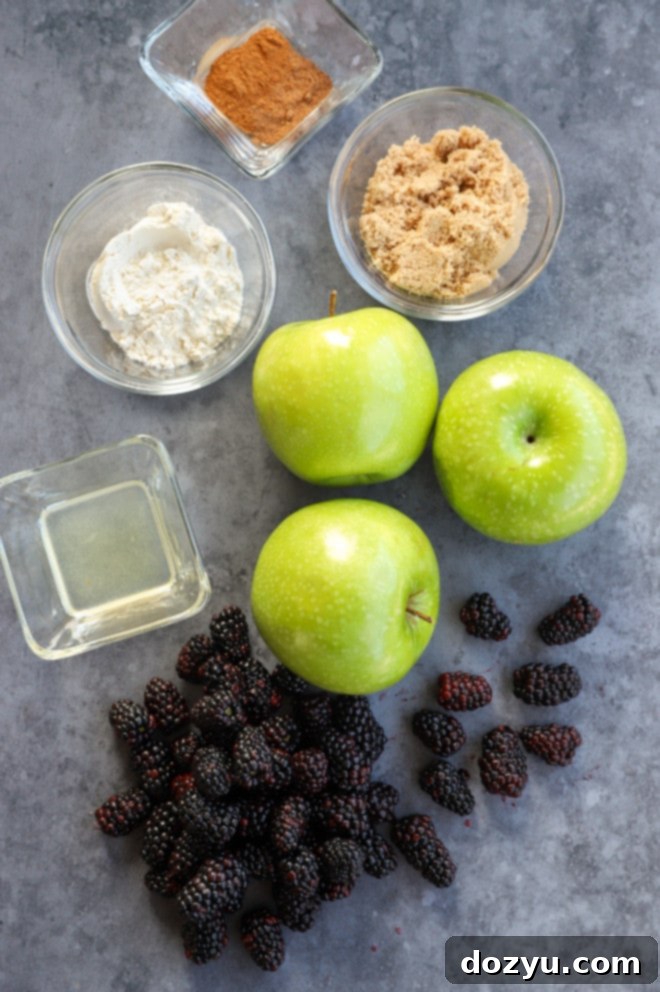
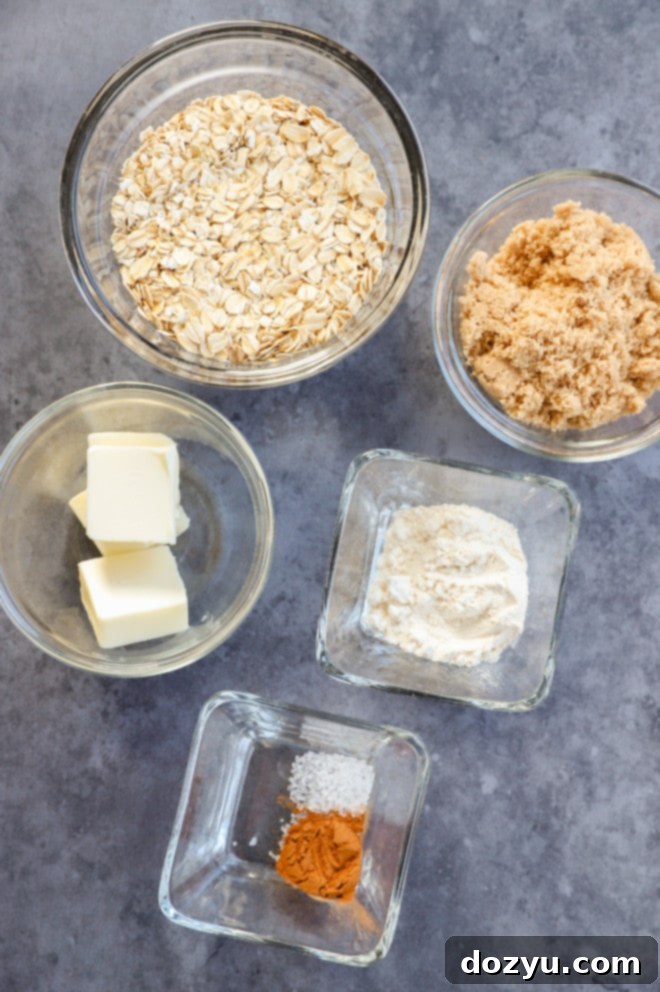
Crafting a delicious apple blackberry crumble requires a handful of simple, high-quality ingredients. Each component plays a crucial role in achieving that beloved sweet-tart filling and crispy, buttery topping. Here’s a closer look at what you’ll need and why:
- Blackberries: As discussed, both frozen and fresh blackberries work beautifully. If using frozen, ensure they are fully thawed and thoroughly drained. This step is vital to prevent excess moisture from making your crumble soggy. The natural sweetness and tartness of the berries are essential for the fruit filling’s vibrant flavor.
- Apples: My go-to is Granny Smith for its firm texture and tartness, which beautifully contrasts the sweet crumble. Feel free to use your preferred baking apple like Honeycrisp, Braeburn, or Golden Delicious. Peeling the apples is optional; it’s a matter of personal preference, though I generally peel for a smoother filling consistency. Remember to slice them thinly for even cooking.
- Lemon Juice: Freshly squeezed lemon juice brightens the fruit filling, balancing the sweetness and preventing it from becoming cloying. It also helps to prevent the apples from browning. While bottled lemon juice can be used, fresh provides a superior, more vibrant flavor.
- Brown Sugar: Light brown sugar is used in both the filling and the topping. Its molasses content adds a lovely depth of flavor and moisture that white sugar cannot replicate, contributing to a richer, more caramelized taste and a tender crumb.
- All-Purpose Flour: This acts as a thickener for the fruit filling, ensuring it’s not too watery, and forms the base of our irresistible streusel topping. For a gluten-free option, a 1:1 gluten-free baking flour blend can be substituted successfully.
- Spices (Cinnamon, Nutmeg, Salt): Ground cinnamon and nutmeg infuse both the fruit filling and the crumble topping with warm, aromatic notes, enhancing the overall dessert experience. A pinch of salt is crucial in both components to balance the sweetness and amplify the other flavors. Don’t skip it!
- Old-Fashioned Oats: These are essential for the crumble topping’s signature texture and chewiness. Avoid instant oats, as they will become mushy. For a gluten-free crumble, be sure to select certified gluten-free old-fashioned oats.
- Unsalted Butter: Cold, unsalted butter is key for achieving a perfectly crumbly, crispy topping. The cold butter creates steam as it bakes, forming those delightful pockets of air that give crumble its characteristic texture. If using salted butter, reduce or omit the added salt from the recipe. For a vegan version, a good quality plant-based butter alternative can be used.
Essential Equipment for Baking Success
You don’t need a professional kitchen or an array of specialized gadgets to create this delightful apple blackberry crumble. A few basic tools will ensure your baking process is smooth and enjoyable:
- Mixing Bowls: You’ll need two mixing bowls – one large for the fruit filling and a medium-sized one for preparing the crumble topping. Having separate bowls keeps your workflow organized and prevents cross-contamination of ingredients.
- Wooden Spoon or Spatula: Ideal for gently combining the fruit filling ingredients without bruising the delicate berries. A sturdy spoon ensures all ingredients are well incorporated.
- Whisk: Perfect for blending the dry ingredients of your crumble topping, ensuring an even distribution of flour, sugar, and spices before the butter is added.
- Your Hands: Believe it or not, your hands are the best tool for incorporating the butter into the dry crumble mixture! The warmth from your fingertips helps to break down the butter into pea-sized crumbs, which is crucial for achieving that signature crispy topping. Avoid overmixing, as this can lead to a tough crumble.
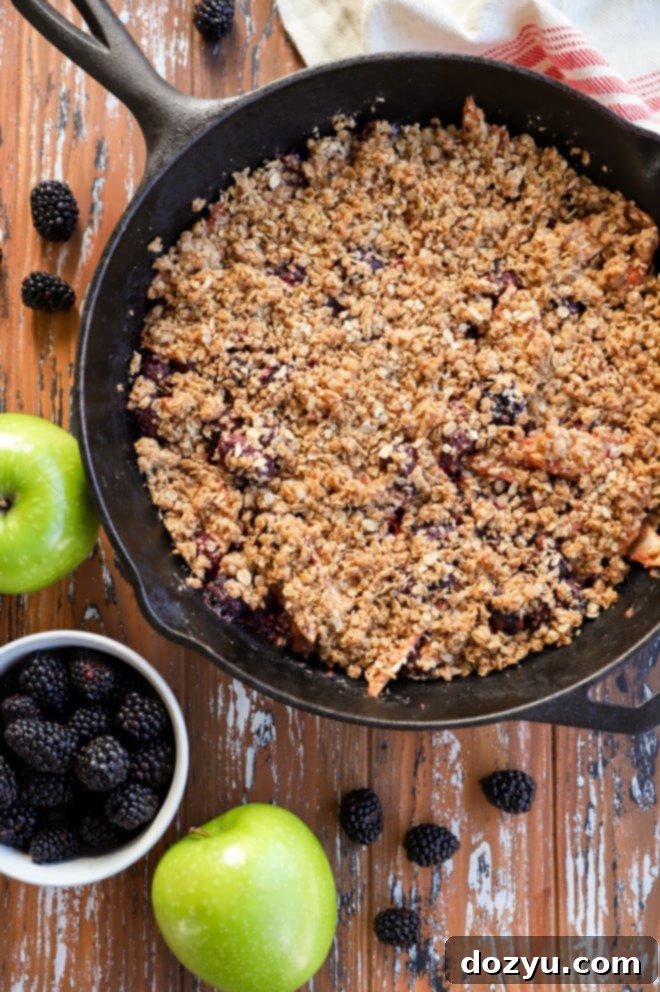
- Baking Dish: A 10-inch casserole dish or a cast iron skillet is perfect for baking this crumble. A cast iron skillet not only looks rustic and charming when serving but also retains heat wonderfully, ensuring even baking and a beautifully caramelized bottom. Alternatively, a 2-quart baking dish will work just as well.
- Measuring Cups and Spoons: Accurate measurements are vital in baking. Ensure you have a reliable set for both dry and liquid ingredients.
Step-by-Step: How to Make Apple Blackberry Crumble
Creating this rustic and delicious dessert is simpler than you might think. Follow these easy steps to bring the sweet-tart goodness of apple and blackberry crumble to your table:
1. Prepare the Fruit Filling
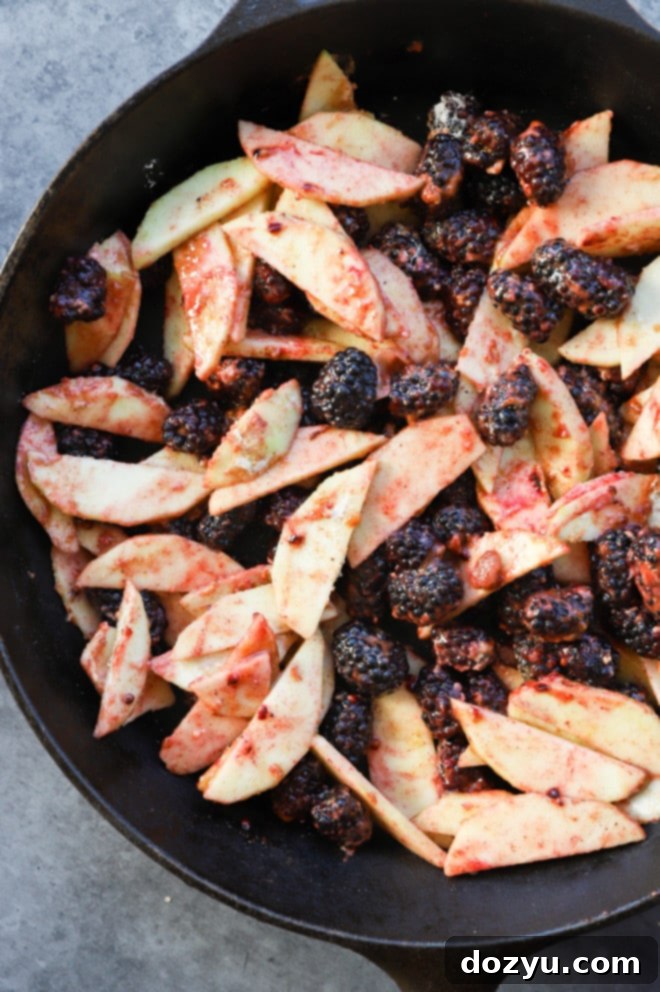
Start by preheating your oven to 375˚F (190˚C). In your large mixing bowl, combine the prepared blackberries (thawed and drained if frozen), thinly sliced apples, fresh lemon juice, light brown sugar, all-purpose flour, ground cinnamon, ground nutmeg, and a pinch of salt. Gently stir all these ingredients together with a wooden spoon until the fruit is evenly coated with the sugar and spices. Set this mixture aside for about 5 minutes. This brief resting period is important as it allows the sugars to draw out some of the fruit’s natural juices, creating a wonderfully saucy filling as it bakes.
2. Craft the Golden Crumble Topping
While your fruit filling is resting, turn your attention to the crumble topping. In the medium mixing bowl, whisk together the old-fashioned oats, light brown sugar, all-purpose flour, cinnamon, and salt. Once these dry ingredients are well combined, add the softened unsalted butter. Now, use your fingertips to incorporate the butter into the dry mixture. Gently pinch and rub the butter between your fingers, working quickly to avoid melting the butter completely. Continue until the mixture resembles coarse, wet sand with pea-sized crumbs throughout. This technique is crucial for achieving that delightful crispy texture in your topping. Once done, set the crumbly mixture aside.
3. Assemble and Layer Your Crumble
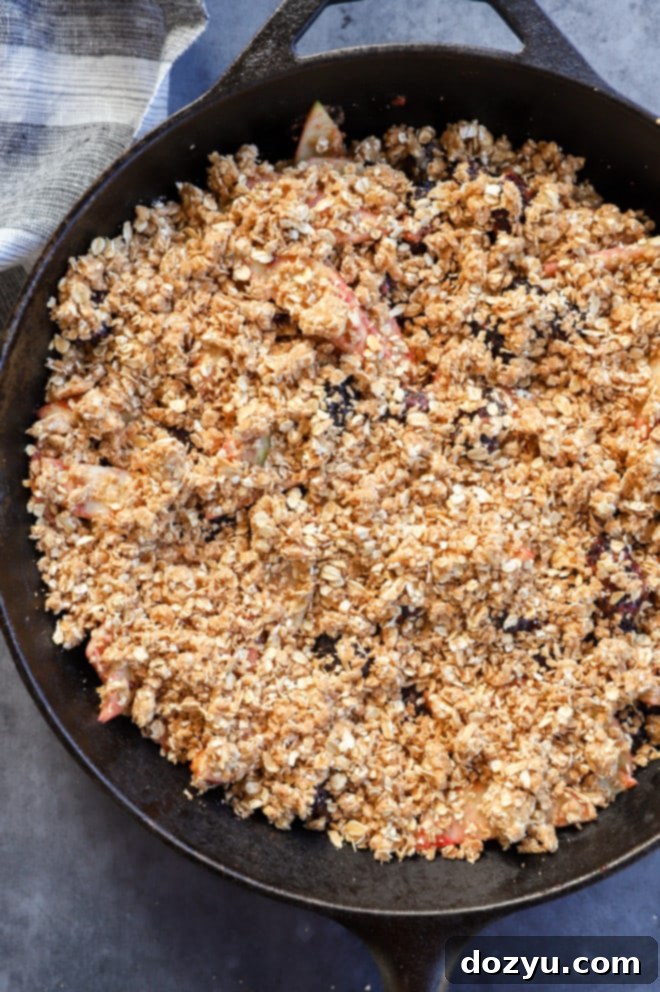
Pour the juicy fruit filling evenly into your chosen 10-inch casserole dish or cast iron skillet (a 2-quart baking dish also works perfectly). Ensure the fruit is distributed in a relatively even layer. Next, generously sprinkle the prepared crumble topping mixture over the entire surface of the fruit. Aim for an even layer, covering all the fruit beneath it. Don’t press the topping down too firmly; keep it loose for maximum crispiness.
4. Bake to Golden Perfection
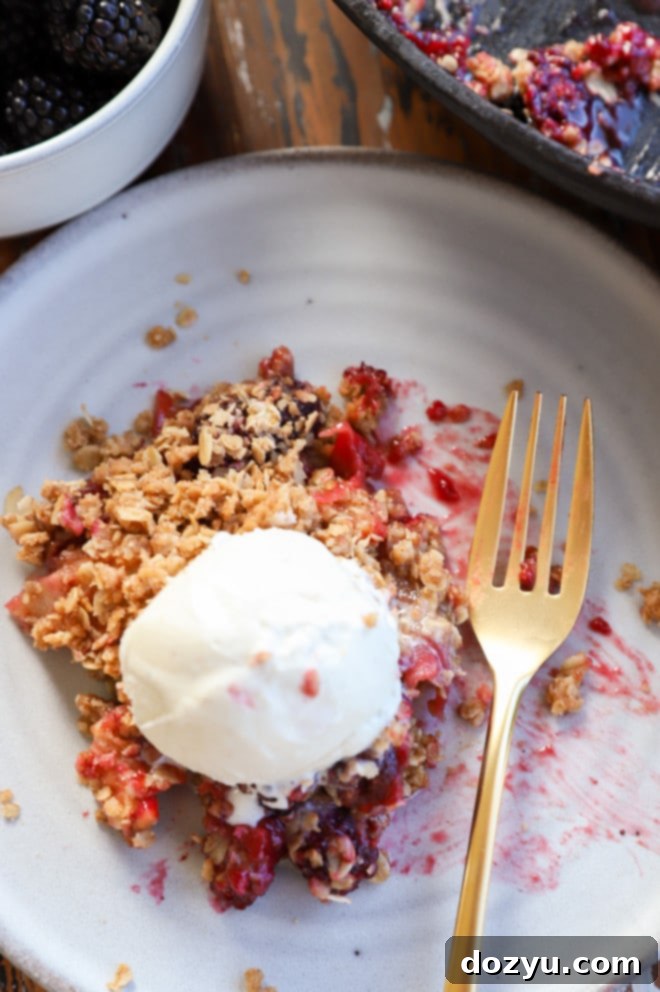
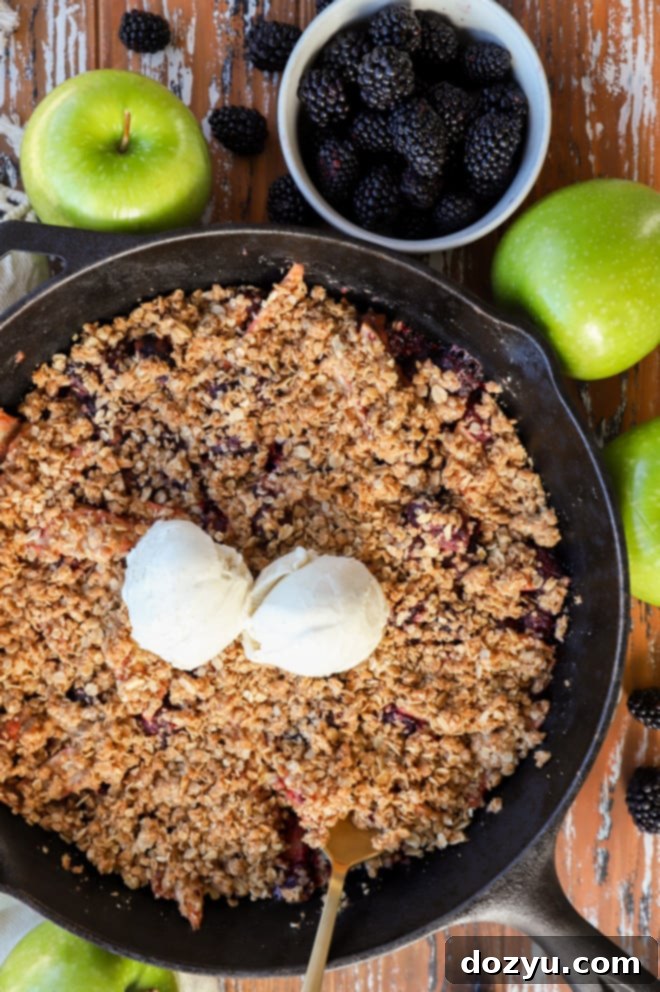
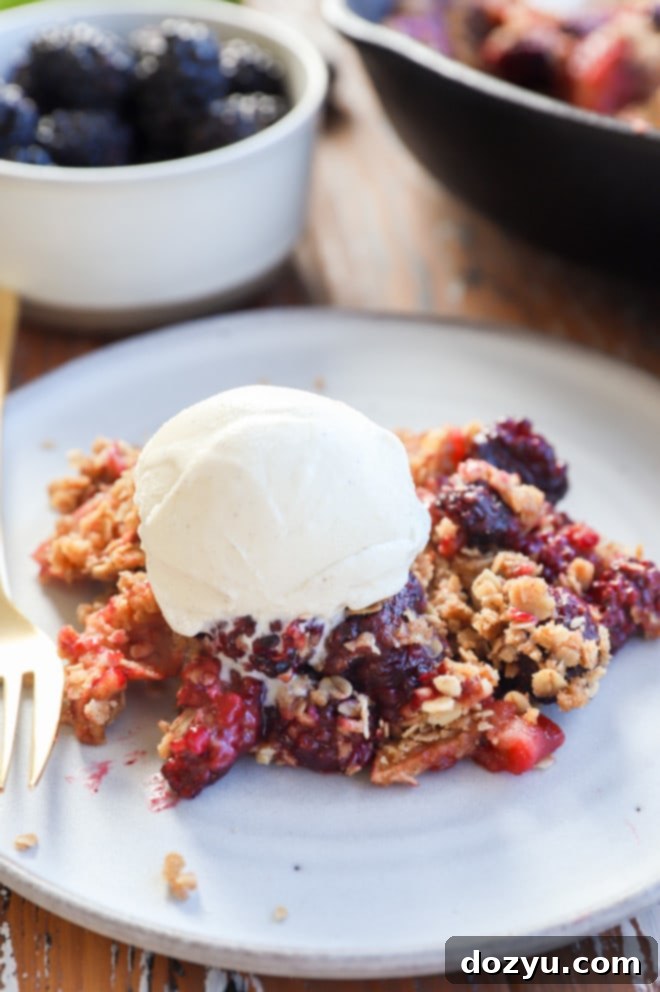
Place your assembled crumble into the preheated oven and bake for 35 to 40 minutes. The crumble is ready when the fruit filling is visibly bubbling around the edges, indicating it’s hot and tender, and the topping has turned a beautiful golden brown and is wonderfully crisp. If you notice the topping browning too quickly, you can loosely tent the dish with foil for the last 10-15 minutes of baking. Once baked, remove from the oven and allow it to rest for at least 5 minutes before serving. This brief rest helps the filling to set slightly. Serve warm with your favorite accompaniments like a scoop of creamy vanilla ice cream, a dollop of fresh whipped cream, or a rich custard sauce. It’s also surprisingly delicious served at room temperature.
Pro Tip for Fruit Prep: Whether you opt for fresh or frozen blackberries, always remember that proper preparation is key. If using frozen, thawing them thoroughly and draining any excess liquid is essential to prevent a watery fruit filling. Oregon blackberries are a fantastic choice for frozen berries due to their consistently high quality and value, allowing you to enjoy this delightful dessert all year long without compromising on flavor.
Pro Tips for a Flawless Apple Blackberry Crumble
Achieving a truly exceptional apple blackberry crumble is easy with a few insider tips:
- Choose the Right Apples: While blackberries are fantastic frozen, apples are best when fresh. Select firm, crisp varieties that hold their shape during baking and offer a good balance of tartness. Granny Smith, Honeycrisp, Braeburn, or Golden Delicious are excellent choices. Avoid overly soft or mealy apples, as they will turn mushy in the filling.
- Thoroughly Drain Frozen Berries: This cannot be stressed enough! If using frozen blackberries, thaw them completely and drain off *all* excess liquid. Failure to do so will result in a runny, watery filling that can make your crumble topping soggy. A colander lined with a paper towel can help absorb extra moisture.
- Keep Butter Cold for the Crumble: When making the streusel topping, use cold, cubed butter. Working quickly with your fingertips to incorporate it into the dry ingredients helps create those distinct, textural crumbs. The cold butter melts slowly in the oven, releasing steam that creates a light, crisp topping. If the butter gets too warm, the topping can become dense or greasy.
- Don’t Overmix the Crumble: Mix the crumble topping just until the butter is incorporated and you have a crumbly, coarse mixture. Overmixing can develop the gluten in the flour, leading to a tough rather than tender topping.
- Consider Adding Lemon Zest: For an extra burst of bright, citrusy flavor that complements both apples and blackberries beautifully, consider adding a teaspoon of lemon zest to your fruit filling along with the juice.
- Experiment with Spices: While cinnamon and nutmeg are classics, a pinch of allspice or ground ginger can add another layer of warmth and complexity to your crumble.
- Monitor Baking Closely: Ovens vary, so keep an eye on your crumble during the last 10-15 minutes of baking. The key indicators of doneness are a bubbly fruit filling and a deeply golden-brown, crisp topping. If the topping is browning too quickly, loosely tent with foil to prevent burning.
- Let it Rest: Resist the urge to dig in immediately after removing the crumble from the oven. Allowing it to rest for at least 5-10 minutes helps the fruit filling to set and thicken, making it easier to serve and preventing it from being too runny.
Looking for more delicious blackberry recipes? Dive into these fantastic options:Blackberry Mojito | Grilled Blackberry Steak Tacos | Blackberry Lemon Icebox Cake | Blackberry Peach Shortcake Stacks
Can You Freeze This Apple and Blackberry Crumble?
Absolutely! This apple blackberry crumble is an excellent candidate for freezing, whether you prefer to do so before or after baking. This makes it a fantastic option for meal prepping desserts, ensuring you always have a comforting treat on hand for unexpected guests or a spontaneous craving. Freezing allows you to enjoy homemade goodness with minimal effort whenever you desire.
Freezing Unbaked Crumble
To freeze your crumble before baking, assemble it completely in its oven-safe dish (a disposable foil pan is great for this if you plan to gift it or don’t want to tie up your bakeware). Once assembled, wrap the dish tightly first with a layer of plastic wrap, making sure to create an airtight seal around the edges. Then, add a second layer of aluminum foil for extra protection against freezer burn. Label with the date. This unbaked crumble can be stored in the freezer for up to 3 months.
Freezing Baked Crumble
If you’ve already baked your crumble and have leftovers (a rare occurrence with this recipe!), or if you want to prepare it entirely in advance, you can also freeze it after baking. The key here is to allow the crumble to cool completely to room temperature before freezing. Once cool, wrap it tightly with plastic wrap and then a layer of foil, just like the unbaked version. This will also keep well in the freezer for up to 3 months.
Thawing and Reheating Frozen Crumble
For both unbaked and baked frozen crumbles, the thawing process is similar. Transfer the wrapped crumble from the freezer to the refrigerator and allow it to thaw overnight. Once thawed, you can proceed with baking the unbaked crumble as instructed in the recipe (you might need to add an extra 5-10 minutes to the baking time). For baked and thawed crumble, reheat in a preheated oven at 350˚F (175˚C) until warmed through and the topping has re-crisped.
Make-Ahead Magic: Prepare Your Crumble in Advance
Life can be busy, but that doesn’t mean you have to compromise on delicious homemade desserts. This apple blackberry crumble is wonderfully accommodating for make-ahead preparation, allowing you to get a head start and reduce stress when entertaining or simply when you want a quick dessert.
You can easily prepare the crumble up to the point of baking. Once the fruit filling is in the dish and the crumble topping is evenly spread over it, cover the dish tightly with plastic wrap. Store it in the refrigerator for up to 24 hours. When you’re ready to bake, simply remove it from the fridge and place it directly into your preheated oven. Because it’s coming from a chilled state, you might need to extend the baking time by about 5-10 minutes to ensure the fruit filling is thoroughly heated and bubbling, and the topping is golden and crisp.
As mentioned in the freezing section, you can also opt to freeze the unbaked crumble for longer storage. This is a fantastic option if you want to prepare several crumbles at once. Just ensure it’s well-wrapped in plastic wrap and then foil, and thaw it overnight in the refrigerator before baking.
Doubling the Recipe for a Bigger Crowd
Planning a larger gathering or simply want more of this irresistible dessert? Doubling this apple blackberry crumble recipe is incredibly straightforward. You can simply multiply all the ingredient quantities by two. While the original recipe fits well in a 10-inch casserole dish or cast iron skillet, for a doubled batch, you will likely need a larger baking vessel, such as a 9×13-inch baking dish, or two separate 10-inch dishes. This ensures the fruit filling isn’t too thick, allowing it to cook evenly, and that the crumble topping has ample space to get wonderfully crisp.
When baking a doubled recipe, you’ll need to adjust the cooking time. Expect to add an additional 10 to 15 minutes to the original bake time, or until the filling is bubbly and the topping is golden brown. Always rely on visual cues for doneness rather than strictly adhering to the clock. A knife inserted into the fruit should feel tender, and the juices should be visibly bubbling vigorously around the edges.
Need more dessert inspiration? Explore my extensive dessert recipes page for more sweet treats!
What to Serve with Your Blackberry Apple Crumble
While this blackberry apple crumble is utterly delightful on its own, it truly shines when paired with the right accompaniments. The contrast of warm fruit and crisp topping with a cool, creamy element is simply heavenly.
- Ice Cream: This is a classic pairing for a reason! A scoop of high-quality vanilla bean ice cream is my personal favorite, as its creamy richness and subtle vanilla notes beautifully complement the fruit. However, feel free to experiment with other flavors like caramel, cinnamon, or even a blackberry swirl ice cream to intensify the berry goodness.
- Whipped Cream: A generous dollop of freshly whipped cream adds a light, airy texture and a touch of elegance. You can sweeten it slightly with powdered sugar and even add a splash of vanilla extract or a hint of almond extract for an extra layer of flavor.
- Custard Sauce (Crème Anglaise): For a more sophisticated touch, a warm, silky crème anglaise poured over individual servings is divine. Its rich, eggy flavor and smooth texture create a luxurious contrast.
- Yogurt or Greek Yogurt: For a slightly healthier or breakfast-friendly option, a spoonful of plain or vanilla yogurt (or Greek yogurt for extra protein) can provide a tangy, creamy counterpoint.
Looking to build a complete menu around this fantastic dessert? Here are some main course and drink ideas:
- For a hearty and satisfying main course, consider this easy pulled pork burger, made effortlessly in an Instant Pot. Its savory notes would be a perfect prelude to the sweet crumble.
- If you’re firing up the grill, a flavorful French onion burger offers all the comfort of your favorite soup transformed into a summer-friendly meal.
- And to continue the blackberry theme, a refreshing blackberry gin fizz would be the ideal beverage pairing, tying the meal together with vibrant berry notes.
Storage and Reheating Best Practices
Proper storage and reheating ensure you can enjoy every last bit of your delicious apple blackberry crumble, even days after baking.
Storing Leftovers
Once the crumble has cooled completely to room temperature, cover the baking dish tightly with plastic wrap or transfer individual portions to an airtight container. Store it in the refrigerator for up to 4 days. While the flavors will remain excellent, be aware that the crumble topping may lose some of its crispness over time due to moisture from the fruit filling. This is completely normal.
Freezing for Long-Term Storage
As detailed above, this crumble freezes beautifully!
- To freeze unbaked: Assemble the crumble, then wrap the dish securely with plastic wrap and then aluminum foil. Freeze for up to 3 months.
- To freeze baked: Allow the crumble to cool completely. Wrap tightly with plastic wrap and then foil. Freeze for up to 3 months.
Reheating for Optimal Enjoyment
The best way to reheat crumble and revive its crispy topping is in the oven:
- From the refrigerator: Transfer the desired portion to an oven-safe dish or place the entire dish (if it’s oven-safe) into a preheated oven at 350˚F (175˚C). Reheat for 15-25 minutes, or until warmed through and the topping is crisp again.
- From the freezer (if thawed): If you thawed a baked crumble in the refrigerator overnight, reheat it in the oven at 350˚F (175˚C) for about 20-30 minutes, or until hot and crispy. If you thawed an unbaked crumble, bake it according to the original recipe instructions, adding 5-10 minutes to the total baking time.
- Microwave (for a quick warm-up): While convenient, reheating in the microwave (in 30-second increments) will warm the fruit filling but won’t crisp up the topping. Use this method if you’re short on time and prioritize warmth over crunch.
I hope you found this comprehensive guide to making the perfect Apple Blackberry Crumble helpful and inspiring! This recipe is a true crowd-pleaser and a personal favorite. If you whip up this delightful dessert, please consider leaving a rating or a comment below. I absolutely love hearing from you all and seeing your culinary creations come to life. Your feedback and questions are always welcome!
Don’t forget to tag me on Instagram (@cakenknife) if you share photos of your crumble. It brings me so much joy to see these recipes being enjoyed in your homes – it truly means the world!
Apple Blackberry Crumble (Full Recipe)
Equipment List
-
Measuring Cups
-
Measuring Spoons
-
Wooden Spoon & Scraper
-
Mixing Bowls (Large & Medium)
-
10-inch Casserole Dish or Cast Iron Skillet
Ingredients for the Crumble
- 2 1/2 cups frozen or fresh blackberries*
- 2 1/2 cups apples peeled and thinly sliced (I recommend Granny Smith apples, approx. 2 large apples)
- Juice of 1/2 lemon (about 1/2 oz or 1 tablespoon)
- 1/3 cup packed light brown sugar
- 3 tbsp all-purpose flour
- 1/2 tsp ground cinnamon
- 1/4 tsp ground nutmeg
- Pinch of salt
- 1 cup old-fashioned oats
- 1/2 cup loosely packed light brown sugar
- 2 Tbsp all-purpose flour
- 1/2 tsp cinnamon
- 1/4 tsp salt
- 4 Tbsp unsalted butter softened, cut into small cubes
Detailed Instructions
-
Preheat Oven: Preheat your oven to 375˚F (190˚C).
-
Prepare Fruit Filling: In a large mixing bowl, combine the thawed and drained blackberries, thinly sliced apples, fresh lemon juice, 1/3 cup brown sugar, 3 tbsp all-purpose flour, 1/2 tsp ground cinnamon, 1/4 tsp ground nutmeg, and a pinch of salt. Stir gently until all the fruit is well coated. Let it rest for 5 minutes while you prepare the crumble topping; this allows the juices to release.
-
Make Crumble Topping: In a separate medium mixing bowl, combine the 1 cup old-fashioned oats, 1/2 cup loosely packed light brown sugar, 2 tbsp all-purpose flour, 1/2 tsp cinnamon, and 1/4 tsp salt. Whisk to combine. Add the softened unsalted butter (cut into small cubes). Use your fingertips to pinch and rub the butter into the dry ingredients until the mixture resembles coarse, wet sand with pea-sized crumbs. Avoid overmixing.
-
Assemble Crumble: Pour the fruit mixture evenly into a 10-inch casserole dish or cast iron skillet. Evenly sprinkle the prepared crumble topping over the fruit layer.
-
Bake: Bake for 35 to 40 minutes in the preheated oven. The crumble is done when the fruit filling is bubbly around the edges and the topping is golden brown and crisp. If topping browns too quickly, loosely tent with foil.
-
Rest Before Serving: Remove from oven and let the crumble rest for 5-10 minutes. This allows the filling to set slightly, making it easier to serve.
-
Serve Warm: Enjoy your warm apple blackberry crumble with a scoop of vanilla ice cream, a dollop of whipped cream, or a drizzle of custard sauce. It’s also delicious at room temperature!
