Easy Homemade Chocolate Covered Oreos: The Ultimate Festive Treat
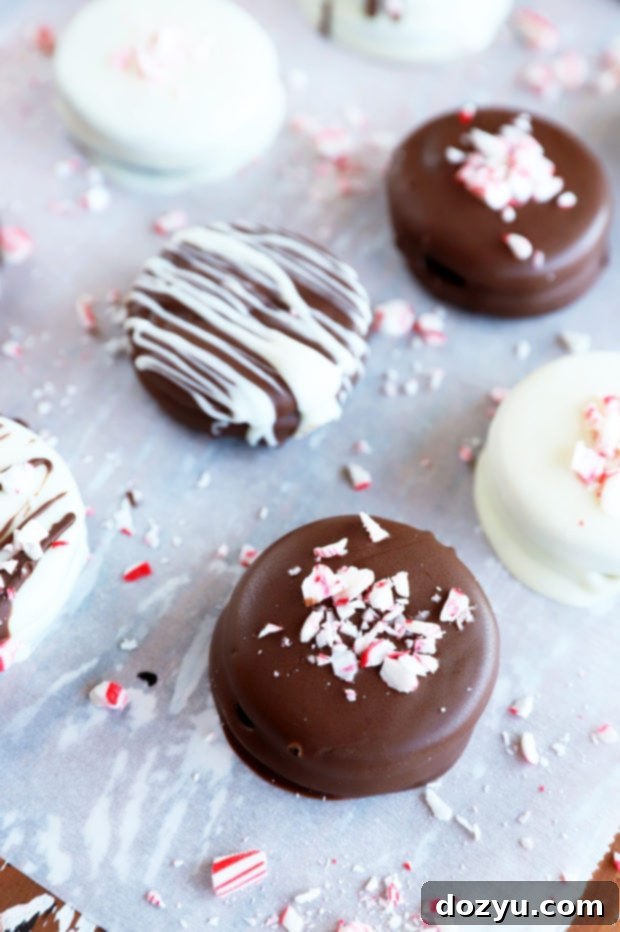
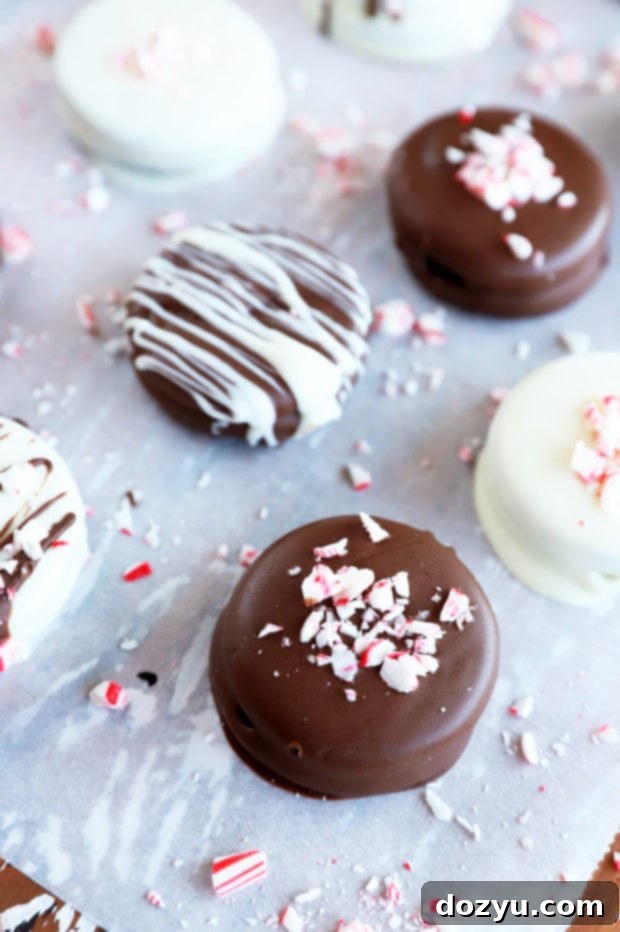
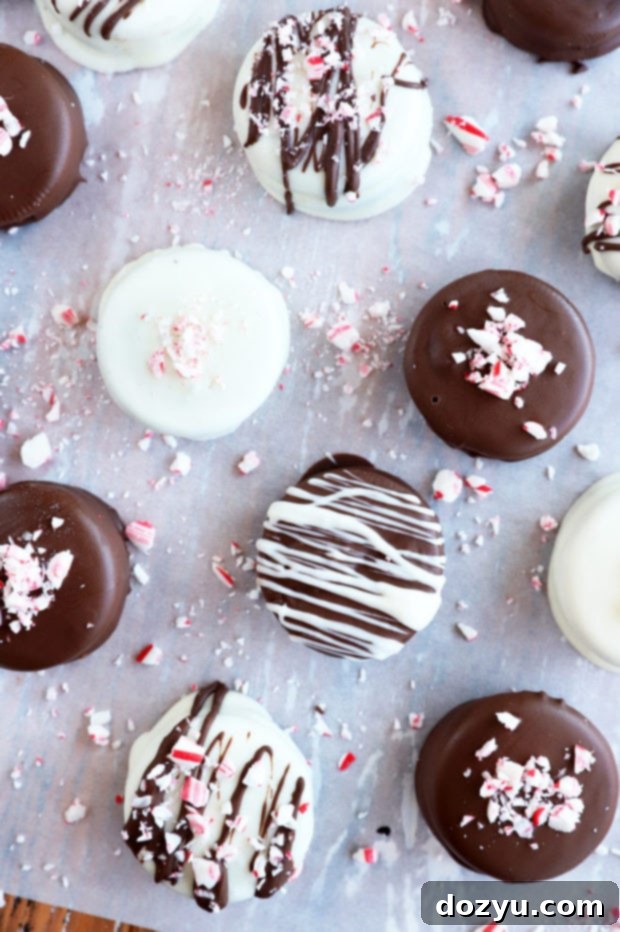
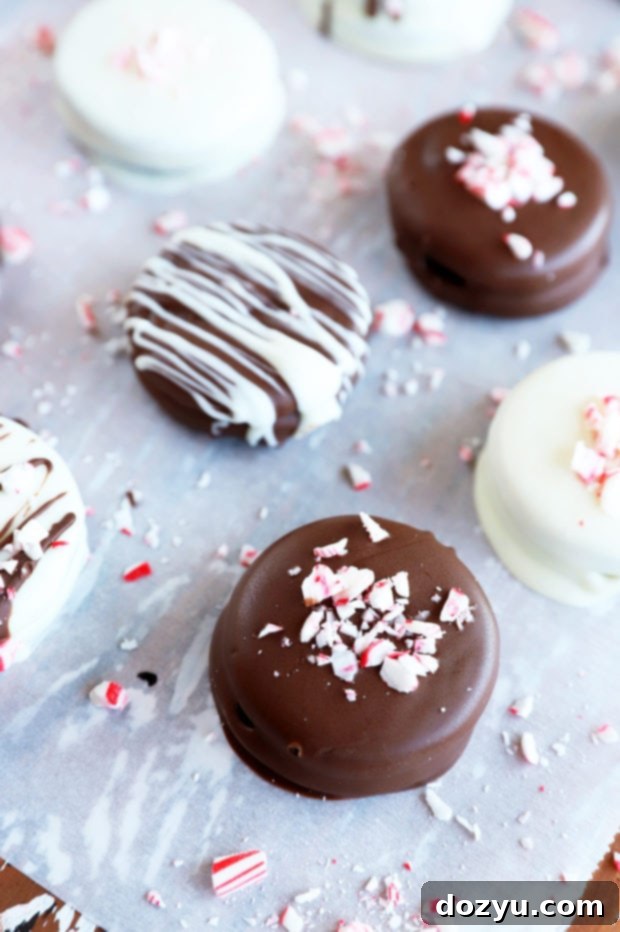
Chocolate Covered Oreos are a universally loved, simple classic that you can effortlessly prepare for any occasion, especially during the bustling holiday season – even at the last minute! Dipped in rich white and dark chocolate, adorned with festive sprinkles, crushed peppermint, or decorated to perfectly match your theme, these delightful cookies are always a crowd-pleaser. This recipe yields approximately 2 1/2 to 3 dozen cookies, making them ideal for sharing, gifting, or simply indulging.
Note: This post is an updated version of the original posted on December 18, 2012, featuring enhanced tips, expanded ingredient details, and comprehensive decoration ideas to make your chocolate-covered Oreos truly stand out.
table of contents
Toggle
About These Decadent Chocolate Covered Oreos
There’s something truly magical about transforming a classic cookie into an even more decadent treat, especially during the holiday season. These chocolate-covered Oreos are more than just a dessert; they are a delightful experience, bringing together the familiar crunch and creamy filling of an Oreo with a luxurious coating of your favorite chocolate. They are incredibly simple to make, yet their impressive appearance makes them perfect for holiday gatherings, thoughtful homemade gifts, or a cozy evening indulgence.
As the holiday season approaches, my kitchen transforms into a haven of sweet aromas and festive creations. While I love to experiment with elaborate desserts, there’s always a special place for timeless classics like these chocolate-dipped Oreos. They represent everything wonderful about holiday baking: ease, joy, and the undeniable pleasure of sharing something sweet with loved ones. Plus, they offer a perfect excuse to melt an abundance of chocolate – a task I never shy away from! Let’s be honest, any leftover melted chocolate can easily find its way onto marshmallows, pretzels, or even just a spoon for a quick, satisfying taste. It’s a sweet habit, but one that makes the season brighter.
Why You’ll Love This Recipe
These chocolate-covered Oreos aren’t just easy; they’re incredibly versatile and bring a unique charm to any festive table. Here’s why this recipe will become a cherished part of your holiday traditions:
- **Effortlessly Festive:** In just a few simple steps, you can create a treat that looks like it came from a gourmet bakery. A sprinkle of crushed candy canes or festive sprinkles instantly elevates them for the holidays.
- **Customizable Creations:** With options for dark, white, or milk chocolate, and an endless array of toppings, you can tailor each cookie to your exact preference or match any holiday theme.
- **Perfect for Gifting:** Hand-dipped and beautifully decorated, these Oreos make charming, personalized gifts for friends, family, teachers, or neighbors. They’re a homemade touch that everyone appreciates.
- **A Joy to Make:** The process itself is therapeutic and fun, perfect for getting into the holiday spirit. It’s a fantastic activity for kids and adults alike, creating lasting memories in the kitchen.
- **Irresistible Flavor Combination:** The crisp, chocolatey Oreo cookie paired with a smooth, rich chocolate coating is a match made in heaven. The creamy filling provides the perfect balance, ensuring each bite is pure bliss.
This time of year is filled with cherished traditions, from watching beloved holiday movies like Love Actually with a warm mug of rum-laced eggnog, to enjoying special meals, and seeing the sheer joy on our pets’ faces as they tear into their stockings. For me, it also means embracing the simple beauty of twinkling Christmas lights and indulging in delicious desserts. There’s an undeniable calmness that comes from seeing houses adorned with festive lights, and adding these chocolate-covered Oreos alongside a cup of insanely delicious hot chocolate truly elevates the experience to pure heaven.
As this is the final post before Christmas, I extend my warmest wishes to you all for a very merry holiday season! May your homes be filled with laughter, love, and the joy of creating memories with your favorite foods, movies, songs, games, and unique traditions.
Essential Ingredients for Chocolate Covered Oreos
The beauty of this recipe lies in its simplicity, requiring just a handful of ingredients to create something truly spectacular. You’ll be amazed at how quickly these come together!
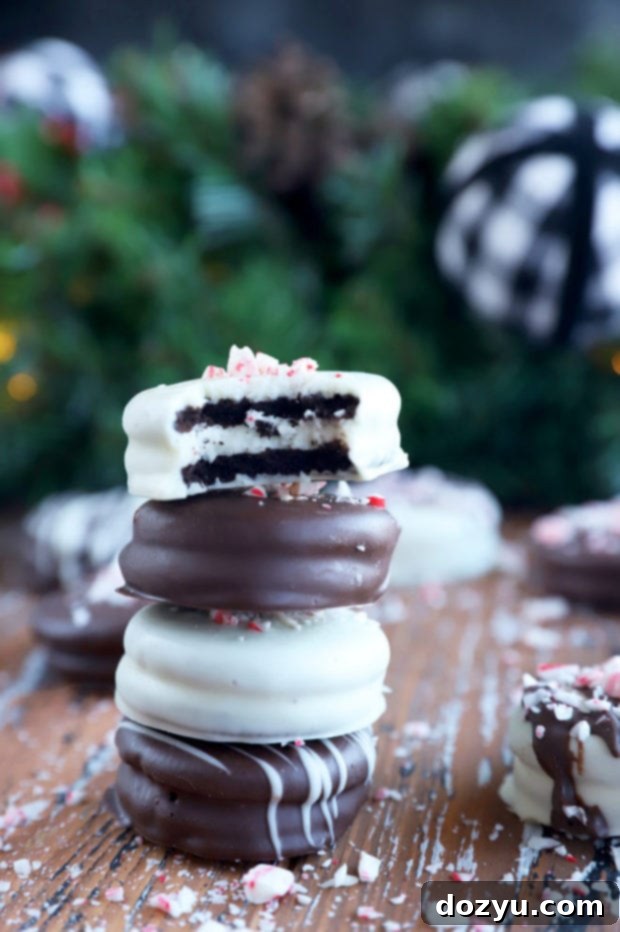
- Oreos: When selecting your base, I wholeheartedly recommend using Double Stuff Oreo Cookies. The extra creamy filling provides a better balance against the rich chocolate coating and ensures the cookie holds up beautifully during the dipping process. While classic Oreos work, the double stuff variety offers a superior texture and flavor experience. Feel free to experiment with seasonal Oreo flavors like Peppermint or Gingerbread for an extra festive twist, or Golden Oreos for a vanilla-based treat.
- Chocolate: The star of the show! You’ll need high-quality melting chocolate to achieve that smooth, glossy finish. My top recommendation is to use chocolate melting wafers, also known as candy melts or confectionery coating. These are specifically designed for easy melting and setting without the need for tempering, resulting in a perfectly smooth, non-streaky coating every time. They come in various colors and flavors, making customization a breeze. If melting wafers aren’t available, high-quality chocolate chips or chopped chocolate bars can work, though they might require a bit more care to melt without seizing and might not set as smoothly. For variety, I love using both dark chocolate and white chocolate, offering a delightful contrast in flavor and appearance. Milk chocolate is also an excellent choice for a sweeter, creamier coating.
- Toppings (Optional, but highly recommended!): This is where you can unleash your creativity and add a personal touch. While crushed candy canes are a holiday favorite, the possibilities are endless! Consider:
- Crushed Peppermint or Candy Canes: For a refreshing minty crunch, especially perfect for the winter holidays.
- Festive Sprinkles: Use holiday-themed sprinkles (red, green, silver, gold) to add instant cheer.
- Finely Chopped Nuts: Almonds, pecans, or walnuts add a lovely texture and nutty flavor.
- Crushed Oreos: A double Oreo experience! Crush some extra cookies and sprinkle them on top.
- Sea Salt Flakes: A tiny sprinkle of flaky sea salt enhances the chocolate flavor beautifully.
- Edible Glitter or Dust: For an extra touch of sparkle and elegance.
- Mini M&Ms or Tiny Candies: Great for adding color and a playful touch.
You can also drizzle the dipped cookies with a contrasting chocolate color (e.g., white chocolate drizzle on dark chocolate-dipped Oreos) for an elegant finish.
Must-Have Tools and Equipment
You don’t need a lot of fancy equipment to make these show-stopping cookies. A few basic kitchen essentials will get the job done efficiently and beautifully:
- Microwave-Safe Bowls: Essential for melting your chocolate wafers. Ensure they are clean and completely dry to prevent the chocolate from seizing. Glass or ceramic bowls work best.
- Fork or Dipping Tools: A standard dinner fork is surprisingly effective for dipping cookies. Alternatively, specialized candy dipping tools or even a sturdy skewer can help you achieve a cleaner, more even coating and easier transfer.
- Parchment Paper or Silicone Baking Mat: Absolutely crucial! Line a half sheet baking pan with parchment paper or a silicone baking mat. This prevents the chocolate from sticking and makes for easy cleanup once the cookies are set.
- Cutting Board and Chef’s Knife: If you plan to use toppings like chopped nuts or crushed candy canes, these tools will be handy for preparing your decorative elements.
- Small Resealable Bag (Optional): For drizzling chocolate. Simply fill a corner with melted chocolate, snip off the tip, and pipe delicate lines.
Looking for more delightful holiday cookie recipes? Explore these other yummy options: Christmas Shortbread Cookies | Snickerdoodle Cookie Bars | Italian Rainbow Cookies | Peppermint Hot Chocolate Cookies
Step-by-Step Guide: How to Make Chocolate Covered Oreos
Making these chocolate-covered Oreos is incredibly straightforward. Follow these steps for perfect results every time:
Perfectly Melt Your Chocolate
Place your chocolate melting wafers into a clean, dry microwave-safe bowl. Heat the chocolate in the microwave for 30 seconds. Remove and stir thoroughly. Continue heating in 15-second increments, stirring well after each interval, until the chocolate is completely smooth and melted with no lumps. Be careful not to overheat, as this can cause the chocolate to seize or burn. If you don’t have a microwave, you can use a double boiler method: place a heatproof bowl over a saucepan of simmering water, ensuring the bowl does not touch the water, and stir until melted.
Dip and Decorate Your Cookies
Carefully place an Oreo into the melted chocolate, submerging it completely. Use a fork or a dipping tool to gently lift the cookie out, allowing any excess chocolate to drip back into the bowl. This ensures a clean, even coating. Place the dipped cookie onto your parchment paper-lined baking sheet. While the chocolate is still wet, immediately sprinkle with your desired toppings, such as crushed candy canes, festive sprinkles, or finely chopped nuts. If you’re drizzling with another chocolate color, do so now before the first layer sets. Repeat this process with the remaining Oreos and chocolate.
Chill to Perfection
Once all your cookies are dipped and decorated, transfer the baking sheet to the refrigerator. Chill for approximately 30 minutes, or until the chocolate coating is completely firm and set. Once set, the cookies will easily peel off the parchment paper without sticking. Store them as directed below to maintain their freshness and perfect texture.
Pro Tips for Flawless Chocolate Covered Oreos
Achieving perfectly coated and beautifully decorated chocolate-covered Oreos is easier than you think with a few expert tips:
- Opt for Melting Wafers: As previously mentioned, chocolate melting wafers (or candy melts) are your best friend here. They melt smoothly, set quickly, and provide a stable, glossy finish without the fuss of tempering traditional chocolate. This drastically reduces the chances of your chocolate seizing or becoming streaky.
- Always Use Parchment Paper: A parchment paper or silicone baking mat-lined sheet pan is non-negotiable. It ensures your chocolate-covered Oreos release cleanly once set, preventing any sticking or breakage, and makes cleanup a breeze.
- Work Quickly with Toppings: Chocolate sets relatively fast. Have all your toppings prepared and within reach *before* you start dipping. As soon as you place a dipped Oreo on the parchment paper, immediately add your desired sprinkles or crushed ingredients.
- Maintain Chocolate Temperature: If your chocolate starts to thicken as you dip, return it to the microwave for a short 5-10 second burst, stirring until smooth again. Don’t let it get too cool or too hot.
- Use a Deep, Narrow Bowl: A deeper bowl for your melted chocolate makes dipping easier and ensures a full, even coating without using excessive chocolate.
- Ensure Cookies are Room Temperature: Cold cookies can cause the chocolate to set too quickly and unevenly. Room temperature Oreos allow for a smoother, more controlled coating.
- Tap Off Excess Chocolate: After dipping, gently tap the fork against the side of the bowl to remove any excess chocolate. This prevents puddles around the base of the cookie and ensures a neat finish.
Need some more inspiration for holiday cooking? Check out my holiday recipes page for a wealth of festive ideas!

Storage and Shelf Life: How Long Do They Last?
Proper storage is key to keeping your chocolate-covered Oreos fresh and delicious. When stored correctly in an airtight container, these delightful treats will maintain their quality and flavor for up to one week in the refrigerator. The chocolate coating acts as a protective layer, helping to preserve the cookie’s freshness and crunch. To prevent them from sticking together, especially if you’ve used a soft topping or the weather is warm, it’s a good idea to place layers of parchment paper between the cookies.
Do Chocolate Covered Oreos Need Refrigeration?
Yes, I highly recommend storing your chocolate-covered Oreos in the refrigerator. This is primarily because we are typically not going through the meticulous process of tempering the chocolate, which would allow it to remain stable at room temperature. Without tempering, chocolate can become soft or bloom (develop a whitish, streaky appearance) if left at warmer temperatures. Refrigeration ensures the chocolate coating stays firm and glossy, and it also helps to preserve the freshness of the Oreo cookie itself. Simply place your set cookies in an airtight container, adding layers of parchment paper between them to prevent sticking. They will stay perfectly delicious for up to one week!
Creative Ways to Decorate Chocolate Covered Oreos
The fun truly begins with decorating! Chocolate-covered Oreos are a fantastic canvas for your creativity, allowing you to customize them for any holiday, season, or special event. Here are some expanded ideas to inspire you:
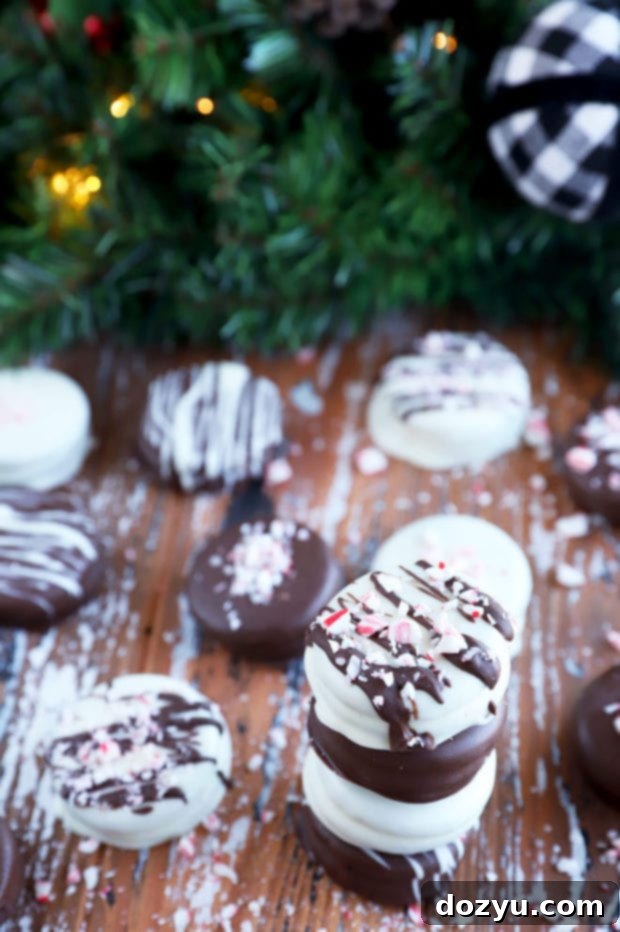
- Contrasting Chocolate Drizzles: One of my favorite techniques is to drizzle the dipped cookies with the opposite kind of chocolate. A dark chocolate drizzle over white chocolate-dipped Oreos, or a white chocolate drizzle over dark-dipped ones, creates an elegant and appealing visual contrast. You can also add food coloring to white chocolate for vibrant colored drizzles!
- Festive Sprinkles Galore: Beyond the crushed candy canes, embrace the world of sprinkles! Use traditional holiday red, green, and white sprinkles, or explore themed mixes for birthdays, baby showers, or specific seasonal events like Halloween or Valentine’s Day.
- Crunchy Toppings: Finely chopped nuts (peanuts, almonds, pistachios) add a wonderful textural contrast. For an extra chocolatey crunch, sprinkle with more crushed Oreos. Toasted coconut flakes also offer a unique flavor and texture.
- Sweet & Salty: A delicate sprinkle of flaky sea salt on dark chocolate-covered Oreos is a game-changer, enhancing the chocolate’s depth and providing a sophisticated flavor profile.
- Mini Candies and Edible Accents: Tiny candies like mini M&Ms, chocolate pearls, or even edible glitter can transform your Oreos into miniature works of art. For a sophisticated look, consider edible gold or silver dust.
- Patterned Designs: Before the chocolate sets, use a toothpick or skewer to swirl different colors of chocolate together, or draw simple patterns.
Curate the Ultimate Holiday Cookie Spread
If you’re anything like me, the holiday season is synonymous with an abundance of delectable cookies. There’s nothing quite like a lavish cookie spread to celebrate Christmas Eve, a festive holiday party, or a heartwarming cookie swap. These chocolate-dipped Oreos are a fantastic centerpiece, but they truly shine when paired with an assortment of other irresistible treats. Here are some of my top recommendations to complete your ultimate cookie display:
- For a unique twist on a classic, I adore these chai snickerdoodle cookies. They perfectly capture all the beloved elements of a traditional snickerdoodle, elevated with a warm, aromatic hint of chai spice!
- If you prefer the timeless comfort of a classic snickerdoodle, look no further than these chewy snickerdoodle cookie bars. They’re sumptuously topped with a thick, creamy layer of eggnog frosting – truly a delightful indulgence!
- These peppermint hot chocolate cookies are a winter dream, featuring a luscious, gooey marshmallow center that perfectly complements a steaming mug of cocoa.
- For an adults-only treat that’s both easy to prepare and incredibly satisfying, try the crispy bourbon buckeyes. They’re ideal for those chocolate and peanut butter cravings, with a hint of sophisticated flavor.
Finally, if you embark on the delightful journey of making these homemade chocolate-covered Oreos, please take a moment to give this recipe a rating or leave a comment below! I genuinely love hearing about your experiences in the kitchen and make it a priority to respond to every single comment. Feel free to ask any questions you might have!
Oh, and don’t forget to tag me on Instagram when you share your creations! Seeing these recipes come to life in your homes brings me immense joy, and it truly means the world to me!
Chocolate Covered Oreos
Equipment
-
Stainless Steel Mixing Bowls
-
Silicone Baking Mat Sheets
-
Half Sheet Pan
Ingredients
- 1 package Double Stuff Oreo Cookies (approximately 36 cookies)
- 10 oz white chocolate melting wafers
- 10 oz dark chocolate melting wafers (or milk chocolate)
- Crushed candy canes (or other preferred toppings like sprinkles, chopped nuts, or sea salt)
Instructions
-
Melt the White Chocolate: Begin by melting the white chocolate wafers in a microwave-safe bowl according to the package instructions. Typically, this involves heating in 30-second intervals, stirring well after each, until smooth. Once melted, dip about half of your Oreo cookies (approximately 15-18) into the white chocolate, ensuring they are fully coated. Lift each Oreo with a fork, allowing excess chocolate to drip off, and then place it onto a baking sheet lined with parchment paper or a silicone mat. Immediately sprinkle each white chocolate-dipped Oreo with crushed candy canes or your chosen festive topping before the chocolate sets.
-
Melt and Dip with Dark Chocolate: Repeat the entire process with the dark chocolate wafers and the remaining half of your Oreo cookies. Melt the dark chocolate similarly, dip the Oreos, place them on the lined baking sheet, and sprinkle with toppings. For visual appeal, you can drizzle some of the dark chocolate-dipped Oreos with a thin stream of leftover melted white chocolate, or vice versa, to create a beautiful contrast.
-
Chill Until Set: Once all Oreos are dipped and decorated, transfer the baking sheet to the refrigerator. Allow them to chill for at least 30 minutes, or until the chocolate coating is completely firm and set. Once firm, gently remove the chocolate-covered Oreos from the parchment paper. Store them in an airtight container in the refrigerator for up to one week, layering with parchment paper if needed to prevent sticking. Enjoy your festive homemade treats!
