Easy Rustic Peach Blueberry Galette: A Perfect Summer Dessert Recipe
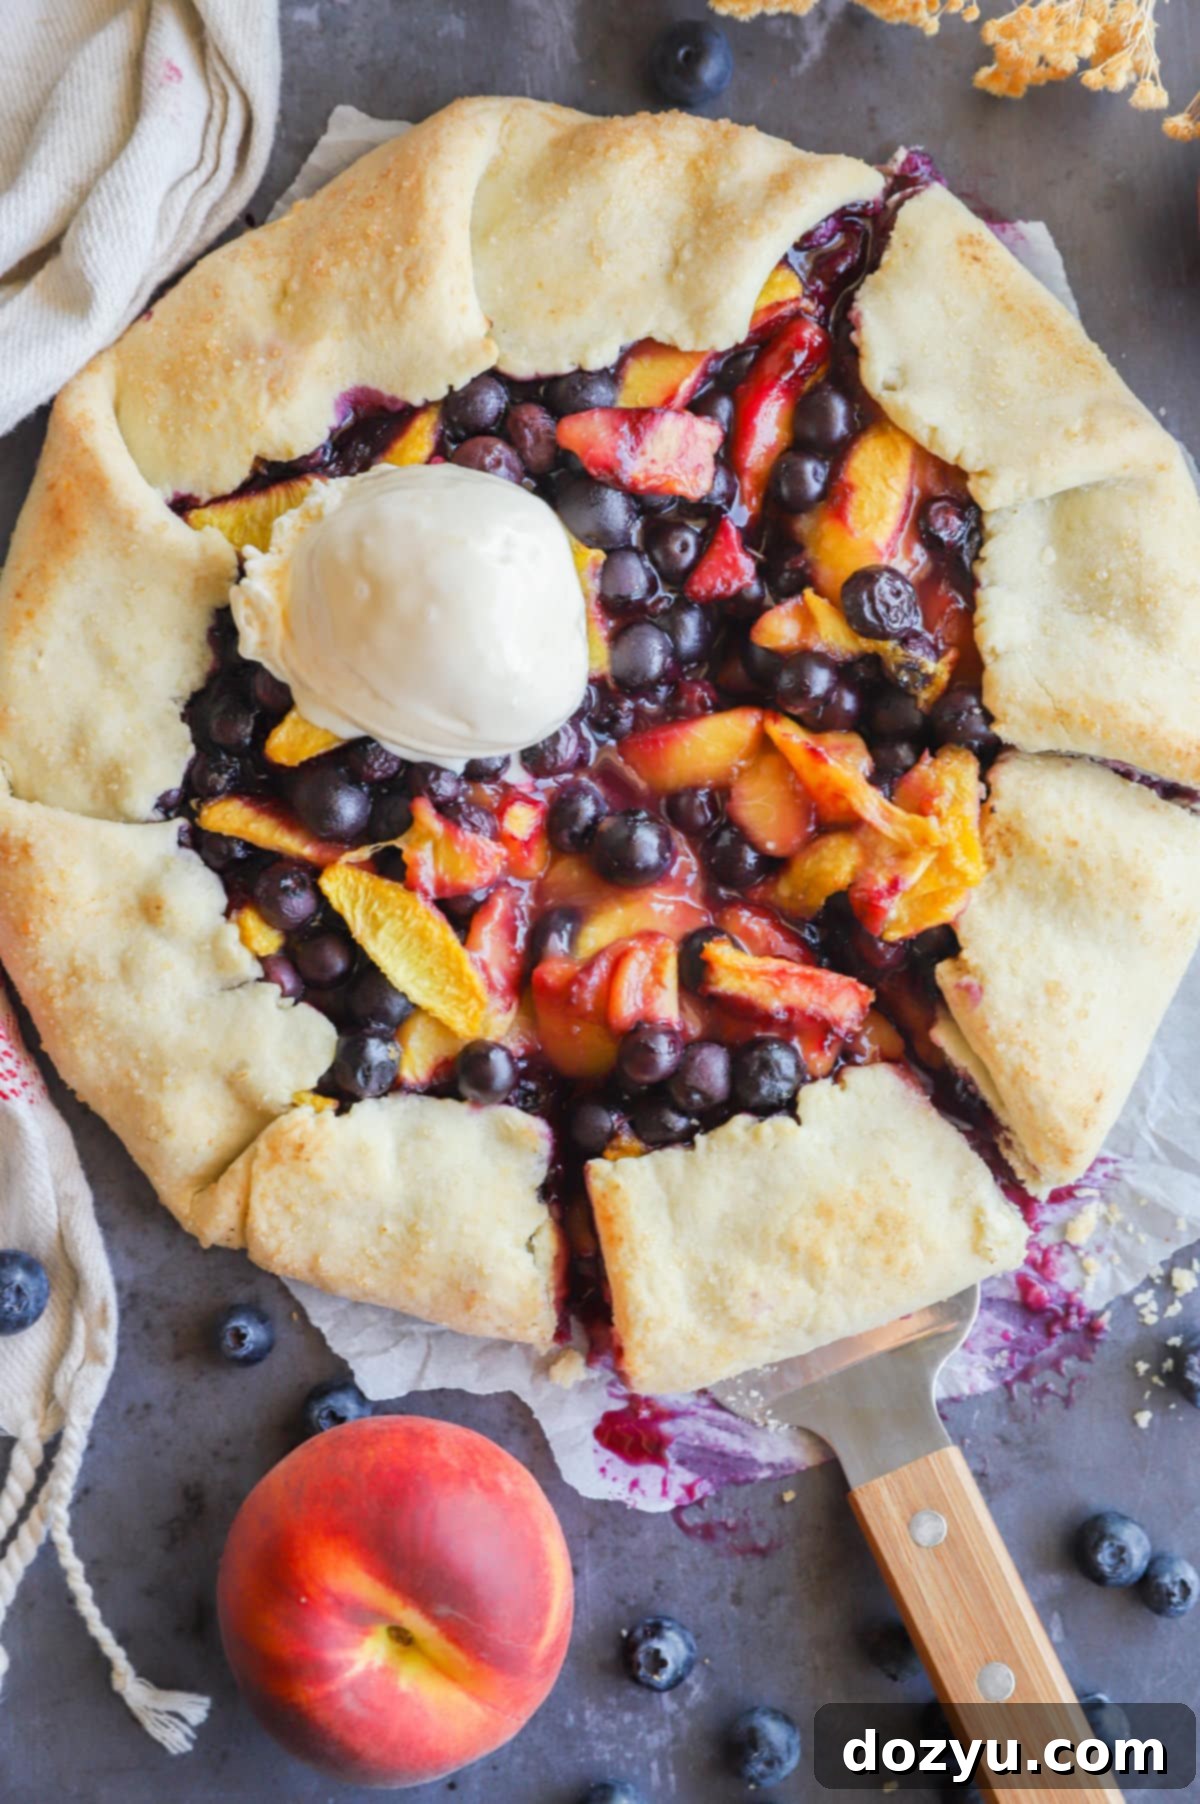
Embrace the simplicity of baking with this delightful peach blueberry galette recipe. Far less intimidating than a traditional pie, this rustic fruit dessert features a flaky, buttery free-form crust artfully folded over a luscious, juicy fruit filling. It’s an ideal treat to enjoy on its own or, for an extra special experience, served warm with a generous scoop of vanilla ice cream. This recipe generously serves 6, making it perfect for family gatherings or a sweet indulgence.
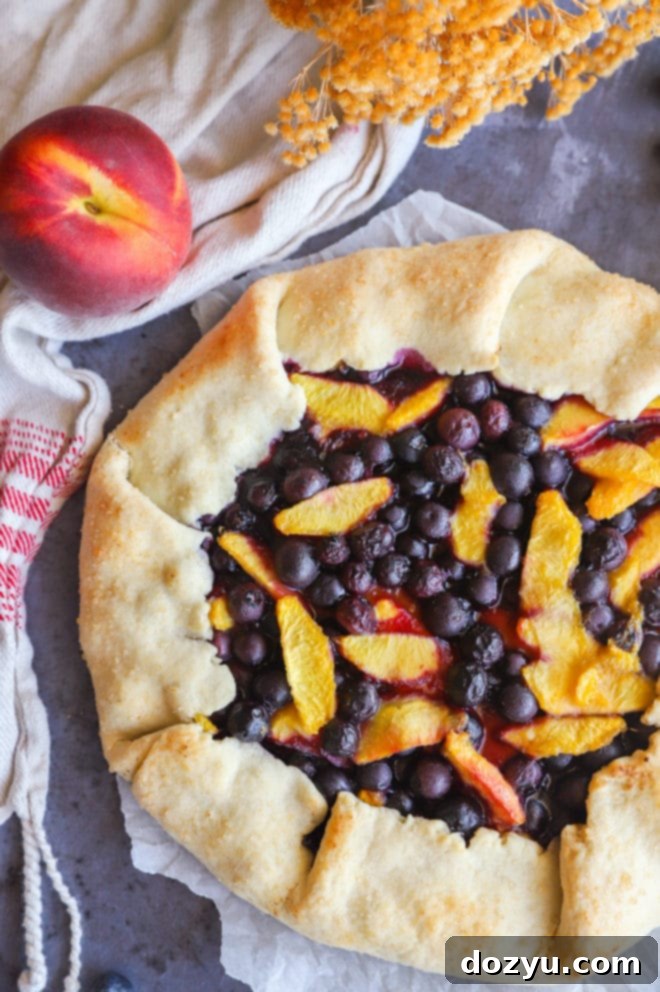
Table of Contents
About This Peach and Blueberry Galette
There’s truly nothing quite like the arrival of peach season. Its fleeting nature makes every peach a treasure, inspiring a flurry of baking and culinary creations before the fresh, sun-ripened bounty disappears. This peach and blueberry galette stands out as a personal favorite, perfectly capturing the essence of summer in a dessert that’s both stunning and surprisingly simple to prepare.
What makes galettes so appealing, especially for home bakers, is their forgiving nature. Unlike the meticulous effort often required for traditional pies with their precise lattice tops or intricate crimped edges, a galette celebrates rustic charm. The beauty lies in its free-form design; simply fold the dough over the juicy fruit filling, and it bakes into an effortlessly elegant pastry. There’s no need for perfection, just a gentle hand to press down the folds and prevent any tears in the dough – a task anyone can master!
Imagine a warm slice of this fruity galette, its tender peaches and bursting blueberries mingling harmoniously, crowned with a generous scoop of creamy vanilla bean gelato. It’s a sensory delight – the crisp texture from the turbinado sugar sprinkled on the crust, the sweet-tart fruit, and the cool, melting ice cream. This dessert offers the perfect end to any meal, especially a hearty summer dinner. And yes, I confess, it’s so irresistible that it often finds its way onto my breakfast, lunch, and even mid-afternoon snack plates. Don’t let judgment cloud your enjoyment – it’s truly that good.
This updated version of an original post from August 14, 2015, retains the beloved recipe while offering much more helpful information, expanded tips, and detailed guidance to ensure your galette is a resounding success.
Why Galettes Are the Perfect Summer Dessert
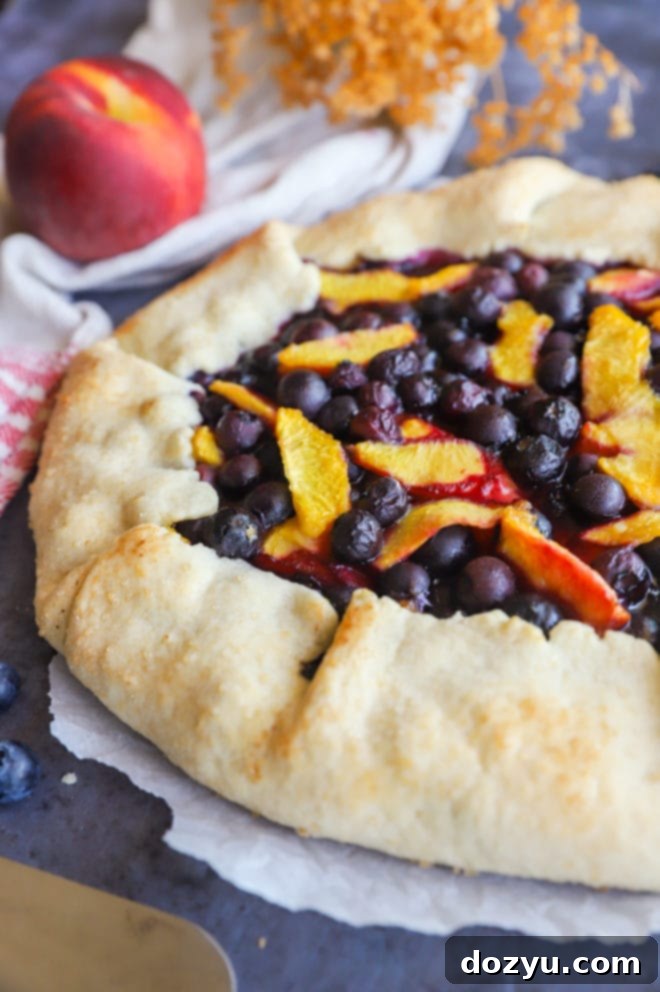
Galettes offer a delightful alternative to traditional pies, especially during the warmer months. Their free-form nature means less stress about achieving a perfectly symmetrical crust, making them accessible to bakers of all skill levels. This rustic charm translates into a dessert that feels homemade and inviting, perfect for casual gatherings or a cozy evening at home.
The beauty of a galette also lies in its versatility. While peaches and blueberries create a classic summer combination, you can easily adapt the filling to feature other seasonal fruits like apples, cherries, plums, or a mix of berries. The simple crust recipe provides a robust yet tender base that complements almost any fruit, allowing its natural flavors to shine through.
Furthermore, the preparation process for a galette is relatively quick compared to many other baked goods. The dough comes together in minutes, requires minimal chilling, and the assembly is straightforward. This efficiency means you can enjoy a warm, homemade fruit dessert without spending hours in the kitchen, leaving more time to savor the summer moments.
Essential Ingredients for Your Galette
Crafting the perfect peach blueberry galette starts with high-quality ingredients. Each component plays a crucial role in developing the rich flavor and ideal texture of this delightful dessert.
- All-Purpose Flour: This is the foundation for both the flaky crust and a thickener for the juicy fruit filling. Ensure you measure it correctly for the best dough consistency.
- Sugar: We use a trio of sugars here for depth of flavor and texture.
- Granulated Sugar: Provides sweetness to both the crust and the filling.
- Brown Sugar: Adds a subtle molasses flavor and moisture to the filling, enhancing the fruit’s natural sweetness. Light brown sugar is generally preferred, but dark brown sugar works in a pinch for a richer taste.
- Raw Sugar (Turbinado Sugar): This is sprinkled on the crust before baking, providing a delightful crunch and a beautiful sparkling finish. It’s optional but highly recommended for that signature rustic look and texture.
- Salt: A crucial ingredient in baking, a pinch of salt balances and enhances all the other flavors in both the crust and the fruit filling, preventing the dessert from tasting flat.
- Unsalted Butter: The secret to a truly flaky crust! Using unsalted butter allows you to control the overall salt content of the recipe. It’s imperative that the butter is very cold and cut into small cubes to create those pockets of steam during baking that result in a tender, flaky pastry. If using salted butter, remember to omit the added salt from the crust recipe.
- Ice Water: Equally important for a flaky crust, ice-cold water helps keep the butter solid and prevents the dough from becoming tough. I recommend filling a bowl with water and ice cubes, then measuring out the required amount of water, being careful not to include any ice cubes themselves.
- Fresh Peaches: The star of the show! Seek out the ripest, most fragrant peaches available. Their natural sweetness and juiciness are paramount. While some prefer to peel them, I find that leaving the peels on adds color, texture, and saves a lot of time, especially with very ripe peaches. If you do peel them, a quick blanch in boiling water often helps. Slice them thinly for even cooking.
- Fresh Blueberries: These jewel-toned berries add a burst of sweet-tart flavor and vibrant color. Like peaches, fresh blueberries are highly recommended for their superior taste and texture. Avoid frozen blueberries if possible, as they can release too much water and make the filling soggy (see FAQ for tips if you must use frozen).
- Lemon Juice: A splash of fresh lemon juice is essential. Its acidity brightens the fruit flavors, cuts through the sweetness, and helps prevent the galette from tasting overly rich. Always opt for fresh lemon juice if possible, but bottled can be used if fresh is unavailable.

Recommended Baking Equipment
Having the right tools can make all the difference in your baking experience. For this peach blueberry galette, a few key pieces of equipment will ensure smooth sailing:
- Food Processor: While not strictly mandatory (you can use a large mixing bowl and a pastry blender), a food processor makes quick work of incorporating the cold butter into the flour for the dough, resulting in a perfectly crumbly mixture with minimal effort and mess.
- Mixing Bowls: A good set of sturdy mixing bowls will be indispensable for preparing both the dough (if not using a food processor) and the fruit filling.
- Marble Rolling Pin: I highly recommend a marble rolling pin. Its weight helps you roll out dough with less effort, and its naturally cool temperature prevents the chilled dough from warming up too quickly, which is crucial for a flaky crust.
- Cutting Board & Chef’s Knife: Essential for safely and efficiently pitting and thinly slicing your peaches.
- Half Sheet Baking Pan (rimmed): A standard piece of bakeware, a rimmed baking sheet is necessary to catch any potential fruit juices that might bubble over during baking, keeping your oven clean.
- Parchment Paper or Silicone Baking Mat: Line your baking sheet with either of these to prevent sticking and make transferring the galette much easier.
Baking Favorites
These are some of my go-to items that make galette baking a breeze:
Marble Rolling Pin
Buy Now →
Marble Pastry Board
Buy Now →
Half Sheet Baking Pan
Buy Now →


Step-by-Step: How to Make a Peach Blueberry Galette
Creating this delicious peach blueberry galette is a straightforward process when you follow these simple steps:
Preparing the Flaky Galette Dough
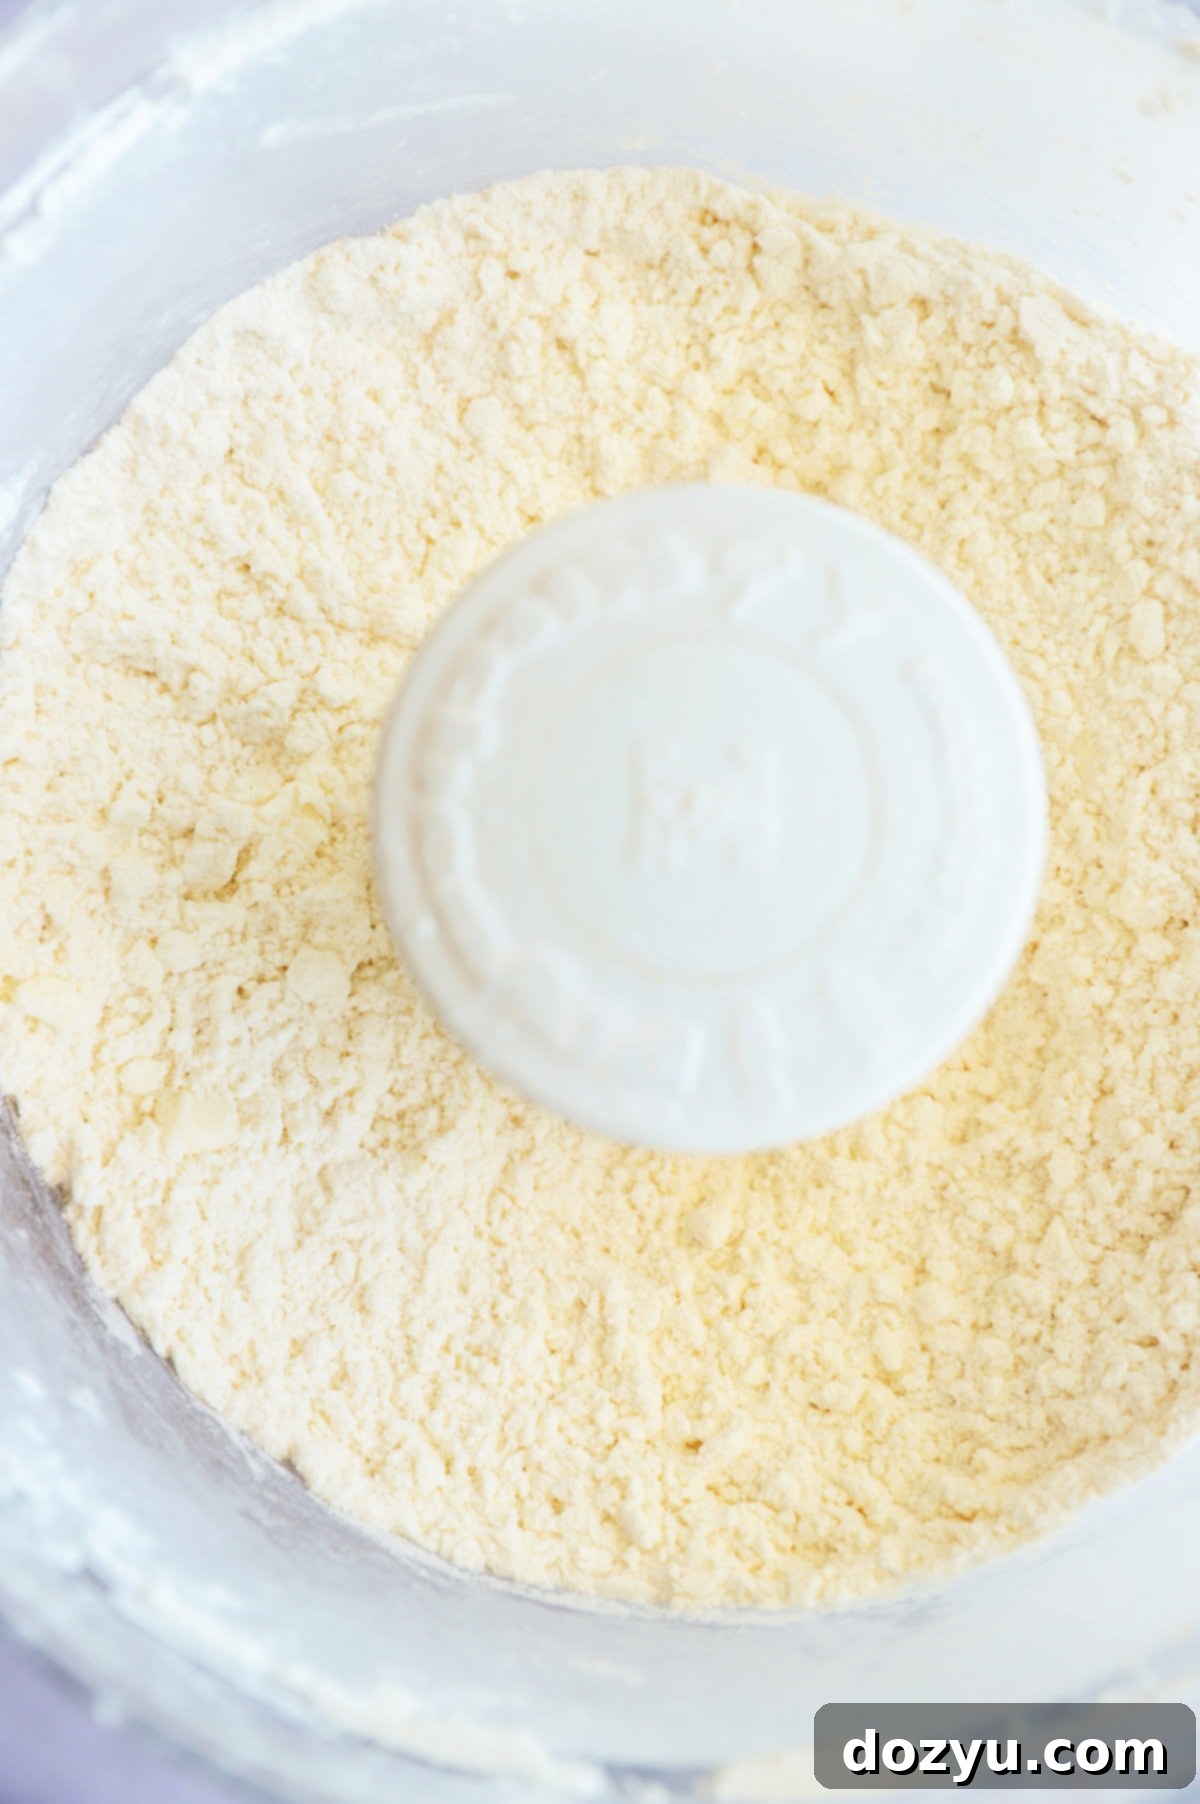
The secret to a truly exceptional galette lies in its crust. For ease and efficiency, I highly recommend using a food processor. Begin by combining the all-purpose flour, granulated sugar, and a pinch of salt in the food processor bowl. Pulse these dry ingredients a few times to ensure they are well-mixed.
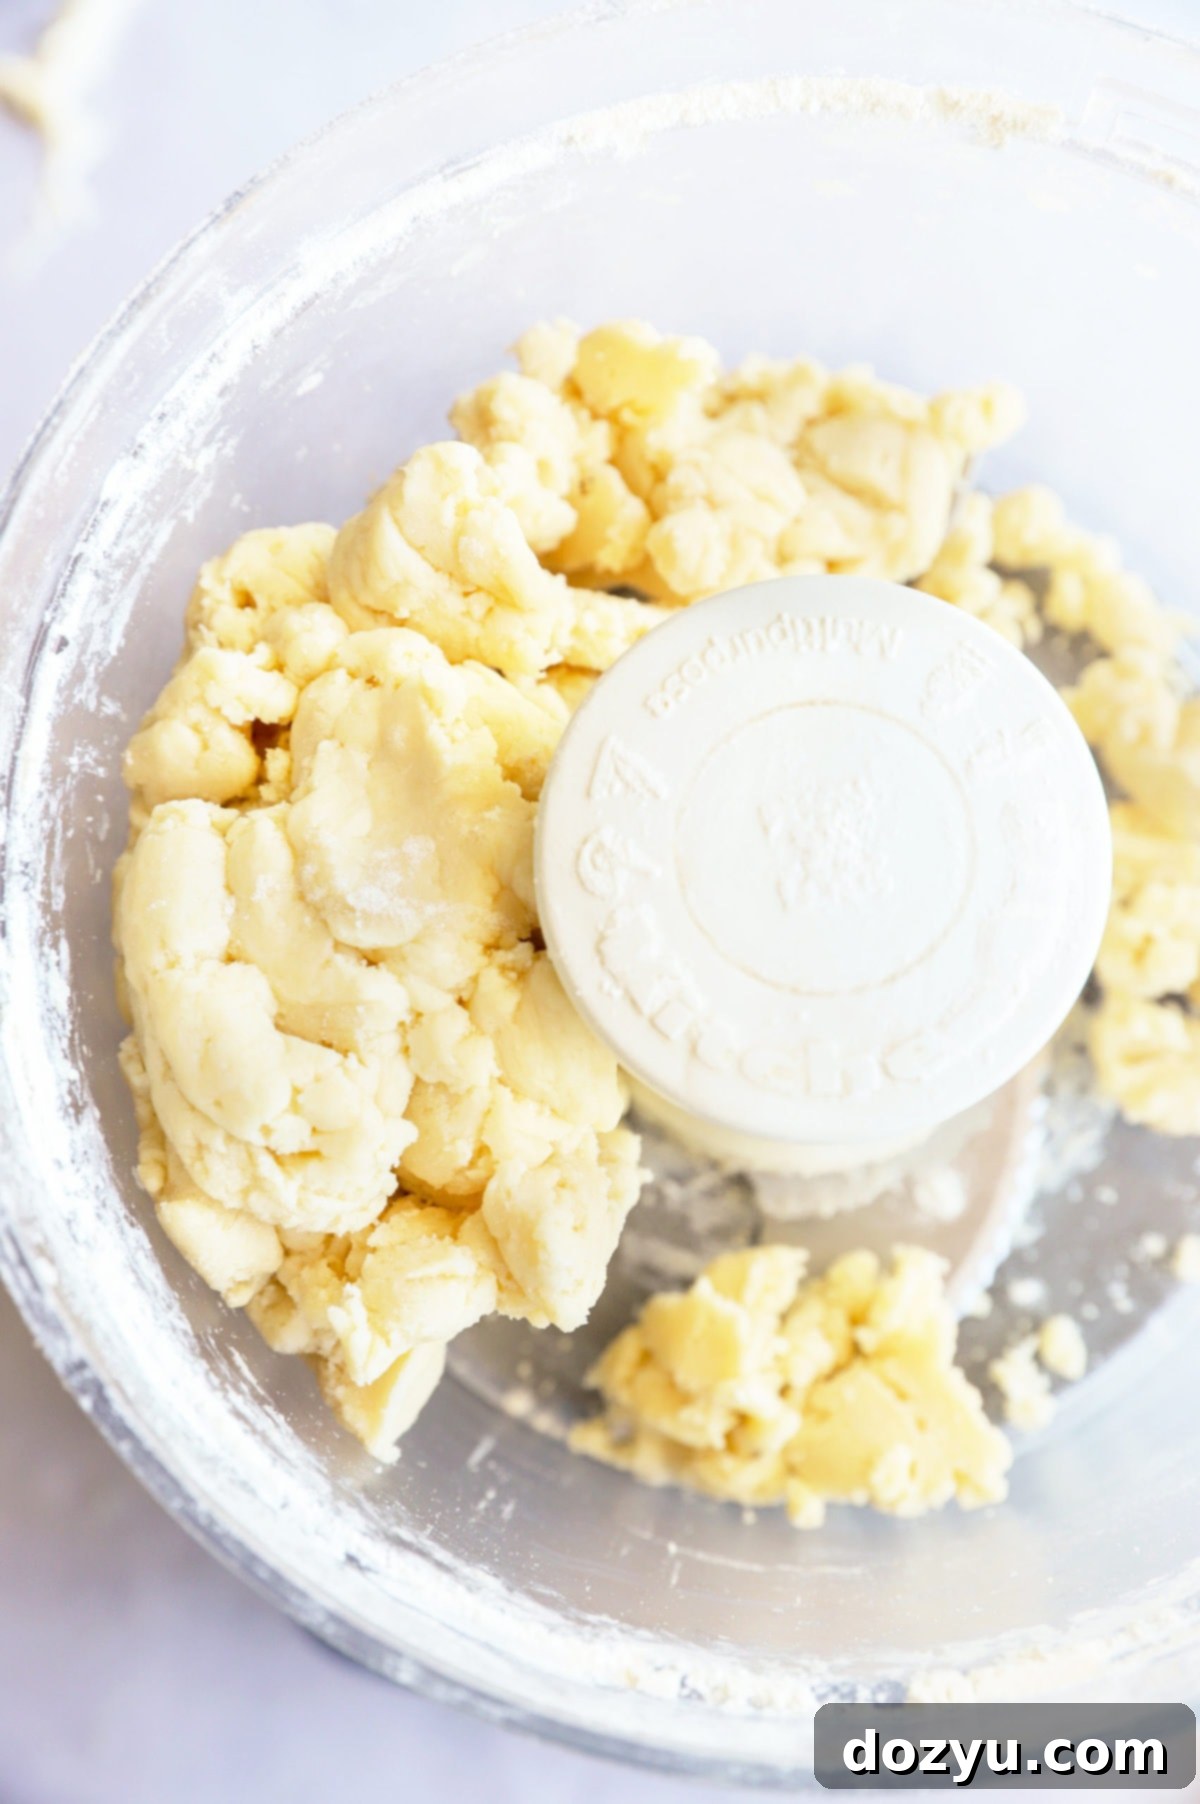
Next, add the very cold, cubed unsalted butter. The coldness of the butter is critical for a flaky crust. Pulse the mixture 8 to 10 times. You want the butter to be cut into pea-sized pieces, resembling coarse crumbs, not fully incorporated. This creates pockets in the dough that turn into steam during baking, yielding that irresistible flakiness.
With the food processor running, gradually add the ice water, one tablespoon at a time. Be cautious not to overdo it; you might not need all the water, especially if you live in a humid climate. Stop adding water once the dough comes together and forms a cohesive ball. Overmixing can develop the gluten too much, resulting in a tough crust.
Chilling the Dough for Perfection
Once your dough has formed, turn it out onto a clean, lightly floured surface. Gently shape it into a flat, approximately 4-inch disk. This shape makes it easier to roll out later. Tightly wrap the dough disk in plastic wrap, ensuring no air can get in. Transfer it to the refrigerator and chill for a minimum of 30 minutes, or even overnight. Chilling the dough allows the gluten to relax, which makes it easier to roll, and also firms up the butter, which is vital for a flaky texture.
Crafting the Vibrant Fruit Filling
While your dough is chilling, it’s the perfect time to prepare the flavorful fruit filling. In a large mixing bowl, combine the thinly sliced peaches, fresh blueberries, a squeeze of fresh lemon juice, granulated sugar, brown sugar, a tablespoon and a half of flour (to absorb excess moisture and thicken the juices), and a pinch of salt. Gently toss all these ingredients together until the fruit is evenly coated. The sugars will draw out the natural juices, and the flour will help create a beautiful, thick syrup as it bakes.

Assembling Your Rustic Masterpiece
Once the dough is adequately chilled, remove it from the refrigerator. On a lightly floured surface, roll out the dough into a roughly 14-inch round. Don’t worry about achieving a perfect circle; the rustic nature of a galette means imperfections are part of its charm. Carefully transfer the rolled-out dough onto a baking sheet that has been lined with parchment paper or a silicone baking mat.
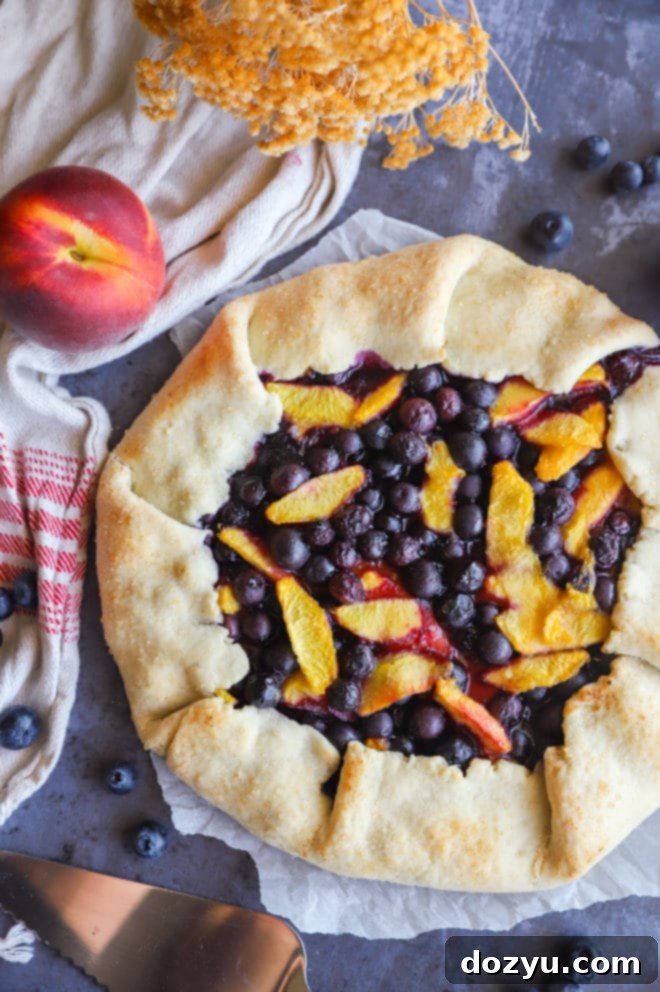
Arrange the prepared fruit filling in the center of the dough, leaving a generous border of about 1 1/2 to 2 inches around the edges. This border will form the crust. Now, with gentle hands, fold the pastry edges up and over the fruit filling. As you work your way around, pleat the dough in evenly spaced folds, pressing gently to seal each fold. This creates the signature rustic look of the galette.
For an extra touch of golden perfection and a delightful crunch, brush the folded pastry border and edges with melted butter. Then, sprinkle generously with turbinado (raw) sugar. This sugar won’t just add sweetness; it will caramelize beautifully, creating a sparkling, textured crust.
Baking to Golden Perfection
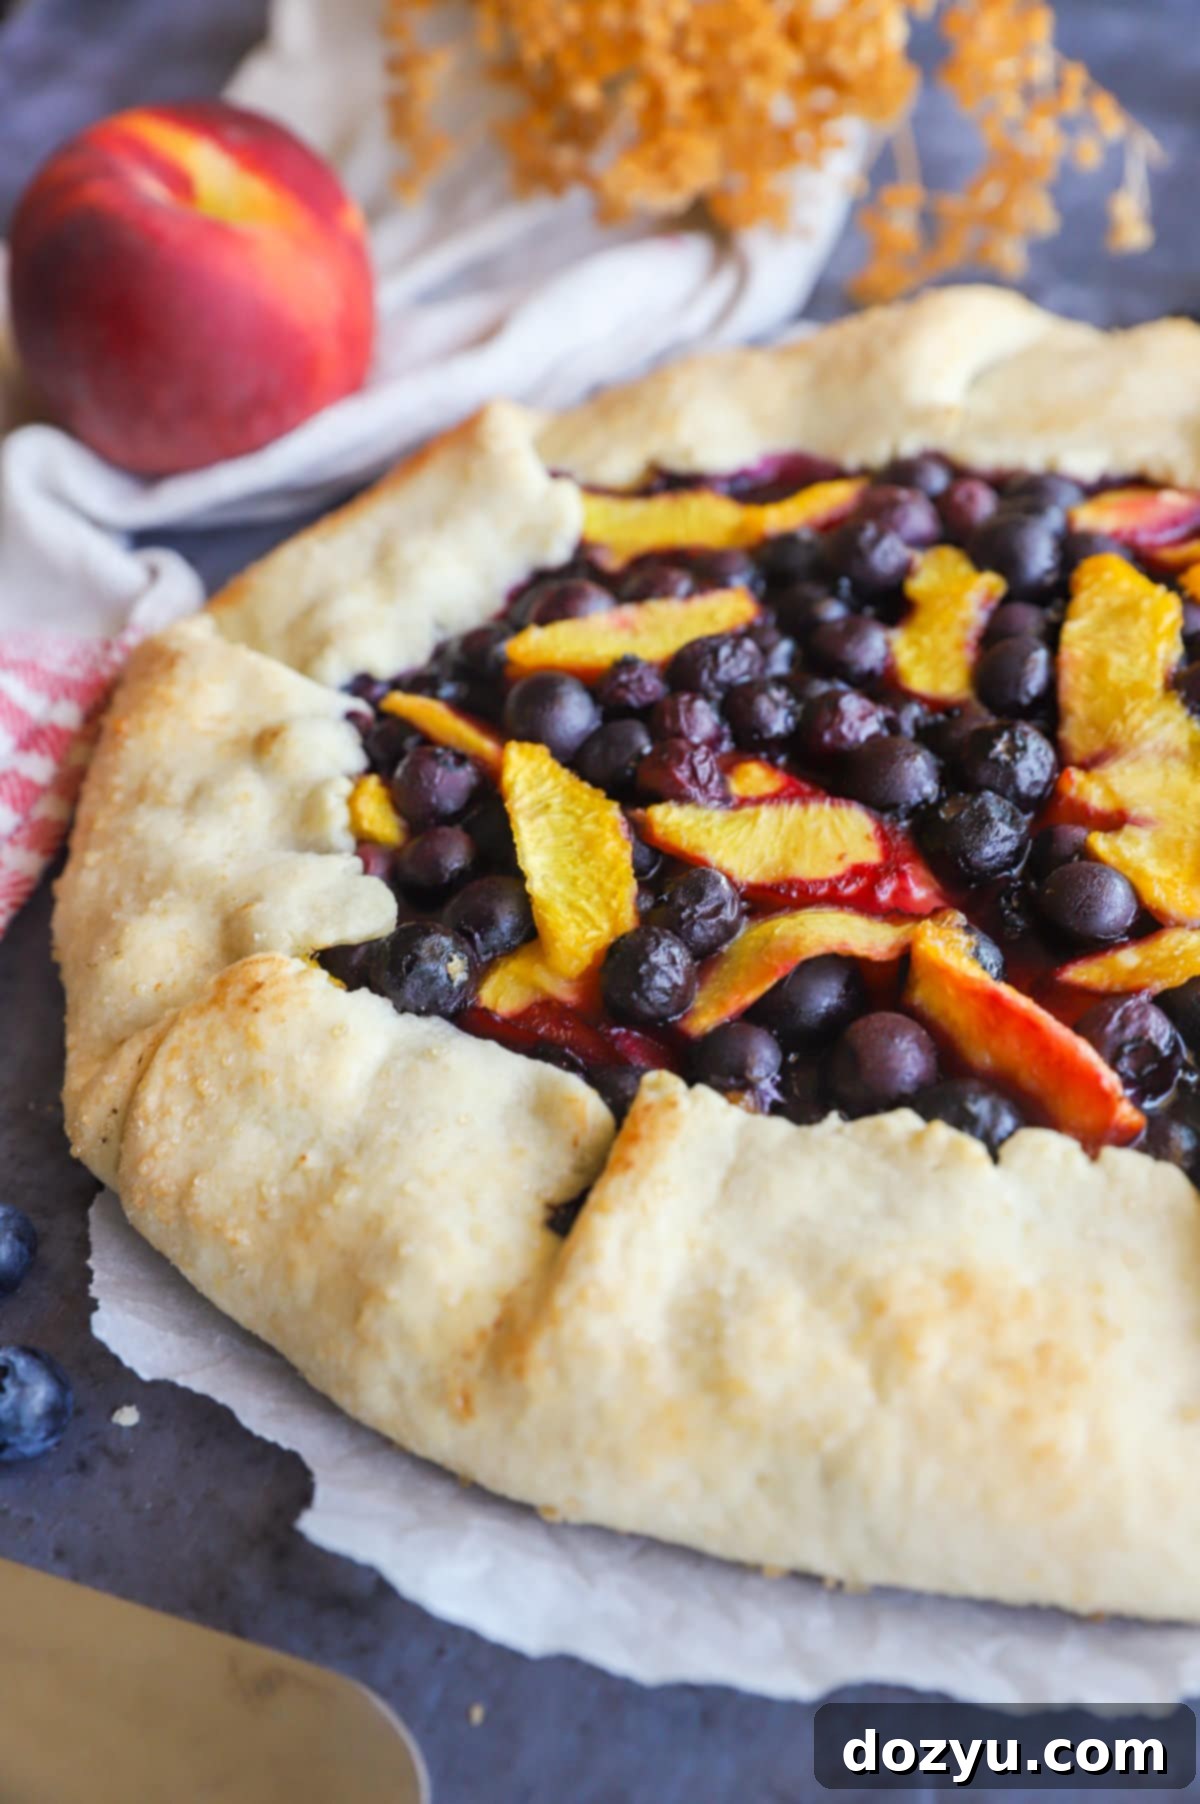
Preheat your oven to 375°F (190°C). Place the assembled galette in the preheated oven and bake for 35 to 45 minutes. The galette is ready when the crust is beautifully cooked through and a lovely light golden brown. The fruit filling should be bubbling and tender, with its juices thickened. Once baked, carefully transfer the galette (still on its parchment paper) to a wire rack to cool for at least 15 minutes before slicing and serving. This resting period allows the fruit juices to settle, preventing them from oozing out excessively when you cut into it.

Tips and Tricks for Galette Success
Achieving a perfect peach blueberry galette is incredibly rewarding. Here are some extra tips to ensure your baking experience is flawless:
- Mastering the Dough: While this recipe provides a foolproof dough, understanding the nuances can elevate your galette. For a deeper dive into creating the most tender, flaky crust, refer to my comprehensive guide on how to make the perfect galette dough. Key takeaways include keeping all ingredients cold and avoiding overworking the dough.
- Selecting Peak Season Fruit: The flavor of your galette hinges on the quality of your fruit. Always strive to pick the ripest, most fragrant peaches and plumpest blueberries available. I’ve included a seasonal tip below on how to choose the best peaches, but generally, ripe fruit is sweet, juicy, and aromatic.
- Preventing a Soggy Bottom: A common concern with fruit desserts is a soggy crust. To minimize this, ensure your fruit filling isn’t excessively wet (especially if using frozen fruit, see FAQ). You can also sprinkle a thin layer of fine breadcrumbs or ground almonds on the base of the rolled-out dough before adding the fruit. This acts as a barrier, absorbing any excess moisture.
- Don’t Rush the Cooling Process: It’s tempting to cut into a warm galette straight from the oven, but letting it rest for about 15 minutes is crucial. This time allows the fruit juices to set and thicken, ensuring they don’t simply run out when you slice, keeping your slices neat and your filling intact.
- Evenly Slicing Peaches: Uniformly sliced peaches not only look better but also ensure even cooking. Aim for slices that are about 1/4 inch thick. This allows them to soften perfectly without becoming mushy or remaining too firm.
- Customizing Your Filling: Feel free to experiment with spices. A pinch of cinnamon, nutmeg, or even a tiny amount of cardamom can complement the peaches and blueberries beautifully. You can also add a tablespoon of a fruit liqueur (like peach schnapps or crème de cassis) for an added layer of flavor.
Craving more delightful galette creations? Explore these other tasty recipes: Blueberry Galette with Thyme Honey | Raspberry Blueberry and Strawberry Galette | Bourbon Caramel Apple Galette | Brandy Cherry Galette
Frequently Asked Questions About Galettes
Here are answers to some common questions you might have when making your peach blueberry galette:
What Defines a Galette?
A galette is a French term referring to a flat, round cake, usually made with a single crust of pastry dough. What makes it distinctively a galette is its free-form, rustic appearance. Instead of baking in a pie dish, the dough is rolled out flat, a sweet or savory filling is placed in the center, and the edges are then folded casually over the filling, leaving the center exposed. This simple folding technique results in a charmingly imperfect, yet elegant, dessert or savory tart that celebrates its ingredients and handmade quality.
Raw Sugar on the Crust: Is It Necessary?
Nope! While I absolutely adore the extra touch of sweetness, the subtle crunch, and the beautiful shimmering effect that raw (turbinado) sugar imparts to the crust, it’s entirely optional. If you don’t have it on hand or simply prefer a less sweet crust, you can definitely skip this step. The galette will still be wonderfully delicious, with a golden and flaky pastry.
Can I Use Frozen Fruit in My Galette?
Technically, yes, you can, but it’s not ideal. For the best flavor and texture, especially with peaches and blueberries, fresh, ripe fruit is always recommended. Fresh fruit contains less water and generally offers a more vibrant taste.
If fresh fruit is unavailable and you must use frozen, there are critical steps to take to prevent a watery and soggy galette:
- Thaw Completely: Ensure the frozen fruit is fully thawed before use.
- Drain Thoroughly: Place the thawed fruit in a colander and let it drain for at least 30 minutes to an hour, allowing all excess liquid to escape.
- Pat Dry: Gently pat the thawed and drained fruit dry with paper towels. This extra step helps remove even more surface moisture, which is crucial for maintaining the integrity of your filling and preventing a soggy bottom crust.
- Adjust Thickener: You might consider adding an extra half tablespoon of flour or cornstarch to your filling mixture if using frozen fruit, just to be safe, as frozen fruit tends to release more liquid during baking.
Searching for more dessert inspiration beyond galettes? Be sure to explore my comprehensive desserts recipe page for a wide array of sweet treats!
Serving Suggestions for Your Peach Blueberry Galette
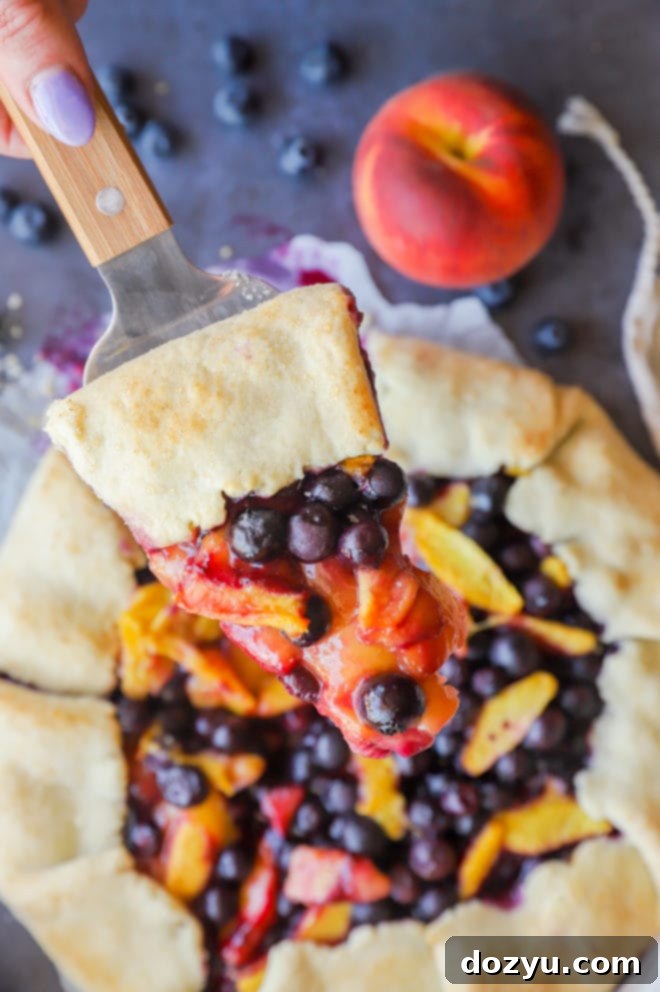
While this peach blueberry galette is utterly delicious on its own, its flavors truly come alive when paired with the right accompaniments. A dollop of creamy vanilla ice cream or a scoop of rich vanilla gelato is the quintessential pairing, offering a delightful contrast of warm pastry and cool, melting sweetness. The French vanilla variety, with its custard-like notes, can be particularly exquisite.
Beyond ice cream, consider a light dusting of powdered sugar for an elegant presentation, or a swirl of freshly whipped cream. For an extra touch of indulgence, a drizzle of caramel sauce or a simple berry coulis could elevate the experience. The beauty of this dessert lies in its ability to satisfy with just the right amount of sweetness and tartness from the summery fruit, making additional toppings a luxurious bonus rather than a necessity.
Planning a full summer menu? This galette makes for an unforgettable grand finale! I recommend starting your culinary journey with savory dry rub wings and refreshing blackberry mojitos. Follow this with a vibrant main course like a farmer’s market pasta, bursting with seasonal vegetables. Capping off such a meal with this peach blueberry galette will leave your guests thoroughly delighted and impressed.
If you’re a true peach enthusiast and want to continue celebrating this amazing fruit, don’t miss out on trying this incredible Instant Pot Peach Cheesecake next! You’ll be pleasantly surprised by the incredibly smooth and creamy texture achieved when cheesecake is cooked in an electric pressure cooker.
How to Store and Reheat Your Galette
Proper storage ensures you can enjoy your delicious peach blueberry galette for days to come. Here’s how to keep it fresh:
- Room Temperature: If you plan to consume the galette within 1-2 days, you can simply wrap it tightly in aluminum foil or plastic wrap and store it at room temperature. This helps maintain the crust’s texture.
- Refrigeration: For longer storage, especially in warmer climates or if your home is humid, it’s best to refrigerate the galette. Wrap it well in plastic wrap and then foil to prevent it from drying out or absorbing refrigerator odors. It will stay fresh for up to 3-4 days in the refrigerator.
- Freezing: This galette freezes beautifully! To freeze, wrap the cooled galette tightly in plastic wrap, then an additional layer of aluminum foil, and place it in a freezer-safe bag. It can be frozen for up to 2 months.
Reheating Instructions:
When you’re ready to enjoy a stored galette, allow it to come to room temperature first if it’s been refrigerated or frozen. For the best experience, especially if you stored it in the refrigerator or freezer, I recommend warming each slice. A quick zap in the microwave for about 15-30 seconds per slice is usually sufficient to bring it back to a warm, comforting temperature. Alternatively, you can reheat the entire galette in a preheated oven at 300°F (150°C) for 10-15 minutes, until warmed through and the crust has crispified slightly. Serve warm, ideally with a fresh scoop of ice cream – YUM!
Seasonal Peach Selection Tip
To ensure you’re picking the absolute best and ripest peaches for your galette, look for those with a deep golden-yellow color, avoiding any that appear too pale or greenish. A ripe peach should feel soft to the touch and yield slightly when you gently squeeze it. A fragrant, sweet aroma is also a tell-tale sign of a perfectly ripe and juicy peach!

I genuinely hope you take the time to create this wonderful peach blueberry galette. If you do, please consider leaving a rating or a comment below! Your feedback means the world to me, and I always make an effort to respond to every single one. Feel free to ask any questions you might have about the recipe, too!
And for those who love sharing their culinary triumphs, be sure to tag me on Instagram if you post a picture of your galette! Seeing these recipes come to life in your kitchens is my absolute favorite part of this journey, and it truly warms my heart.
Peach Blueberry Galette
15 minutes
35 minutes
30 minutes
1 hour
20 minutes
Equipment
-
9-Cup Food Processor
-
Stainless Steel Mixing Bowls
-
3-Piece Bamboo Cutting Board Set
-
Shun Chef’s Knife
-
Marble Rolling Pin
-
Half Sheet Pan
Ingredients
- 1 1/2 cups all-purpose flour
- 1 1/2 tsp granulated sugar
- 1/4 tsp salt
- 8 Tbsp cold unsalted butter cubed into 1/2” pieces
- 1/3 cup ice water*
- 4 large ripe peaches pitted, and thinly sliced (peels on or off, as preferred)
- 12 oz fresh blueberries
- Juice of ½ a lemon
- 1 Tbsp granulated sugar
- 2 Tbsp brown sugar (light or dark)
- 1 1/2 Tbsp all-purpose flour
- Pinch of salt
- 2 Tbsp melted butter (for brushing crust)
- Turbinado sugar (for sprinkling on crust, optional)
Instructions
-
Make the Dough: In the bowl of a food processor, combine 1 1/2 cups flour, 1 1/2 tsp granulated sugar, and 1/4 tsp salt. Pulse a few times to mix thoroughly. Add 8 Tbsp cold butter (cubed into 1/2” pieces) and pulse 8 to 10 times until the mixture resembles coarse crumbs. With the machine running, slowly add 1/3 cup ice water, one tablespoon at a time, until the dough comes together and forms a ball. Do not overmix.
-
Chill the Dough: Turn the dough out onto a clean work surface. Gently form it into a 4-inch disk. Wrap the disk tightly in plastic wrap and refrigerate for at least 30 minutes, or up to overnight, to allow the butter to firm up and the gluten to relax.
-
Prepare for Baking: When you are ready to bake, preheat your oven to 375˚F (190˚C). Line a rimmed baking sheet with parchment paper or a silicone baking mat.
-
Make the Filling: In a large bowl, combine the thinly sliced peaches, fresh blueberries, lemon juice, 1 Tbsp granulated sugar, 2 Tbsp brown sugar, 1 1/2 Tbsp flour, and a pinch of salt. Gently toss to coat the fruit evenly.
-
Assemble the Galette: Remove the chilled dough from the refrigerator. On a lightly floured surface, roll it out into a 14-inch round. Carefully transfer the rolled dough onto your prepared baking sheet. Arrange the fruit filling evenly in the center of the dough, leaving a clear border of about 1 1/2 to 2 inches around the edges.
-
Fold and Finish: Gently fold the pastry edge up and over the filling, pleating the dough as you go and pressing lightly to seal the folds. Brush the exposed pastry border and edges with the 2 Tbsp melted butter. For a beautiful finish, sprinkle the buttered edges generously with turbinado sugar (optional, but recommended).
-
Bake and Serve: Bake for 35 to 45 minutes, or until the crust is golden brown and the fruit filling is bubbly and tender. Once baked, carefully transfer the galette (on its parchment paper) to a wire rack to cool for approximately 15 minutes before slicing. Serve warm, preferably with a scoop of vanilla gelato or ice cream.
Notes
Summer
Cakes, Pies, & Tarts
