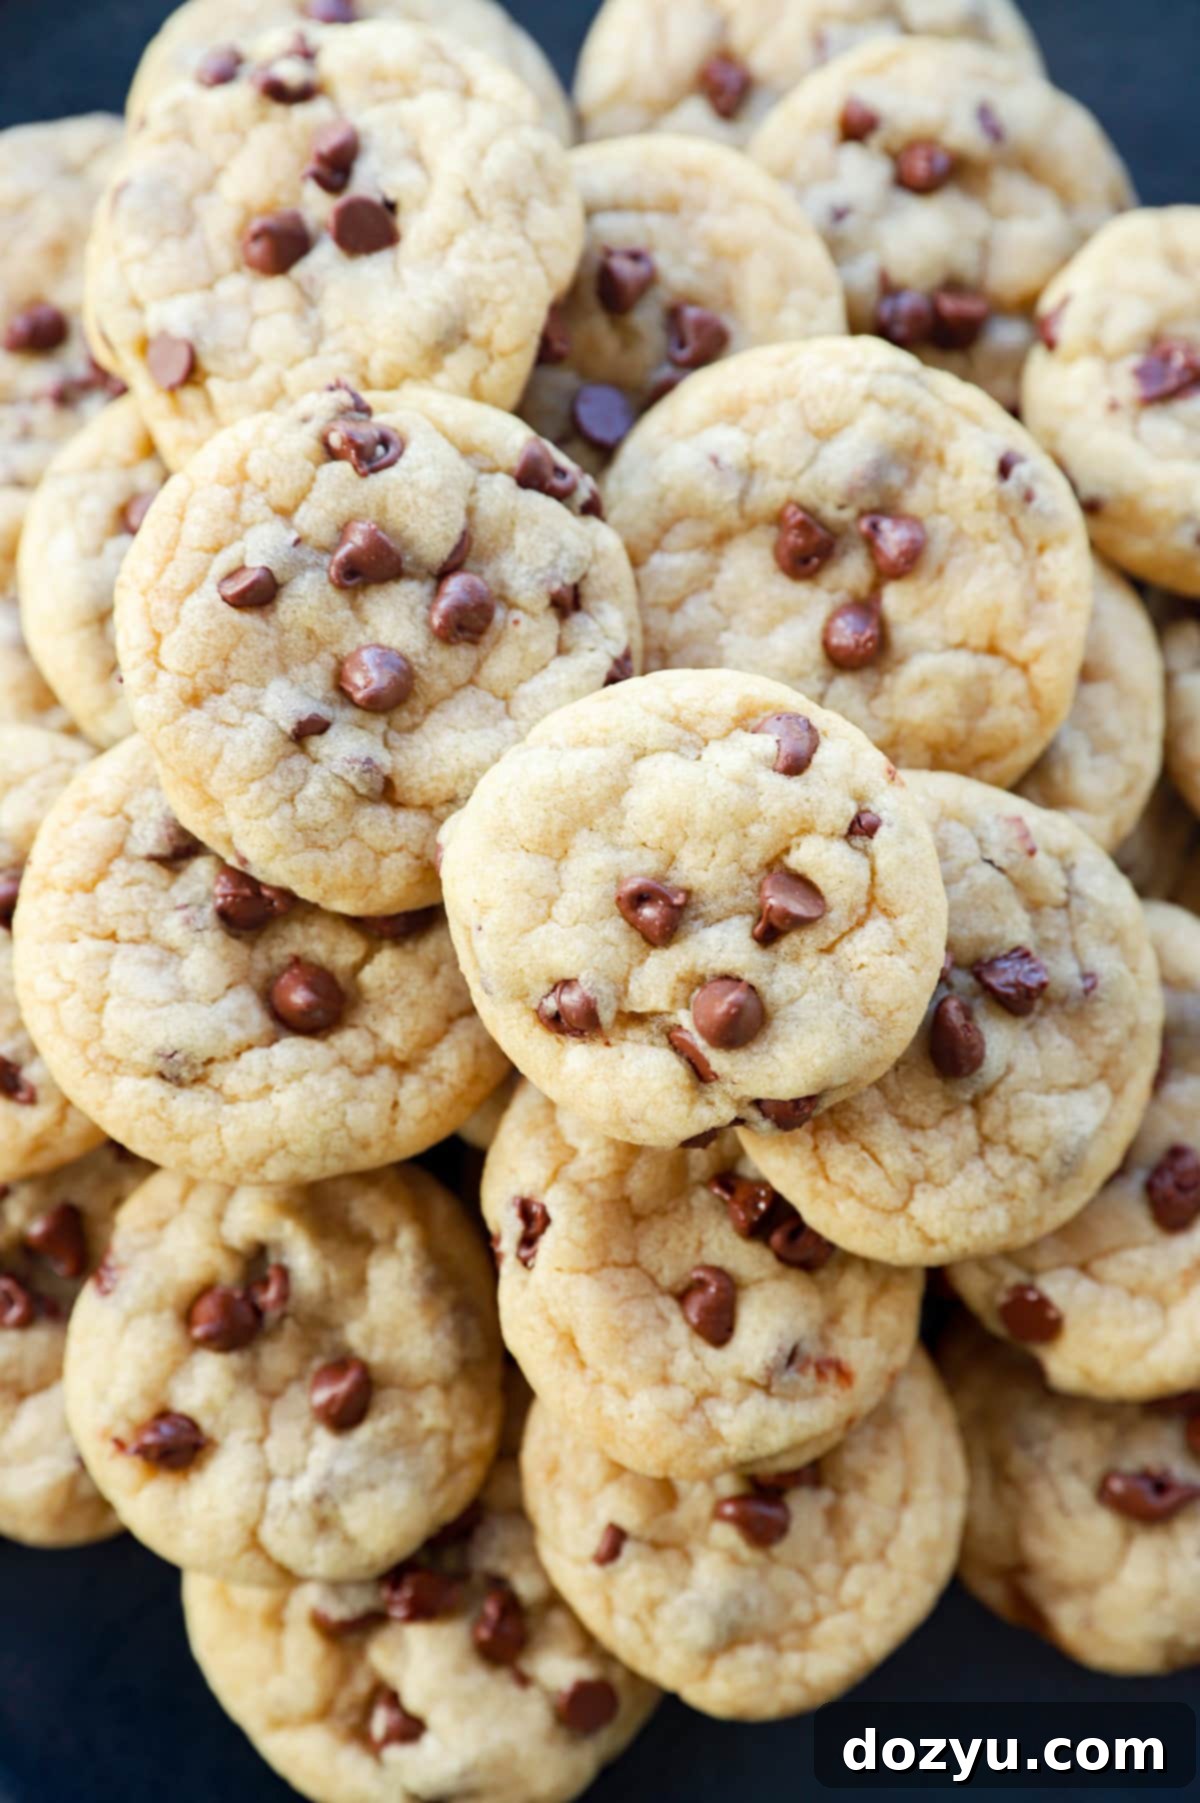
Soft & Chewy Mini Chocolate Chip Cookies: The Ultimate Bite-Sized Treat Recipe
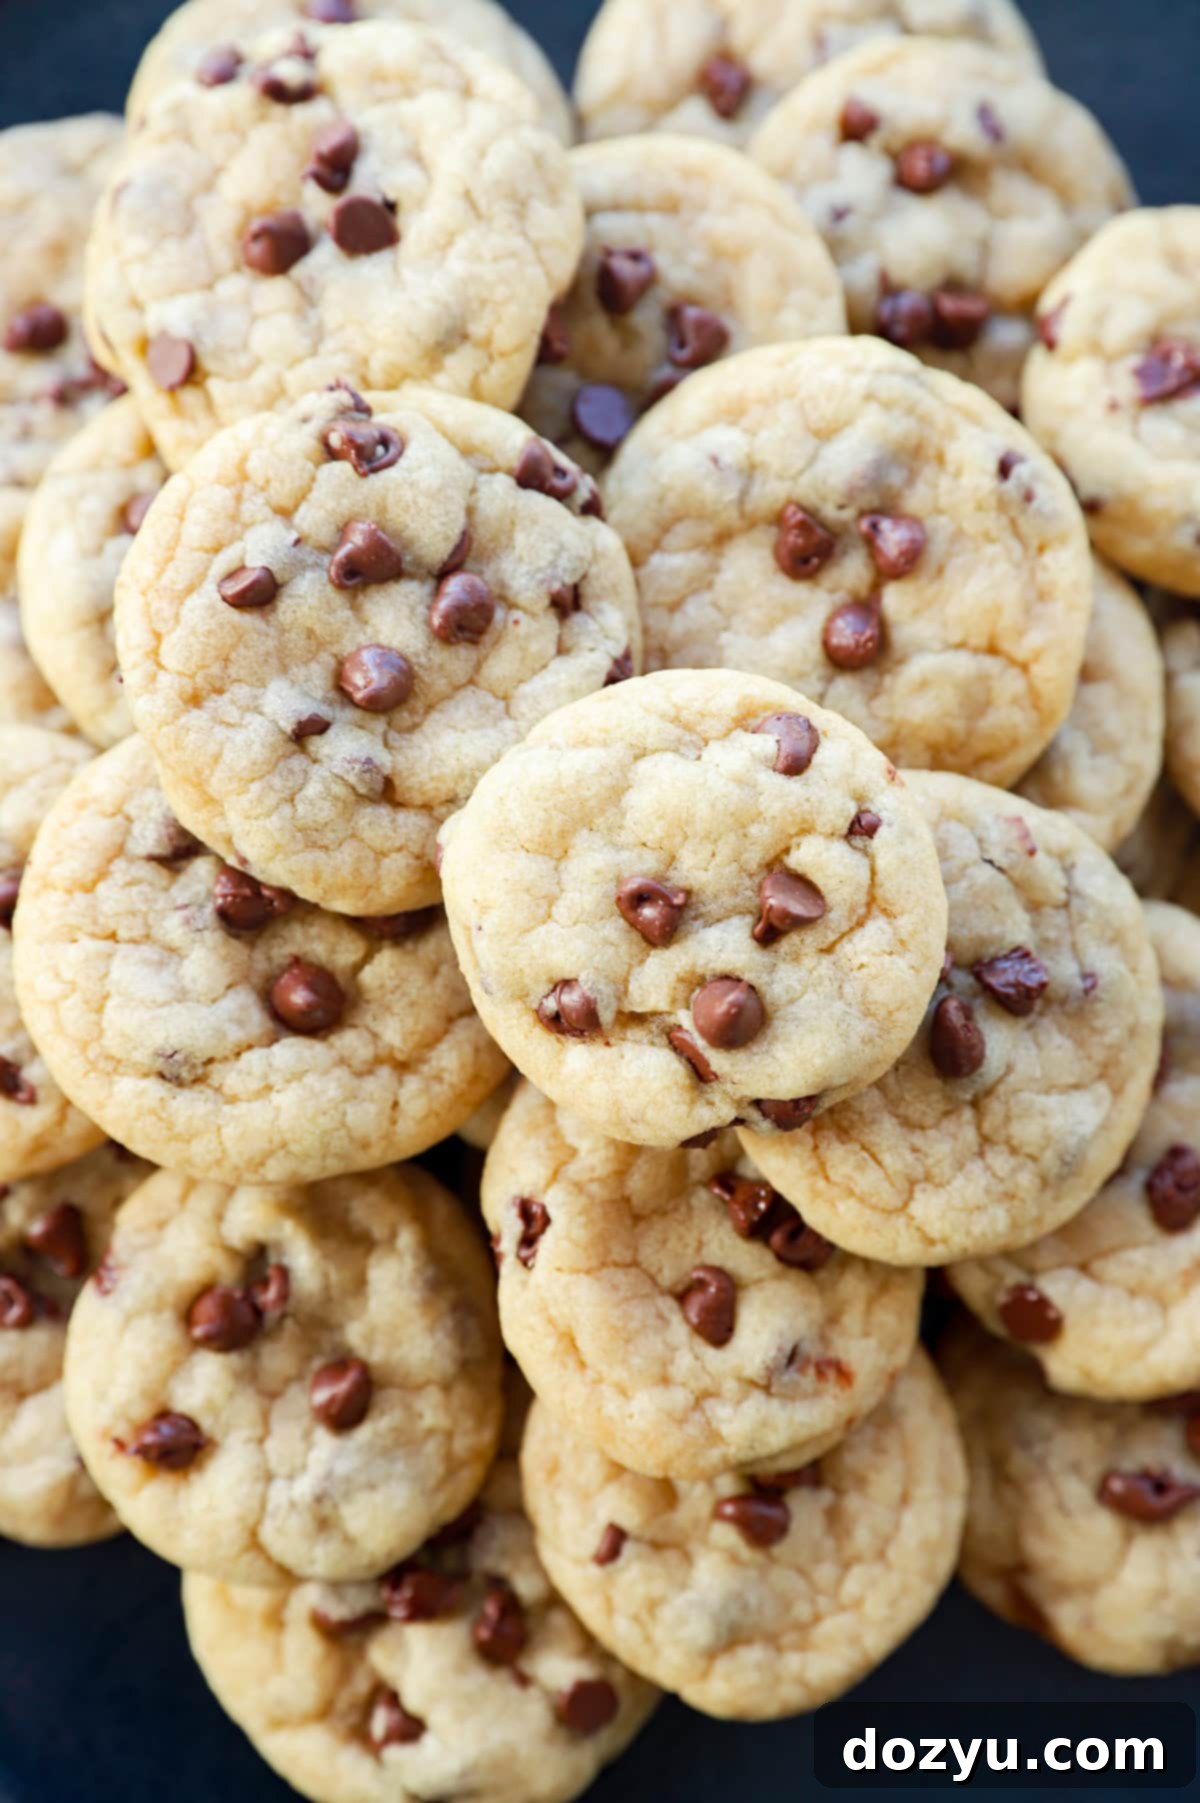
Indulge in the delightful world of mini chocolate chip cookies – soft, wonderfully chewy, and perfectly bite-sized! These adorable little treats are incredibly easy to pop into your mouth, making them the ideal choice for a quick snack, a sweet craving, or a charming addition to any dessert spread. Prepare to fall in love with their irresistible texture and classic flavor, reimagined in miniature form.
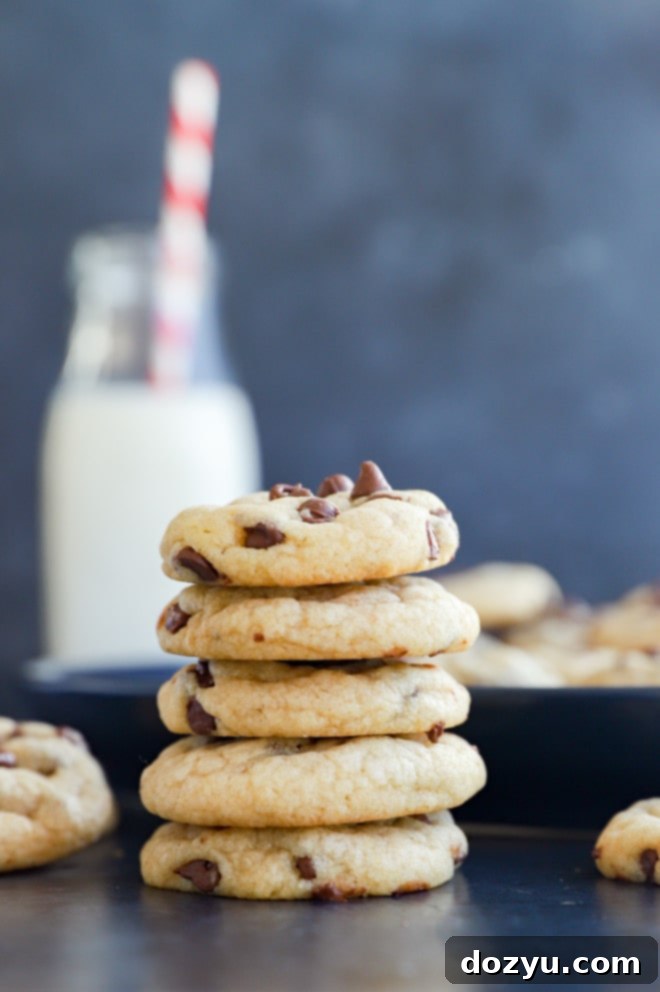
Table of Contents
Toggle
About These Irresistible Mini Chocolate Chip Cookies
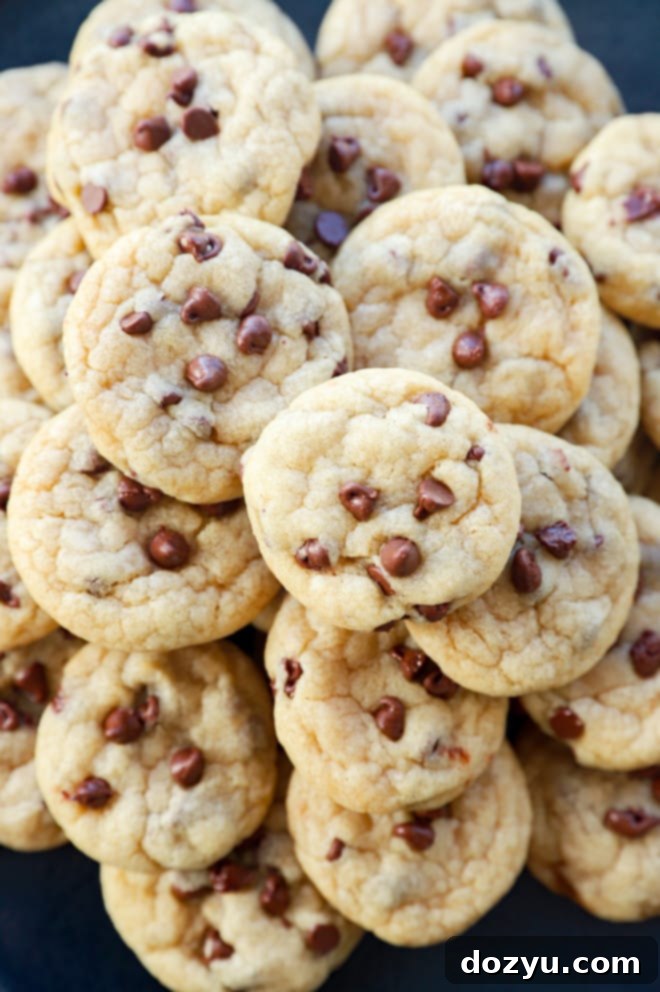
Who could possibly resist a generous platter of soft and chewy mini chocolate chip cookies? Truly, no one can! These adorable, bite-sized morsels are not just a magical sweet treat or a delightful snack; they are perfect for virtually any occasion, from casual gatherings to elegant dessert tables.
We all share a deep love for the classic chocolate chip cookie. It’s the quintessential nostalgic indulgence, instantly conjuring cherished childhood memories and images of cozy days when a glass of milk and a warm cookie were life’s only concerns. While the traditional, larger version holds a special place in our hearts, today we’re embracing the fun and convenience of a miniature rendition!
The distinction between these mini delights and their classic counterparts extends beyond mere size; their texture is equally important. For mini chocolate chip cookies, the goal is emphatically *not* a hard and crunchy bite. Instead, you want them to be exceptionally soft and remarkably chewy, almost melting in your mouth with every tiny nibble. This delicate balance of texture makes them truly irresistible.
You might be wondering, “What’s the secret behind achieving such incredible softness and chewiness?” The answer lies in a meticulous combination of the right ingredients and, crucially, avoiding overbaking. It’s a delicate art, but one that is entirely achievable with a few key considerations.
If there’s one golden rule for this recipe, it’s a resounding plea: DO NOT overbake these cookies! When you remove them from the oven, they will likely appear slightly underdone, and this is exactly what you want. Trust the process! The residual heat from the baking sheets will continue to cook them to perfection as they cool. So, resist the urge to leave them in for “just a few more minutes.” Embrace the seemingly underbaked look, and you’ll be rewarded with perfectly soft centers.
Whether you’re embarking on a quest for the perfect chocolate chip cookie, seeking a comforting homemade treat to brighten your day, or aiming to impress guests at your next social gathering, these soft and chewy mini chocolate chip cookies are unequivocally your answer. They are guaranteed to bring smiles and satisfy even the most discerning sweet tooth.
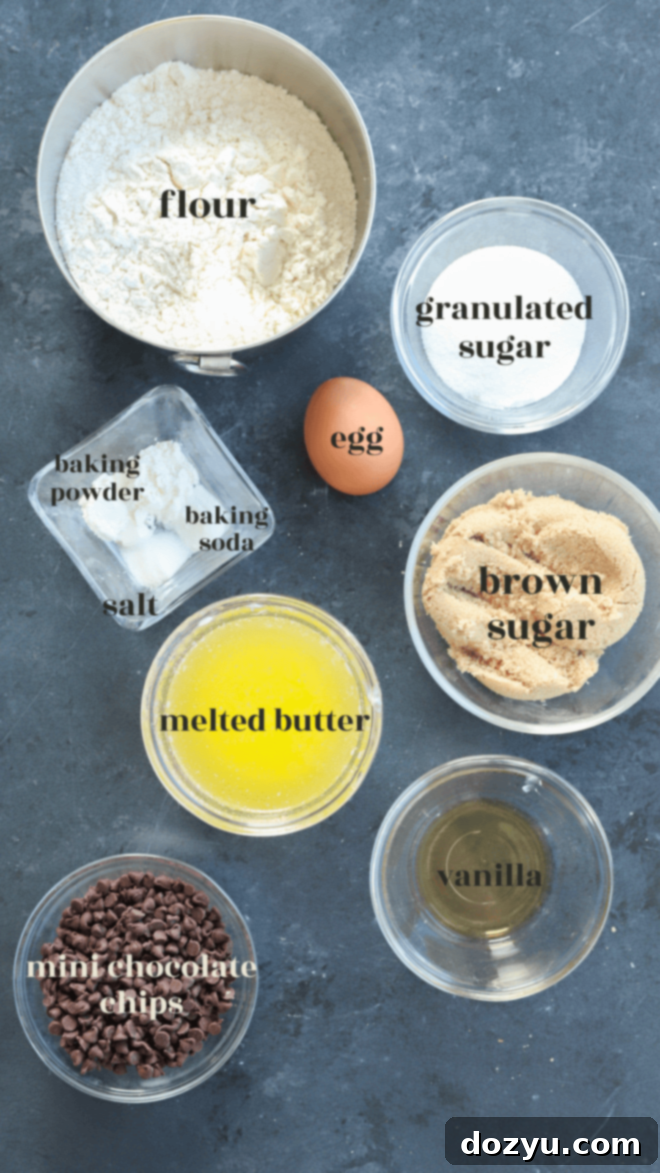
Essential Ingredients for Perfect Mini Chocolate Chip Cookies
Crafting the perfect batch of mini chocolate chip cookies starts with understanding the role each ingredient plays in achieving that coveted soft and chewy texture. Here’s a detailed look at what you’ll need:
- All-Purpose Flour: This forms the primary structure of our cookies. For an even softer crumb, you could experiment with cake flour, which has a lower protein content. Proper measurement is crucial here to avoid dry, hard cookies.
- Cornstarch: This unassuming ingredient is a secret weapon! Cornstarch is key to preventing excessive spreading during baking, ensuring your mini cookies maintain their delightful shape. More importantly, it contributes significantly to the irresistibly soft and tender center that makes these cookies so special.
- Baking Soda: Our sole leavening agent, baking soda, helps the cookies rise slightly and achieve their signature texture. Always double-check the expiration date – expired baking soda won’t perform its magic!
- Salt: A touch of kosher salt enhances all the other flavors, balancing the sweetness and making the chocolate taste even richer. If you opt for salted butter, remember to omit the added salt from the recipe to avoid an overly salty outcome.
- Unsalted Butter: The foundation of rich, flavorful cookies. Using unsalted butter allows you to control the exact amount of salt in your recipe. If only salted butter is available, adjust the recipe by removing the additional salt. Ensure your butter is slightly cooled after melting to prevent scrambling the egg in the next step.
- Sugars (Light Brown Sugar & Granulated Sugar): This dynamic duo is essential for both flavor and texture. Light brown sugar adds moisture, contributing to the cookies’ chewiness and a deeper, caramel-like flavor. Granulated sugar provides sweetness and helps with crisp edges, ensuring a delightful contrast.
- Large Egg: The egg acts as a binder, bringing all the ingredients together and adding moisture. For best results, ensure your egg is at room temperature before incorporating it into the batter. This allows it to emulsify better with the other ingredients, creating a smoother, more uniform dough.
- Vanilla Extract: A high-quality vanilla extract is a game-changer. It profoundly impacts the overall flavor profile of these cookies, adding warmth and depth. My personal recommendation is a good quality Madagascar Bourbon Pure Vanilla Extract, or you can even make your own at home for an exceptional aroma and taste.
- Mini Semi-Sweet Chocolate Chips: These are absolutely crucial for our mini cookies! Regular-sized chocolate chips would be disproportionately large for these tiny treats. Mini chips ensure that every bite contains a generous amount of melty chocolate goodness, creating that perfect chocolate-to-cookie ratio. You can also add a touch of chopped dark chocolate for an extra layer of complexity and richness.
Must-Have Kitchen Tools for This Recipe
Having the right tools on hand can make the baking process smooth and enjoyable, especially when working with mini cookies. Here’s what you’ll need for these delightful treats:
- Measuring Cups and Spoons: Essential for precise ingredient measurements. Accuracy is key in baking, and these tools ensure you get the perfect balance for soft, chewy cookies.
- Stand Mixer (or Hand Mixer): While you can mix by hand, a stand mixer fitted with a paddle attachment will make combining the butter and sugars, and later the wet and dry ingredients, much quicker and more efficient. It ensures a consistent and well-aerated batter.
- Small Cookie Scoop (or Measuring Spoon): To achieve uniform mini cookies, a small cookie scoop (about 1-2 teaspoons) is incredibly helpful. If you don’t have one, a regular measuring spoon works perfectly for portioning out the dough. Alternatively, you can simply eyeball the portions for your ideal mini size.
- Half Sheet Baking Pans: You’ll need a couple of these to bake your cookies in batches. They provide ample space for the cookies to spread slightly without touching.
- Silicone Mats or Parchment Paper: Lining your baking pans with either a silicone mat or parchment paper is crucial. It prevents the cookies from sticking, ensures even baking, and makes for effortless cleanup.
Step-by-Step Guide: How to Make Mini Chocolate Chip Cookies
Creating these delightful mini chocolate chip cookies is a straightforward process. Follow these steps carefully to ensure a batch of perfectly soft and chewy treats.
Prepare Your Dry Ingredients
Begin by preheating your oven to 350˚F (175˚C). Line two large baking sheets with parchment paper or silicone mats; this will prevent sticking and ensure easy removal of your delicate mini cookies. In a medium bowl, combine the all-purpose flour, cornstarch, baking soda, and salt. Use a whisk to thoroughly mix these dry ingredients together, ensuring they are well incorporated. Set this bowl aside for later use.
Combine Wet Ingredients
Next, in the bowl of a stand mixer fitted with the paddle attachment, add the slightly cooled melted butter. Pour in both the light brown sugar and the granulated sugar. Begin blending on medium speed until the sugars and butter are well combined, creating a creamy mixture. Then, beat in the room temperature large egg and vanilla extract until they are fully incorporated and the mixture is smooth and light.
Form the Dough & Add Chocolate
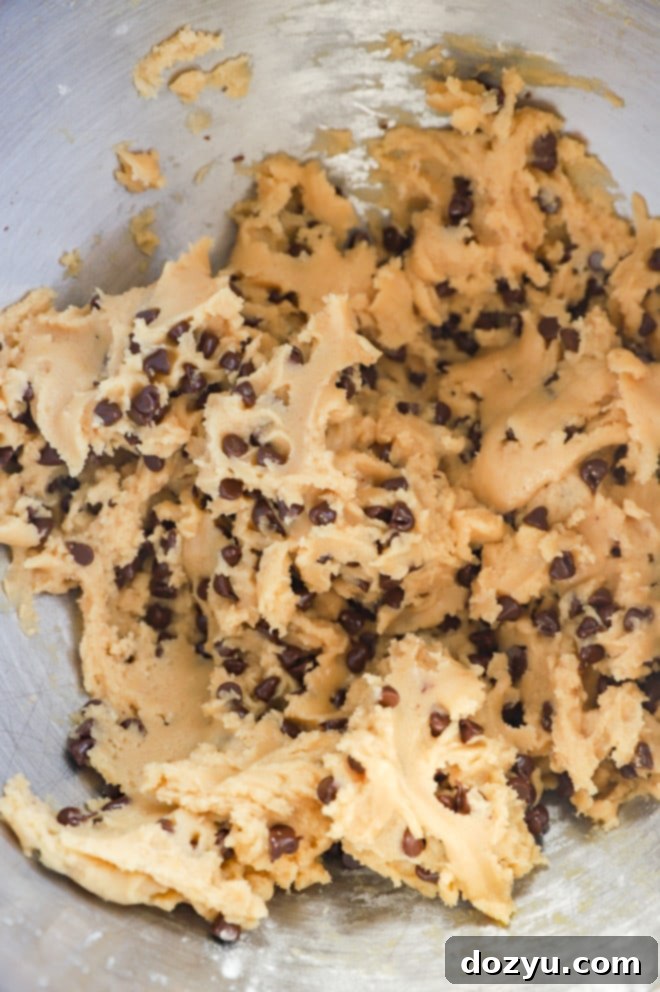
Reduce the mixer speed to low. Gradually and slowly pour in the dry ingredients, mixing until they are just combined with the wet ingredients. It’s crucial not to overmix at this stage; overmixing can develop the gluten in the flour, leading to tougher cookies. Once combined, gently fold in the mini semi-sweet chocolate chips. If you’re adding chopped dark chocolate for extra flavor, fold that in now too, until it’s evenly distributed throughout the dough.
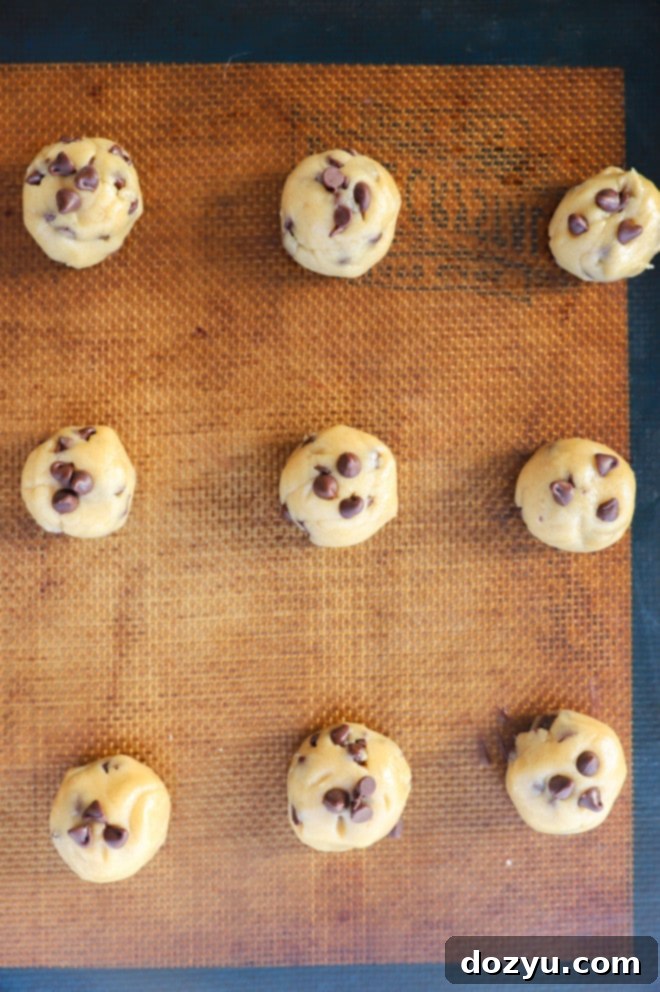
Using a measuring spoon (a slightly heaping 1 to 2 teaspoon portion) or a small cookie scoop, scoop out the dough. Roll and shape each portion into a small, uniform ball and place them onto your lined baking sheets, ensuring they are spaced about 1 inch apart to allow for proper spreading. For an appealing finished look, gently press a few extra mini chocolate chips onto the tops of the dough balls. This step is entirely optional but highly recommended for that classic bakery-style appearance.
Baking Your Mini Masterpieces
Bake your mini chocolate chip cookies for a short duration of 6 to 8 minutes at 350˚F (175˚C). The key here is to watch them closely. The edges should appear just set, and it’s important that they do not turn golden brown. When you remove them from the oven, the cookies will look slightly underbaked in the center, but this is exactly as intended! They will continue to cook and set on the hot baking sheets. Let them cool on the baking sheets for 5 minutes before carefully transferring them to a wire rack to cool completely. This resting period on the hot pan is crucial for achieving their perfectly soft and chewy texture.
Expert Tips for Mini Chocolate Chip Cookie Success
Achieving the perfect soft and chewy mini chocolate chip cookie is easier with these expert tips:
- Measure Flour Properly: Incorrect flour measurement is a common culprit for dry, hard cookies. To avoid this, use the “spoon and level” method: gently stir your flour in its container, then spoon it into your measuring cup until it overflows. Use the back of a knife or a flat edge to level off the top, without packing it down. This prevents adding too much flour, which can drastically impact your cookie’s texture. Some measuring cups even come with built-in levelers now, which can be very handy!
- Don’t Let the Cookie Dough Sit Too Long: For the best results, work quickly to form your dough balls and get them into the oven. Warm dough tends to spread more, leading to thinner, crispier cookies. If you can’t bake all the dough in one go, cover any remaining cookie dough tightly with plastic wrap and refrigerate it. Chilling helps the dough maintain its shape and prevents excessive spreading, resulting in thicker, chewier cookies.
- Pull the Cookies While They Are Soft: This is perhaps the most critical tip for achieving that signature soft and chewy texture. The cookies will appear slightly underdone and very soft when they are ready to be removed from the oven. You’re looking for edges that are just set, not golden brown. Remember, they will continue to firm up and cook on the hot baking sheets after removal. Trust your intuition; an underbaked look is your friend here!
- Use Room Temperature Ingredients: The temperature of your ingredients matters! Allow your large egg to come to room temperature before mixing. This helps it emulsify better with the butter and sugar, creating a smoother, more cohesive dough. Similarly, ensure your melted butter is slightly cooled – it should still be liquid but not hot – to prevent it from “scrambling” the egg when combined.
- Don’t Overmix the Dough: After adding the dry ingredients, mix only until just combined. Overmixing develops the gluten in the flour, which can lead to tough, dense cookies instead of the desired soft and tender ones.
- Press Extra Chocolate Chips on Top: For a bakery-quality appearance and maximum visual appeal, gently press a few extra mini chocolate chips onto the top of each dough ball just before baking. This ensures a beautiful distribution of chocolate on the surface of your finished cookies.
Craving more chocolate cookie recipes? Explore these tasty options: Cookie Dough Bites | Sea Salt Dark Chocolate Cookies | Caramel Stuffed Pumpkin Cookies | Dark Chocolate Coffee Cookies
Frequently Asked Questions About Mini Chocolate Chip Cookies
How do I get the chocolate chips to show on top of the cookies?
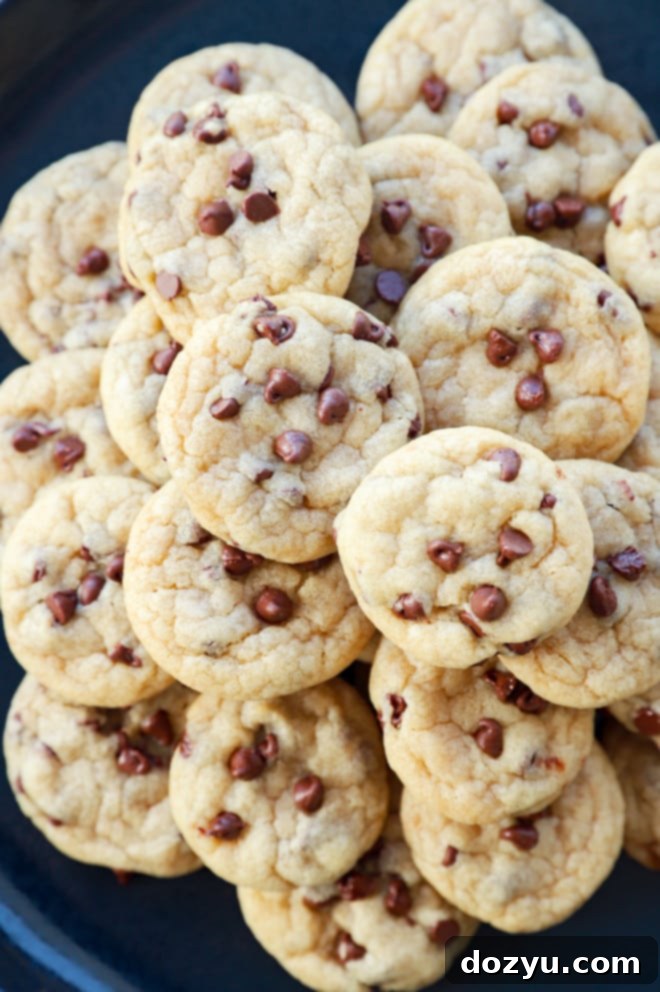
To achieve that picture-perfect, bakery-style look with plenty of chocolate chips visible on the surface of your mini cookies, it’s a simple trick. After you’ve scooped and formed your cookie dough balls and placed them on the baking sheet, gently press a few extra mini chocolate chips onto the very top of each dough ball just before they go into the oven. As the cookies bake and spread slightly, these strategically placed chips will remain beautifully exposed, ensuring a delightful visual appeal and maximizing the chocolate experience in every bite.
Are these cookies crunchy or chewy?
These mini chocolate chip cookies are designed to be exquisitely soft and perfectly chewy, with a tender texture that truly melts in your mouth. Unlike some larger cookies that aim for a crisp edge and soft center, the charm of a mini cookie is its consistent, yielding softness throughout. The specific ingredient ratios and precise baking time in this recipe are calibrated to deliver an entirely soft and chewy experience, making them an absolute joy to eat. There’s virtually no crunch here, just pure, melt-in-your-mouth delight.
Can I freeze them for later?
Absolutely! These mini cookies are wonderfully suited for freezing, making them perfect for future cravings or spontaneous baking sessions. For the absolute best results in terms of texture and flavor preservation, I highly recommend freezing the cookie dough balls *before* baking them. This method generally yields a fresher-ttasting cookie after it’s baked from frozen, compared to freezing already baked cookies.
To freeze the cookie dough, prepare the recipe up to the point of forming the dough into small balls. Place these raw dough balls on a lined baking sheet and freeze them for approximately 3 to 4 hours, or until they are solid. Once frozen, transfer the individual dough balls to an airtight container or a freezer-safe resealable bag. They will keep beautifully in the freezer for up to 3 months. When you’re ready to bake, simply place the frozen dough balls on a lined baking sheet and bake as instructed, adding a few extra minutes to the baking time to compensate for their frozen state.
Why did my cookies come out hard?
If your mini chocolate chip cookies turned out too hard and crunchy instead of soft and chewy, there are typically two main culprits:
- Too Much Flour: This is the most common issue. Adding even a small amount of excess flour can lead to a dry, dense, and hard cookie. Flour acts as a binder and structural component; too much of it creates a stiff dough that bakes into a hard cookie. To prevent this, always measure your flour correctly using the “spoon and level” method: gently fluff the flour with a spoon, then spoon it lightly into your measuring cup without packing it down, and finally, level off the top with a straight edge.
- Overbaking: Baking the cookies for too long will dry them out and make them hard. Remember that these mini cookies should look soft and slightly underbaked when you pull them from the oven. The residual heat from the baking sheet will continue to cook them to perfection. If the edges are golden brown or the centers are fully set in the oven, you’ve likely overbaked them. Stick to the recommended baking time and trust that slightly undone appearance for optimal softness.
Need more inspiration for baking? Check out my dessert recipes page!

Perfect Pairings: What to Serve with Tiny Chocolate Chip Cookies
These tiny chocolate chip cookies are incredibly versatile and pair beautifully with a variety of beverages and occasions. Here are some serving suggestions to make them even more enjoyable:
- Classic Milk Pairing: The timeless combination of milk and cookies is elevated with these mini treats. Grab a cold glass of milk, or for a touch of nostalgia, serve them with milk in a vintage glass bottle with a straw. You can even warm the cookies in the microwave for just 5 to 10 seconds to bring back that “fresh out of the oven” warmth and gooey chocolate!
- Afternoon Snack: Their bite-sized nature makes them the ultimate grab-and-go afternoon snack. They are perfectly portioned for satisfying a sweet craving without overindulging, making them a great addition to lunchboxes or a quick treat between meals.
- Coffee or Tea Companion: For adults, these mini cookies are a delightful complement to a freshly brewed cup of coffee or a comforting mug of tea. Their sweetness and chewy texture provide a lovely contrast to the slight bitterness of coffee or the aromatic notes of tea.
- Dessert Table Addition: Hosting a party or gathering? These mini chocolate chip cookies are fantastic for a dessert table. Their small size makes them easy for guests to enjoy without needing plates and forks. For a truly festive spread, consider pairing them with other easy-to-eat desserts like Funfetti sugar cookie bars, which add a vibrant pop of color and different texture.
- Ice Cream Topping: Crush a few mini cookies and sprinkle them over your favorite vanilla or chocolate ice cream for an instant upgrade to any sundae. Their soft chewiness adds wonderful texture.
- Warm Drink Dip: If you’re feeling adventurous, try dipping them into a warm mug of hot chocolate or even a sweet vanilla latte. The slightly softened cookie absorbs the flavors of the drink, creating a heavenly experience.
Storage & Freezing Guide for Your Mini Chocolate Chip Cookies
Proper storage and freezing techniques ensure your mini chocolate chip cookies remain delicious and ready to enjoy whenever a craving strikes.
Storing Baked Cookies
Once your mini chocolate chip cookies have cooled completely to room temperature, store them in an airtight container or a resealable bag. This will prevent them from drying out and help maintain their soft, chewy texture. Stored correctly, these baked cookies will stay fresh and delicious at room temperature for up to 3 to 4 days. If you’ve prepared the cookie dough in advance but haven’t baked it yet, the dough can be covered tightly with plastic wrap and stored in the refrigerator for up to 2 days before baking.
Freezing Cookie Dough
Freezing the cookie dough before baking is the preferred method for long-term storage, yielding the best texture upon baking. Follow the recipe instructions to prepare the dough and form it into small, uniform balls. Place these dough balls onto a lined baking sheet (they can be close but not touching) and freeze them for 3 to 4 hours, or until they are completely solid. Once frozen, transfer the individual dough balls to a freezer-safe airtight bag or container. This prevents them from sticking together. The frozen cookie dough will last excellently in the freezer for up to 3 months. The best part? You can bake these straight from frozen, simply adding an extra 2 to 3 minutes to the baking time.
Freezing Baked Cookies
If you have leftover baked cookies or prefer to freeze them after baking, allow them to cool completely to room temperature first. Then, place them in airtight containers or freezer-safe bags. They will keep well in the freezer for up to 2 months. While still delicious, the texture might be slightly different than cookies baked from frozen dough.
Thawing Instructions
For frozen cookie dough balls, as mentioned, you can bake them directly from their frozen state. Just remember to add an additional 2 to 3 minutes to the recommended baking time. For frozen baked cookies, you can thaw them at room temperature for a few hours, or overnight in the refrigerator. To bring them back to that “fresh out of the oven” taste and warmth, gently rewarm them in the microwave for about 5 to 10 seconds. This will make the chocolate slightly gooey and the cookies wonderfully soft again.
Explore More Delicious Chocolate Chip Cookie Recipes
If you love these mini chocolate chip cookies, you’re sure to enjoy these other fantastic cookie creations:
- My unique variation on the everything in the pantry cookie boasts a symphony of sweet and salty flavors, along with diverse textures that make every bite an adventure!
- Peanut butter oatmeal chocolate chip cookies offer a delightful blend of chewy and soft, making them a universally loved classic recipe with a wholesome twist.
- Indulge in the sophisticated flavors of sea salt pistachio dark chocolate cookies. The combination of savory pistachios and rich dark chocolate chunks creates an utterly luxurious treat that’s truly decadent.
- For a touch of holiday cheer or a warmly spiced treat, try our cranberry white chocolate oatmeal cookies, featuring a festive hint of cinnamon that makes them ideal for any season.
- If you adore the cinnamon-sugar goodness of snickerdoodles but are pressed for time, these easy-to-make snickerdoodle bars are a perfect solution and can effortlessly feed a crowd!
Finally, if you decide to make this delightful mini chocolate chip cookies recipe, please take a moment to give it a rating or leave a comment below! I truly cherish hearing about your culinary experiences and always make time to respond to every single comment. Feel free to ask any questions you might have about the recipe too!
Oh, and don’t forget to tag me on Instagram if you share your creations! Seeing these recipes come to life in your homes is one of my favorite things, and it honestly means the world to me!
Mini Chocolate Chip Cookies Recipe
Equipment
-
Measuring Spoons
-
Measuring Cups
-
KitchenAid 7-Quart Pro Line Stand Mixer
-
KitchenAid Stand Mixer
-
Silicone Baking Mats
-
Half Sheet Pan
Ingredients
- 1 1/2 cups all-purpose flour
- 2 tsp cornstarch
- 1/4 tsp baking soda
- 1/4 tsp salt
- 1/2 cup unsalted butter melted and cooled slightly
- 1/2 cup packed light-brown sugar
- 1/4 cup granulated sugar
- 1 large egg room temperature
- 1 1/2 tsp vanilla extract
- 2/3 cup mini semi-sweet chocolate chips plus more for topping
Instructions
-
Preheat your oven to 350˚F (175˚C). Line 2 large baking sheets with either parchment paper or high-quality silicone mats. This prepares your baking surface for optimal, non-stick results.
-
In a medium-sized bowl, meticulously whisk together the all-purpose flour, cornstarch, baking soda, and salt. Ensure these dry ingredients are thoroughly combined for even distribution in the dough.
-
Pour the slightly cooled melted butter into the bowl of an electric stand mixer that is fitted with a paddle attachment. Add both the packed light brown sugar and the granulated sugar. Beat on medium speed until the mixture is light, fluffy, and well combined, usually about 1-2 minutes. Then, beat in the room temperature large egg and vanilla extract until fully incorporated and smooth.
-
Reduce the mixer to low speed. Gradually add the whisked dry ingredients into the wet mixture, mixing only until they are just combined. It is crucial to avoid overmixing at this stage to keep the cookies tender. Once the flour streaks are almost gone, gently stir in the mini chocolate chips until they are evenly distributed throughout the dough.
-
Scoop out the cookie dough into slightly heaping 1 tsp to 2 tsp portions. Roll and form each portion into small, neat balls. Arrange these dough balls on your lined baking sheets, ensuring they are spaced approximately 1 inch apart to allow for proper spreading. For a more appealing finish, gently press three mini chocolate chips onto the top of each dough ball. This step is optional but highly recommended for visual charm.
-
Bake for 6 to 8 minutes, or until the edges are just set and the centers still look soft and slightly under-baked. Remember, they should NOT be golden brown. Remove the baking sheets from the oven and allow the cookies to cool on the pans for about 5 minutes. This crucial resting period allows them to continue baking gently and firm up without becoming hard. After 5 minutes, carefully transfer them to a wire rack to cool completely.
-
Store your cooled mini chocolate chip cookies in an airtight container at room temperature for up to 3-4 days to maintain their freshness and soft texture.
