The Ultimate Guide to the Best Turkey Brine: Achieve a Perfectly Moist & Flavorful Thanksgiving Turkey
Unlock the secret to an incredibly tender, juicy, and flavorful turkey this Thanksgiving with our comprehensive guide to the best turkey brine recipe. This simple yet powerful combination of salt, aromatic herbs, and spices transforms an ordinary bird into an extraordinary centerpiece, ensuring every bite is moist and delicious. Preparing this easy brine is a straightforward process that promises to elevate your holiday meal to new heights.
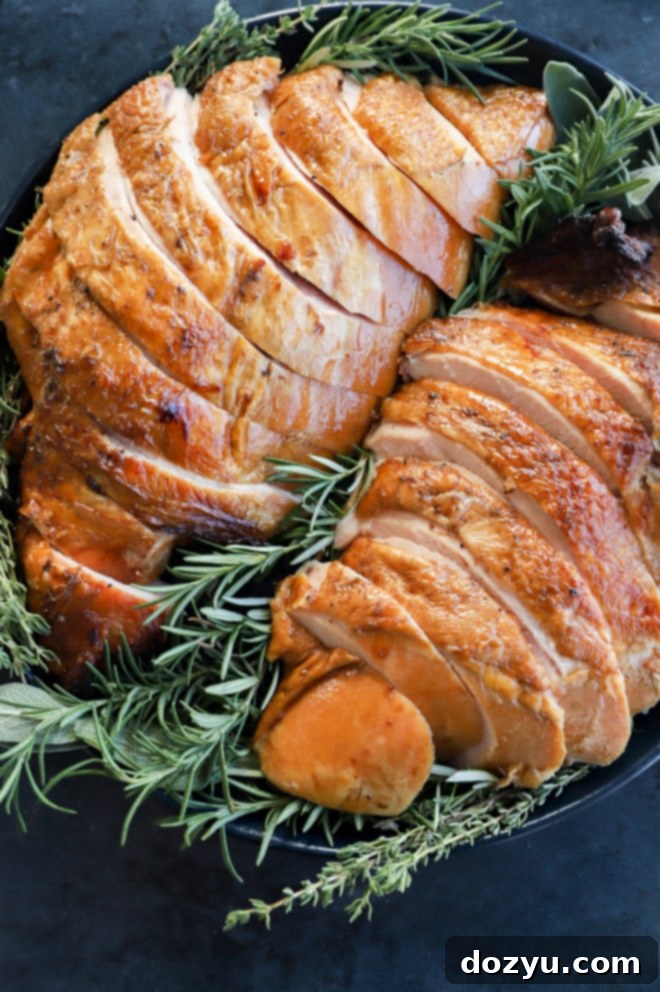
As November arrives and Thanksgiving rapidly approaches, my inbox is consistently flooded with inquiries about the crown jewel of the holiday feast: the turkey. Among the most frequent questions I receive is whether brining a turkey is truly worth the effort. And without hesitation, my answer is always a resounding YES.
While I’ve touched upon brining in other turkey-related posts, this year, I felt it was essential to dedicate an entire article to the art and science of the turkey brine. Here, you’ll discover a comprehensive, step-by-step guide to crafting the most effective turkey brine possible. We’ll delve into the optimal ingredients, the precise process, the necessary tools, and invaluable tips and tricks to guarantee your bird emerges from the oven or smoker perfectly tender, moist, and bursting with flavor on Thanksgiving Day.
table of contents
Toggle
About This Turkey Brine Recipe
Many home cooks wonder about the secret behind a truly moist and tender turkey. The answer lies in one often-overlooked step: brining. Brining isn’t just a recommendation for us; it’s an essential tradition for every Thanksgiving and holiday meal. This technique consistently yields a succulent, flavorful bird with an incredibly juicy texture that simply cannot be matched. It’s the right way to prepare your turkey, guaranteeing exceptional results whether you’re a seasoned chef or roasting your very first turkey.
While the concept of brining might sound time-consuming, it is, in fact, an incredibly simple process. This turkey brine recipe is designed for everyone, from beginners to those who have been roasting turkeys for decades. You might find various brining mixes and ready-made solutions at stores, but I firmly believe that making your own brine is not only more cost-effective but also more efficient. Crafting it yourself allows you the freedom to easily adjust the seasonings, herbs, and aromatics to perfectly suit your taste preferences. All you need is a reliable master recipe like this one as your foundation, and then you can confidently customize it to create your signature turkey.
Prepare to unlock the culinary secrets that will transform your roasted or smoked bird into the star of your holiday table!
Why You Should Brine a Turkey: Is It Truly Worth the Effort?
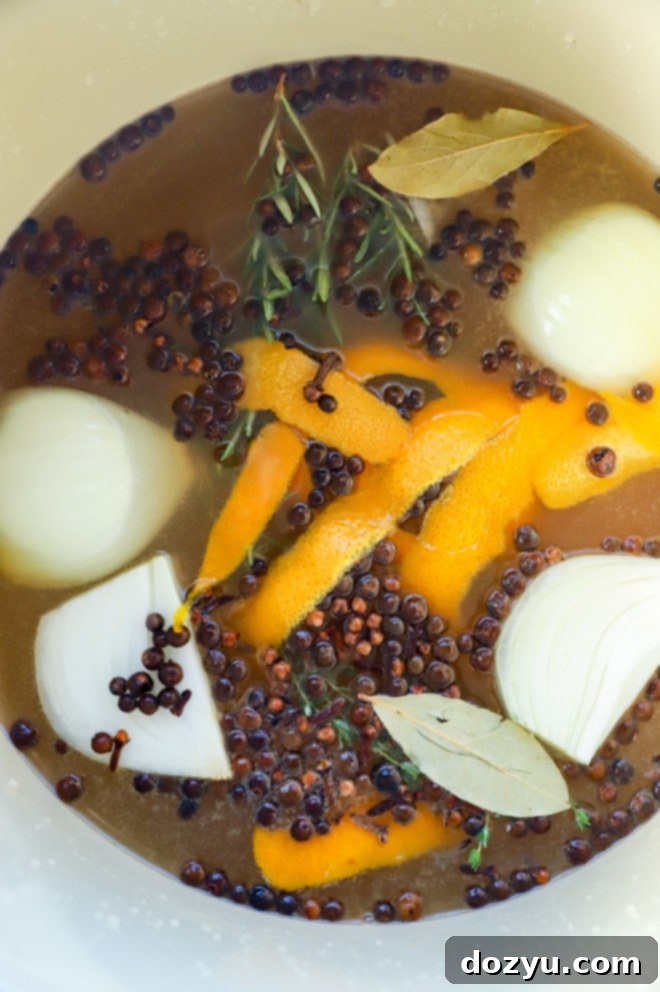
Brining a Thanksgiving turkey is absolutely worth the minimal time and effort it requires. This crucial step dramatically improves both the flavor and the juiciness of the final roasted bird. The process is elegantly simple: you create a saltwater solution infused with a thoughtfully selected blend of aromatics, fresh herbs, and seasonings. The turkey then soaks in this solution, allowing the meat to absorb these incredible flavors and additional moisture.
The profound flavor that the brine imparts into the meat is truly unparalleled. You simply won’t achieve the same depth of taste or consistent moisture through methods like basting or even injecting the turkey. The remarkable moistness and tenderness of a brined turkey are a direct result of the bird absorbing extra liquid before cooking. As the turkey roasts, this absorbed moisture acts as an internal shield, preventing the meat from drying out and ensuring that even the notoriously lean breast meat remains wonderfully juicy and succulent.
Furthermore, if you’re new to roasting a turkey, brining can be your secret weapon. It acts as a fantastic safeguard against overcooking because the meat retains significantly more moisture. This means you have a little extra “wiggle room” in the cooking time, making it easier to achieve a perfectly cooked bird without the stress of it turning dry. This added buffer is invaluable for novice and experienced cooks alike.
Another significant advantage of brining is that it can be done a full day or two before you plan to roast your turkey. This pre-planning frees up precious kitchen space and minimizes your prep time on the hectic Thanksgiving cooking day. We consistently find this flexibility incredibly helpful when we’re juggling multiple side dishes and managing a busy holiday cooking schedule.
Everyday Seasonal Cookbook
Packed with seasonal produce guides, mouth-watering recipes, and much more, this essential cookbook is your go-to resource for delicious, seasonal food suitable for every occasion throughout the year.
Ingredients for the Best Turkey Brine
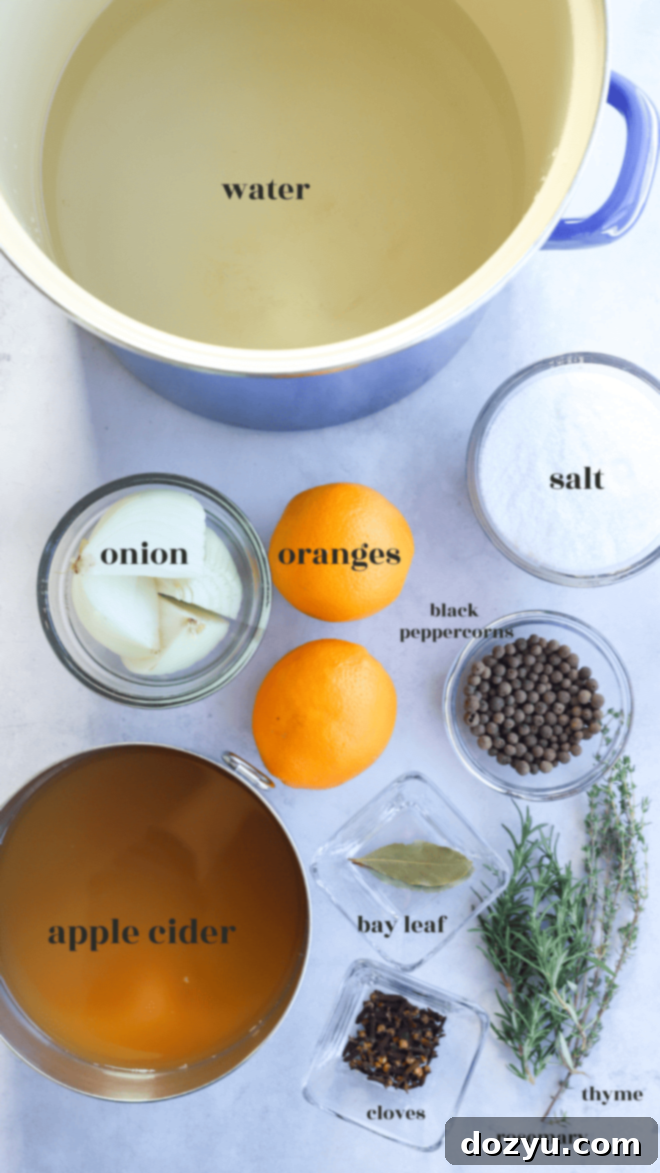
Creating the perfect turkey brine requires a thoughtful selection of ingredients, each playing a vital role in enhancing flavor and moisture. Here’s what you’ll need:
- Water: You’ll need a full 1 gallon (equivalent to 16 cups) of water to form the base of your brine. There’s no need to use filtered water, as you’ll be bringing the entire mixture to a boil, which sterilizes it and helps dissolve the solids.
- Apple Juice or Cider: I personally prefer using fresh apple cider for its complex, tangy-sweet notes that beautifully complement turkey. However, good quality apple juice works just as effectively. For a unique twist, you can also substitute a brown ale or lager for a malty, rich flavor profile.
- Kosher Salt: Use fine kosher salt for this recipe. Its crystals dissolve more readily than coarse salt, ensuring a homogeneous brine solution. Avoid using coarse salt, as it can take significantly longer to fully dissolve, potentially leading to an uneven brine. The salt is crucial for both seasoning the meat and helping it retain moisture.
- Whole Allspice: You’ll need whole allspice berries. These small, potent berries contribute a warm, complex spice that hints at cloves, cinnamon, and nutmeg. Do not use ground allspice, as it can make the brine cloudy and doesn’t infuse the same depth of flavor.
- Whole Cloves: Just like allspice, whole cloves are best for their intense, pungent aroma and flavor. Ground cloves are too strong and can quickly overpower the brine, so stick to whole for a balanced infusion.
- Bay Leaves: Two dried bay leaves will add a subtle, herbaceous, and slightly floral undertone to the brine, enhancing its overall aromatic complexity.
- Fresh Herbs: A generous combination of fresh thyme sprigs and fresh rosemary sprigs is essential. These classic poultry herbs impart a fragrant, earthy, and piney flavor that is synonymous with holiday cooking and penetrates beautifully into the turkey meat.
- Onion: I typically use one large yellow onion, peeled and quartered, for its sweet and savory depth. A white onion can also be used if that’s what you have on hand; it will offer a slightly sharper, more pungent flavor.
- Orange Peel: You will need the fragrant peel from two large oranges. The citrus zest adds a bright, zesty aroma and a hint of sweetness that cuts through the richness of the other ingredients. Remember to save the oranges themselves for juice or to enjoy as a snack!
Essential Equipment for This Recipe
Preparing this turkey brine is straightforward and doesn’t require specialized kitchen gadgets. Here are the must-have tools:
- Measuring Cups and Spoons: Accurate measurements are key for a balanced brine, so ensure you have standard measuring cups and spoons for both liquid and dry ingredients.
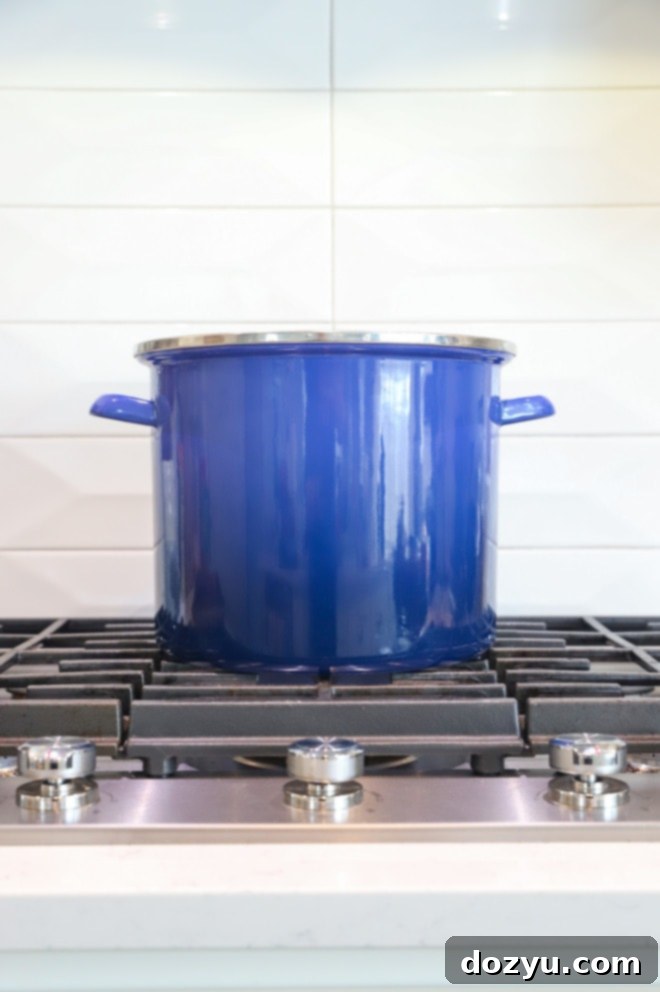
- Large Stockpot: A large stockpot is absolutely essential for making the brine solution itself. It needs to be big enough to comfortably hold the gallon of water plus all the other ingredients, allowing them to boil without overflowing.
- Brining Bag or Large Container with Lid: For the actual brining process, you’ll need a container large enough to fully submerge your turkey in the cooled brine. Options include a dedicated food-grade brining bag (often placed inside a cooler for support and leak prevention), a very large food-grade bucket, or an extra-large stockpot with a lid if you happen to own one that accommodates your turkey.
Here’s How to Brine a Turkey for Maximum Flavor and Moisture
Follow these simple steps to prepare and use your turkey brine:
1. Boil the Brine Ingredients
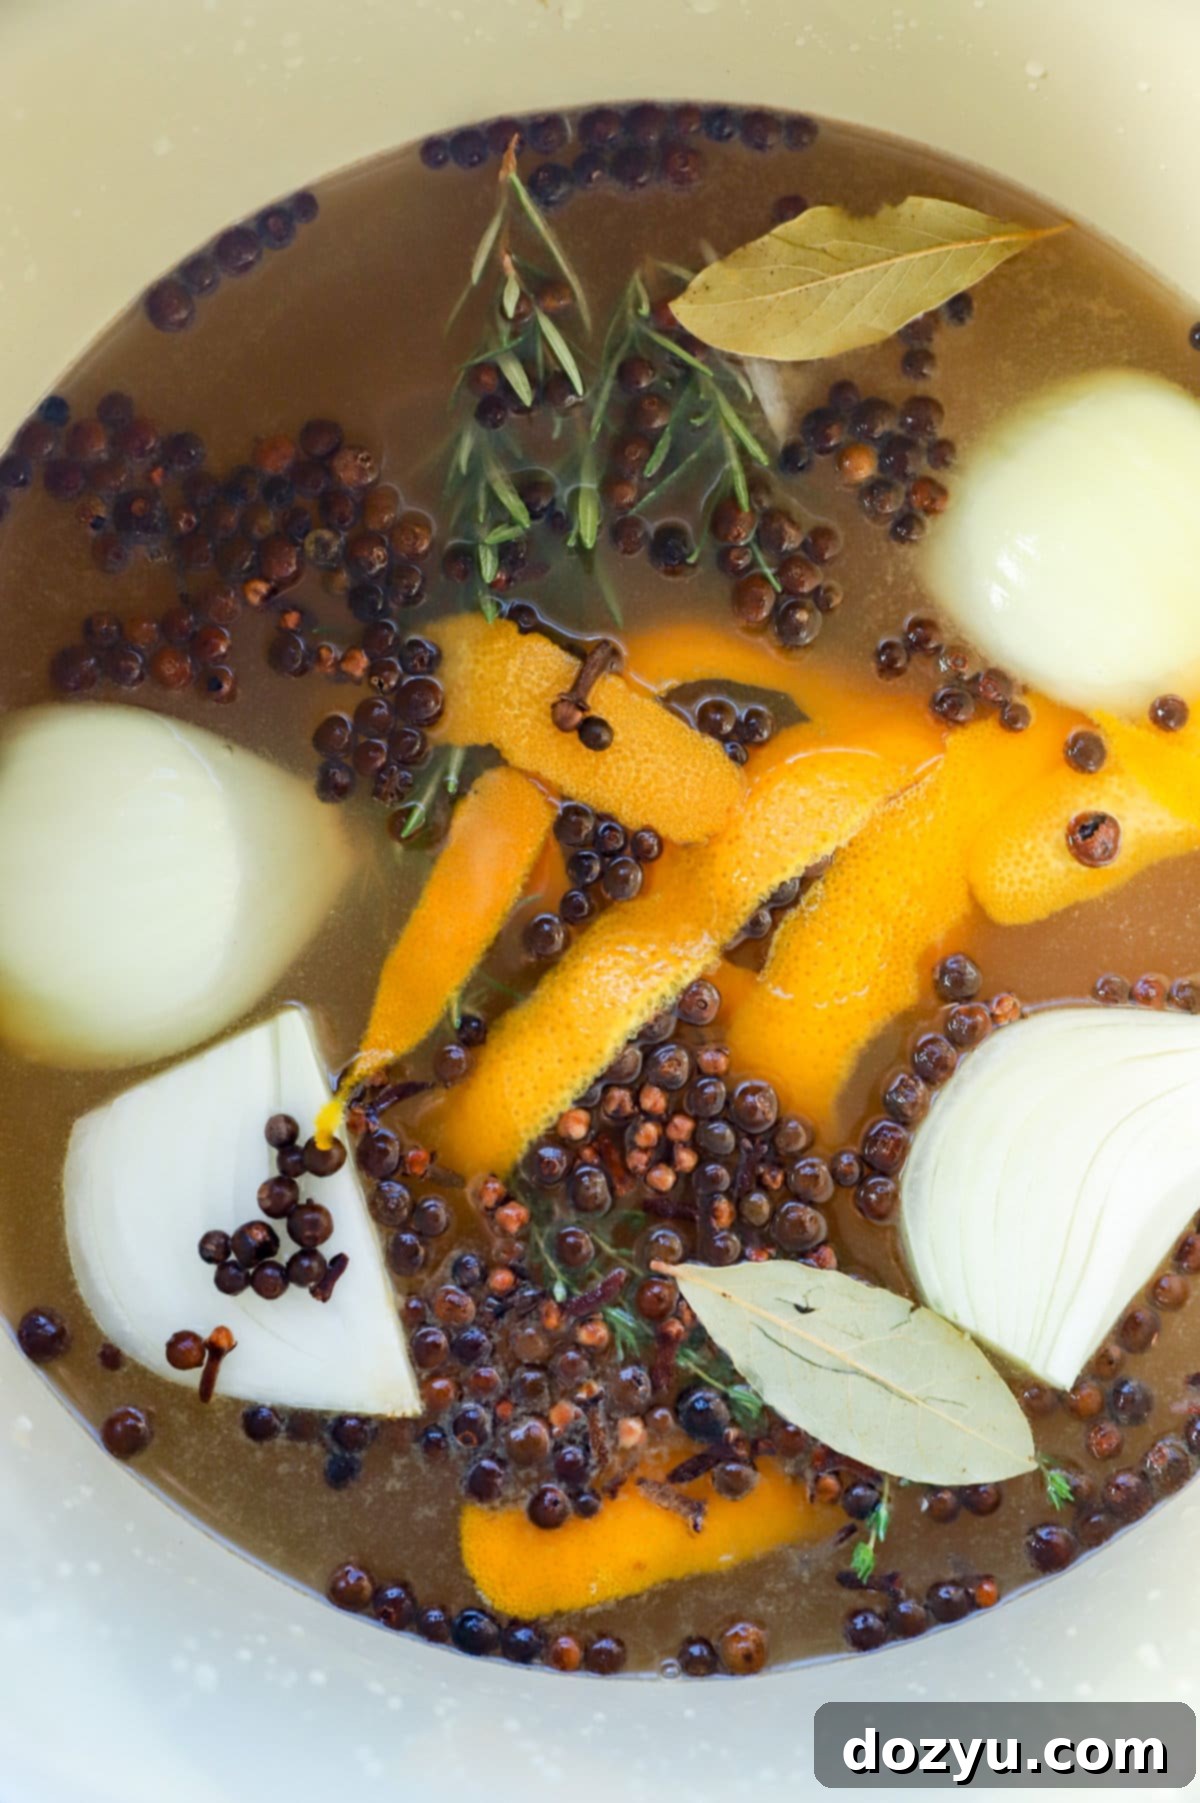
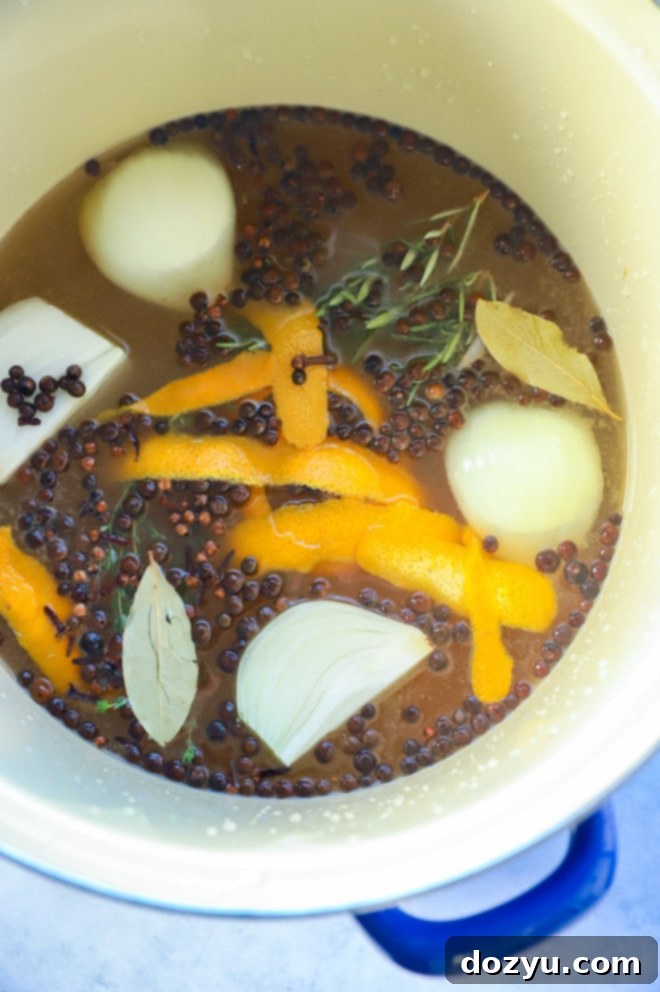
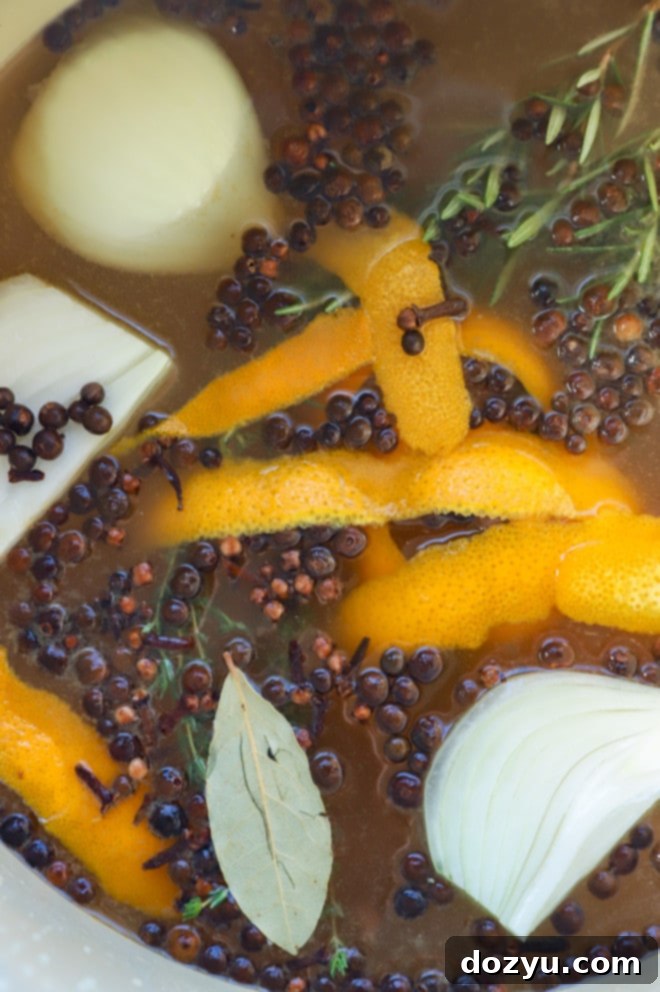
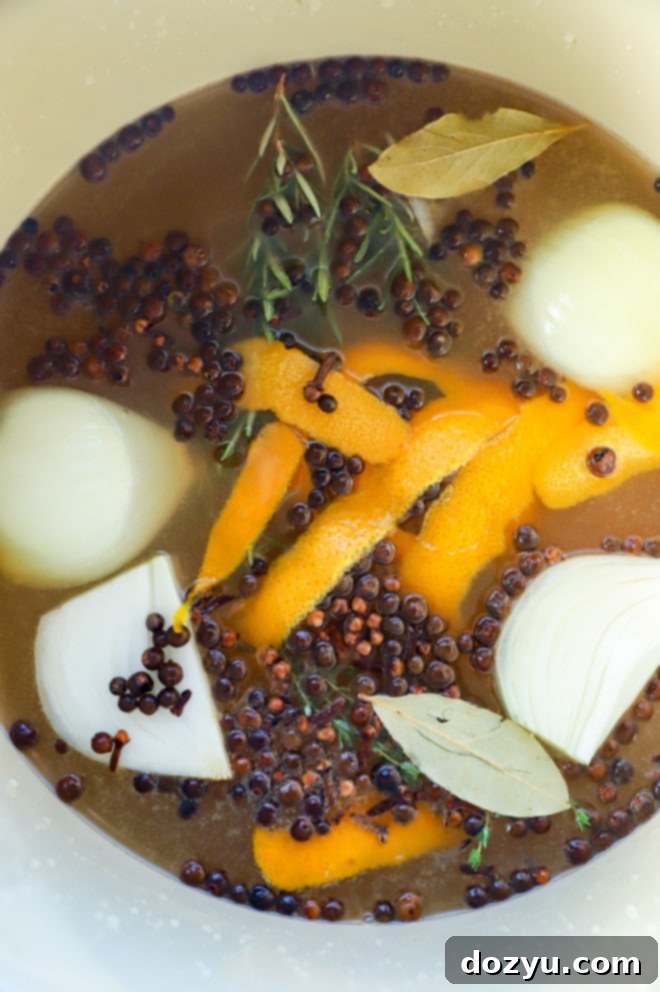
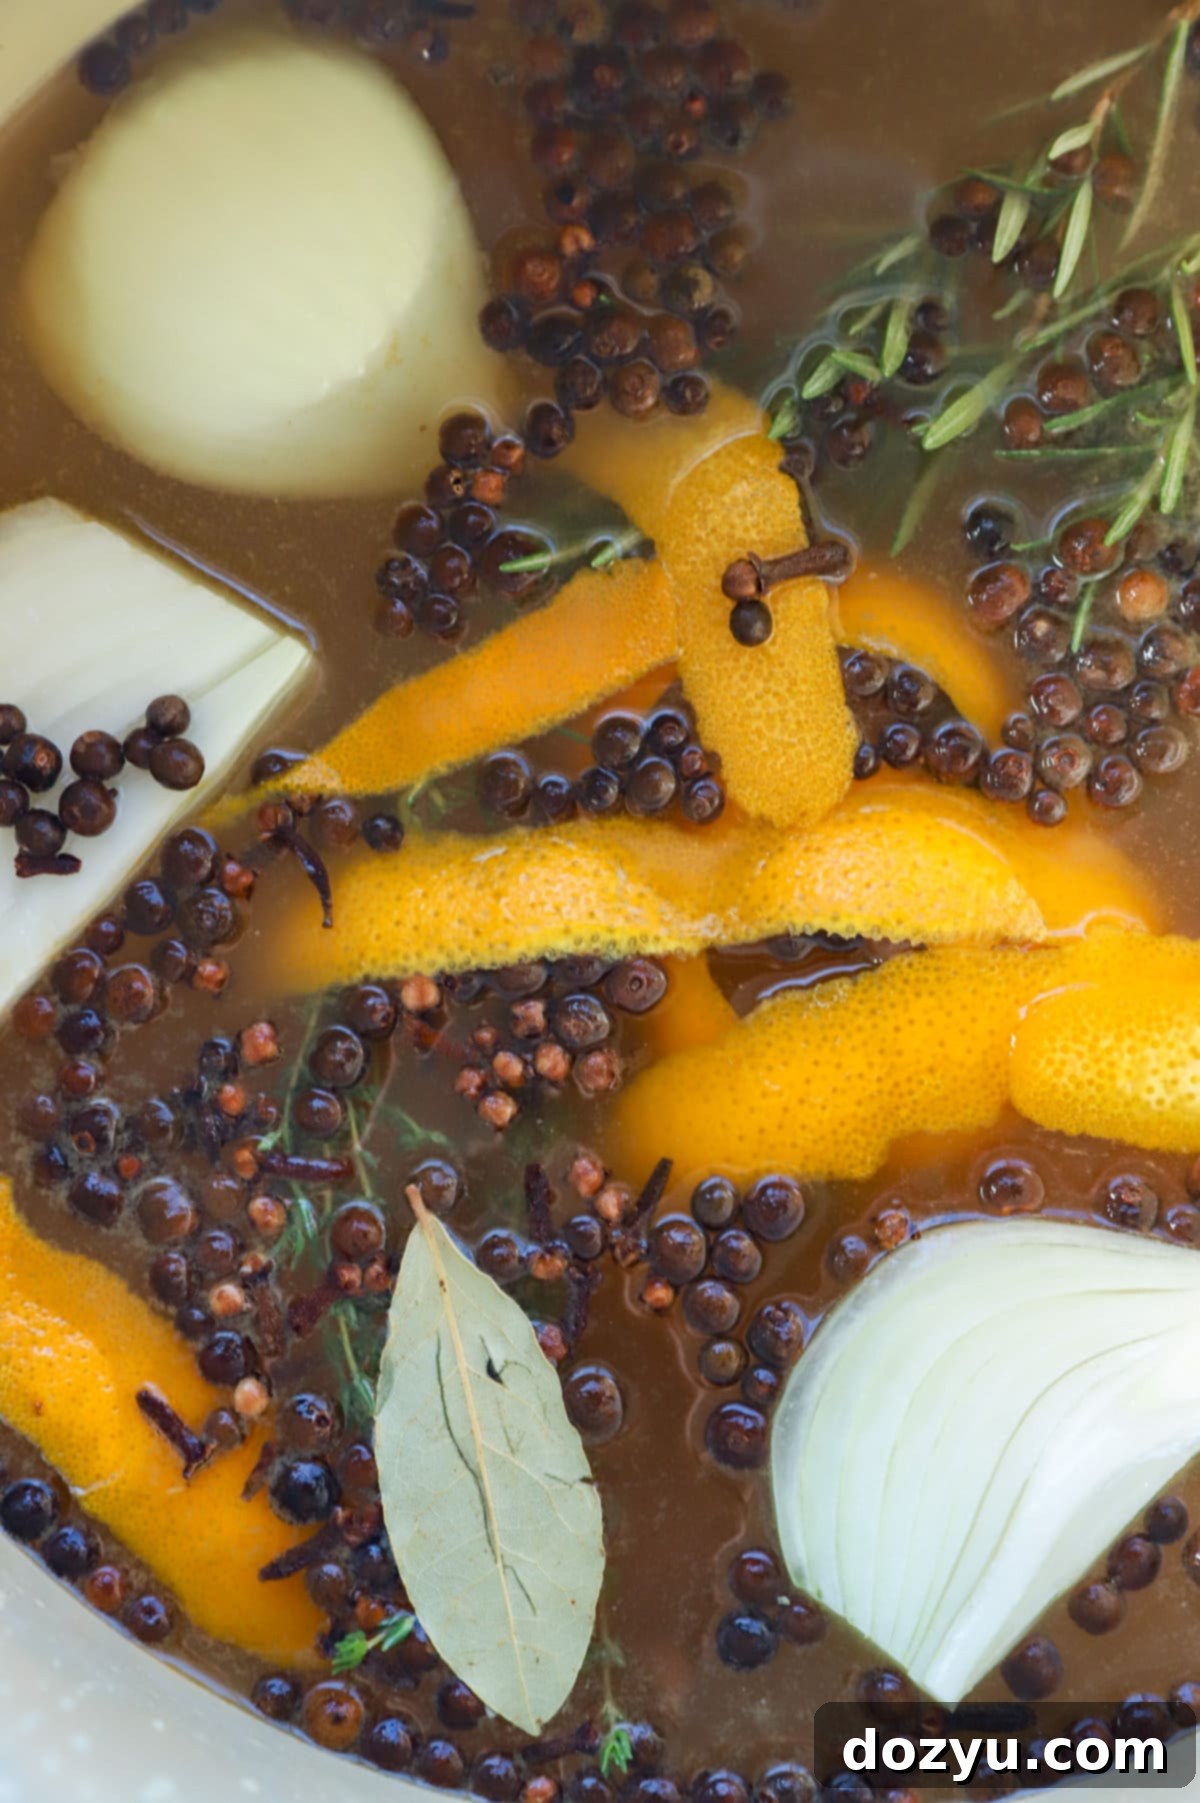
In your large stockpot, combine the cold water, apple juice or cider, kosher salt, whole allspice berries, whole cloves, bay leaves, fresh thyme sprigs, fresh rosemary sprigs, quartered yellow onion, and orange peel. Bring this mixture to a rolling boil over high heat, stirring continuously until all the salt (and any optional sugar) has completely dissolved. Boiling helps to fully extract the aromatics’ flavors and ensures the salt is evenly distributed.
2. Cool Completely
Once the brine has come to a boil and the salt is dissolved, remove the pot from the heat. It is absolutely crucial to let the brine cool down completely to room temperature, or even colder, before adding your turkey. Adding a turkey to warm or hot brine is a major food safety risk and can partially cook the bird, leading to an undesirable texture. You can speed up this process by placing the pot in an ice bath in a clean sink or transferring it to the refrigerator once it’s cool enough not to warm the fridge significantly.
3. Submerge and Brine the Turkey
Carefully place your thawed turkey into a clean brining bag or a large, food-safe container. Ensure the container is spacious enough to hold the turkey and the liquid. Once the brine is fully cooled, pour it over the turkey, making sure the entire bird is as submerged as possible. If the turkey isn’t completely covered, you might need to rotate it periodically.
Brine the turkey in the refrigerator for at least 16 hours and up to 24 hours for turkeys under 15 pounds. For larger birds, refer to our detailed brining time recommendations below. If your turkey isn’t fully submerged, make sure to turn the bird halfway through the brining time to ensure even flavor penetration and moisture absorption across all parts of the bird.
4. Remove and Pat Dry
After the recommended brining time, remove the turkey from the brine. While some recipes suggest rinsing the turkey to remove excess salt, with this specific brine, we don’t typically find it necessary as it’s balanced not to be overly salty. However, if you are particularly sensitive to salt, a quick rinse under cold water is acceptable.
The most important step here is to thoroughly pat the turkey dry with paper towels, both inside and out. Achieving a very dry skin is paramount for developing that desirable crispy, golden-brown skin when you roast or smoke the turkey. Any remaining moisture on the skin will steam rather than crisp, so be diligent in this step. Once thoroughly dried, your turkey is ready to be cooked as desired.
Expert Tips and Tricks for Brining a Turkey
Mastering the turkey brine is simple with these expert tips:
- Thaw Your Turkey First: While technically possible to brine a frozen turkey, it will require significantly more time – often two or more days – for the turkey to fully thaw within the brine itself. For efficiency and ease, I strongly recommend brining a turkey that has already been completely thawed. This ensures more predictable brining times and eliminates the guesswork of defrosting.
- No Rinsing Necessary (Before or After): You do not need to rinse the turkey before placing it in the brine. Similarly, after removing the turkey from the brine, rinsing is usually unnecessary with this balanced recipe. If you’re concerned about saltiness, a brief rinse is fine, but focus more on patting dry.
- Rest the Turkey Before Slicing: This is a crucial step for *any* cooked meat, especially turkey. Once your turkey is cooked, let it rest, tented loosely with foil, for at least 25 to 30 minutes (for larger birds, even longer). If you slice into the turkey too soon, all the delicious, retained juices will flow out onto your cutting board, leaving you with a drier bird. Resting allows the juices to redistribute throughout the meat, ensuring every slice is as moist as possible.
- Pat Turkey Dry Thoroughly: As mentioned, this step is paramount for achieving that coveted crispy skin. Even if you choose not to rinse the turkey after brining, you absolutely must pat it thoroughly dry with paper towels. Any surface moisture will cause the skin to steam rather than crisp up during cooking. For the ultimate crispy skin, you can even pat the bird dry and then place it uncovered on a rack set over a baking sheet in the refrigerator overnight. This allows the air to circulate and further dry the skin, setting it up for perfection.
Delicious Variations for Your Turkey Brine
Once you have this basic brine recipe down, feel free to experiment and customize it to your personal taste:
- Experiment with Different Herbs: This recipe features a classic combination of rosemary and thyme, which are excellent for poultry. However, don’t hesitate to incorporate other fresh herbs like sage for a more traditional Thanksgiving flavor, or even a hint of marjoram. You can also focus on just one fresh herb if you prefer its distinct flavor to shine through.
- Explore Different Liquids: Beyond apple cider, consider other liquids to add unique dimensions to your brine. Apple juice offers a sweeter profile, while substituting beer can add wonderful depth. If using beer, I recommend a brown ale for its malty notes or a crisp lager for a lighter, more refreshing touch. Avoid overly hoppy or bitter beers, as these flavors can become concentrated and less desirable.
- Swap Out Seasonings: The world of spices offers endless possibilities! For an added layer of warmth and sweetness, try adding a few cinnamon sticks to the boiling brine. Swap out orange peel for lemon peel for a brighter, more pungent citrus note. For exotic flavors, consider cardamom pods, star anise, or even a teaspoon of fennel seeds, which pair wonderfully with poultry. A few black peppercorns can also add a subtle heat and complexity.
Can This Turkey Brine Be Made Ahead of Time?
Absolutely! This turkey brine is perfect for preparing in advance, helping you spread out your holiday cooking tasks. You can make the brine up to 5 days before you plan to use it. Once it has completely cooled down, simply transfer it to an airtight container and store it in the refrigerator. This allows the flavors to meld and intensify, and it will be perfectly chilled and ready when it’s time to brine your turkey.
Can I Use This Turkey Brine for a Turkey Breast?
Yes, this versatile brine recipe works wonderfully for a turkey breast! In fact, it’s an excellent choice for smaller gatherings or if you prefer to cook only the breast. This recipe is designed to be effective for either a whole turkey up to approximately 20 pounds or a single turkey breast, delivering the same tender and flavorful results.
How Long Should You Brine a Turkey or Turkey Breast?
The optimal brining time is crucial and depends significantly on the size of your bird. Over-brining can lead to excessively salty meat, while under-brining won’t deliver the full benefits of moisture and flavor.
- For a Turkey Breast: I recommend brining a turkey breast for approximately 12 to 16 hours. Since it’s a smaller, leaner cut, it absorbs the brine more quickly.
- For a Whole Turkey (Under 15 pounds): For turkeys weighing less than 15 pounds, aim to brine your turkey for at least 16 hours, but no longer than 24 hours. My personal sweet spot for this size is around 18 hours, which strikes a perfect balance of flavor and moisture without over-salting. Exceeding 24 hours for a smaller bird can result in a turkey that is too salty.
- For a Whole Turkey (Larger than 15 pounds): If your turkey is larger than 15 pounds, you can safely extend the brining time to about 36 to 48 hours. The increased mass of the bird requires more time to fully absorb the brine. Always ensure the turkey is kept properly refrigerated throughout this period.
Does the Turkey Need to Be Refrigerated While Brining?
Absolutely, yes! It is critically important for food safety that your turkey remains refrigerated throughout the entire brining process. Raw poultry, especially a large turkey, is highly susceptible to bacterial growth at room temperature. Therefore, never leave the turkey brining on the counter. Treat it with the same care and refrigeration requirements as any other raw poultry to prevent spoilage and ensure it’s safe to eat. If refrigerator space is an issue, a large cooler filled with ice can be used, ensuring the turkey and brine remain below 40°F (4°C) at all times.
Should You Rinse the Turkey Before or After Brining It?
No, it’s generally not necessary to rinse the turkey.
First, before brining: There’s no need to wash off the turkey before adding it to the brine. The only preparation needed for a whole turkey is to remove the neck and gizzards from the cavity. Rinsing raw poultry in the sink can actually spread bacteria around your kitchen, a practice not recommended by food safety experts.
Second, after brining: With this specific recipe, I don’t find it necessary to rinse the turkey after brining. The brine is formulated to impart flavor without making the turkey overly salty. However, if you are particularly concerned about sodium intake or find that your turkey tends to be too salty from previous brining experiences, a quick, gentle rinse under cold water is acceptable. The most critical step after removing the turkey from the brine is to thoroughly pat it dry. Use plenty of paper towels to absorb all surface moisture, both inside and out. Achieving very dry skin is paramount for crispy, golden-brown results during roasting or smoking. For an even crispier skin, you can even pat the bird dry and then place it on a rack over a baking sheet in the refrigerator overnight to air-dry further.
Should You Thaw the Turkey Before Brining It?
Yes, it is highly recommended to thaw your turkey completely before brining it! This crucial step significantly cuts down the brining time to a more manageable 12 to 18 hours, depending on the turkey’s size.
While you *can* technically thaw a frozen turkey in the brine, this method will extend the defrosting process to up to 2 days. This longer duration means the turkey will be in the brine for an extended period, which could potentially lead to an overly salty bird if you’re not careful. Moreover, thawing the turkey first allows you to easily remove the neck and giblets from the cavity before brining, ensuring a cleaner process and better flavor distribution.
What Should I Brine My Turkey In?
For this type of wet brine, selecting the right container is important to ensure your turkey is properly submerged and kept safe. You’ll need any container that is food-grade, comfortably holds the turkey and the brine, and ideally has a lid. If you’re using a brining bag, you’ll still want a secondary container for support and leak prevention. Here are some reliable options:
- Large Stockpot: A very large stockpot with a lid works wonderfully, especially for smaller turkeys (under 12-14 lbs) or turkey breasts. However, most standard kitchen stockpots aren’t quite big enough to accommodate a full-sized Thanksgiving turkey. If you happen to have a truly giant one, it’s a great choice.
- Food-Grade Bucket: A clean, food-grade 5-gallon bucket (available at hardware stores or online) is an excellent option for larger turkeys. Since these typically don’t come with lids, you’ll need to cover it tightly with heavy-duty plastic wrap to keep the turkey submerged and prevent contamination.
- Cooler: A clean cooler is one of the most popular and practical choices for brining, especially for larger birds. It can accommodate a significant volume and is often easier to fit in than a gigantic pot. If using a brining bag, place the bag inside the cooler to catch any potential leaks. The cooler also offers an added advantage: if you lack refrigerator space, you can fill the cooler with ice around the brining bag/container to keep the turkey at a safe, cold temperature, making it ideal for garage or outdoor brining (ensure temperatures remain consistently cold).
- Large Brining Bag: These heavy-duty, food-safe bags are specifically designed for brining large cuts of meat. They are convenient, minimize cleanup, and allow you to fully submerge the turkey. Always place the brining bag inside another container (like a cooler or large pot) before adding the turkey and brine, as even the best bags can sometimes leak.
Regardless of your choice, ensure the container is impeccably clean and can maintain the turkey’s temperature below 40°F (4°C).
What If My Turkey Isn’t Completely Submerged?
It’s not uncommon for a turkey not to be 100% submerged in the brine, especially if you’re using a container that isn’t perfectly sized. This is generally okay, but requires a simple adjustment. If a portion of the turkey (say, a quarter of it) is sticking out of the brine, you will need to actively manage the brining process. The solution is to turn the turkey halfway through its total brining time. For example, if you’re brining for 18 hours, flip the turkey after 9 hours. This ensures that all parts of the turkey are exposed to the brine for an equal amount of time, guaranteeing even flavor penetration and moisture absorption throughout the entire bird.
How Should I Cook the Turkey After Brining?
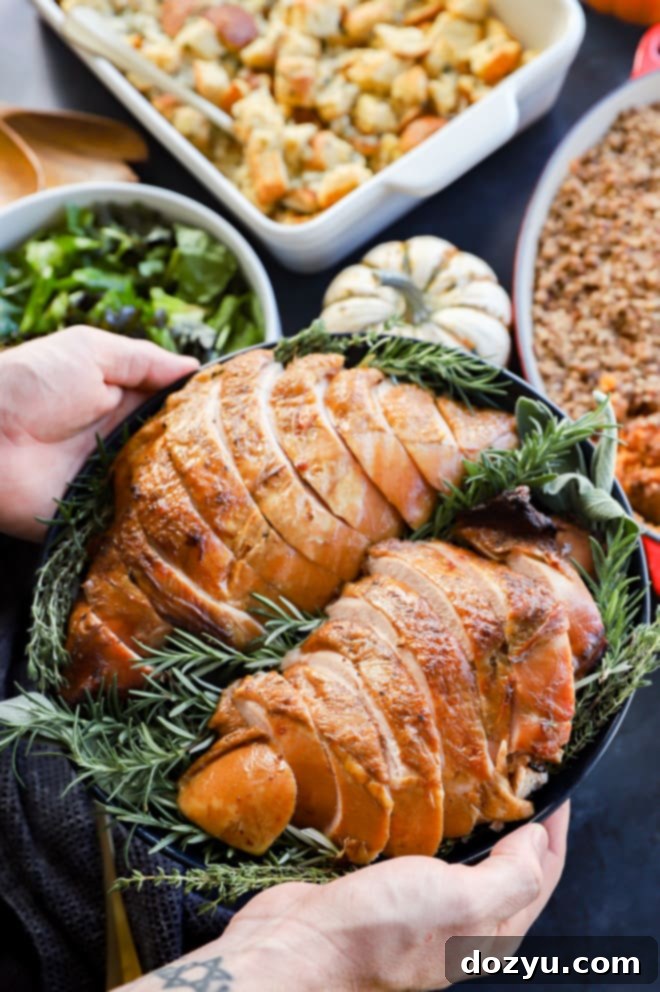
Once your turkey has been perfectly brined, you have several fantastic cooking options, and the brine will enhance any method you choose. In our opinion, the absolute best way to cook a brined turkey is to smoke it. Our smoked turkey recipe or this smoked turkey breast recipe pairs flawlessly with this brine. Smoking imparts an incredible depth of flavor that complements the brine’s aromatics, resulting in an exceptionally juicy bird with beautifully crispy, golden-brown skin. We promise you’ll achieve perfect results – meat that is consistently moist and skin that is irresistibly crisp and perfectly browned!
If smoking isn’t an option, you can also easily roast the brined turkey in your oven. The brine will ensure it remains moist and tender, even with traditional roasting methods. The key is to monitor the internal temperature to avoid overcooking and allow for proper resting time before carving.
Do I Need to Baste the Turkey While It Cooks?
One of the many benefits of brining a turkey is that it largely eliminates the need for frequent basting during the cooking process. Since your turkey has already soaked up a significant amount of moisture during the brining process, it retains much more internal juiciness. Therefore, it doesn’t require the additional help of basting to prevent it from drying out as it cooks. Basting can also cause temperature fluctuations in your oven and disrupt the crisping of the skin. Feel free to skip this often tedious step and let the brine do its magic!
Can I Use the Pan Drippings for Gravy?
Yes, you can absolutely use the flavorful pan drippings from your brined turkey to make a delicious gravy! However, there’s a small caveat to keep in mind. Since the turkey has been brined, the drippings might be saltier than those from an unbrined bird. My best suggestion is to taste the drippings before you begin making your gravy. If they taste a little too salty, you can easily thin them out with some unsalted chicken or turkey stock, or even plain water, to achieve a balanced flavor. This ensures your gravy is rich and savory, not overwhelmingly salty.
Is a Wet Brine Better Than a Dry Brine?
Both wet brining and dry brining are effective methods for enhancing turkey flavor and moisture, but they work differently and offer distinct advantages. For us, a wet brine is often preferred for several reasons:
- Speed: A wet brine typically works more quickly than a dry brine. With a wet brine, the turkey is submerged in a liquid solution, allowing for faster absorption of salt and flavors into the meat. A dry brine usually requires a minimum of 24 hours, and often 2-3 days, to achieve similar results.
- Juiciness: A wet brine generally results in a noticeably juicier turkey because the meat absorbs additional liquid from the brine itself. This extra moisture acts as a buffer against drying out during cooking, making the final bird incredibly succulent. While dry brining also enhances juiciness by helping the meat retain its *own* natural moisture, it doesn’t add external liquid in the same way.
- Flavor Infusion: Wet brines allow for the infusion of a wider range of aromatics, herbs, and other liquids (like apple cider or beer) directly into the meat. The liquid medium ensures these flavors are uniformly distributed throughout the turkey.
Ultimately, the “better” method depends on personal preference and desired outcome. However, for a consistently moist turkey with deep flavor infusion and a relatively quicker turnaround, a wet brine like this recipe is often the top choice.
Need more inspiration for Thanksgiving? Check out my Thanksgiving recipes page for a complete holiday spread!
What to Serve with a Brined Turkey
A perfectly brined turkey deserves a spectacular supporting cast of Thanksgiving recipes. Here’s a curated menu that I absolutely adore serving alongside my flavorful turkey:
- Appetizer: Start your feast with an easy and utterly gooey Baked Camembert with Cranberries and Walnuts. It’s the perfect warm, cheesy welcome.
- Hearty Side Dishes: No holiday dinner is complete without these essential sides:
- Flavorful Caramelized Onion, Apple, and Sausage Stuffing, bursting with savory and sweet notes.
- Visually stunning and delicious Cheesy Maple Bacon Hasselback Sweet Potatoes.
- Effortlessly creamy Instant Pot Mashed Potatoes, a timeless classic.
- Indulgently rich and cheesy Four Cheese Mac and Cheese.
- Fluffy and aromatic Pumpkin Sage Biscuits, perfect for soaking up gravy.
- Dessert: For a show-stopping dessert, get the best of both worlds with this incredible Pecan Pie Cheesecake – a true crowd-pleaser.
- Signature Drink: Don’t forget to craft a festive and inviting Thanksgiving Cocktail to complete your celebration!
How to Store Your Turkey Brine
Store. This brine recipe is incredibly convenient for meal prep! You can easily make the brine solution up to 4 to 5 days in advance of when you plan to use it. After preparing the brine, allow it to cool completely to room temperature. Then, transfer it to an airtight container and store it safely in the refrigerator until you are ready to add your turkey for brining. This advanced preparation helps streamline your holiday cooking schedule.
More Delicious Turkey Recipes
Looking for more ways to enjoy turkey beyond the whole bird? Or perhaps innovative ideas for leftovers? Here are some additional turkey recipes to inspire your culinary journey:
- If you’re hosting a smaller gathering or prefer white meat, this Beer Brined Turkey Breast is the ideal size and delivers fantastic flavor and moisture.
- For an unparalleled taste experience, our Smoked Beer Brined Turkey is hands down the best way to achieve the juiciest, most flavorful bird possible.
- Got a bounty of Thanksgiving leftovers? Transform them into something exciting with these Thanksgiving Leftover Stuffed Egg Rolls, perfectly paired with a tangy cranberry dipping sauce!
Finally, if you decide to make this exceptional turkey brine recipe, please be sure to give this recipe a rating and/or leave a comment below! Your feedback means the world to me, and I genuinely love hearing about your culinary successes. I make it a point to respond to every single comment, so don’t hesitate to share your thoughts or drop any questions you might have.
Oh, and for those who love to share their creations, please be sure to tag me on Instagram when you make the recipe! It’s truly my favorite thing to see these recipes come to life in your kitchens – it really means the world to me!
The Best Turkey Brine Recipe
Equipment
-
Large Stockpot
-
Measuring cups and spoons
-
Large brining bag or food-grade bucket/cooler
Ingredients
- 1 gallon water (16 cups)
- 3 cups apple juice or apple cider (or brown ale for a beer brine)
- 1 1/2 cups fine kosher salt (ensures quick dissolving)
- 1/4 cup whole allspice berries
- 1 Tbsp whole cloves
- 2 bay leaves
- 4 sprigs fresh thyme
- 4 sprigs fresh rosemary
- 1 large yellow onion (peeled and quartered)
- Peel of 2 large oranges (avoiding bitter white pith)
Instructions
-
In a large stockpot, combine the water, apple juice (or cider/beer), kosher salt, whole allspice berries, whole cloves, bay leaves, fresh thyme sprigs, fresh rosemary sprigs, quartered yellow onion, and orange peel. Bring this mixture to a strong boil over high heat, stirring frequently until the salt and any optional sugar have fully dissolved. This process extracts the maximum flavor from your aromatics.
-
Remove the pot from the heat and allow the brine mixture to cool down completely. This is a critical step; ensure it reaches room temperature or colder before proceeding. Never add a turkey to warm brine for food safety reasons.
-
Once the brine is completely cooled, place your thawed turkey into a large brining bag or a clean, food-grade container (such as a large stockpot, bucket, or cooler). Carefully pour the cooled turkey brine over the turkey, ensuring the bird is as submerged as possible. Cover the container or seal the brining bag securely.
-
Place the turkey in the refrigerator (or a cooler packed with ice, maintaining below 40°F/4°C) to brine for at least 16 hours and up to 24 hours for turkeys under 15 lbs. For larger birds (over 15 lbs), brine for 36-48 hours. If your turkey isn’t completely submerged, turn it halfway through the brining period to ensure even saturation and flavor.
-
After the brining time is complete, remove the turkey from the brine. With this balanced recipe, rinsing is typically not necessary, but you may do so briefly if concerned about saltiness. Most importantly, thoroughly pat the turkey dry with paper towels, both inside and out. Achieving a very dry skin is essential for a crispy, golden-brown finish.
-
Your brined turkey is now ready! Cook it as desired – whether you choose to roast, smoke, or grill it – and prepare for an exceptionally moist and flavorful result. Remember to let it rest before carving.
