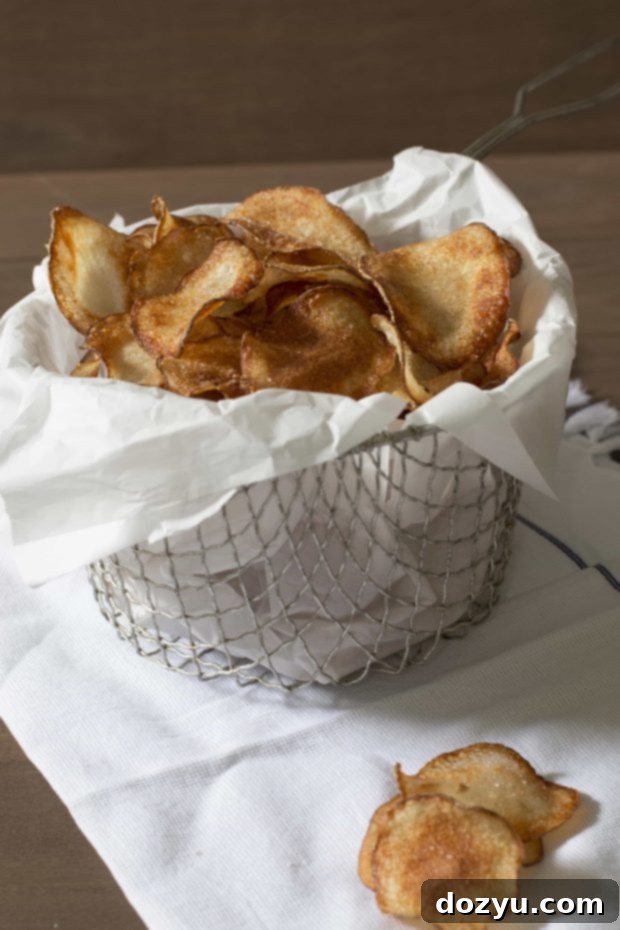
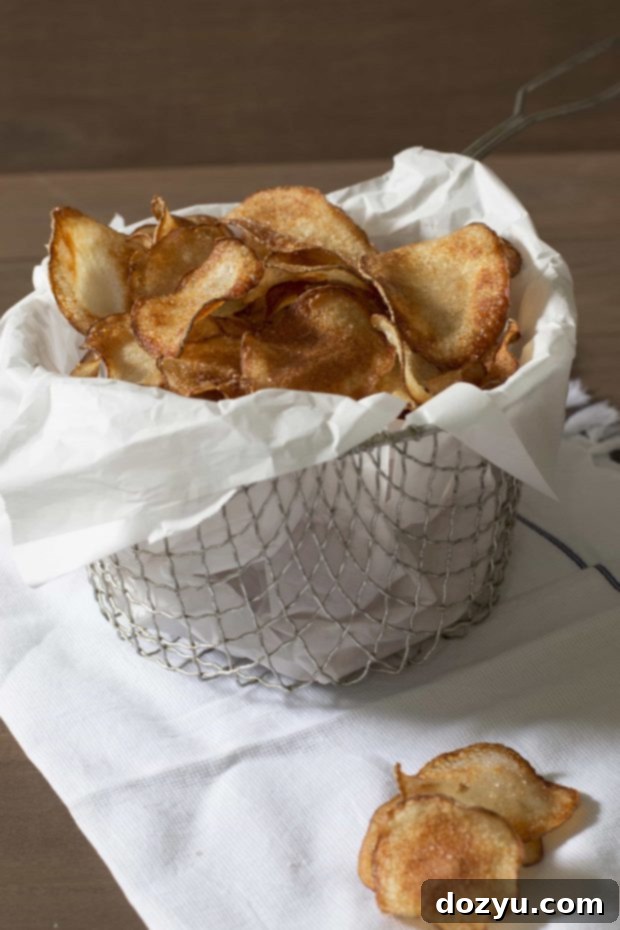
Ultimate Guide to Crispy Homemade Potato Chips: The Brining Secret Revealed
*crunch*
There’s an unparalleled joy in biting into a fresh, homemade potato chip. That satisfying crunch and delicate crackle that echoes in your head is like the most delightful culinary white noise you could ever wish for. It’s a moment of pure, unadulterated snack bliss. My husband, ever the connoisseur of simple pleasures, perfectly sums it up as “spicy crunchy yumminess” – and honestly, that’s about as accurate a description as you can get for these irresistible treats.
Making potato chips at home might sound daunting, but the truth is, it’s a rewarding culinary adventure that yields results far superior to anything you can buy in a bag. This guide will walk you through the process, revealing the secret to achieving perfectly crispy, flavorful chips every single time, with a special emphasis on a technique that elevates them to an entirely new level: brining.
Why Homemade Chips Are a Game Changer
For someone who considers themselves a “grazer” – always on the hunt for a little bite of this, a little nibble of that – having a stash of delicious, homemade snacks is essential. It’s hard to commit to just one meal when there are so many flavors to explore, and that’s precisely why homemade potato chips are a revelation. They offer a delightful combination of spicy, salty, and surprisingly light notes that perfectly satisfy my constant craving for a “snacky-snack.”
Beyond satisfying a grazer’s impulse, homemade chips offer several distinct advantages:
- Unmatched Freshness: There’s no comparison between a chip made minutes ago and one that’s been sitting on a shelf for weeks. The vibrant potato flavor truly shines.
- Control Over Ingredients: You decide exactly what goes into your chips. No artificial flavors, preservatives, or excessive additives. You control the type of oil, the amount of salt, and the spices.
- Superior Taste and Texture: With the right technique, homemade chips achieve a crispness and depth of flavor that store-bought varieties can only dream of. The crunch is more substantial, and the potato taste is more pronounced.
- Customization: The world of seasonings is your oyster! While we’ll focus on a spicy blend here, you can experiment with endless flavor profiles to suit your palate.
- A Sense of Accomplishment: There’s immense satisfaction in creating something so delicious from scratch. It’s a testament to your culinary skills, no matter how simple the dish.
The Secret Ingredient: Brining for Ultimate Crispness and Flavor
The true magic behind these “best ever” potato chips lies in a often-overlooked step: brining. While many people skip straight to frying, pre-soaking the thinly sliced potatoes in a flavorful brine makes an incredible difference. Brining isn’t just for pickles or chicken; it works wonders for potatoes too, fundamentally transforming their texture and taste.
Our brine consists of sherry vinegar, kosher salt, and a touch of sugar. Here’s why this combination is so effective:
- Enhanced Flavor: The vinegar and salt penetrate the potato slices, seasoning them from the inside out. This creates a more complex and savory flavor profile that’s impossible to achieve with just a sprinkle of salt after frying.
- Improved Texture: The acidity in the vinegar helps to break down some of the potato’s cell walls, which, surprisingly, contributes to a crisper final product. It also helps to prevent the potatoes from oxidizing and turning brown.
- Starch Reduction: While not the primary goal, brining can help draw out some excess starch, leading to a lighter, less gummy chip.
Allowing the potatoes to soak for an extended period – ideally 20-24 hours – gives the brine ample time to work its magic. This patient step is what transforms a good homemade chip into an extraordinary one, creating an indulgent and utterly delicious snack that will have everyone asking for your secret.
Choosing and Preparing Your Potatoes
The foundation of any great potato chip is, naturally, the potato itself. For optimal results, Russet potatoes are highly recommended. Their high starch content and relatively low moisture make them ideal for frying, yielding that desirable light and airy crunch. While other varieties like Yukon Golds can work, Russets tend to give the most consistent crispness.
It’s crucial to slice your potatoes thinly and uniformly. A mandoline slicer is an invaluable tool for this task, ensuring each slice is consistently thin, which is key for even cooking and a uniformly crispy texture. Aim for slices that are about 1/16 to 1/8 inch thick. And here’s a tip: do NOT peel your potatoes! The skin adds a rustic charm, extra flavor, and some additional nutrients, contributing to the overall homemade appeal.
Mastering the Fry: Tips for Perfect Crispness
Once your brined potato slices are thoroughly patted dry (this is critical for safe frying and maximum crispness), it’s time for the main event: frying. Achieving that perfect golden-brown crisp requires attention to detail, especially regarding oil temperature.
- Choose the Right Oil: Use an oil with a high smoke point, such as canola, vegetable, peanut, or sunflower oil. These oils can withstand high temperatures without breaking down or imparting off-flavors.
- Maintain Consistent Temperature: Heat your oil to 350°F (175°C). Use a deep-fry thermometer to monitor the temperature closely. If the oil is too cool, the chips will be greasy and soggy; if it’s too hot, they’ll burn before becoming crisp.
- Fry in Batches: Overcrowding the pot will drop the oil temperature and lead to uneven cooking. Fry a small handful of slices at a time, ensuring they have enough space to move freely in the oil. This allows them to crisp up properly.
- Watch for Color and Sound: Fry until the chips are golden brown and bubbling subsides, indicating most of the moisture has evaporated. They should sound crisp when stirred.
- Drain Properly: As soon as the chips are done, remove them from the oil with a slotted spoon or spider and transfer them to a rimmed baking sheet lined with several layers of paper towels. This helps to absorb excess oil.
- Season Immediately: Sprinkle generously with your flavored salt as soon as they come out of the hot oil. The warmth helps the salt adhere better.
Flavor Beyond Brine: Crafting Your Signature Seasoning
While the brining process imbues the chips with a foundational deliciousness, a finishing sprinkle of flavored salt elevates them even further. Our recipe calls for a simple yet effective blend of coarse sea salt and cayenne pepper, providing that “spicy crunchy yumminess” my husband loves. But don’t stop there! The beauty of homemade chips is the freedom to experiment:
- Garlic Parmesan: Combine finely grated Parmesan cheese with garlic powder and a touch of dried parsley.
- Smoked Paprika & Onion: Blend smoked paprika, onion powder, and a pinch of brown sugar for a sweet and smoky kick.
- Salt & Vinegar Twist: For an extra vinegar punch, mix white vinegar powder (available online) with sea salt.
- Herb Garden: Finely chop fresh rosemary, thyme, or oregano and mix with salt for an aromatic chip.
- Chili Lime: Combine chili powder, cumin, a pinch of sugar, and lime zest for a zesty, spicy flavor.
The key is to apply the seasoning while the chips are still hot and slightly oily, ensuring the flavors stick. This makes each bite a burst of personalized deliciousness.
Serving and Storage Suggestions
Homemade potato chips are incredibly versatile. They make an excellent side dish for burgers, sandwiches, or grilled meats. They’re also fantastic on their own as a party snack, perhaps served alongside a creamy dip or a spicy salsa. The ultimate indulgence is to enjoy them warm, fresh out of the fryer, savoring every crunchy bite.
If you have any leftovers (a rare occurrence!), store them in an airtight container at room temperature. They should remain crisp and delicious for about 1-2 weeks. To refresh them, you can pop them in a preheated oven at 300°F (150°C) for a few minutes until re-crisped.
Looking back a year and a half ago, I was a newlywed who barely cooked at all. Now, I’m confidently making homemade potato chips from scratch and actually *enjoying* the process! It’s amazing how simple acts of cooking can bring so much comfort and a sense of growth. These mere potato chips have never tasted so darn good, not just because of their incredible flavor, but because they represent a journey of discovery in the kitchen.

table of contents
Toggle
Best Ever Homemade Potato Chips
ingredients
- 1 cup sherry vinegar
- 3 Tbsp kosher salt
- 2 Tbsp sugar
- 2 large Russet potatoes sliced thin with a mandoline (NOT peeled)
- Oil for frying (e.g., canola, vegetable, peanut)
- 2 Tsbp coarse sea salt
- 1/2 tsp cayenne pepper
instructions
-
In a large bowl, whisk together the sherry vinegar, kosher salt, and sugar until dissolved. Add the thinly sliced, unpeeled potatoes to the brine, ensuring they are fully submerged. Cover the bowl and refrigerate for at least 20-24 hours. This brining step is crucial for flavor and crispness.
-
While the potatoes are brining, prepare your flavored salt. In a small bowl, combine the coarse sea salt and cayenne pepper. Mix well and set aside. You can adjust the cayenne to your desired spice level.
-
When ready to fry, remove the sliced potatoes from the brining liquid. It is vital to pat them absolutely dry with paper towels to ensure crisp results and prevent oil splattering. In a large, heavy-bottomed pot or Dutch oven, add enough frying oil to reach a depth of about 2-3 inches. Heat the oil over medium-high heat until it reaches 350 degrees F (175 degrees C). Use a deep-fry thermometer for accuracy.
-
Carefully fry the dried potato slices in small batches to avoid overcrowding the pot, which can lower the oil temperature. Fry until golden brown and wonderfully crisp, about 3-5 minutes per batch, stirring occasionally. Remove the crispy chips from the oil using a slotted spoon or spider and transfer them immediately to a rimmed baking sheet lined with fresh paper towels to drain excess oil. As soon as they are on the baking sheet, generously sprinkle them with the prepared flavored salt. Let the chips cool completely to achieve maximum crispness before serving. Store any leftover chips in an airtight container for up to 1-2 weeks.
