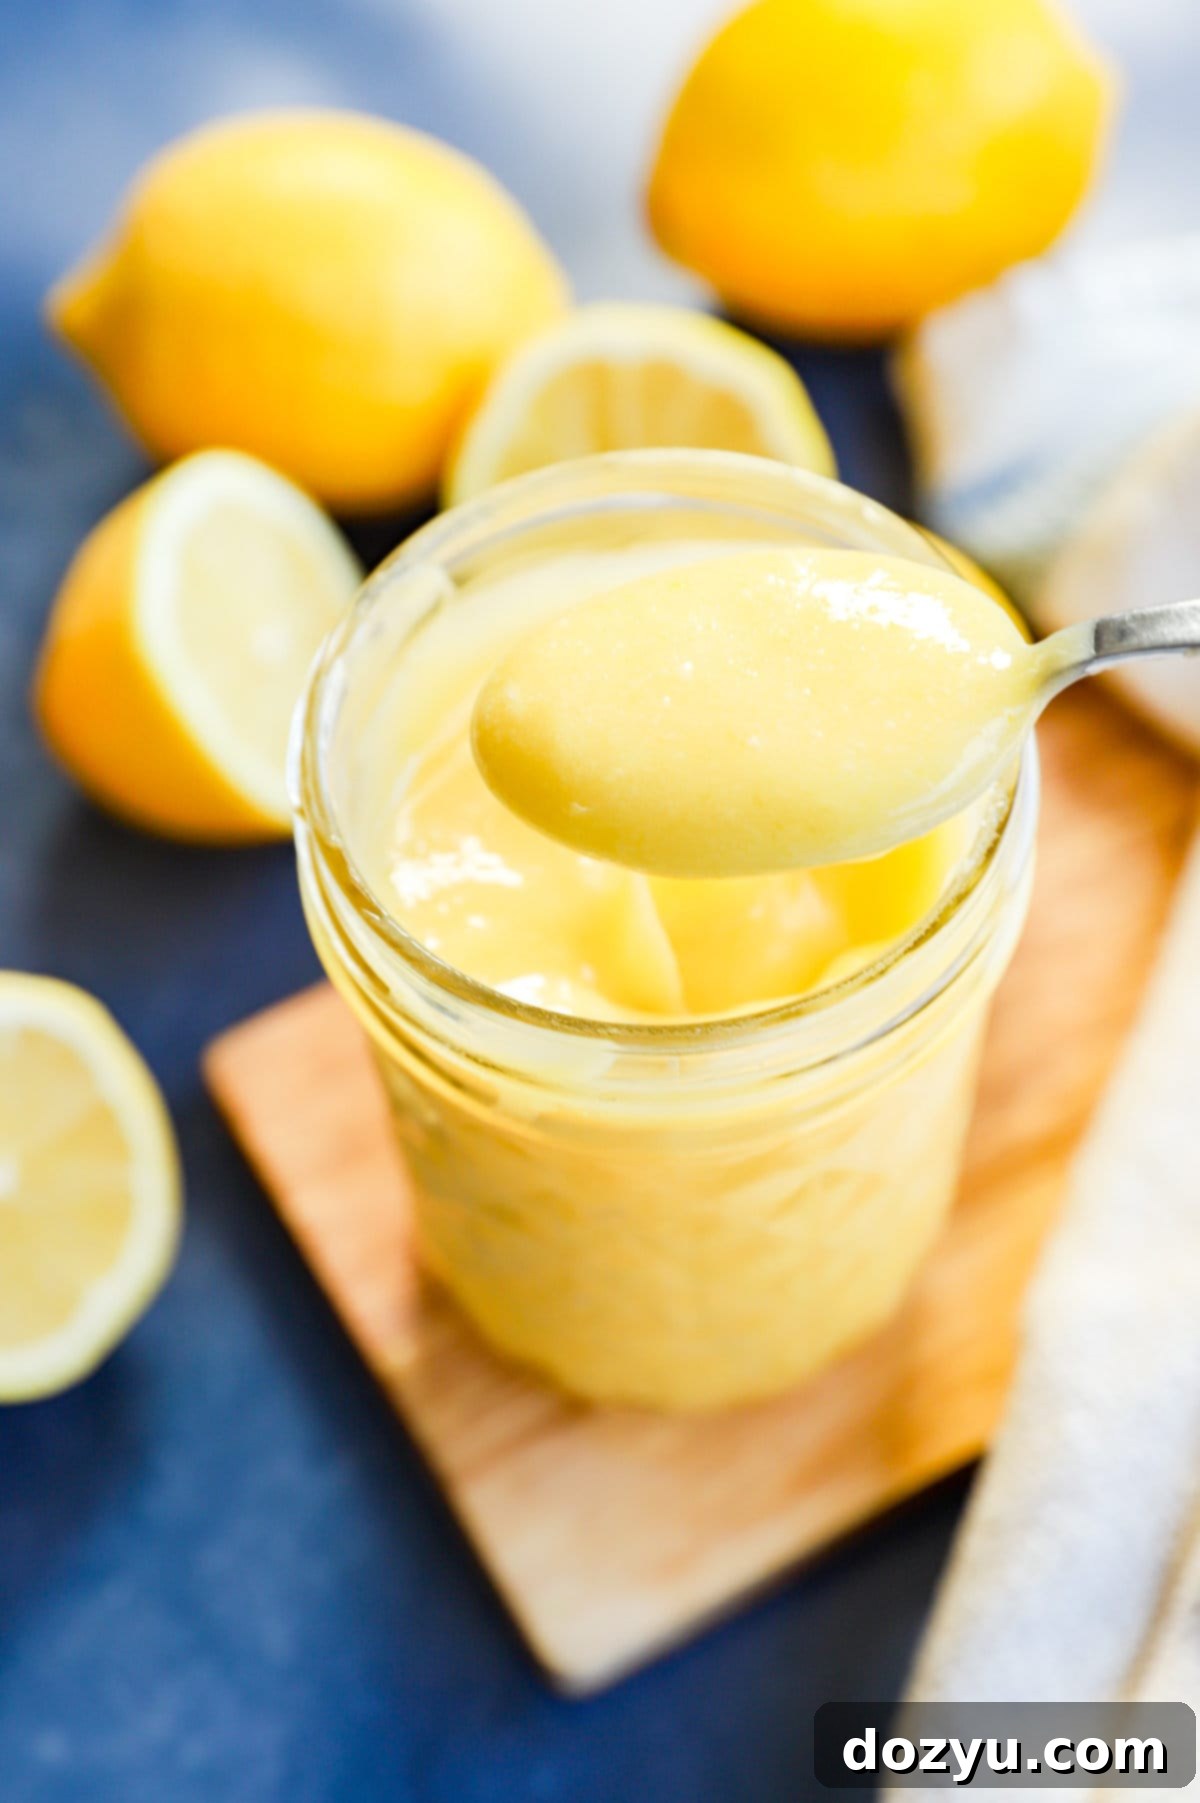
Easy & Creamy Homemade Lemon Curd Recipe: Your Guide to Tangy Perfection
Indulge in the bright, vibrant flavors of homemade lemon curd! This simple recipe yields a luxuriously creamy and perfectly tangy spread that will elevate your breakfasts, desserts, and everything in between. Forget store-bought versions; with just a few fresh ingredients and our straightforward method, you’ll master the art of making the perfect lemon curd every time.

Table of Contents
Toggle
About This Homemade Lemon Curd
For me, lemon curd isn’t just a spread; it’s a cherished memory, a taste of comfort that transports me back to delightful afternoon teas with my grandmother. Every year, my mom’s side of the family upholds a beautiful tradition: a ladies’ tea party around the holidays. It’s an event I eagerly anticipate, not just for the festive company, but for the exquisite array of treats – and specifically, two staples: the rich clotted cream and the bright, tangy lemon curd.
That tangy-sweet spread found its way onto everything imaginable, from warm, flaky scones to tender biscuits and fluffy muffins. It was the star of the show, adding a burst of sunshine to every bite. There’s a profound difference between the homemade version and anything you might find in a store. When made with love in your own kitchen, the texture is incomparably smooth, creamy, and wonderfully spreadable. The flavor is intensely tart yet beautifully balanced with sweetness, a vibrant taste that truly awakens your palate.
If you’re a fellow lemon enthusiast, this recipe is an absolute must-try. Having this luscious, smooth custard readily available in your refrigerator is a game-changer. It’s not just a topping; it’s an experience, downright addictive in its refreshing simplicity. Whether you’re swirling it into a delicate cake, dolloping it onto warm scones, filling delicate crepes, or enhancing a buttery croissant, the culinary possibilities are genuinely endless.
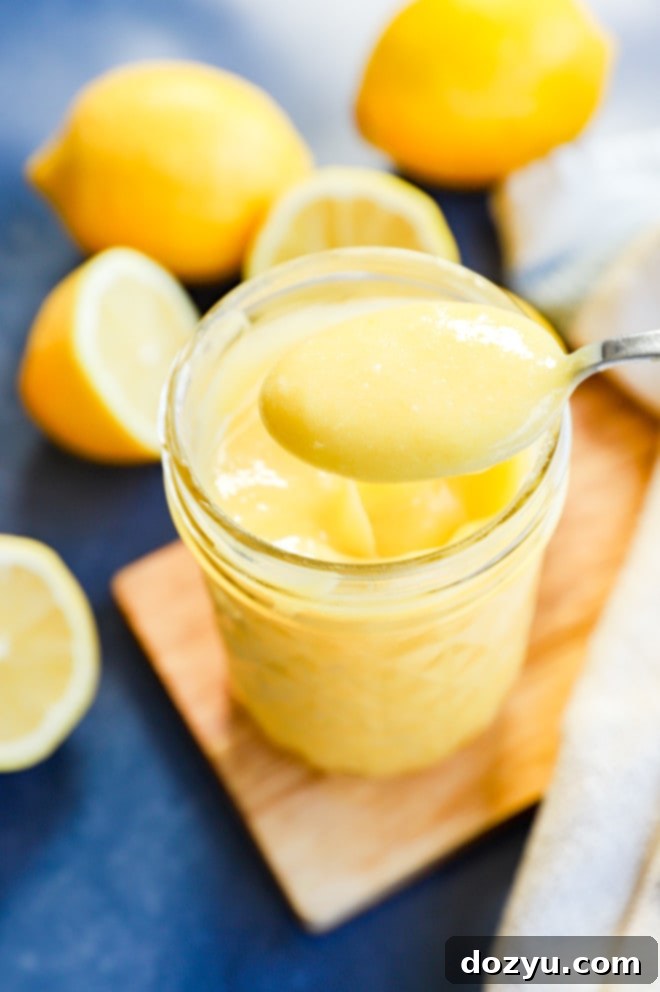
What Exactly is Lemon Curd?
At its heart, lemon curd is a rich, creamy, and intensely flavored spread or dessert topping. Originating from British cuisine, it typically consists of eggs, sugar, butter, and lemon juice (often with zest). Unlike jams, which rely on fruit pectin for their gel-like consistency, lemon curd achieves its luxurious thickness through the coagulation of egg yolks and the emulsification of butter, resulting in a velvety smooth, spreadable custard. Its distinctive sweet and tangy profile makes it incredibly versatile, a true pantry staple for those who appreciate bright, citrusy flavors. The best part? This delightful concoction comes together relatively quickly on the stovetop, demanding minimal effort for maximum reward. If lemons hold a special place in your heart, prepare to fall in love with this easy-to-make, exquisite spread!

Essential Ingredients for the Best Lemon Curd
Crafting exceptional lemon curd begins with high-quality ingredients. Each component plays a crucial role in achieving that perfect creamy texture and vibrant flavor profile:
- Eggs: This recipe specifically calls for large egg yolks. The yolks are essential for providing richness, color, and thickening properties to the curd. The fat and protein in the yolks emulsify beautifully with the butter and lemon juice, creating a smooth, custard-like consistency.
- Sugar: We use granulated sugar to perfectly balance the tartness of the lemons. Sugar not only sweetens the curd but also contributes to its smooth texture by dissolving into the liquid, preventing crystallization.
- Lemons: The star of the show! You will need about 2 to 3 fresh lemons to yield both the required juice and zest. Fresh lemons are non-negotiable for superior flavor. Bottled lemon juice simply won’t deliver the bright, authentic tang and aromatic notes that fresh zest and juice provide. Meyer lemons can also be a wonderful choice for a slightly sweeter, less acidic curd.
- Salt: A pinch of fine kosher salt is included to enhance and round out all the flavors, preventing the curd from tasting flat. It highlights the sweetness and brightness of the lemon.
- Butter: Use unsalted butter for this recipe. It’s crucial that your butter is at room temperature and cubed. Unsalted butter allows you to control the overall saltiness of the curd, while room temperature, cubed pieces melt seamlessly into the warm mixture, contributing to the curd’s velvety smoothness and luxurious mouthfeel.
Key Equipment for Your Lemon Curd Journey
While making lemon curd is surprisingly simple, having the right tools on hand can make the process even smoother and more enjoyable. Here’s what you’ll need:
- Double Boiler (or DIY Setup): The traditional method for making curd involves a double boiler. This setup provides gentle, indirect heat, which is crucial for cooking the egg yolks without scrambling them. If you don’t own a dedicated double boiler, don’t fret! You can easily create one by using a medium saucepan filled with 1-2 inches of water and a heatproof bowl (either metal or glass) that fits snugly over the saucepan without its bottom touching the simmering water. Some home cooks prefer glass bowls, believing metal can impart a slight metallic taste, but I’ve personally used both with excellent results. Use what you’re comfortable with!
- Whisk: A good quality whisk is indispensable for constantly stirring the curd mixture. This continuous agitation is vital to prevent the eggs from settling and scrambling, ensuring a consistently smooth and creamy texture.
- Wooden Spoon: A wooden spoon is useful for stirring and, more importantly, for checking the curd’s thickness. Once it coats the back of the spoon, you know it’s nearly done!
- Fine Mesh Strainer (Optional, but Recommended): For the absolute silkiest, smoothest lemon curd, a fine mesh strainer is highly recommended. Passing the cooked curd through it removes any tiny bits of cooked egg, lemon zest, or butter solids, resulting in an impeccably smooth finish.

How to Make Perfectly Creamy Lemon Curd (Step-by-Step)
1. Setting Up Your Double Boiler
Begin by preparing your double boiler setup. Fill the bottom pot or a medium saucepan with about 1 to 2 inches of water. Place it over high heat and bring the water to a rolling boil. Once it reaches a boil, reduce the heat to medium or medium-low to maintain a gentle simmer. This controlled heat is vital for preventing the eggs from scrambling. Position the top part of your double boiler, or your heatproof bowl, directly over the simmering water. Ensure that the bottom of the bowl does not touch the water; it should be heated by the steam, not direct contact with the hot water.
2. Cooking Your Lemon Curd to Perfection
Into the top of your double boiler (or the bowl), add the egg yolks, granulated sugar, fresh lemon zest, fresh lemon juice, and salt. Immediately begin to whisk these ingredients together. It is absolutely crucial to whisk continuously as the curd cooks. This constant motion will evenly distribute the heat and prevent the egg yolks from coagulating too quickly and scrambling, ensuring a smooth, uniform texture. Continue cooking and whisking on the stovetop until the mixture visibly thickens, which typically takes about 10 minutes. The curd should be thick enough to generously coat the back of a wooden spoon, leaving a clear path when you draw your finger across it. If, after 10 minutes, the mixture hasn’t reached this consistency, you can slightly increase the heat (but still maintain a gentle simmer below) and continue whisking.
Once thickened, remove the pan from the heat. Add the cubed, room-temperature unsalted butter and continue to whisk vigorously. The residual heat from the lemon mixture will melt the butter, incorporating it smoothly and contributing to the curd’s luxurious, glossy finish.
Optional but Recommended Step: For an incredibly silky-smooth lemon curd, immediately pour the hot mixture through a fine mesh strainer into a clean bowl. This step removes any tiny bits of cooked egg, zest, or butter, ensuring a truly refined texture.
3. Cooling and Storing
Once strained (if you chose that option) and the butter is fully incorporated, transfer the warm lemon curd into a clean bowl. To prevent a “skin” from forming on the surface as it cools, cover the curd directly with plastic wrap, pressing it gently so it touches the entire surface. Allow the curd to cool completely at room temperature before transferring it to an airtight container or jar. Once cooled, store your homemade lemon curd in the refrigerator, where it will continue to thicken further and be ready to enjoy!
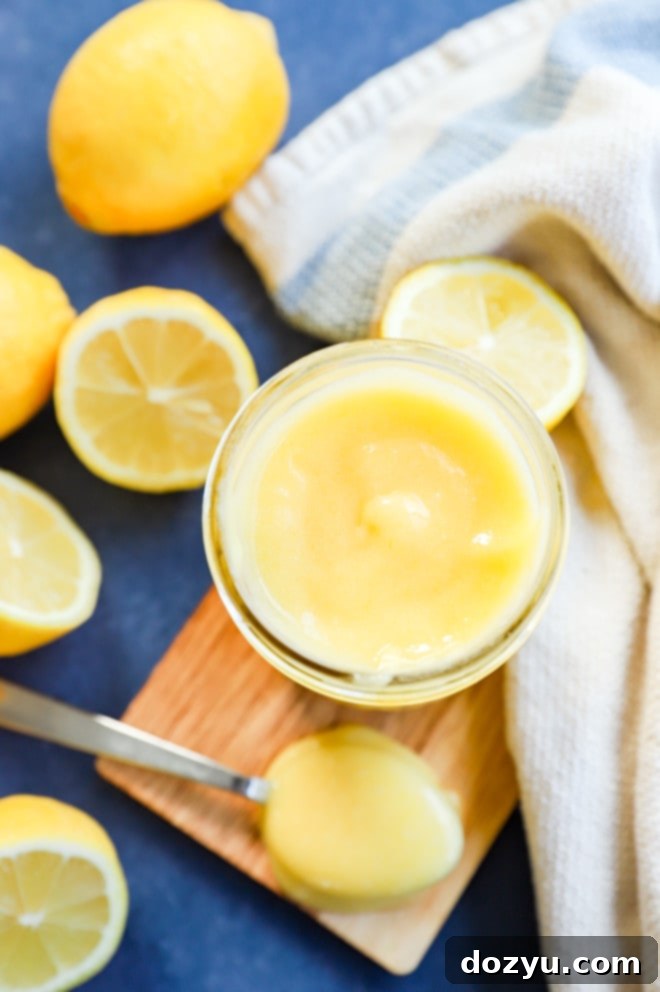
Pro Tips for Flawless Lemon Curd
Achieving the perfect lemon curd is simple, especially with these insider tips:
- Always Strain for Supreme Creaminess: While an optional step, straining your lemon curd through a fine mesh sieve after cooking is highly recommended. This extra minute of effort removes any minuscule bits of cooked egg or zest, resulting in an unbelievably smooth, velvety texture that truly sets homemade curd apart. Trust us, it’s worth it!
- Embrace Fresh Lemon Juice & Zest: The essence of sensational lemon curd lies in the quality of your lemons. Always opt for fresh lemon zest and freshly squeezed lemon juice. The vibrant aroma and complex tartness of fresh lemons are irreplaceable. Avoid bottled lemon juice at all costs, as its flavor is often muted and can contain additives that compromise the taste of your homemade curd.
- Cook Low and Slow (and Be Patient!): Resisting the urge to crank up the heat to speed up the thickening process is crucial. Lemon curd is a delicate custard, and high heat can quickly scramble the egg yolks, leading to a lumpy, unappetizing texture. Maintain a consistent, gentle simmer in your double boiler and whisk constantly. Patience is a virtue here; allow the curd to thicken gradually, and you’ll be rewarded with a silky-smooth result.
- Don’t Skip the Zest: Lemon zest contains essential oils that pack an incredible amount of flavor and aroma. Zest your lemons before juicing them to capture all that fragrant goodness. It provides a depth of lemon flavor that juice alone cannot achieve.
- Room Temperature Butter Matters: Adding softened, cubed butter at the end allows it to melt smoothly and fully incorporate into the warm curd. Cold butter can cause the curd to seize or result in an uneven texture.
More lemony recipes to try: Easy Lemon Sugar Buns | Blackberry Lemon Icebox Cake | Baked Lemon Garlic Salmon | Lemon Ricotta Pasta
Troubleshooting: My Lemon Curd Isn’t Thickening, What Do I Do?
If your lemon curd seems too thin after cooking, don’t despair! This is a common issue, and there are a few potential reasons and solutions:
- Not Enough Cooking Time/Heat: The most common reason is simply not cooking it long enough or not maintaining a sufficient simmer. The eggs need time and gentle heat to coagulate and thicken the mixture. If it’s still thin, place it back over your double boiler and continue whisking constantly. You might need to slightly increase the heat beneath the water to ensure a steady, gentle simmer.
- Egg-Based Thickening: If it’s still not thickening after extended cooking, you can create a cornstarch slurry. Whisk together 1 tablespoon of cornstarch with 3 tablespoons of cold water until smooth. Gradually whisk this slurry into your warm lemon curd over low heat, continuing to stir until it visibly thickens. Be cautious not to add too much or overcook, as the curd will thicken considerably more as it cools.
- Proportion Issues: Ensure you’ve measured your ingredients accurately, especially the egg yolks. Too little yolk can result in a thinner curd.
Remember, lemon curd thickens significantly as it chills in the refrigerator, so it doesn’t need to be overly thick right off the heat. Aim for a consistency that coats the back of a spoon.
How Long Does Homemade Lemon Curd Last?
When properly stored in an airtight container or jar in the refrigerator, your freshly made lemon curd will maintain its delicious flavor and creamy texture for up to 10 days. Always ensure it’s cooled completely before sealing and refrigerating to maximize its shelf life and prevent condensation.
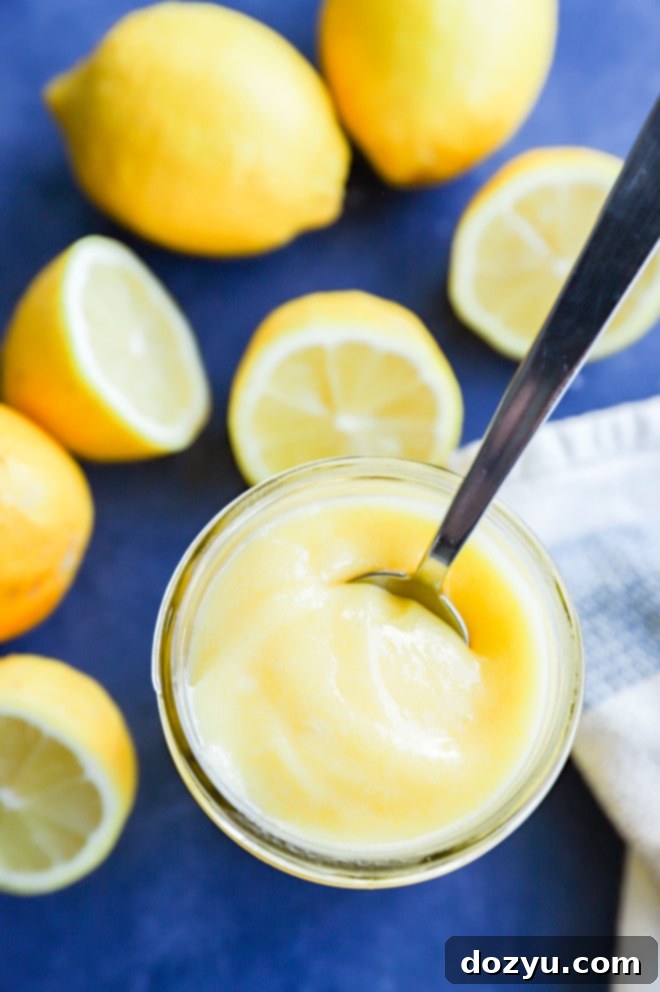
Can Lemon Curd Be Frozen?
Absolutely! Lemon curd freezes beautifully, making it an excellent candidate for meal prep or preserving extra batches. To freeze, first ensure the curd is completely cooled. Transfer it to an airtight, freezer-safe container or a heavy-duty freezer bag, leaving a little headspace as it may expand slightly. It can be stored in the freezer for up to 3 months without significant loss of quality. When you’re ready to use it, simply thaw the lemon curd overnight in the refrigerator. Stir it gently before serving to restore its smooth consistency.
The Art of Straining Lemon Curd: Is It Necessary?
Straining lemon curd is truly a matter of personal preference and the desired final texture. While it’s not strictly necessary for flavor, it makes a significant difference in smoothness. As the curd cooks, tiny bits of coagulated egg or lemon zest can remain. While lemon zest cooks down and is often barely detectable, passing the curd through a fine mesh sieve ensures an impeccably smooth, almost silken consistency. If you crave that luxurious, professional-grade texture, then straining is a worthwhile extra step. If a slightly less refined, but equally delicious, curd is fine for you, feel free to skip it. Either way, the incredible tangy lemon flavor will shine through!
Achieving the Ideal Lemon Curd Consistency
The ideal thickness for lemon curd can vary slightly based on how you intend to use it. Generally, it should be thick enough to generously coat the back of a wooden spoon and leave a clean trail when you run your finger across it. It should be easily spreadable but not runny. Some prefer a slightly thinner curd for drizzling over pancakes or fruit, while others, particularly for fillings in layer cakes or tarts, might opt for a thicker consistency. Remember, lemon curd will continue to thicken as it cools in the refrigerator, so don’t expect it to be as firm as a pudding when it’s still warm off the stove. Trust the spoon-coating test, and then let chilling do its magic!
No Double Boiler? No Problem!
Don’t let the lack of a specialized double boiler deter you from making this incredible lemon curd! Creating a makeshift double boiler is incredibly simple and works just as effectively. All you need is a medium saucepan and a heatproof bowl (either metal or glass) that fits snugly over the top of the saucepan. The key is to ensure the bottom of your bowl sits *above* the water level in the saucepan, heated only by the steam, not direct contact with the simmering water. Fill your saucepan with 1-2 inches of water, bring it to a simmer, then place your bowl on top. This gentle, indirect heat is perfect for cooking the delicate egg yolks without scrambling them. If you’re using a glass bowl, be mindful not to let the water come to a rapid, aggressive boil, which could potentially overheat the glass.
Need more inspiration for breakfast? Check out my breakfast recipes page!
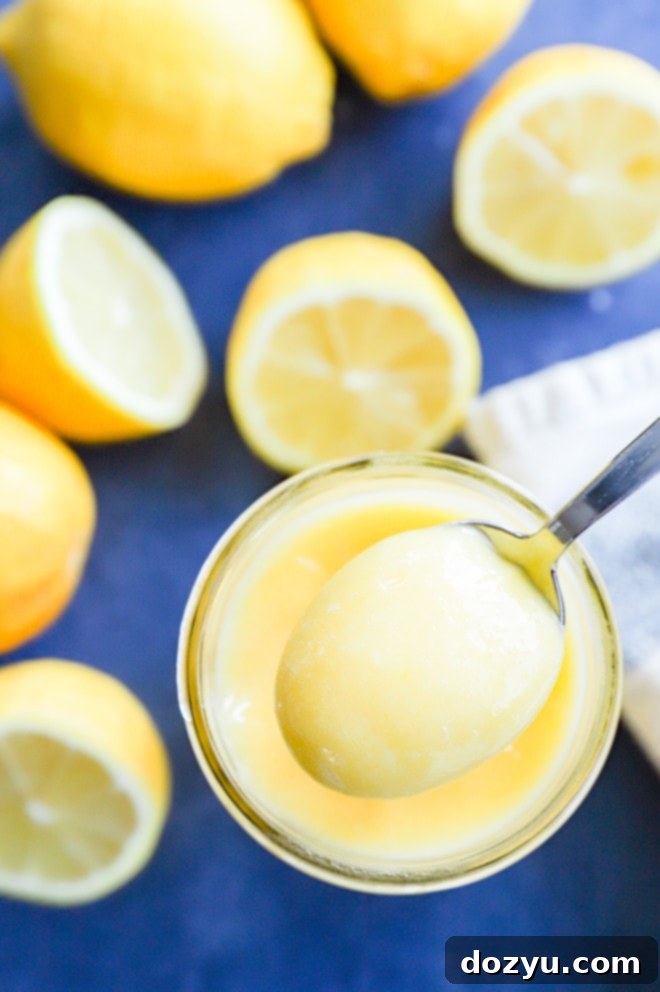
Delightful Ways to Serve Lemon Curd
The versatility of homemade lemon curd is truly astounding. While I’m particularly fond of simply spreading it generously onto a warm scone, the possibilities for incorporating this tangy spread into your culinary creations are virtually endless. Here are some of my favorite ways to enjoy lemon curd:
- Classic Breakfast & Brunch Companions: Slather it generously on warm scones, fluffy honey butter biscuits, sweet blackberry oatmeal muffins, or bright lemon poppyseed muffins. It’s also fantastic on English muffins, pancakes, waffles, or buttery croissants.
- Elegant Dessert Fillings: Use it as a luscious filling for delicate crepes, light-as-air doughnuts, or even macaron shells.
- Cake & Tart Enhancer: Dollop it as a topping for your favorite cakes like pound cake, pavlova, cheesecakes, or angel food cake. It makes an incredible filling between layers of cakes, such as this stunning lemon curd cake, adding a burst of fresh flavor.
- Yogurt & Oatmeal Booster: Stir a spoonful or two into your morning yogurt or blend it into high protein overnight oats for a zesty, refreshing start to your day.
- Cookie & Pastry Perfection: Incorporate it into baking! Use it as a filling for thumbprint cookies, or make delightful lemon meringue cookies with a fluffy meringue topping. It also pairs wonderfully with fruit tarts or as a topping for blueberry lemon streusel coffee cake or almond butter coffee cake.
- Simple Fruit Accompaniment: Serve it alongside fresh berries, sliced peaches, or grilled pineapple for a simple yet elegant dessert.
Storage and Freezing Tips for Lemon Curd
Proper storage is key to enjoying your delicious homemade lemon curd for as long as possible. Here’s a quick guide:
- Refrigeration: Once your lemon curd has completely cooled, transfer it to a clean, airtight jar or container. Store it in the refrigerator for up to 10 days. Always ensure the plastic wrap touches the surface of the curd during cooling to prevent a skin from forming.
- Freezing: Lemon curd is freezer-friendly! Cool it completely before transferring it to a freezer-safe, airtight container or a heavy-duty resealable bag. You can freeze lemon curd for up to 3 months.
- Thawing: To use frozen lemon curd, simply transfer it from the freezer to the refrigerator and allow it to thaw overnight. Give it a gentle stir before serving to restore its smooth, creamy consistency. Avoid microwaving or heating it too quickly, as this can affect its delicate texture.
Explore More Sauce Recipes
Sauces are culinary magic, transforming ordinary dishes into extraordinary meals. If you’re looking to elevate your recipes, mastering a few versatile sauces is an excellent starting point:
- For a smoky, sweet, and tangy addition to your grilling repertoire, try this simple yet incredibly flavorful bourbon peach BBQ sauce. It’s fantastic with chicken, pork, burgers, or even as a dipping sauce.
- Indulge your sweet tooth with a rich and decadent Bailey’s hot fudge sauce. This boozy fudge sauce is the perfect drizzle for ice cream sundaes, brownies, cookie skillets, or even as a dip for fresh fruit.
- Brighten up your biscuits or toast with a vibrant, tart, and sweet cranberry jam. Made with just 5 ingredients, it’s also a wonderful accompaniment to holiday roasts or cheese boards.
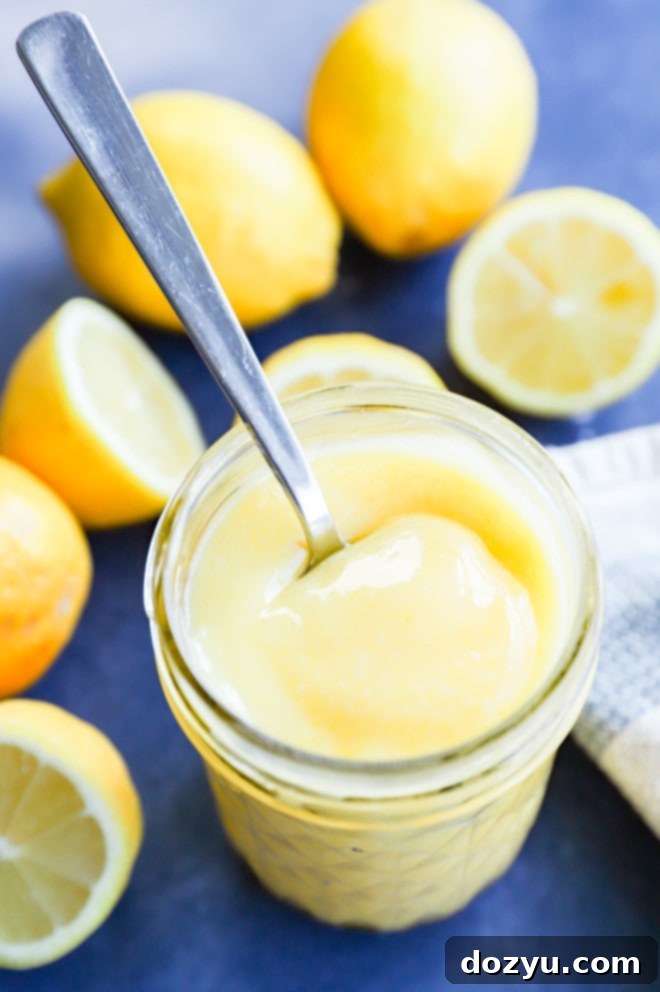
Finally, if you make this delightful homemade lemon curd recipe, please be sure to give this recipe a star rating on the recipe card below and/or leave a comment! Your feedback is invaluable, and I truly love hearing when you create these recipes in your own kitchens. I make an effort to respond to every single comment and answer any questions you might have.
Oh, and don’t forget to tag me on Instagram if you share your creations! Seeing these recipes come to life in your homes is one of my favorite things – it truly means the world to me!
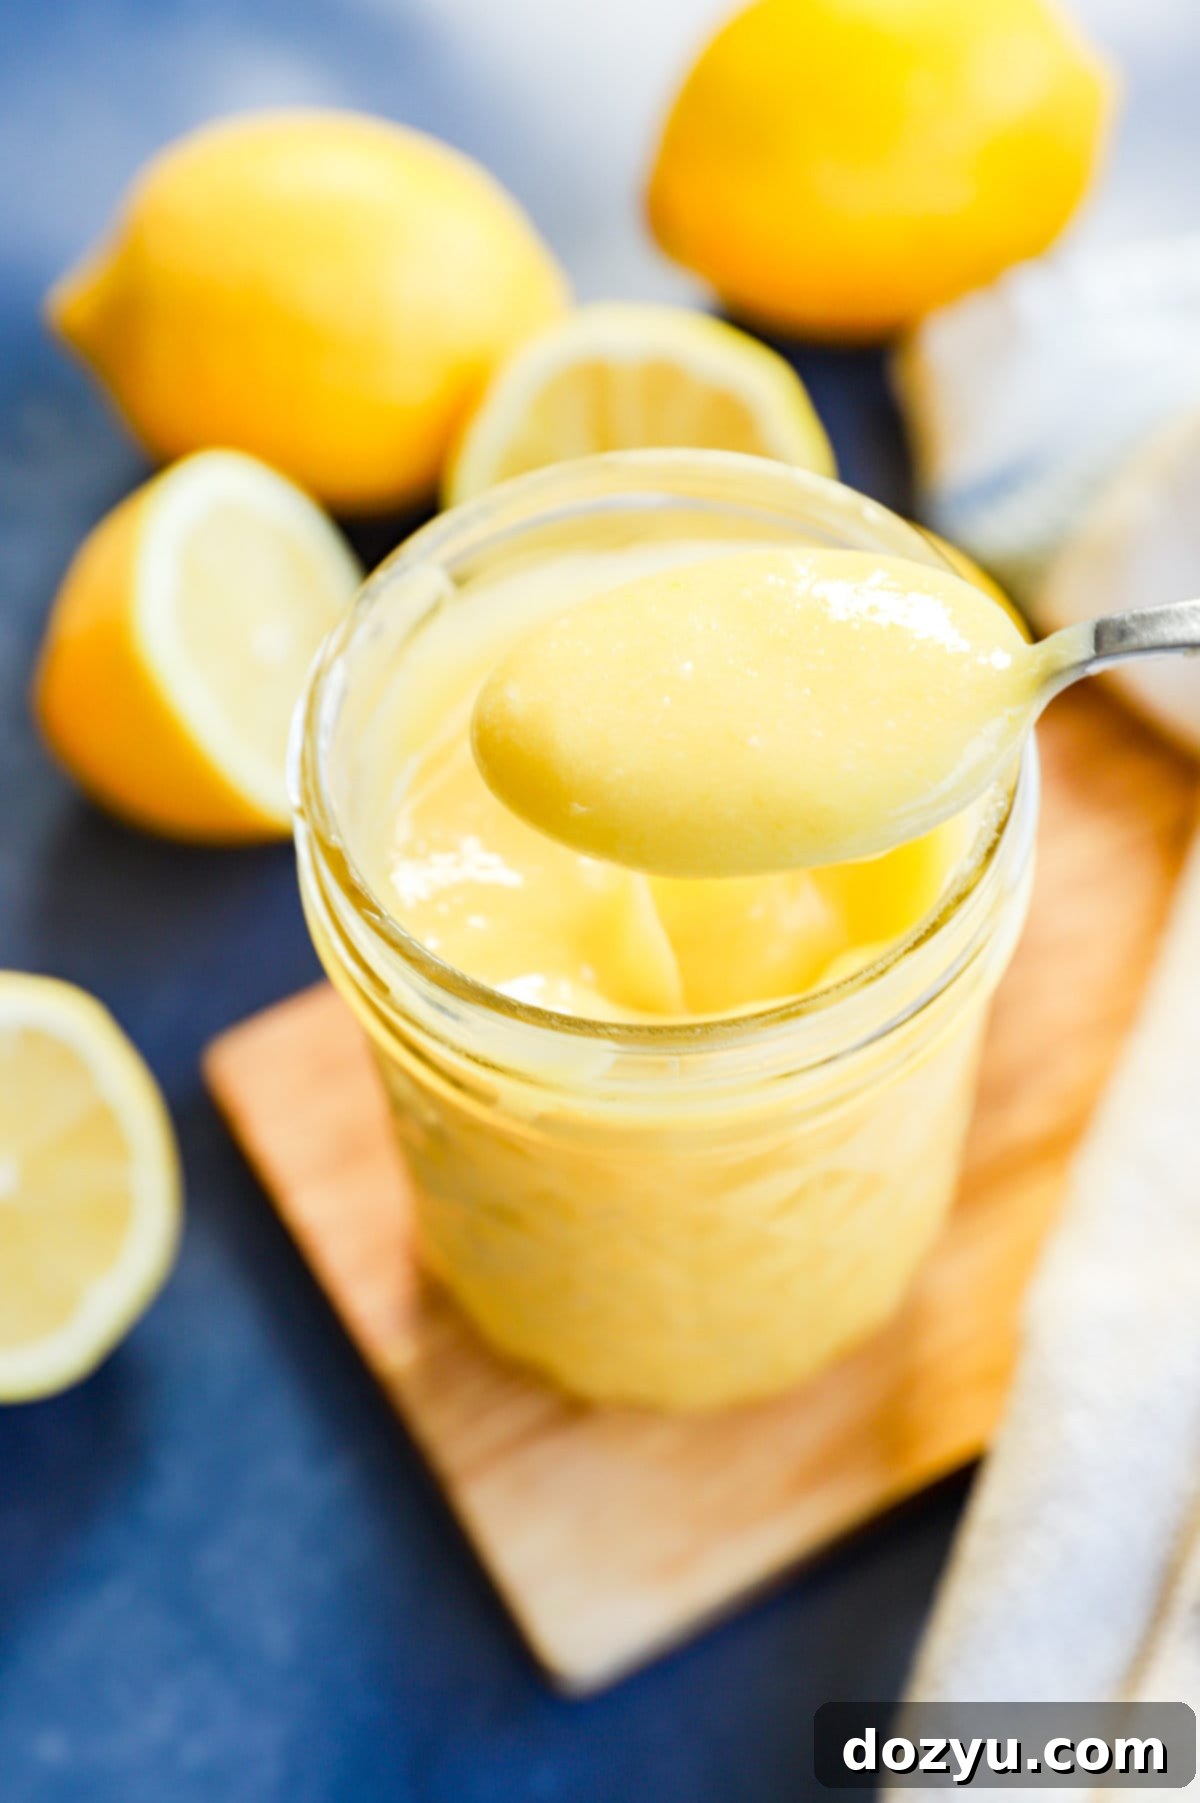
Lemon Curd Recipe Card
5 minutes
10 minutes
1 cup
Equipment
-
Saucepan
-
Mixing Bowls (Heatproof)
-
French Wire Whisk
-
Wooden Spoon
-
Fine Mesh Strainer (Optional)
Ingredients
- 4 large egg yolks
- 1/2 cup granulated sugar
- 1 Tbsp lemon zest (from about 1 large lemon)
- 1/3 cup fresh lemon juice (from about 2–3 lemons)
- 1/8 tsp salt
- 6 Tbsp unsalted butter (room temperature and cubed)
Instructions
-
Fill the bottom of a double boiler (or a saucepan for a DIY setup) with 1 to 2 inches of water. Ensure the bowl (for the DIY method) does not touch the water. Place over high heat and bring to a boil.
-
Reduce the heat to medium-low to maintain a gentle simmer. Place the top of the double boiler or your heatproof bowl on top.
-
In the top bowl, whisk together egg yolks, granulated sugar, lemon zest, fresh lemon juice, and salt. Continue to whisk constantly as the curd cooks over the simmering water to prevent the eggs from scrambling. Cook until the mixture thickens, coating the back of a wooden spoon (about 10 minutes).
-
Remove the bowl from the heat. Add the cubed, room-temperature unsalted butter and whisk until it is completely melted and incorporated into the curd, making it smooth and glossy.
-
Optional Step: For the creamiest lemon curd, pour the mixture through a fine mesh sieve into a clean bowl.
-
Cover the curd immediately with plastic wrap, pressing it directly onto the surface to prevent a skin from forming.
-
Allow the lemon curd to cool completely at room temperature. It will thicken further as it chills. Once cool, remove the plastic wrap and transfer to an airtight container or jar.
-
Refrigerate for up to 10 days. Enjoy!
Video Tutorial
Nutrition Facts
Carbohydrates: 109g |
Protein: 13g |
Fat: 88g |
Saturated Fat: 50g |
Polyunsaturated Fat: 6g |
Monounsaturated Fat: 26g |
Trans Fat: 3g |
Cholesterol: 958mg |
Sodium: 337mg |
Potassium: 194mg |
Fiber: 1g |
Sugar: 103g |
Vitamin A: 3145IU |
Vitamin C: 39mg |
Calcium: 127mg |
Iron: 2mg
Dessert, Breakfast
