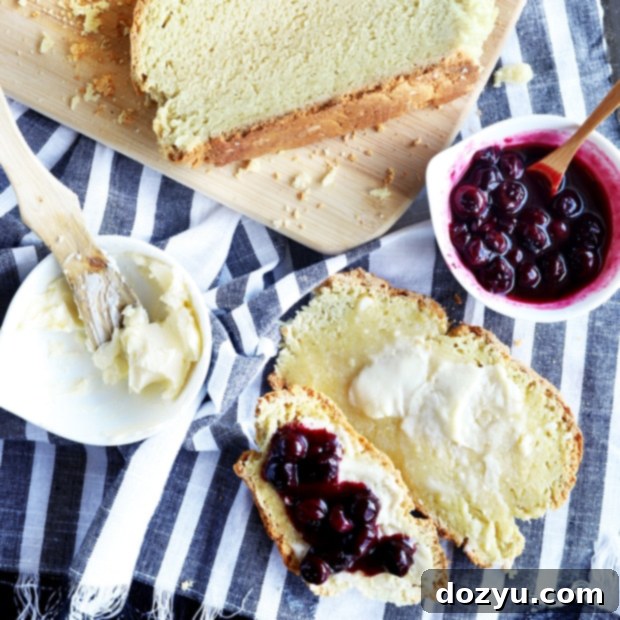
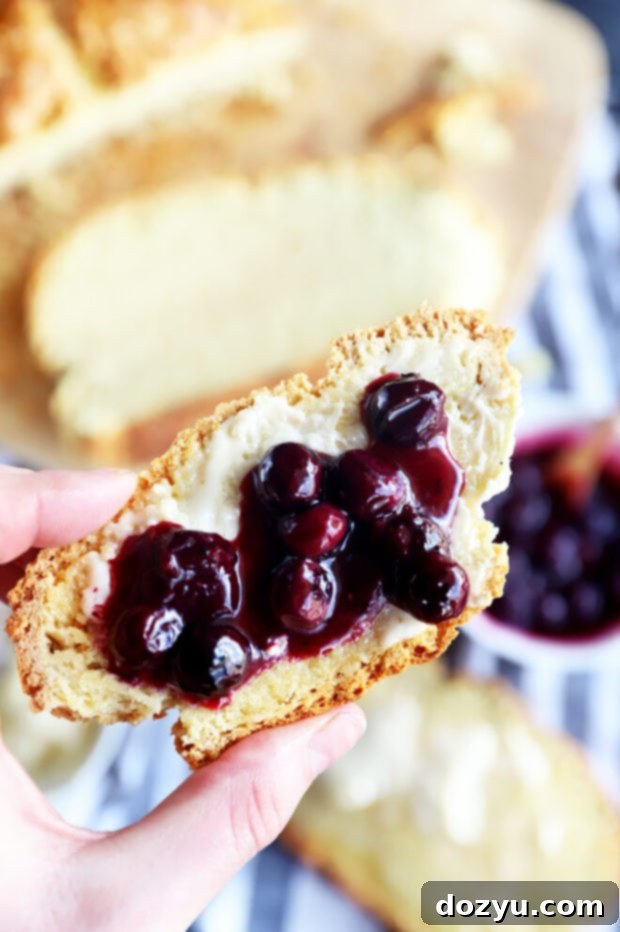
Easy No-Yeast White Bread: The Perfect Homemade Soda Bread Recipe
Craving fresh, homemade bread but can’t find yeast or don’t have the time for a long rise? Look no further! This no-yeast white bread, often known as traditional soda bread, is your perfect solution. It boasts a wonderfully crusty exterior and a rich, tender interior that makes it an absolute delight. This recipe yields one glorious loaf, ready to impress in under an hour.
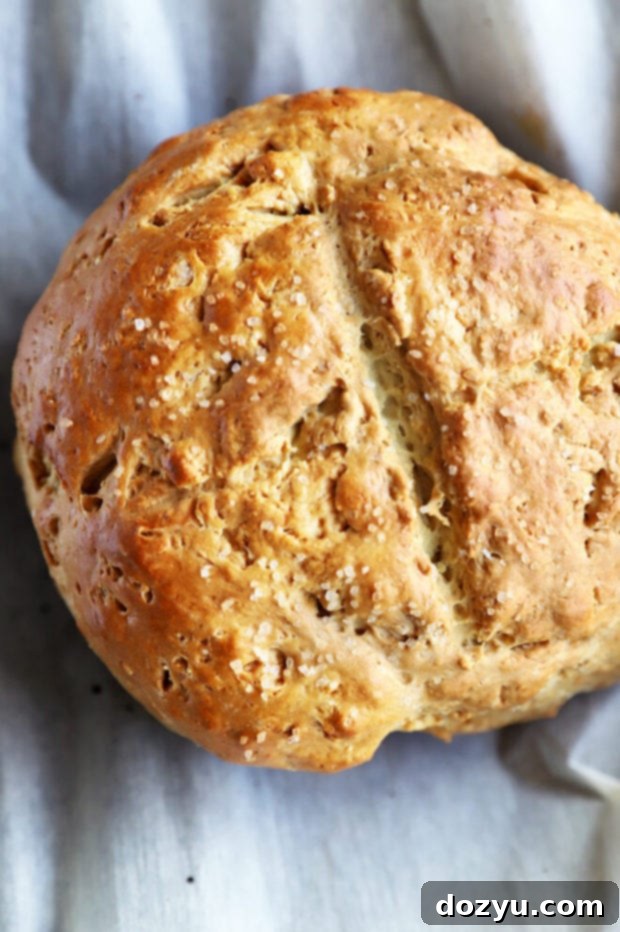
After receiving numerous requests for more convenient bread recipes, I’m thrilled to share another fantastic no-yeast option with you all! While my bacon parmesan quick bread is a delightful, speedy flatbread, I wanted to bring you something truly substantial this time – a classic, hearty loaf that feels incredibly satisfying to bake and eat.
I understand that yeast can be a tricky ingredient to find these days, especially with so many people discovering the joys of home baking. The demand for yeast-free recipes has grown significantly, and I’m here to assure you that you can still enjoy a truly delicious, rustic loaf without it.
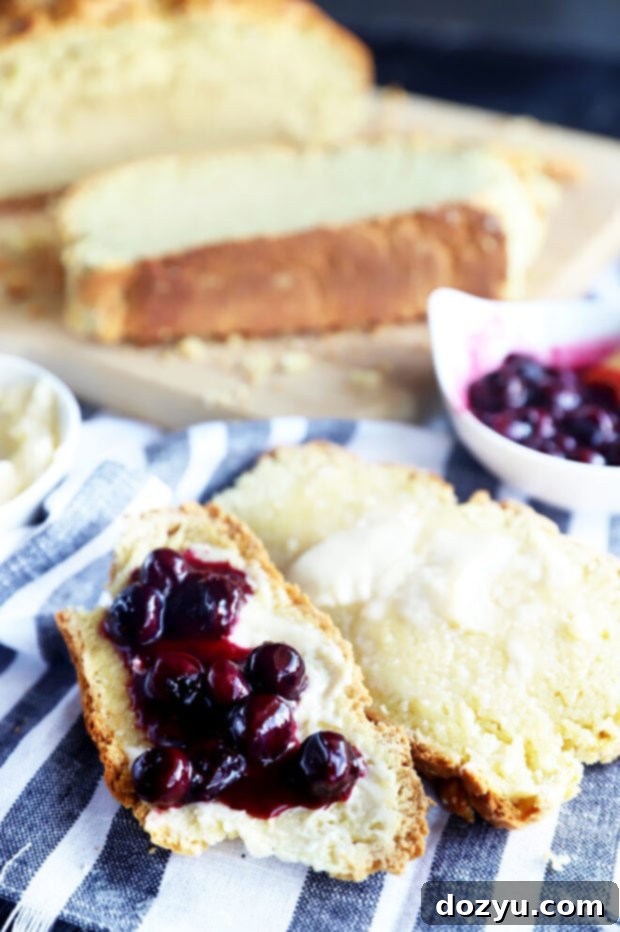
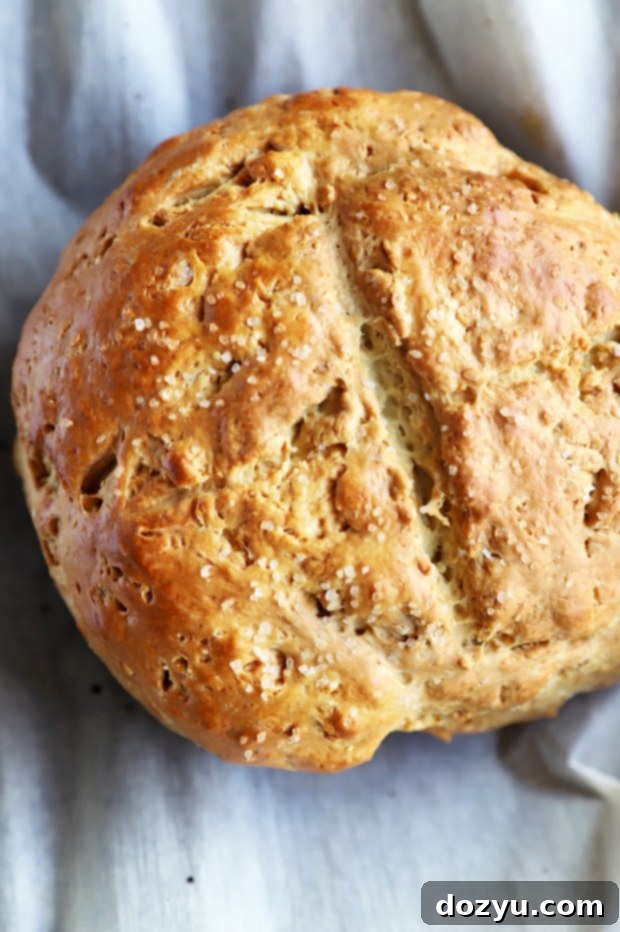
Fear not, because this no-yeast white bread recipe is about to change your perception of simple, homemade bread. If you’re familiar with Irish soda bread, you’ll recognize the comforting characteristics of this loaf. It boasts a beautiful, golden-brown crust that yields to a rich, moist, and wonderfully flavorful interior. It’s truly drool-worthy!
It’s important to note that this isn’t a sourdough loaf; you won’t find those large, airy pockets that yeast creates. However, the magic of baking soda, combined with the acidity of buttermilk, allows this bread to rise beautifully, providing a satisfying texture without the need for a starter or any lengthy proofing times. This means less waiting and more enjoying your freshly baked bread!
One of the best things about this simple white bread is how easily it can be customized. Whether you prefer savory additions or a slightly richer flavor, there are plenty of ways to make this loaf uniquely yours. I’ll share more details on delightful variations just before the recipe card below.
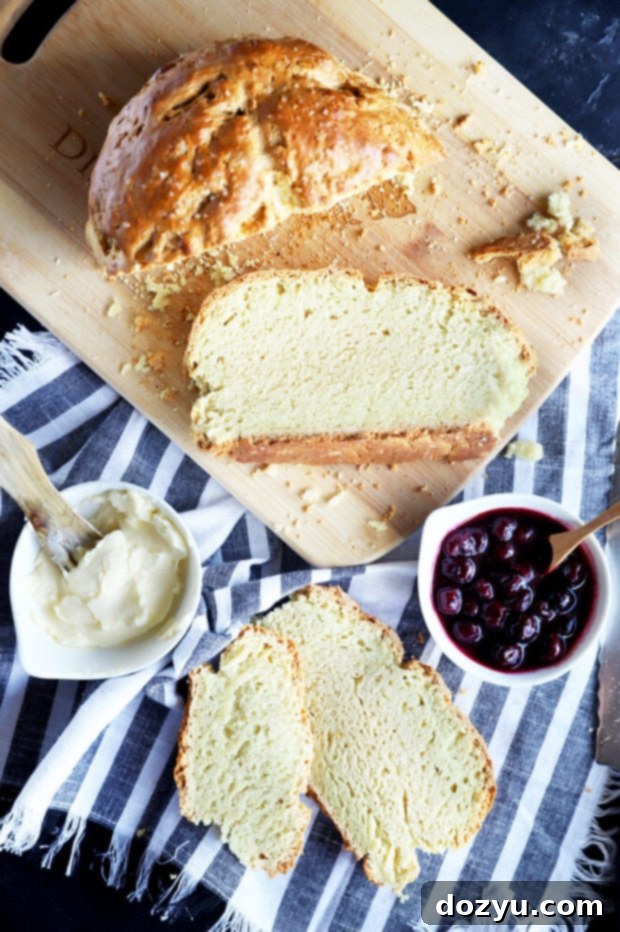
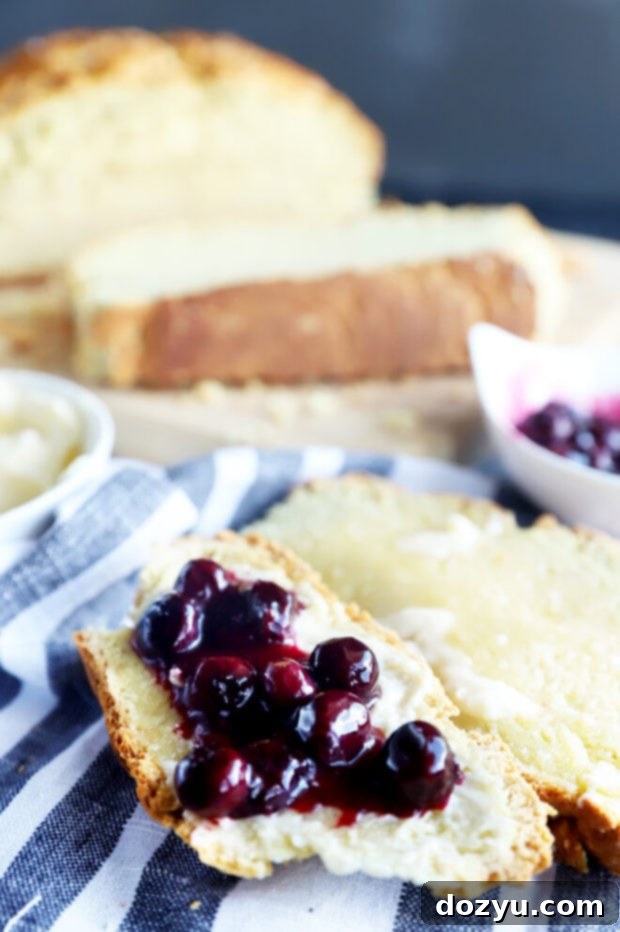
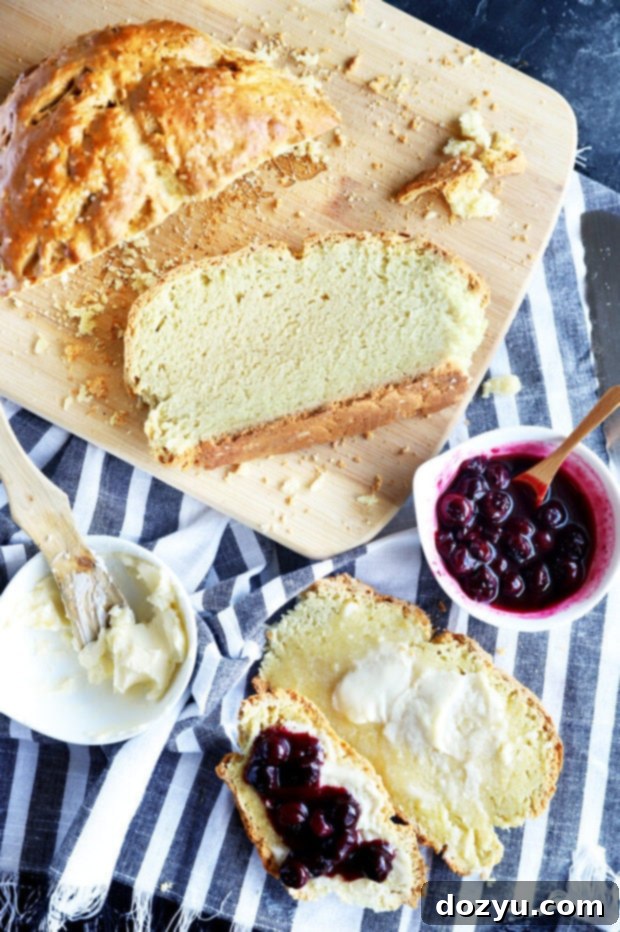
This versatile bread is absolutely perfect for a myriad of uses. Imagine it sliced and toasted, generously spread with creamy butter or a fragrant garlic herb butter. For a sweet start to your day, Nutella or peanut butter are excellent choices. It’s also an ideal accompaniment to a warm, cozy bowl of soup, such as a rich and indulgent crack chicken soup or a comforting lentil stew. And of course, its sturdy yet soft texture makes it fantastic for sandwiches, holding all your favorite fillings with ease.
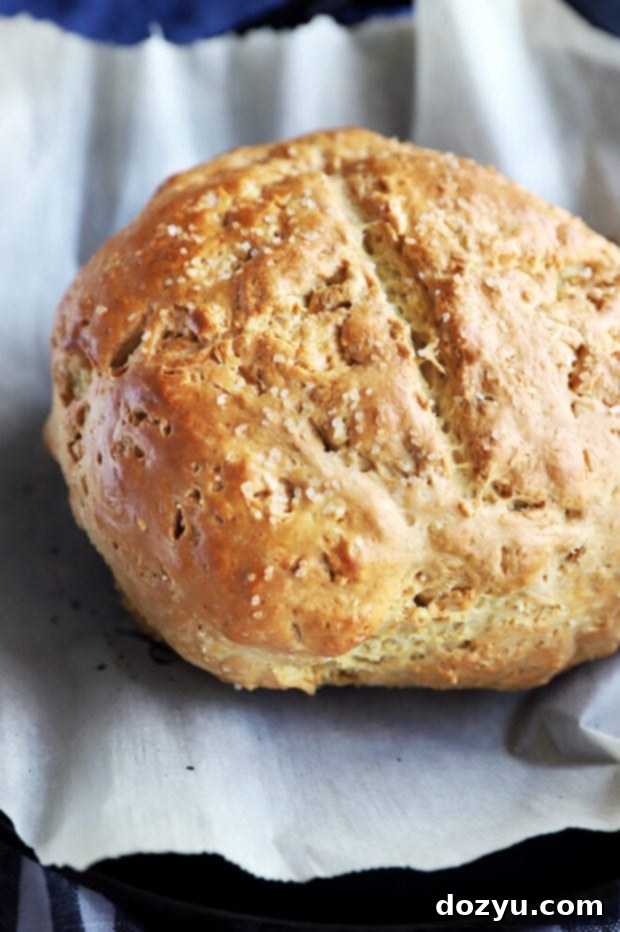
table of contents
Toggle
Essential Tools for Baking Success
Baking this simple no-yeast bread is wonderfully straightforward, meaning you won’t need an arsenal of fancy kitchen gadgets. Just a few basic tools will get you from ingredients to a warm, fragrant loaf in no time. Precision is key in baking, so having the right equipment ensures your bread turns out perfectly every time.
First, you’ll need your largest mixing bowl to comfortably combine all the ingredients without making a mess. A sturdy wooden spoon or a spatula will be perfect for mixing the dough; avoid overmixing, as that can lead to a tough loaf. Baking no-yeast bread is all about a gentle touch to achieve that desirable tender crumb.
Next up is your baking vessel. While a regular baking sheet can certainly work, I highly recommend using a cast iron skillet. The cast iron retains and distributes heat exceptionally well, which is crucial for achieving that signature evenly golden and deliciously crispy crust on the bottom of the loaf. If you don’t have a cast iron skillet, a heavy-bottomed oven-safe pot or even a Dutch oven can offer similar results, though a baking sheet is a perfectly acceptable alternative.
Finally, a sharp chef’s knife or a bread lame is essential for scoring the top of your loaf. This “X” cut on the dough isn’t just for aesthetics; it allows the bread to expand evenly in the oven, preventing cracks and ensuring a beautiful, rustic shape.
More Delicious Bread Recipes to Try: Harvest Pumpkin Seed Bread | Green Chile Cheddar Biscuits | Garlic Bread Bites | Cheddar Cheese Stuffed Parker House Rolls
Baking Your No-Yeast White Bread: Step by Step
Preparing the Dough
The beauty of this homemade no-yeast bread lies in its simplicity. All the ingredients come together effortlessly in a single bowl, minimizing cleanup and making the process incredibly enjoyable. To begin, gather your dry ingredients – the all-purpose flour, salt, and baking soda – and whisk them thoroughly in your large mixing bowl. This ensures that the leavening agent (baking soda) is evenly distributed, which is vital for an even rise.
In a separate, smaller bowl, combine the melted unsalted butter with the granulated sugar, stirring until smooth. Pour this mixture into your dry ingredients. At this stage, the mixture will appear quite dry and crumbly, almost like wet sand. Don’t worry, this is exactly as it should be; the buttermilk is what truly brings everything together.
Now, gradually add the buttermilk. Start with about half, stirring until it begins to incorporate. Then, add the remaining buttermilk and continue to mix until a cohesive dough forms. The dough should be slightly moist and have a “shaggy” appearance, meaning it won’t be perfectly smooth but will have a rustic, somewhat uneven texture. If you find your dough is excessively dry (especially in low-humidity environments), add an additional teaspoon of buttermilk, one at a time, until the desired consistency is reached.
Turn the dough out onto a lightly floured surface. Knead it gently just a few times, enough to bring together any loose dry bits and form it into a soft, manageable mass. The goal here isn’t to develop gluten like in traditional yeast breads, but simply to unify the dough. It should feel responsive and spring back slightly when touched, but it won’t have the smooth elasticity of a pizza or pie dough.
Shaping and Scoring for Perfection
Once your dough is properly mixed, form it into a round ball, then gently flatten it into a disc approximately 2 inches thick. This shape is characteristic of traditional soda bread and allows for even baking. Meanwhile, your cast iron skillet should have been preheating in the oven – this step is key for that desirable crispy bottom crust.
Carefully remove the hot skillet from the oven (using oven mitts, of course!) and line it with a piece of parchment paper. This prevents sticking and makes transfer easier. Place your dough disc directly in the center of the parchment-lined skillet.
Next, brush the top surface of the dough with a tablespoon of buttermilk. This buttermilk wash contributes to a beautiful golden-brown crust and a slight tang. Then, using a very sharp knife, score an “X” into the top of the dough. The cuts should be about 1/2 to 3/4-inch deep. This scoring isn’t just decorative; it helps the bread expand uniformly during baking and releases steam, preventing the loaf from cracking unpredictably.
Finally, sprinkle the top generously with coarse salt. This adds a delightful textural crunch and enhances the overall flavor profile of your homemade white bread.
Baking to a Golden Crust
With the dough prepared and scored, it’s time for the oven. Carefully place the skillet back into the preheated 400°F (200°C) oven and bake for approximately 40 minutes. Keep an eye on it during the last 10-15 minutes to ensure it’s not browning too quickly. The bread should emerge with a beautiful, deep golden-brown crust and sound hollow when tapped on the bottom.
Once baked, remove the bread from the oven. To prevent the crust from becoming too hard and to allow the internal moisture to redistribute, immediately cover the loaf with aluminum foil for about 10 minutes. This steaming period helps soften the crust slightly while keeping it crisp. After 10 minutes, remove the foil and let the loaf cool completely on a wire rack for at least 20 minutes before slicing. This resting period is crucial; slicing too early can result in a gummy texture and a less defined crumb.
What goes better with bread than SOUP? Check out my soup recipe page for ideas to pair with this bread!
Frequently Asked Questions About No-Yeast Bread
Do I Need Self-Rising Flour?
Absolutely not! This recipe is specifically designed for standard all-purpose flour. The leavening power comes entirely from the chemical reaction between the baking soda and the acidic buttermilk. Self-rising flour already contains leavening agents and salt, so using it would disrupt the careful balance of this recipe and could lead to unpredictable results or an overly salty taste. Stick with regular all-purpose flour for the best outcome.
What If I Don’t Have a Cast Iron Skillet?
No cast iron skillet? No problem! While a cast iron skillet is fantastic for achieving an ultra-crispy bottom crust, you can certainly use a standard baking sheet instead. To get the best possible crust, I still recommend placing your baking sheet into the oven while it preheats. This allows the sheet to get very hot before the dough is placed on it, simulating some of the benefits of cast iron by immediately creating a strong heat source for the bottom of the loaf. Just ensure you line it with parchment paper to prevent sticking.
Is The Long Resting Time Really Necessary?
I know, the smell of freshly baked bread right out of the oven is incredibly tempting, and waiting can feel like torture! However, resisting the urge to slice into your loaf immediately is one of the most important steps for achieving optimal texture. During the resting period, the bread continues to cook slightly from its residual heat, and more importantly, the internal moisture redistributes throughout the loaf. This process helps prevent a gummy or doughy texture in the center and allows the crust to firm up properly. Slicing too soon can release steam too quickly, leading to a less pleasant eating experience. So, yes, patience truly is a virtue when it comes to homemade bread!
Customize Your No-Yeast Bread
While this no-yeast white bread recipe is absolutely delicious as is, it also serves as a fantastic base for customization. Don’t be afraid to experiment and make it your own!
For a wonderful savory twist, instead of just coarse salt, consider topping your loaf with fresh or dried herbs. Fresh rosemary or an aromatic Italian herb mix sprinkled over the buttermilk-brushed dough before baking can add an incredible depth of flavor and a beautiful visual appeal. Other excellent choices include dried oregano, thyme, or even finely chopped chives.
If you love the flavor of herbs infused throughout your bread, you can easily incorporate them directly into the dough. Simply add 1 to 2 teaspoons of your favorite dried herbs (such as rosemary, an Italian herb blend, or even dill) to the flour mixture at the very beginning of the recipe. This distributes the herby goodness throughout every slice. For a truly fresh taste, finely chop fresh herbs and add them at the buttermilk stage.
Beyond herbs, feel free to experiment with other savory additions. A quarter cup of shredded cheddar cheese, a sprinkle of garlic powder, or even some black pepper could elevate the flavor profile. While this is a “white bread” recipe, a handful of toasted seeds like pumpkin or sunflower seeds could add a lovely crunch to the crust and interior.
No matter how you customize it, this bread is destined to be a crowd-pleaser. Don’t forget to dunk it into your favorite hearty soups and stews! It’s absolutely divine with a comforting Tuscan white bean soup or a rich Instant Pot chicken stew. Its robust structure also makes it an excellent candidate for making flavorful toasts, like a garlicky toast – though for this specific recipe, you’d use your fresh no-yeast bread instead of sourdough as referenced in my other recipe for sourdough garlic toast.
Finally, if you decide to bake this wonderful no-yeast bread recipe, please be sure to give it a star rating on the recipe card below and/or leave a comment! Your feedback is incredibly valuable, and I truly love hearing about your baking successes. I make it a point to respond to every single comment, so don’t hesitate to share your thoughts or any questions you might have.
Oh, and don’t forget to tag me on Instagram, Facebook, or Pinterest if you share photos of your creation! Seeing these recipes come to life in your homes is genuinely my favorite thing – it means the world to me!
Want to stay updated with new recipes and the latest news? Be sure to sign up for my newsletter for exclusive content and updates!
No Yeast White Bread Recipe
Equipment
-
Shun Classic Limited Edition Paring Knife
-
Le Creuset Signature Iron Handle Skillet, 9-Inch
-
Measuring Spoons
-
Pyrex Prepware Measuring Cups
-
long wooden spoon
-
Stainless Steel Mixing Bowls
Ingredients
- 4 1/4 cups all-purpose flour
- 1 1/2 tsp salt
- 1 1/2 tsp baking soda
- 4 Tbsp unsalted butter melted
- 2 tsp granulated sugar
- 1 3/4 cups buttermilk plus 1 Tbsp for brushing the dough
- 1/2 tsp coarse salt
Instructions
-
Preheat oven to 400˚F (200°C). Place a cast iron skillet (or baking sheet) in the oven as it preheats to ensure a crispy crust.
-
In a large bowl, whisk together the all-purpose flour, salt, and baking soda until well combined. Set aside.
-
In a small separate bowl, whisk together the melted butter and granulated sugar. Add this wet mixture to the dry ingredients, stirring to combine. The mixture will still be quite dry and crumbly at this point; this is normal.
-
Pour in half of the buttermilk, mixing gently to incorporate. Add the remaining buttermilk, continuing to mix until the dough comes together. The dough should be shaggy and slightly moist. If it feels too dry (common in arid climates), add an additional teaspoon of buttermilk, one at a time, until the right consistency is achieved.
-
Turn the dough out onto a lightly floured surface. Knead it just a few times to incorporate any remaining dry bits and form it into a cohesive ball. Then, gently flatten the ball into a disc that is at least 2 inches thick.
-
Carefully remove the hot skillet (or baking sheet) from the oven and line it with parchment paper. Place the dough disc in the center. Brush the top surface of the dough with the extra tablespoon of buttermilk. Using a sharp knife, cut a distinct “X” in the top of the dough, about 1/2 to 3/4-inch deep. Sprinkle with coarse salt.
-
Bake for 40 minutes, or until the bread has a beautiful golden-brown crust and sounds hollow when tapped. Remove from the oven and immediately cover the loaf with aluminum foil for 10 minutes. This helps soften the crust slightly. After 10 minutes, remove the foil and let the bread cool on a wire rack for another 20 minutes before slicing. This resting time is crucial for texture.
-
Store the cooled bread, covered tightly, at room temperature for up to 3 days, or in the refrigerator for up to 1 week to maintain freshness.
Nutrition
Carbohydrates: 434g |
Protein: 69g |
Fat: 65g |
Saturated Fat: 38g |
Polyunsaturated Fat: 5g |
Monounsaturated Fat: 16g |
Trans Fat: 2g |
Cholesterol: 167mg |
Sodium: 6750mg |
Potassium: 1150mg |
Fiber: 14g |
Sugar: 30g |
Vitamin A: 2103IU |
Calcium: 579mg |
Iron: 25mg
