Delicious & Easy Pina Colada Popsicles: Your Ultimate Tropical Summer Treat
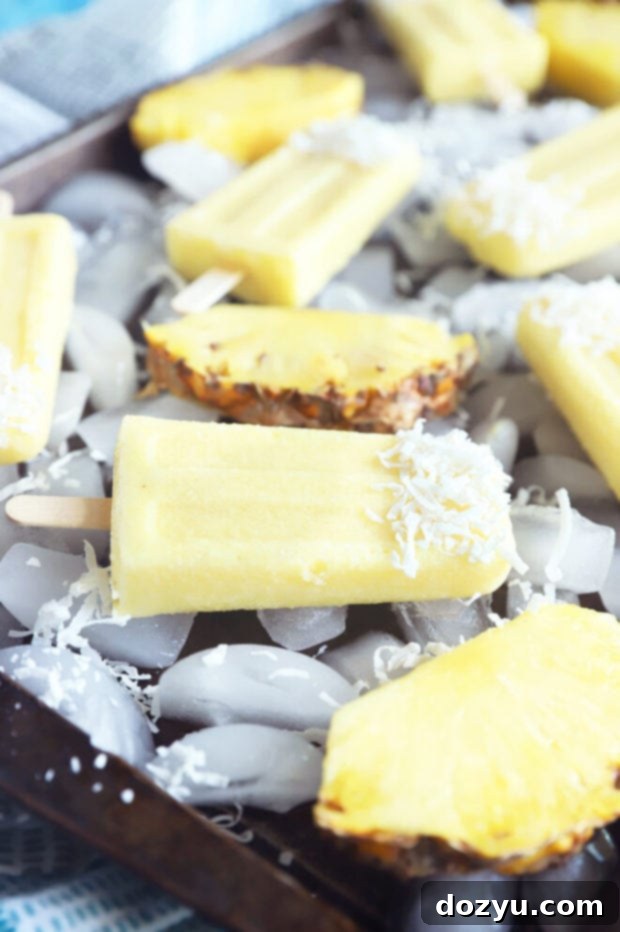
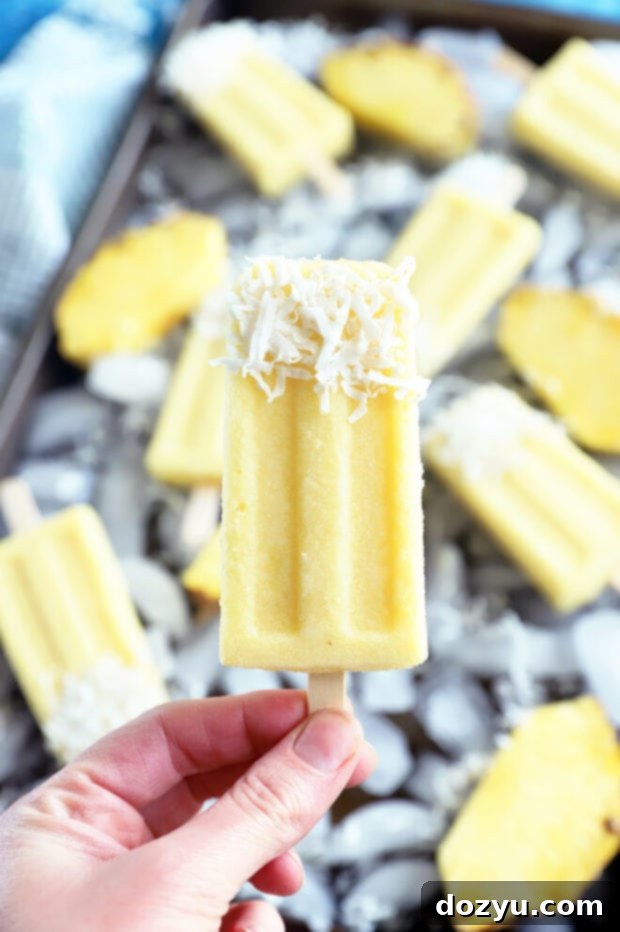
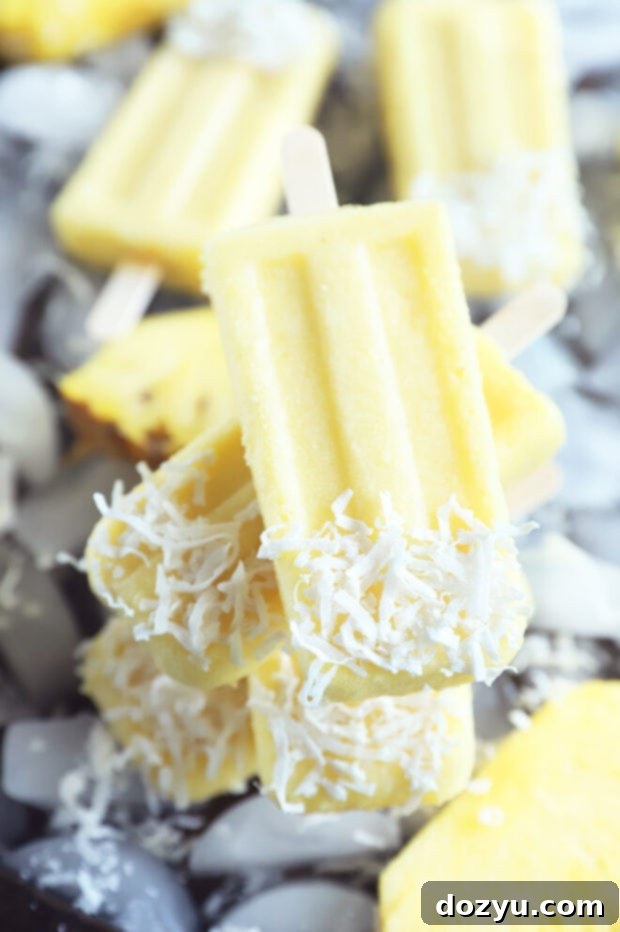
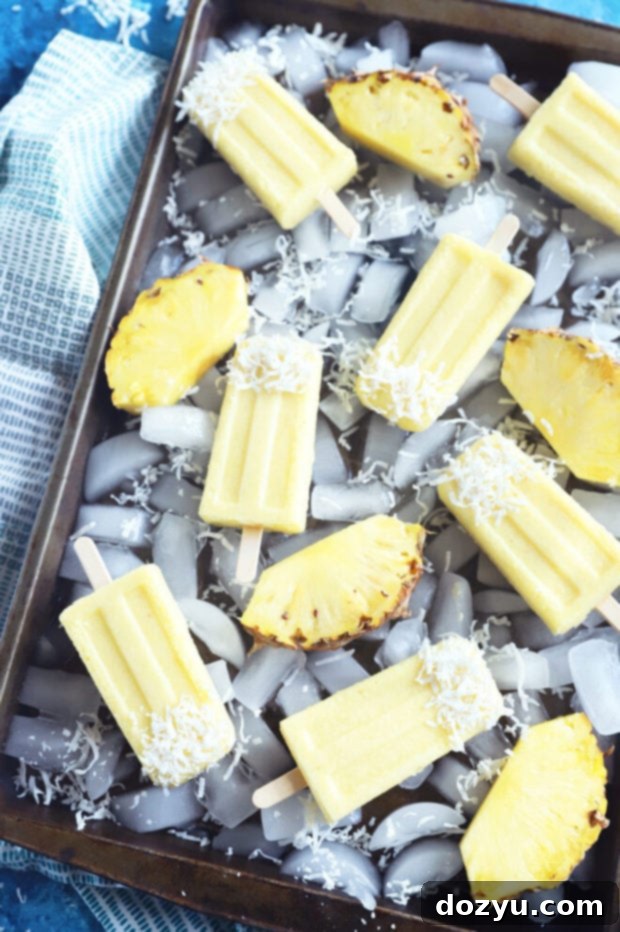
Pina Colada Popsicles are your perfect ticket to a dreamy tropical escape, captured in a delightful frozen dessert. This sweet treat delivers the quintessential flavors of pineapple and coconut, made incredibly simple with just three core ingredients. For those seeking an extra kick, we’ve included options to add some booze, transforming these into a fantastic adult indulgence! This recipe yields approximately 8 refreshing popsicles, perfect for sharing or keeping all to yourself.
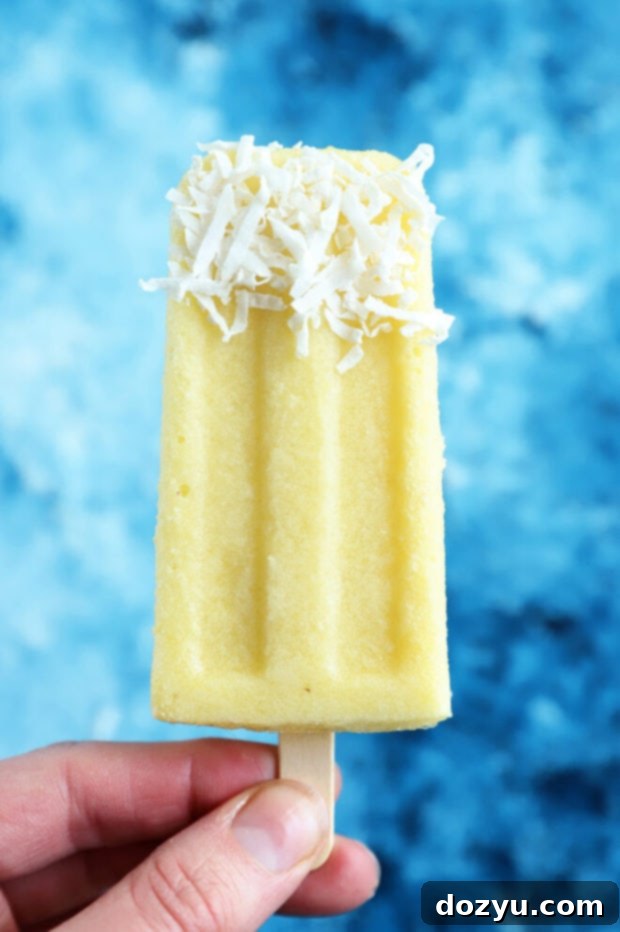
There’s something about the words “Pina Colada” that instantly transports you to a sunny beach, the sound of waves, and perhaps a catchy tune playing in the background. For me, it’s always that iconic scene from The Sweetest Thing, where Cameron Diaz and Christina Applegate belt out the song on their road trip. Yes, it might be a wonderfully terrible movie, but it has a special place in my heart, much like the perfect blend of pineapple and coconut.
This nostalgic connection makes celebrating National Pina Colada Day even more special. Instead of simply mixing up the classic cocktail, I decided to venture into a frozen realm and transform this beloved drink into vibrant, cooling popsicles. It’s a fantastic way to enjoy those same tropical flavors in a fun, handheld dessert format that’s ideal for beating the summer heat.
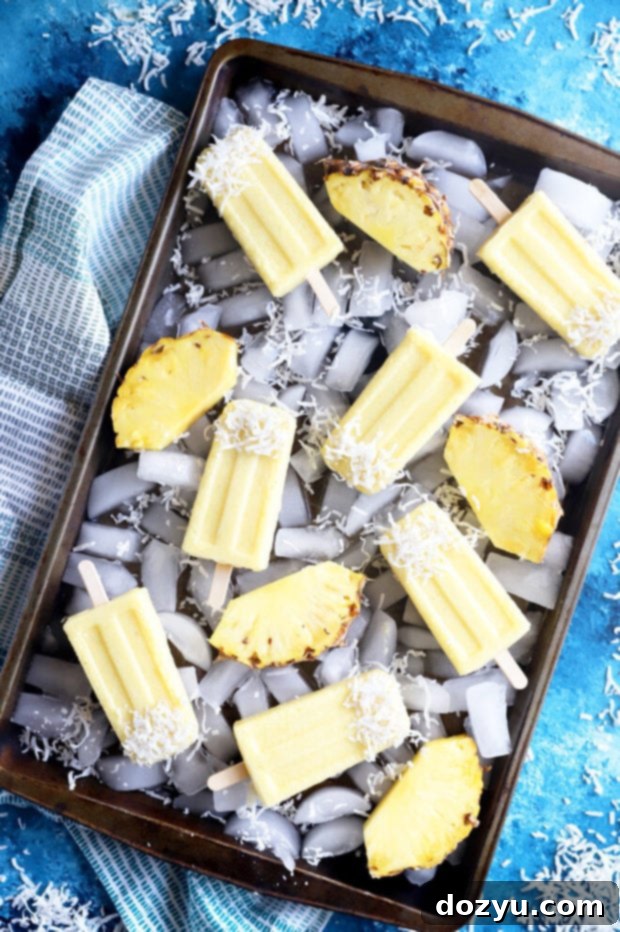
When I made my batch, I opted for a non-alcoholic version, mainly because I’m currently growing a tiny human, and alcohol isn’t on the menu for me right now. However, I’ve made sure to include clear instructions for both boozy and non-boozy variations, so you can tailor these treats to any occasion. Whether you’re planning a lively happy hour with friends or simply looking for a kid-friendly refreshment, these Pina Colada Popsicles are incredibly versatile.
Beyond their delicious taste and tropical flair, these popsicles boast remarkable simplicity. Without the optional alcohol, you only need three basic ingredients to bring them to life. The process is straightforward: blend everything until smooth, pour the mixture into molds, and let your freezer do the rest. It’s a minimal-effort, maximum-reward recipe that’s perfect for busy days or impromptu dessert cravings.
table of contents
Toggle
Here’s a couple other popsicle recipes you might like: Raspberry Peach Prosecco Popsicles | Dark Chocolate Dipped Mocha Popsicles (Vegan!)
Essential Equipment for Your Tropical Popsicles
Creating the smooth and creamy base for these Pina Colada Popsicles is effortless, and it all starts with the right tools. A powerful blender, such as a Vitamix or any other high-speed model, is absolutely essential. It ensures that your pineapple is thoroughly pulverized and evenly mixed with the coconut milk, resulting in a perfectly smooth texture without any unwanted chunks.
In addition to your blender, you will need a reliable popsicle mold. These come in various materials, including silicone, plastic, or stainless steel, each offering different advantages in terms of ease of use and cleanup. Don’t forget the popsicle sticks – they’re key for that classic frozen treat experience! Having these items ready will make the preparation process quick and seamless.
Crafting Your Perfect Pina Colada Popsicles: A Simple Guide
Making these delightful Pina Colada Popsicles is incredibly easy, broken down into two main steps: blending and freezing. Follow these simple instructions for a refreshingly sweet outcome.
Step 1: Blend for Smoothness
The first step is to combine all your ingredients into the blender. This includes your fresh, cubed pineapple, full-fat coconut milk, and your chosen sweetener (honey or agave). If you’re opting for the boozy version, now is the time to add your white rum. Ensure all ingredients are added to the blender jug.
Once everything is in, blend on high speed until the mixture is perfectly smooth and creamy. It’s crucial that there are no large pieces of pineapple remaining; you want a consistent, velvety liquid. The smoother the blend, the better the final texture of your popsicle will be, free from icy bits of fruit.
Step 2: Freeze to Perfection
Carefully pour the blended mixture into your popsicle molds, filling each cavity to the top. To ensure your popsicle sticks stand straight and centered, a little trick can make a big difference. Place the filled molds into the freezer for approximately 1 hour. This initial chill time allows the mixture to firm up slightly, creating enough resistance for the sticks to hold their position.
After this initial hour, insert the popsicle sticks straight into the semi-frozen mixture. Then, return the molds to the freezer and continue to freeze them until they are completely solid. This usually takes at least another 5 hours, but for the best results and firmest popsicles, leaving them to freeze overnight is highly recommended. Patience will be rewarded with perfectly frozen, delicious treats!
Need some more inspiration for your sweet tooth? Check out my dessert recipes page!
Got Questions? We’ve Got Answers!
Here are some common questions about making Pina Colada Popsicles to help you achieve the best results:
Can I use fat-free coconut milk?
While you might be tempted to use fat-free coconut milk for a lighter option, I strongly advise against it for this recipe. The full-fat coconut milk is crucial for achieving that rich, creamy texture and robust tropical flavor that makes Pina Coladas so irresistible. Using a fat-free alternative will significantly diminish both the luxurious mouthfeel and the depth of flavor in your popsicles, leaving them less satisfying. Trust me, the small amount of fat from the full-fat coconut milk is worth every bit for a truly decadent frozen treat!
Can I use canned or frozen pineapple?
Absolutely! While I always advocate for using fresh ingredients when possible for the brightest flavor, canned or frozen pineapple are perfectly acceptable alternatives if you’re in a pinch or prefer the convenience. If you opt for canned pineapple, make sure to drain it thoroughly before adding it to your blender. This prevents excess liquid from diluting the flavors and affecting the popsicle’s texture.
For frozen pineapple, it’s best to thaw it first, then drain any accumulated liquid. This ensures a smoother blend and prevents your popsicles from becoming too watery or icy. Either option will still deliver that wonderful pineapple essence to your tropical popsicles.
How do I remove them from the mold?
Removing popsicles from their molds can sometimes be a bit tricky, but there’s a simple method to ensure they slide out easily and perfectly intact. Start by filling your kitchen sink about halfway with hot tap water. Carefully place the popsicle mold into the hot water, making sure the water level does not go over the top edge of the mold and into the popsicle mixture.
Hold the mold in the hot water for about 15 to 20 seconds. This brief exposure to heat will slightly melt the outer layer of the popsicles, allowing them to release from the mold with ease. Remove the mold from the water, and you should be able to gently pull each popsicle out by its stick.
If you’re planning to save your popsicles for later enjoyment, I recommend wrapping each one individually in plastic wrap. This helps prevent freezer burn and keeps them fresh. Once wrapped, simply place them back into the freezer until you’re ready to enjoy another taste of the tropics!
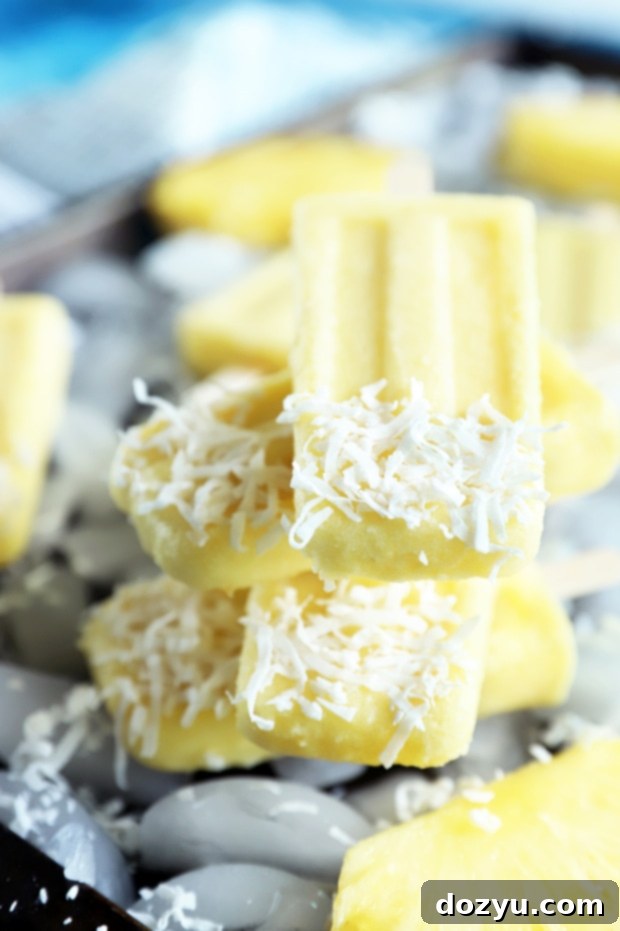
Pina Colada Popsicles
equipment
-
Vitamix Blender
-
Popsicle Sticks
-
Popsicle Mold
ingredients
- 2 1/2 cups fresh pineapple cubed
- 14 ounces full-fat coconut milk
- 2 Tbsp honey or agave
- Optional: 3 oz white rum
instructions
-
Place all ingredients in the blender. Blend until the mixture is smooth.
-
Pour the mixture into a popsicle mold, filling each to the top.
-
Freeze for one hour, then add popsicle sticks.
-
Freeze for an additional 5 hours until solid, or overnight.

