The Ultimate Guide to Brining Your Thanksgiving Turkey: Achieve a Moist & Flavorful Bird Every Time
Unlock the secret to a perfect, show-stopping turkey this holiday season! Our Best Turkey Brine recipe is a simple yet powerful combination of salt, fresh herbs, and aromatic ingredients designed to infuse your turkey with incredible flavor and ensure a tender, exceptionally moist result. This easy brine is a game-changer for your Thanksgiving centerpiece, transforming an ordinary bird into an extraordinary culinary experience.
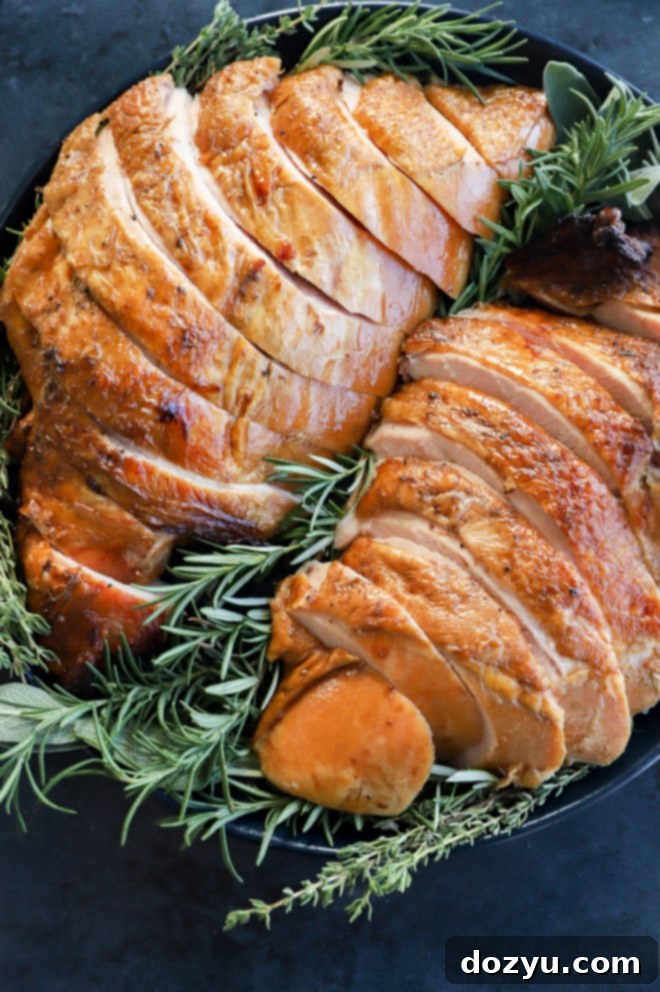
As November arrives and Thanksgiving swiftly approaches, my inbox is inevitably filled with questions about the star of the holiday feast: the turkey. Among these, one question consistently stands out: “Is brining a turkey truly worth the effort?”
My answer, without hesitation, is a resounding YES! While I’ve touched upon turkey brining in other posts, I felt it was time this year to dedicate a comprehensive guide solely to the art of the turkey brine. This article will walk you through everything you need to know about crafting the best turkey brine possible – from essential ingredients and the brining process to necessary tools and expert tips and tricks. Our goal is to empower you to achieve a perfectly tender, moist, and flavorful bird that will be the highlight of your Thanksgiving table.
Table of Contents
Toggle
Why Brining Your Turkey is Essential
Many home cooks wonder if brining is just another trendy step that can be skipped for a Thanksgiving turkey. The truth is, brining is the absolute secret weapon for achieving a turkey that is not just edible, but truly memorable – boasting unparalleled moisture and rich flavor. This is the one step we advocate for every time we prepare a holiday bird, guaranteeing a succulent, tender, and deeply flavorful result. It’s the most reliable method to ensure success, whether you’re a seasoned chef or roasting your very first turkey.
While the idea of brining might sound intimidating or time-consuming, it is an incredibly simple process that yields dramatic results. Forget dry, bland turkey! This method injects moisture and seasoning deep into the meat, creating a juicy interior and helping to achieve that coveted crispy skin. Even if you’re a beginner, this recipe simplifies the process, making it accessible for everyone. And while store-bought brining mixes are available, crafting your own brine is not only more economical but also allows you complete control over the flavor profile, letting you customize herbs, spices, and aromatics to your family’s taste.
Prepare to elevate your holiday cooking and unlock the full potential of your roasted or smoked turkey!
The Science Behind a Perfectly Brined Turkey: Why It’s Worth It
Brining a Thanksgiving turkey is undeniably worth the slight extra time and effort. This technique significantly enhances both the flavor and, critically, the juiciness of the final roasted bird. The process involves submerging the turkey in a simple saltwater solution, enriched with various aromatics, herbs, and seasonings. But how does it actually work?
At its core, brining relies on osmosis and diffusion. The salt in the brine solution helps to break down muscle fibers in the turkey, allowing the meat to absorb additional liquid. This additional moisture is then locked into the meat, preventing it from drying out during the cooking process. As the turkey cooks, this retained moisture ensures that even the leanest parts, like the breast meat, remain wonderfully tender and juicy.
Beyond moisture, the brine also imparts an incredible depth of flavor. As the liquid is absorbed, so are the savory notes from the salt, herbs, and aromatics. This infusion goes much deeper than what can be achieved through surface seasoning, basting, or even injecting, creating a turkey that is flavorful through and through. For those new to roasting turkey, brining acts as a fantastic safeguard against overcooking, providing a crucial buffer and allowing a little extra “wiggle room” to achieve perfect results.
An added benefit is the flexibility it offers in your holiday cooking schedule. Brining can be done a day or two before roasting, effectively freeing up your kitchen and minimizing last-minute prep on the busy Thanksgiving day. This forward planning is invaluable when you’re juggling multiple dishes and aiming for a stress-free celebration.
Everyday Seasonal Cookbook
Packed with inspiring seasonal produce guides, delightful recipes, and much more, this cookbook is your go-to resource for delicious seasonal food, perfect for every occasion throughout the year.
Key Ingredients for the Best Turkey Brine
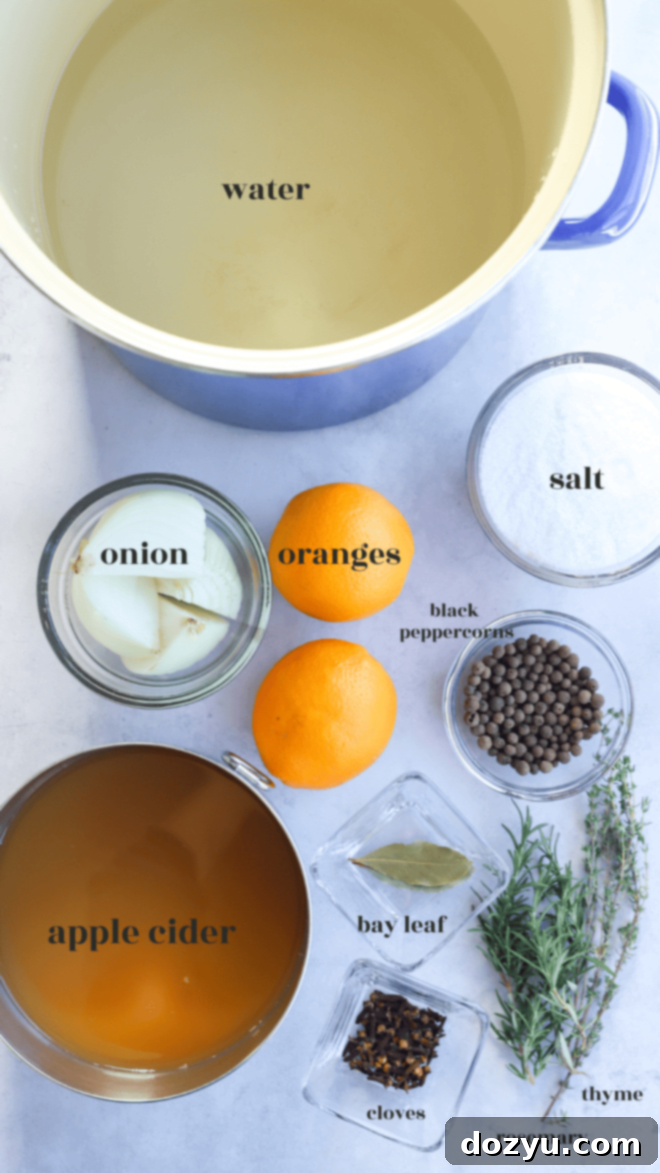
Crafting a flavorful turkey brine requires a blend of basic liquids, salts, herbs, and aromatics. Here’s what you’ll need to create the perfect solution for your bird:
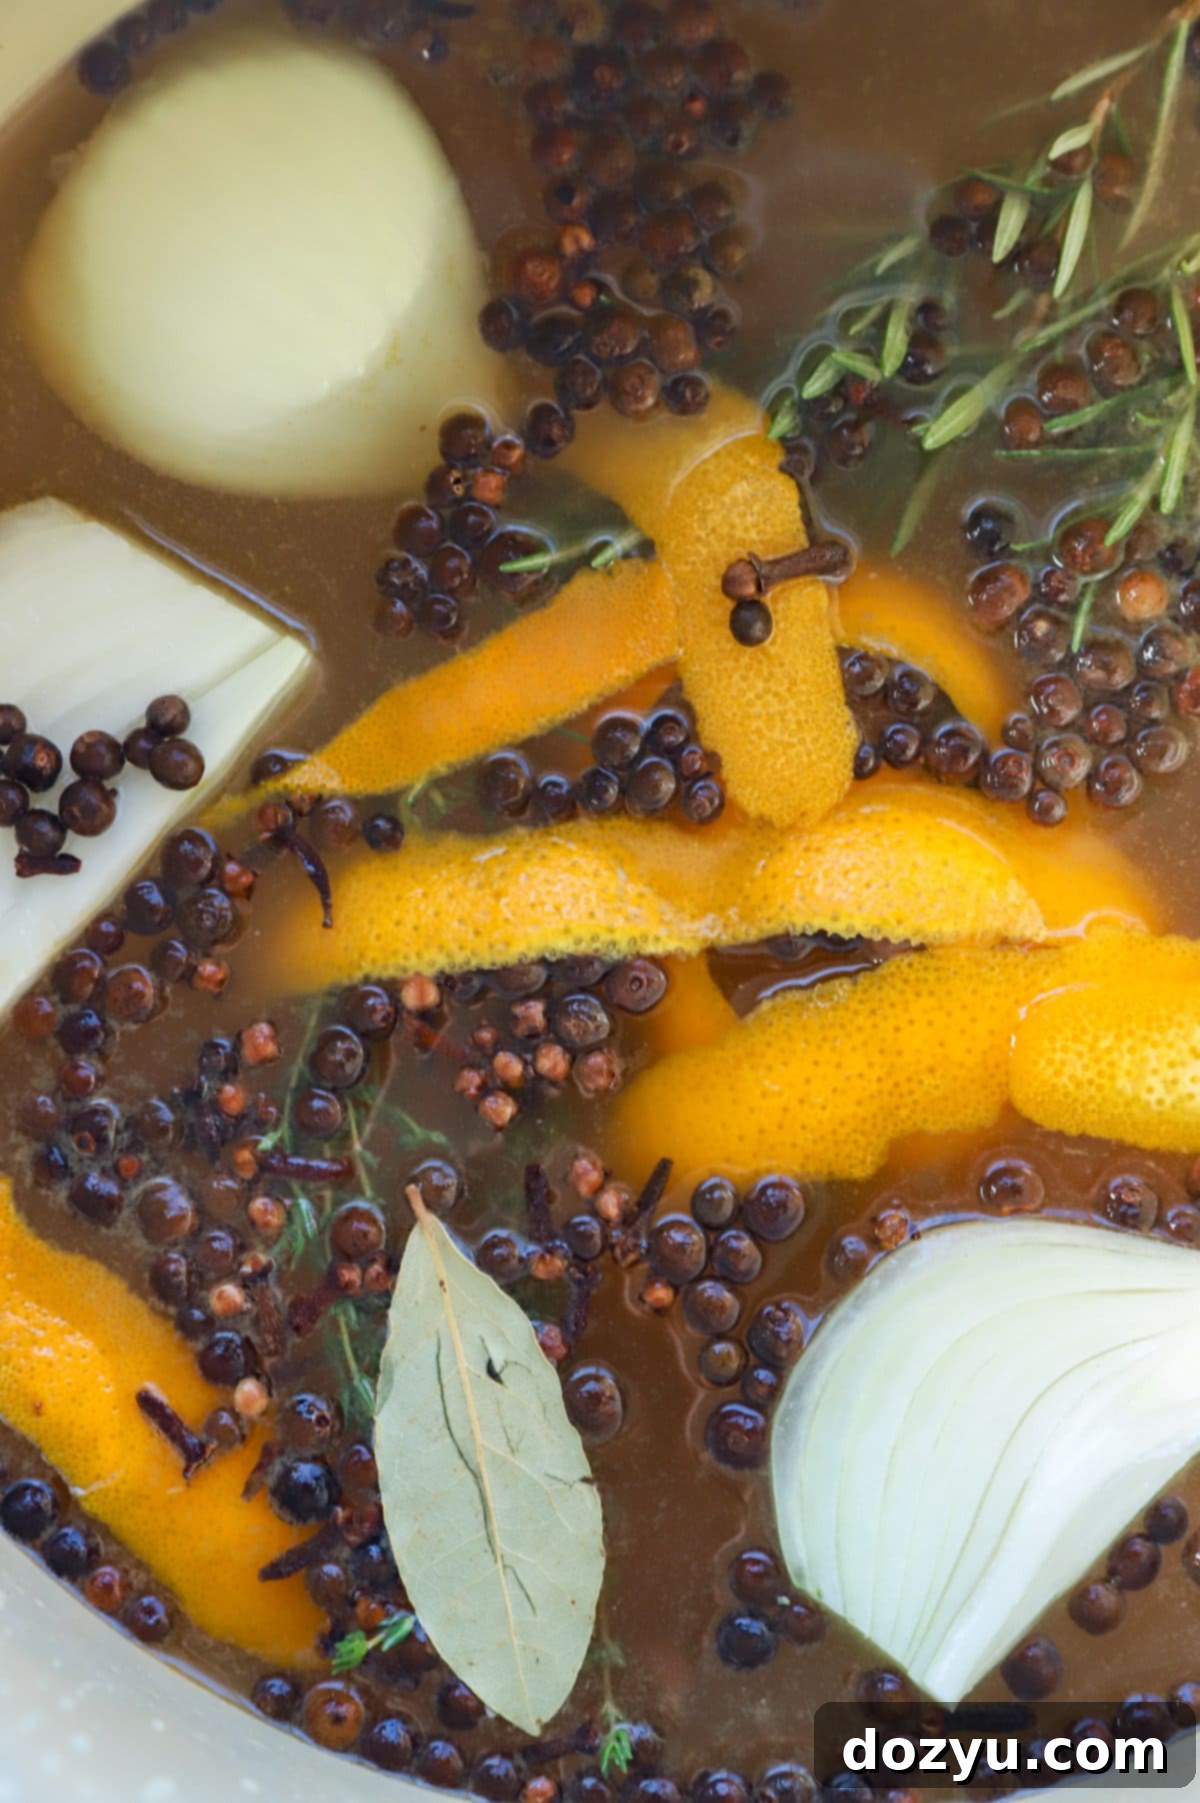
- Water: You will need 1 gallon (16 cups) of water. There’s no need for filtered water as it will be brought to a boil, which sanitizes it.
- Apple Juice or Cider: I personally prefer apple cider for its complex sweetness and tang, but apple juice works beautifully too. For an intriguing alternative, a brown ale can add malty, rich notes.
- Kosher Salt: Fine kosher salt is ideal for this recipe as it dissolves quickly and evenly in the liquid. Coarse salts can take much longer to fully integrate into the brine.
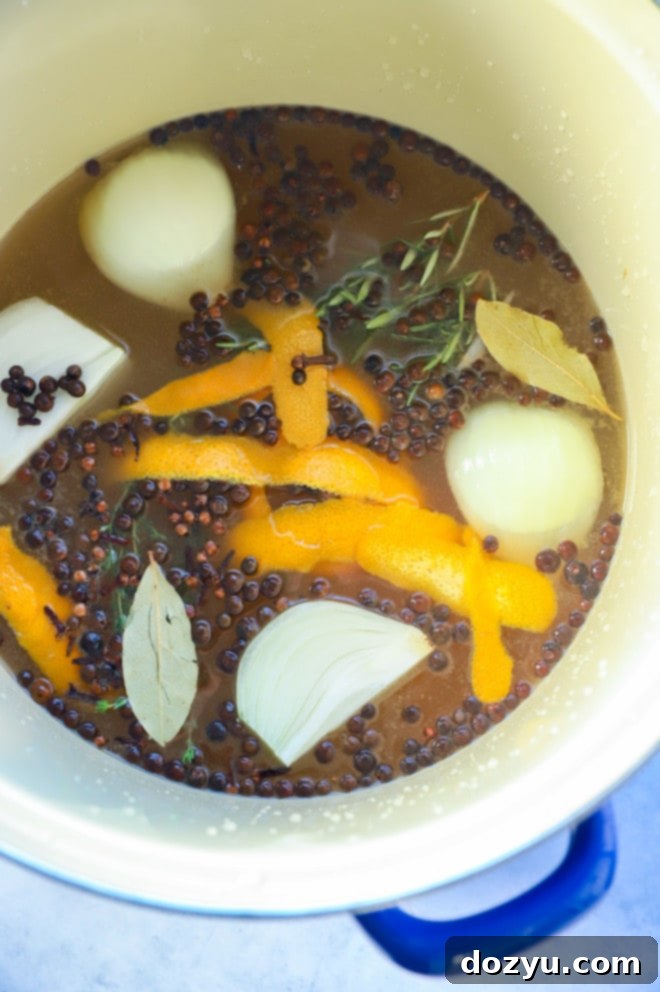
- Allspice: Use whole allspice berries to contribute a warm, subtly spicy, and aromatic essence. Ground allspice should be avoided as it can make the brine cloudy and intense.
- Cloves: Whole cloves are essential for their distinctive sweet and pungent flavor. As with allspice, ground cloves are too strong and can dominate the brine.
- Bay Leaves: Two dried bay leaves will add a classic, slightly floral, and herbaceous undertone that complements poultry.
- Fresh Herbs: A generous combination of fresh thyme and rosemary sprigs infuses the brine with quintessential holiday flavors, creating an aromatic foundation for your turkey.
- Onion: A large yellow onion, peeled and quartered, brings a savory depth and mild sweetness to the brine. A white onion can be used as a substitute if preferred.
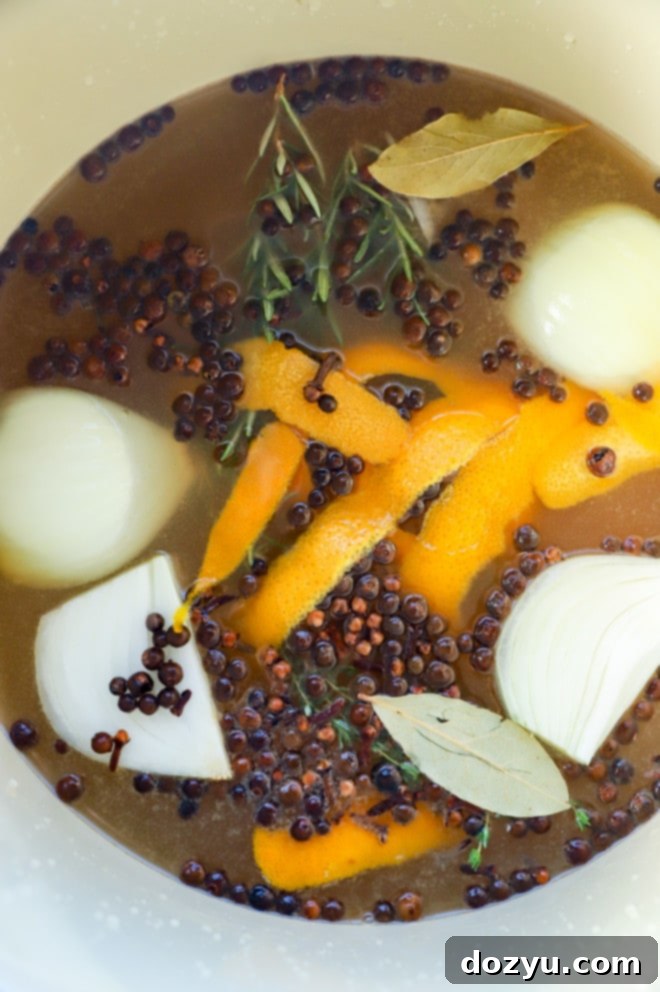
- Orange Peel: The peel from two large oranges provides a bright, citrusy aroma and flavor that beautifully cuts through the richness of the turkey. Remember to save the juicy fruit for snacking or other recipes!
Essential Equipment for Brining
While the process is simple, having the right tools makes brining your turkey even easier:
- Measuring Cups and Spoons: For accurate ingredient proportions.
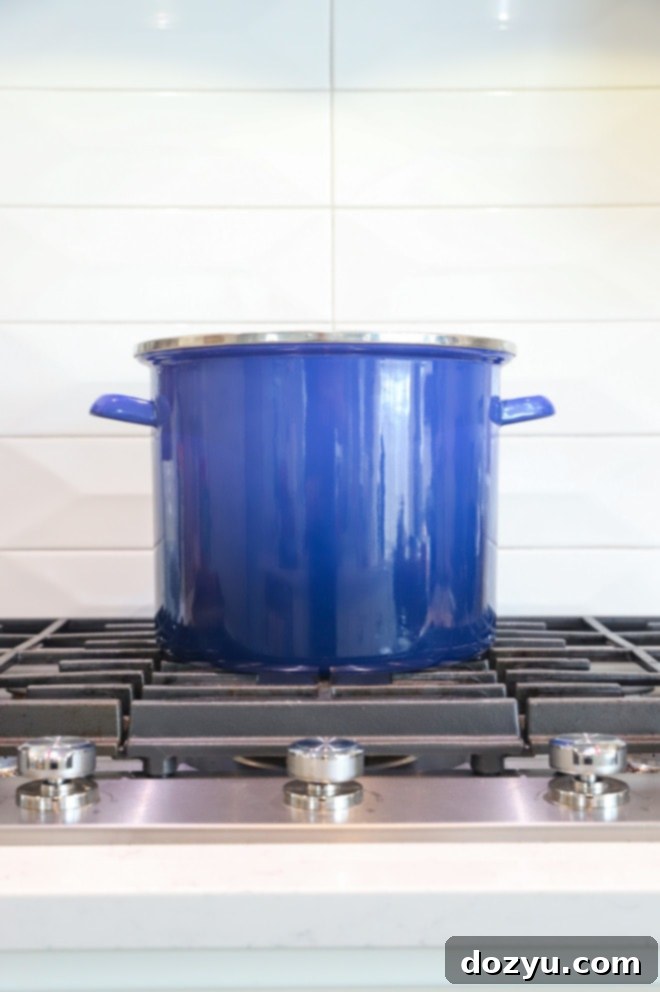
- Large Stockpot: To prepare the brine solution. Ensure it’s large enough to hold all the liquid ingredients comfortably.
- Brining Container: You’ll need a container large enough to fully submerge your turkey in the cooled brine. This could be a large brining bag (placed in a cooler for support and leak prevention), a food-grade bucket, or even a very large stockpot if your turkey is on the smaller side. A cooler with ice is also an excellent option if refrigerator space is limited.
How to Make and Use Your Turkey Brine
Follow these simple steps to prepare your turkey brine and ensure a perfectly juicy bird:
Step 1: Boil the Brine
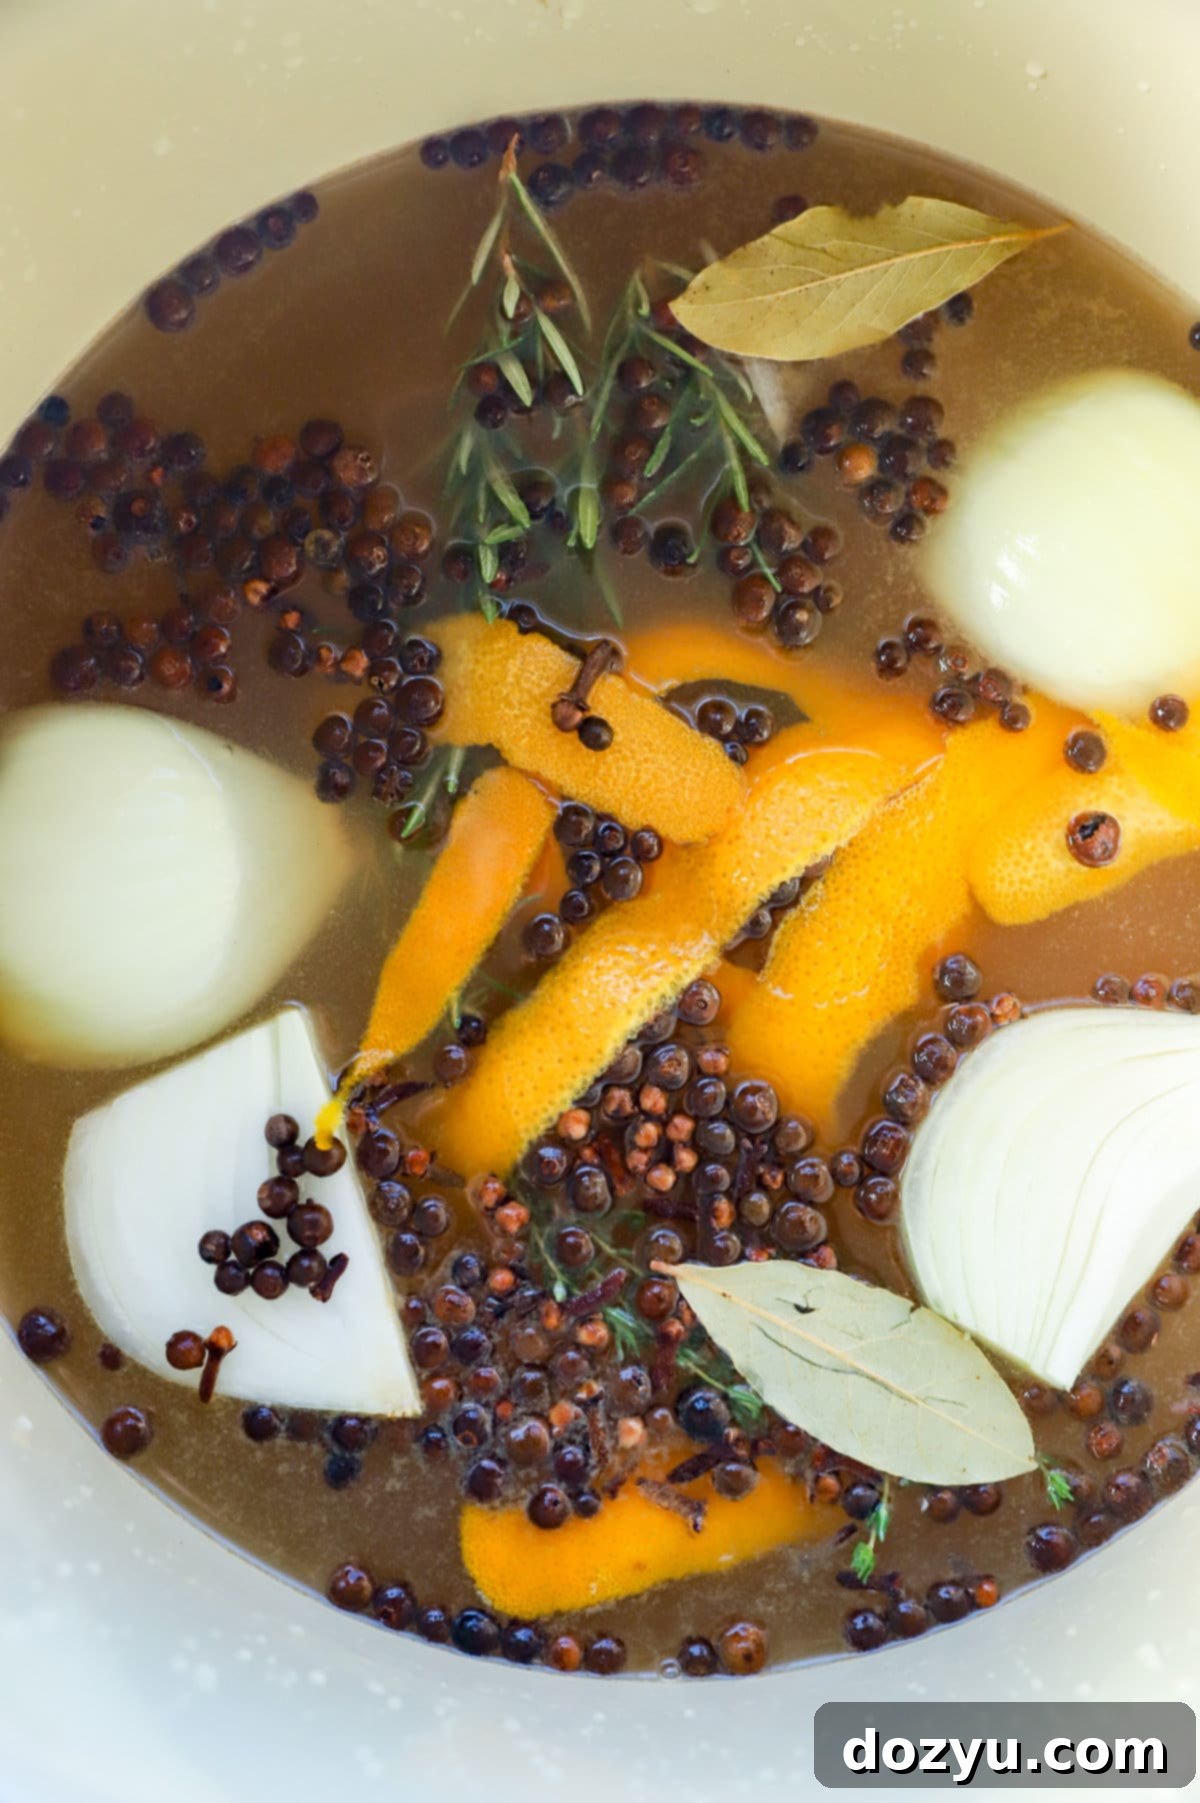
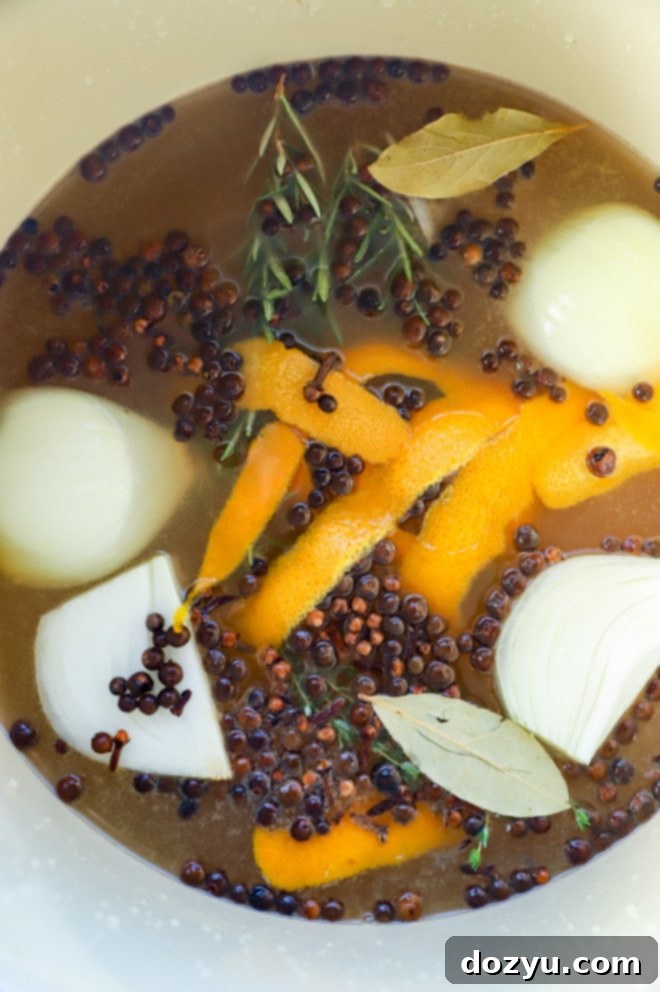
In your large stockpot, combine the cold water, apple juice or cider, kosher salt, whole allspice berries, whole cloves, bay leaves, fresh thyme sprigs, fresh rosemary sprigs, quartered yellow onion, and orange peel. Bring this mixture to a rolling boil over high heat, stirring continuously until the salt has completely dissolved. This process helps to extract maximum flavor from your aromatics and ensures proper salt distribution.
Step 2: Cool Completely
Once the salt is dissolved and the mixture has boiled, remove the pot from the heat. It is absolutely crucial to allow the brine to cool down to room temperature, or even colder, before adding your turkey. Placing raw turkey into hot or warm brine can partially cook the meat and create a food safety hazard. You can speed up this process by placing the pot in an ice bath in your sink or refrigerating it once it’s no longer steaming hot.
Step 3: Brine the Turkey
Carefully place your thawed turkey into a brining bag or a large, food-safe container. Once the brine is completely cooled, pour it over the turkey, ensuring the bird is as submerged as possible. If your turkey is not fully submerged, which can happen with larger birds or certain containers, make sure to turn it halfway through the brining time to ensure even seasoning and moisture absorption across the entire bird. Cover the container tightly and refrigerate.
Brine the turkey for at least 16 hours and up to 24 hours for turkeys under 15 pounds. For larger birds, adjust brining time as specified in our FAQs.
Step 4: Pat Dry
After the brining period, remove the turkey from the brine. While some prefer to rinse the turkey at this stage if they fear it might be too salty, our recipe is balanced to avoid excessive saltiness, so rinsing is generally not necessary. The most important step here is to thoroughly pat the entire turkey dry with paper towels, both inside and out. A dry skin is essential for achieving that desirable crispy, golden-brown exterior when you roast or smoke your turkey. Now, your bird is ready to be cooked as desired!
Pro Tips and Tricks for Brining Success
Mastering the art of brining is simple with these expert tips:
- Always Thaw Your Turkey First: While it’s technically possible to thaw a frozen turkey in brine, it can take two or more days, and controlling the brine’s temperature for food safety becomes more challenging. For best results and easier handling (like removing giblets), always fully thaw your turkey in the refrigerator before brining. This allows for a more predictable and shorter brining time.
- No Rinsing Required (Most of the Time!): Many recipes call for rinsing the turkey before and after brining. However, rinsing raw poultry can spread bacteria around your kitchen. With a properly balanced brine like ours, rinsing is typically unnecessary before placing it in the brine. After brining, rinsing is only needed if you are concerned about excessive saltiness, though our brine aims for perfect balance.
- The Importance of Resting the Turkey: After cooking, resist the urge to carve your turkey immediately. Let it rest for at least 25 to 30 minutes (even up to an hour for larger birds) before slicing. This crucial step allows the juices to redistribute throughout the meat, preventing them from flowing out onto the cutting board and ensuring every slice is incredibly moist.
- Pat Turkey Dry for Crispy Skin: This is a non-negotiable step for achieving that coveted golden, crispy skin. Even if you don’t rinse the turkey, thoroughly pat every inch of its surface dry with paper towels after removing it from the brine. The drier the skin, the better it will brown and crisp up. For an extra-crispy skin, you can even refrigerate the patted-dry turkey on a rack over a baking sheet overnight.
Creative Brine Variations
Our base recipe is fantastic, but don’t hesitate to customize your brine to explore new flavor dimensions:
- Experiment with Herbs: Beyond rosemary and thyme, consider adding fresh sage for an earthier, more traditional Thanksgiving flavor. You could also focus on a single dominant herb if you have a particular preference, like an extra dose of fresh oregano or marjoram.
- Alternate Liquids: Instead of apple cider, try a dry white wine for a more sophisticated note, or experiment with different types of beer. Lagers and brown ales work well, contributing subtle maltiness without being overpowering. Avoid overly hoppy or bitter beers.
- Swap Out Seasonings: Introduce warmth with a few cinnamon sticks, or a hint of exotic spice with cardamom pods. Lemon peel can replace orange peel for a brighter citrus kick. For a savory, almost licorice-like flavor, consider adding a tablespoon of fennel seeds.
FAQs: Your Turkey Brining Questions Answered
Can this turkey brine be made ahead of time?
Absolutely! This brine is perfect for making in advance, which helps to streamline your holiday preparations. You can prepare the brine up to 5 days before you plan to brine your turkey. Simply cool it completely, then transfer it to an airtight container and store it in the refrigerator until you are ready to use it. This allows the flavors to meld beautifully and saves you valuable time on brining day.
Can I use this turkey brine for a turkey breast?
Yes, this versatile brine recipe works wonderfully for both a whole turkey (up to approximately 20 lbs) and a turkey breast. When brining a turkey breast, you’ll need to adjust the brining time to prevent it from becoming too salty or developing a mushy texture. Refer to the next FAQ for specific timing recommendations.
How long should you brine a turkey or turkey breast?
The ideal brining time largely depends on the size of your bird:
- For a Turkey Breast: I recommend brining for about 12 to 16 hours. This shorter duration is perfect for smaller cuts to absorb flavor and moisture without over-salting.
- For a Whole Turkey (Under 15 pounds): Brine for at least 16 hours and up to 24 hours. My preferred “sweet spot” for this size is around 18 hours, ensuring maximum flavor and moisture without becoming excessively salty. Do not exceed 24 hours, as this can indeed make the turkey too salty.
- For a Whole Turkey (Larger than 15 pounds): For a truly large bird, you can extend the brining time to approximately 36 to 48 hours. Always monitor closely and consider the overall salt content to avoid over-brining.
Does the turkey need to be refrigerated while brining it?
Absolutely yes! It is crucial for food safety that the turkey remains refrigerated throughout the entire brining process. Raw poultry can spoil quickly if left at room temperature. Always ensure your brining container is in a refrigerator or, if space is an issue, in a large cooler packed generously with ice. Treat brining turkey with the same care you would any raw meat.
Should you rinse the turkey before or after brining it?
There’s generally no need to rinse the turkey before adding it to the brine; simply remove the neck and giblets from the cavity if you have a whole bird. After brining, I typically don’t find it necessary to rinse the turkey either, as this brine is formulated to be well-balanced and not overly salty. However, if you are concerned about residual saltiness, a quick rinse under cold water is acceptable. The most critical step after brining, regardless of rinsing, is to thoroughly pat the turkey dry with paper towels. A dry skin is paramount for achieving a beautifully crispy exterior during roasting or smoking. For maximum crispiness, you can even place the patted-dry turkey on a rack over a baking sheet and refrigerate it uncovered overnight to further dry out the skin.
Should you thaw the turkey before brining it?
Yes, I highly recommend thawing your turkey completely before brining. This significantly cuts down on the overall brining time, making the process more efficient (typically 12 to 18 hours instead of multiple days). Thawing first also allows you to easily remove the neck and giblets from the turkey cavity, which is much more challenging when the bird is still frozen. While it is possible to thaw a turkey in the brine, it requires a much longer brining period (up to 2 days) and careful temperature management to ensure food safety.
What should I brine my turkey in?
For a wet brine, you’ll need a container that is large enough to comfortably hold your turkey and completely submerge it in the brine. It should also have a lid or be able to be sealed. Here are some suitable options we’ve used:
- Large Stockpot: Ideal for smaller turkeys or turkey breasts. Make sure it has a tight-fitting lid.
- Food-Grade Bucket: A clean, new, food-grade bucket can accommodate larger turkeys. You’ll need to cover it tightly with plastic wrap or a lid.
- Brining Bag inside a Cooler: This is a popular and very effective method, especially for larger birds. Place a heavy-duty brining bag (or two for extra security) inside a cooler, then add the turkey and brine. The cooler provides support and containment in case of leaks, and you can fill it with ice to keep the turkey at a safe temperature if refrigerator space is limited or if you’re brining in a garage in cold weather.
What if my turkey isn’t completely submerged?
It’s quite common for a turkey not to be 100% submerged, especially with certain containers or larger birds, and that’s perfectly fine! If a portion of the turkey is sticking out of the brine, the key is to ensure it gets equal exposure. Simply turn the turkey over halfway through the brining period. This will ensure all parts of the bird are evenly brined, resulting in consistent flavor and moisture throughout.
How should I cook the turkey?
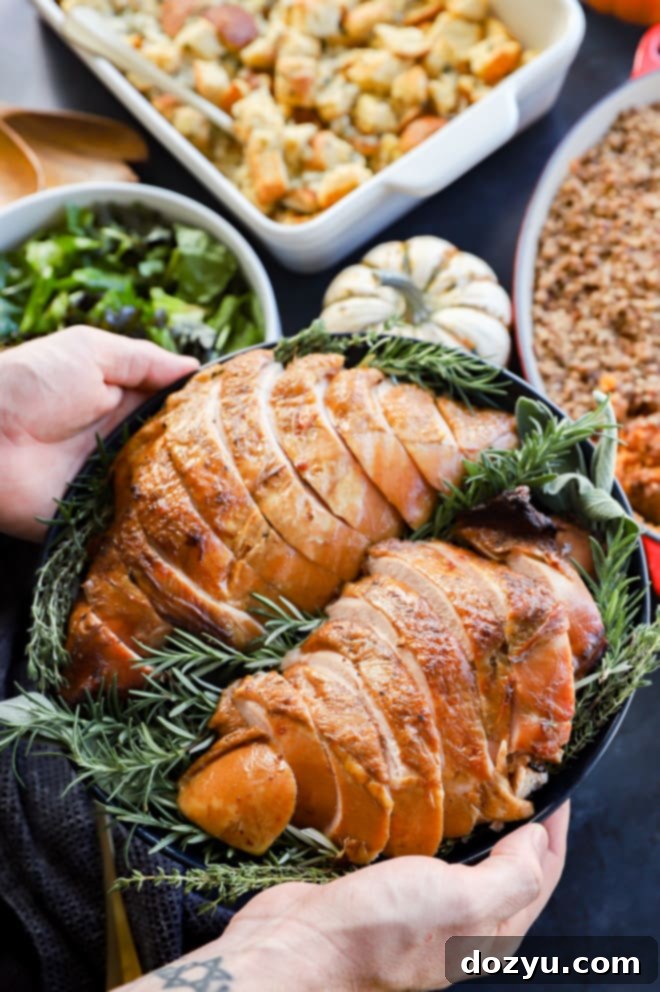
In our experience, the absolute best way to cook a brined turkey is to smoke it. This brine pairs exceptionally well with a smoked whole turkey or a smoked turkey breast, resulting in unparalleled juiciness and a smoky, crispy skin that will impress everyone. If smoking isn’t an option, roasting it in the oven also yields fantastic results, as the brine has already done the heavy lifting to ensure moisture and flavor.
Do I need to baste the turkey while it cooks?
One of the many benefits of brining is that you can often skip basting! Since the turkey has already absorbed a significant amount of moisture during the brining process, it retains its juiciness much better throughout cooking. This means you don’t need to constantly open the oven or smoker, which helps maintain a consistent cooking temperature and allows for a more hands-off approach.
Can I use the pan drippings for gravy?
You can absolutely use the pan drippings from a brined turkey to make a delicious gravy, provided you haven’t brined the turkey for an excessive amount of time. My best advice is to always taste the drippings before you begin making your gravy. If they taste a little too salty, you can easily dilute them with some unsalted chicken or turkey broth, or even water, to achieve the perfect balance of flavor. This ensures your gravy is rich and savory, not overwhelmingly salty.
Is a wet brine better than a dry brine?
Both wet and dry brining methods have their merits, but a wet brine is often our preference for a few key reasons. Wet brining generally works more quickly to infuse flavor and moisture, as the turkey is submerged in a liquid solution. It also results in an undeniably juicier turkey because the meat actively absorbs the brining liquid, locking in moisture from the start. A dry brine, while excellent for crisping skin and concentrating flavor, typically requires a minimum of 24 hours (and often longer) and does not add the same level of internal moisture as a wet brine.
Need more inspiration for Thanksgiving? Check out my Thanksgiving recipes page!
What to Serve with a Brined Turkey
A perfectly brined turkey deserves an equally delicious supporting cast! Here is a Thanksgiving menu I adore, featuring classic and creative side dishes that perfectly complement a moist and flavorful turkey:
- For an easy, decadent appetizer, try Baked Camembert with Cranberries and Walnuts.
- Essential side dishes for a holiday spread include savory Sausage Stuffing with Caramelized Onion and Apple, elegant Cheesy Maple Bacon Hasselback Sweet Potatoes, effortlessly smooth Instant Pot Mashed Potatoes, creamy Four Cheese Mac and Cheese, and fluffy Pumpkin Sage Biscuits.
- When it comes to dessert, get the best of both worlds with a rich Pecan Pie Cheesecake.
- And don’t forget the signature Thanksgiving Cocktail to complete your festive meal!
How to Store the Brine
You can conveniently prepare this turkey brine up to 4 to 5 days in advance. Once made and completely cooled, simply store it in an airtight container in the refrigerator until you are ready to introduce your turkey to the flavorful solution. This allows for excellent meal prep and ensures the flavors have time to deepen.
More Delicious Turkey Recipes
Looking for more ways to enjoy turkey beyond the traditional whole bird? Check out these fantastic recipes:
- If you’re hosting a smaller gathering, this Beer Brined Turkey Breast is the perfect size and incredibly flavorful.
- For the juiciest bird possible, our Smoked Beer Brined Turkey is hands-down a showstopper.
- Got leftover turkey after the feast? Get creative with these delicious Thanksgiving Leftover Stuffed Egg Rolls, perfectly paired with a cranberry dipping sauce!
Finally, if you make this ultimate turkey brine recipe, please be sure to give it a rating and/or leave a comment below! I truly love hearing about your culinary successes and take the time to respond to every single comment. Feel free to drop any questions you have, too!
Oh, and be sure to tag me on Instagram if you make the recipe! Seeing these recipes come to life in your homes is my absolute favorite thing – it truly means the world to me!
The Best Turkey Brine
15 minutes
~16-24 hours
~16-24 hours
1 turkey brine for a 12-15lb turkey
Equipment
-
Large Stockpot
-
Large Brining Bag or Food-Grade Container
-
Measuring Cups and Spoons
Ingredients
- 1 gallon water (16 cups)
- 3 cups apple juice or apple cider (or brown ale)
- 1 1/2 cups kosher salt
- 1/4 cup whole allspice berries
- 1 Tbsp whole cloves
- 2 bay leaves
- 4 sprigs fresh thyme
- 4 sprigs fresh rosemary
- 1 large yellow onion (peeled and quartered)
- Peel of 2 large oranges
Instructions
-
1. Combine all brine ingredients (water, apple juice/cider, kosher salt, allspice, cloves, bay leaves, thyme, rosemary, onion, orange peel) in a large stockpot over high heat. Bring the mixture to a boil, stirring constantly until the salt is fully dissolved.
-
2. Remove the pot from heat and allow the brine to cool down completely to room temperature. This is a critical step to ensure food safety and prevent premature cooking of the turkey.
-
3. Once cooled, place your thawed turkey in a large brining bag or a sturdy, food-safe container. Pour the cooled brine over the turkey, ensuring it is as submerged as possible. Cover tightly.
-
4. Brine the turkey in the refrigerator for at least 16 hours and up to 24 hours for turkeys under 15 lbs. If the turkey is not completely submerged, turn it halfway through the brining time to ensure even coverage.
-
5. Remove the turkey from the brine. Thoroughly pat the entire turkey dry with paper towels, inside and out. This step is crucial for achieving crispy skin.
-
6. Cook your brined turkey as desired (roast, smoke, etc.) and enjoy a moist, flavorful bird!
Video
Nutrition
