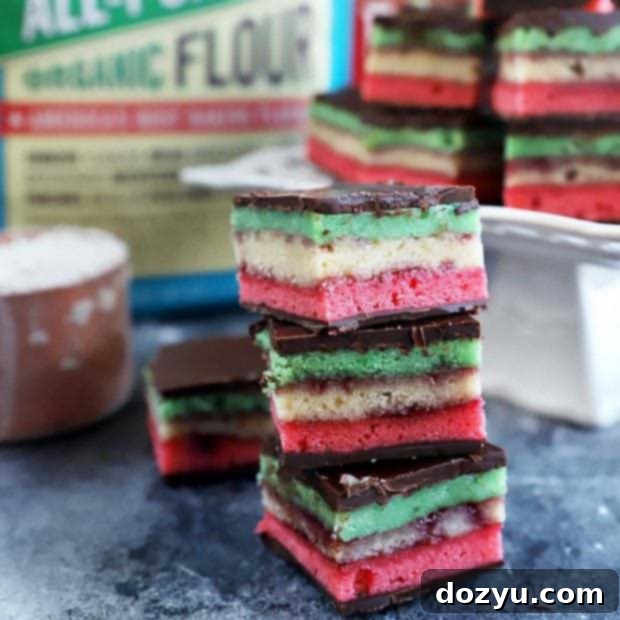
Authentic Layered Italian Rainbow Cookies Recipe: A Festive Holiday Delight
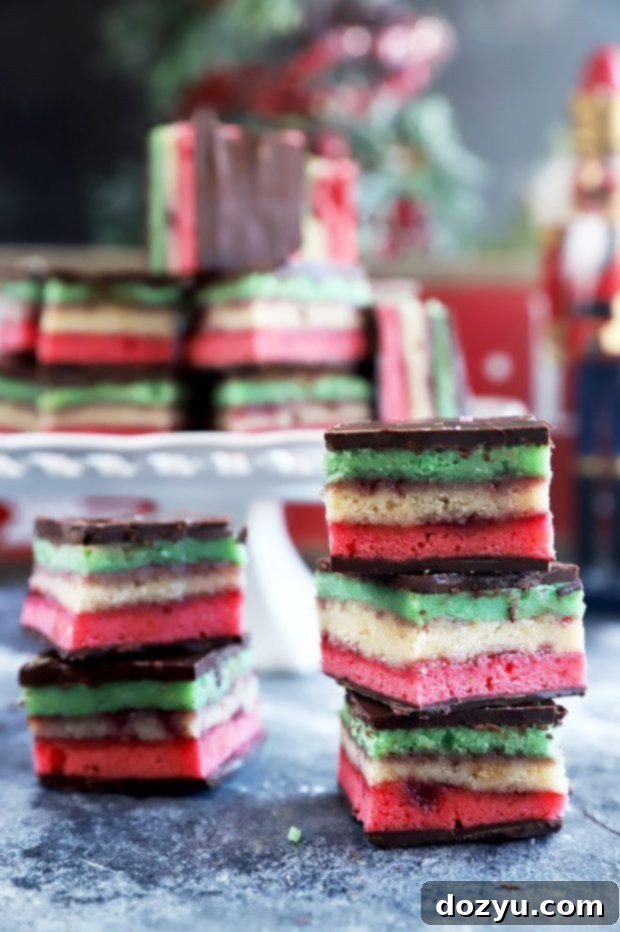
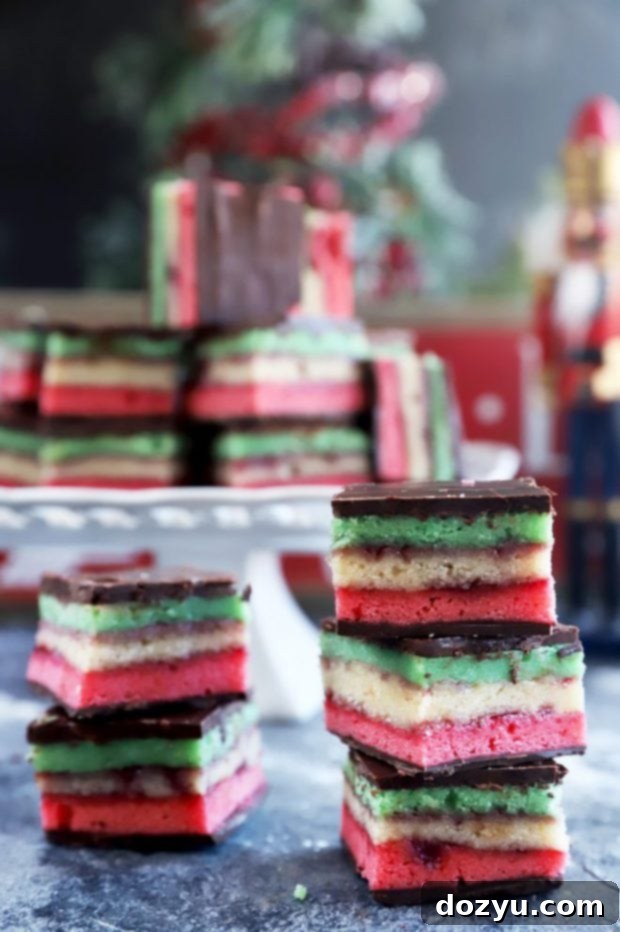
Layered Italian Rainbow Cookies are truly a unique and festive highlight of the holiday season! Infused with the delightful flavors of almond, sweet raspberry jam, and rich dark chocolate, these striking red, white, and green cookies beautifully capture the vibrant colors of the Italian flag – making them perfect for both Italian celebrations and Christmas festivities. Each bite offers a harmonious blend of textures and tastes, promising a memorable experience.
Disclosure: This post has been sponsored by Bob’s Red Mill! As always, all opinions are my own.
Last year, during a delightful visit with my brother in Connecticut, I had the pleasure of tasting what I can only describe as one of the best Italian rainbow cookies ever. They were part of an irresistible big box of festive cookies, and their vibrant stripes immediately caught my eye.
The moment I took a bite, I was transported. The delicate layers of red, white, and green almond cake, perfectly balanced with sweet raspberry jam and a luxurious dark chocolate coating, literally melted in my mouth. That almond flavor was truly divine, and the combination was simply unforgettable. It was that moment that inspired me to recreate this iconic treat at home, ensuring every holiday season could be filled with this particular joy.
Why Italian Rainbow Cookies Are Perfect for the Holidays
There’s something truly magical about holiday baking, and for me, it’s when my cookie cravings reach their peak. Perhaps it’s the nostalgic association with Santa and childhood wonder, or simply the perfect excuse to spend time in the kitchen creating delicious treats. Either way, these Italian Rainbow Cookies are a showstopper, and I urge you to make time for this recipe this season.
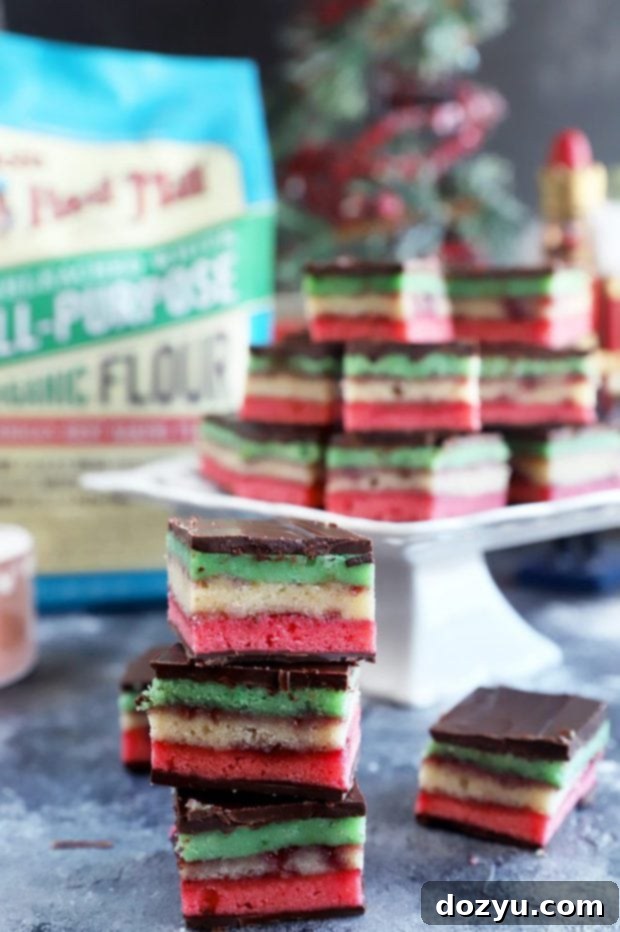
These cookies aren’t just visually stunning; they carry a rich tradition. Originally brought to America by Italian immigrants, their red, white, and green layers symbolize the Italian flag, making them a staple in Italian-American bakeries and homes, particularly during Christmas and other festive occasions. Their intricate appearance and delightful taste make them a fantastic addition to any holiday cookie platter, gifting box, or family gathering.
When it comes to baking, especially for special occasions like the holidays, the quality of your ingredients makes all the difference. That’s why I consistently turn to Bob’s Red Mill. Their commitment to superior ingredients ensures that every bake is a success, delivering the perfect texture and flavor.

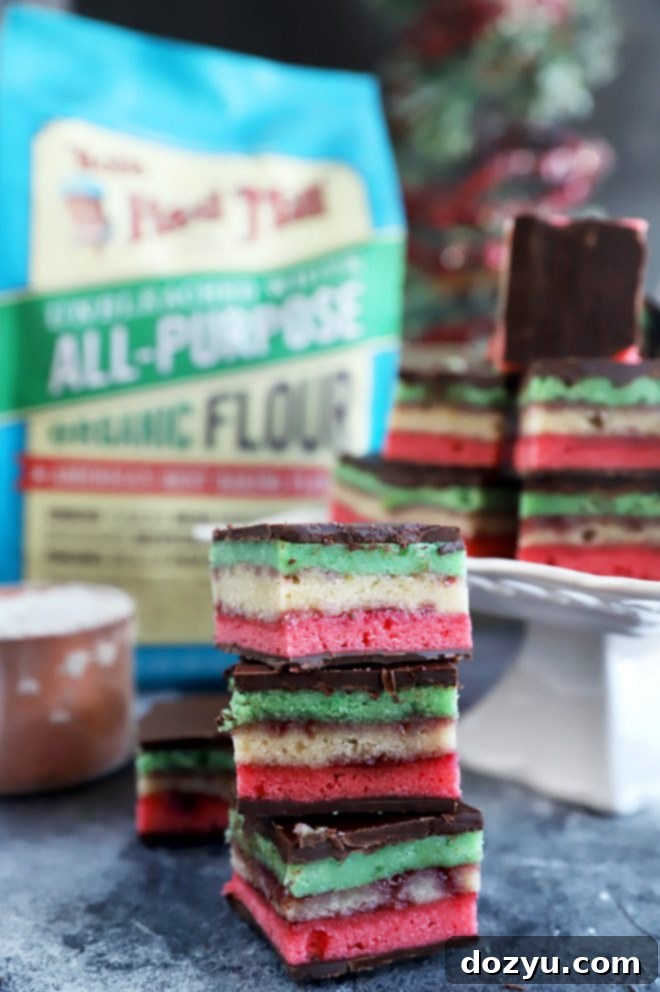
You’ve seen me use their Organic All-Purpose Unbleached White Flour countless times, and for good reason. This flour is milled from high-quality, certified organic hard red wheat, making it incredibly versatile and reliable for any baked good imaginable. While it’s my go-to for these festive cookies, it also performs beautifully in cakes, muffins, breads, biscuits, and much more. The fact that it’s unbleached and unenriched gives me complete confidence in the wholesome treats I’m preparing for friends and family during this joyous season. Using such a foundational ingredient ensures a consistent, professional-level result every single time.
To further embrace the Italian spirit, consider pairing these delightful cookies with a refreshing Disaronno Sour cocktail – a perfect complement to the almond notes in the cookies!

This Recipe’s Must-Have Equipment
To achieve the perfect texture and layers for these Italian Rainbow Cookies, having the right tools is essential. Here’s a rundown of the key equipment you’ll need:
- **Stand Mixer with Paddle Attachment:** This is crucial for creaming together the sugar, almond paste, and butter efficiently, ensuring a smooth and lump-free base for your batter. A good stand mixer will save you a lot of arm work!
- **Electric Hand Mixer & Separate Mixing Bowls:** While the stand mixer handles the main batter, an electric hand mixer is ideal for whipping the egg whites to stiff peaks. Using separate bowls for this step prevents cross-contamination and ensures the whites reach their full volume, which is vital for the cookies’ delicate texture. These bowls are also handy for dividing and coloring the batter.
- **Quarter Sheet Baking Pans (or 9×13-inch dishes):** For baking the individual cake layers, I highly recommend using quarter sheet baking pans for their manageable size and even heat distribution. If you don’t have them, 9×13-inch baking dishes can work, but ensure you adjust baking times slightly and perhaps use parchment paper to easily lift the delicate layers.
- **Offset Spatula:** This simple tool is incredibly useful for spreading the raspberry jam and melted dark chocolate in thin, even layers. Its angled blade makes the task much easier, ensuring a smooth finish on your cookies.
More Tasty Cookie Recipes to Try
If you’re a cookie enthusiast, be sure to explore these other delicious recipes:
- Lemon Meringue Cookies
- Mocha Orange Mexican Wedding Cookies
- Vanilla Bean Cardamom Sugar Cookies
How To Make Italian Rainbow Cookies: A Step-by-Step Guide
Crafting these elegant cookies might seem daunting, but by breaking it down into manageable steps, you’ll find the process enjoyable and rewarding. Follow these detailed instructions for a perfect batch.
1. Prepare the Almond Batter
The base of these cookies is a rich almond cake batter, which is a bit more intricate than a standard cookie dough but well worth the effort. Begin by creaming together your wet ingredients, including the sugar, almond paste, and softened butter, in a stand mixer until light and fluffy. This step is crucial for incorporating air and ensuring a tender crumb. Next, gradually beat in the Bob’s Red Mill all-purpose flour until just combined, being careful not to overmix. Separately, whip your egg whites to stiff peaks using a hand mixer. The stiff peaks are vital for giving the cake layers their delicate, airy texture. Finally, gently fold these whipped egg whites into the almond flour mixture until the batter is smooth and velvety. This folding technique preserves the air in the egg whites, resulting in a lighter cake.
2. Divide and Color the Batter
Once your batter is ready, it’s time to bring in the iconic colors. Carefully divide the batter into three equal portions. You can do this by weight for precision or simply by using measuring cups to ensure each portion is even. Into one bowl, stir in red food coloring until you achieve a vibrant, uniform red. In the second bowl, add green food coloring, mixing until it’s a consistent green. The third portion of batter will remain its natural, uncolored (white) state, completing the Italian flag trio.
3. Bake the Cake Layers
Preheat your oven to 325°F (160°C). Prepare three quarter sheet baking pans by greasing them and lining them with parchment paper, allowing the paper to overhang slightly for easy removal. Evenly spread each colored batter into its own prepared pan. Bake for approximately 10 to 12 minutes, rotating the pans halfway through to ensure even baking. The layers should puff up slightly and be completely set. Be careful not to overbake, as this can dry out the delicate almond cake. Once baked, let them cool completely in their pans on a wire rack before proceeding.
4. Layer with Jam and Chill
This is where the magic of layering begins. Once the cake layers are completely cool, gently remove the green layer from its pan onto a large sheet pan, peeling off the parchment paper. Spread half of the raspberry jam evenly over the green cake. Next, carefully remove the parchment from the uncolored (white) layer and place it precisely on top of the jam-covered green layer. Spread the remaining raspberry jam over the white layer. Finally, remove the parchment from the red layer and gently place it on top, creating a vibrant red, white, and green stack.
To ensure these layers bond perfectly and make for clean cuts later, cover the stacked cakes tightly with plastic wrap. Place another sheet pan on top, and then weigh it down with heavy plates or even a few cookbooks. This gentle pressure helps compress the layers, eliminating air pockets and allowing the jam to act as a strong adhesive. Refrigerate this weighted stack for at least 4 hours, or ideally, overnight. This chilling process is absolutely critical for firm, stable cookies.
5. Finish with Dark Chocolate
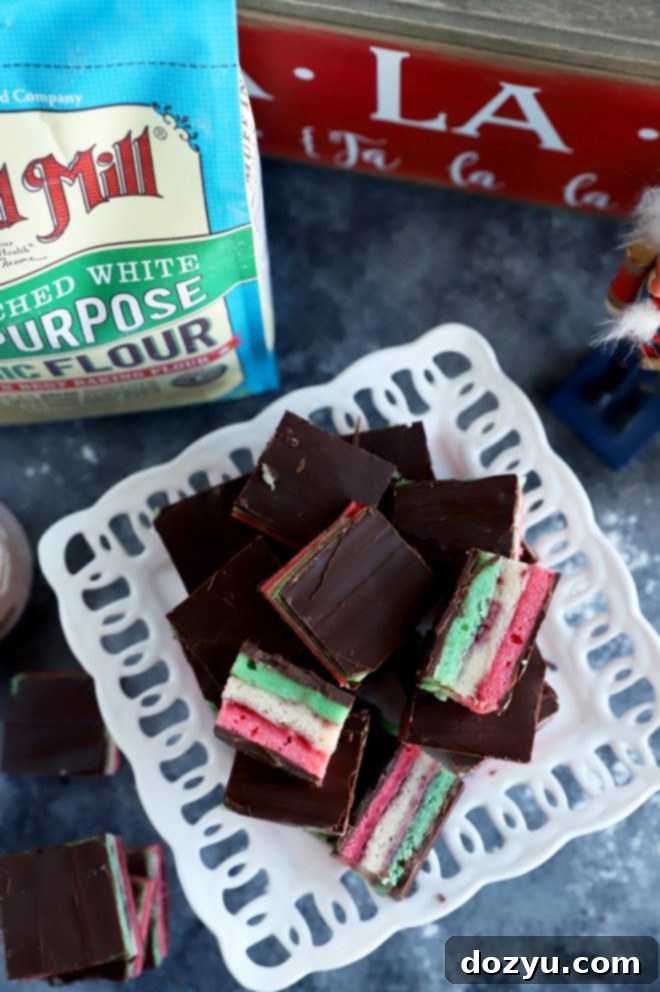
After the initial chilling, remove the weights and plastic wrap. Melt your dark chocolate chips until smooth and glossy. Spread half of the melted dark chocolate evenly over the top (red) layer of the cake. Return the cake to the refrigerator for about 30 minutes, allowing the chocolate to set firmly. Once solid, carefully flip the entire cake over onto a clean cutting board or another parchment-lined sheet. Spread the remaining melted chocolate evenly over the new top (green) layer. Chill once more for another 30 minutes until both chocolate layers are firm. Finally, trim the edges of the cake to create clean, straight lines, and then slice the entire slab into cute, uniform 1 1/2-inch squares. Serve immediately or store for later enjoyment!
Serving and Storage Tips
These Italian Rainbow Cookies are best served at room temperature, allowing the chocolate to soften slightly and the almond flavor to truly shine. They make a stunning addition to any dessert platter, especially during the holidays. For gifting, arrange them in a beautiful box lined with parchment paper.
To store, place the cut cookies in an airtight container with layers separated by parchment paper. They will keep fresh at room temperature for up to 5 days, or in the refrigerator for up to 2 weeks. You can also freeze them for longer storage; simply thaw in the refrigerator overnight before serving. The flavors tend to meld even better after a day or two, so making them slightly in advance is often a good idea!
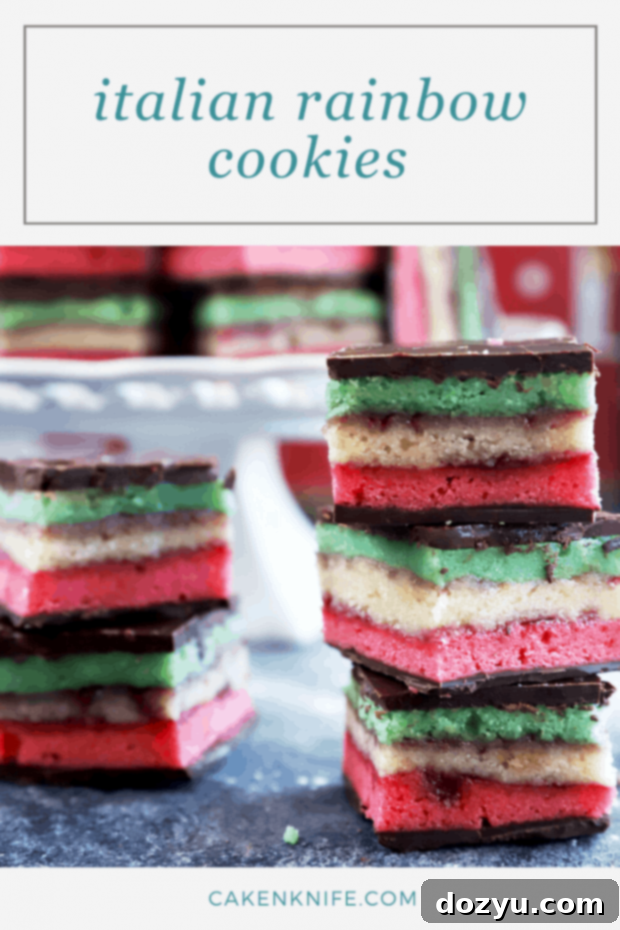
Pin this Italian Rainbow Cookies Recipe for Later!
Don’t forget to save this delicious recipe so you can easily find it for your next baking adventure. Pin it to your favorite holiday or cookie boards!

Continue the Holiday Fun with Our Holly Jolly Giveaways!
Baking, at its heart, is a science. And like any good science experiment, having the right, high-quality ingredients is paramount to achieving consistent and delicious results every single time. That’s precisely why I consistently choose Bob’s Red Mill products for all my baking endeavors, whether I’m crafting sweet holiday treats or savory dishes for festive gatherings.
Today, I’m thrilled to partner with Bob’s Red Mill to give one lucky winner an incredible baking gift set! This fantastic prize includes some of my absolute favorites: Bob’s Red Mill Unbleached All-Purpose Organic Flour (the very same flour used in this recipe!), hearty Rolled Oats, dazzling Sparkling Sugar, and a generous $50 gift card to bobsredmill.com! Imagine all the wonderful creations you could whip up with these premium ingredients!
Enter to Win!
Ready to elevate your baking game with these amazing products? Simply head below the recipe card to enter for your chance to win this fantastic Bob’s Red Mill gift set!
And don’t forget to stay tuned for all the exciting giveaways happening this year as part of our Holly Jolly Giveaways celebration. You can check out this page for all the current posts and ensure you don’t miss out on any opportunities to win!
Italian Rainbow Cookies
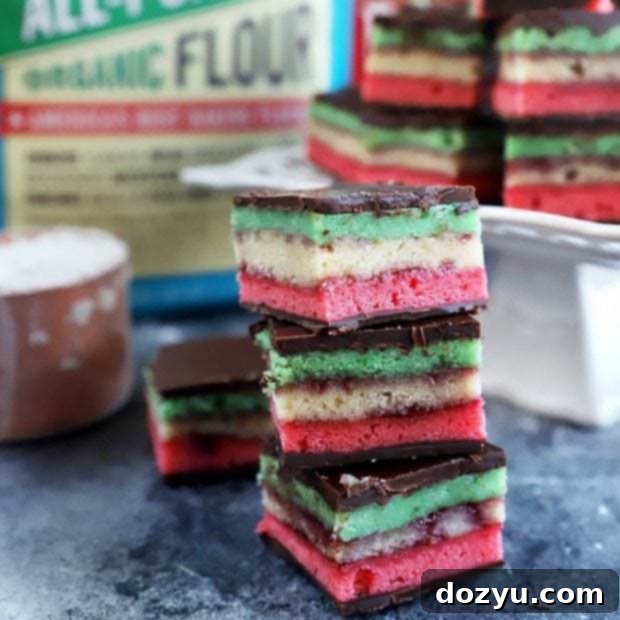
Layers of moist almond cakes are sandwiched between raspberry jam and dark chocolate for a festive treat that’s as beautiful as it is delicious!
Prep Time: 20 mins
Cook Time: 12 mins
Additional Time: 5 hrs (chilling)
Total Time: 5 hrs 32 mins
Pin Recipe
Equipment
- 7-Speed Hand Mixer
- KitchenAid 7-Quart Pro Line Stand Mixer
- Nordic Ware Natural Aluminum Commercial Baker’s Quarter Sheet, 2-Pack
- Offset Spatula
- Mixing Bowls
Ingredients
- 1 cup sugar
- One 8-ounce can almond paste
- 3 sticks (24 Tbsp) unsalted butter, softened and divided
- 4 eggs, separated
- 1/4 cup milk
- 2 teaspoons almond extract
- 2 cups all-purpose flour (preferably Bob’s Red Mill Organic All-Purpose Unbleached White Flour)
- 1/4 teaspoon red food coloring
- 1/4 teaspoon green food coloring
- 2/3 cup raspberry jam, divided
- 1 1/2 cups dark chocolate chips, melted
Instructions
- Preheat oven to 325˚F (160°C). Grease three separate 9×13-inch quarter sheet baking pans or cake pans with cooking spray. Line each with parchment paper, allowing it to overhang the sides for easy removal.
- Add sugar, almond paste, and 8 Tbsp (1 stick) unsalted butter to a stand mixer fitted with a paddle attachment. Beat on medium speed until smooth and no lumps remain. Beat in the remaining butter until smooth, scraping down the sides as needed with a spatula.
- Add the egg yolks one at a time, beating until each is fully combined. Beat in milk and almond extract until combined. Gradually add the all-purpose flour, mixing slowly until just combined. Scrape down the sides of the bowl as needed. Once combined, set aside.
- In a large, clean bowl, add the egg whites. Using a handheld electric mixer, beat the egg whites until they form stiff, glossy peaks. Gently fold the whipped egg whites into the almond flour mixture to form the final batter until just combined and smooth. Be careful not to deflate the egg whites.
- Divide the batter equally into three separate bowls. Stir red food coloring into the first bowl until it’s evenly colored a vibrant red. Stir green food coloring into the second bowl until it’s evenly colored a consistent green. Leave the third bowl untouched (this will be your white layer).
- Evenly spread each colored batter into its own greased and parchment-lined pan. Bake, rotating the pans halfway through, until the layers are set and lightly golden, about 10 to 12 minutes. Cool completely in the pans on a wire rack.
- Once cooled, carefully invert the green cake layer onto a large, clean sheet pan or cutting board, removing the parchment paper from the bottom. Spread half of the raspberry jam evenly over the top of the green cake. Gently remove the parchment paper from the uncolored (white) layer and place it precisely on top of the jam. Spread the remaining jam evenly over the white layer. Finally, remove the parchment paper from the red layer and carefully place it on top, completing the stack.
- Cover the layered cakes tightly with plastic wrap. Place another sheet pan on top, and then weigh the layers down using heavy plates, books, or cans. Refrigerate for at least 4 hours, or ideally, overnight. This step is crucial for the layers to compress and adhere properly, making them easier to cut.
- After chilling, remove the weights and plastic wrap. Spread half of the melted dark chocolate evenly over the top (red) layer of the cake. Place the cake back in the refrigerator to set for 30 minutes until the chocolate is firm.
- Once the first chocolate layer is solid, carefully flip the entire cake over onto a clean cutting board. Spread the remaining melted dark chocolate in an even layer over the new top (green) side. Return to the refrigerator for another 30 minutes to allow this second chocolate layer to set.
- Once both chocolate layers are firm, trim the edges of the cake with a sharp knife to create neat, straight lines. Then, cut the large cake into uniform 1 1/2-inch squares. Serve immediately or store as directed above. Enjoy your beautiful and delicious Italian Rainbow Cookies!
Cuisine: Holiday
Category: Cookies
