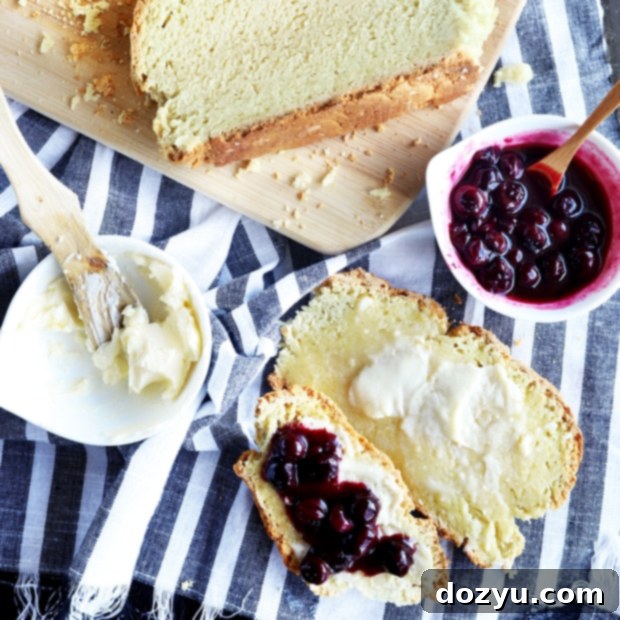
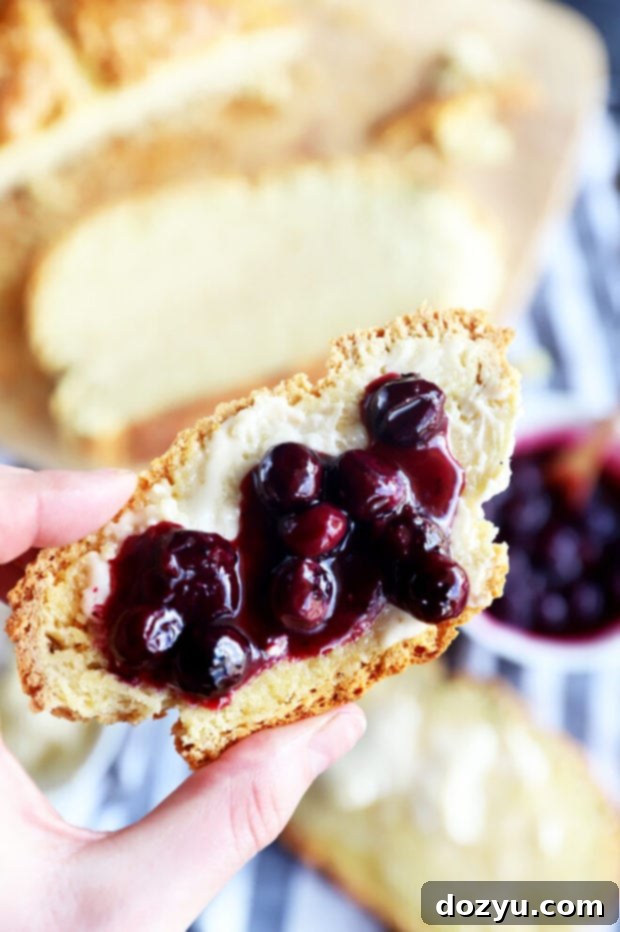
Easy No Yeast White Bread: The Ultimate Quick & Crusty Soda Bread Recipe
Craving fresh, homemade bread but can’t find yeast, or simply don’t have the time for long rises? This “no yeast white bread” recipe, often known as traditional soda bread, is your perfect solution! It delivers a delightfully crusty exterior and a tender, rich interior, making it the ideal combo for any meal. This recipe yields one satisfying loaf, baked and ready to enjoy in under an hour.
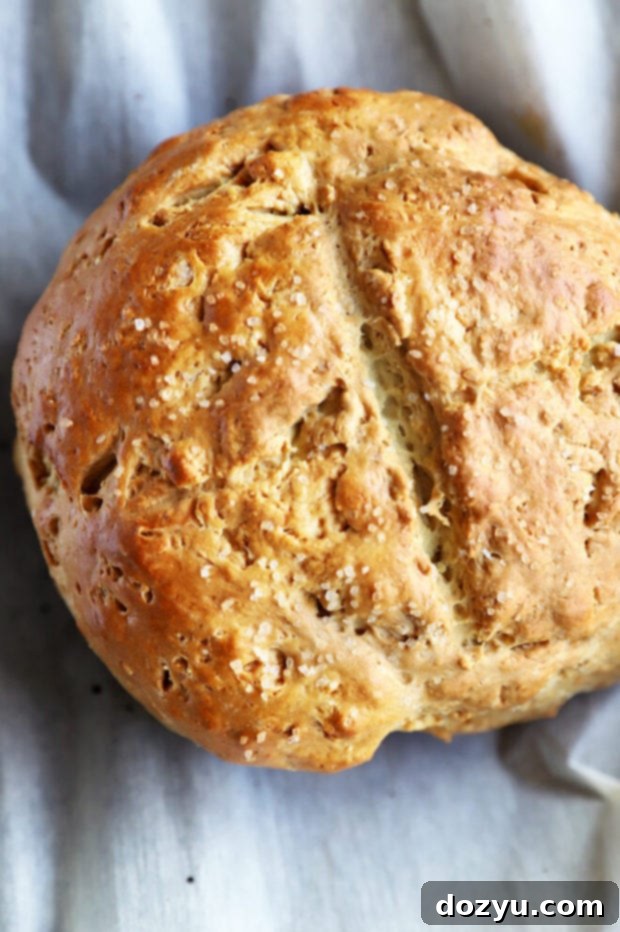
In response to popular demand, and knowing that many home bakers are looking for simple, quick bread solutions, I’m thrilled to share another fantastic no-yeast bread recipe! While I have my beloved bacon parmesan quick bread – which is more of a flatbread, perfect for those nights when you need bread *now* – this time, I’m bringing you a substantial, classic LOAF.
Let’s face it, yeast can be tricky to find these days, with everyone discovering the joys of home baking. But a yeast shortage shouldn’t stop you from enjoying warm, homemade bread. That’s where this incredible no yeast white bread comes in, promising to revolutionize your baking routine. This recipe ensures you can still enjoy the comforting aroma and taste of freshly baked bread, even without a single packet of yeast.
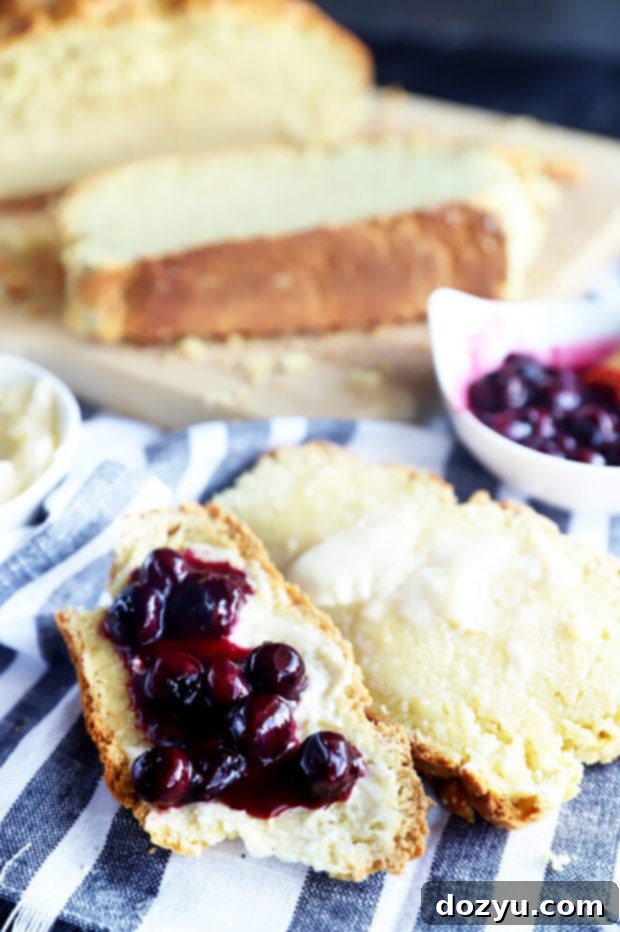
If you’re familiar with Irish soda bread, you’ll recognize the comforting characteristics of this loaf. It boasts a beautiful, crusty, golden-brown exterior that gives way to a wonderfully rich, flavorful, and tender interior. It’s truly drool-worthy and incredibly satisfying.
Now, it’s important to set expectations: this isn’t a sourdough loaf, nor will it have the large, airy pockets you find in traditional yeast-leavened breads. Since there’s no yeast, there’s no lengthy fermentation. Instead, baking soda reacts with the buttermilk in the recipe, creating carbon dioxide bubbles that cause the bread to rise. This chemical reaction provides a satisfying lift and a tender crumb, offering a similar delightful experience without the need for a starter or hours of proofing. It’s a quick bread marvel that delivers on texture and taste.
One of the best things about this simple bread recipe is its versatility. You can easily customize this homemade loaf to suit your preferences! I’ll share more detailed ideas and tips for making it your own just above the recipe card below, so keep reading for all the delicious possibilities.
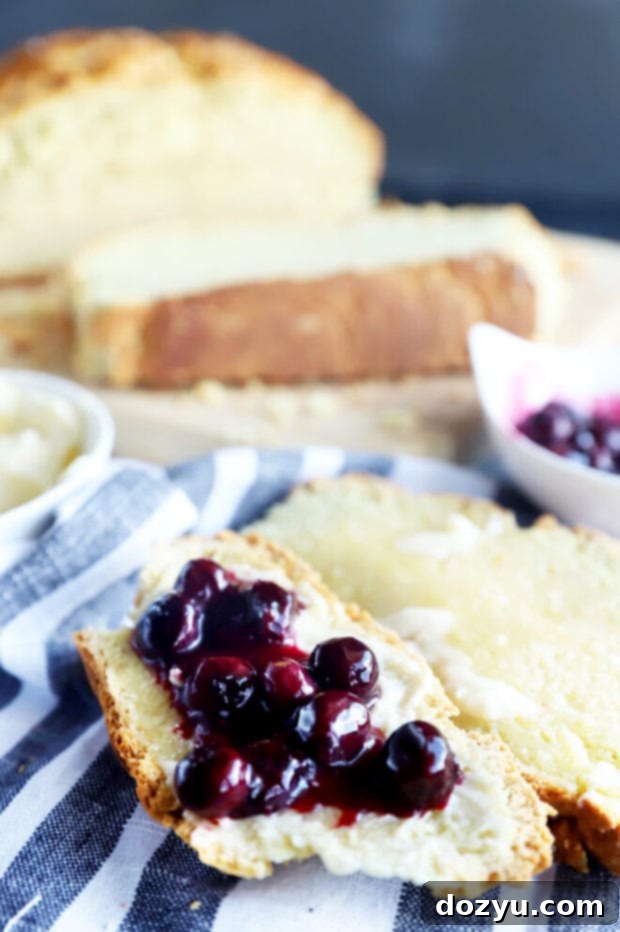
This easy no-yeast white bread is incredibly versatile and pairs wonderfully with almost anything. It’s absolutely perfect for a morning treat, toasted and generously spread with butter, homemade garlic herb butter, or even sweet spreads like Nutella or peanut butter. Imagine dipping a slice into a warm, cozy bowl of soup, such as this creamy indulgent crack chicken soup, or my personal favorite, a hearty Tuscan white bean soup. It’s also sturdy enough to be used for delicious sandwiches, making it a fantastic staple for your kitchen. No more bland, store-bought bread when you can have this flavorful, quick bread!
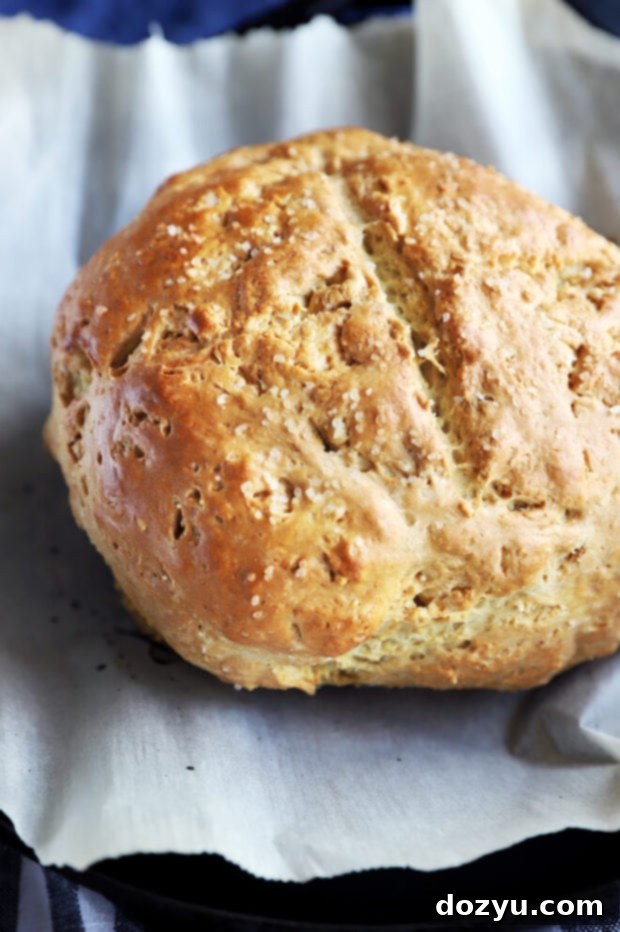
table of contents
Toggle
Essential Tools for This No Yeast Bread
One of the beauties of this quick and easy bread recipe is that it doesn’t require a lot of fancy kitchen gadgets. You likely already have most of these essential tools at home, making this a truly accessible baking project. To get started, you’ll need your largest mixing bowl to comfortably combine all the ingredients and a sturdy wooden spoon or spatula for mixing the dough. A stand mixer isn’t strictly necessary, keeping things wonderfully simple.
Next, a good quality cast iron skillet is highly recommended for baking this loaf. The cast iron retains heat exceptionally well, ensuring an even, golden, and perfectly crisp crust on the bottom and sides of your bread. While you can certainly use a baking sheet as an alternative (and I’ll explain how in the FAQ section), the cast iron skillet truly elevates the texture of this homemade soda bread, giving it that professional, artisanal finish.
Finally, to achieve that classic soda bread look, you’ll need a sharp chef’s knife or a bread lame to score an “X” on the top of the loaf before it goes into the oven. This not only adds to the rustic appeal but also helps the bread to expand properly during baking, preventing it from cracking unevenly. Standard measuring spoons and cups are also a must for accurate ingredient proportions, guaranteeing a perfect result every time.
More Delicious Bread Recipes: Harvest Pumpkin Seed Bread | Green Chile Cheddar Biscuits | Garlic Bread Bites | Cheddar Cheese Stuffed Parker House Rolls
Baking Your Perfect No Yeast White Bread!
Let’s dive into the straightforward steps to create this wonderful no-yeast bread. You’ll be amazed at how quickly and effortlessly this rustic loaf comes together, proving that delicious homemade bread doesn’t always require hours of proofing or a complicated process. This recipe is designed for ease and efficiency, perfect for busy bakers or those new to bread making.
Preparing the Dough
The magic begins with bringing all the ingredients together in just one bowl, which means minimal cleanup – a true win for any home cook! First, in your large mixing bowl, you’ll whisk together all the dry ingredients: the all-purpose flour, salt, and baking soda. Ensuring these are well combined is crucial for an even rise and flavor throughout the loaf. In a separate small bowl, gently melt the unsalted butter, then stir in the granulated sugar until it’s fully dissolved. This sweet, buttery mixture is then poured into the dry ingredients. At this stage, after mixing, the dough will still appear quite dry and crumbly, almost like coarse meal. Don’t worry, this is exactly the texture you’re looking for before the wet ingredients are fully incorporated.
Now comes the buttermilk! Gradually add the buttermilk to the dry mixture, stirring with your wooden spoon. Continue to mix until the dough just comes together. It should have a slightly moist, shaggy appearance, but it shouldn’t be overly sticky or wet. If your dough feels too dry and isn’t forming a cohesive mass, you might need to add an extra teaspoon or two of buttermilk, especially if you live in a dry climate. The key is to achieve a dough that’s just hydrated enough to hold its shape.
Turn the shaggy dough out onto a lightly floured surface. Knead it gently for just a few moments, just enough to gather any remaining dry bits and ensure everything is fully incorporated. You’re not looking for a smooth, elastic dough like you would for pizza or pie crusts. Instead, this no-yeast bread dough should be soft, slightly rustic, and spring back gently to the touch when pressed. Overworking the dough can make the bread tough, so keep the kneading to a minimum – just enough to form a cohesive ball.
Brushing and Scoring the Loaf
Once your dough is ready, form it into a round ball, then gently flatten it into a disc approximately 2 inches thick. Meanwhile, your cast iron skillet should be preheating in the oven, getting nice and hot to ensure a fantastic crust. Carefully remove the hot skillet from the oven (using oven mitts!), line it with a sheet of parchment paper, and then carefully place your dough disc in the center. The parchment paper not only prevents sticking but also makes for easier transfer and cleanup.
Now for the finishing touches! Brush the top surface of the dough generously with a tablespoon of buttermilk. This buttermilk wash contributes to that beautiful golden-brown crust and a slightly tangy flavor. Next, using a very sharp knife (like a chef’s knife or a bread lame), make a traditional “X” incision across the top of the dough. This cut should be about 1/2 to 3/4-inch deep – deep enough to allow the bread to expand without tearing, but not so deep that it compromises the structure of the loaf. This scoring is classic for soda bread and helps it rise evenly. Finally, sprinkle a generous pinch of coarse salt over the top for added flavor and a lovely textural contrast.
Baking to Golden Perfection
Carefully transfer the skillet with your prepared loaf back into the preheated 400°F (200°C) oven. Bake the bread for approximately 40 minutes. You’ll know it’s done when the crust is beautifully golden brown and sounds hollow when tapped on the bottom. The rich aroma filling your kitchen will also be a good indicator!
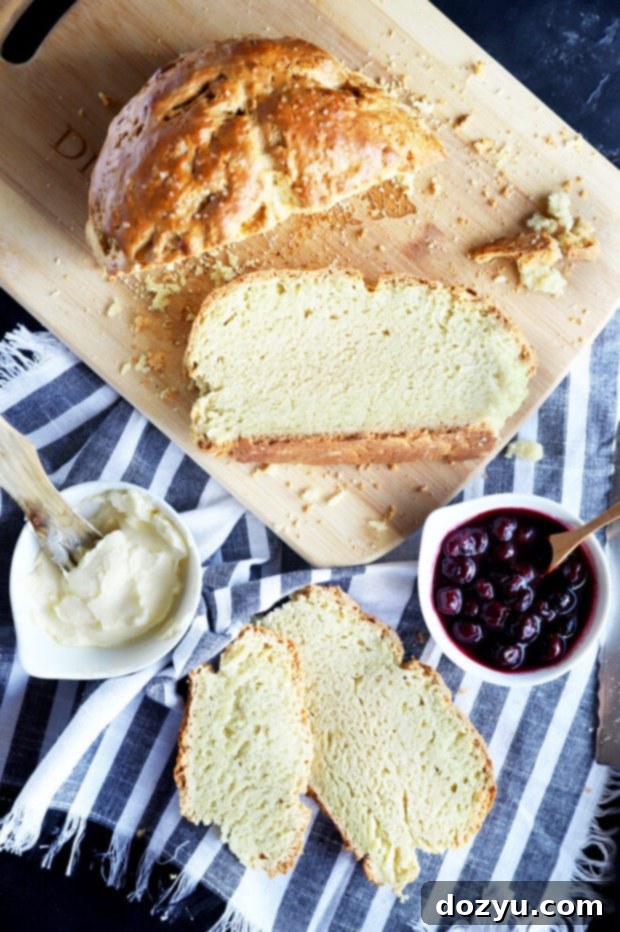
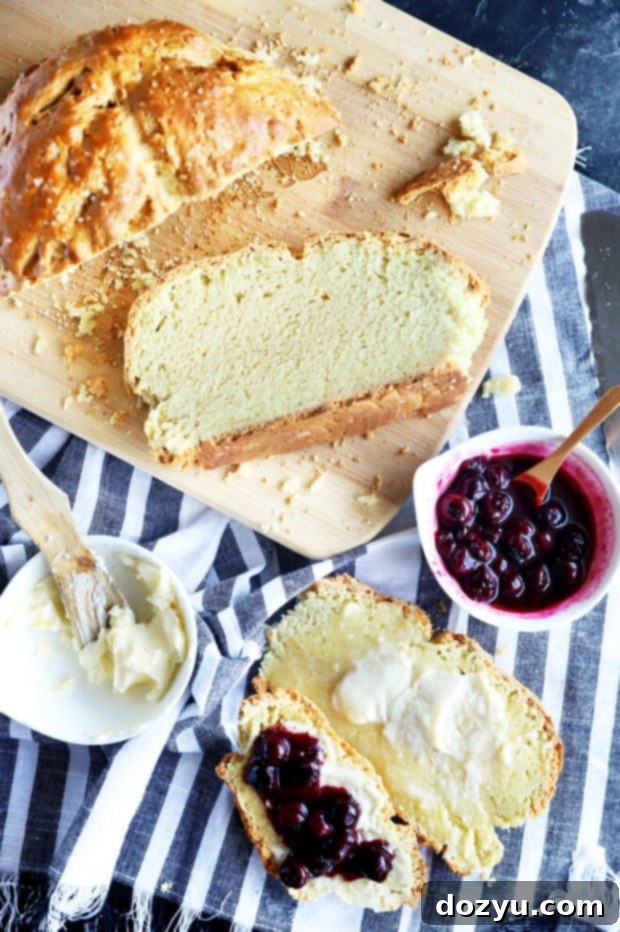
Once baked, remove the skillet from the oven. To keep the crust from becoming too hard, immediately cover the bread loosely with aluminum foil for about 10 minutes. This traps steam and helps soften the crust slightly while the interior continues to set. After 10 minutes, remove the foil and let the loaf cool on a wire rack for at least another 20 minutes before attempting to slice it. While it’s tempting to cut into it right away, this resting period is crucial for the internal structure to firm up, ensuring clean slices and preventing a gummy texture. Patience will be rewarded with the perfect slice of homemade no-yeast white bread.
What to Serve with Your Homemade Bread: Explore Our Soup Recipes!
Freshly baked bread and a hearty bowl of soup are a match made in culinary heaven! The crusty exterior and soft interior of this no-yeast white bread make it an ideal companion for a wide variety of soups and stews. Whether you’re dipping it into a rich tomato soup, a creamy potato leek concoction, or a robust beef stew, this bread will soak up every last drop of flavor. Don’t forget to check out my full soup recipe page for countless ideas to pair with your delicious homemade quick bread!
Frequently Asked Questions About No Yeast Bread
Got a few burning questions about baking this quick and easy no-yeast white bread? You’re not alone! Here are answers to some common inquiries that will help ensure your baking experience is smooth and successful, resulting in a perfect loaf every time.
Do I Need Self-Raising Flour for This Recipe?
Absolutely not! There’s no need to reach for self-raising flour for this no-yeast bread recipe. In fact, it’s best to stick with good old all-purpose flour. The leavening power in this loaf comes entirely from the baking soda, which reacts with the acidity of the buttermilk. This chemical reaction creates the carbon dioxide gas needed for the bread to rise beautifully. Using self-raising flour might lead to an over-risen or dense loaf, as it contains its own leavening agents that would double up with the baking soda in this recipe. Keep it simple with all-purpose flour for the best results!
What if I Don’t Have a Cast Iron Pan?
No cast iron skillet? No problem at all! While a cast iron pan is fantastic for achieving an extra-crispy, evenly browned crust, you can definitely make this no-yeast bread using a standard baking sheet. If you opt for a baking sheet, I still highly recommend placing it in the oven while it preheats. This preheating step is crucial, as a hot surface will give your bread an immediate boost, helping to create a beautiful crust on the bottom, similar to the effect of a cast iron skillet. Just be sure to line your baking sheet with parchment paper to prevent sticking and make for easy cleanup. The results will still be delicious, just perhaps with a slightly less robust bottom crust.
Is Resting the Loaf Really Necessary Before Slicing?
I completely understand! The smell of fresh, warm bread right out of the oven is incredibly tempting, and waiting is truly the worst part of baking. However, I can’t stress enough how important it is to let this homemade no-yeast bread rest for the recommended time (at least 20 minutes after removing the foil). During this cooling period, the internal structure of the bread continues to set. If you slice into it too soon, the steam escapes too quickly, which can result in a gummy texture and crumbly slices. Allowing it to rest ensures a perfectly structured, tender interior and clean cuts. Trust me, a little patience will make your slicing experience much more satisfying and your bread even more enjoyable!
Customize Your No Yeast Bread!
While this no-yeast white bread is absolutely delicious as is, it’s also a fantastic canvas for your creative culinary experiments! Customizing your loaf is easy and can add wonderful new dimensions of flavor and texture. For a simple yet elegant finish, sprinkle the top with coarse salt before baking – it enhances the savory notes and provides a delightful crunch.
If you’re an herb lover, consider using fresh or dried herbs on top. I particularly enjoy a generous sprinkle of fresh rosemary or a robust Italian herb mix. The aromatic herbs infuse the crust with incredible flavor as it bakes. You can also incorporate herbs directly into the dough: simply add 1 to 2 teaspoons of your favorite finely chopped herbs (like rosemary, chives, thyme, or an Italian blend) to the flour mixture at the very beginning of the recipe. This distributes the herby goodness throughout the entire loaf.
Beyond herbs, think about adding other mix-ins to the dry ingredients:
- Cheese: Shredded cheddar, Parmesan, or a blend of Italian cheeses would add a savory depth.
- Seeds: A mix of sesame, poppy, or sunflower seeds would introduce a lovely texture and nutty flavor.
- Dried Fruits: For a slightly sweeter, Irish-style soda bread, try adding a handful of raisins or currants.
- Whole Wheat Flour: For a heartier loaf, you can substitute up to 1 cup of the all-purpose flour with whole wheat flour, though you might need a tiny bit more buttermilk to maintain the right dough consistency.
No matter how you customize it, this no-yeast white bread is destined to be a family favorite. It’s truly a versatile staple! Don’t forget to pair it with your favorite comforting meals, like this cozy Tuscan white bean soup, a robust chili, or a hearty Instant Pot chicken stew. The crusty slices are perfect for dunking, soaking up every flavorful spoonful. You can even use leftover slices to make an incredible sourdough garlic toast (just adapt the recipe with this bread instead of sourdough) for an easy side dish!
Finally, if you whip up this fantastic no-yeast bread recipe, please be sure to give it a star recipe rating on the recipe card below and/or leave a comment! Your feedback means the world to me, and I genuinely love hearing about your baking successes. I always take the time to respond to every single comment and question.
And speaking of questions, feel free to drop them below if anything pops up during your baking process! I’m here to help.
Oh, and make sure to tag me on Instagram, Facebook, or Pinterest if you make the recipe! Seeing these delicious creations come to life in your homes is my absolute favorite thing. It truly fills me with joy and inspires me to create even more recipes for you!
Want to stay updated with new recipes, baking tips, and all the latest news from my kitchen? Don’t miss out – sign up for my newsletter today and join our baking community!
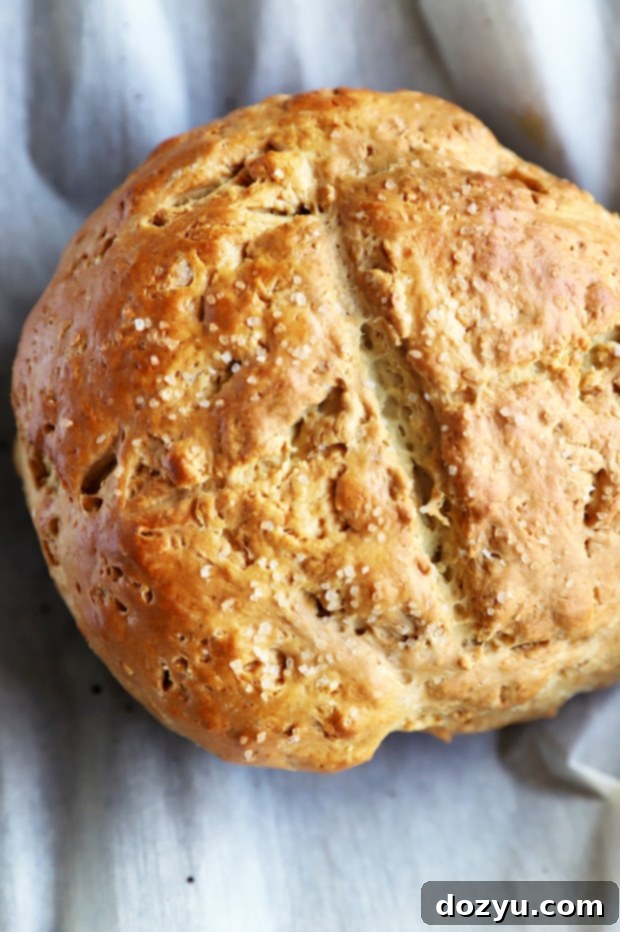
No Yeast White Bread
Equipment
-
Sharp Chef’s Knife or Paring Knife
-
9-Inch Cast Iron Skillet (or baking sheet)
-
Measuring Spoons
-
Liquid Measuring Cups
-
Large Wooden Spoon or Spatula
-
Large Mixing Bowl
Ingredients
- 4 1/4 cups all-purpose flour
- 1 1/2 tsp salt
- 1 1/2 tsp baking soda
- 4 Tbsp unsalted butter melted
- 2 tsp granulated sugar
- 1 3/4 cups buttermilk plus 1 Tbsp for brushing the dough
- 1/2 tsp coarse salt for sprinkling (optional)
Instructions
-
Preheat your oven to 400˚F (200˚C). Place your cast iron skillet (or baking sheet) in the oven as it preheats to get it nice and hot.
-
In a large mixing bowl, thoroughly whisk together the all-purpose flour, salt, and baking soda. Set this dry mixture aside.
-
In a separate small bowl, whisk together the melted unsalted butter and granulated sugar until well combined. Pour this mixture into the dry ingredients, stirring until just incorporated. The mixture will still appear dry and crumbly at this stage – this is perfectly normal.
-
Gradually add half of the buttermilk to the dough, mixing until it starts to come together. Then, add the remaining buttermilk and continue to mix until a shaggy, slightly moist dough forms. If your dough feels excessively dry (especially if you’re in a low-humidity environment), you can add an additional teaspoon or two of buttermilk until the desired consistency is reached. Avoid overmixing.
-
Turn the dough out onto a lightly floured surface. Knead it gently for a few turns, just enough to bring any stray dry bits into the main mass. Form the dough into a cohesive ball, then flatten it slightly into a disc that is approximately 2 inches thick.
-
Carefully remove the hot skillet from the oven and line it with parchment paper. Place the dough disc in the center of the skillet. Brush the top surface of the dough with the reserved tablespoon of buttermilk. Using a sharp knife, cut a distinct “X” shape into the top of the dough, about 1/2 to 3/4-inch deep. Sprinkle with coarse salt, if desired, for extra flavor and texture.
-
Return the skillet to the preheated oven and bake for 40 minutes, or until the loaf is beautifully golden brown and sounds hollow when tapped on the bottom. Once baked, remove it from the oven and immediately cover it loosely with aluminum foil for 10 minutes. After 10 minutes, remove the foil and allow the bread to cool on a wire rack for at least another 20 minutes before slicing. This crucial resting period ensures a perfectly set interior and clean slices.
-
Store your homemade no-yeast white bread, covered tightly, at room temperature for up to 3 days, or in the refrigerator for up to 1 week. It can also be frozen for longer storage.
Nutrition Information
