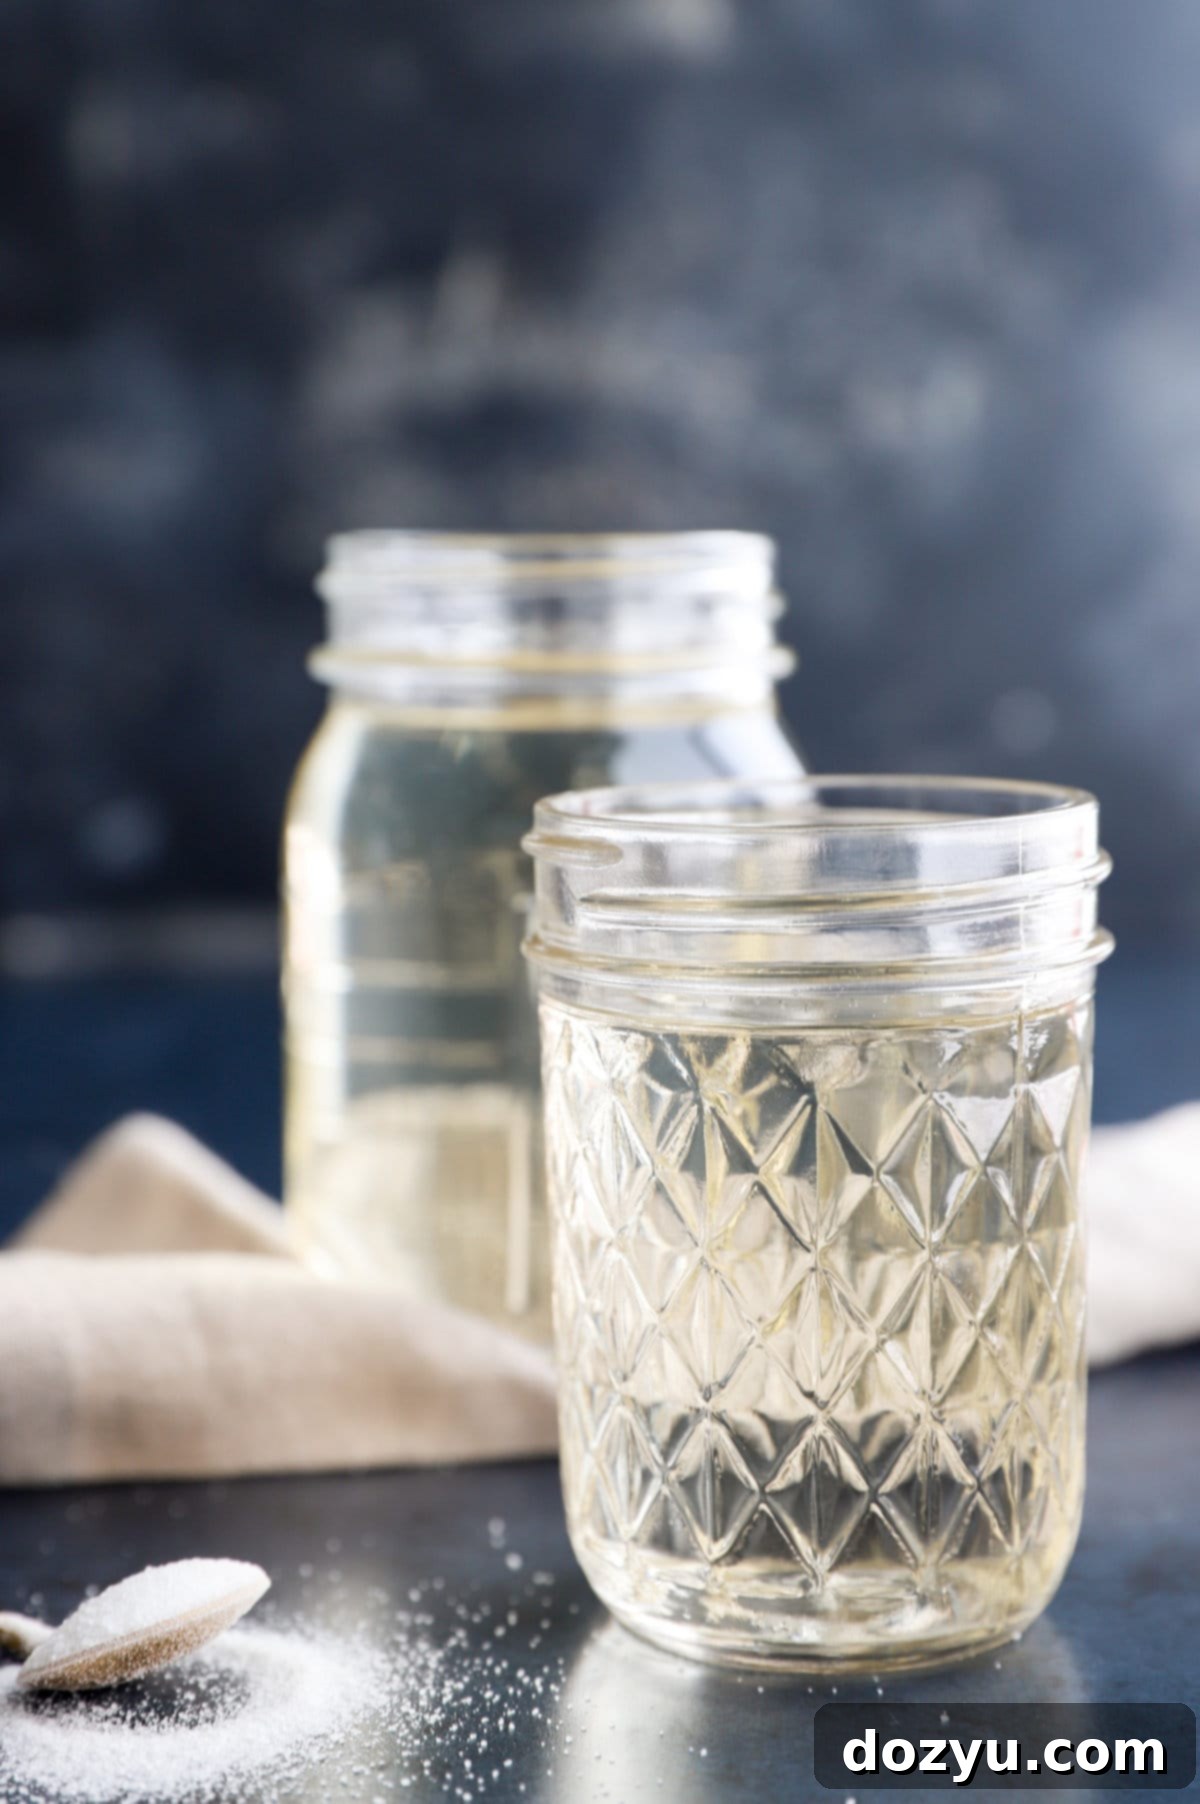
Homemade Simple Syrup: Your Ultimate Guide to Easy Sweeteners for Cocktails, Coffee, Desserts, and More
Discovering how incredibly simple it is to make homemade simple syrup is a game-changer for any kitchen enthusiast. Not only will you save a significant amount of money by foregoing store-bought versions, but you’ll also gain the freedom to customize your sweeteners exactly to your liking. This versatile liquid sugar isn’t just for crafting exquisite cocktails; it’s a secret ingredient that can elevate your coffee, create delightful mocktails, and add moisture and sweetness to countless desserts. With just two humble ingredients and a mere 5 minutes of your time, you can have a batch of this fundamental syrup ready to transform your beverages and baked goods.
Table of Contents
Toggle
What is Simple Syrup?
Simple syrup is a foundational component in mixology and culinary arts, yet its name perfectly describes its nature: it’s incredibly simple to make. At its core, simple syrup is merely a solution of sugar dissolved in water. Traditionally, the recipe calls for a 1:1 ratio of water to granulated sugar, resulting in a perfectly balanced sweetness that seamlessly integrates into various liquids. Unlike granulated sugar which can settle at the bottom of cold beverages, simple syrup mixes effortlessly, ensuring every sip is consistently sweet.
While often associated with cocktails due to its prevalence in bar recipes, its utility extends far beyond. From sweetening your morning coffee to moistening cake layers and glazing fruits, this humble syrup is a true kitchen workhorse. There’s absolutely no special skill or advanced technique required to whip up a batch, making it an ideal project for even the most novice cook. Once you experience the ease and versatility of homemade simple syrup, you’ll likely wonder why you ever considered purchasing it from the store.
Why Make Your Own Simple Syrup?
Making simple syrup at home offers a multitude of benefits that far outweigh buying it pre-made. Here’s why taking those five minutes to prepare your own batch is always a smart choice:
- Significant Cost Savings: Store-bought simple syrup can be surprisingly expensive, often costing several times more than the raw ingredients. By making it yourself, you’re essentially paying pennies for a product that would cost dollars at the grocery store or a specialty shop.
- Unbeatable Freshness and Quality Control: When you make simple syrup at home, you know exactly what goes into it – just sugar and water. There are no preservatives, artificial flavors, or unnecessary additives. You control the quality of your ingredients, ensuring a pure, clean taste.
- Endless Customization Options: This is where homemade simple syrup truly shines! While a basic syrup is excellent, the ability to infuse it with endless flavors is a game-changer. You can add herbs, spices, fruits, citrus zests, or even floral notes to create bespoke syrups tailored to specific drinks or desserts. This level of customization is impossible with commercial varieties.
- Quick and Convenient: The process is incredibly fast, taking less than 5 minutes of active cooking time. With such a quick turnaround, you’ll never be caught without a sweetening agent again. A batch lasts for weeks in the fridge, providing convenience whenever you need it.
- Reduced Environmental Impact: Opting for homemade means fewer plastic bottles ending up in landfills. It’s a small but meaningful step towards a more sustainable kitchen.
Essential Ingredients for Simple Syrup
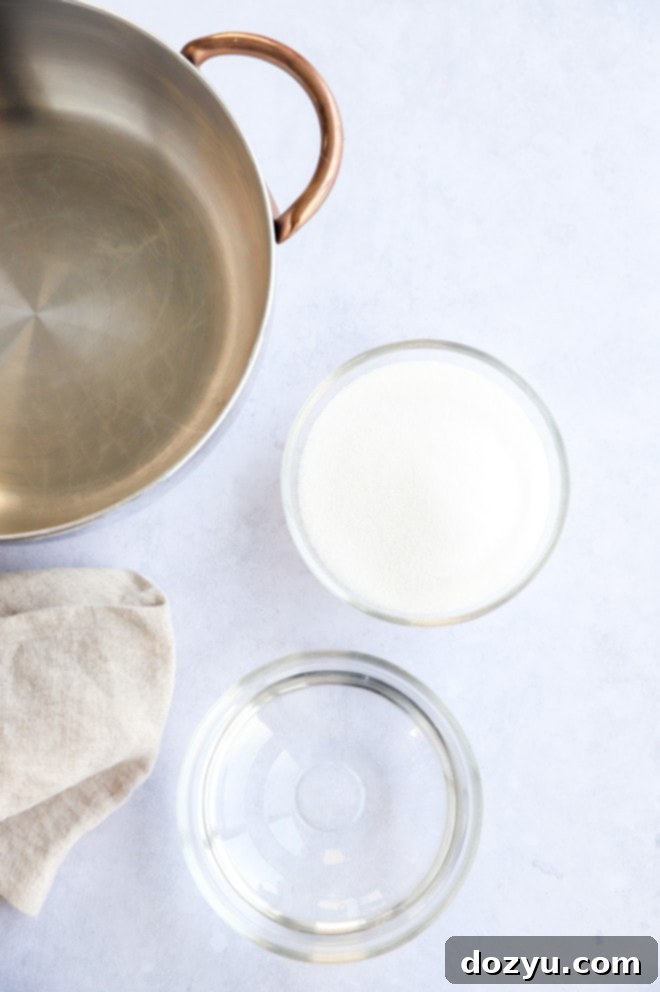
The beauty of simple syrup lies in its minimalist ingredient list. You only need two items, but understanding them can make a difference in your final product.
- Granulated Sugar: For the classic, clear, and neutral-flavored simple syrup, regular white granulated sugar is your best bet. Its fine crystals dissolve quickly and create a clear syrup that won’t overpower other flavors. While this recipe primarily focuses on granulated sugar, don’t hesitate to explore other sugar varieties like brown sugar, demerara sugar, or even honey for different flavor profiles. We’ll delve into these exciting alternatives later in this guide.
- Water: The other half of this dynamic duo. While tap water is generally acceptable, I personally prefer using filtered water whenever possible, especially when making something as foundational as simple syrup. Filtered water helps ensure a pure taste, free from any potential mineral tastes or chlorine that might be present in tap water. However, since the water will be heated to a simmer, which effectively purifies it, using good quality tap water is perfectly fine if that’s what you have readily available. The key is to use clean, fresh water.
Must-Have Tools for Making Simple Syrup
You won’t need an elaborate collection of kitchen gadgets for this recipe. Simplicity truly is key!
- Saucepan: A small to medium-sized saucepan is perfect for heating the water and sugar mixture. Ensure it has enough volume to comfortably hold your ingredients and allow for stirring without overflowing.
- Wooden Spoon or Heat-Resistant Spatula: Essential for stirring the mixture, ensuring the sugar dissolves evenly and preventing it from sticking to the bottom of the pan.
- Airtight Bottle or Mason Jar: Once cooled, your simple syrup needs proper storage. A clean, airtight bottle, such as a swing-top bottle, or a classic mason jar with a tight-fitting lid, is ideal for keeping your syrup fresh in the refrigerator. Labeling it with the date of preparation is a great habit to ensure you use it within its optimal freshness window.
- Funnel (Optional but Recommended): A small funnel can make transferring the cooled syrup into your storage bottle much easier and mess-free.
My Favorite Glassware for Serving Drinks
While not directly used in making simple syrup, having beautiful glassware can certainly enhance the experience of enjoying your homemade cocktails and mocktails!
Aperol Spritz Glass
Buy Now →
Gatsby Cocktail Glasses
Buy Now →
Coupe Glasses
Buy Now →
Step-by-Step: How to Make Homemade Simple Syrup
Making simple syrup is incredibly straightforward, involving three simple steps. Let’s walk through them in detail to ensure perfect results every time.
1. Combine the Ingredients
Measure out one cup of granulated sugar and one cup of water. Pour both into a small to medium-sized saucepan. The 1:1 ratio is crucial for achieving the classic simple syrup consistency and sweetness. Place the saucepan on your stovetop over medium-high heat. Starting with cold water and sugar together is ideal, as it allows the sugar to gradually dissolve as the temperature rises.
2. Gently Dissolve the Sugar
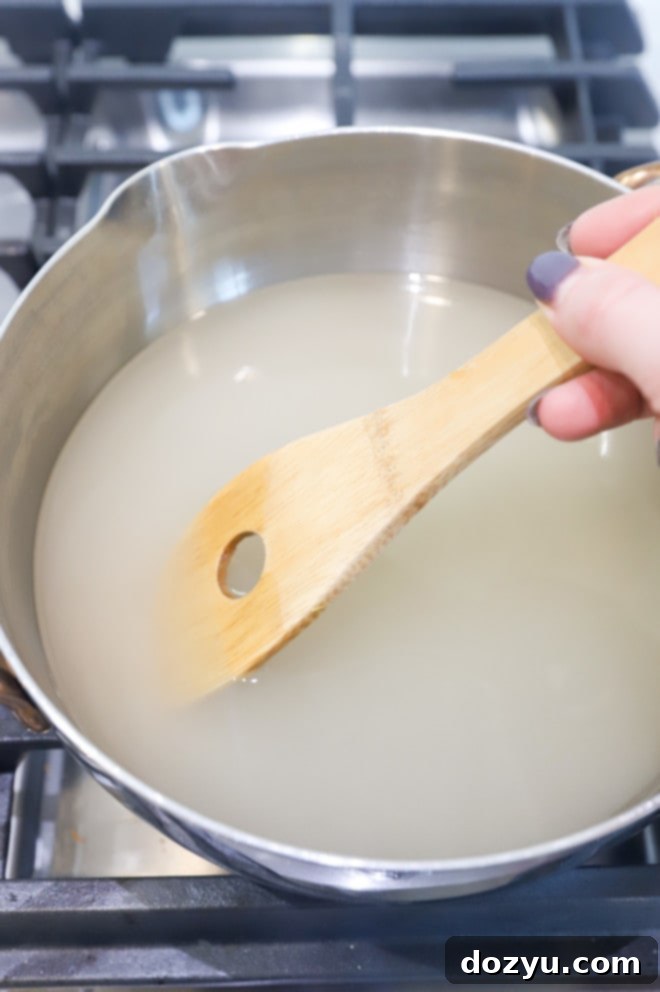
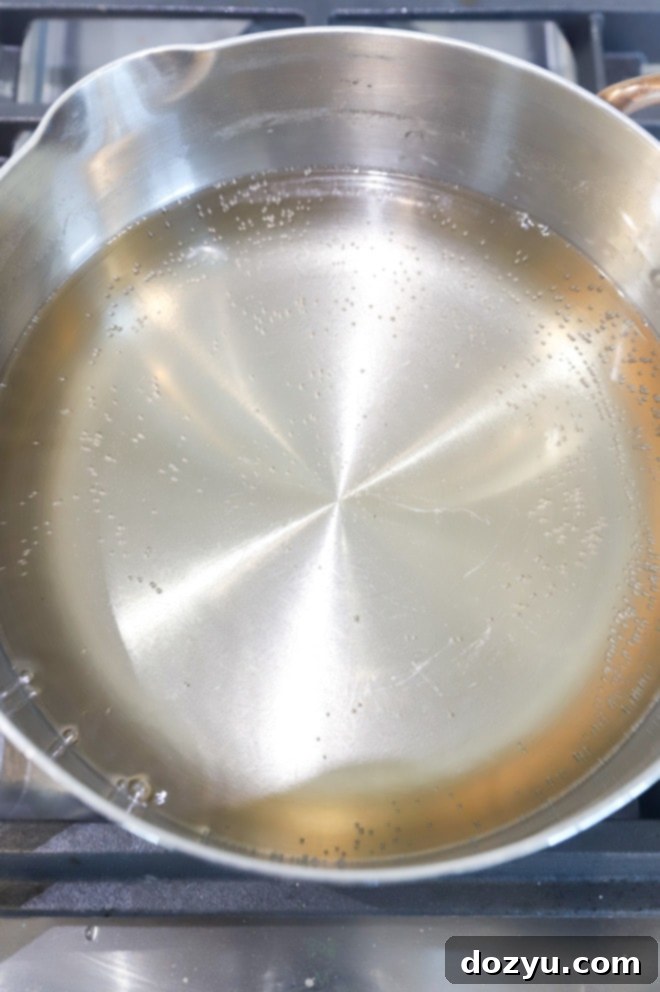
As the saucepan heats, begin stirring the mixture frequently with your wooden spoon or heat-resistant spatula. This constant stirring helps to evenly distribute the sugar and prevent it from sticking or burning on the bottom of the pan. Continue heating and stirring until the mixture reaches a rolling simmer. A rolling simmer means you’ll see small, consistent bubbles breaking the surface, but it’s not a vigorous, roiling boil. The goal is to fully dissolve the sugar crystals, not to reduce the water content. Once all the sugar crystals have completely disappeared and the liquid is clear, immediately remove the saucepan from the heat.
3. Cool and Store
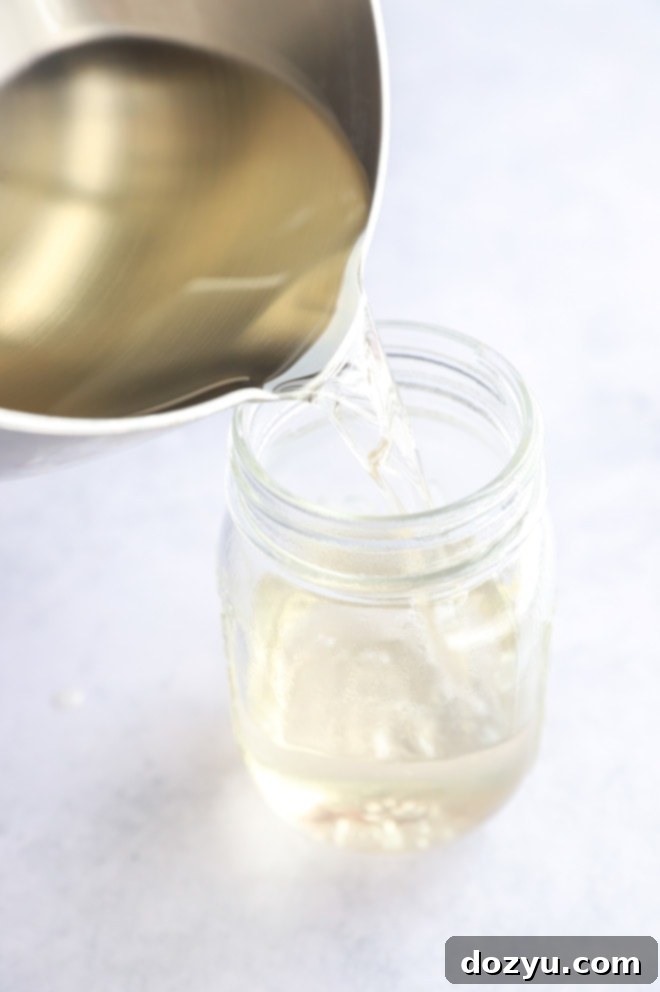
After removing the syrup from the heat, allow it to cool completely to room temperature before using or storing. This cooling process is important for two reasons: it prevents condensation inside your storage container, which can introduce moisture and reduce shelf life, and it ensures the syrup reaches its proper consistency. Once cooled, carefully pour the simple syrup into a clean, airtight bottle or mason jar. Store it in the refrigerator, where it will remain fresh and usable for up to one month. Remember to always cool to room temperature before sealing and refrigerating to maximize its shelf life and maintain optimal quality.
Tips for Simple Syrup Success
While making simple syrup is inherently easy, a few key tips can ensure your homemade syrup is always perfect:
- Avoid Vigorous Boiling: The most crucial tip! Do not let the mixture come to a rapid boil for an extended period. Boiling causes water to evaporate, which will throw off the precise 1:1 ratio of sugar to water. This results in a thicker, sweeter, and more concentrated syrup than intended for a standard simple syrup, potentially affecting the balance of your cocktails or other recipes. A gentle simmer is all you need to dissolve the sugar.
- Stir, Stir, Stir: Frequent stirring prevents the sugar from crystallizing on the bottom of the saucepan and ensures it dissolves uniformly. It also helps prevent scorching.
- Ensure Complete Dissolution: Make sure every single sugar crystal is dissolved before removing the syrup from the heat. Undissolved sugar can lead to crystallization in your stored syrup. You can test this by dipping a spoon into the syrup and examining it for lingering crystals, or by gently rubbing a small amount between your fingers (once cool enough to touch safely).
- Cool Completely Before Storing: As mentioned, cooling the syrup to room temperature before transferring it to an airtight container and refrigerating it is essential. Warm syrup creates condensation inside the container, which can dilute the syrup and encourage bacterial growth, reducing its shelf life.
- Experiment with Different Sugars: While granulated sugar is standard, don’t be afraid to innovate! Using light brown sugar will introduce subtle caramel notes, while dark brown sugar will provide a deeper, molasses-like richness. Honey or demerara sugar can also be used for distinct flavor profiles. (See dedicated section below for more details.)
- Infuse with Flavors: This is where the fun truly begins! Elevate your simple syrup by infusing it with fresh fruits, herbs, spices, or extracts. The best practice is to add these flavor components to the mixture as it heats, allow them to steep after removing from heat, then strain them out before cooling and storing.
- Use Clean, Airtight Containers: To maximize the shelf life of your simple syrup, always store it in a thoroughly cleaned and sanitized airtight container or bottle. This prevents contamination and keeps your syrup fresh for longer.
Can I Use Different Types of Sugar for Simple Syrup?
Absolutely, yes! This is one of the easiest and most rewarding ways to customize your homemade simple syrup. Swapping out granulated sugar for other varieties will impart different flavors and colors to your syrup, opening up a world of possibilities for your culinary creations.
- Brown Sugar Simple Syrup: Using light or dark brown sugar instead of granulated sugar will give your syrup delightful caramel and molasses notes. Light brown sugar offers a subtle hint of these flavors, while dark brown sugar provides a richer, more pronounced depth. This type of syrup is fantastic in whiskey cocktails, coffee, or drizzled over pancakes.
- Demerara Simple Syrup: Demerara sugar, a partially refined raw sugar with larger crystals and a distinct golden hue, creates a syrup with a complex, slightly toffee-like flavor. It’s perfect for adding depth to rum cocktails or any drink where you want a richer sweetness.
- Honey Simple Syrup: While technically not a “sugar” in the same granulated form, honey can be used to make a simple syrup. The typical ratio is 1:1 honey to water. This will yield a syrup with a wonderfully floral, earthy, and sweet flavor unique to honey. It’s excellent in hot teas, certain cocktails, or even light salad dressings. Adjust the ratio if you prefer a less sweet or thicker syrup.
- Maple Simple Syrup: Similar to honey, maple syrup can be diluted with water to create a lighter, pourable syrup that retains its characteristic maple flavor. Ideal for coffee, oatmeal, or as a glaze.
- Agave Simple Syrup: Agave nectar is already quite thin, but if you want to make it even more pourable or just slightly sweet, you can combine it with a little water. It offers a neutral, clean sweetness, making it a great option for light-colored cocktails or drinks where you don’t want a strong sugar flavor.
When experimenting with different sugars, keep in mind that their sweetness levels and dissolution rates might vary slightly. Always stir until completely dissolved and taste test to ensure the desired sweetness.
How Do I Make the Consistency Thicker (for Rich Simple Syrup)?
If you prefer a thicker, more viscous syrup, or one with a more concentrated sweetness, you can easily adjust the sugar-to-water ratio. This is commonly known as “rich simple syrup.”
For a thicker consistency, simply double the amount of sugar relative to the water. This creates a 2:1 ratio (two parts sugar to one part water). For example, if you use 1 cup of water, you would use 2 cups of sugar. The process remains the same: combine the ingredients in a saucepan and gently heat, stirring frequently, until all the sugar is dissolved.
Here’s when you might opt for a thicker, rich simple syrup:
- Glazing Fruits and Cakes: The higher sugar content and thicker consistency of a 2:1 syrup make it ideal for brushing over fruits for a glossy finish or applying to cakes for added moisture and shine without oversaturating.
- More Concentrated Sweetness: Rich simple syrup is, by nature, sweeter. This means you’ll need less of it to achieve the same level of sweetness in a drink compared to a standard 1:1 syrup. If using rich syrup in cocktails or coffee, I recommend starting with about 1/4 ounce to 1/2 ounce less than what a recipe calls for standard simple syrup, then adjust to taste. This allows for a more intense sweetness and often a more luxurious mouthfeel.
- Extended Shelf Life: The higher sugar content in a rich simple syrup acts as a natural preservative, often extending its refrigerator shelf life slightly beyond that of a 1:1 syrup.
Does Simple Syrup Need to Boil?
No, simple syrup does not need to boil, and in fact, it’s generally best to avoid a vigorous boil. The primary goal when making simple syrup is to dissolve the sugar completely into the hot water. This can effectively happen at a gentle simmer, where you see small bubbles forming around the edges and occasionally breaking the surface.
If you allow the mixture to boil too much or too vigorously, a few things can happen:
- Evaporation: A hard boil will cause water to evaporate more rapidly. This reduces the overall volume of the liquid and consequently increases the concentration of sugar, making your syrup thicker and much sweeter than the intended 1:1 ratio. While this is the method for making a “rich” simple syrup (2:1 ratio), it’s not ideal if you’re aiming for the standard consistency.
- Crystalization: Over-boiling can sometimes lead to sugar crystals forming on the sides of the pan. These crystals can then fall back into the syrup and cause the entire batch to crystallize as it cools, resulting in a gritty texture instead of a smooth liquid.
- Potential for Burning: While less likely with a simple syrup, prolonged vigorous boiling can potentially lead to the sugar caramelizing or even burning if not carefully monitored.
Therefore, aim for a consistent, gentle simmer, stirring occasionally, until all sugar crystals have fully dissolved. Once clear, remove from heat and proceed with cooling.
Can Simple Syrup Be Frozen for Longer Storage?
Yes, absolutely! Freezing simple syrup is an excellent way to extend its shelf life, especially if you make larger batches or don’t use it frequently. This method ensures you always have fresh simple syrup on hand without worrying about spoilage.
Here’s how to do it effectively:
- Cool Completely: As always, ensure your simple syrup has cooled completely to room temperature before freezing.
- Portion into Ice Cube Trays: Pour the cooled syrup into standard ice cube trays. This makes it easy to portion out individual servings later.
- Freeze Until Solid: Place the trays in the freezer and let the syrup freeze completely until solid, which usually takes a few hours.
- Transfer to Freezer-Safe Bag or Container: Once the syrup cubes are frozen solid, pop them out of the trays and transfer them to a freezer-safe, airtight bag or container. This prevents freezer burn and saves space in your freezer.
- Label and Date: Don’t forget to label the bag or container with the contents and the date you froze them.
Frozen simple syrup can last for up to 3 months in the freezer. When you need to use it, simply remove the desired number of cubes and let them thaw in a small bowl or bottle in the refrigerator for a few hours, or at room temperature for a quicker thaw. Once thawed, use as you would fresh simple syrup.
Should Simple Syrup Be Refrigerated?
Yes, simple syrup absolutely needs to be refrigerated. While the high sugar content acts as a preservative to some extent, it’s not enough to prevent spoilage at room temperature. Without refrigeration, simple syrup can quickly grow mold or ferment, becoming unsafe for consumption. The cold environment of the refrigerator significantly slows down the growth of bacteria and mold.
Always store your cooled simple syrup in a clean, airtight bottle or container in the refrigerator. Properly stored, it will maintain its quality and freshness for up to 1 month. Make it a habit to label your containers with the date of preparation to keep track of its shelf life.
Need some inspiration for using this simple syrup in cocktails? Check out my cocktail recipes page!
How to Use Homemade Simple Syrup: Endless Possibilities
The versatility of homemade simple syrup is truly astounding. Beyond its primary role in sweetening, it can enhance flavors, add moisture, and create beautiful finishes in a wide array of recipes. Here are just some of the many ways you can utilize this essential kitchen staple:
- Cocktails & Mocktails: This is arguably its most famous application. Simple syrup effortlessly sweetens mixed drinks, ensuring a smooth, well-balanced flavor without gritty sugar crystals. It’s foundational for classic cocktails like the Old Fashioned, Mojito, Daiquiri, and countless others. For mocktails, it provides a clean, adaptable sweetness for fruit punches, sparkling lemonades, and non-alcoholic spritzers.
- Coffee & Tea: Say goodbye to undissolved sugar at the bottom of your iced coffee or tea! Simple syrup mixes instantly into both hot and cold beverages. Use it in your favorite hot coffee, iced latte, cold brew, homemade chai, or any variety of iced tea for a perfectly sweetened sip.
- Baking & Desserts:
- Moisten Cakes: Brush simple syrup onto the exterior of unfrosted cakes, or between cake layers, to add incredible moisture and a touch of sweetness. This technique is especially useful for sponge cakes or cakes that tend to dry out.
- Glazes for Tarts and Pastries: A light brush of simple syrup over fruit tarts, pastries, or even freshly baked cookies provides a beautiful, vibrant, and shiny finish. It also helps to prevent fruit from drying out.
- Sweeten Fruit Salads: Toss fresh fruit with a tablespoon or two of simple syrup to enhance their natural sweetness and give them a lovely sheen. Add a squeeze of lemon or lime juice for extra brightness.
- Topping for Breakfast & Desserts: Drizzle plain or flavored simple syrup over pancakes, waffles, French toast, oatmeal, yogurt, ice cream, or fruit for an extra layer of sweetness and flavor.
- Homemade Sodas & Lemonades: Create your own refreshing beverages by mixing simple syrup with sparkling water and your choice of fruit juices or purees.
- Dressings & Marinades: A touch of simple syrup can balance the acidity in salad dressings or provide a sweet counterpoint in savory marinades for meats or vegetables.
- Candied Fruits: Use a concentrated simple syrup to candy citrus peels or other fruits, transforming them into delicious garnishes or treats.
Unleash Your Creativity: Simple Syrup Flavor Variations
This is arguably the most exciting aspect of homemade simple syrup: the ability to craft your own custom-flavored syrups! Infusing simple syrup is a fantastic way to add complex layers of flavor to your drinks and dishes. The general method for flavoring is quite simple:
General Method for Flavoring: Add your chosen flavor component to the water and sugar mixture at the beginning of the recipe, as it heats. Once the sugar is fully dissolved and the mixture reaches a simmer, remove it from the heat, cover the saucepan, and allow the mixture to steep. Steeping times can vary from 15 minutes for subtle flavors up to 30 minutes (or even longer, refrigerating overnight for very deep flavors) for more intense infusions. After steeping, strain out the solids using a fine-mesh sieve, then cool and store the flavored syrup as directed.
Here are some fantastic ideas to get your creative juices flowing:
- Spiced Syrups:
- Cinnamon Simple Syrup: Add a few cinnamon sticks to the mixture as it heats. Perfect for fall cocktails, apple cider, or coffee.
- Ginger Simple Syrup: Thinly slice fresh ginger root (no need to peel) and simmer with the syrup. Adds a delightful spicy kick to anything.
- Whole Spices: Experiment with star anise, cloves, cardamom pods, or even black peppercorns for unique and aromatic syrups.
- Fruity Syrups:
- Berry Syrups: Use fresh or frozen berries (strawberries, raspberries, blueberries, blackberries) in season. Muddle them slightly before adding. Great for lemonade, iced tea, and summery cocktails.
- Citrus Syrups: Add wide strips of citrus zest (lemon, lime, orange, grapefruit) or even a few slices of the fruit itself. These brighten any drink.
- Stone Fruit Syrups: Pitted and sliced peaches, plums, or cherries can create wonderfully fragrant syrups.
- Other Fruits: Apples, pears, or even cucumbers (for a refreshing, spa-like syrup) can be sliced and infused.
- Herbal Syrups:
- Mint Simple Syrup: Toss in a handful of fresh mint leaves. Ideal for mojitos, iced tea, or a refreshing splash in sparkling water.
- Basil Simple Syrup: Fresh basil leaves create a surprisingly delightful and savory-sweet syrup, wonderful in gin cocktails or with lemonade.
- Rosemary, Thyme, Sage: Hardy herbs can create sophisticated, aromatic syrups that pair well with certain spirits or savory dishes.
- Floral Syrups:
- Lavender Simple Syrup: Dried culinary lavender buds (tie them in cheesecloth for easy removal) create a beautiful, aromatic syrup. Excellent for delicate cocktails or sparkling drinks.
- Rose/Hibiscus Simple Syrup: Dried rosebuds or hibiscus petals yield stunning colors and distinct floral notes. Always tie loose flowers in cheesecloth.
- Extract & Bean Syrups:
- Vanilla Simple Syrup: Split a vanilla bean in half and add it to the mixture as it cooks (or add a splash of good quality vanilla extract after cooling). A classic for coffee and desserts.
- Other Extracts: Almond, peppermint, or coconut extracts can be added after the syrup has cooled for a strong flavor punch. Ensure you use food-grade extracts.
- Tea Infused Syrups: Brew a strong tea (black, green, chai, herbal) and use it in place of some or all of the water to create a unique tea-flavored simple syrup.
Explore Our Full Collection of Simple Syrup Recipes
Ready to dive deeper into the world of flavored simple syrups? Here’s a curated list of our favorite simple syrup recipes, each designed to inspire and elevate your homemade beverages and desserts:
- Cinnamon Simple Syrup: Warm and inviting, perfect for fall and winter drinks.
- Cherry Simple Syrup: Sweet and tart, excellent for fruity cocktails and summer refreshments.
- Pumpkin Spice Simple Syrup: The ultimate seasonal flavor for lattes and autumn-inspired concoctions.
- Strawberry Rhubarb Simple Syrup: A unique balance of sweet and tangy, capturing spring’s best flavors.
- Lavender Simple Syrup: Elegantly floral, adds a sophisticated touch to gin or sparkling drinks.
- Strawberry Simple Syrup: Pure, sweet strawberry flavor, a summer essential.
- Lemon Simple Syrup: Bright and zesty, fantastic for adding citrus punch to any beverage.
- Demerara Sugar Simple Syrup: Rich and slightly caramel-like, perfect for whiskey or rum cocktails.
- Rosemary Simple Syrup: Aromatic and herbaceous, surprisingly good in gin or with grapefruit.
- Honey Simple Syrup: Naturally sweet with floral notes, a delightful alternative to granulated sugar.
- Mint Simple Syrup: Refreshing and invigorating, essential for mojitos and iced teas.
- Vanilla Simple Syrup: A classic, comforting flavor that enhances coffee, desserts, and cocktails.
- Brown Sugar Simple Syrup: Deep, rich, and molasses-flavored, great for warming drinks and glazes.
Storage and Shelf Life for Your Homemade Syrup
Proper storage is key to enjoying your homemade simple syrup for as long as possible. Follow these guidelines to keep your syrup fresh and delicious:
- Refrigeration: Once your simple syrup has cooled completely to room temperature, transfer it to a clean, airtight bottle or container. Store it in the refrigerator. Standard 1:1 simple syrup typically lasts for up to one month in the fridge. Rich simple syrup (2:1 ratio) can sometimes last a bit longer due to its higher sugar concentration, often up to 2 months. Always use a piece of tape and a marker to label your container with the date of preparation, so you know exactly when it was made.
- Checking for Spoilage: Before each use, quickly check your syrup. If you notice any signs of mold (even tiny specks), cloudiness, an off-smell, or fermentation (fizzing or bubbles), it’s best to discard it and make a fresh batch.
- Freezing for Extended Shelf Life: For longer-term storage, freezing is an excellent option.
- Allow the simple syrup to cool completely.
- Pour it into ice cube trays for easy portioning.
- Freeze until solid (a few hours).
- Once frozen, transfer the syrup cubes to a freezer-safe bag or airtight container.
- Label with the date.
Frozen simple syrup can last for up to 3 months. To use, simply remove the desired number of cubes and thaw them in a bowl or bottle in the refrigerator. They will be ready to use once fully liquid.
- Reheating: Simple syrup does not typically need to be reheated for use in most applications. If you prefer it warm for a specific recipe (e.g., brushing on a warm cake), you can gently warm a portion in a small saucepan over low heat, being careful not to bring it to a boil. However, it is most commonly used chilled or at room temperature.
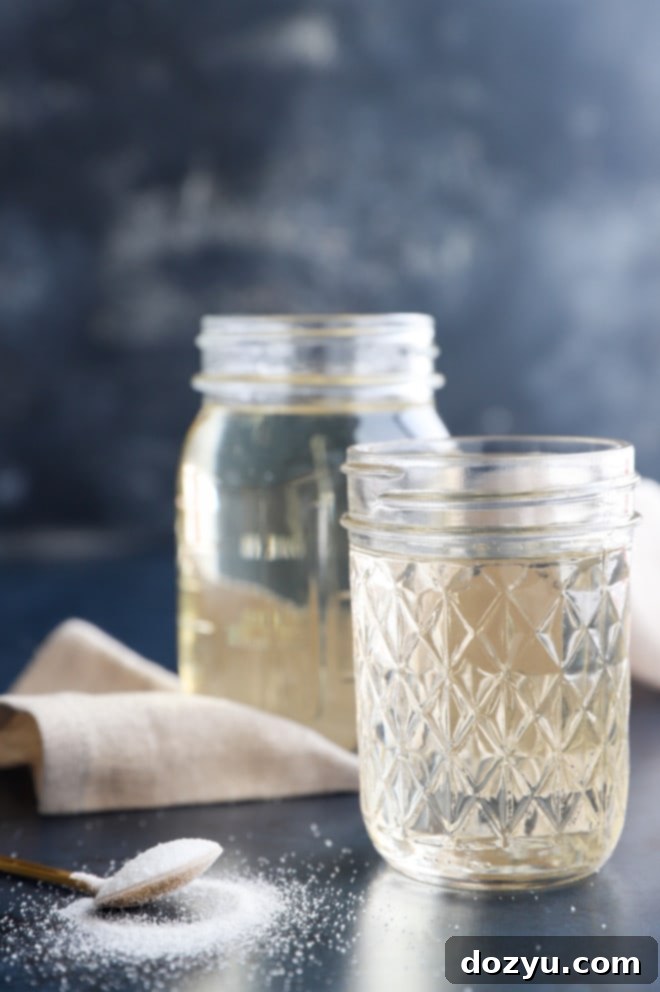
Finally, if you make this versatile simple syrup recipe, please be sure to give it a rating or leave a comment! I genuinely love hearing about your experiences and successes with these recipes, and I make an effort to respond to every single comment. Feel free to drop any questions you might have below as well – I’m always happy to help!
Oh, and be sure to tag me on Instagram if you make the recipe! It’s truly my favorite thing to see these recipes come to life in your homes – it means the world to me!
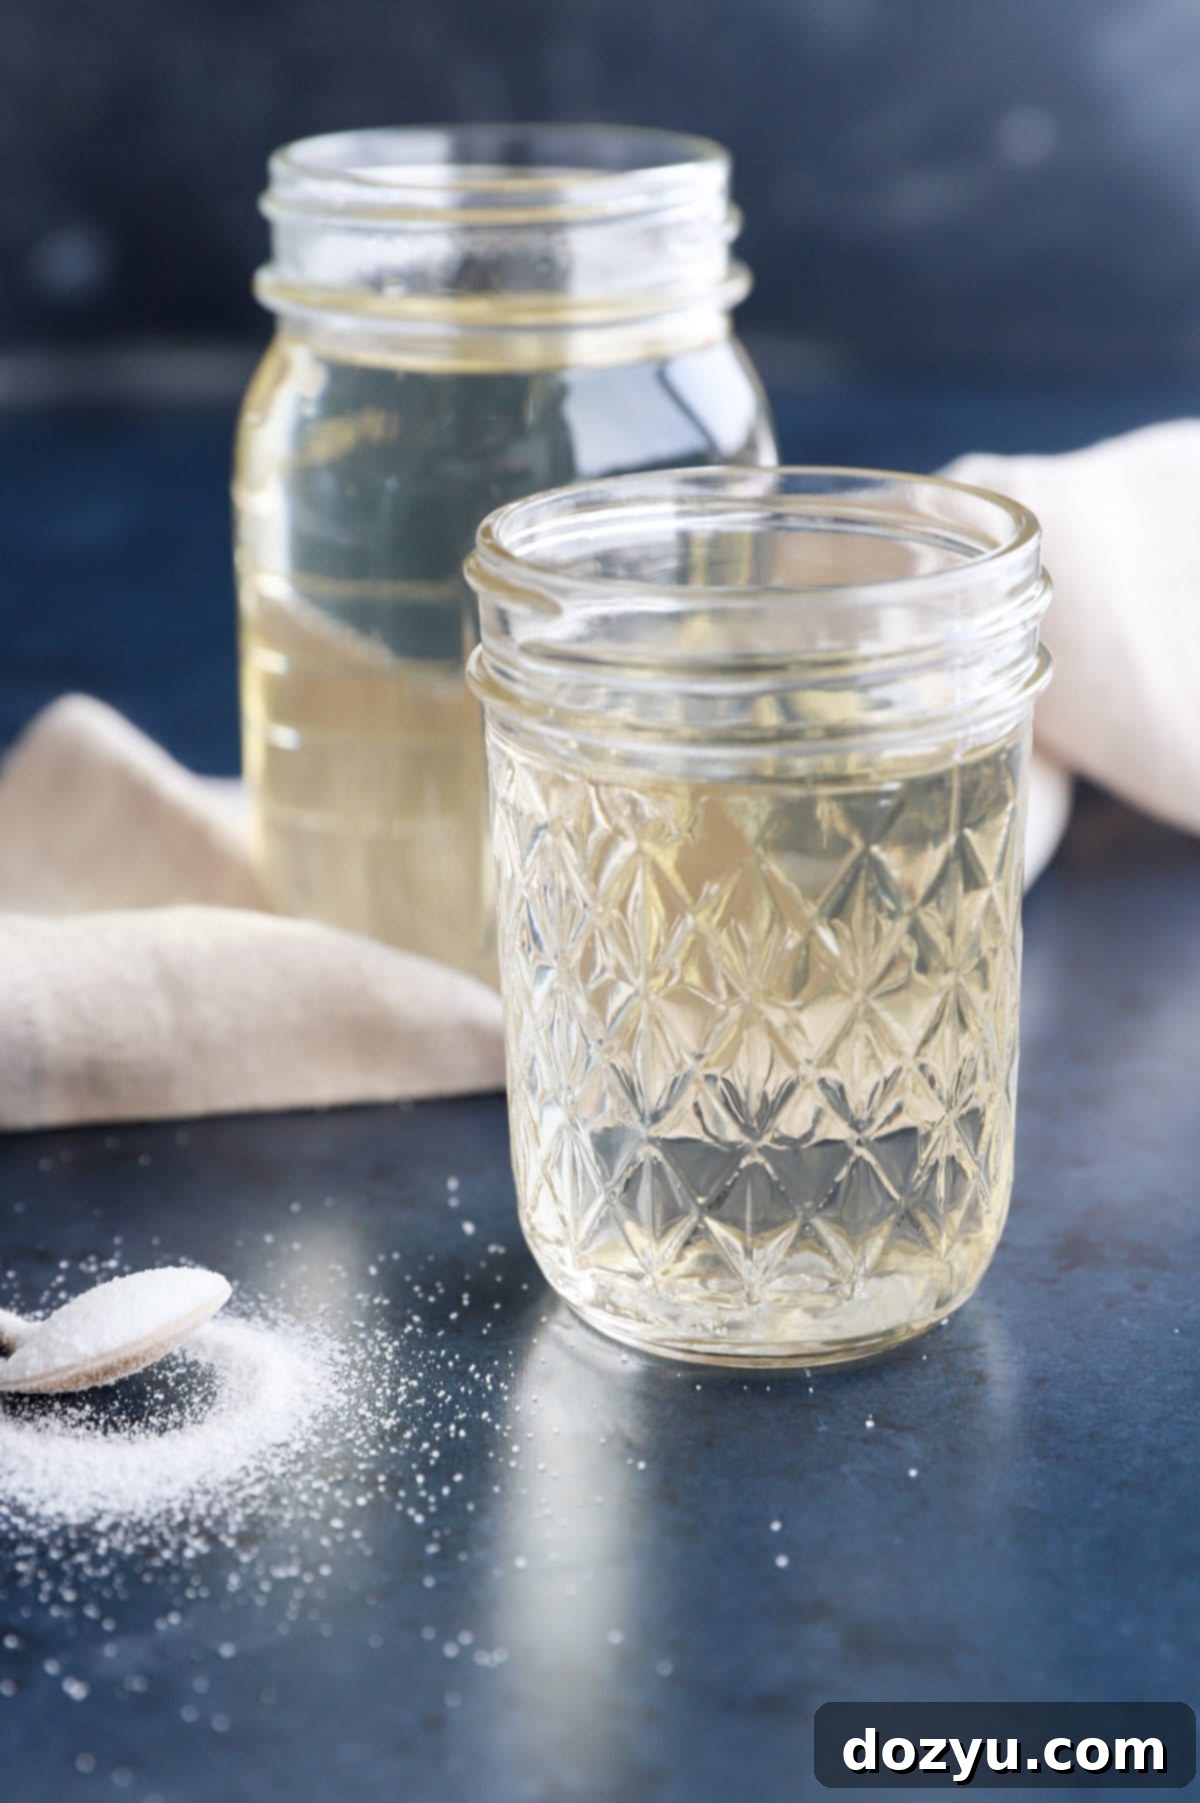
How to Make Simple Syrup
5 minutes
5 minutes
1 cup
prevent your screen from going dark
Equipment
-
Mason Jar
-
Long Wooden Spoon
-
Saucepan
Ingredients
- 1 cup water (filtered recommended)
- 1 cup granulated sugar
Instructions
-
Combine 1 cup of water and 1 cup of granulated sugar in a medium saucepan over medium-high heat.
-
Stirring frequently, bring the mixture to a gentle rolling simmer until all sugar crystals are completely dissolved. Do not let it boil vigorously.
-
Once the sugar has dissolved, remove the saucepan from heat and allow the syrup to cool completely to room temperature.
-
Pour the cooled syrup into a clean, airtight bottle or jar.
-
Use in your favorite mocktails, cocktails, coffee, desserts, and more. Store in the refrigerator for up to 1 month.
Nutrition
770kcal
Booze, Sweetener, Syrup
