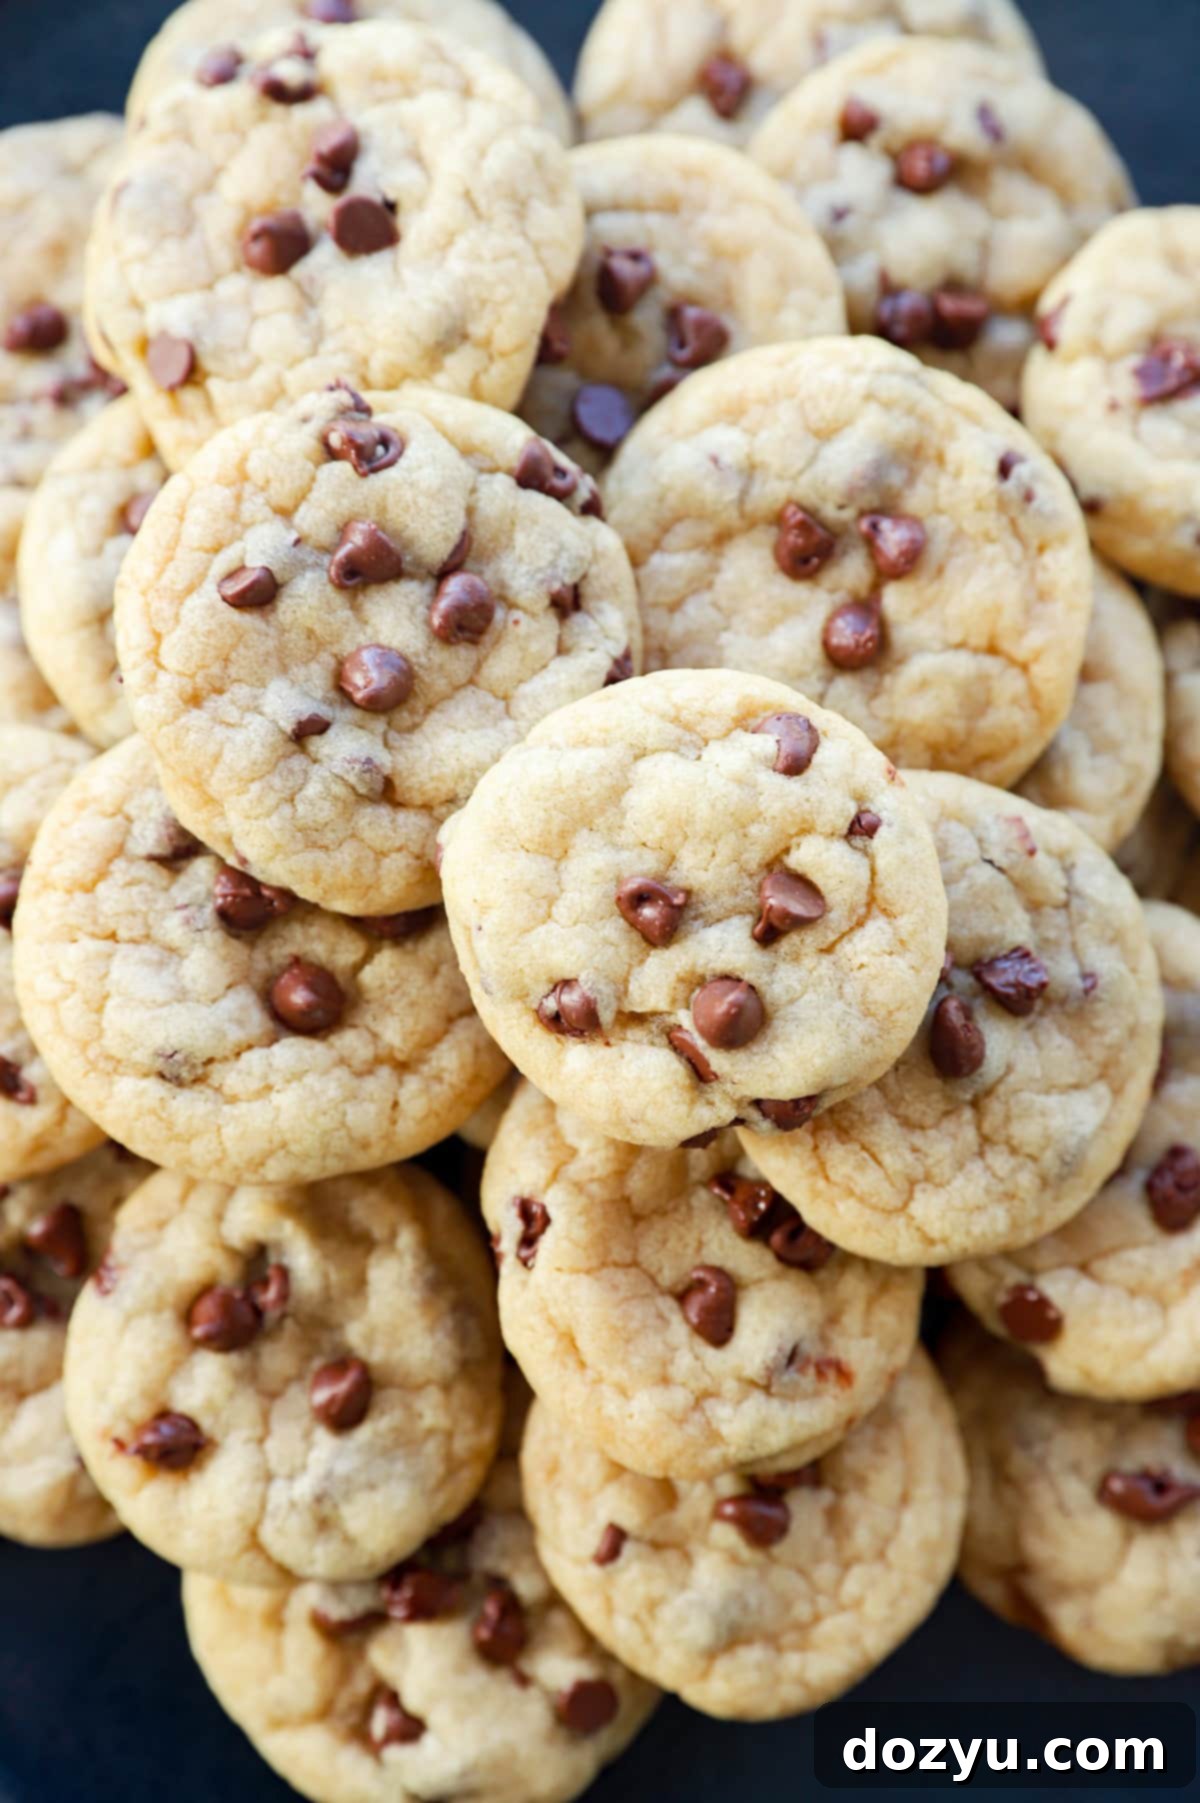
Irresistibly Soft & Chewy Mini Chocolate Chip Cookies: The Ultimate Bite-Sized Treat Recipe
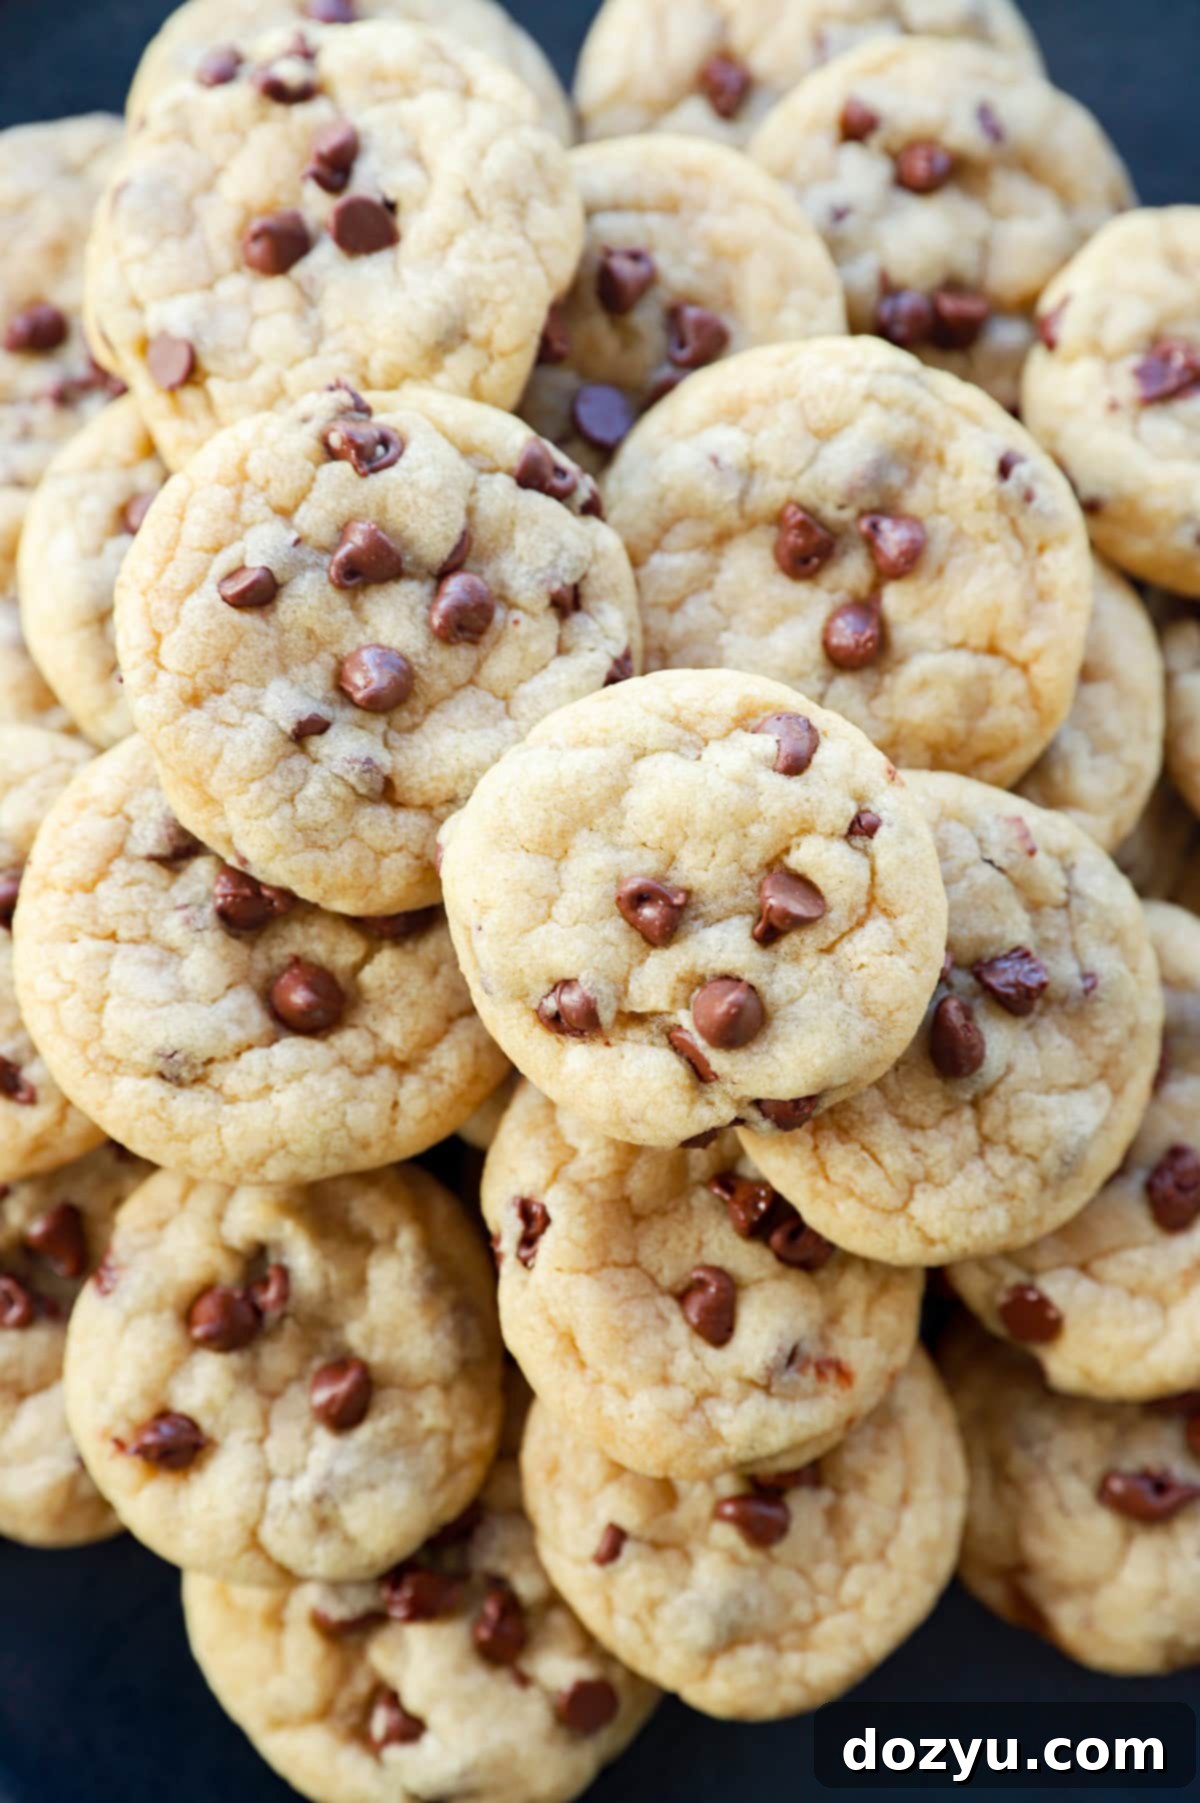
Mini chocolate chip cookies are soft, chewy, and the ultimate way to enjoy cookies in bite-sized form! They are tiny and cute, making them oh-so easy to pop in your mouth, ideal for snacking or a sweet treat any time of day. This comprehensive guide will walk you through creating the perfect batch of these miniature delights, ensuring every bite is a melt-in-your-mouth experience.
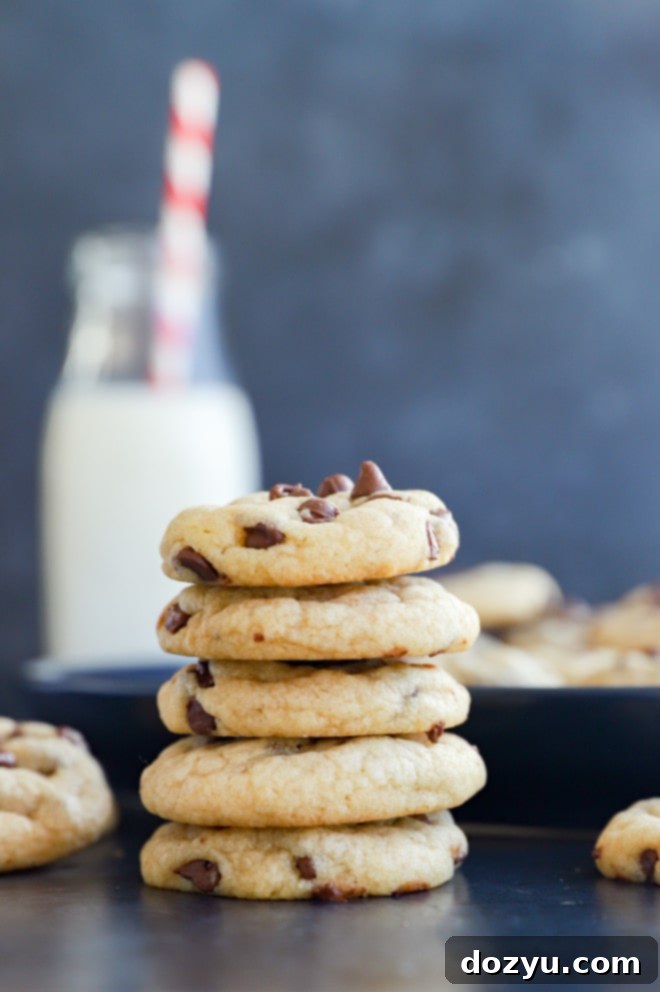
Table of Contents
Toggle
About These Mini Chocolate Chip Cookies
Who can truly resist a generous plate of soft and chewy mini chocolate chip cookies? The answer is simple: no one! These tiny, delightful treats are more than just a sweet indulgence; they’re a magical snack, perfect for any occasion that calls for a touch of sweetness and charm.
We all adore the classic chocolate chip cookie – it’s a timeless, nostalgic treat that instantly transports us back to childhood days, where a simple combination of milk and cookies could solve all our worries. But today, we’re taking that beloved classic and giving it a miniature makeover!
The distinction between these delightful mini cookies and their traditional counterparts isn’t solely their size; it’s also about achieving a specific, exquisite texture. For mini chocolate chip cookies, the goal is emphatically *not* a hard and crunchy bite. Instead, you’re aiming for a supremely soft, wonderfully chewy cookie that practically melts in your mouth, delivering an explosion of flavor in a perfectly petite package.
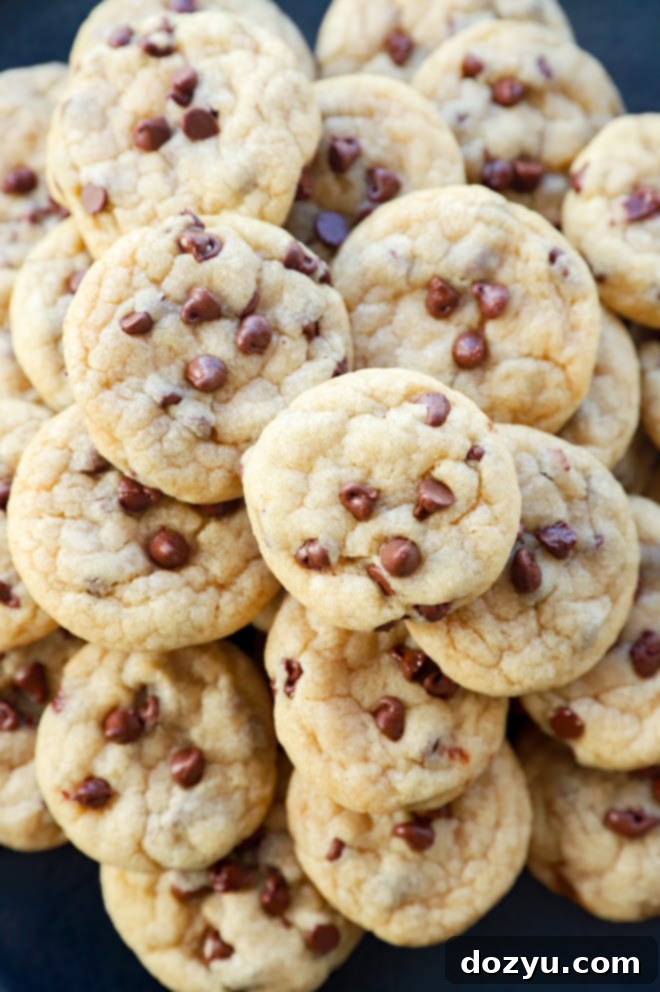
You might be wondering, “What’s the secret to achieving such remarkable softness and chewiness in these tiny morsels?” It all comes down to a precise balance of ingredients and, most critically, *not overbaking* them. This is the golden rule for these mini chocolate chip cookies.
If there’s one monumental disclaimer for this recipe, it’s to absolutely, under no circumstances, overbake these cookies. When you retrieve them from the oven, they will likely appear slightly underdone in the center, and this is exactly what you want! Do not be alarmed. The residual heat from the baking sheets will continue to cook them gently as they cool, achieving that ideal soft, chewy consistency. Pulling them out at just the right moment is key to preventing them from turning into hard, dry discs.
Whether you’re on a quest for the ultimate chocolate chip cookie experience, seeking a comforting homemade treat, or aiming to impress guests at your next gathering, these irresistibly soft and chewy mini chocolate chip cookies are your perfect solution. They’re quick, easy, and undeniably delicious.
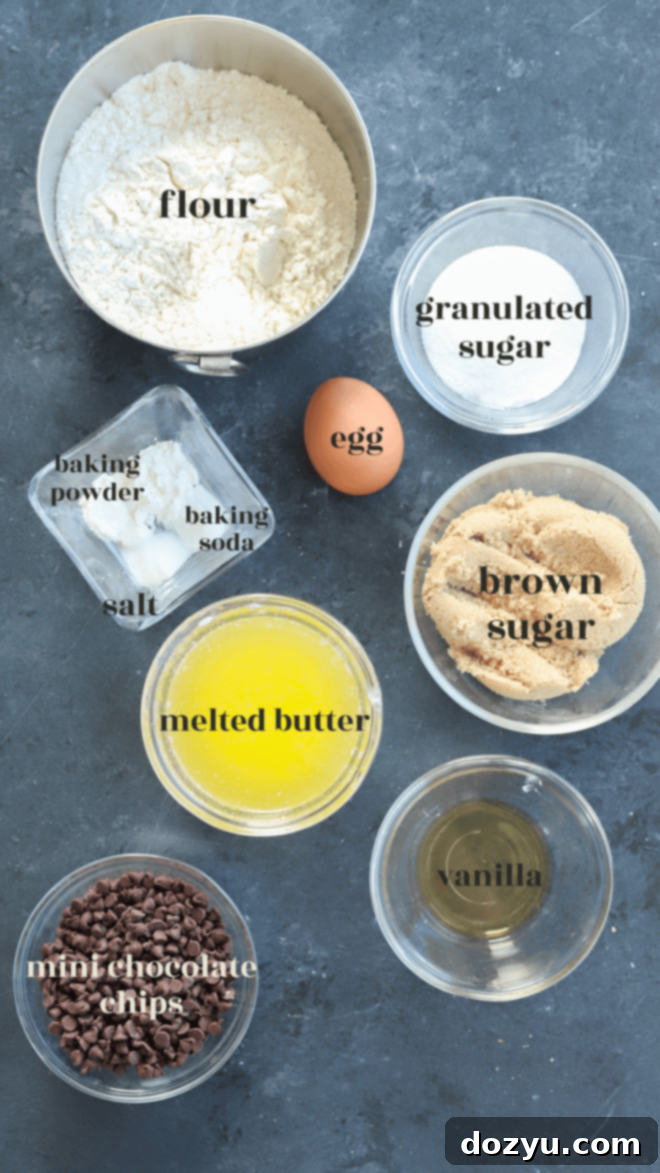
Essential Ingredients for Perfect Mini Cookies
Crafting the perfect mini chocolate chip cookie begins with understanding the role each ingredient plays. Here’s a breakdown of what you’ll need and why:
- All-purpose flour: This forms the foundational structure of our cookies. For an even softer texture, you can experiment with cake flour, which has a lower protein content. Proper measurement is crucial for preventing dense or dry cookies.
- Cornstarch: A secret weapon in achieving that coveted soft and chewy center while simultaneously preventing excessive spreading. It contributes to a tender crumb, making these mini cookies truly melt-in-your-mouth.
- Baking soda: Our sole leavening agent, baking soda helps the cookies rise slightly and contributes to their characteristic golden-brown edges. Always double-check the expiration date to ensure it’s fresh and active for best results.
- Salt: Essential for balancing the sweetness and enhancing the overall flavor of the chocolate. I recommend kosher salt for its clean taste. If using salted butter, remember to omit or reduce the added salt to prevent an overly salty cookie.
- Unsalted butter: This recipe specifically calls for unsalted butter, allowing you complete control over the salt content. If you opt for salted butter, adjust the recipe’s salt accordingly. Ensure your butter is slightly cooled after melting – not hot – before incorporating it into the wet ingredients.
- Sugars (light brown sugar & granulated sugar): The combination of these two sugars is vital. Light brown sugar adds moisture, depth of flavor, and chewiness, while granulated sugar contributes to crisp edges and overall sweetness. This balance creates the perfect texture and taste profile.
- Large egg: Acts as a binder, adding structure and moisture. It’s crucial to let your egg come to room temperature before mixing. A room temperature egg emulsifies better with the butter and sugar, resulting in a smoother, more uniform dough.
- Vanilla extract: High-quality vanilla extract is a game-changer. It significantly elevates the flavor of your cookies. My personal recommendation is a Madagascar Bourbon Pure Vanilla Extract, or even better, homemade vanilla extract if you have it!
- Mini chocolate chips: These are absolutely non-negotiable for mini chocolate chip cookies. Regular-sized chocolate chips will be too large and disrupt the delicate structure of these small treats. Mini semisweet chocolate chips ensure there’s chocolate in every single bite, perfectly scaled for their tiny size.
Must-Have Equipment for Baking
Having the right tools can make all the difference in your baking experience. For these mini chocolate chip cookies, here’s what you’ll need:
- Measuring cups and spoons: Precision is key in baking. Accurate measuring cups and measuring spoons are essential for getting the ingredient ratios just right, which directly impacts the final texture of your cookies.
- Stand mixer: While you can use a hand mixer or even strong arm it with a whisk, a stand mixer (or even a more powerful KitchenAid 7-Quart Pro Line Stand Mixer for larger batches) with a paddle attachment will make creaming butter and sugar much easier and more efficient, ensuring a light and airy base for your dough.
- Cookie scoop (optional but recommended): For consistently sized mini cookies, a small cookie scoop (about 1-2 teaspoons) is invaluable. This ensures even baking and a beautiful, uniform appearance. If you don’t have one, a measuring spoon or simply eyeballing small portions works too!
- Baking sheets and parchment paper/silicone mats: You’ll need at least two half sheet baking pans. Line them with either parchment paper or silicone baking mats to prevent sticking and ensure easy cleanup. This also promotes even browning on the bottom of the cookies.
Step-by-Step: How to Make Mini Chocolate Chip Cookies
Follow these detailed steps to bake a batch of homemade mini chocolate chip cookies that are soft, chewy, and utterly delicious.
Preparing the Dry Ingredients
Begin by preheating your oven to 350°F (175°C). Line two large baking sheets with parchment paper or silicone baking mats. In a medium-sized bowl, combine your all-purpose flour, cornstarch, baking soda, and salt. Whisk these dry ingredients together thoroughly, ensuring they are well-mixed. This step is crucial for even distribution of leavening and flavor throughout your cookies. Set this bowl aside for later use.
Mixing the Wet Ingredients
In the bowl of your stand mixer, fitted with the paddle attachment, pour the slightly cooled melted unsalted butter. Add both the light brown sugar and granulated sugar. Blend on medium speed until the sugars are fully incorporated and the mixture is smooth and creamy. This creaming process adds air, contributing to the cookies’ final texture. Next, beat in the room-temperature large egg and vanilla extract until everything is well combined and the mixture is light and fluffy.
Forming and Chilling the Cookie Dough
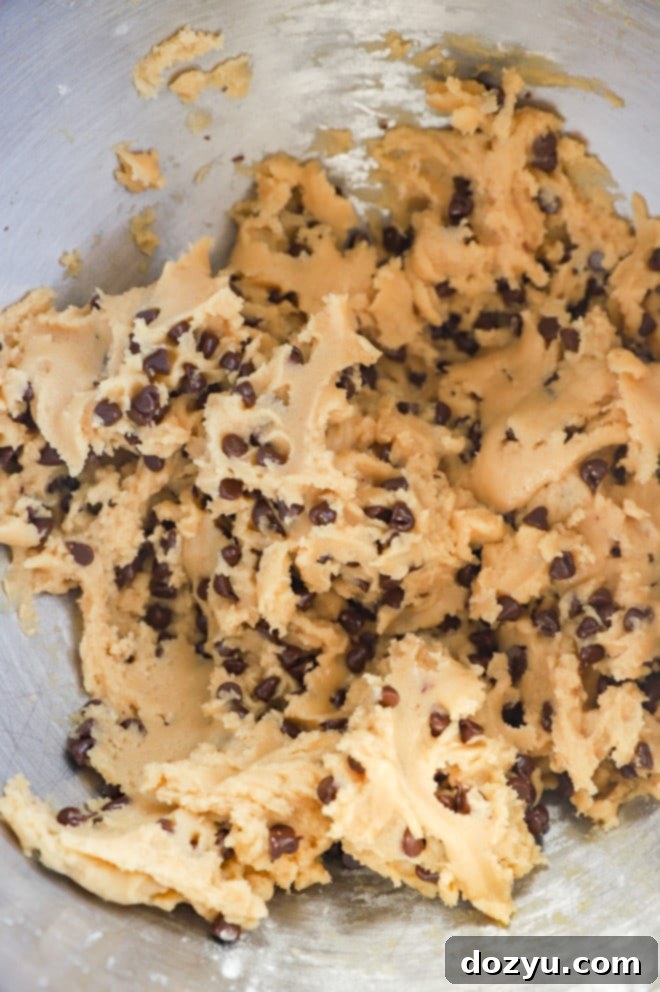
Reduce your mixer speed to low. Gradually add the prepared dry ingredients into the wet mixture, stirring until they are just combined. It’s vital not to overmix at this stage, as overmixing can lead to tough cookies. Once the dry ingredients are mostly incorporated, gently fold in the mini semi-sweet chocolate chips. If you’re adding chopped dark chocolate for an extra layer of flavor, fold that in now too, until just combined.
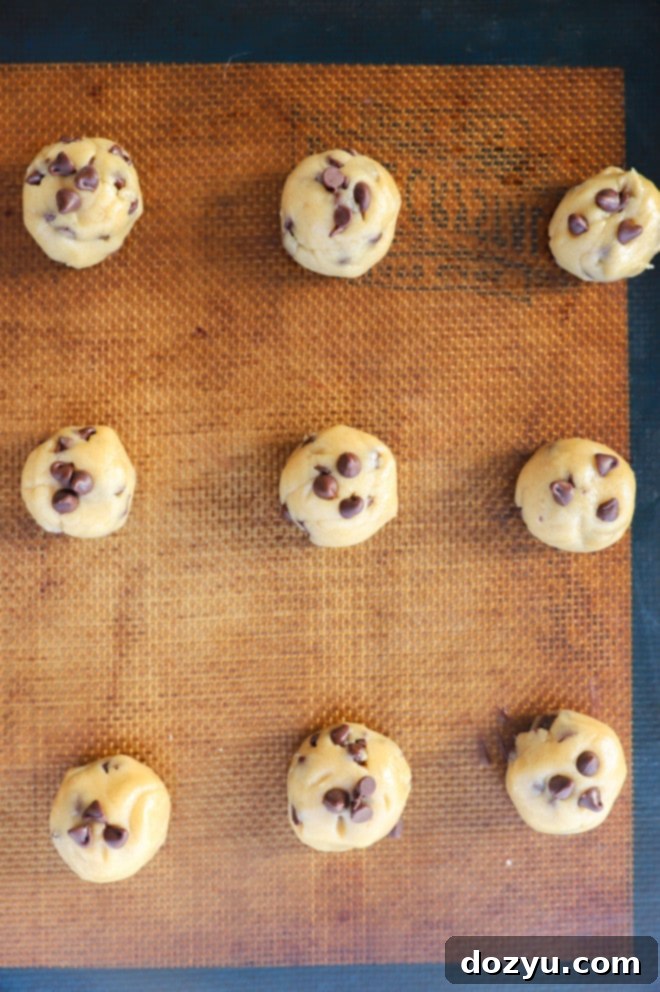
Using a 1 to 2 teaspoon cookie scoop or measuring spoon, scoop out portions of the dough and roll them into small, uniform balls. Place these dough balls onto your lined baking sheets, spacing them about 1 inch apart. For that perfect bakery-style appearance, I highly recommend pressing a few extra mini chocolate chips onto the tops of the dough balls. This step is optional but makes for a visually appealing cookie.
If your kitchen is warm or you plan to bake in batches, lightly chilling the dough for 15-30 minutes can help prevent excessive spreading, ensuring your mini cookies retain their desirable thickness.
Baking Your Mini Chocolate Chip Cookies
Bake the cookies for 6 to 8 minutes in your preheated oven. You’re looking for edges that are just set, while the centers still look very soft and slightly underbaked – definitely no golden-brown edges! This is the most critical step for achieving that signature soft and chewy texture. As mentioned, the cookies will continue to cook on the hot baking sheets after they’re removed from the oven. Allow them to cool on the baking sheets for 5 minutes before carefully transferring them to a wire rack to cool completely. This resting period allows them to firm up without becoming hard.
Pro Tips for Mini Chocolate Chip Cookie Success
Achieving bakery-quality mini chocolate chip cookies at home is entirely possible with a few expert tips:
- Measure flour properly: Incorrect flour measurement is a common pitfall that can lead to dense, dry, or tough cookies. To measure flour accurately, use the “spoon and level” method: gently stir the flour in its container, then spoon it into your measuring cup until overflowing. Use the back of a knife or a flat edge to level off the excess, without compacting the flour. Avoid scooping directly with the measuring cup, as this can pack in too much flour.
- Mind the dough’s temperature: It’s crucial not to let the cookie dough sit out at room temperature for too long, especially if your kitchen is warm. Warm dough spreads more quickly in the oven, resulting in thinner, crispier cookies. Work quickly to form your dough balls. If you’re baking in batches or taking a break, cover the remaining dough with plastic wrap and place it in the refrigerator to keep it cool.
- Pull cookies while soft: This is arguably the most important tip for chewy mini chocolate chip cookies. When it’s time to remove them from the oven (typically 6-8 minutes), they should still look slightly underbaked and very soft in the center, with just the edges looking set. Do not wait for them to turn golden brown! They will continue to firm up and cook on the hot baking sheets as they cool. Overbaking is the quickest way to end up with hard cookies.
- Use room temperature ingredients: While the butter is melted, the egg should be at room temperature. A room temperature egg incorporates more evenly into the batter, creating a smoother emulsion and a more consistent cookie texture. If you forget to take your egg out in advance, you can quickly warm it by placing it in a bowl of warm (not hot) water for 5-10 minutes. Also, ensure your melted butter has cooled slightly; adding hot butter to the sugars and egg can cook the egg prematurely.
- Don’t skip the cornstarch: As highlighted in the ingredients, cornstarch isn’t just a thickener for sauces; in cookies, it works wonders to achieve that soft, tender interior and prevent excessive spreading. It’s a key component to the perfect chewy texture.
More tasty chocolate cookies recipes: Cookie Dough Bites | Sea Salt Dark Chocolate Cookies | Caramel Stuffed Pumpkin Cookies | Dark Chocolate Coffee Cookies
FAQ: How to Get Chocolate Chips to Show on Top of the Cookies?
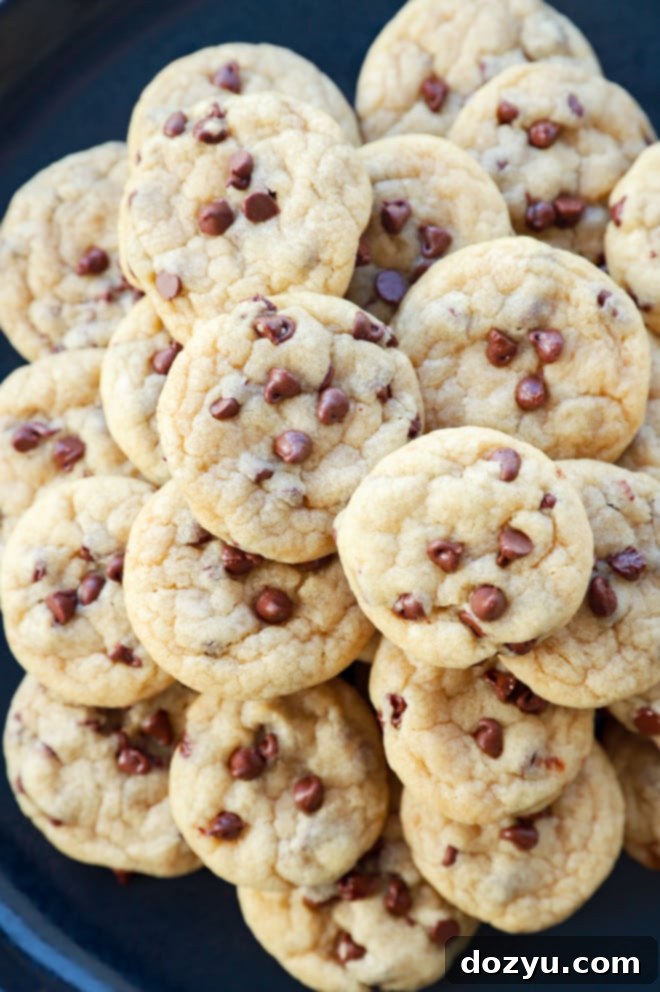
For that picture-perfect, bakery-style look, where chocolate chips are prominently displayed on the surface of your mini cookies, there’s a simple trick. After you’ve scooped and formed your cookie dough balls and placed them on the baking sheet, gently press a few extra mini chocolate chips directly onto the tops of each dough ball. This ensures that even as the cookies spread slightly during baking, those beautiful chocolate chips remain visible and enticing, enhancing their visual appeal significantly.
FAQ: Are These Mini Cookies Crunchy or Chewy?
These mini chocolate chip cookies are designed to be exquisitely soft and perfectly chewy! The recipe is specifically formulated, and the baking method (particularly the “underbaked” removal) is geared towards achieving a texture that melts in your mouth. While many enjoy a classic chocolate chip cookie with slightly crisp edges and a soft interior, a mini cookie truly shines when it is consistently soft and tender throughout. If you prefer a crunchier cookie, you could bake them for an additional minute or two, but for the ultimate mini cookie experience, soft and chewy is the way to go.
FAQ: Can I Freeze Mini Chocolate Chip Cookies for Later?
Absolutely, these mini cookies are excellent for freezing, making them perfect for future cravings or spontaneous baking sessions! For the best results, I highly recommend freezing the cookie dough balls before baking them, rather than freezing already baked cookies. Freezing the dough yields a fresher-tasting, superior texture when baked from frozen.
To freeze cookie dough: Follow the recipe through forming the cookie dough balls. Place these raw dough balls in a single layer on a lined baking sheet. Freeze them for approximately 3 to 4 hours, or until they are completely solid. Once frozen solid, transfer the dough balls to an airtight, freezer-safe container or a resealable freezer bag. Properly stored, these frozen dough balls will keep for up to 3 months.
To bake from frozen: When you’re ready to enjoy fresh mini cookies, simply place the frozen dough balls on a lined baking sheet and bake as instructed in the recipe. You’ll need to add an extra 2 to 3 minutes to the total baking time to account for the frozen state. There’s no need to thaw them first!
If you prefer to freeze baked cookies, ensure they are completely cooled to room temperature before placing them in an airtight container. They will last in the freezer for up to 2 months, though the texture may be slightly softer upon thawing compared to those baked from frozen dough.
FAQ: Why Did My Mini Cookies Come Out Hard?
If your mini chocolate chip cookies turned out hard and crunchy instead of soft and chewy, there are typically two main culprits:
- Too much flour: This is a very common issue. Even a small excess of flour can significantly alter the cookie’s texture, leading to a dry and crumbly result. Always measure your flour using the “spoon and level” method to ensure accuracy. Fluff up the flour in its container with a spoon before gently spooning it into your measuring cup and leveling it off with a straight edge.
- Overbaking: As repeatedly emphasized, these mini cookies are meant to be pulled from the oven when they still look slightly underdone in the center. The residual heat from the baking sheet will continue to cook them to perfection. If you wait until they are golden brown or appear fully set in the oven, you’ve likely overbaked them, resulting in a hard, crisp cookie. Keep a close eye on them and err on the side of caution!
Need more inspiration for baking? Check out my dessert recipes page!
Serving Suggestions for Your Tiny Chocolate Chip Cookies
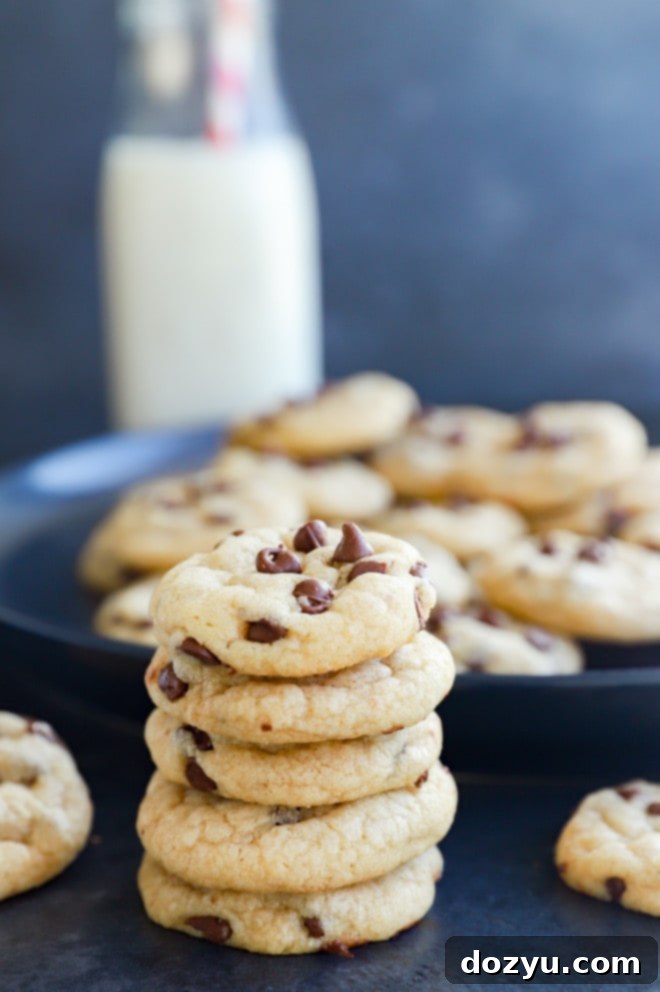
These tiny chocolate chip cookies are incredibly versatile and delightful in many settings. The quintessential pairing is, of course, a cold glass of milk! For an extra special touch, you can warm them up gently in the microwave for about 5 to 10 seconds. This revives their softness and makes them taste as if they’ve just come out of the oven, hot and fresh.
Beyond the classic milk pairing, these cookies make an excellent afternoon snack. Their bite-sized nature makes them effortlessly easy to pop in your mouth whenever a sweet craving strikes, without feeling overly indulgent. They are also perfect for lunchboxes, road trips, or as a quick pick-me-up during a busy day.
Planning a dessert table for a party or gathering? These mini cookies are fantastic for sharing. Consider serving them alongside other crowd-pleasing treats like Funfetti sugar cookie bars for a super festive and colorful spread. They also complement a variety of ice creams or could be used as a delicious topping for a homemade sundae bar.
Storage and Freezing Guide for Mini Cookies
Proper storage ensures your mini chocolate chip cookies remain fresh and delicious for as long as possible. Here’s how to store both baked cookies and cookie dough, plus detailed freezing instructions:
- Storing Baked Cookies: Once your mini cookies have completely cooled to room temperature, store them in an airtight container or a resealable bag. This prevents them from drying out and helps maintain their soft, chewy texture. They will stay fresh at room temperature for up to 3 to 4 days. For an extra touch of freshness, you can place a slice of bread in the container; the cookies will absorb moisture from the bread, keeping them softer.
- Storing Cookie Dough (Unbaked): If you’ve prepared the cookie dough but aren’t ready to bake, you can store it in the refrigerator. Wrap the dough tightly in plastic wrap or place it in an airtight container. The raw cookie dough will keep well in the fridge for up to 2 days. When ready to bake, simply scoop and proceed as usual, though you might need to let it sit at room temperature for a few minutes to soften slightly if it’s too firm.
- Freezing Cookie Dough (Recommended Method): This is the ideal way to prepare ahead!
- Prepare the cookie dough according to the recipe and form it into individual 1 to 2 teaspoon balls.
- Place the dough balls in a single layer on a parchment-lined baking sheet. Ensure they are not touching.
- Freeze for 3 to 4 hours, or until the dough balls are completely solid.
- Transfer the frozen dough balls to a freezer-safe airtight bag or container. Label with the date.
- They will last in the freezer for up to 3 months.
- To bake from frozen: Simply place the frozen dough balls on a lined baking sheet and bake as instructed in the recipe, adding an extra 2 to 3 minutes to the cooking time. No thawing needed!
- Freezing Baked Cookies: If you prefer to freeze cookies after they’ve been baked, ensure they are completely cooled to room temperature first. Place them in an airtight freezer-safe container, separating layers with parchment paper to prevent sticking. They will last in the freezer for up to 2 months. The texture might be slightly softer upon thawing compared to cookies baked from frozen dough.
- Thawing Frozen Cookies:
- For frozen dough balls: Bake directly from frozen, adding a few minutes to the baking time.
- For frozen baked cookies: Thaw them for a few hours at room temperature, or overnight in the refrigerator. For that “fresh out of the oven” taste, you can rewarm them in the microwave for about 5 to 10 seconds.

More Irresistible Chocolate Chip Cookie Recipes
If you’ve fallen in love with these mini chocolate chip cookies, you’ll definitely want to explore more delicious cookie variations from my collection:
- My unique spin on the everything in the pantry cookie offers a delightful explosion of sweet and salty flavors and textures in every bite!
- For a beloved classic, these peanut butter oatmeal chocolate chip cookies are wonderfully chewy and soft, a universally adored recipe.
- Indulge in the rich flavors of sea salt pistachio dark chocolate cookies, featuring crunchy pistachios and decadent dark chocolate chunks for a truly luxurious treat.
- Get into the festive spirit with cranberry white chocolate oatmeal cookies, boasting a hint of cinnamon for that perfect holiday touch.
- If you adore snickerdoodles but are looking for a quicker, crowd-pleasing option, these snickerdoodle bars are incredibly easy to make and ideal for serving a large group!
Finally, if you try this mini chocolate chip cookies recipe, please be sure to give it a rating or leave a comment below! I genuinely love hearing about your baking experiences and take the time to respond to every single comment. Feel free to drop any questions you might have, too!
Oh, and don’t forget to tag me on Instagram if you make the recipe! Seeing these recipes come to life in your homes is truly my favorite thing, and it means the world to me!
Mini Chocolate Chip Cookies Recipe Card
Equipment
-
Measuring Spoons
-
Measuring Cups
-
KitchenAid 7-Quart Pro Line Stand Mixer
-
KitchenAid Stand Mixer
-
Silicone Baking Mats
-
Half Sheet Pan
Ingredients
- 1 1/2 cups all-purpose flour
- 2 tsp cornstarch
- 1/4 tsp baking soda
- 1/4 tsp salt
- 1/2 cup unsalted butter metled and cooled slightly
- 1/2 cup packed light-brown sugar
- 1/4 cup granulated sugar
- 1 large egg room temperature
- 1 1/2 tsp vanilla extract
- 2/3 cup mini semi-sweet chocolate chips plus more for topping
Instructions
-
Preheat oven to 350˚F (175°C). Line 2 large baking sheets with parchment paper or silicone mats.
-
In a medium bowl, whisk together flour, cornstarch, baking soda, and salt until well combined. Set aside.
-
Pour the slightly cooled melted butter into the bowl of an electric stand mixer fitted with a paddle attachment. Add brown sugar and granulated sugar. Beat on medium speed until well combined and creamy. Beat in the room temperature egg and vanilla extract until fully incorporated.
-
With the mixer on low speed, gradually add in the dry ingredients, mixing until just combined. Be careful not to overmix. Gently stir in the mini chocolate chips until evenly distributed.
-
Scoop out the dough in slightly heaping 1 tsp to 2 tsp portions. Roll them into neat balls and place them on the lined baking sheets, spacing them about 1 inch apart. For a beautiful finish, gently press three additional mini chocolate chips onto the top of each dough ball.
-
Bake for 6 to 8 minutes, until the edges are just set and the centers still look soft and slightly under-baked. Do not wait for them to turn golden brown. Remove from the oven and let them sit on the hot pans for about 5 minutes (this allows them to continue cooking and firm up without overbaking) before carefully transferring them to a wire rack to cool completely.
-
Store cooled cookies in an airtight container at room temperature for up to 3-4 days.
Video
Nutrition
