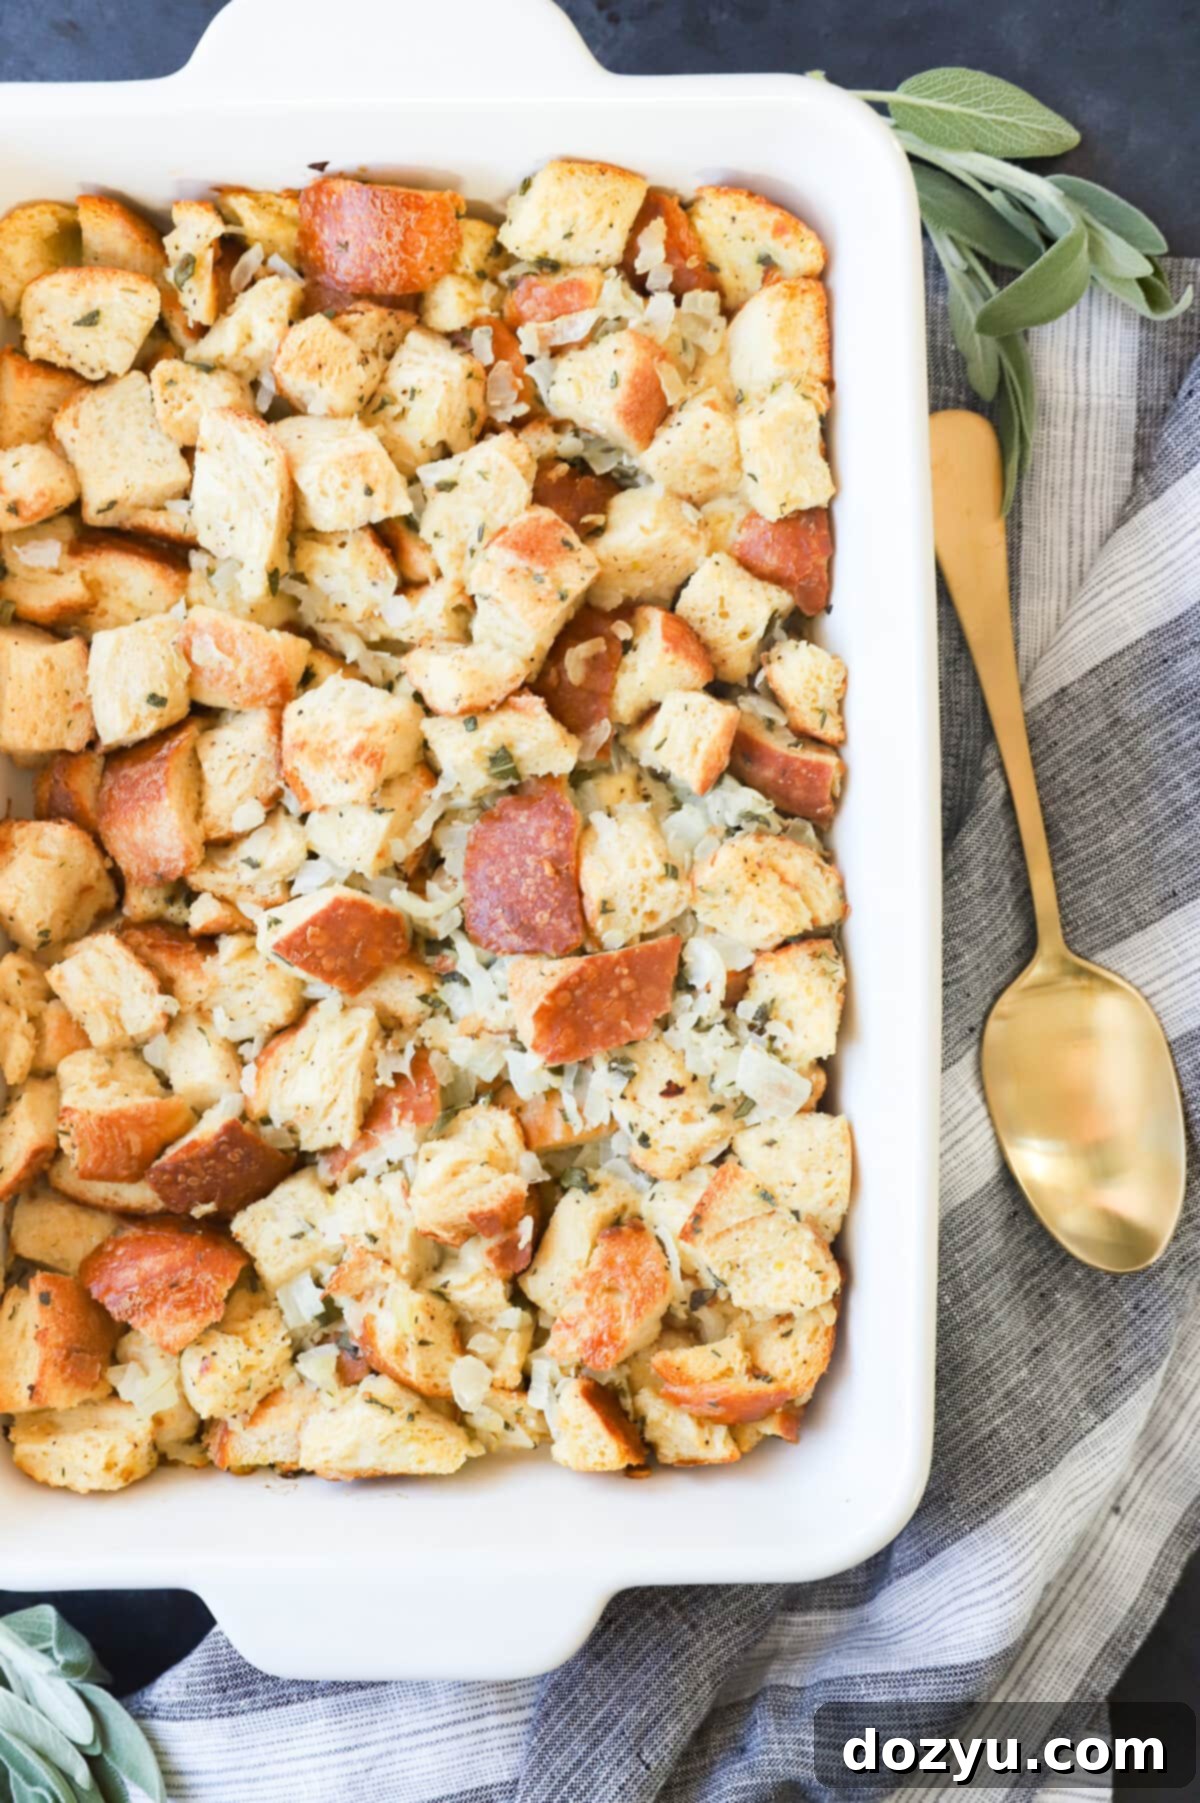
The Ultimate Classic Sage and Onion Stuffing Recipe: Perfect for Any Feast
Welcome to the definitive guide for the BEST Sage and Onion Stuffing recipe you’ll ever make! This isn’t just a side dish; it’s a culinary hug, bursting with familiar, comforting, and hearty flavors that define festive meals and cozy dinners. Whether you’re planning for Thanksgiving, Christmas, or a Sunday supper, this classic recipe is incredibly simple to prepare. Even better, you can easily make it ahead of time, leaving you with one less thing to worry about on the big day. Just bake and serve for an unforgettable addition to your table!
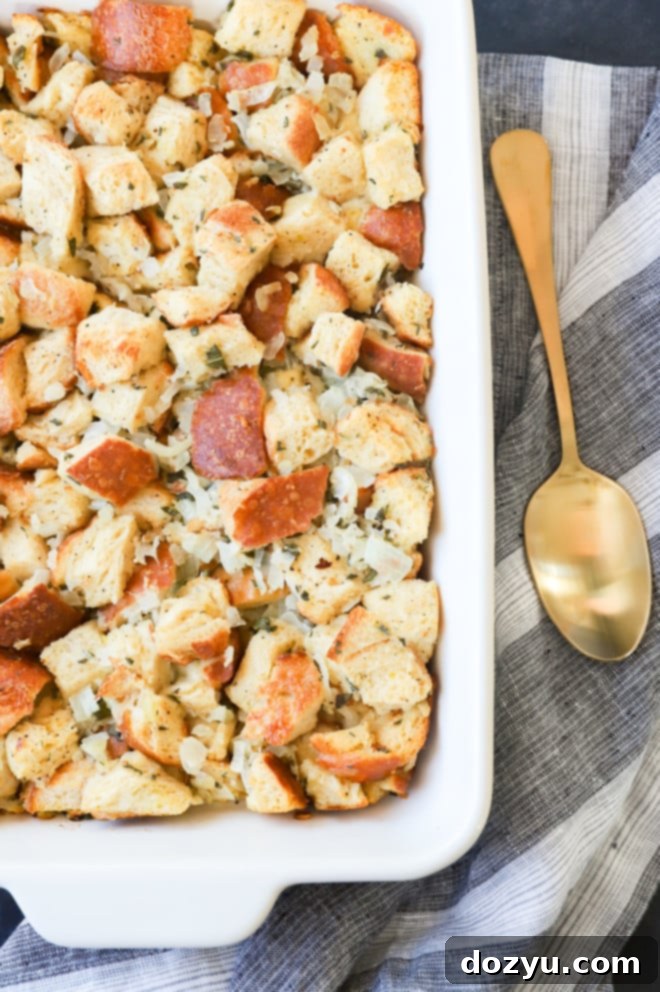
table of contents
Toggle
About This Sage and Onion Stuffing
Sage and onion stuffing is truly the unsung hero of any memorable meal! It’s an incredibly straightforward side dish and an absolute dream for anyone looking to save time, making it a stellar choice for busy holidays like Thanksgiving. This recipe boasts minimal prep, and for those who enjoy a little extra, you can easily incorporate your favorite protein. We’ll delve into those delicious details later!
This timeless side dish wraps you in a cozy embrace, harmoniously blending pungent aromatic sage, the sweet and savory notes of caramelized onions, and tender, flavorful cubes of your preferred white bread. What makes this recipe truly special is its unpretentious nature; it’s a pure, simple, and undeniably good dish that complements a wide array of main courses. Imagine it alongside a succulent roasted turkey, a juicy roasted chicken, a hearty pot roast, or a festive glazed ham. Its versatility is unmatched, making it a staple for any gathering.
More than just a side, sage and onion stuffing is a cherished culinary tradition. This isn’t just *any* stuffing; it’s the real deal. The rich, earthy flavor profile is simply perfect for Thanksgiving feasts, comforting Sunday suppers, and joyful Christmas dinners. The exquisite combination of sautéed onion, crisp celery, fragrant sage, and earthy thyme creates a depth of flavor that store-bought box mixtures simply cannot compete with. Each bite offers a hearty, satisfying experience, far surpassing any pre-packaged alternative.
Is It Stuffing or Dressing?
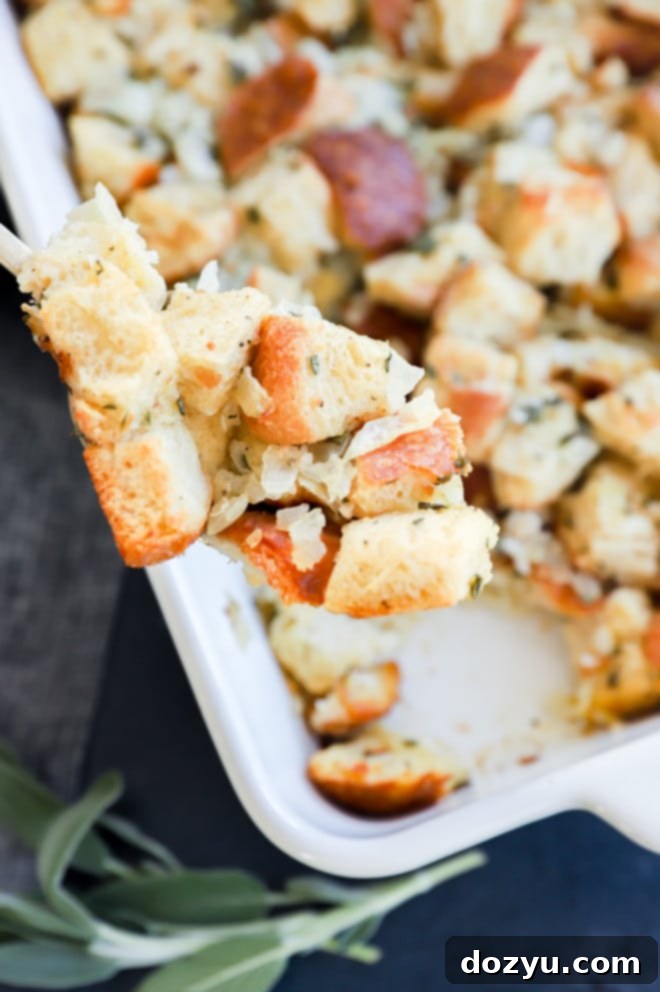
Ah, the age-old debate that sparks lively discussions around many dinner tables: is it “stuffing” or “dressing”? The origin of the term “stuffing” comes from the traditional practice of literally stuffing this bread-based mixture into the cavity of a turkey or other poultry before cooking. As the bird roasted, its flavorful juices would seep into the bread, infusing it with incredible taste and moisture, creating a convenient and delicious side dish to accompany the main event.
However, over time, many cooks discovered that baking the mixture separately in its own pan yielded superior results, particularly a wonderfully golden and crunchy top layer that’s hard to achieve when cooked inside a bird. This shift in preparation led to the term “dressing” gaining popularity, as the mixture was no longer “stuffed” but rather served alongside the meal. It’s a subtle distinction, but one that passionate food enthusiasts often stand by.
While the technical definition might lean towards “dressing” when baked outside the bird, I, like many others, grew up calling it “stuffing,” and that tradition continues in our home. Regardless of what you call it, the delicious outcome remains the same. If you have strong feelings on this culinary nomenclature, feel free to share your thoughts in the comments section below – let the friendly debate continue!
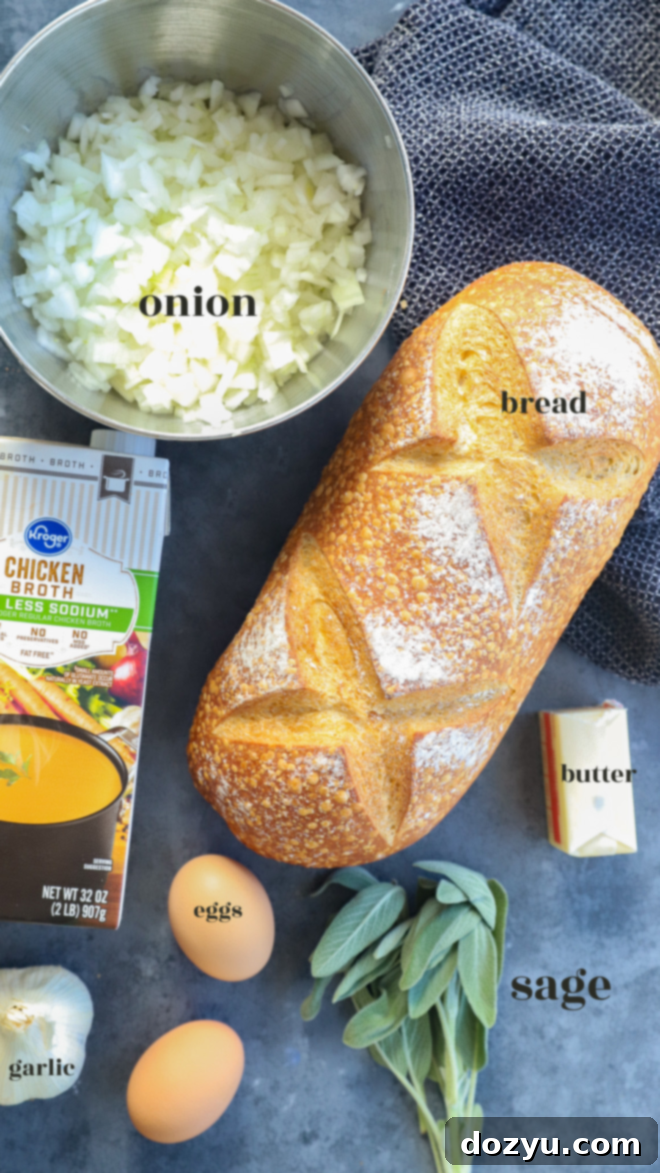
Ingredients for the Best Stuffing
Crafting the perfect sage and onion stuffing starts with selecting the right ingredients. Here’s a breakdown of what you’ll need to create this comforting classic:
- White Bread: The foundation of any good stuffing! Opt for a rustic loaf of white bread such as country white bread, French bread, or even a high-quality white sandwich bread. The key is to use day-old or dried bread, as this allows it to properly absorb the savory liquids without becoming soggy.
- Unsalted Butter: Butter brings richness and helps sauté the vegetables to perfection. Unsalted butter is preferred to give you full control over the final seasoning of your dish. If you only have salted butter, simply adjust the amount of added salt in the recipe.
- Fresh Vegetables: A harmonious blend of diced yellow or white onion and crisp celery stalks creates the aromatic base. These vegetables soften beautifully and release their sweet and savory flavors into the stuffing.
- Garlic: Minced garlic adds a pungent depth that elevates the overall flavor profile. I often keep a jar of minced garlic in my fridge for convenience, but freshly minced cloves are always a fantastic choice if you have the time.
- Aromatic Herbs: Fresh sage and fresh thyme leaves are the stars of this recipe, imparting their distinctive earthy and fragrant notes. While fresh herbs offer the most vibrant flavor, you can certainly use dried ground sage and dried thyme. Just remember to adjust the quantities, as dried herbs are more potent (I’ve included conversion notes in the recipe card).
- Broth: Low-sodium broth is essential to moisten the bread and bind the ingredients together, creating that wonderful, tender texture. Chicken or turkey broth are traditional choices, but vegetable broth works perfectly if you’re making a vegetarian version.
- Eggs: Large eggs act as a binding agent, helping the stuffing hold its shape and ensuring a cohesive texture once baked.
- Seasoning: Fine kosher salt and freshly cracked black pepper are crucial for enhancing all the flavors. Adjust to your taste, but don’t skimp on these essential pantry staples.
Essential Equipment for This Recipe
Having the right tools makes the cooking process smoother and more enjoyable. For this sage and onion stuffing, you’ll need a few basic kitchen essentials:
- Large Skillet: This will be your workhorse for sautéing the aromatic vegetables until they’re perfectly tender and fragrant, building the first layer of flavor for your stuffing.
- Mixing Bowls: A set of sturdy mixing bowls will be indispensable for combining your dry bread cubes with the cooked vegetables and then drizzling in the liquid mixture. A large bowl ensures you have plenty of room to fold everything together without spills.
- Wooden Spoon or Spatula: A durable wooden spoon or heat-resistant spatula is ideal for stirring ingredients in the hot skillet and gently folding the stuffing mixture without crushing the bread.
- Baking Dish: A 9×13-inch baking dish (or a 3-quart casserole dish) is perfect for baking your stuffing. The size ensures an even layer, allowing the stuffing to cook through and achieve that desirable crispy top.
- Sheet Pan: A rimmed sheet pan is useful for drying out your bread cubes in the oven, ensuring they become perfectly crisp before mixing.
How to Make Sage and Onion Stuffing
Creating this delicious sage and onion stuffing is a straightforward process, broken down into a few simple steps. Follow these instructions to achieve a perfectly flavorful and textured side dish:
Step 1: Prepare the Bread
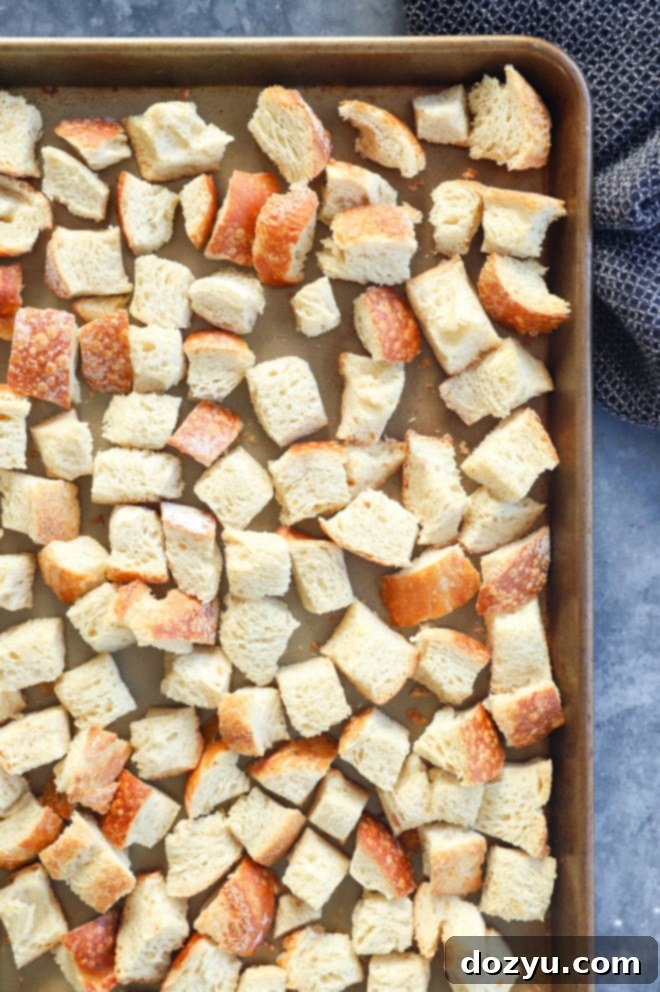
The first crucial step is to dry out your bread. This ensures that the bread cubes will absorb the flavorful liquid mixture without becoming soggy or mushy. Begin by cutting your chosen white bread into uniform 1-inch cubes. You have two excellent options for drying them out:
- Air Dry Method: For the best results and minimal effort, spread the bread cubes evenly across a large, rimmed sheet pan and let them sit uncovered on your countertop for 24 to 48 hours. The longer they dry, the better they will absorb moisture.
- Oven Dry Method (Quick): If you’re short on time, preheat your oven to 325˚F (160°C). Spread the bread cubes in a single layer on a rimmed sheet pan and bake for approximately 15 to 20 minutes, stirring them gently every 5 minutes to ensure even drying and prevent burning. They should be crisp but not browned.
Once dried, set the bread cubes aside. Increase your oven temperature to 375˚F (190°C) for baking the stuffing.
Step 2: Cook the Aromatics
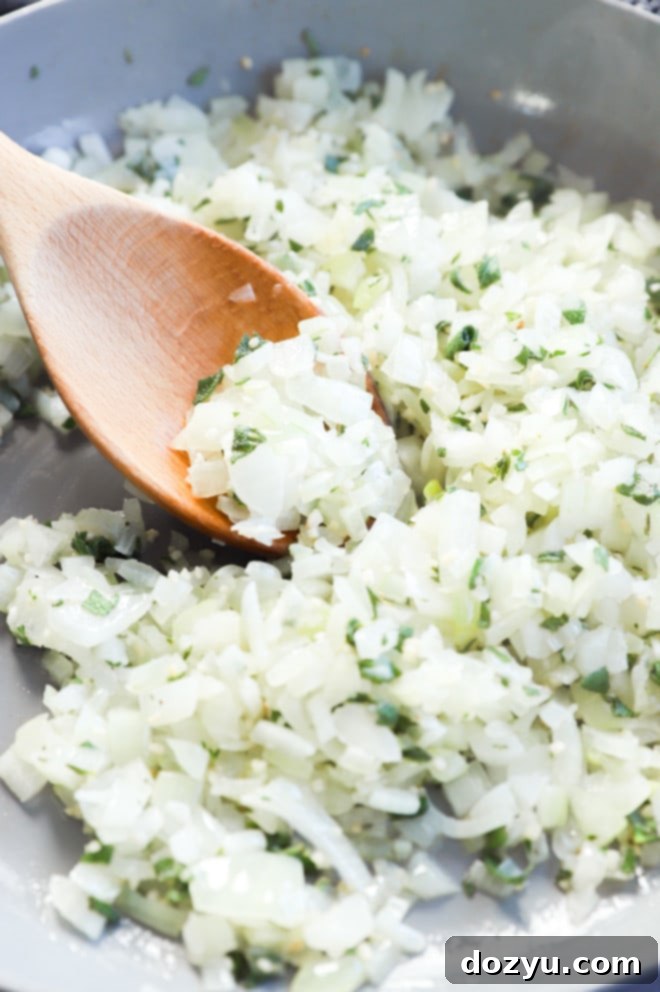
This step builds the aromatic foundation of your stuffing. In a large skillet, melt the unsalted butter over medium-high heat. Once the butter is shimmering, add the diced onion, celery, and minced garlic. Sauté these vegetables, stirring frequently, until they become tender and translucent, which usually takes about 10 minutes. This process softens the vegetables and releases their sweet, savory essences.
Next, stir in the finely chopped fresh sage and fresh thyme leaves. Cook for another 2 to 3 minutes, allowing the herbs to become fragrant and their flavors to meld with the vegetables. Be careful not to burn the herbs. Remove the skillet from the heat and set the aromatic mixture aside to cool slightly.
In a separate medium bowl, whisk together the low-sodium broth, large eggs, kosher salt, and freshly ground black pepper until well combined. This liquid mixture will moisten and bind the stuffing ingredients.
Step 3: Assemble the Stuffing
Now it’s time to bring all the delicious components together. In a very large mixing bowl, combine the dried bread cubes with the cooled onion and herb mixture from the skillet. Gently fold them together using a wooden spoon or a spatula until the vegetables are evenly distributed among the bread.
Gradually drizzle the whisked broth and egg mixture over the bread and vegetable mixture. Continue to gently fold until all the bread cubes are evenly moistened. Be careful not to overmix, as this can lead to a dense or gummy stuffing. You want the bread to be fully coated but still retain some structure.
Lightly grease a 9×13-inch baking dish with cooking spray or butter. Transfer the assembled stuffing mixture into the prepared dish, spreading it out into an even layer. Cover the dish tightly with aluminum foil. This helps to steam the stuffing initially, ensuring it cooks evenly and stays moist.
Step 4: Bake to Golden Perfection
Place the covered baking dish in the preheated 375˚F (190°C) oven. Bake for 25 minutes. This initial covered baking period allows the stuffing to cook through and become tender as the bread cubes absorb the flavorful liquid.
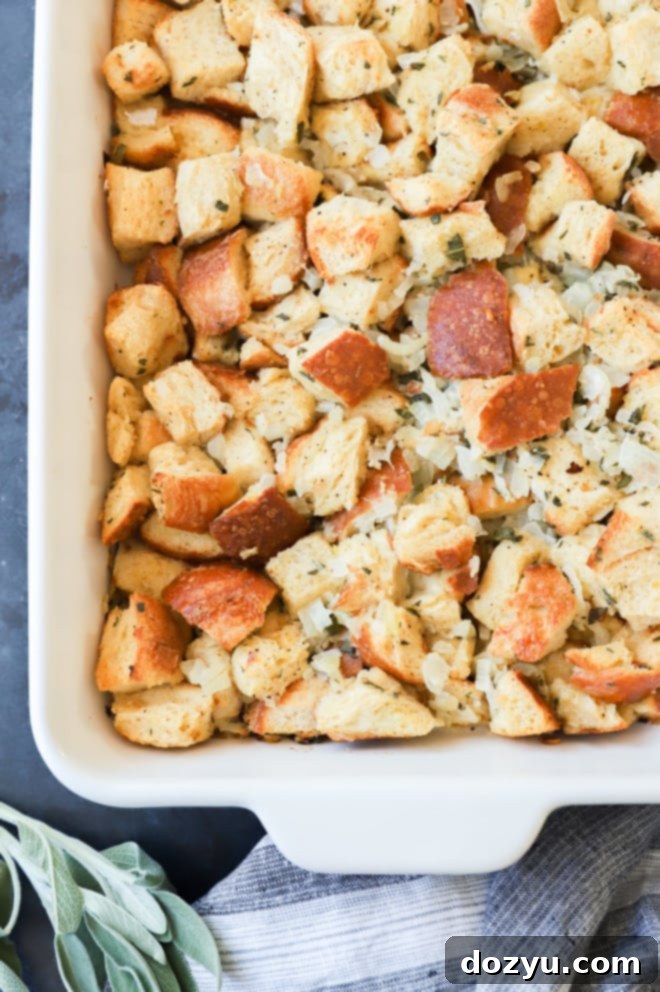
After 25 minutes, remove the foil and continue to bake for another 15 to 20 minutes, or until the top of the stuffing is beautifully golden brown and delightfully crisp. If you prefer an extra-crispy top, you can broil it for a minute or two at the very end, watching carefully to prevent burning.
Important Note: If you’ve prepared the stuffing ahead of time and it’s coming directly from the refrigerator, you will need to add an additional 10 minutes to the initial covered baking time to ensure it heats through properly.
Once baked, remove the stuffing from the oven and let it stand for about 10 minutes before serving. This allows the stuffing to set slightly and makes it easier to serve. Enjoy this truly classic and comforting side dish!
Expert Tips and Tricks for Perfect Stuffing
To truly elevate your sage and onion stuffing from good to absolutely incredible, keep these expert tips and tricks in mind:
- The Golden Rule: Use Day-Old or Properly Dried Bread. This cannot be stressed enough! Skipping the bread-drying step is the quickest way to end up with a soggy, unappetizing stuffing. Dry bread acts like a sponge, eagerly soaking up all the flavorful broth and butter, resulting in a rich, tender interior and a crisp, golden crust. For detailed insights, explore our guide on the best bread for stuffing.
- Enhance Flavor with Homemade Broth (if possible). While store-bought low-sodium broth works well, homemade chicken or turkey stock will infuse your stuffing with an even deeper, more complex flavor. It’s a small change that makes a big difference.
- Don’t Overmix! When combining the bread cubes with the wet ingredients, fold gently until just combined. Overmixing can crush the bread, leading to a dense, gummy, or mushy texture rather than the light, fluffy, yet hearty stuffing you desire.
- Taste and Adjust Seasoning. Before transferring the mixture to the baking dish, taste a small portion (ensure it’s not too hot!). This is your chance to adjust the salt and pepper to your preference. Remember, the flavors will concentrate slightly during baking.
- Achieve that Perfect Crispy Top. The secret to a gorgeous, crispy top is baking uncovered for the final portion of the cooking time. For an even richer, crispier finish, you can dot the top with a few extra small pats of butter before the uncovered bake.
- Add a Hearty Protein. For a more substantial side dish, consider adding cooked protein. My top recommendation is incorporating 1/2 pound of cooked and crumbled Italian sausage (mild or spicy, depending on your preference). Alternatively, cooked bacon bits, chopped ham, or even sautéed mushrooms can add wonderful depth and texture.
- Be Mindful of Fresh vs. Dried Sage. While I wholeheartedly prefer the vibrant, nuanced flavor of fresh sage, dried sage is a perfectly acceptable alternative. However, dried sage is much more concentrated. As a general rule, use 1 teaspoon of dried ground sage for every tablespoon of fresh chopped sage. This precise conversion ensures your stuffing isn’t overwhelmed by the strong flavor of dried herbs.
Need more inspiration for a sweet treat? Check out my dessert recipes page!
Fresh vs. Dried Sage: Which Is Best for This Recipe?
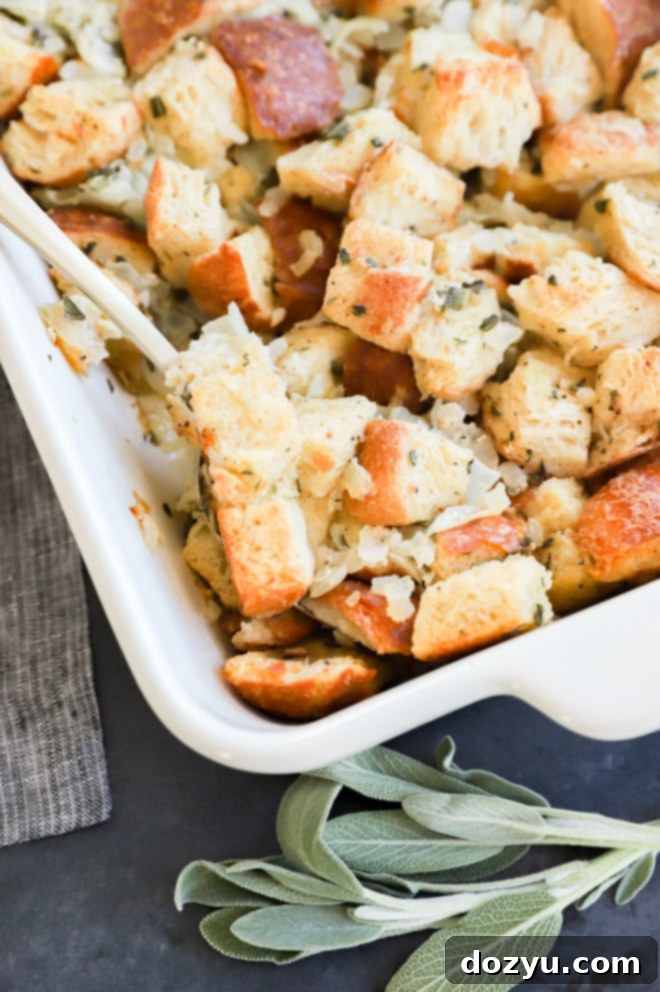
When it comes to sage, there’s a noticeable difference between fresh and dried varieties, and each can contribute distinct qualities to your stuffing. For this particular recipe, I personally lean towards using fresh sage. I believe its bright, slightly peppery, and truly aromatic flavor offers a more complex and vibrant profile that truly shines through in the finished dish. Fresh herbs tend to have a more nuanced taste that can’t quite be replicated by their dried counterparts.
However, if fresh sage isn’t readily available, or if you prefer the convenience of pantry staples, dried ground sage is a perfectly acceptable substitute. Just be mindful of its potency. Dried herbs are significantly more concentrated in flavor than fresh ones, so you’ll need to use a much smaller quantity. As a general guideline, for this recipe, you’d typically use about 1 teaspoon of dried ground sage for every 3 tablespoons of fresh chopped sage leaves. Always start with a smaller amount and add more to taste, as you can always add but never take away!
Can I Stuff My Turkey with This Stuffing Recipe?
Absolutely! If you enjoy the traditional method of stuffing your turkey, this sage and onion stuffing recipe is a fantastic choice. The raw stuffing mixture can be placed directly into the cavity of your turkey before roasting. As the turkey cooks, the stuffing will slowly absorb the delicious juices, resulting in a wonderfully moist and flavorful interior.
However, it’s critically important to prioritize food safety when stuffing a turkey. You must ensure that both the turkey and the stuffing reach a safe internal temperature. Use a meat thermometer to check that the stuffing, taken from the innermost part of the cavity, reaches at least 165˚F (74°C). If the turkey is cooked but the stuffing isn’t, you’ll need to remove the stuffing and continue cooking it in a separate dish until it reaches the safe temperature.
While the traditional method offers unique flavors, my personal preference is to bake the stuffing separately in a baking dish. This approach allows the top layer of the stuffing to develop a beautiful, buttery, and irresistibly crispy crust, providing a delightful textural contrast that’s often lost when cooked inside the bird. Plus, it makes portioning and serving much easier!
Make-Ahead Magic: Preparing Stuffing in Advance
One of the many fantastic aspects of this sage and onion stuffing recipe is how well it lends itself to make-ahead preparation, a true lifesaver during busy holiday cooking. You have a couple of excellent options for getting a head start:
- Prepare and Assemble Ahead: You can complete all the prep work – drying the bread, sautéing the vegetables, mixing all the ingredients, and assembling the stuffing in your baking dish – up to 24 hours in advance. Once assembled, cover the dish tightly with aluminum foil and store it in the refrigerator. On the day of your meal, simply pop it into the oven. This method allows the flavors to meld beautifully overnight, potentially even enhancing the taste, and frees up precious counter space and time on the main cooking day. You’ll just need to add about 10 minutes to the initial covered baking time since it’s starting from a chilled state.
- Cook and Bake Ahead: For ultimate convenience, you can fully cook and bake the entire stuffing recipe one or two days before your event. Once it’s completely cooled to room temperature, cover it tightly and store it in the refrigerator. To reheat, simply pour about 1/4 cup of chicken (or vegetable) broth over the top of the stuffing to add moisture, then cover loosely with foil and reheat in a 350˚F (175°C) oven for about 20 minutes, or until it’s thoroughly warmed through. Uncover for the last 5-10 minutes if you want to crisp up the top again.
Both methods ensure you have a delicious, ready-to-serve stuffing without the last-minute rush, making your holiday meal preparation significantly less stressful.
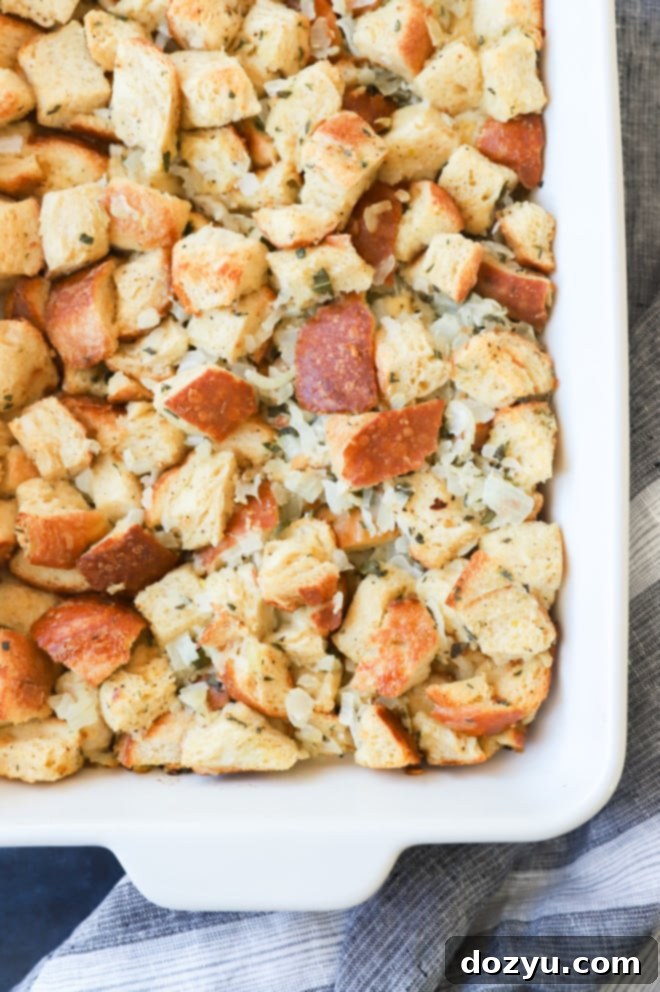
Choosing the Best Bread for Stuffing
The type of bread you choose is foundational to the texture and success of your sage and onion stuffing. Forget those bags of pre-cubed, often flavorless, dried bread from the grocery store. For truly exceptional stuffing, opt for real, good quality bread.
I highly recommend using a rustic white bread loaf. Excellent choices include:
- French Bread: Its sturdy crust and airy interior make it ideal for absorbing liquid without becoming completely mushy.
- Country Bread: Similar to French bread, country-style loaves often have a slightly denser crumb and a robust crust, holding up beautifully during the cooking process.
- Challah or Brioche (for a richer stuffing): If you want a slightly sweeter, richer stuffing with a more tender crumb, challah or brioche can be wonderful choices, though they are less traditional for a classic sage and onion profile.
- Good Quality White Sandwich Loaf: While not as rustic, a thick-cut, good quality white sandwich bread can also work well, especially if it’s a day or two old and allowed to dry out properly.
The key characteristic you’re looking for is a bread with the right balance of crust to interior and one that will dry out thoroughly. This dryness is crucial; it creates a structure that can soak up the flavorful broth, butter, and herb mixture, giving you a stuffing that’s moist and tender on the inside with a delightful, slightly crisp exterior.
The Right Onion for Your Stuffing
The onion is a core component of this classic stuffing, contributing essential savory depth and a hint of sweetness. While different onions offer slightly varied profiles, both yellow and white onions are excellent choices for this recipe.
- Yellow Onion: This is my go-to choice for sage and onion stuffing. Yellow onions are known for their balanced flavor – a good blend of sweetness and pungency when cooked. They caramelize beautifully, releasing sugars that complement the earthy sage and other savory ingredients without being overpowering. Their slight sweetness adds a comforting warmth to the stuffing.
- White Onion: White onions are sharper and more pungent than yellow onions when raw, but they mellow considerably when cooked. They will still provide a strong, savory onion flavor to your stuffing and are a perfectly acceptable substitute if that’s what you have on hand. They tend to be a bit less sweet than yellow onions, resulting in a slightly bolder, more savory stuffing.
Ultimately, either yellow or white onion will yield delicious results. Choose based on your preference for a slightly sweeter or bolder onion presence in your stuffing.
Freezing Sage and Onion Stuffing: A Word of Caution
While many dishes freeze well for future enjoyment, I strongly advise against freezing this sage and onion stuffing, whether it’s before or after baking. The primary reason is that freezing and then thawing the stuffing will significantly alter its delicate texture, leading to an undesirable result.
The bread cubes, once frozen and thawed, tend to absorb excessive moisture and become overly soft and mushy. This mushy texture detracts from the comforting, hearty quality that makes classic stuffing so enjoyable. The balance of tender interior and slight crispness on top is lost.
Given how easily this recipe can be prepared ahead of time and stored in the refrigerator for a day or two (as detailed in the “Make-Ahead Magic” section), it’s far better to rely on those methods for convenience. This ensures your stuffing maintains its optimal texture and flavor when served.
Making This Stuffing Vegetarian
Yes, absolutely! This sage and onion stuffing recipe can be very easily adapted to be vegetarian-friendly without sacrificing any of its delicious flavor. The only ingredient that needs a substitution is the broth.
Simply replace the chicken or turkey broth with an equal amount of high-quality vegetable stock or vegetable broth. All other ingredients – bread, butter, onions, celery, garlic, sage, thyme, eggs, salt, and pepper – are already vegetarian. This simple swap allows everyone at your table to enjoy this comforting classic!
For an even richer vegetarian stuffing, consider sautéing some finely chopped mushrooms (like cremini or button mushrooms) along with the onions and celery. They add a wonderful umami depth.
Can This Stuffing Be Made Vegan?
Yes, with a few straightforward adjustments, this recipe can be made entirely vegan! Here’s what you’ll need to do:
- Butter Substitute: Replace the unsalted butter with an equal amount of good quality plant-based butter or a neutral oil like olive oil.
- Broth Substitute: Use vegetable stock or vegetable broth instead of chicken or turkey broth.
- Egg Substitute: This is the main change. You will need to omit the eggs. To help bind the stuffing and provide some moisture, you can slightly increase the amount of broth (add an extra 1/4 to 1/2 cup, adjusting as needed until the bread is sufficiently moistened) or use a “flax egg” substitute (1 tbsp ground flaxseed mixed with 3 tbsp water per egg, let sit for 5 minutes). However, often simply increasing the broth slightly is enough to bind it, and the stuffing will still hold together beautifully.
By making these simple substitutions, you can enjoy a flavorful, comforting vegan sage and onion stuffing that everyone will love!
Gluten-Free Sage and Onion Stuffing
Of course! Making this recipe gluten-free is absolutely possible by simply swapping out the regular white bread for your favorite gluten-free alternative. The most important thing to consider when choosing gluten-free bread for stuffing is its texture and ability to dry out. Some gluten-free breads can be quite soft or crumbly.
I highly recommend selecting a gluten-free bread that has a relatively firm texture and, ideally, a nice crust. This will ensure that the bread cubes can dry out properly, providing the best possible texture for your stuffing – not too mushy, and with a good bite. Make sure to follow the bread-drying steps diligently, as gluten-free breads can sometimes behave differently than traditional wheat-based loaves. Toasting in the oven is usually the most reliable method for achieving the right dryness.
Need more inspiration for a sweet treat? Check out my dessert recipes page!
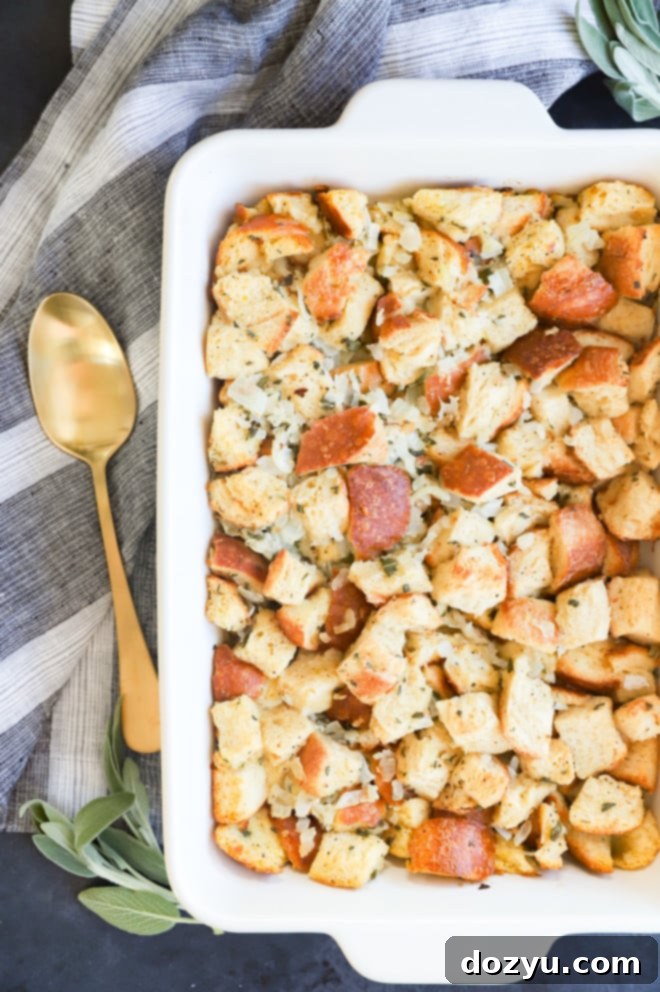
What to Serve with Classic Sage and Onion Stuffing
Classic sage and onion stuffing is a versatile side dish that traditionally graces the Thanksgiving table, but its comforting flavors make it a perfect accompaniment to a wide range of meals throughout the year. Here’s a comprehensive guide to what to serve with this delectable stuffing:
Thanksgiving Favorites:
Naturally, this stuffing is a star alongside all your Thanksgiving classics. We’re talking succulent turkey, creamy mashed potatoes, vibrant roasted vegetables, and rich gravy. Here’s how to build an ideal basic menu around it:
- Main Course: Start with a perfectly roasted turkey. For an extra juicy and flavorful bird, be sure to use a turkey brine first! Then you can prepare your classic roasted turkey, a smoked turkey, or a smaller smoked turkey breast as you like.
- Other Holiday Mains: Don’t limit stuffing to just turkey! It pairs wonderfully with a smoked pork loin, a tender pot roast, or even cheese-stuffed chicken breasts for a cozy main dish whenever you crave a side of stuffing.
- Appetizers: Begin your evening with sophisticated starters like elegant baked camembert with cranberries and walnuts or flavorful roasted cranberry goat cheese crostini.
- Drinks: For a festive touch, mix up a sparkling Thanksgiving cocktail – it’s easy to whip up with just 4 ingredients and can be made into a large pitcher drink. A bubbly cranberry orange Moscow mule is another simple and refreshing option.
- Desserts: No holiday meal is complete without dessert. For a show-stopping sweet treat, this pecan pie cheesecake is a recipe I make year after year. And for a quick upgrade to any pie or sweet, try making cinnamon whipped cream!
Beyond the Holidays:
Don’t reserve this delicious sage and onion stuffing just for special occasions. It makes a fantastic side dish for:
- Roasted Chicken or Pork Chops: A simple roast chicken or seared pork chops are elevated with a scoop of this flavorful stuffing.
- Meatloaf: Serve alongside a classic meatloaf for a hearty, comforting meal.
- Sunday Dinner: Perfect for any family dinner where you want a substantial and satisfying side.
Storage and Reheating Guide
Proper storage and reheating are key to enjoying your delicious sage and onion stuffing even after the initial meal.
- Storing Leftovers: Any leftover stuffing should be cooled completely to room temperature within two hours of cooking. Once cooled, transfer it to an airtight container and store it in the refrigerator for up to 3-4 days. This ensures its freshness and prevents bacterial growth.
- Reheating Portions: For individual servings, place a portion of stuffing on a microwave-safe plate. Heat in the microwave on high for about 30 seconds to 1 minute, or until thoroughly warmed through. Stir halfway through for even heating.
- Reheating a Whole Dish: If you’re reheating a larger quantity of stuffing (e.g., the entire baking dish), preheat your oven to 350˚F (175°C). To help maintain moisture and prevent it from drying out, pour 1/4 to 1/2 cup of additional chicken or vegetable stock evenly over the stuffing. Cover the dish loosely with aluminum foil and heat in the oven for 15 to 20 minutes, or until warmed all the way through. For a crisper top, remove the foil for the last 5-10 minutes of reheating.
- Freezing: As mentioned earlier, I generally do not recommend freezing this sage and onion stuffing. The freezing and thawing process tends to make the bread mushy, significantly compromising the texture. While it might be technically possible, the quality and enjoyment of the dish will be noticeably diminished. It’s best enjoyed fresh or from the refrigerator within a few days.
More Holiday and Thanksgiving Recipes
If you’re planning a holiday feast or simply looking for comforting dishes, here are more fantastic recipes to inspire your culinary adventures:
- For all you bread lovers, pumpkin sage biscuits are flaky, buttery, and absolutely perfect for any autumnal spread.
- Start off your meal with a bowl of creamy roasted butternut squash soup, elevated with savory bacon croutons!
- If you are looking for a show-stopping dessert, this pecan pie cheesecake is a consistently crowd-pleasing recipe that I always make year after year!
Finally, if you make this sage and onion stuffing recipe, please be sure to give this recipe a rating and/or leave a comment! I absolutely love to hear when you all try and enjoy the recipes, and I make an effort to respond to every single comment.
Feel free to drop any questions you have below as well!
Oh, and be sure to tag me on Instagram if you make the recipe! I genuinely love being able to see these recipes come to life in your homes – it’s my favorite thing to look through those photos. It truly means the world to me!
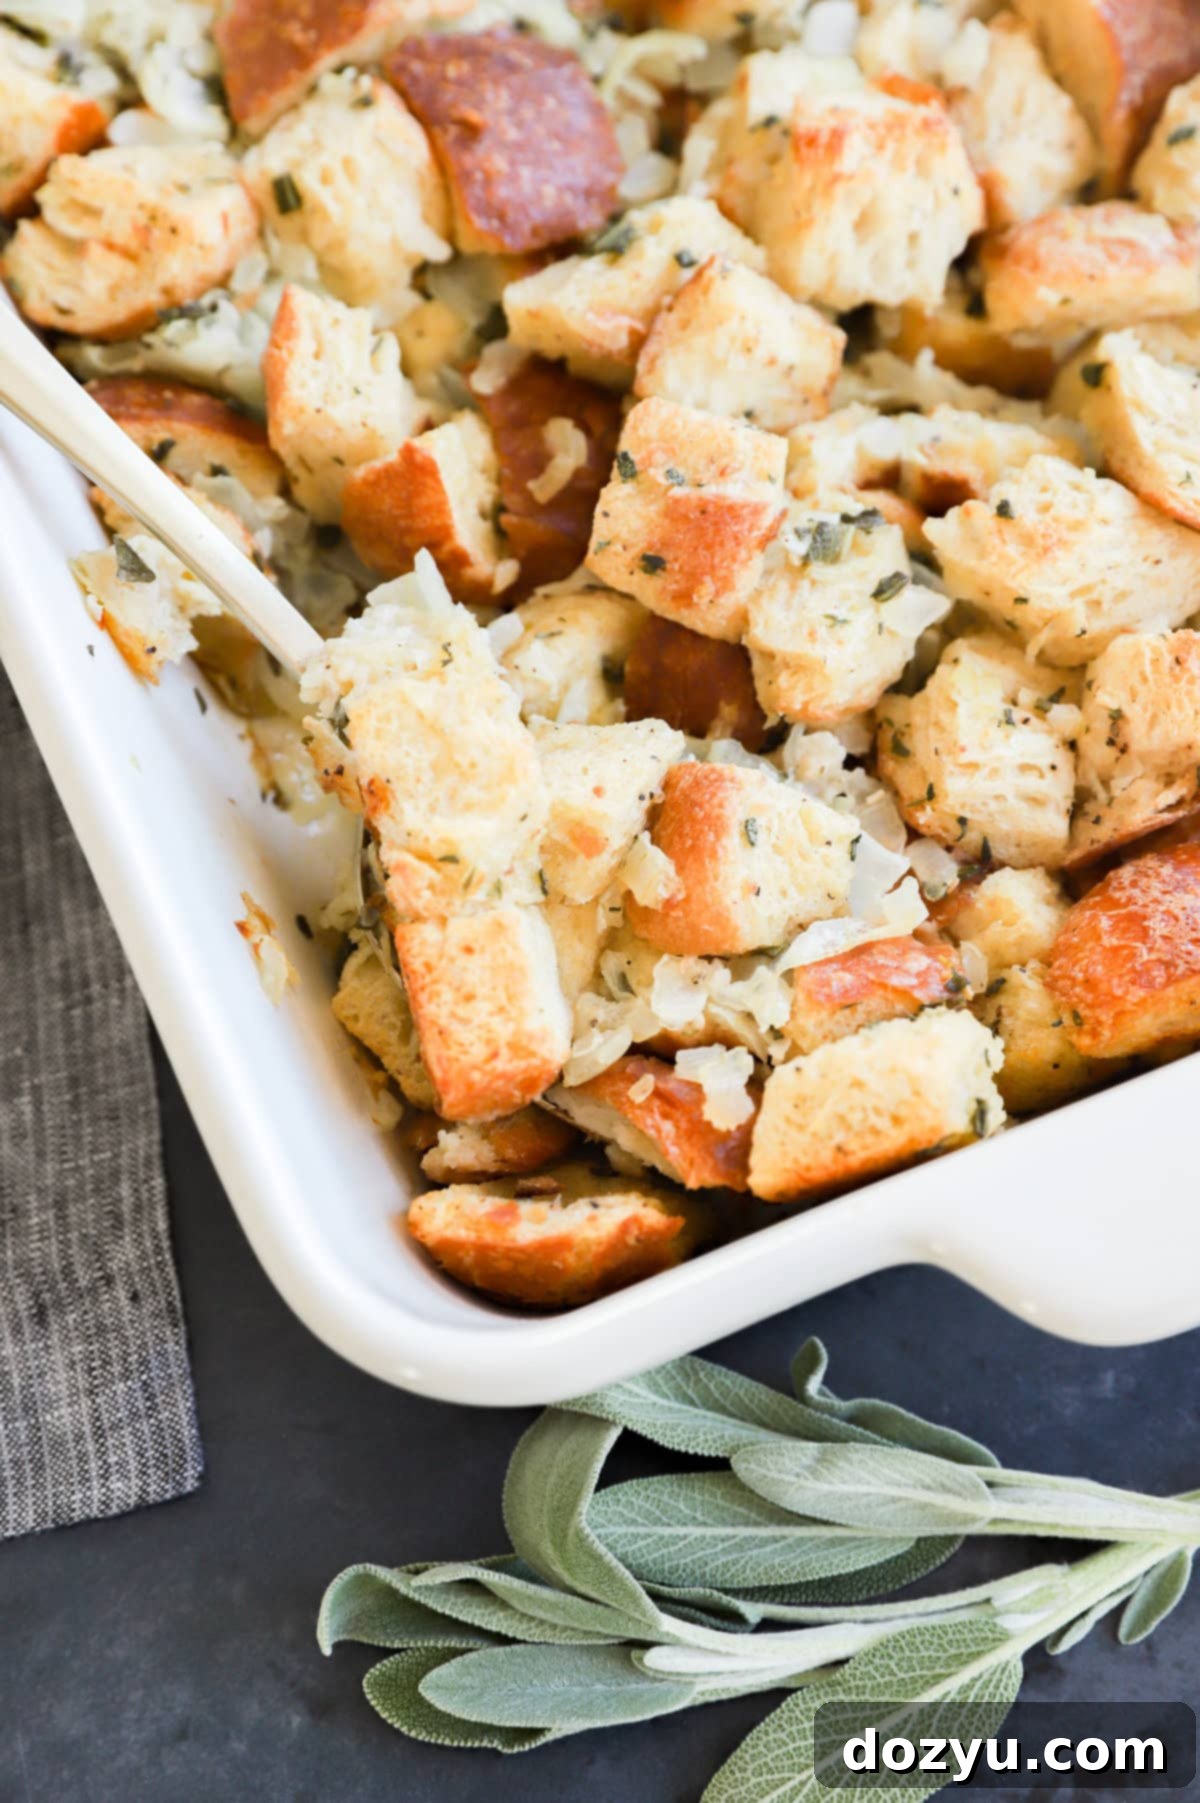
Sage and Onion Stuffing
15 minutes
55 minutes
6
equipment
-
Mixing Bowls
-
Wooden Spoon
-
9×13 Inch Baking Dish
ingredients
- 1 lb loaf rustic white bread cut into 1-inch cubes (about 10 cups)
- 4 Tbsp unsalted butter
- 1 lb yellow onion about 2 medium onions, diced
- 3 large stalks celery diced
- 5 cloves garlic minced
- 3 Tbsp finely chopped fresh sage leaves or 1 tsp dried ground sage
- 2 tsp fresh thyme leaves or 1/2 tsp dried thyme leaves
- 2 1/4 cups low-sodium chicken broth or turkey/vegetable broth
- 2 large eggs
- 1/2 tsp kosher salt
- 1/4 tsp freshly ground black pepper
instructions
-
Prepare the Bread: Cut your bread into 1-inch cubes. Spread the cubes on a large sheet pan. Dry out the bread by leaving it on the counter for 24-48 hours. Alternatively, to speed up the process, preheat your oven to 325°F (160°C). Spread bread cubes on a large rimmed baking sheet and bake until crisp, about 15 to 20 minutes, stirring every 5 minutes to ensure even drying.
-
Preheat Oven & Prep Dish: Increase oven temperature to 375°F (190°C). Spray a 9×13-inch baking dish with cooking spray or grease with butter. Set aside.
-
Sauté Aromatics: In a large skillet, melt the unsalted butter over medium-high heat. Add diced onions, celery, and minced garlic. Cook, stirring frequently, until the vegetables are soft and translucent, about 10 minutes. Stir in the chopped fresh sage and fresh thyme, cooking for another 2 to 3 minutes until fragrant. Remove from heat and set aside to cool slightly.
-
Prepare Liquid Mixture: In a medium bowl, whisk together the low-sodium broth, large eggs, kosher salt, and freshly ground black pepper until well combined.
-
Assemble Stuffing: In a very large bowl, combine the dried bread cubes with the cooled onion and herb mixture. Gently fold to combine the vegetables with the bread. Drizzle the liquid egg and broth mixture evenly over the bread and vegetable mixture. Fold gently until all the bread cubes are evenly moistened. Be careful not to overmix.
-
Bake (Covered): Pour the assembled stuffing into the prepared baking dish. Spread it in an even layer. Cover the dish tightly with aluminum foil. Bake for 25 minutes.
-
Bake (Uncovered): Remove the foil and continue to bake for another 15 to 20 minutes, or until the top of the stuffing is golden brown and crisp.
-
Serving: Remove from oven and let stand for about 10 minutes before serving. Enjoy your homemade Sage and Onion Stuffing!
notes
Add Protein: For a hearty variation, fold in 1/2 pound of cooked ground sausage (mild or spicy Italian sausage works great) with the bread cubes and onion mixture.
Storage: Store any leftover stuffing in an airtight container in the refrigerator for up to 3-4 days. Cool completely before storing.
Reheating: Reheat individual portions in the microwave for about 30-60 seconds until warmed through. For the entire dish, reheat in a 350˚F (175°C) oven, covered with foil and with a splash of broth, for 15-20 minutes or until heated through. Uncover for the last few minutes for a crispy top.
Freezing: Freezing is not recommended for this recipe, as it tends to make the texture mushy upon thawing.
nutrition
Carbohydrates: 50g |
Protein: 13g |
Fat: 12g |
Saturated Fat: 6g |
Polyunsaturated Fat: 1g |
Monounsaturated Fat: 3g |
Trans Fat: 0.3g |
Cholesterol: 75mg |
Sodium: 717mg |
Potassium: 377mg |
Fiber: 4g |
Sugar: 7g |
Vitamin A: 436IU |
Vitamin C: 8mg |
Calcium: 106mg |
Iron: 4mg
350kcal
American, Thanksgiving
Side Dish
