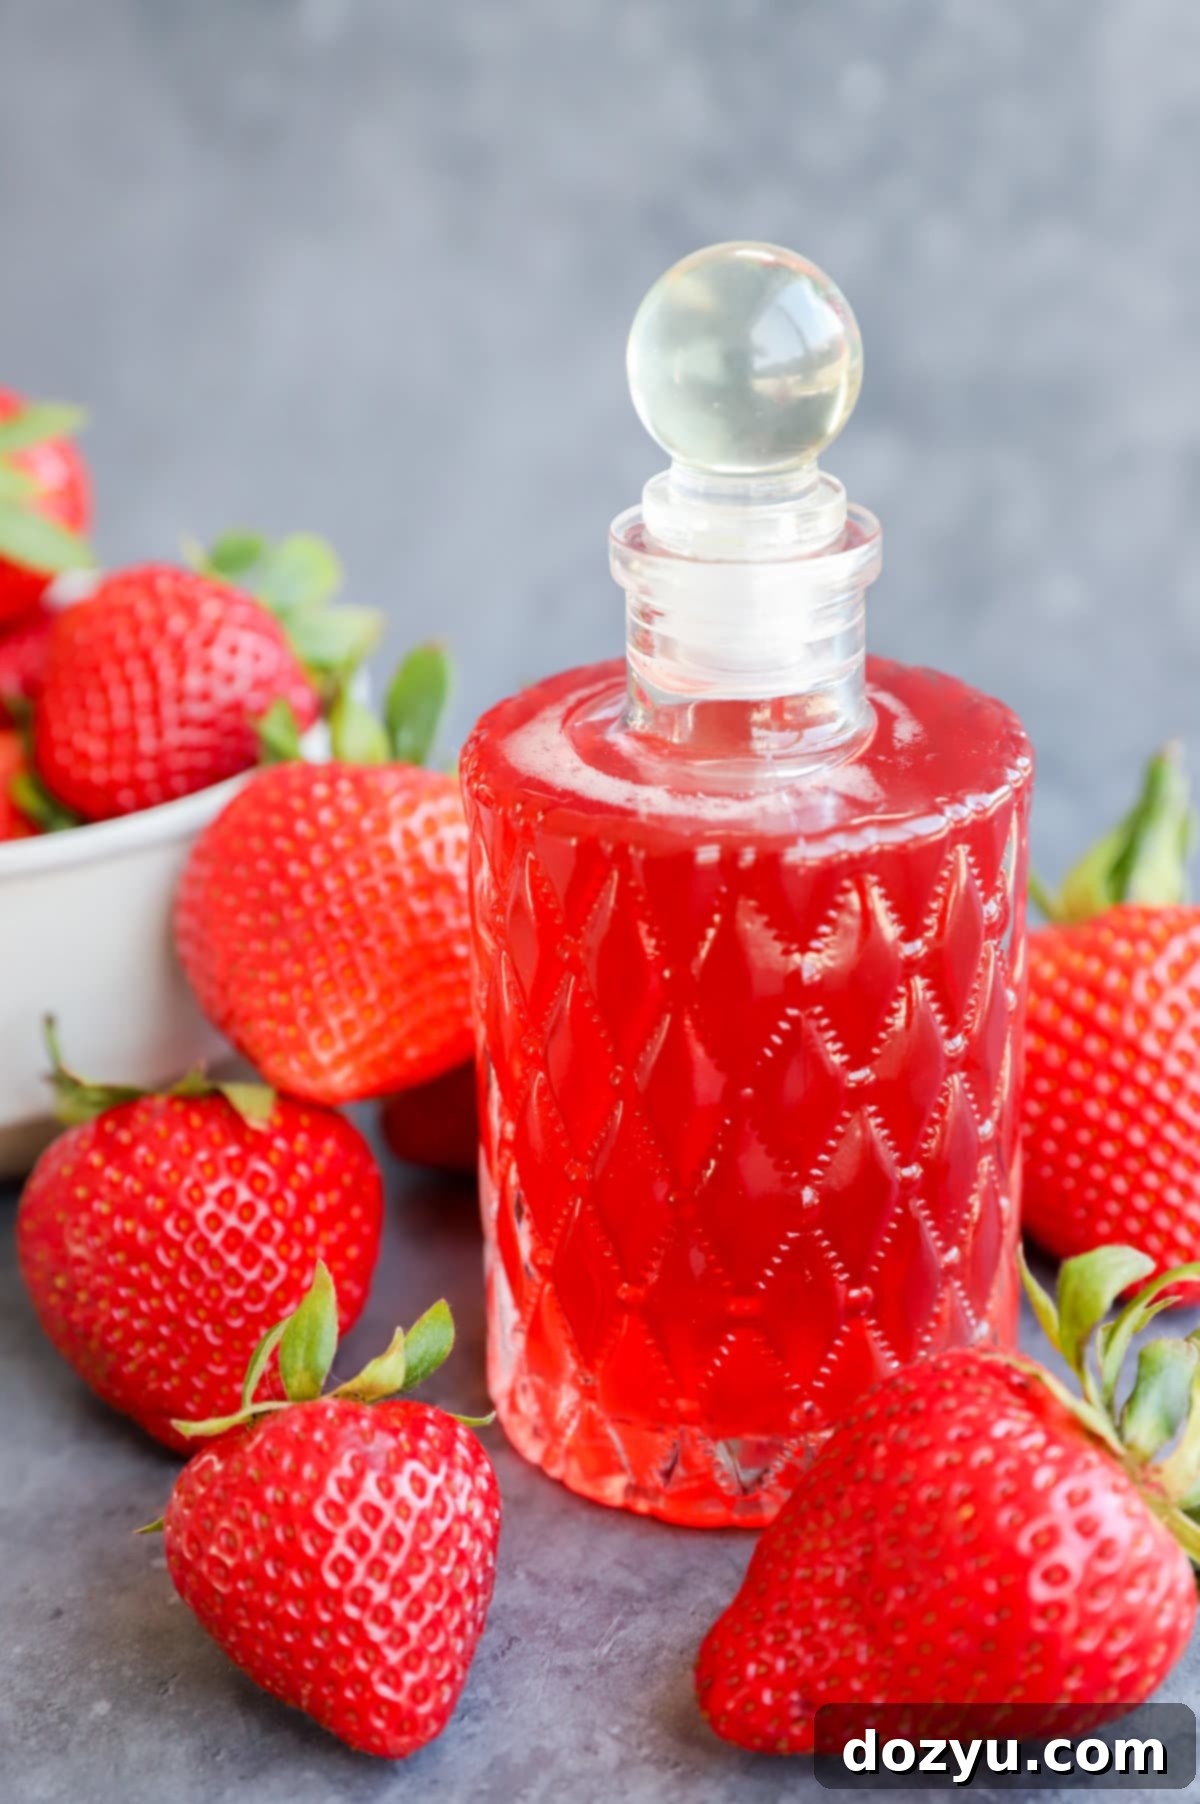
Homemade Strawberry Simple Syrup: The Ultimate Guide for Drinks & Desserts
Unleash the vibrant flavor of fresh strawberries with this incredibly easy homemade simple syrup recipe. A true culinary chameleon, this sweet and fruity syrup is the perfect addition to elevate your favorite beverages, from classic cocktails to refreshing lemonades. But its versatility doesn’t stop there – drizzle it over fluffy pancakes, moist cakes, crispy waffles, delicate tarts, or even a scoop of ice cream. Get ready to infuse the delightful taste of strawberries into countless everyday recipes!
Table of Contents
About This Strawberry Simple Syrup
Simple syrup is a bartender’s best friend and a baker’s secret weapon. It’s the incredibly versatile liquid sweetener that forms the backbone of countless cocktail creations and adds moisture and flavor to desserts. Far superior to granulated sugar when mixing drinks, simple syrup effortlessly dissolves, ensuring a perfectly balanced sweetness without gritty textures. At its most basic, it’s a harmonious blend of equal parts water and sugar, heated until the sugar completely melts.
The true magic happens when you infuse this basic syrup with flavor. By simply swapping out a plain simple syrup for a flavored one, you can dramatically transform any recipe. Imagine an old fashioned with a hint of berry, or a classic mojito bursting with seasonal fruit notes. The possibilities for crafting unique and memorable beverages and dishes are endless when you master the art of flavored simple syrups.
Why Make It Fruity?
With strawberry season in full swing, there’s no better time to capture that sweet, juicy essence. Strawberries are a fantastic choice for simple syrup because their flavor is so universally loved and pairs beautifully with a vast array of other ingredients. This strawberry simple syrup isn’t just easy to make; it’s also incredibly convenient. It stores wonderfully in the refrigerator for up to two weeks, making it ideal for entertaining or simply enjoying a touch of strawberry sweetness whenever the craving strikes.
Beyond its incredible shelf life in the fridge, this homemade strawberry syrup is also freezer-friendly, lasting up to three months! This is a game-changer, especially as strawberry season winds down. You can batch-make this syrup when berries are at their peak ripeness and most affordable, then freeze it to enjoy that fresh, summery flavor long after the season has passed. It’s a brilliant way to extend the taste of sunshine into colder months.
And let’s talk about versatility. While perfect for drinks, you can also adjust the consistency to create a thicker syrup, more akin to maple syrup. If you’ve ever craved the taste of those popular diner strawberry pancake toppings, prepare to be amazed. This homemade version is infinitely more flavorful and satisfying. We’ll share tips on how to achieve that delightful thickness in the section below!
In just about 15 minutes, with only three simple ingredients, you can create this vibrant, fruity, and sweet concoction. It’s a quick and easy upgrade to your weekly cocktails, morning pancakes, or any sweet treat that needs a touch of berry bliss.
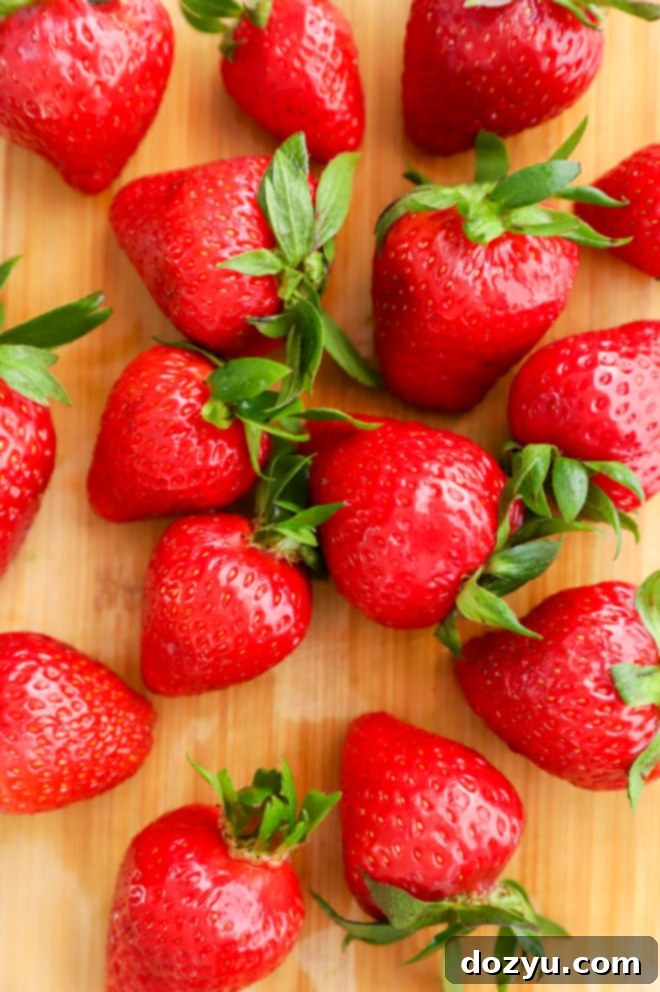
What’s the Best Way to Clean Strawberries?
Properly cleaning your strawberries is an essential first step to ensure your syrup is as fresh and pure as possible. The most effective method involves a simple soak. Fill a large bowl with cold water and add 1 teaspoon of baking soda for every 4 cups of water. Gently submerge your strawberries in this solution and let them soak for 5 to 10 minutes. The baking soda helps to break down any pesticide residues and remove dirt or tiny bugs from the berries’ textured surface.
After soaking, thoroughly drain the baking soda solution and rinse the strawberries well under cold, running water. It’s crucial to remove all traces of baking soda. Finally, pat the berries completely dry with a clean cloth or paper towels before storing them or proceeding with your recipe. This prevents excess moisture from diluting your syrup and ensures better flavor concentration.
Key Ingredients
You’ll be amazed at how few ingredients are needed to create such a flavorful strawberry simple syrup. Each plays a crucial role in achieving that perfect balance of sweetness and vibrant berry essence.
- Fresh Strawberries: The star of the show! For the best flavor and brightest color, always opt for fresh, ripe strawberries. Look for berries that are plump, bright red all over, and have fresh, green tops (hulls). The fresher your strawberries, the more intense and delicious your syrup will be. While you *can* technically use frozen strawberries if fresh aren’t available, keep in mind that the flavor might not be as vibrant, and the syrup could be a bit cloudier. Thaw frozen berries completely before using.
- Granulated Sugar: This is your primary sweetener and the “simple” part of simple syrup. Granulated white sugar is crucial for achieving a clear, beautifully colored syrup that highlights the strawberry. Avoid using dark or light brown sugar, as their molasses notes will overpower the delicate strawberry flavor and result in a muddier color.
- Water: The solvent that brings it all together. Using filtered water can slightly improve the purity of flavor, especially if your tap water has a strong taste, but regular tap water is perfectly fine if that’s what you normally drink and prefer.
Essential Equipment
Making homemade strawberry simple syrup requires only a few basic kitchen tools, making it accessible for any home cook. Here’s what you’ll need:
- Medium Saucepan: A sturdy saucepan is essential for simmering your ingredients. A non-reactive material like stainless steel is ideal to prevent any metallic flavors from leaching into your syrup.
- Wooden Spoon: For stirring the mixture and ensuring the sugar dissolves evenly without sticking to the bottom of the pan.
- Fine Mesh Strainer (Sieve): Crucial for separating the cooked strawberry solids from your beautifully infused syrup, ensuring a smooth and clear final product.
- Mason Jar or Airtight Container: For safely storing your finished simple syrup in the refrigerator. Glass jars are excellent as they don’t impart any flavors and are easy to clean.
How to Make Simple Strawberry Syrup
Crafting your own strawberry simple syrup is a straightforward process that yields incredibly rewarding results. Follow these easy steps for a perfect batch every time.
Prep the Strawberries
After thoroughly cleaning your strawberries (as detailed above), it’s time to prepare them for cooking. First, remove the green tops (hulls) from all the berries. Then, depending on their size, quarter or halve them. The goal is to have all the berries roughly the same size to ensure even cooking and maximum flavor extraction. Add the prepared strawberries to your medium saucepan.
Next, pour the granulated sugar and water into the saucepan with the strawberries. Give the mixture a good stir to combine all the ingredients, ensuring the sugar starts to dissolve in the water.
Simmer for Flavor
Place the saucepan over medium-high heat. Bring the mixture to a gentle simmer. It’s important not to bring it to an aggressive, rolling boil, as this can overcook the fruit quickly and potentially reduce the liquid too much. Simmer the mixture for 8 to 10 minutes, stirring occasionally. During this time, the strawberries will soften significantly and release their vibrant color and flavor into the liquid, becoming noticeably paler in appearance. The sugar should be completely dissolved, and the syrup will start to thicken slightly.
Strain and Cool
Once the simmering is complete, remove the saucepan from the heat. Carefully pour the entire mixture through a fine mesh sieve placed over a heat-proof bowl or container. This step separates the liquid syrup from the cooked strawberry solids. It is crucial to avoid pressing down on the berries in the strainer. Pressing them will force small fruit bits and cloudy pulp into your syrup, which can lead to a less visually appealing product and potentially shorten its shelf life due to fermentation.
Discard the berry remnants (or save them for another use, like stirring into yogurt!). Allow the strained syrup to cool completely to room temperature before transferring it to an airtight container. If you’re in a hurry, you can speed up the cooling process by placing the container of hot syrup into an ice bath.
Pro Tip: To give your homemade strawberry syrup an extra layer of bright, zesty flavor, try adding a small squeeze of fresh lemon juice after it has been strained and is cooling. This subtle acidity beautifully complements the sweetness of the strawberries!
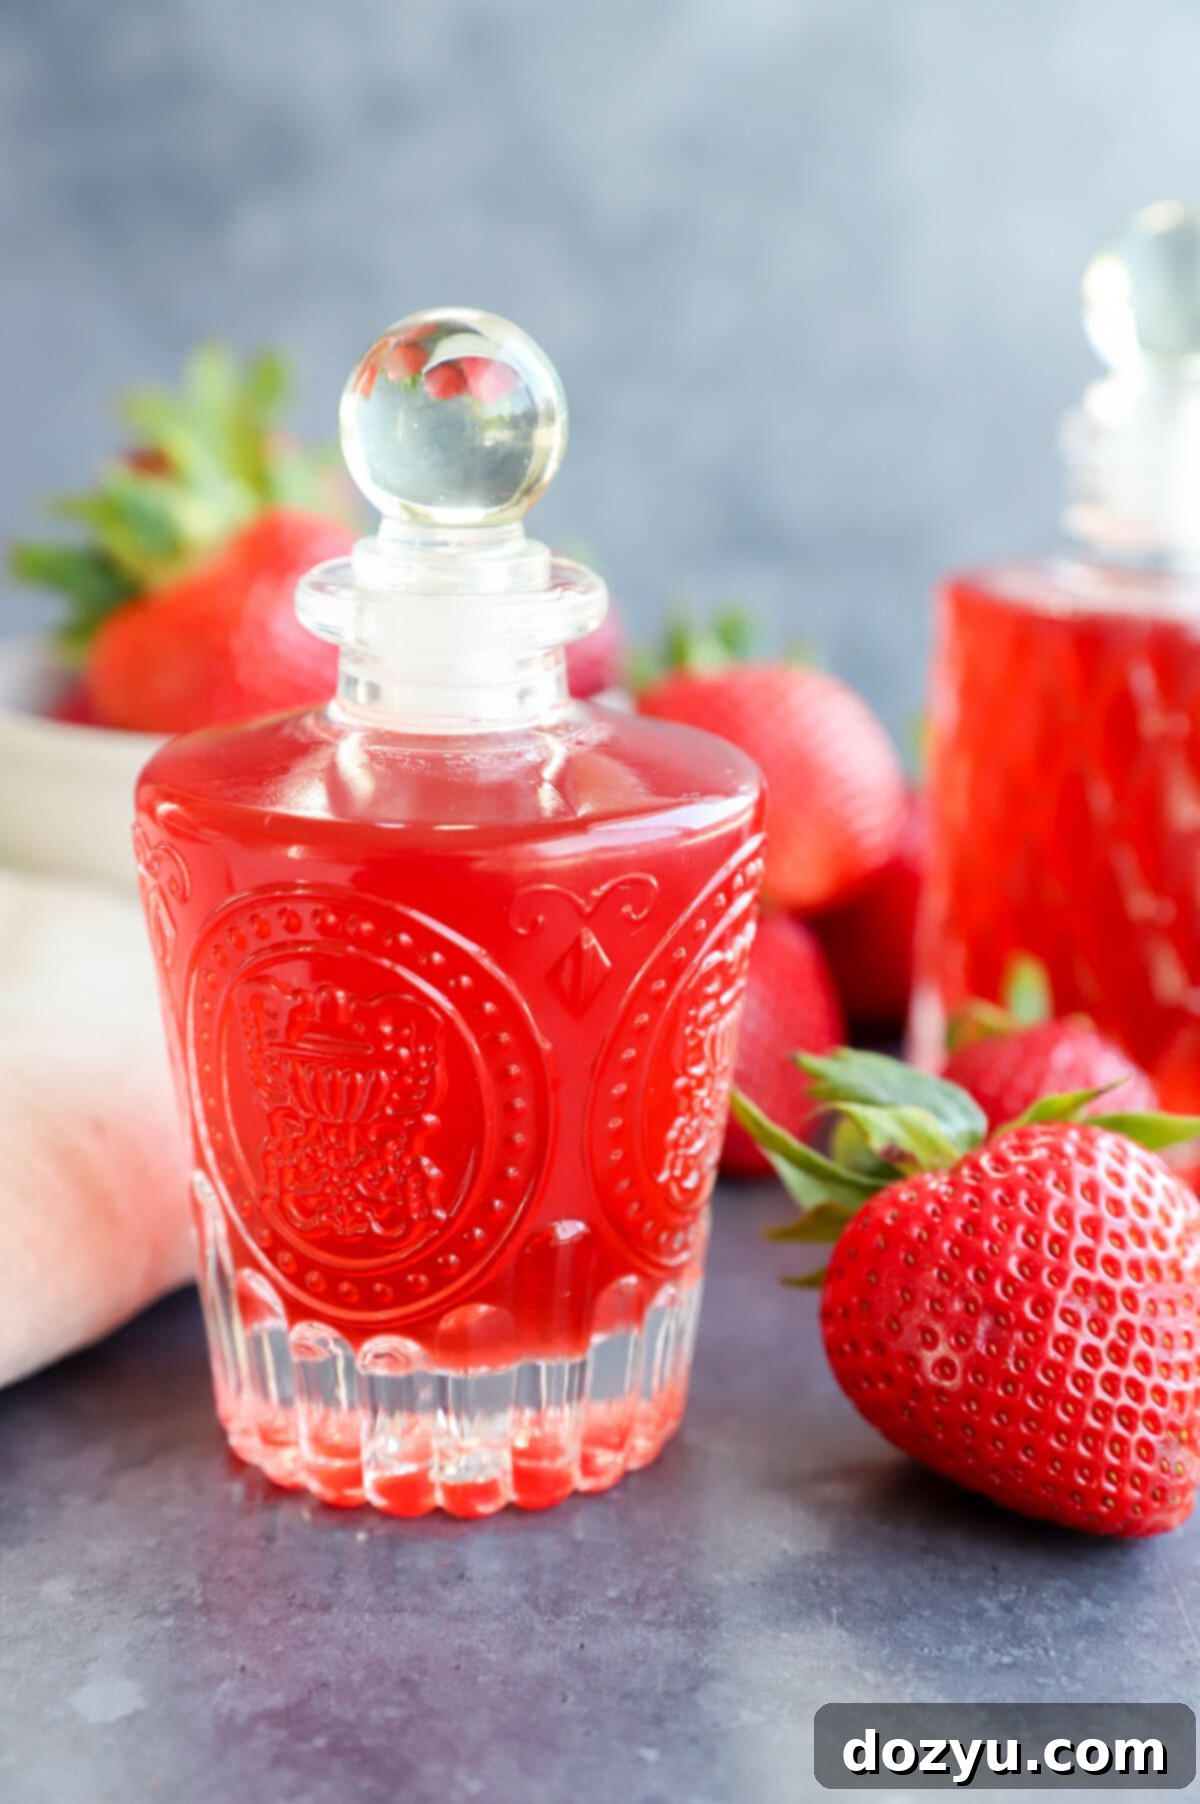
Tips for Syrup Success
Achieving the perfect strawberry simple syrup is easy with a few insider tips:
- Halve the Recipe: If you’re not planning to use a large quantity or don’t want to freeze it, this recipe can be easily halved. Simply use 5 oz (about 1.5 cups) of fresh strawberries, 1/2 cup of granulated sugar, and 1/2 cup of water.
- Achieve a Thicker Consistency: For a rich, pourable syrup perfect for pancakes, waffles, or French toast, simply double the amount of sugar while keeping the water and fruit quantities the same. This creates a 2:1 sugar-to-liquid ratio. Follow the same simmering process, and you’ll end up with a luscious, thicker strawberry syrup that rivals any store-bought pancake syrup.
- Always Use Fresh Strawberries: While frozen strawberries can work in a pinch, fresh strawberries are highly recommended for this recipe. They offer the most vibrant color and intensely sweet, authentic strawberry flavor that truly shines through in the finished syrup. When shopping, prioritize plump, brightly colored berries.
- Consider a Touch of Vanilla: For an added layer of warmth and complexity, a tiny splash of pure vanilla extract can be added to the syrup after it has been strained and is cooling. It beautifully enhances the strawberry flavor.
- Don’t Press the Fruit: As mentioned in the instructions, resist the urge to press the cooked strawberries through the sieve. This is key to a clear, sediment-free syrup that stores well and has a cleaner flavor profile.
More tasty ways to enjoy strawberries this spring and summer: Strawberry Mint Vodka Gimlet | Chocolate Strawberry Cake | Strawberry Basil Margarita | Strawberry Coulis
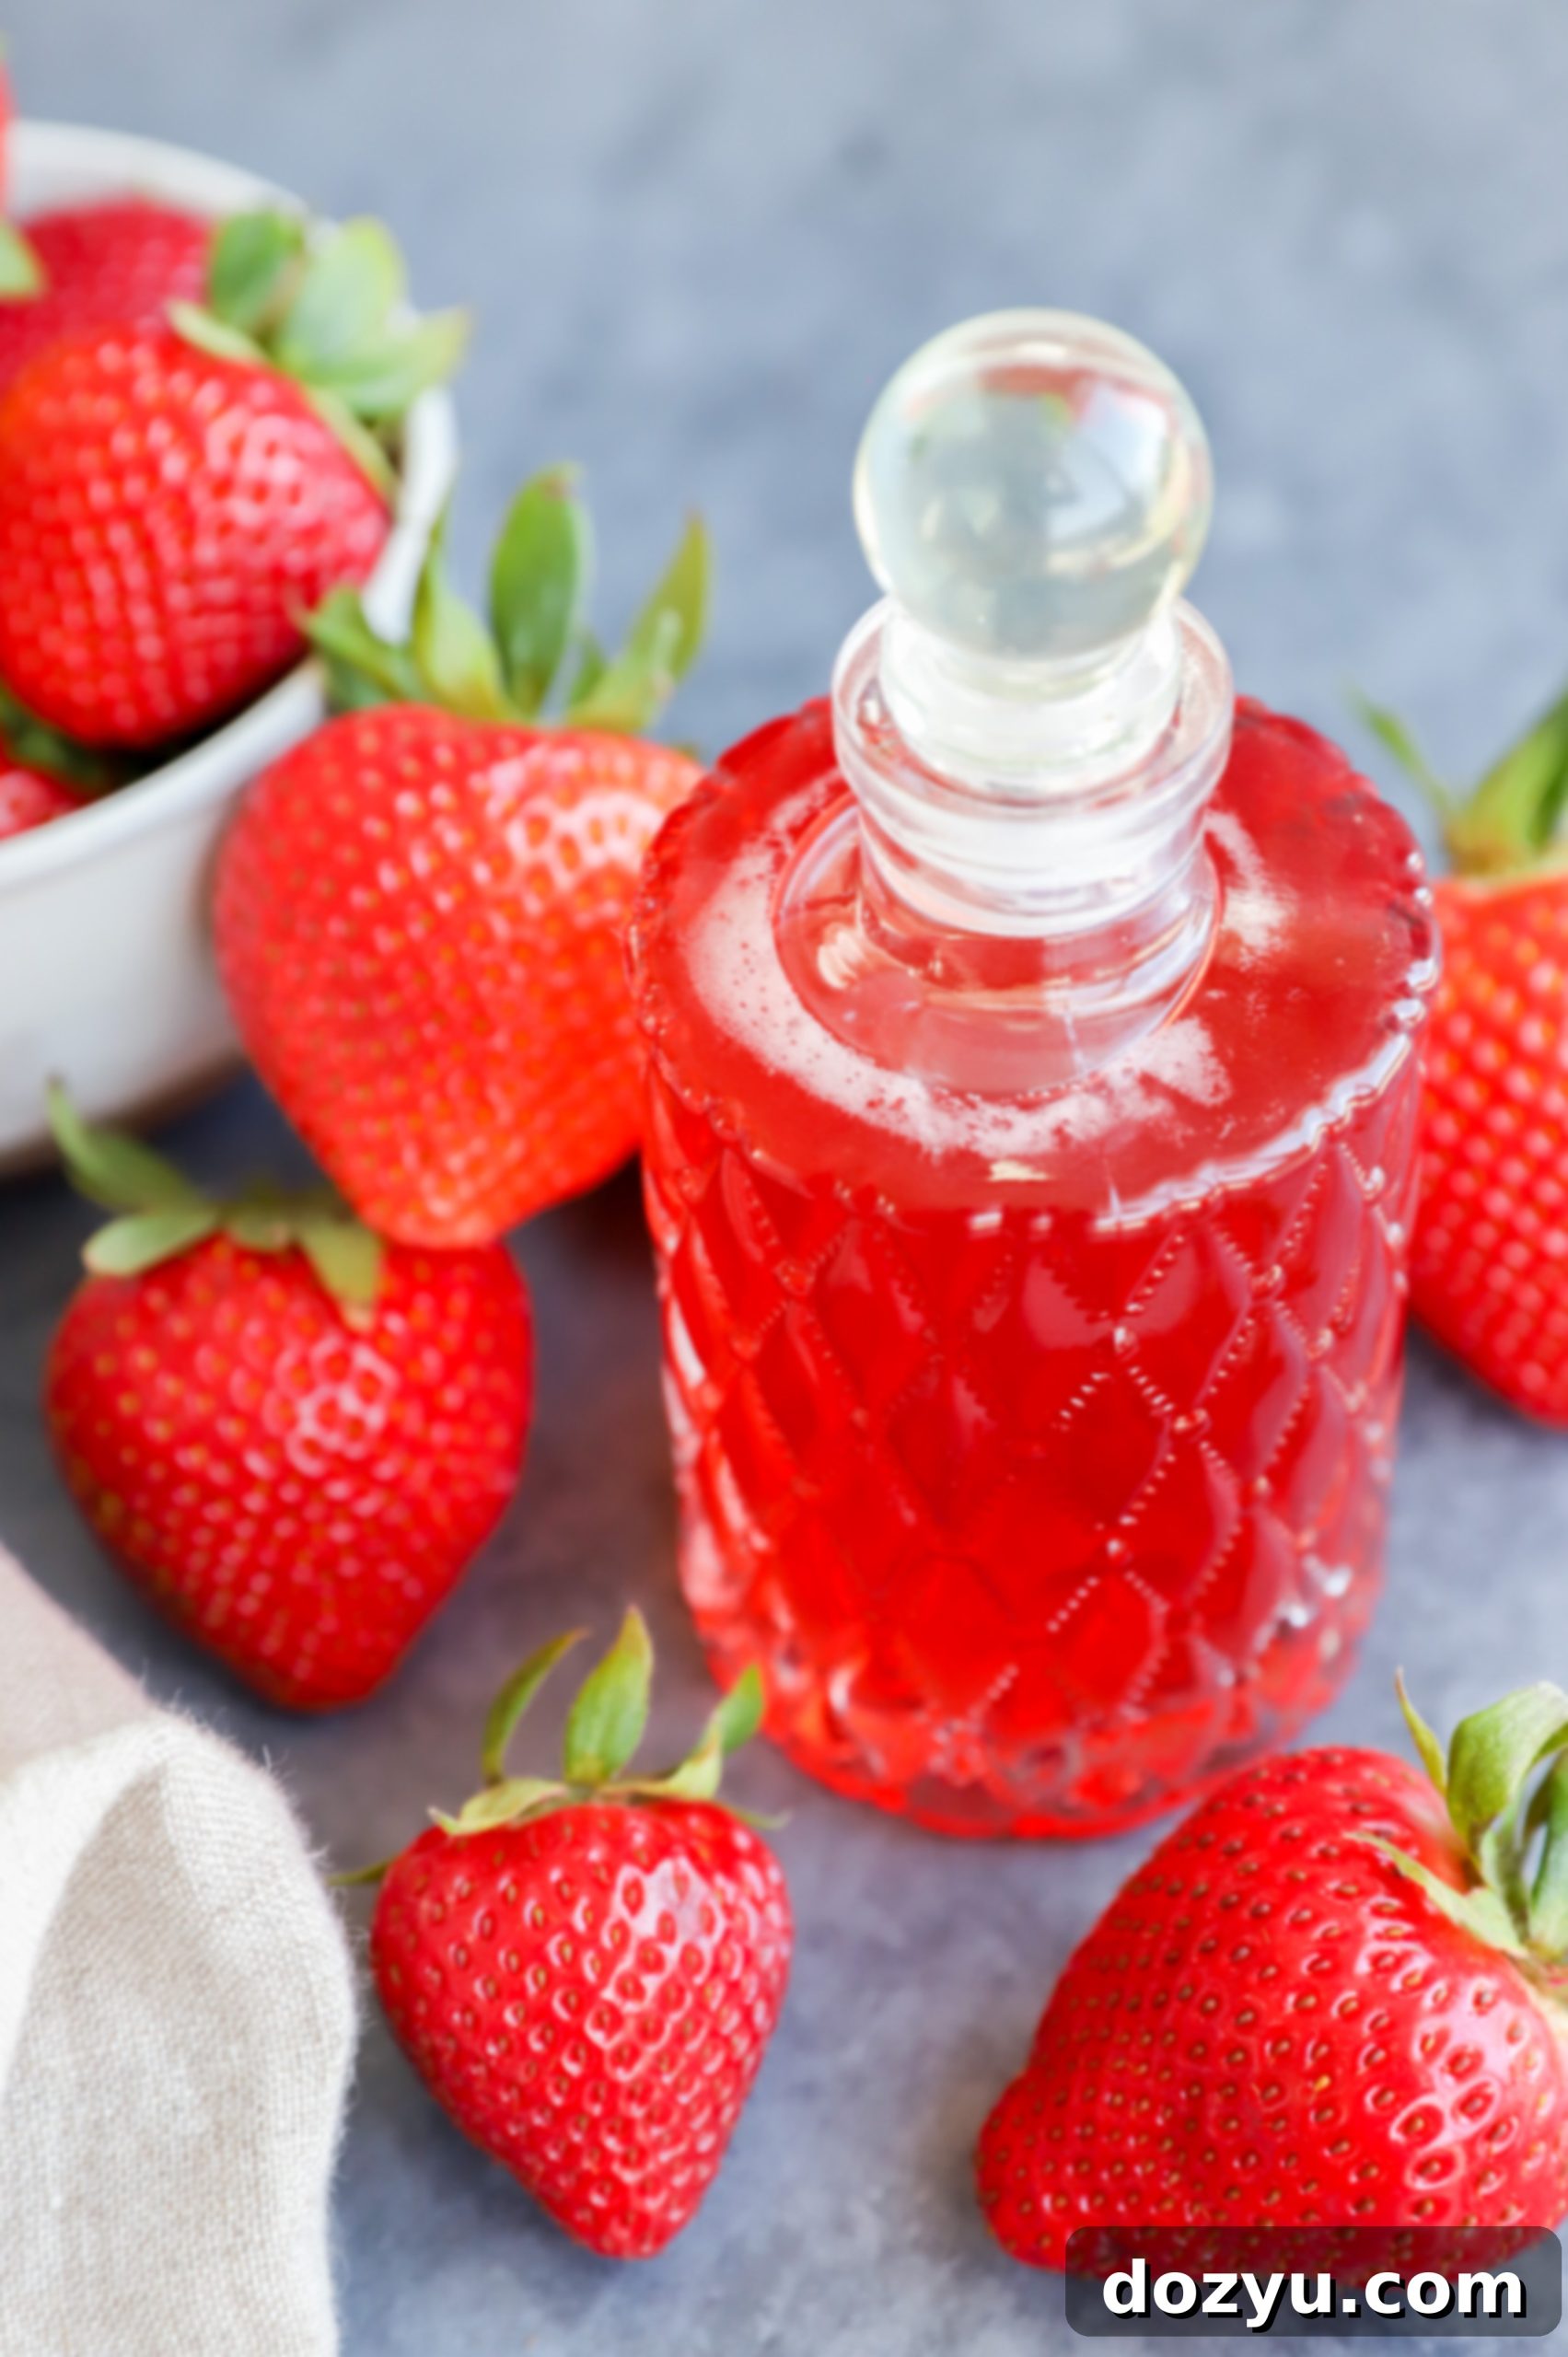
Can I Make This Syrup with Other Berries?
Absolutely! The beauty of this simple syrup recipe lies in its adaptability. You can easily substitute strawberries with an equal amount of other berries to create a variety of delicious fruit syrups. Try it with:
- Raspberries: For a tart and intensely flavored syrup that’s fantastic in cocktails or drizzled over chocolate desserts.
- Blueberries: Yields a beautiful purple syrup with a milder, sweet flavor, perfect for lemonade or oatmeal.
- Blackberries: Creates a rich, deep-colored syrup with earthy, sweet notes, excellent for whiskey cocktails or cheesecakes.
- Mixed Berries: Combine your favorites (strawberries, raspberries, blueberries, blackberries) for a complex and delightful berry medley syrup.
You can even experiment with other fruits like peaches, cherries (pitted), or even rhubarb for unique seasonal flavors. The process remains the same, ensuring you can enjoy a wide range of homemade fruit syrups throughout the year.
Can You Freeze Homemade Strawberry Syrup?
Yes, absolutely! Freezing homemade simple syrup is a fantastic way to extend its shelf life and enjoy seasonal flavors year-round. Here’s the best way to do it:
- Portion into Ice Cube Trays: Once your syrup has cooled completely, pour it into clean, food-grade ice cube trays. This allows you to freeze it in convenient, single-serving portions that are easy to thaw as needed.
- Freeze Solid: Place the filled ice cube trays in the freezer until the syrup cubes are completely solid, typically a few hours or overnight.
- Transfer to Airtight Container: Once frozen, pop the strawberry syrup cubes out of the trays and transfer them to a freezer-safe zip-top bag or an airtight container. This prevents freezer burn and keeps them fresh.
- Storage Duration: Homemade strawberry simple syrup can be stored in the freezer for up to 3 months.
- Thawing: When you’re ready to use it, simply take out the desired number of cubes and let them thaw in the refrigerator overnight, or even at room temperature for a shorter period if using immediately.
Freezing is especially useful during peak strawberry season when berries are abundant and inexpensive, allowing you to capture that fresh taste for future use.
How Much Syrup Does This Make?
Following this recipe will yield approximately 1 1/2 cups of delicious homemade strawberry simple syrup. The typical serving size for simple syrup in beverages ranges from 1/2 ounce to 1 ounce, depending on your preferred sweetness and the recipe. This means a single batch of this syrup can provide anywhere from 12 to 24 servings, making it a generous quantity for multiple uses or a small gathering.
Need more inspiration for cocktail hour? Check out my cocktail recipes page!
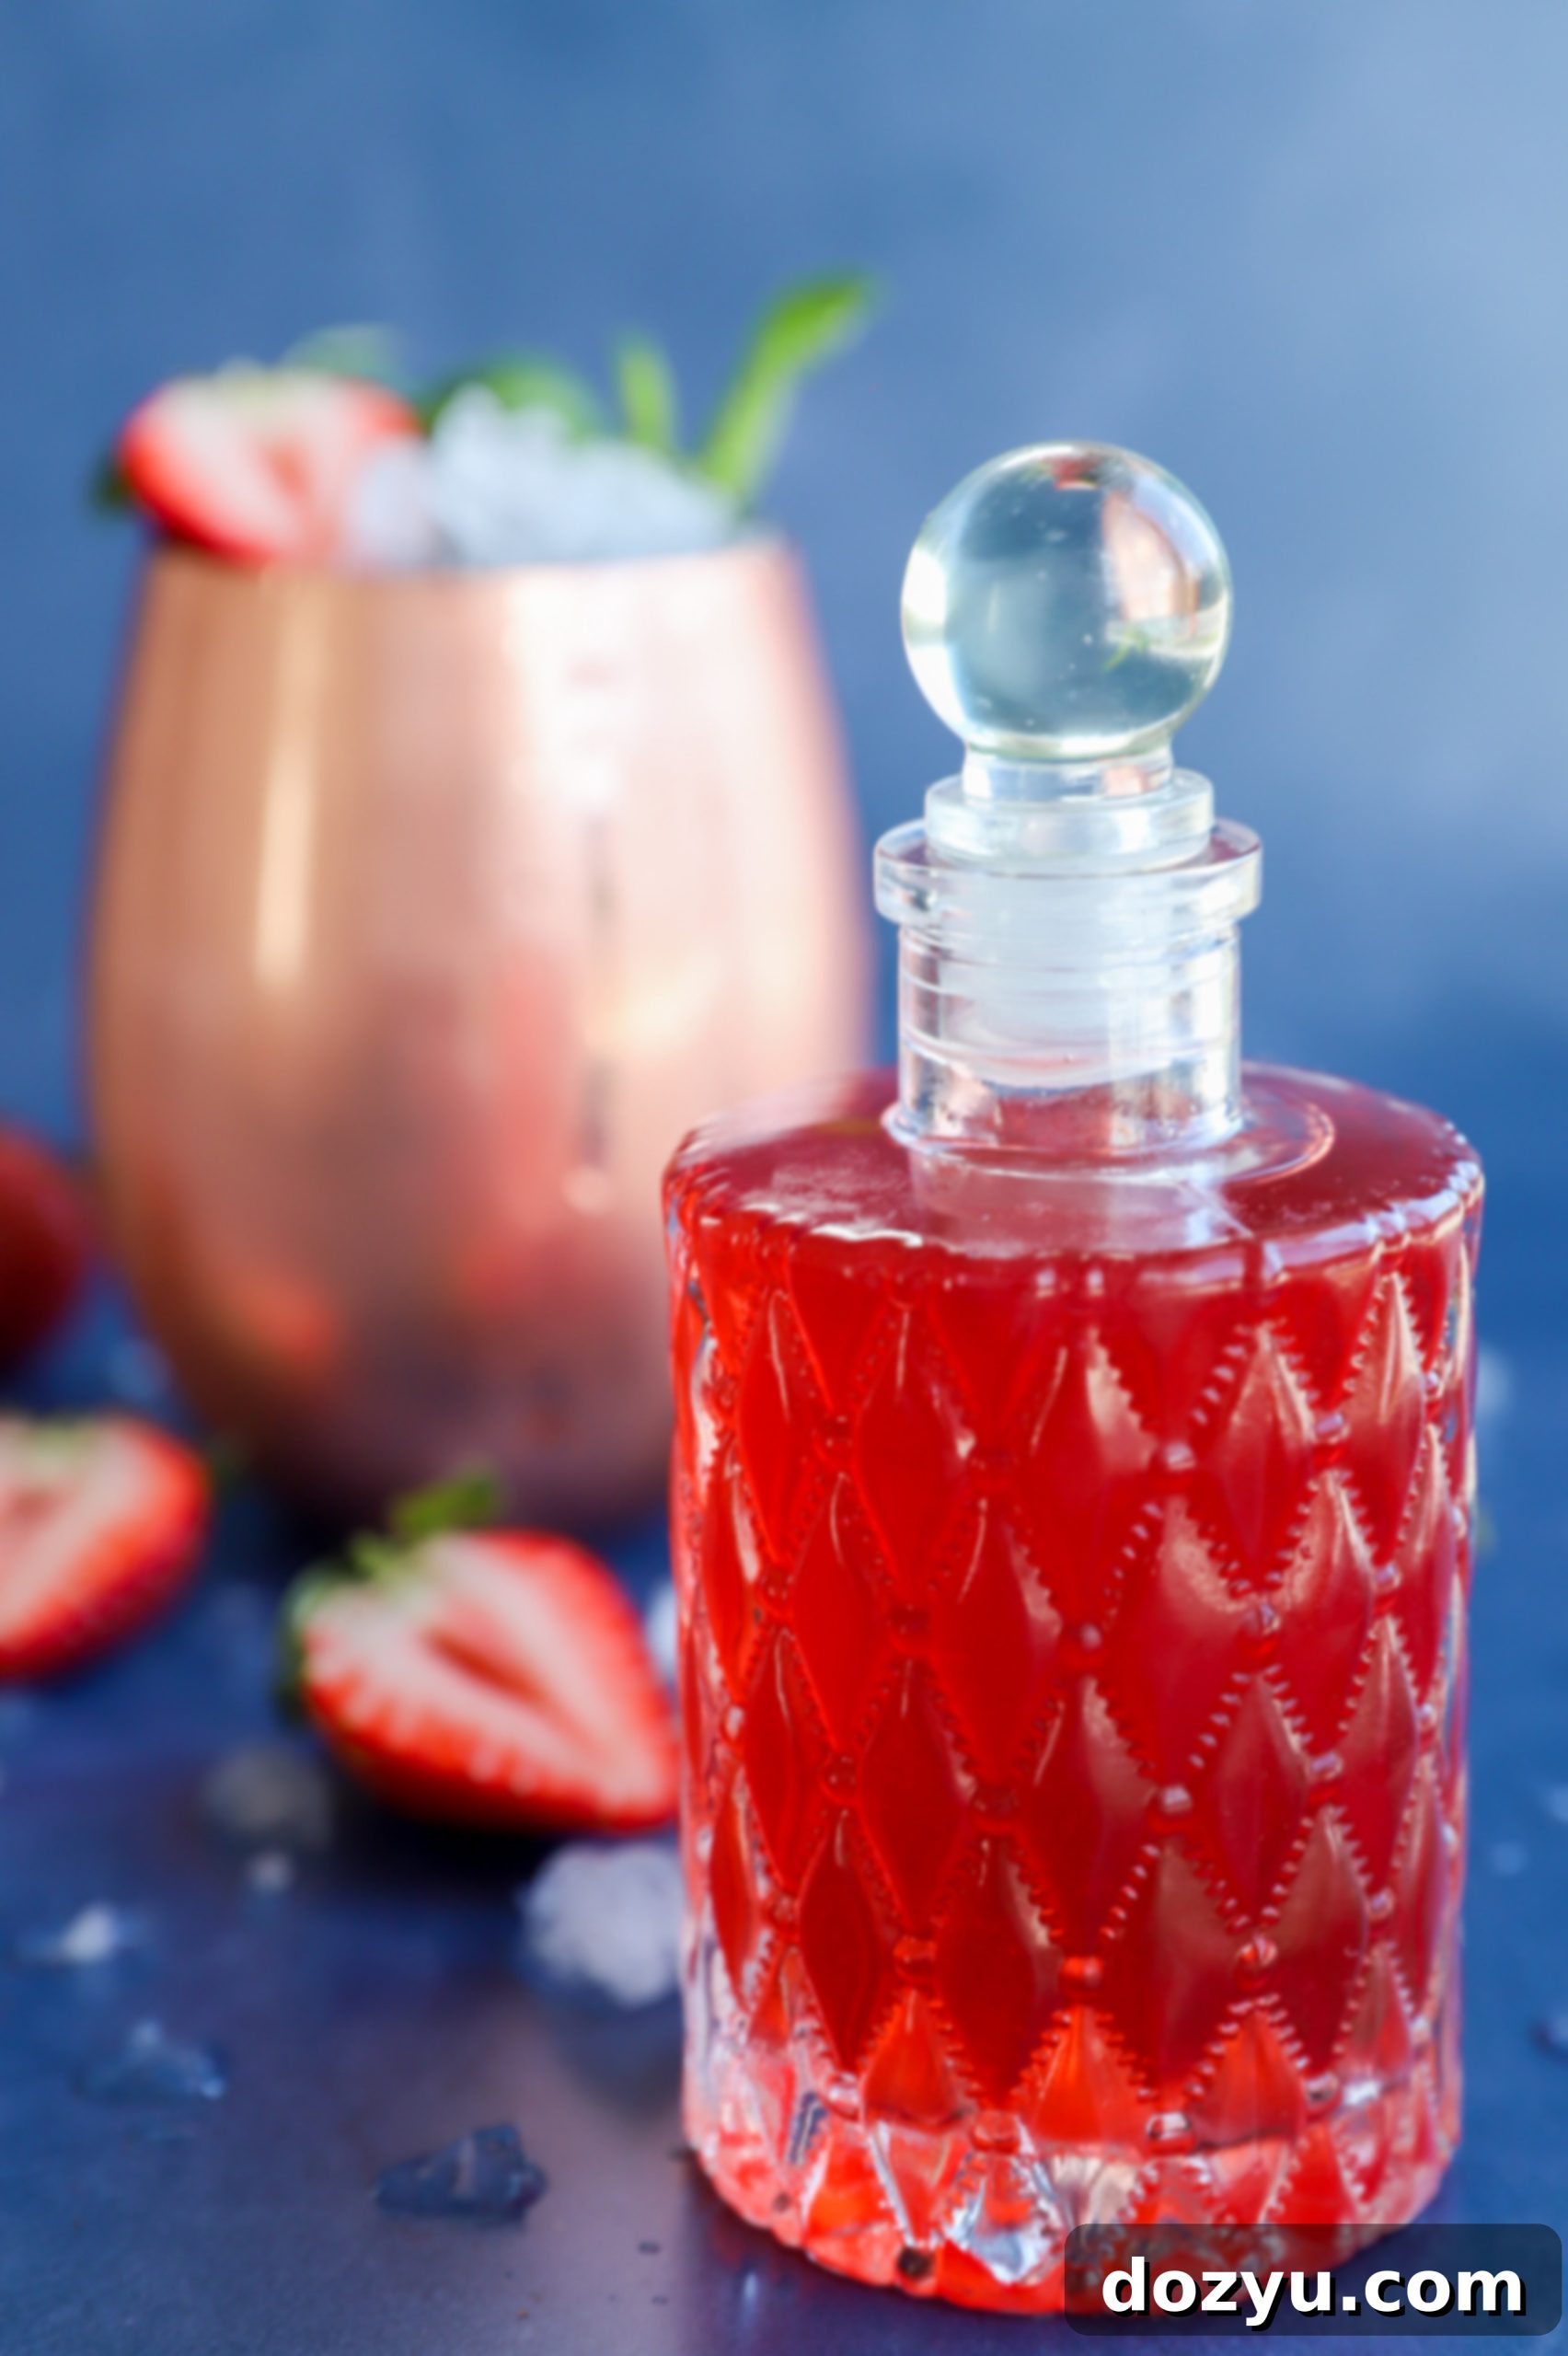
Creative Uses for This Simple Strawberry Syrup
Once you’ve made your batch of luscious strawberry simple syrup, you’ll discover its endless possibilities. It’s truly a versatile ingredient that can elevate both drinks and dishes:
For Beverages:
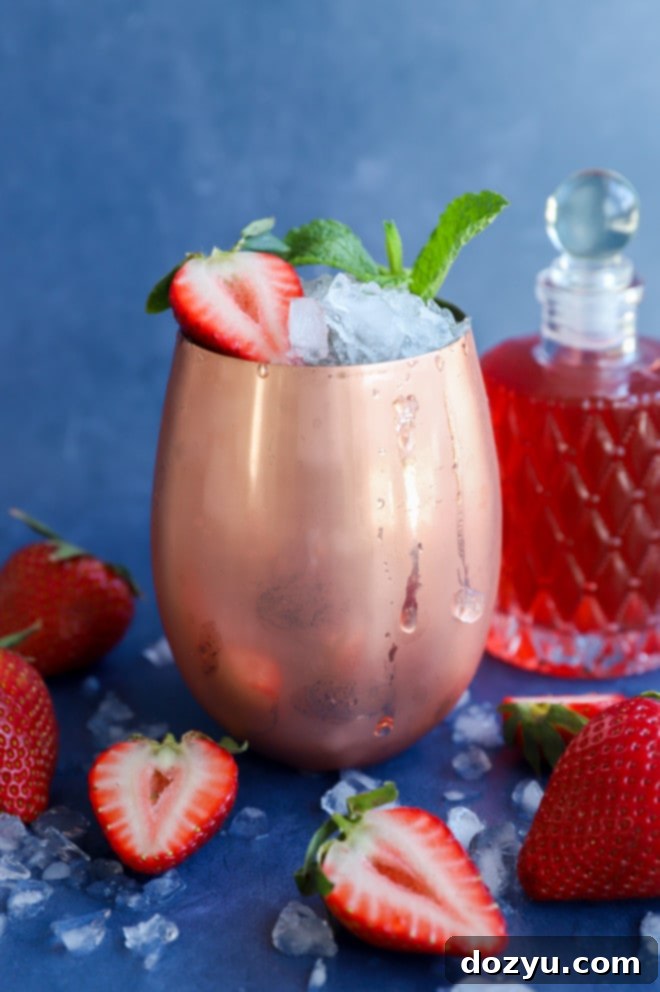
- Cocktails: Replace plain simple syrup in classics like an Old Fashioned, Mint Julep, Whiskey Sour, or Gin Fizz for a fruity twist. It’s also fantastic in margaritas and mojitos.
- Mocktails & Lemonades: Stir it into homemade lemonade to create a refreshing strawberry lemonade, or add it to sparkling water for a gourmet strawberry soda.
- Iced Tea: Transform plain iced tea into a summery, fruity delight with a splash of this syrup.
- Smoothies & Shakes: A spoonful can boost the fruit flavor and sweetness in your morning smoothie or milkshake.
- Coffee & Lattes: For a unique seasonal beverage, add a drizzle to your iced coffee or latte.
For Desserts & Breakfast:
- Pancakes & Waffles: Use the thicker version (2:1 sugar ratio) as an irresistible topping for your breakfast favorites.
- French Toast: Drizzle over golden French toast for a delightful berry experience.
- Cakes & Cupcakes: Brush cooled cake layers with simple syrup before frosting to add moisture and a burst of strawberry flavor.
- Fruit Tarts & Pies: Glaze fresh fruit tarts or brush over fruit pies after baking for a beautiful shine and added sweetness.
- Ice Cream & Yogurt: A perfect topping for vanilla ice cream, plain yogurt, or even a fruit parfait.
- Oatmeal: Sweeten your morning oatmeal with a healthy splash of strawberry goodness.
This strawberry simple syrup is more than just a sweetener; it’s a flavor enhancer that brings the essence of fresh strawberries to anything you create. For an even thicker, saucier strawberry experience, consider making this strawberry coulis.
Need more simple syrup recipes? We’ve got you covered with a variety of flavors to experiment with!
- Lemon simple syrup
- Lavender simple syrup
- Rosemary simple syrup
- Basil simple syrup
- Honey simple syrup

Everyday Seasonal: Summer Edition
Elevate your summer cooking with our “Everyday Seasonal: Summer Edition” cookbook! Packed with delightful seasonal recipes, a comprehensive produce guide to help you make the most of fresh ingredients, and much more, this cookbook is your ultimate companion for celebrating the vibrant flavors of the season.
How to Store and Thaw
Proper storage is key to enjoying your homemade strawberry simple syrup for as long as possible:
- Storing in the Refrigerator: Once your syrup has completely cooled, transfer it to a clean, airtight container, such as a mason jar. Store it in the refrigerator, where it will remain fresh for up to 2 weeks. Always ensure it’s tightly sealed to prevent contamination and maintain its flavor. Never leave it at room temperature for extended periods.
- Freezing for Longer Shelf Life: For longer storage, homemade simple syrup freezes beautifully. Pour the cooled syrup into ice cube trays. Once frozen solid, transfer the cubes to a freezer-safe bag or container. It will keep well in the freezer for up to three months. This method is perfect for preserving the peak flavor of seasonal strawberries.
- Thawing Frozen Syrup: To thaw, simply remove the desired number of frozen syrup cubes and place them in a bowl in the refrigerator overnight. For quicker thawing, you can place them at room temperature for a shorter period, stirring occasionally until liquid.
Seasonal Strawberry Tip
Want to know how to pick the freshest, most flavorful strawberries for your syrup? Look for berries that are uniformly bright red from top to bottom, plump, and firm to the touch. The small green leaves (caps) should be fresh, vibrant green, and not wilted or brown. Remember that size doesn’t necessarily indicate flavor – sometimes smaller berries can be incredibly sweet! Always inspect the container from both the top and the bottom to ensure there are no signs of mold or bruising, which can quickly spoil the entire batch.
Finally, if you make this delightful strawberry simple syrup recipe, please consider leaving a star rating on the recipe card below and/or a comment! Your feedback is incredibly valuable, and I love hearing how my recipes turn out in your kitchens. I always make time to respond to every single comment, so feel free to drop any questions you might have!
Oh, and don’t forget to tag me on Instagram, Facebook, or Pinterest if you share your creations! Seeing these recipes come to life in your homes is truly my favorite part of what I do – it means the world to me!
To stay updated on new recipes and the latest culinary news, be sure to sign up for my newsletter. Get delicious inspiration delivered straight to your inbox!
Everyday Seasonal Cookbook
Our “Everyday Seasonal Cookbook” is your comprehensive guide to cooking with the seasons. Featuring detailed produce guides, inspiring recipes for every occasion, and a wealth of culinary tips, this cookbook is designed to help you make the most of fresh, seasonal ingredients all year long.
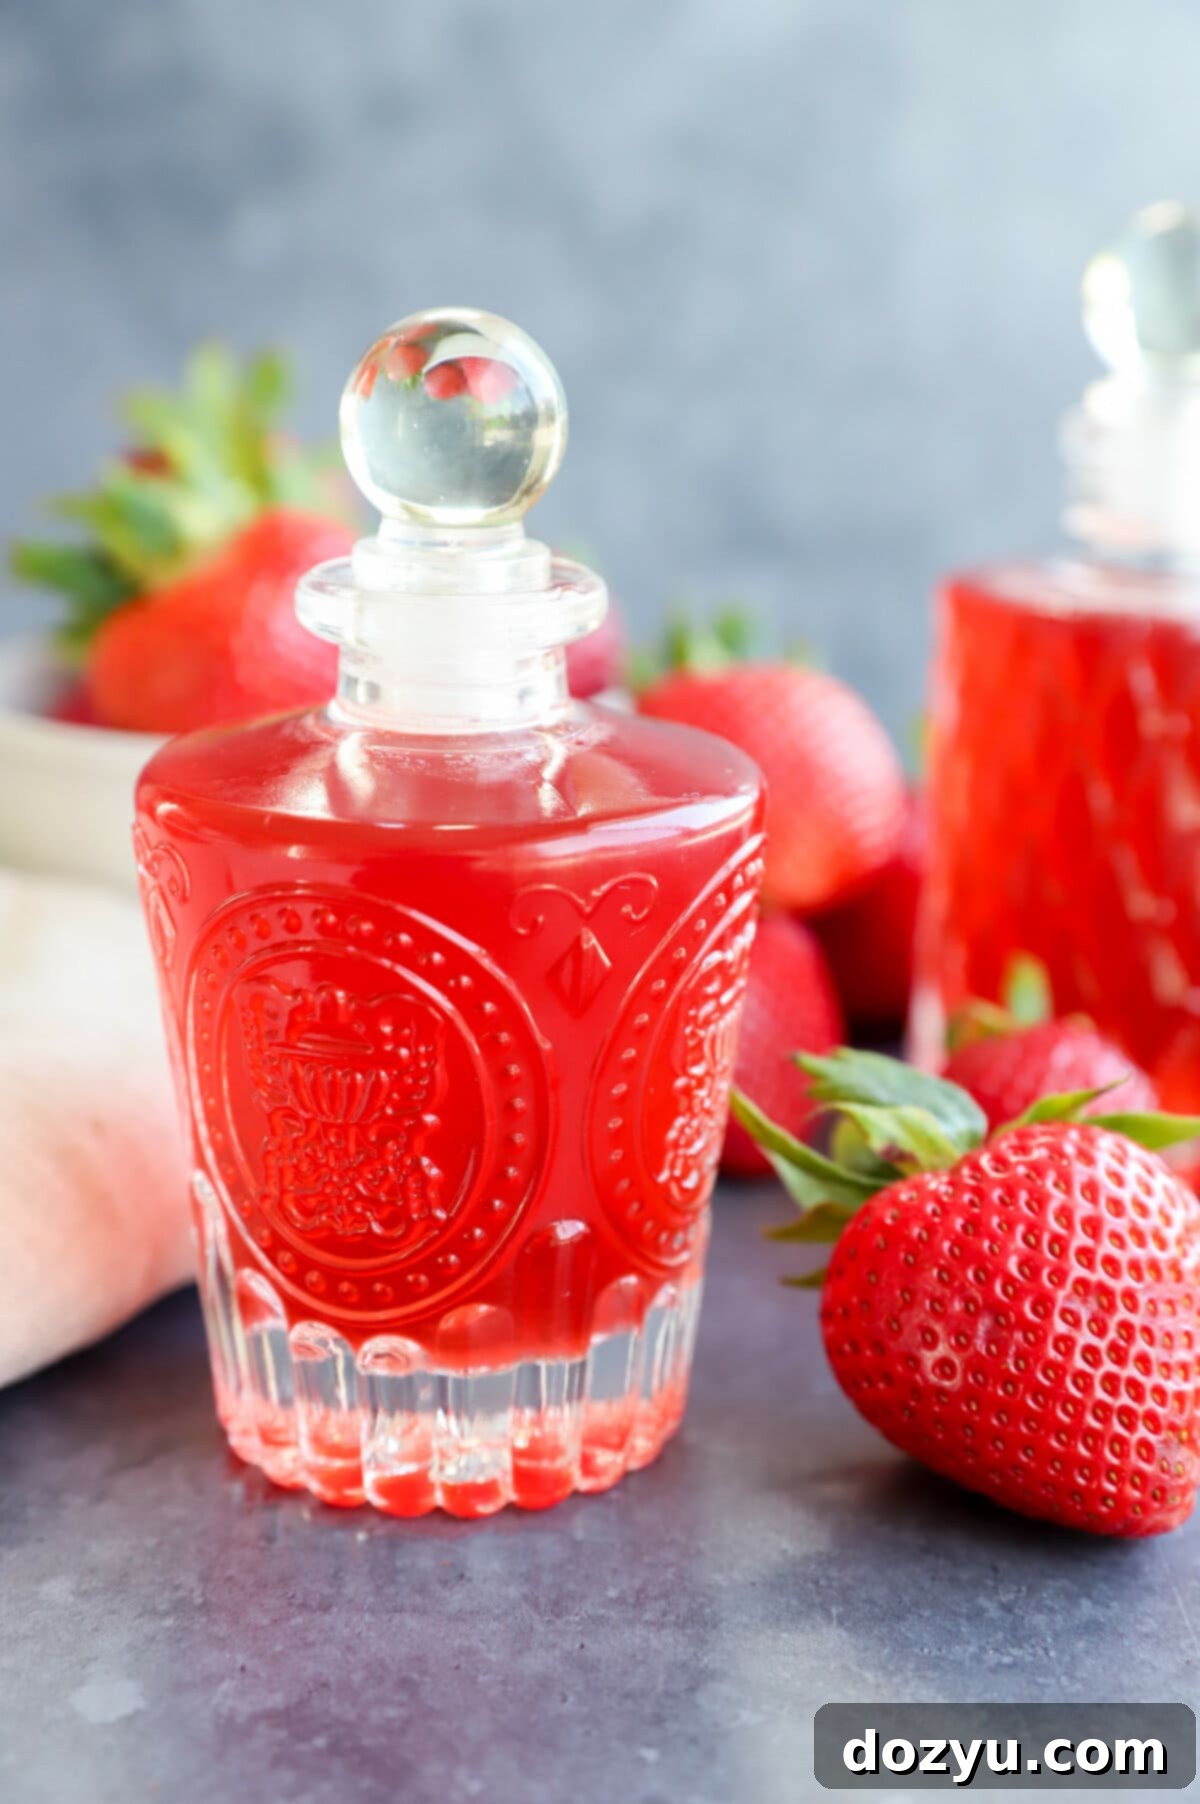
Strawberry Simple Syrup
Fruity and sweet, this is a must-have during strawberry season!
5 mins
10 mins
15 mins
1.5 cups
5 from 92 votes
Pin Recipe
Equipment
- Stainless Steel Sauce Pan
- Wooden Spoon & Scraper
- Mason Jars
- Fine Mesh Strainer
Ingredients
- 10 oz fresh strawberries (cleaned and tops removed)
- 1 cup granulated sugar
- 1 cup water
Instructions
- Cut the strawberries into halves or quarters, depending on the size of your berries. You will want to make sure that the berries are all roughly the same size for even cooking.
- Add prepared berries, sugar, and water to a small saucepan. Heat over medium-high heat until the mixture comes to a gentle simmer. Simmer for 8 to 10 minutes, stirring occasionally, until the berries have softened and become pale in color.
- Remove the saucepan from heat. Carefully strain the mixture through a fine mesh sieve into a heat-proof bowl. Be sure not to press down on the berries; this step is crucial to ensure a clear syrup without cloudy fruit bits, which can affect its appearance and shelf life.
- Allow the syrup to cool completely to room temperature before transferring it to an airtight container. Store the strawberry simple syrup in the refrigerator, where it will last for up to 2 weeks.
Video
Nutrition
Calories:
574kcal
|
Carbohydrates:
147g
|
Protein:
1g
|
Fat:
1g
|
Saturated Fat:
0.03g
|
Polyunsaturated Fat:
0.3g
|
Monounsaturated Fat:
0.1g
|
Sodium:
11mg
|
Potassium:
292mg
|
Fiber:
4g
|
Sugar:
142g
|
Vitamin A:
23IU
|
Vitamin C:
111mg
|
Calcium:
36mg
|
Iron:
1mg
Summer
Booze
