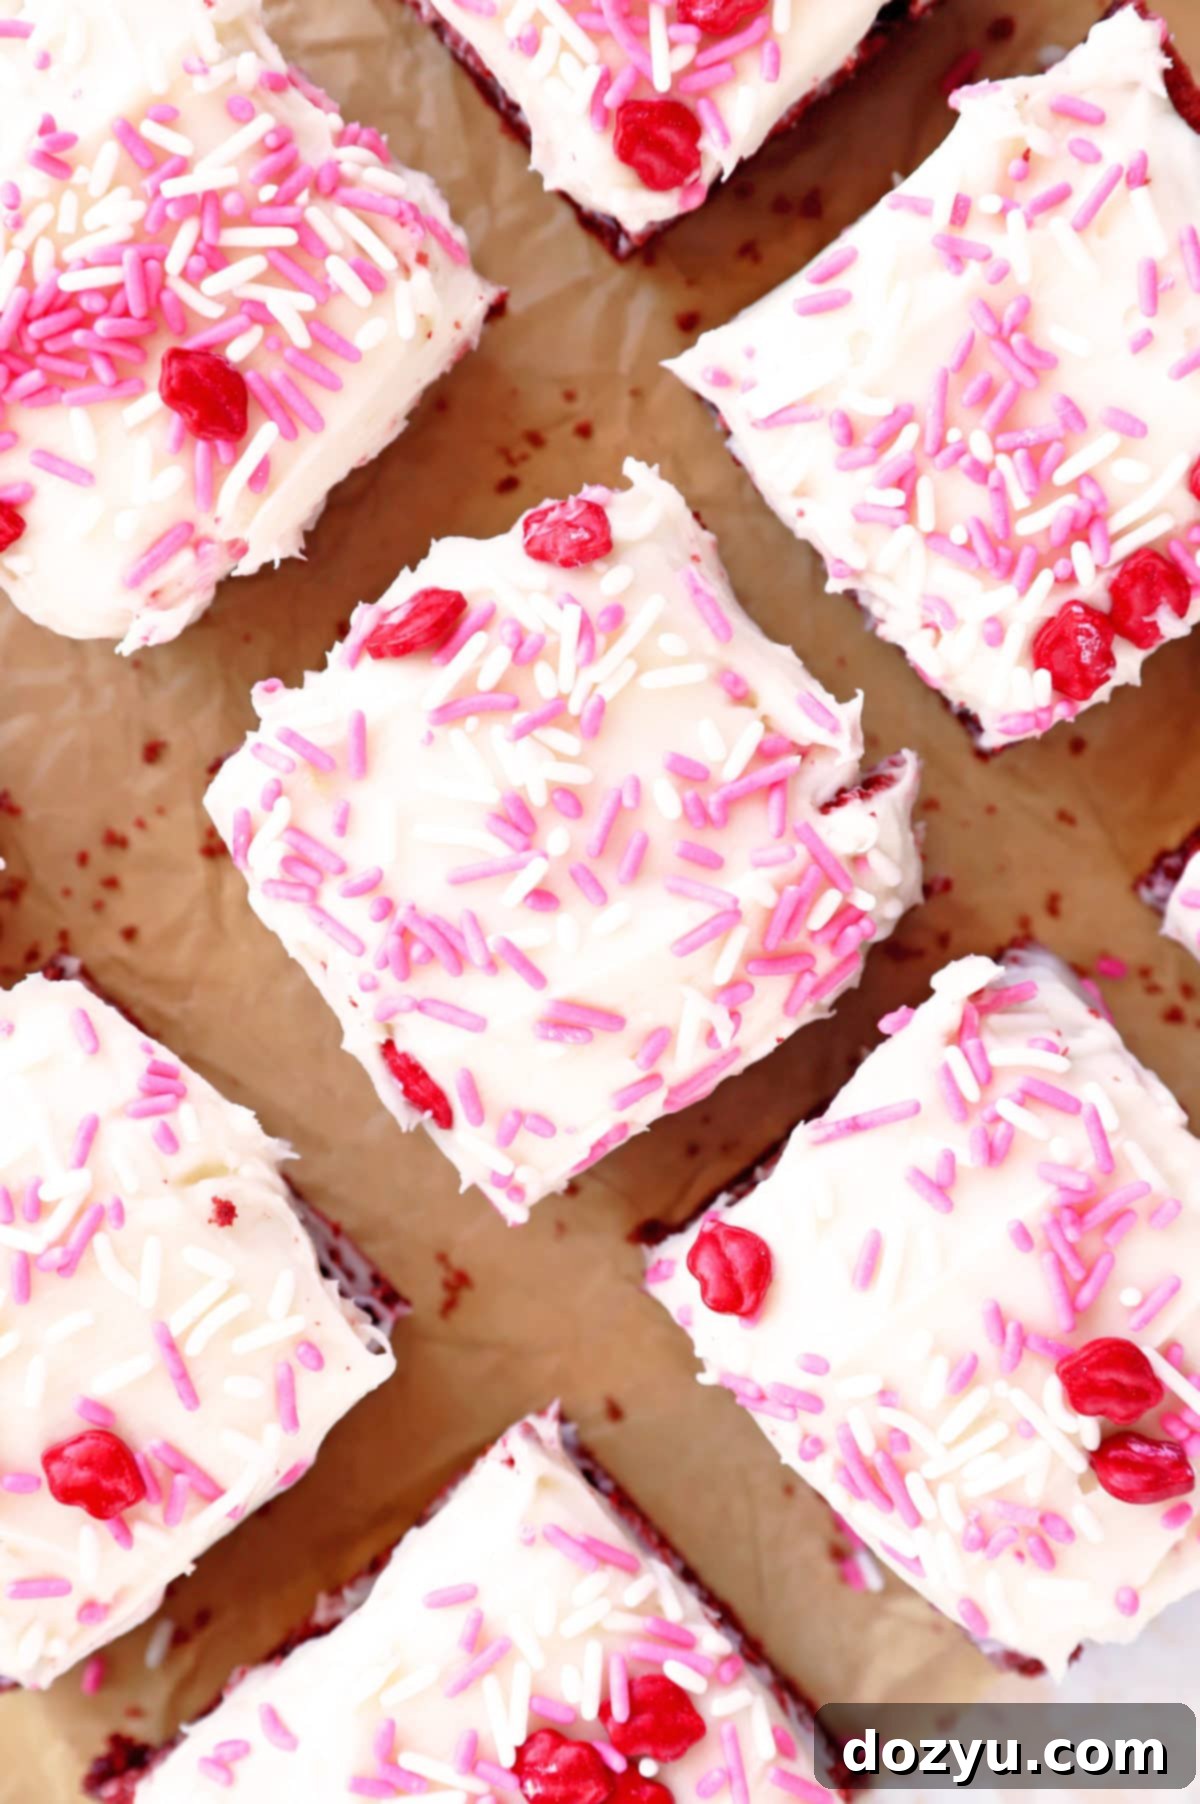
Ultimate Fudgy Red Velvet Brownies with Champagne Cream Cheese Frosting: Your Go-To Recipe
Prepare for a truly decadent treat with these luxurious Red Velvet Brownies, crowned with an exquisite Champagne Cream Cheese Frosting. This recipe takes the classic red velvet experience to a whole new level, transforming it into an intensely fudgy and satisfying brownie that’s impossible to resist. If you’re a devoted fan of red velvet, these brownies are destined to become your new obsession, offering a perfect balance of rich flavor and delightful chewiness. They’re a spectacular way to celebrate any occasion, big or small!
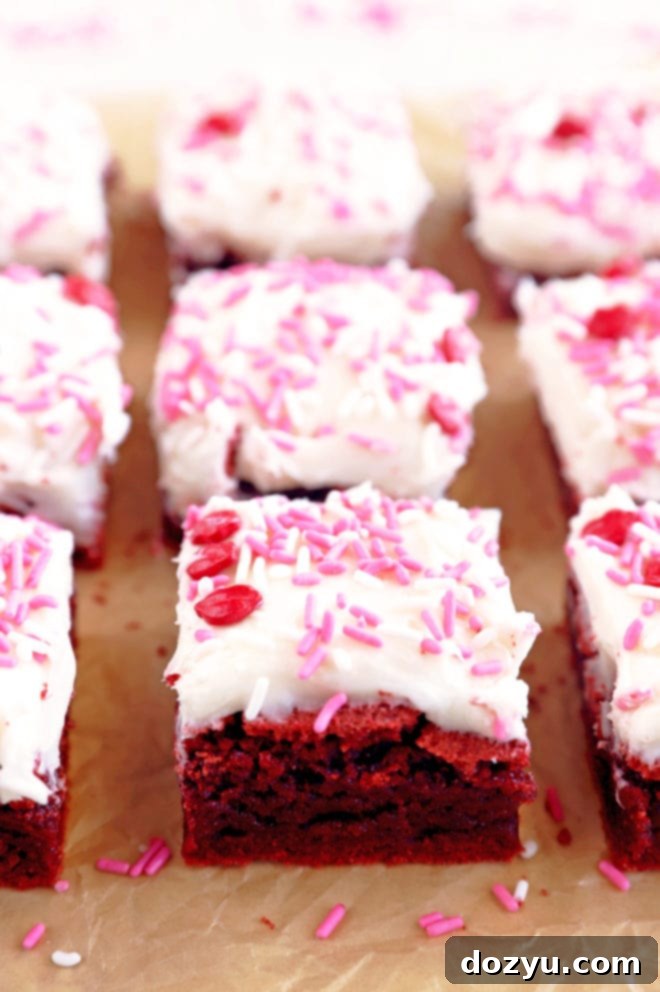
table of contents
Toggle
About These Red Velvet Brownies
Who can truly resist the allure of red velvet? Whether it’s in the form of a delicate rich cake, a refreshing scoop of creamy ice cream, or these absolutely delightful brownies, I am wholeheartedly obsessed. And, as it turns out, so is my significant other! It was actually his love for all things red velvet that sparked the inspiration for these incredible brownies.
I know, you must be shocked that I express my affection through delicious homemade treats – it’s certainly not a common theme in my kitchen! 😉 But seriously, there’s something incredibly fulfilling about creating something so special for someone you care about. These red velvet brownies are more than just a dessert; they’re a heartfelt gesture, a celebration of flavor, and a truly impressive indulgence.
While I don’t bake brownies constantly, I’ve always been a huge enthusiast. I fondly remember those store-bought brownies my mom used to bring home – I’d devour them so quickly, I doubt she even managed to snag more than two! Even with a bit more self-control these days, it’s genuinely challenging to exercise restraint when faced with these particular red velvet beauties. They are just THAT good.
I was truly amazed by how perfectly these red velvet brownies turned out. They boast an ideal balance of moisture and density, delivering that coveted fudgy, chewy texture that brownie lovers dream of. Beyond their irresistible taste and texture, they are also surprisingly easy to whip up. A key secret to their exceptional richness? I opt for real melted bittersweet chocolate instead of relying solely on cocoa powder, which truly elevates the depth of flavor and contributes to their superior texture. This simple swap makes all the difference, creating a luxurious red velvet experience unlike any other brownie you’ve tried.
What is Red Velvet? The Flavor & History Unveiled
Red velvet is more than just a striking color; it’s a unique flavor profile that has captivated dessert lovers for generations. Traditionally, red velvet is a vanilla-based cake with a hint of cocoa powder and a distinctive reddish hue, often achieved through the reaction of acidic ingredients (like buttermilk or vinegar) with natural anthocyanin pigments in older, non-Dutched cocoa. Modern recipes, however, primarily rely on red food coloring to achieve that iconic vibrant red.
In a classic red velvet cake, you’ll experience a subtle cocoa flavor that’s less intense than a typical chocolate cake, paired with a slight tanginess from the buttermilk and a creamy texture. This unique taste is traditionally complemented by a rich cream cheese frosting, which is arguably as essential to the red velvet experience as the cake itself.
When adapted into this brownie recipe, we combine the best elements of red velvet with the best qualities of a brownie. You get that mild, sophisticated chocolate flavor from the bittersweet chocolate, enhanced by the vibrant red food coloring. The result is an extra rich, incredibly fudgy treat that offers a deeper chocolate profile than a traditional red velvet cake, yet still maintains that signature hint of tang and an undeniable allure. It’s a decadent twist that delivers on all fronts, creating a truly unforgettable dessert.
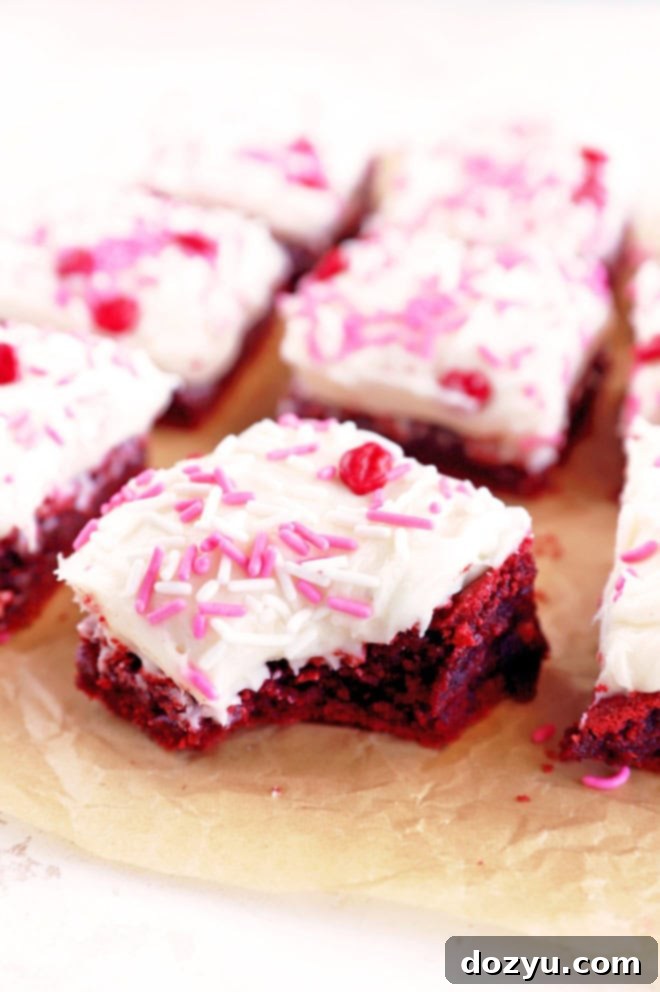
Essential Ingredients for Red Velvet Brownies
Crafting the perfect red velvet brownie starts with selecting the right ingredients. Each component plays a vital role in achieving that signature fudgy texture and rich, nuanced flavor:
- Bittersweet Chocolate: For these brownies, I exclusively use a classic bittersweet chocolate baking bar, finely chopped. This is crucial because melted chocolate provides a far superior flavor and contributes significantly to the fudgy texture, unlike cocoa powder alone. Cocoa powder can sometimes lead to a drier brownie, whereas melted chocolate offers a moist, dense crumb. I strongly advise against using dark or milk chocolate chips, as they behave differently in baking and can result in brownies that are either too bitter or excessively sweet, or have an inconsistent texture. Stick to a high-quality bittersweet baking bar for optimal results.
- Red Food Coloring: What would red velvet be without its captivating crimson hue? Any good quality liquid red food coloring will work wonderfully here. The 1-ounce bottle typically found in stores is often the perfect amount for achieving a vibrant color. You can also opt for red gel food coloring, which tends to produce an even more intense and deep red with less liquid, ensuring the consistency of your batter isn’t altered.
- Unsalted Butter: Unsalted butter is key to controlling the overall saltiness of your brownies. It’s imperative that your butter is softened to room temperature before you begin. This ensures it creams properly with the sugar, creating a smooth batter and contributing to the brownies’ tender crumb. If you’re short on time, a quick 10-second blast in the microwave can gently soften it, but be careful not to melt it completely.
- Pure Vanilla Extract: Always, and I mean always, reach for pure vanilla extract. High-quality vanilla is a flavor enhancer that beautifully complements the chocolate and subtle tang of red velvet. It adds depth and warmth that artificial vanilla simply cannot replicate. My personal favorite is Nielsen Massey – their Madagascar Bourbon Pure Vanilla Extract is truly exceptional and makes a noticeable difference in the final taste of both the brownies and the frosting.
- Eggs: The eggs contribute to the structure, moisture, and richness of the brownies. It’s important to use truly large-sized eggs as specified in the recipe. Using smaller eggs can throw off the liquid-to-dry ingredient ratio, affecting the texture and consistency of your brownies. Ensure they are at room temperature for better emulsification with other ingredients.
- All-Purpose Flour: Simple, unbleached all-purpose flour is all you need. There’s no need for fancy specialty flours here; standard all-purpose provides the perfect structure without making the brownies too cakey. Be sure to measure your flour correctly, preferably by weight, or by spooning it into the measuring cup and leveling it off, to avoid adding too much which can lead to dry brownies.
- Granulated White Sugar: This recipe calls for regular granulated white sugar. It provides sweetness and also contributes to the brownies’ chewy texture and moistness.
- Baking Powder: A small amount of baking powder helps to give the brownies a slight lift, preventing them from becoming too dense or brick-like, while still maintaining their desired fudgy texture.
Kitchen Essentials for Perfect Brownies
Having the right tools can make your baking experience much smoother and more enjoyable. For these red velvet brownies, you won’t need anything overly specialized, but these essentials will ensure your success:
- Large Mixing Bowl: A sturdy and spacious bowl, ideally from a set of metal mixing bowls, is perfect for combining all your ingredients without spills. Its size allows for easy whisking and stirring, ensuring everything is well incorporated.
- Whisk: A good quality whisk, preferably a French wire whisk, is indispensable for blending the wet ingredients until smooth and aerated. It helps create a uniform mixture and ensures the sugar dissolves effectively.
- Wooden Spoon or Spatula: Once you add the dry ingredients, a wooden spoon or a heat-resistant rubber spatula is ideal for gently folding everything together. This prevents overmixing, which can lead to tough brownies.
- 9×9-inch Square Baking Dish: A simple 9×9-inch baking dish is the perfect size for these brownies. You can use either a metal or glass dish; just be aware that baking times might vary slightly (metal typically bakes faster and produces crisper edges).
- Parchment Paper: This is a brownie baker’s best friend! Lining your baking dish with parchment paper (with enough overhang to create a “sling”) makes removing the cooled brownies incredibly easy and prevents sticking.
- Cooling Rack: Once baked, allowing your brownies to cool completely on a cooling rack ensures even cooling and prevents the bottom from becoming soggy, maintaining that perfect fudgy texture throughout.
Looking for more delicious brownie recipes to try? Don’t miss these irresistible options: Chocolate Covered Strawberry Brownies | Espresso Brownie Cups | Whiskey Skillet Brownie | Biscoff Brownies
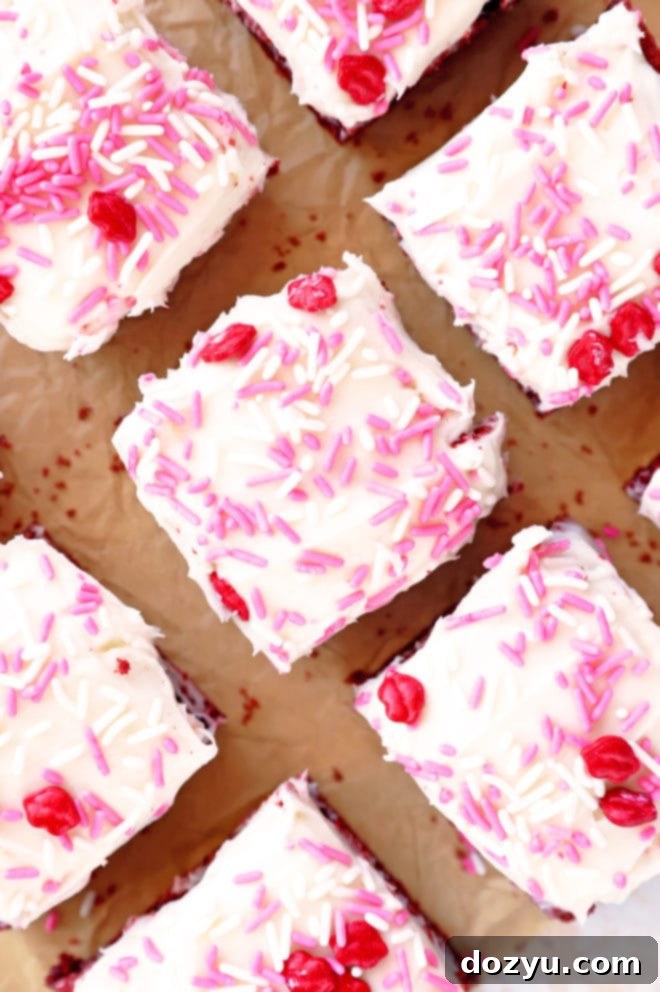
Step-by-Step Guide: How to Make Easy Red Velvet Brownies
Crafting the Rich Red Velvet Batter
To begin creating your decadent red velvet brownie batter, you’ll first need to gently melt the chocolate and butter. Combine the chopped bittersweet chocolate baking bar and softened unsalted butter in a microwave-safe bowl. Heat them in the microwave using short 30-second intervals, making sure to stir thoroughly after each interval. Continue this process until the mixture is completely melted and beautifully smooth, without any lumps. Be careful not to overheat, as chocolate can scorch easily.
Once your chocolate and butter mixture is perfectly melted, transfer it to a large mixing bowl. Now, it’s time to incorporate the sweetness and richness. Add the granulated sugar and large eggs to the chocolate mixture. Using a whisk, beat these ingredients together until they are fully blended and the mixture appears smooth and slightly thickened. This step is crucial for developing the structure and chewiness of your brownies.
Finally, introduce the remaining dry and wet ingredients. Add the all-purpose flour, the vibrant red food coloring, baking powder, and the pure vanilla extract to the bowl. Switch to a wooden spoon or a spatula and gently stir everything together. Mix just until all the ingredients are well-combined and no streaks of flour remain. Be mindful not to overmix the batter, as this can develop the gluten in the flour too much, leading to tougher, less fudgy brownies.
Baking to Fudgy Perfection
Before you pour the luscious red velvet brownie batter, properly prepare your baking pan. Line a 9×9-inch baking pan with a sheet of parchment paper. Ensure the parchment paper is long enough to extend over the sides by at least 2 inches on both ends; this creates a convenient “sling” that will allow you to effortlessly lift the cooled brownies out of the pan later. Lightly grease the parchment paper with cooking spray to prevent any sticking.
Carefully pour the rich red velvet batter into your prepared baking pan, spreading it evenly with a spatula to ensure a uniform thickness. Transfer the pan to your preheated oven and bake for approximately 40 to 44 minutes. The key to perfectly fudgy brownies is not to overbake them. You’ll know they’re done when a toothpick inserted into the very center comes out with moist crumbs attached, but not wet batter. The edges should appear set, while the center might still have a slight wobble. This indicates they will continue to cook slightly as they cool, leading to that ideal fudgy interior.
Once baked, remove the brownies from the oven and place the pan on a wire cooling rack. It is absolutely essential to let the brownies cool completely in the pan before attempting to remove them or frost them. Rushing this step can result in crumbling, as warm brownies are very delicate. Patience is a virtue when it comes to perfect brownies!
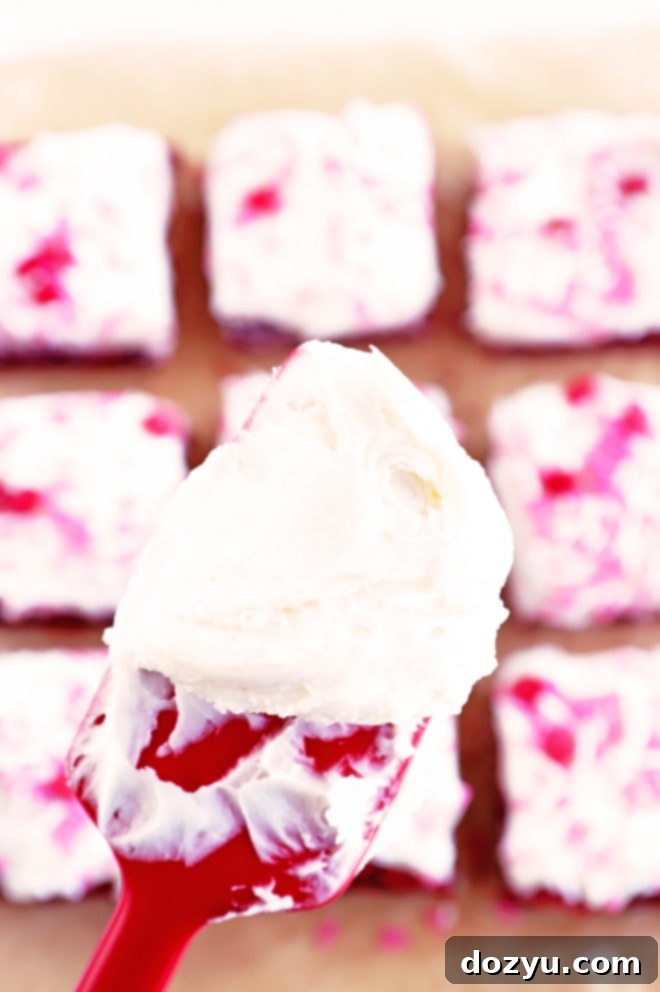
Cooling and Frosting Your Masterpiece
Once your brownies have baked, the most crucial step for perfect texture and clean cuts is to allow them to cool completely within the pan. This means letting them sit undisturbed on a wire rack until they are at room temperature, which can take a few hours. Resist the urge to cut or frost them while warm; warm brownies are delicate and prone to crumbling, and warm frosting will simply melt.
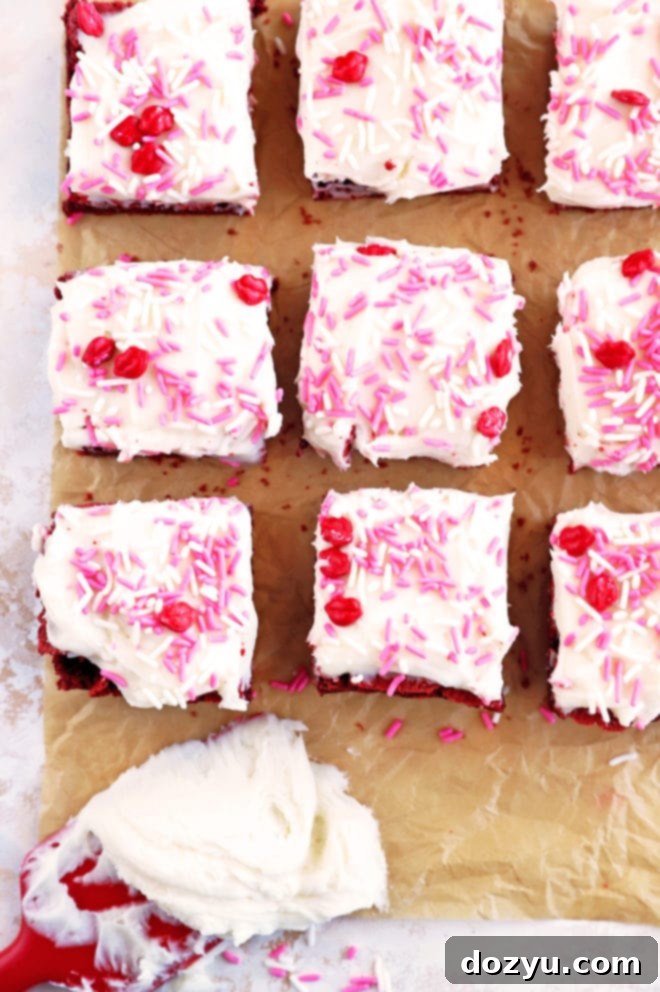
Once thoroughly cooled, use the parchment paper sling to gently lift the entire slab of brownies out of the baking pan and place it onto a cutting board. Now, it’s time for the crowning glory: the frosting! I highly recommend using a batch of my homemade Champagne Cream Cheese Frosting, which adds a wonderful delicate tang and sophisticated touch that perfectly complements the red velvet flavor. However, if you’re looking for a quicker option, a high-quality store-bought cream cheese frosting will also do the trick. You can also opt to serve these brownies unfrosted if you prefer a simpler, yet still delicious, treat.
In need of more delicious dessert inspiration? Explore my extensive desserts recipe page for a sweet ending to any meal!
Why Are My Brownies Not Chewy? Troubleshooting Tips
Achieving that perfectly fudgy and chewy brownie texture is often the ultimate goal, and it’s incredibly disappointing when they turn out dry and cakey instead. The most common culprit for brownies lacking chewiness is overbaking. When brownies spend too long in the oven, the moisture evaporates, leading to a dry, crumbly, and cake-like consistency.
To ensure maximum fudginess and chewiness, it’s essential to keep a very close eye on your brownies towards the end of their baking time. Start checking for doneness around the 20-minute mark, and continue to monitor them every few minutes thereafter. Remember that every oven is different – some run hotter than others – so the specified bake time is always a guideline. Look for edges that are set and a center that appears mostly set but still has a slight, almost imperceptible wobble when you gently shake the pan. This indicates that the brownies are cooked through but retain enough moisture for that desirable fudgy interior. The less you cook them (without being raw, of course!), the fudgier and chewier they will be.
Other factors can also affect chewiness: using too much flour, or overmixing the batter (which develops gluten and creates a cakey texture) can also contribute to dry brownies. Ensure you measure flour correctly (spoon and level, or ideally, weigh it) and mix only until combined.
Secrets to Perfectly Cut Brownies
Cutting brownies into neat, uniform squares can sometimes feel like a challenge, especially when they’re fudgy or topped with a generous layer of frosting. The key to clean, professional-looking cuts lies in a few simple techniques:
- Chill Them First: For the absolute cleanest cuts, especially when your brownies are frosted, pop them into the refrigerator for at least 30 minutes, or even an hour. Chilling helps the brownies firm up and allows the frosting to set, making them much easier to slice without smearing.
- Use a Sharp Knife: A sharp, thin-bladed knife is your best tool. Avoid plastic knives or butter knives, as they will only tear the brownies.
- Warm the Blade: For an extra-clean cut, run your sharp knife under hot water for about 10-15 seconds. Wipe the blade completely dry before making each cut. The warmth helps the blade glide through the brownie without sticking.
- Clean Between Cuts: This is perhaps the most important tip. After each cut, wipe the knife blade completely clean with a damp paper towel or cloth. This removes any sticky residue or crumbs, ensuring that every subsequent slice is as pristine as the first.
- Score First (Optional): If you want perfectly even squares, lightly score the top of the brownies with your knife to mark your lines before making the full cuts.
By following these steps, you’ll achieve beautifully cut red velvet brownies that are as appealing to the eye as they are to the palate.
What is Red Velvet Flavor?
The “red velvet” flavor is a delightful paradox, offering a unique taste experience that’s distinct from a regular chocolate cake. It generally presents as a mild chocolate or cocoa flavor, subtly integrated rather than overwhelmingly intense. What truly sets it apart is the accompanying tartness, which traditionally comes from ingredients like buttermilk or vinegar in the cake batter, creating a subtle tang that balances the sweetness.
When it comes to a classic red velvet cake, the cream cheese frosting is often the most prominent and defining flavor. Its rich, tangy, and slightly sweet profile beautifully complements the cake’s mild chocolate and tart notes.
In these Red Velvet Brownies, you’ll encounter a similar, yet intensified, flavor journey. You get that signature mild cocoa taste from the bittersweet chocolate, which is richer than just cocoa powder alone. This pairs wonderfully with the subtle tanginess embedded in the brownie itself, and then further enhanced by the luxurious, tangy cream cheese frosting. It’s like enjoying a classic red velvet cake, but with the added bonus of an incredibly fudgy, dense, and chewy texture that only a perfectly baked brownie can deliver. It’s a harmonious blend of sweet, tart, and chocolatey goodness.
How to Know When Your Brownies Are Perfectly Done
Knowing exactly when to pull your brownies from the oven is key to achieving that ideal fudgy, chewy texture. Overbaking is the enemy of a good brownie! Here’s how to tell they’re done:
I highly recommend keeping a close eye on your brownies during the final minutes of their estimated baking time. You are looking for a few specific indicators:
- Set Edges: The edges of the brownies should appear firm and fully set, slightly puffed, and perhaps just beginning to pull away from the sides of the pan.
- Slightly Wobbly Center: The very center of the brownies, however, should still have a slight, almost imperceptible wobble when you gently shake the pan. This “jiggle” is a good sign, indicating that the center is still moist and will continue to set as it cools.
- Toothpick Test (with a caveat): When you insert a toothpick into the center of the brownies, it should come out with moist crumbs clinging to it, but absolutely no wet batter. If the toothpick comes out completely clean, your brownies are likely overbaked and will be drier. If it comes out with wet batter, they need a few more minutes.
This is the critical moment to take the brownies out of the oven! Remember, brownies continue to cook from residual heat (this is called “carryover cooking”) even after they are removed from the oven. Allowing them to cool completely in the pan is essential for them to fully set and achieve that desired fudgy consistency. Trust your instincts and these visual cues to ensure perfectly baked red velvet brownies every time.
How to Store Red Velvet Brownies for Freshness
To keep your delicious Red Velvet Brownies as fresh and delightful as possible, proper storage is essential, especially with their luscious cream cheese frosting. Here’s how to store them:
- At Room Temperature: If your home is cool and not overly humid, you can store frosted red velvet brownies in an airtight container at room temperature for up to 3 to 4 days. Make sure they are in a sealed container to prevent them from drying out. Place them on the counter, away from direct sunlight or heat sources.
- In the Refrigerator: For extended freshness, or if your house tends to run warm, storing your frosted brownies in the refrigerator is a great option. Place them in an airtight container and they will last for up to a week. The frosting will firm up slightly when chilled, which some people prefer, and it also makes them easier to cut cleanly. Just remember to let them come to room temperature for about 15-30 minutes before serving for the best texture and flavor, as chilling can make them a bit firm.
- Freezing for Later: Brownies are excellent for freezing! If you want to enjoy these red velvet treats at a later date, you can freeze them. For best results, cut the cooled, frosted brownies into individual squares. Wrap each square tightly in plastic wrap, then place them in a freezer-safe airtight container or freezer bag. They can be frozen for up to 2-3 months. To serve, simply thaw them overnight in the refrigerator or at room temperature for a few hours.
No matter how you choose to store them, always ensure they are well-sealed to maintain their moisture and prevent them from absorbing other odors.
What to Serve with Red Velvet Brownies
These Red Velvet Brownies with Champagne Cream Cheese Frosting are a showstopper all on their own and truly don’t need much else to impress! Their rich flavor and decadent frosting make them a complete dessert experience.
However, if you’re feeling extra indulgent or decide to skip the frosting, I highly recommend warming the brownies slightly and serving them with a generous scoop of high-quality vanilla ice cream. A drizzle of warm hot fudge sauce would create the most incredible red velvet brownie sundae you’ll ever have – an absolutely unforgettable treat!
Since these brownies are undoubtedly a dessert, if you’re planning a full meal around them, here are some main dish ideas that are sure to impress your guests without overshadowing the sweet grand finale:
- This herb-crusted rack of lamb with a luxurious red wine jus is an elegant choice that always receives rave reviews. Despite its sophisticated appearance, it’s surprisingly straightforward to prepare, allowing you to enjoy your guests (and your dessert!).
- Roasted chicken with white wine and fresh herbs is a versatile and incredibly flavorful option that’s perfect any time of year. Roasting the chicken in pieces significantly speeds up the cooking time, making it a convenient yet impressive main course.
- For a truly special occasion, consider a simple but elegant BBQ beef tenderloin. It’s a perfect splurge for a holiday celebration or a romantic Valentine’s Day dinner. Serve it with a creamy horseradish sauce for an absolutely delicious pairing that elevates the meal.
If you’re making this dessert specifically for Valentine’s Day or another romantic occasion, be sure to explore my collection of Valentine’s Day drinks for some inspiring pairings! I particularly adore a bubbly pink strawberry mimosa or a sophisticated sparkling grapefruit rosé cocktail to complete the festive mood.
Finally, if you bake this incredible red velvet brownies recipe, please don’t hesitate to give it a rating or leave a comment below! I genuinely love hearing about your experiences in the kitchen and always make time to respond to every single comment. Feel free to drop any questions you might have as well – I’m here to help!
Oh, and definitely remember to tag me on Instagram if you share photos of your culinary creations! Seeing these recipes come to life in your homes is truly my favorite part, and I absolutely love scrolling through your beautiful photos. It honestly means the world to me!
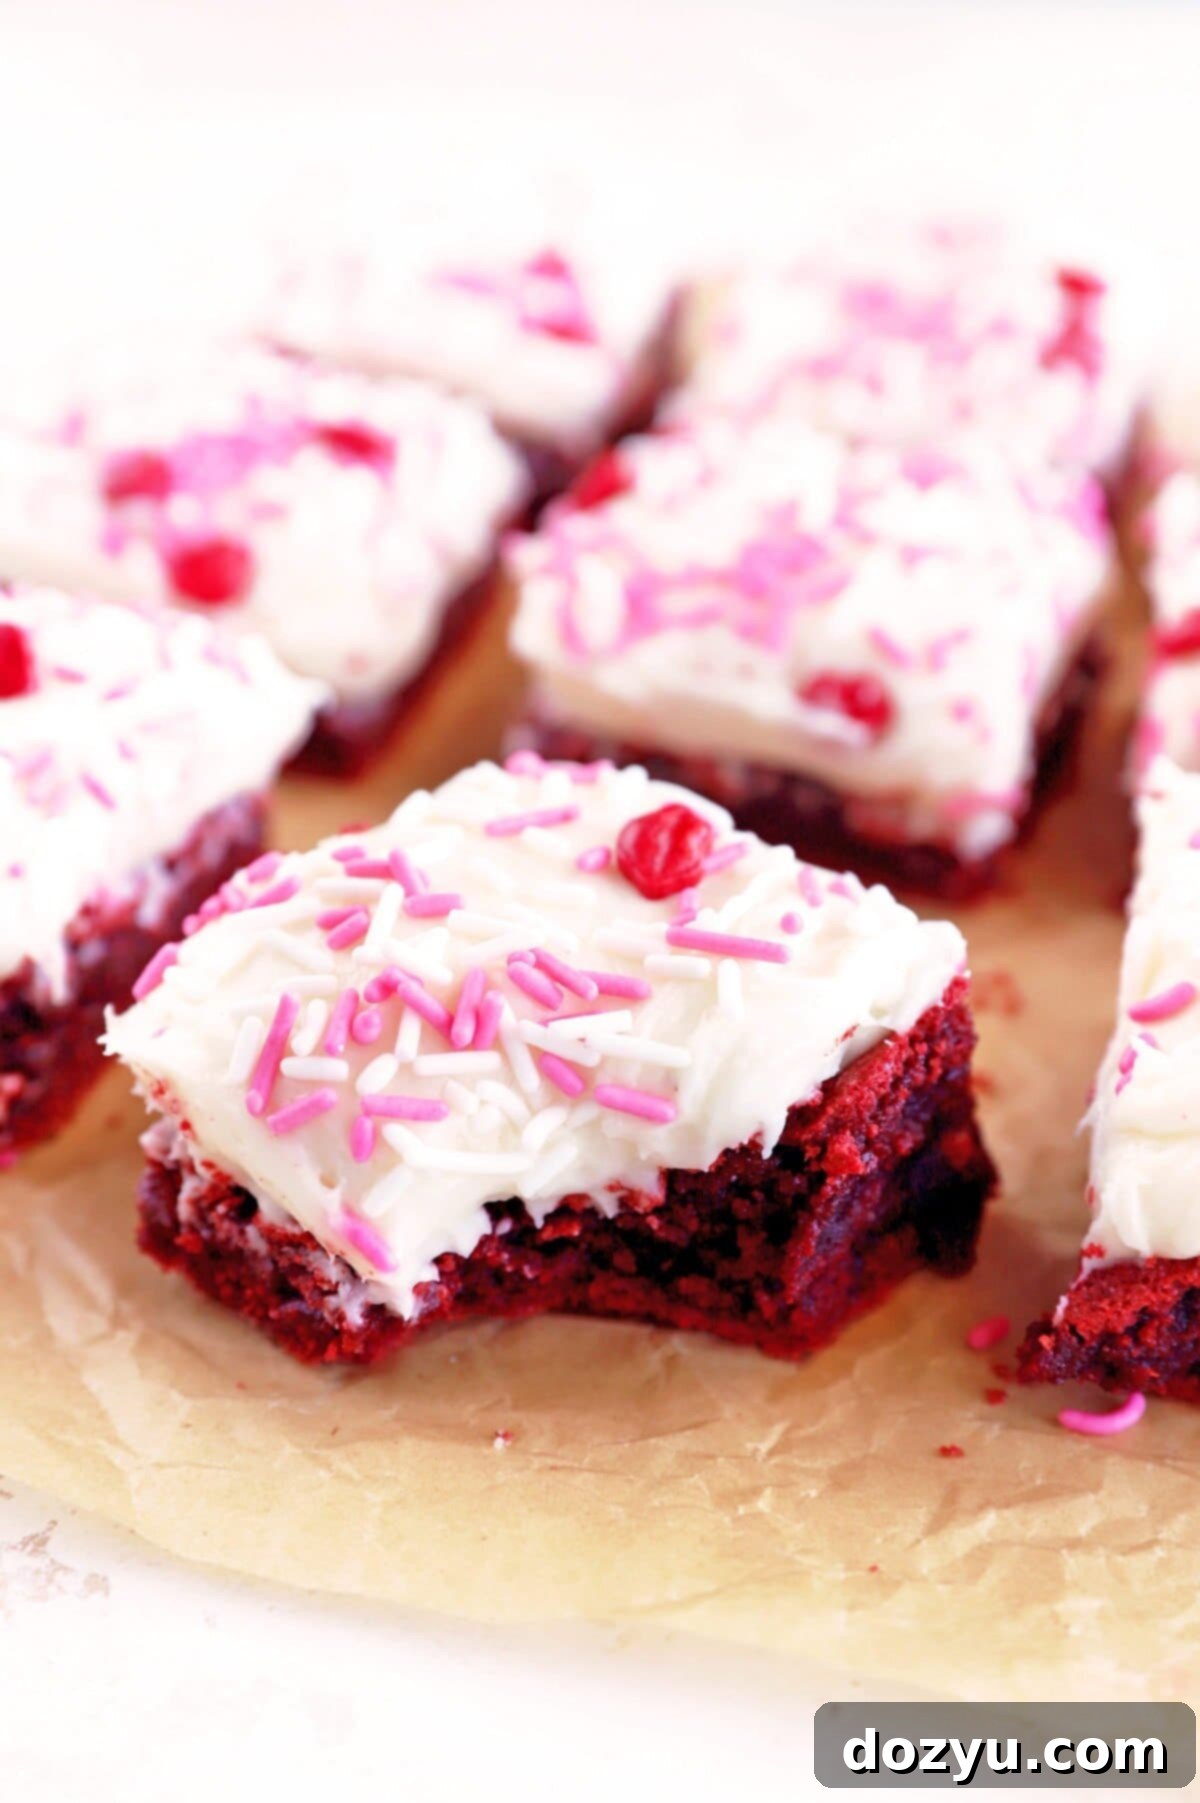
Red Velvet Brownies
Equipment
-
Wooden Spoon & Scraper
-
French Wire Whisk
-
Stainless Steel Mixing Bowls
-
Offset Icing Spatula
-
9-Inch Baking Pan
Ingredients
- 1 (4- oz.) bittersweet chocolate baking bar chopped
- ¾ cup unsalted butter softened to room temperature
- 2 cups granulated sugar
- 4 large eggs at room temperature
- 1 ½ cups all-purpose flour
- 1 (1- oz.) bottle red liquid food coloring or red gel food coloring
- 1 ½ tsp baking powder
- 1 ½ tsp pure vanilla extract
- Champagne Cream Cheese Frosting for topping, optional
Instructions
-
Preheat your oven to 350˚F (175°C). Prepare a 9×9-inch baking pan by lining it with parchment paper, allowing the paper to overhang about 2 inches on each side to create a convenient sling. Lightly grease the parchment paper with cooking spray.
-
In a microwave-safe bowl, combine the chopped bittersweet chocolate and softened unsalted butter. Melt in the microwave in 30-second intervals, stirring thoroughly after each, until the mixture is completely smooth and melted.
-
Transfer the melted chocolate and butter mixture to a large mixing bowl. Whisk in the granulated sugar and large eggs until the mixture is well-blended and smooth. Then, add the all-purpose flour, red food coloring, baking powder, and pure vanilla extract. Stir everything together gently with a wooden spoon or spatula until all ingredients are fully incorporated and no dry streaks of flour remain. Be careful not to overmix.
-
Pour the prepared red velvet brownie batter evenly into the lined baking pan. Bake for 40 to 44 minutes. To check for doneness, insert a toothpick into the center; it should come out with moist crumbs attached, but no wet batter. The edges should be set, and the center may still have a slight wobble. Remove from oven and let cool completely in the pan on a wire rack.
-
Once the brownies are completely cooled (this is crucial for clean cuts and optimal texture), lift them out of the pan using the parchment sling. Frost as desired with Champagne Cream Cheese Frosting (or your preferred frosting). For the neatest slices, chill the frosted brownies for at least 30 minutes before cutting into pieces with a warm, clean, sharp knife, wiping the blade between each cut.
