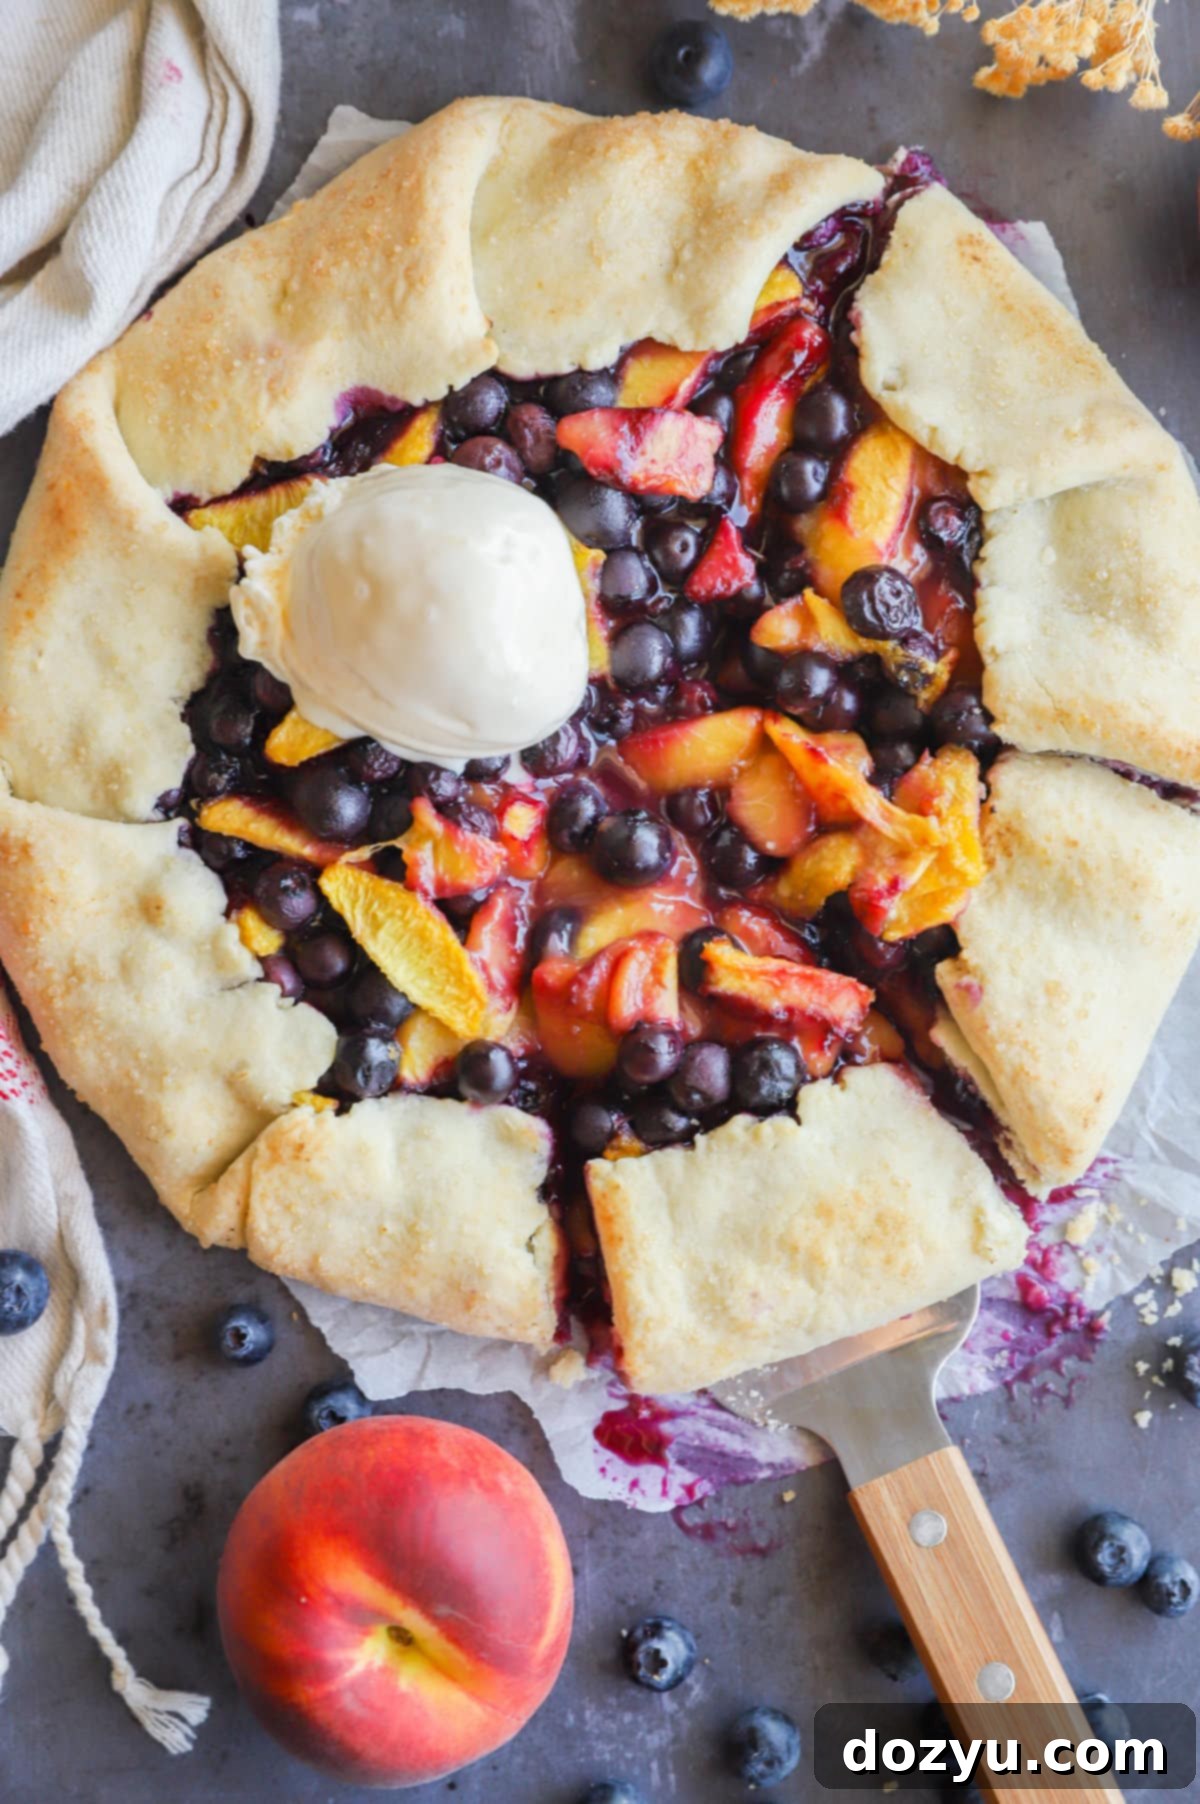
Easy & Rustic Peach Blueberry Galette: Your Perfect Summer Dessert
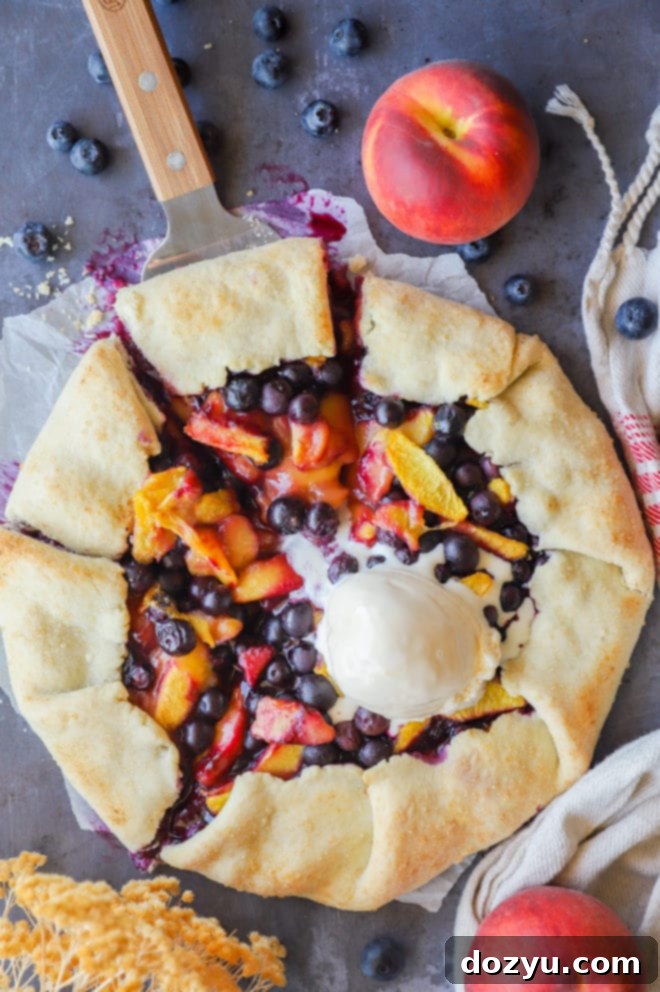
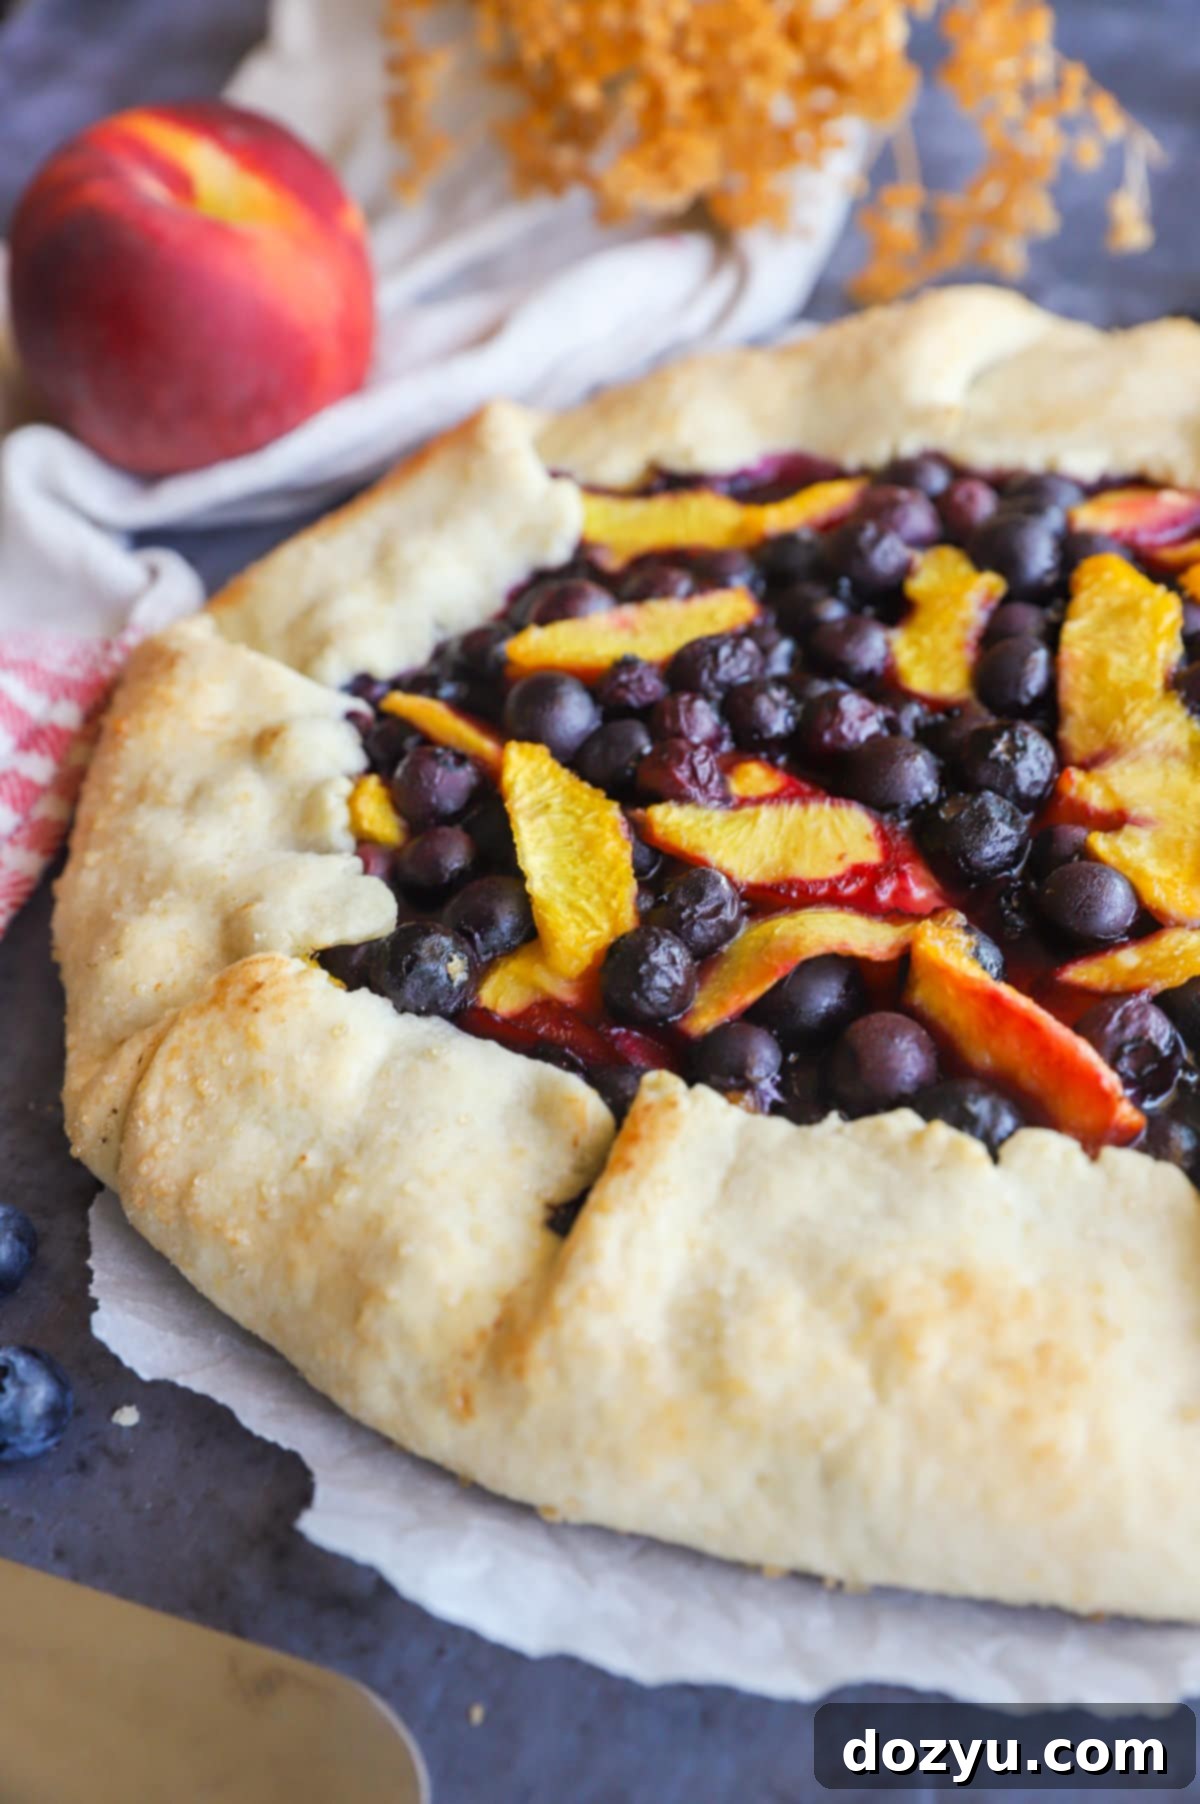
Indulge in the delightful simplicity of a Peach Blueberry Galette – a charming, rustic fruit dessert that offers all the flavor of a classic pie without any of the fuss! Its buttery, free-form crust artfully folds over a luscious, juicy filling of ripe peaches and sweet blueberries, baking to golden perfection. Serve this exquisite treat warm with a generous scoop of creamy vanilla ice cream for an unforgettable experience. This recipe comfortably serves 6, making it ideal for family gatherings or a special weeknight dessert.
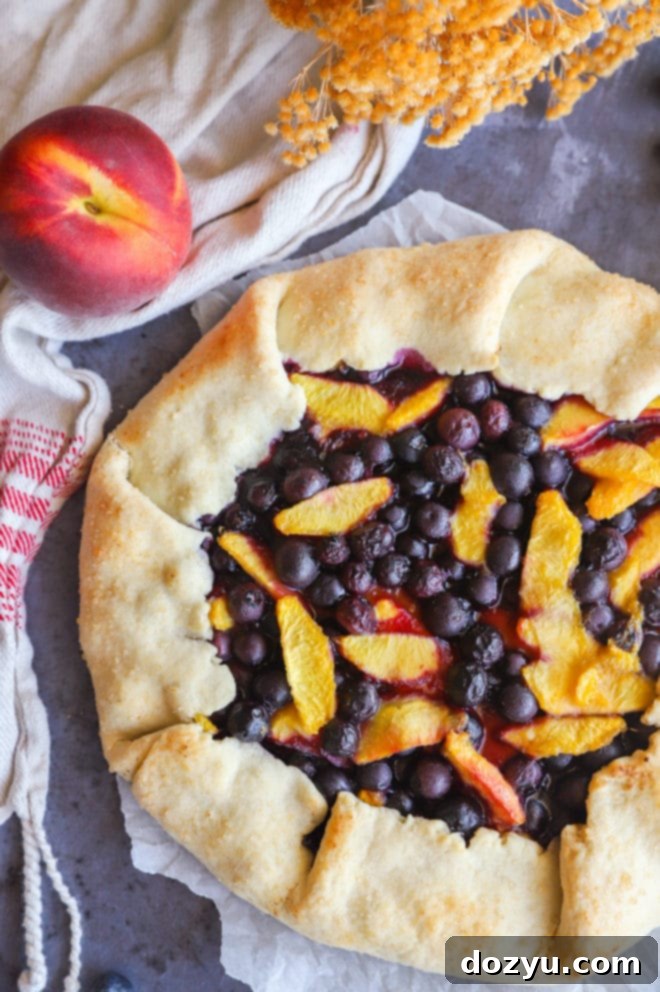
Table of Contents
Toggle
About This Peach and Blueberry Galette
As summer graces us with its presence, so does the much-anticipated peach season! These glorious fruits arrive quickly and, just as swiftly, they’re gone. That’s why I make it a mission to savor every last peach I can get my hands on, incorporating them into as many delicious recipes as possible before their season ends.
Galettes have become my absolute favorite way to celebrate seasonal fruits. They are wonderfully forgiving and require minimal effort to achieve a truly stunning presentation. Unlike elaborate pies with their intricate lattice tops or cakes demanding perfect frosting, a galette embraces a beautifully rustic, free-form aesthetic. My personal baking Achilles’ heel has always been intricate decorating, but with a galette, all you need to do is gently fold the edges and ensure the dough doesn’t tear. It’s an achievable goal, even for the most aesthetically challenged bakers!
There’s truly nothing more satisfying than a generous slice of warm, fruity peach and blueberry galette, especially when it’s crowned with a decadent scoop of vanilla bean gelato. (Seriously, Talenti is my go-to – it’s so good, I’ve been known to stand by the freezer at 1 AM, spooning it straight from the tub!). It’s the perfect sweet finale after a hearty meal, offering a refreshing contrast with its vibrant fruit flavors. The sweet peaches and tart blueberries create a harmonious pairing, while the turbinado sugar sprinkled on the crust adds a delightful crunch and sparkle, enhancing the overall texture.
While this galette makes an incredible dessert, don’t limit yourself! I’m guilty of enjoying it for breakfast, lunch, and even a mid-afternoon snack. Trust me, once you taste it, you’ll understand why it’s hard to resist at any time of day. It’s truly *that good*.
Note: This article is an updated version of a post originally published on August 14, 2015. The core recipe remains the same, but we’ve added a wealth of helpful new information and tips to guide you!
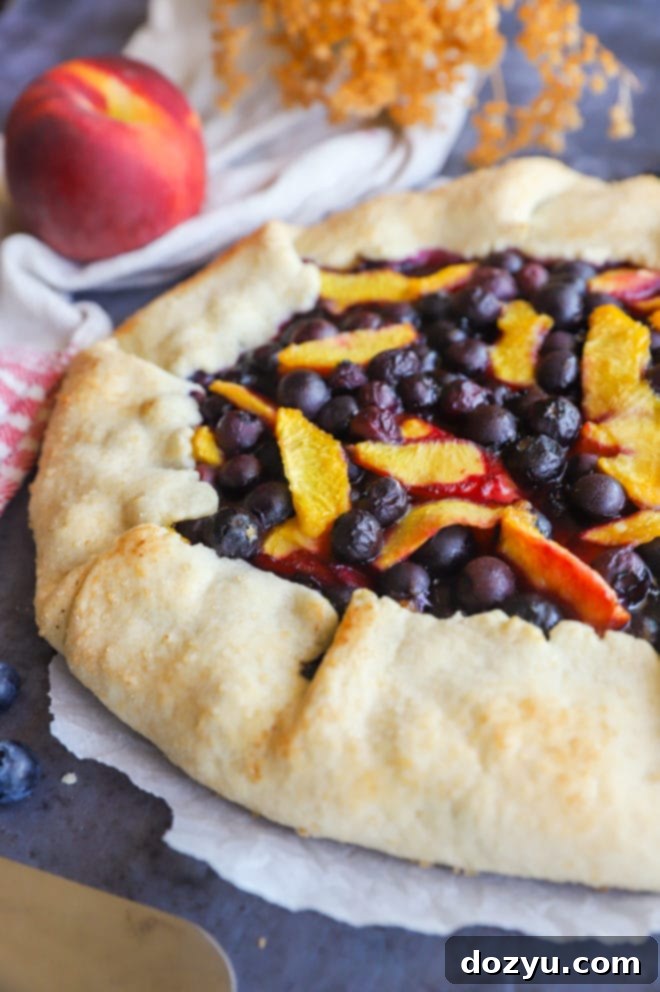
Why You’ll Love This Peach Blueberry Galette
If you’re searching for a dessert that delivers on flavor, charm, and simplicity, look no further. This Peach Blueberry Galette checks all the boxes, making it a beloved recipe in my kitchen and, I predict, in yours too. Here’s why it stands out:
- Effortless Elegance: Forget the stress of crimping pie crusts or decorating elaborate cakes. The beauty of a galette lies in its rustic, free-form nature. It’s designed to look perfectly imperfect, saving you time and giving you a stunning result with minimal fuss.
- Seasonal Flavor Bomb: When peaches and blueberries are in season, their flavor is unparalleled. This galette allows these star ingredients to shine, creating a vibrant, sweet, and slightly tart filling that truly captures the essence of summer.
- Versatile & Customizable: While peaches and blueberries are a match made in heaven, the galette concept is incredibly adaptable. You can easily swap in other seasonal fruits like apples, cherries, raspberries, or plums.
- Perfect Texture Contrast: The buttery, flaky crust provides a delightful crunch, especially with a sprinkle of turbinado sugar, which perfectly complements the soft, warm, and juicy fruit filling.
- Crowd-Pleasing Dessert: Whether it’s a casual weeknight treat, a potluck contribution, or a special occasion dessert, this galette is always a hit. Its inviting aroma and irresistible taste make it a guaranteed favorite.
- Less Intimidating Than Pie: Many home bakers shy away from pies, fearing the crust. A galette eliminates that intimidation factor. The free-form shape means no pie dish is required, and any ‘imperfections’ only add to its homemade charm.
Key Ingredients for Your Perfect Galette
Creating a truly magnificent Peach Blueberry Galette starts with quality ingredients. Here’s a closer look at what you’ll need and why each component is vital:
- All-Purpose Flour: This forms the foundational structure for both our wonderfully flaky crust and acts as a thickening agent in the juicy fruit filling. Ensure you measure it accurately for the best consistency.
- Sugars (Granulated, Brown, & Raw/Turbinado): We use a combination for a balanced sweetness and varied texture.
- Granulated Sugar: For general sweetness in both the crust and filling.
- Brown Sugar: Adds a deeper, molasses-rich sweetness and moisture to the fruit filling, enhancing its caramel notes. Light brown sugar is typically used, but dark brown sugar works if that’s all you have on hand, yielding a slightly more robust flavor.
- Raw Sugar (Turbinado Sugar): This coarse sugar is sprinkled on the crust before baking. It melts slightly to create a glistening, caramelized crunch that is absolutely divine and adds visual appeal.
- Salt: A small but mighty ingredient! A pinch of salt in both the crust and filling is crucial for enhancing all the other flavors, preventing the dessert from tasting flat and ensuring a well-rounded taste profile.
- Cold Unsalted Butter: This is the secret to a flaky, tender crust. Using unsalted butter gives you control over the salt content. The butter *must* be cold and cut into small cubes to create pockets of steam during baking, resulting in those coveted flaky layers. If you opt for salted butter, remember to omit the added salt from the crust recipe.
- Ice Water: Another essential for a tender, flaky crust. Extremely cold water helps prevent the butter from melting prematurely and inhibits excessive gluten development, which can lead to a tough crust. I recommend filling a bowl with water and ice before starting, then measuring out the water (avoiding the actual ice cubes) as needed.
- Ripe Peaches: The star of the show! For the most flavorful galette, seek out the ripest, most fragrant peaches available. I personally leave the peels on for added texture and nutrients – plus, peeling really ripe peaches can be a messy and time-consuming task! However, if you prefer a smoother texture, feel free to peel them before slicing.
- Fresh Blueberries: These little bursts of sweetness and tartness perfectly complement the peaches. Fresh blueberries are highly recommended for their vibrant flavor and firm texture. I advise against using frozen berries for this recipe, as they can release too much moisture and make the filling watery (though there are workarounds if frozen is your only option – see FAQ below!).
- Fresh Lemon Juice: A squeeze of fresh lemon juice is vital for balancing the sweetness of the fruit and sugars. It adds a bright, acidic note that prevents the galette from tasting overly cloying. While fresh is always best, bottled lemon juice can be used in a pinch.
Essential Tools for Galette Baking
Having the right tools can make your galette baking experience even smoother and more enjoyable. Here are the must-haves and some baking favorites:
- Food Processor or Large Mixing Bowls: For making the dough, a food processor is my preferred method for its speed and minimal mess. It quickly brings the ingredients together without overworking the dough. However, if you don’t have one, a large set of mixing bowls and a pastry blender or even your fingertips will work perfectly well to cut in the butter.
- Marble Rolling Pin: A marble rolling pin is a fantastic investment for any baker. Its weight helps you roll out dough with less effort, and its naturally cool surface helps keep your chilled dough from warming up too quickly, which is crucial for a flaky crust.
- Chef’s Knife and Cutting Board: Essential for efficiently prepping your peaches, ensuring uniform slices for even cooking and a beautiful presentation.
- Half Sheet Baking Pan (Rimmed): You’ll need a sturdy, rimmed baking sheet to contain any potential drips from the juicy fruit filling during baking.
- Parchment Paper or Silicone Mat: Line your baking sheet with either of these to prevent sticking and make for easy cleanup and transfer of the baked galette.
Baking Favorites
These are a few of my go-to tools that make baking this galette (and many other desserts) a breeze:
Marble Rolling Pin
Buy Now →
Marble Pastry Board
Buy Now →
Half Sheet Baking Pan
Buy Now →
Step-by-Step Guide: Crafting Your Peach Blueberry Galette
Follow these simple instructions to create a beautiful and delicious peach blueberry galette that will impress everyone!
Make the Dough
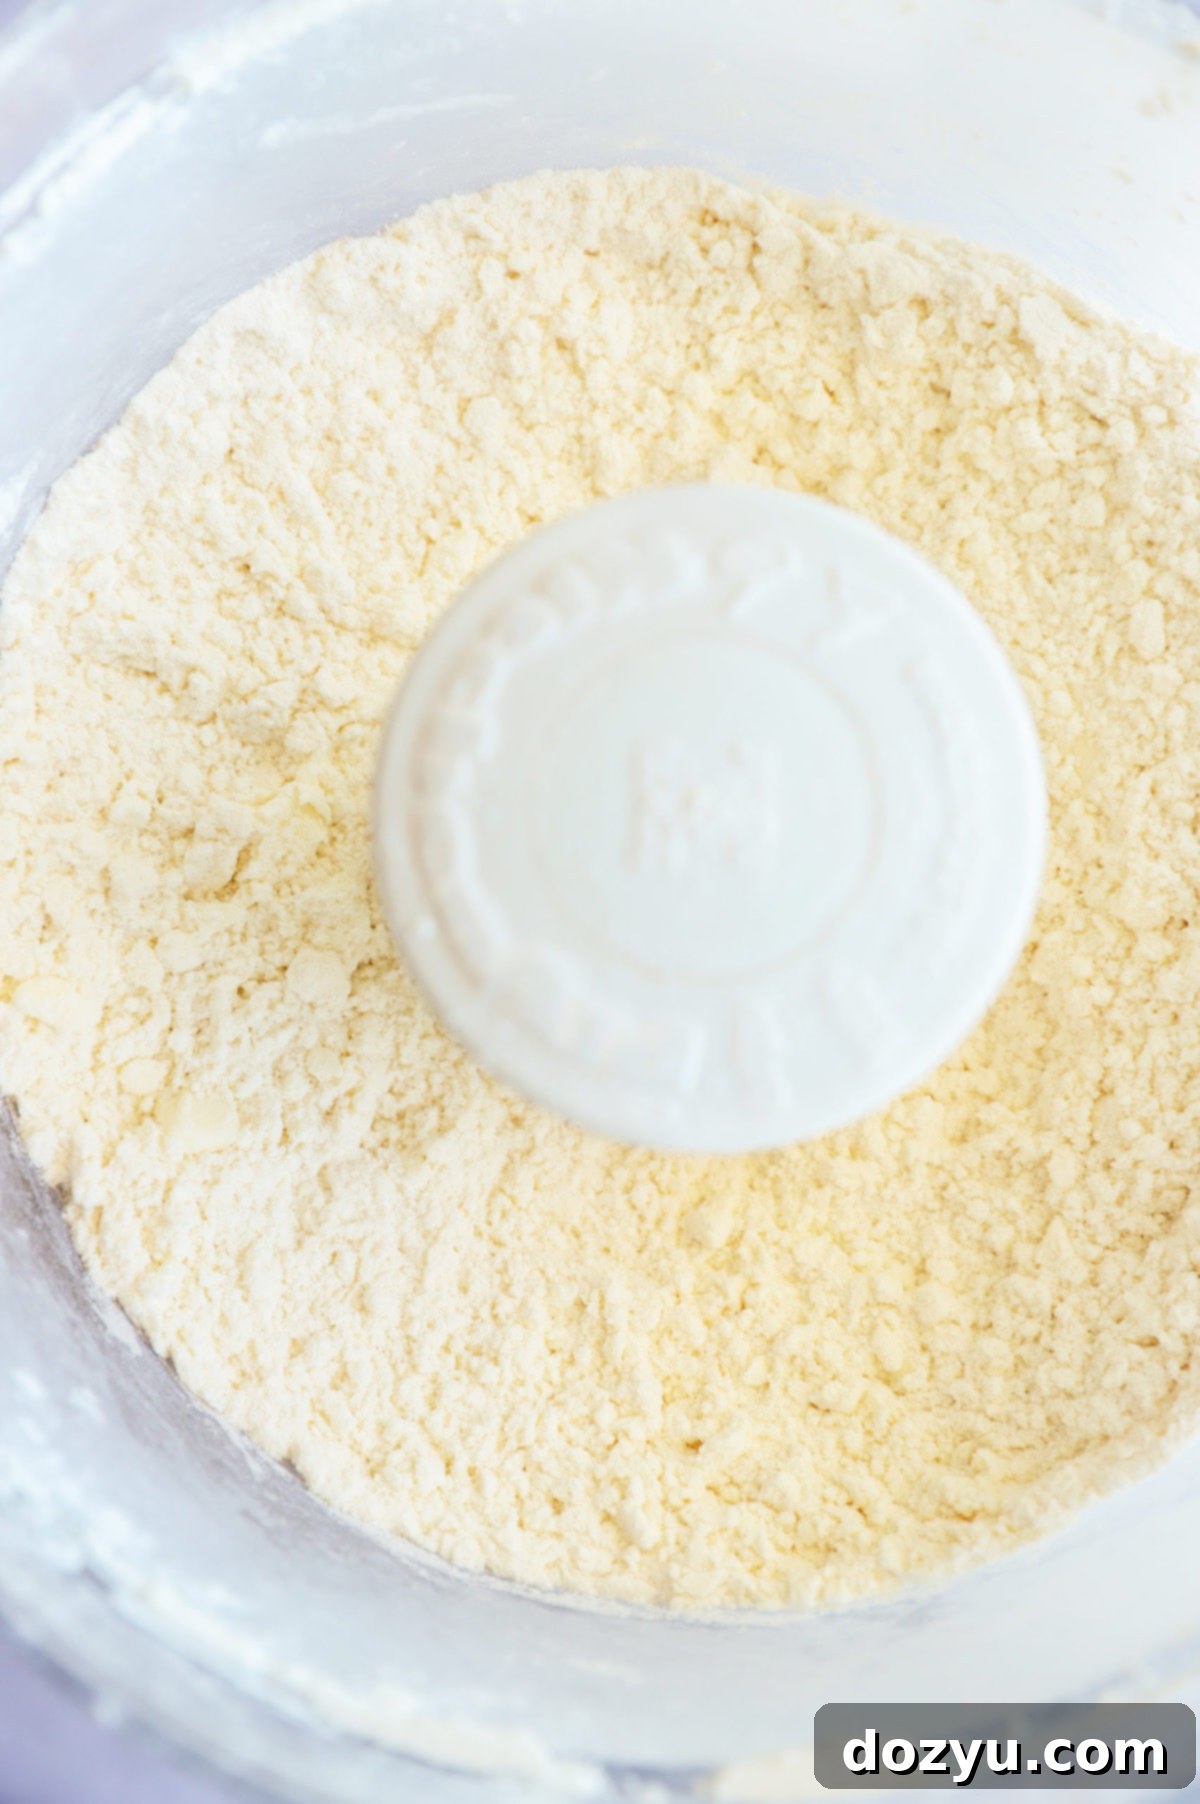
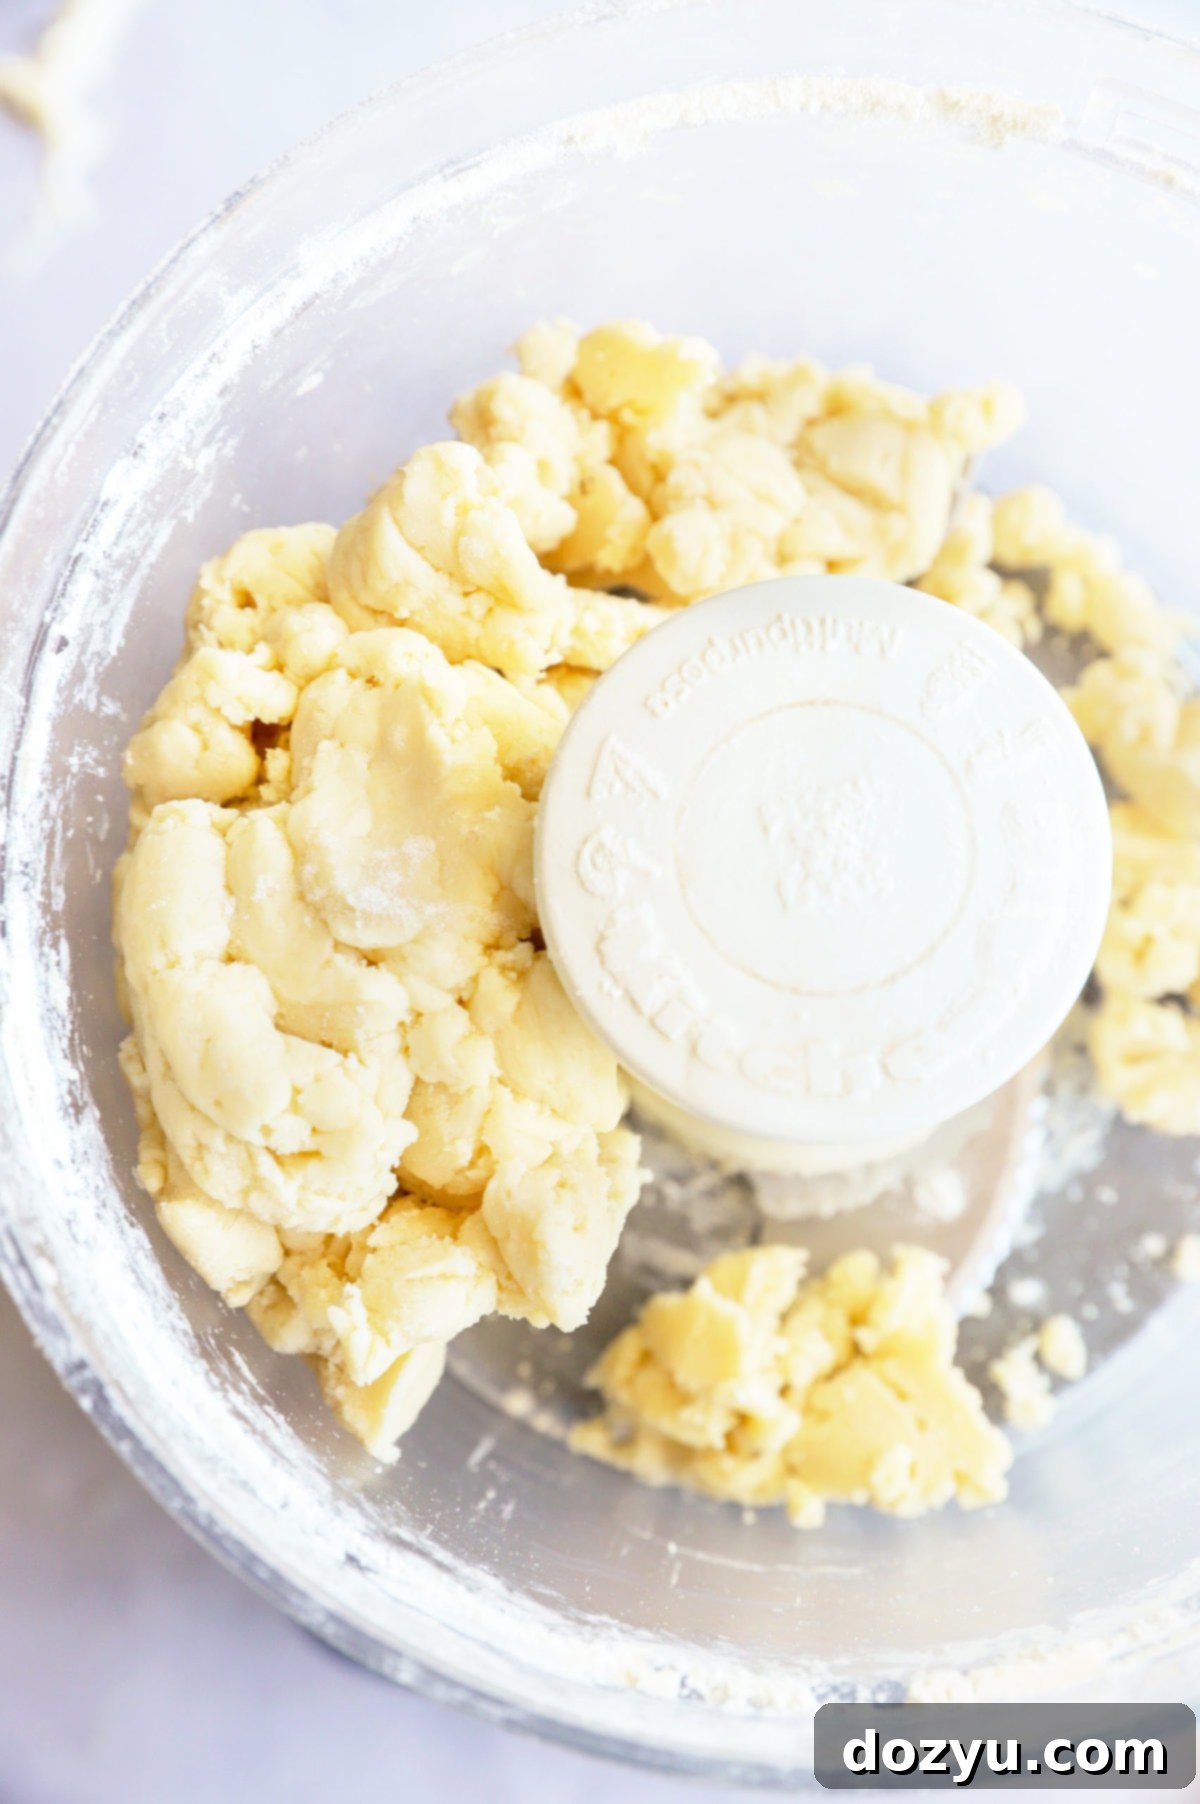
For the quickest and least messy method, I highly recommend using a food processor for your galette dough. Begin by pulsing the flour, a touch of granulated sugar, and salt together until well combined. Next, add your chilled, cubed butter to the dry ingredients. Pulse 8 to 10 times, or until the mixture resembles coarse crumbs with some pea-sized pieces of butter still visible. This is key for flakiness! With the food processor running, gradually add the ice water, one tablespoon at a time. Watch carefully – the dough will quickly come together and form a ball. Be careful not to overmix; stop as soon as it forms a cohesive mass.
Chill the Dough
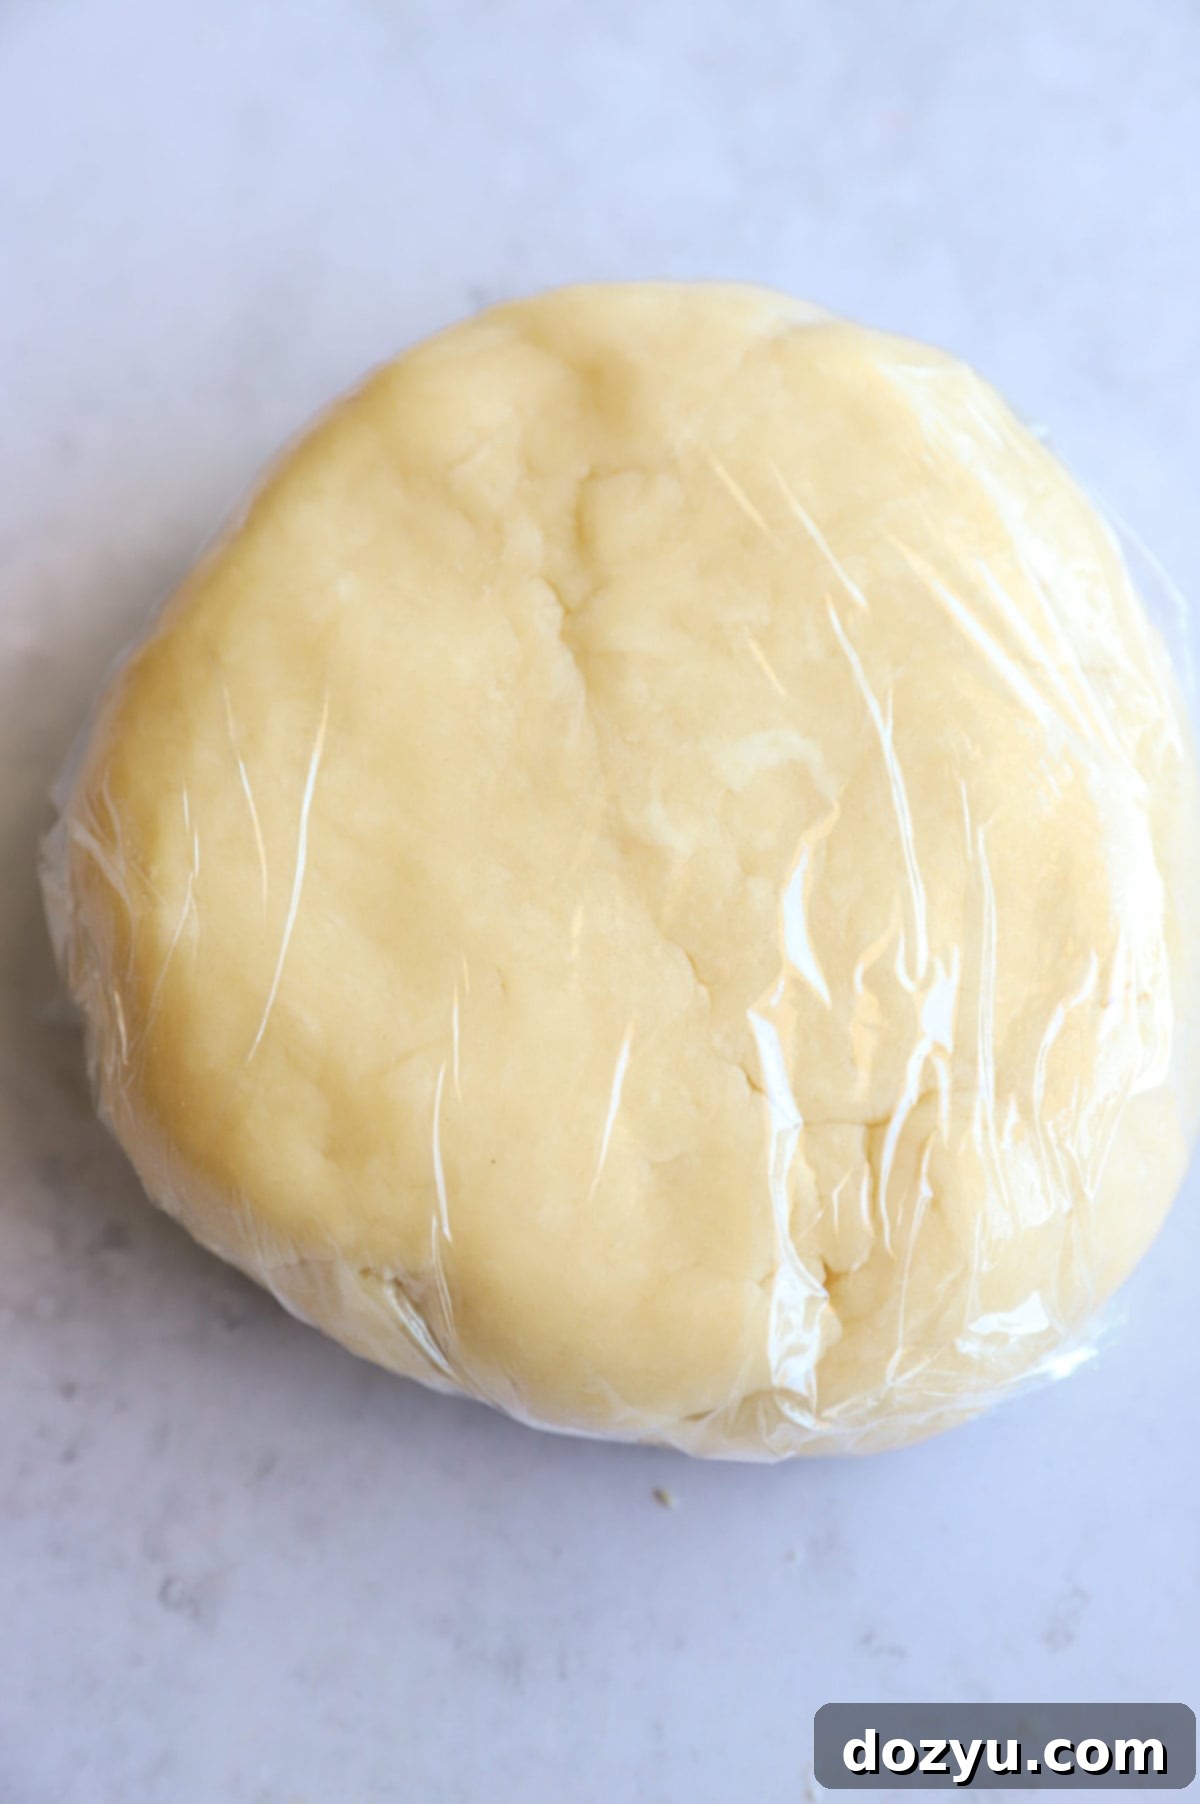
Once the dough has formed, turn it out onto a clean, lightly floured surface. Gently bring it together and shape it into a neat, flat disk, about 4 inches in diameter. Wrap the disk tightly in plastic wrap, ensuring no air can get to it. This chilling step is absolutely crucial – it allows the gluten in the flour to relax, making the dough easier to roll, and more importantly, it firms up the butter, which is essential for that coveted flaky crust. Chill the dough in the refrigerator for a minimum of 30 minutes, or even overnight if you’re prepping ahead.
Prepare the Filling
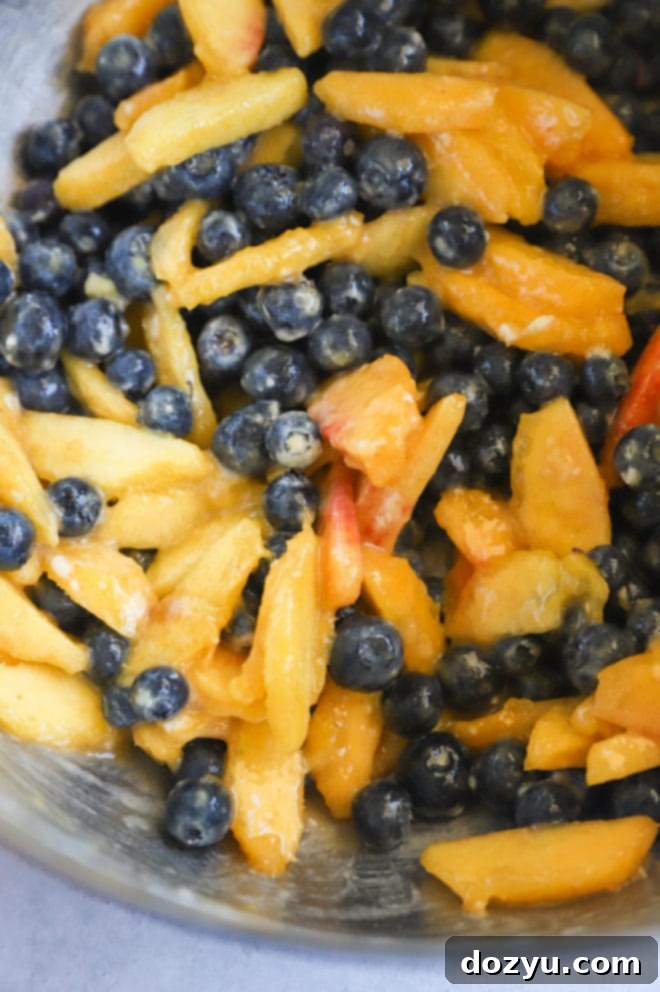
While your dough is chilling, prepare the star of the show: the vibrant fruit filling. In a large bowl, combine your thinly sliced peaches and fresh blueberries. Add the lemon juice (to brighten flavors and balance sweetness), granulated sugar, brown sugar, flour (this will help thicken the juices as it bakes), and a pinch of salt. Gently toss all the ingredients together until the fruit is evenly coated. Be careful not to mash the fruit; you want to maintain its shape.
Assemble the Galette
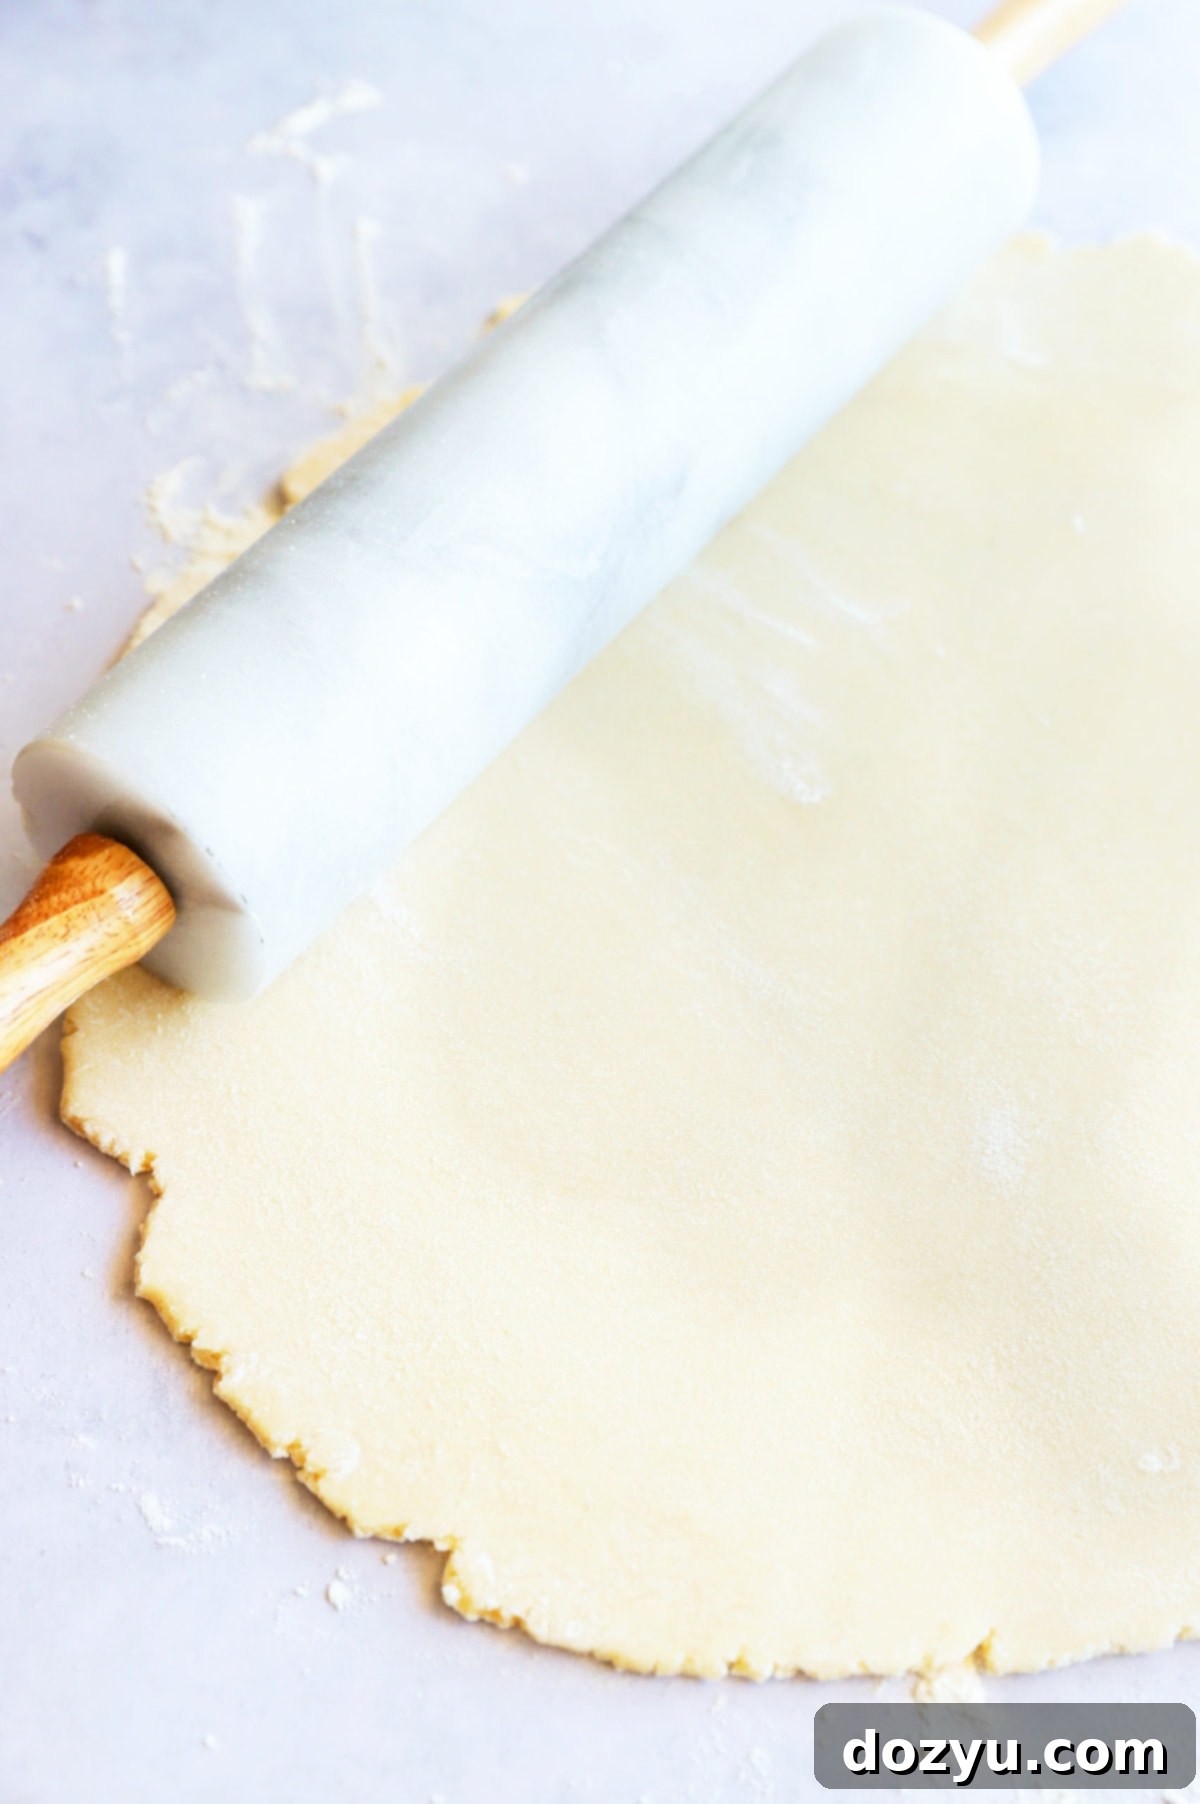
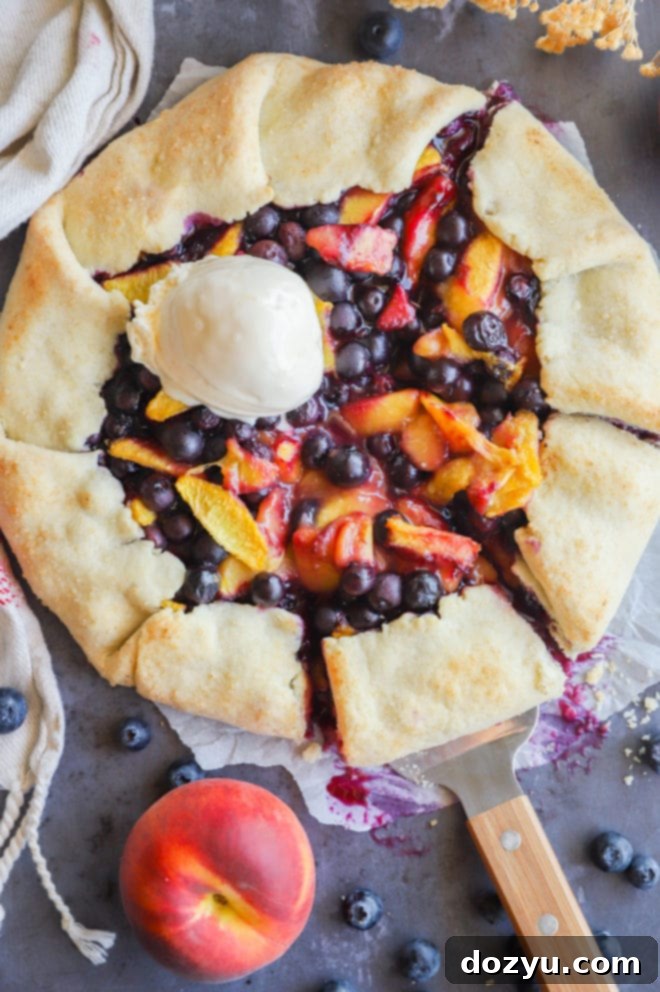
Preheat your oven to 375˚F (190˚C). On a lightly floured surface, roll out your chilled dough into a roughly 14-inch round. Don’t worry about perfection – the rustic look is part of its charm! Carefully transfer the rolled-out dough onto a baking sheet lined with a silicone mat or parchment paper. Arrange the prepared fruit filling in the center of the dough, leaving a generous border of about 1 ½ to 2 inches all the way around. This border is where the magic happens! Gently fold the pastry edge up and over the filling, pleating the dough as you go, and pressing down lightly to seal each fold. Once the edges are folded, brush them with melted butter and generously sprinkle with turbinado (raw) sugar for that irresistible golden crunch.
Bake to Perfection
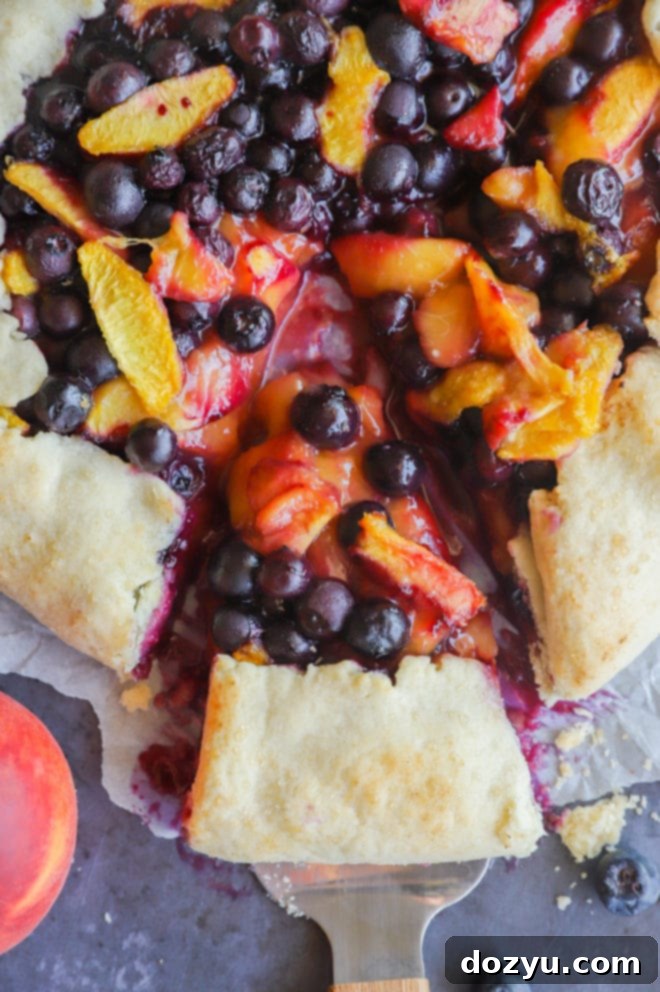
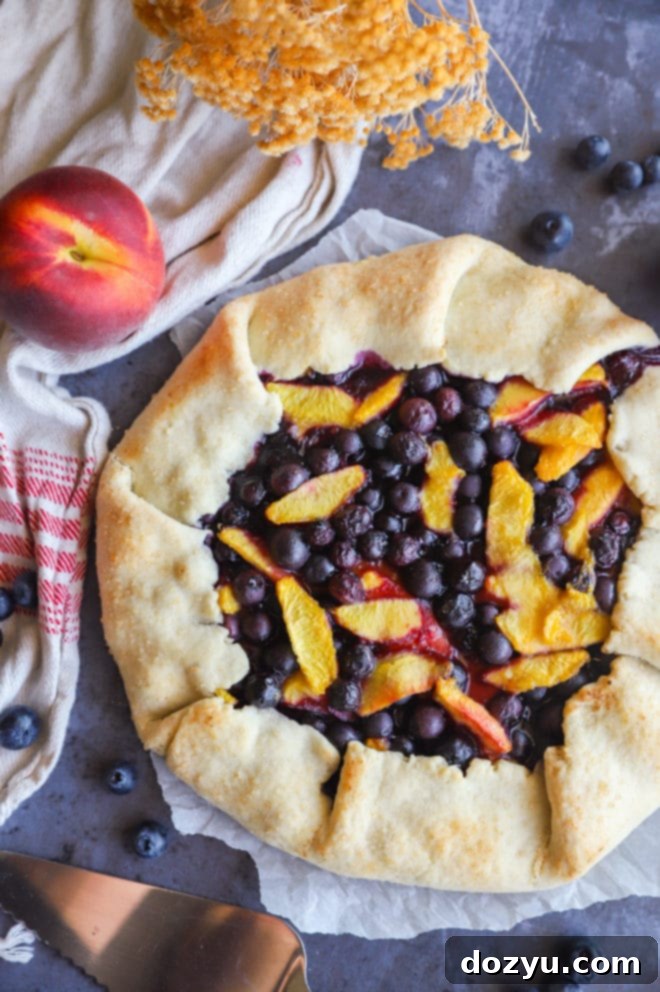
Place your assembled galette into the preheated oven and bake for 35 to 45 minutes. The galette is ready when the crust is beautifully cooked through and has achieved a gorgeous light golden-brown color, and the fruit filling is bubbly and tender. Once baked, carefully transfer the galette (still on its parchment paper or silicone mat) onto a wire rack. It’s important to let it cool for at least 15 minutes before attempting to slice and serve. This resting period allows the fruit juices to settle and thicken, preventing them from oozing out when you cut into your delicious creation.
Expert Tips for Galette Success
While galettes are famously forgiving, a few expert tips can elevate your baking and ensure a truly spectacular result every time:
- Master the Dough: The foundation of any great galette is its crust. This recipe’s dough is quite foolproof, but for an even deeper dive into achieving the flakiest, most tender crust possible, check out my dedicated guide: How to Make the Perfect Galette Dough.
- Keep Ingredients Cold: For the crust, ensure your butter and ice water are as cold as possible. This prevents the butter from fully incorporating into the flour, creating pockets that steam during baking for a flaky texture.
- Don’t Overwork the Dough: Mix the dough just enough for it to come together. Overworking it develops too much gluten, which can lead to a tough, rather than tender, crust.
- Choose Peak Season Fruit: The quality of your fruit directly impacts the flavor of your galette. Always pick the ripest, most fragrant peaches and blueberries you can find. A seasonal tip below will help you select the best peaches!
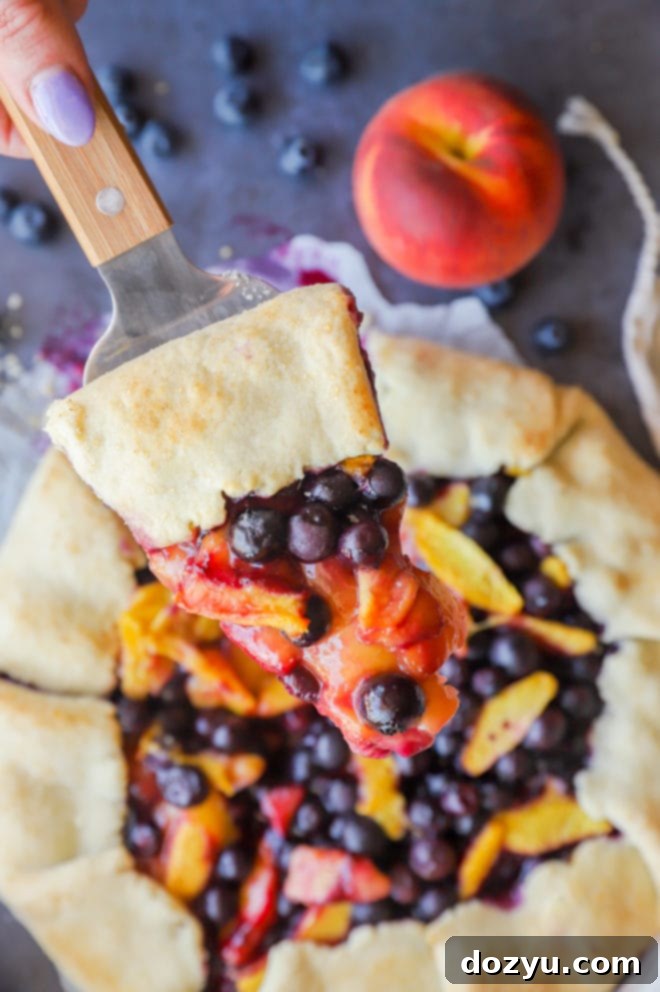
- Rest Before Slicing: Patience is a virtue, especially after baking. Allowing the galette to rest for about 15 minutes after removing it from the oven is crucial. This cooling period allows the fruit juices to set and thicken, ensuring they don’t gush out when you slice into your warm dessert.
- Don’t Overcrowd the Fruit: While it’s tempting to pack in as much fruit as possible, ensure you leave a sufficient border (1.5-2 inches) around the edges of the dough. This allows you to fold the crust neatly and prevents the filling from spilling out during baking.
Craving more delicious galette recipes? Explore these tasty options: Blueberry Galette with Thyme Honey | Raspberry Blueberry and Strawberry Galette | Bourbon Caramel Apple Galette | Brandy Cherry Galette
Frequently Asked Questions
What makes a galette a galette?
A galette is a delightful French pastry that distinguishes itself from traditional pies or tarts by its free-form, rustic nature. The word “galette” broadly refers to a flat, round cake or pastry, and in the context of fruit desserts, it means a single, round sheet of pastry dough that is folded loosely over a sweet or savory filling, leaving the center exposed. This simple, elegant folding creates a charmingly imperfect, homemade look that is part of its appeal. It’s less structured than a pie, requires no special pie plate, and celebrates the natural beauty of the ingredients.
Do I have to use raw sugar on the crust?
Not at all! While I personally adore the extra layer of sweetness, delightful crunch, and beautiful shimmer that raw sugar (also known as turbinado sugar) adds to the galette crust, it’s entirely optional. If you don’t have it on hand, you can simply skip this step. The galette will still be wonderfully delicious and have a golden-brown crust. Alternatively, you can sprinkle with a bit of regular granulated sugar for a subtle sparkle, or even a dash of cinnamon sugar for an added layer of flavor.
Can I use frozen fruit?
Technically, yes, you can use frozen fruit, but for the absolute best flavor and texture, I always recommend fresh fruit for this galette. Fresh peaches and blueberries offer a more vibrant taste and firmer texture. If fresh fruit isn’t available or if you have a surplus of frozen berries, here’s how to make it work:
- Thaw Completely: Before making the filling, ensure your frozen fruit is completely thawed.
- Drain Thoroughly: Frozen fruits release a lot of liquid as they thaw. It is crucial to drain this excess moisture very well to prevent the galette filling from becoming too watery or soggy.
- Pat Dry: For extra precaution, I would even go so far as to gently pat the thawed and drained fruit dry with paper towels. This removes as much surface moisture as possible, which is key to a perfectly set filling and a crisp crust.
Need some more dessert inspiration? Dive into my full desserts recipe page for endless sweet treats!
What to Serve with Your Peach Blueberry Galette
This Peach Blueberry Galette is utterly delicious on its own, a celebration of summer fruits. However, a few accompaniments can truly elevate the experience:
- Vanilla Ice Cream or Gelato: The classic pairing for warm fruit desserts! A generous scoop of rich, creamy French vanilla ice cream or silky gelato melts beautifully into the warm fruit, creating a decadent contrast of temperatures and textures.
- Freshly Whipped Cream: Lightly sweetened homemade whipped cream is another fantastic option, offering a fluffy, airy counterpoint to the dense fruit filling.
- A Drizzle of Honey or Maple Syrup: For an extra touch of sweetness and natural flavor, a light drizzle of honey or maple syrup can be a lovely addition just before serving.
- A Sprinkle of Cinnamon or Nutmeg: If you enjoy warmer spices, a tiny dusting of cinnamon or freshly grated nutmeg over the top can enhance the fruit’s natural sweetness.
Planning a full summer menu around this delightful galette? I recommend starting with some savory dry rub wings and refreshing blackberry mojitos. For the main course, a light yet satisfying Farmer’s Market Pasta would be perfect, leading seamlessly into this incredible galette for dessert. If you’re a true peach enthusiast, don’t miss out on making this Instant Pot Peach Cheesecake next! You’ll be amazed by the incredible texture cheesecake achieves when cooked in an electric pressure cooker.
How to Store and Reheat
Proper storage ensures you can enjoy your delicious Peach Blueberry Galette for days to come, or even freeze it for a future treat!
- Room Temperature: If you plan to enjoy the galette within a day or two, you can store it at room temperature. Simply wrap it loosely in aluminum foil to protect it from air, and it will stay fresh for up to 2 days.
- Refrigeration: For longer storage, or if your kitchen is particularly warm, transfer the wrapped galette to the refrigerator. It will keep well for 3-4 days.
- Freezing: This galette freezes beautifully! Once completely cooled, wrap it tightly in plastic wrap, then place it in a freezer-safe bag or wrap it again in aluminum foil. Freeze for up to 2 months.
- Reheating:
- From Room Temperature/Refrigerated: For a quick reheat, individual slices can be warmed in the microwave for about 15-30 seconds until heated through. For a crispier crust, place slices on a baking sheet and warm in a preheated oven at 300°F (150°C) for about 10-15 minutes.
- From Frozen: Allow the frozen galette to come to room temperature first (this might take a few hours). Then, you can reheat it whole in an oven at 350°F (175°C) for 15-20 minutes, or until warmed through and the crust is crisp. Individual slices can be reheated as above.
Personally, I find that a quick warm-up in the microwave for about 15 seconds, followed by a scoop of vanilla ice cream, makes for the most divine experience! YUM.
Seasonal Tip: Picking the Perfect Peaches
To ensure your galette is bursting with the best flavor, selecting ripe peaches is paramount. Look for peaches that have a deep, vibrant golden-yellow color, avoiding any that appear overly pale or green. Gently press on the peach – it should yield slightly to your touch, indicating its juiciness. A perfectly ripe peach will also emit a sweet, fragrant aroma. Avoid peaches with bruises or soft spots, as these may be overripe.
Finally, if you whip up this incredible Peach Blueberry Galette, please don’t hesitate to give this recipe a rating or leave a comment below! I genuinely love hearing about your experiences and successes in the kitchen, and I make it a point to respond to every single comment. Feel free to drop any questions you might have, too!
Oh, and be sure to tag me on Instagram when you share your creations! Seeing these recipes come to life in your homes is one of my absolute favorite things, and looking through those photos truly means the world to me!
Peach Blueberry Galette
15 minutes
35 minutes
30 minutes
1 hour
20 minutes
Equipment
-
9-Cup Food Processor
-
Stainless Steel Mixing Bowls
-
3-Piece Bamboo Cutting Board Set
-
Shun Chef’s Knife
-
Marble Rolling Pin
-
Half Sheet Pan
Ingredients
- 1 1/2 cups all-purpose flour
- 1 1/2 tsp granulated sugar
- 1/4 tsp salt
- 8 Tbsp cold unsalted butter cubed into 1/2” pieces
- 1/3 cup ice water*
- 4 large peaches pitted, and thinly sliced (peel optional)
- 12 oz fresh blueberries
- Juice of ½ a lemon
- 1 Tbsp granulated sugar
- 2 Tbsp brown sugar
- 1 1/2 Tbsp all-purpose flour
- Pinch of salt
- 2 Tbsp melted butter
- Turbinado sugar for sprinkling (optional)
Instructions
-
Add flour, granulated sugar, and salt to the bowl of a food processor.* Pulse a few times to mix. Add cold butter cubes and pulse about 8 to 10 times until the mixture resembles coarse crumbs with some pea-sized pieces of butter remaining. Turn the machine on and add in ice water, one tablespoon at a time, until the dough comes together and forms a ball. Dump the dough out onto a clean work surface and gently form it into a 4-inch disk.
-
Cover the dough disk tightly with plastic wrap and chill in the fridge for at least 30 minutes, or up to overnight.
-
When you’re ready to bake, preheat your oven to 375˚F (190˚C). Line a rimmed baking sheet with parchment paper.
-
In a large bowl, combine the thinly sliced peaches, fresh blueberries, lemon juice, granulated sugar, brown sugar, flour, and salt. Gently toss the fruit mixture until everything is evenly coated.
-
On a lightly floured surface, roll out the chilled galette dough into a rough 14-inch round. Carefully transfer the rolled dough onto your prepared baking sheet. Arrange the fruit filling in the center of the dough, leaving a generous 1 ½ to 2-inch border of dough all the way around.
-
Fold the pastry edge up and over the fruit filling, gently pleating the dough in evenly spaced folds as you work your way around. Press lightly to seal each fold. Brush the folded pastry border and edges with the melted butter. If desired, generously sprinkle the buttered edges with turbinado sugar for extra crunch and sparkle.
-
Bake for 35 to 45 minutes, or until the crust is golden brown and the fruit filling is bubbly and tender. Transfer the galette (still on its parchment paper) onto a wire rack to cool for approximately 15 minutes before slicing and serving. Serve warm, ideally with a scoop of vanilla gelato or ice cream.
Notes
Summer
Cakes, Pies, & Tarts
